
Microsoft Forms have a gluey user interface and sleek experience. There's a low chance you'll dump it once you try it for the first time. While its user interface is comprehensive, you still need some pro tips to use Microsoft Forms more productively.
Here are excellent ways to leverage Microsoft Forms for your survey and business needs.
1. Share Your Form
Sharing the form is the ultimate goal of your survey. This is easy:
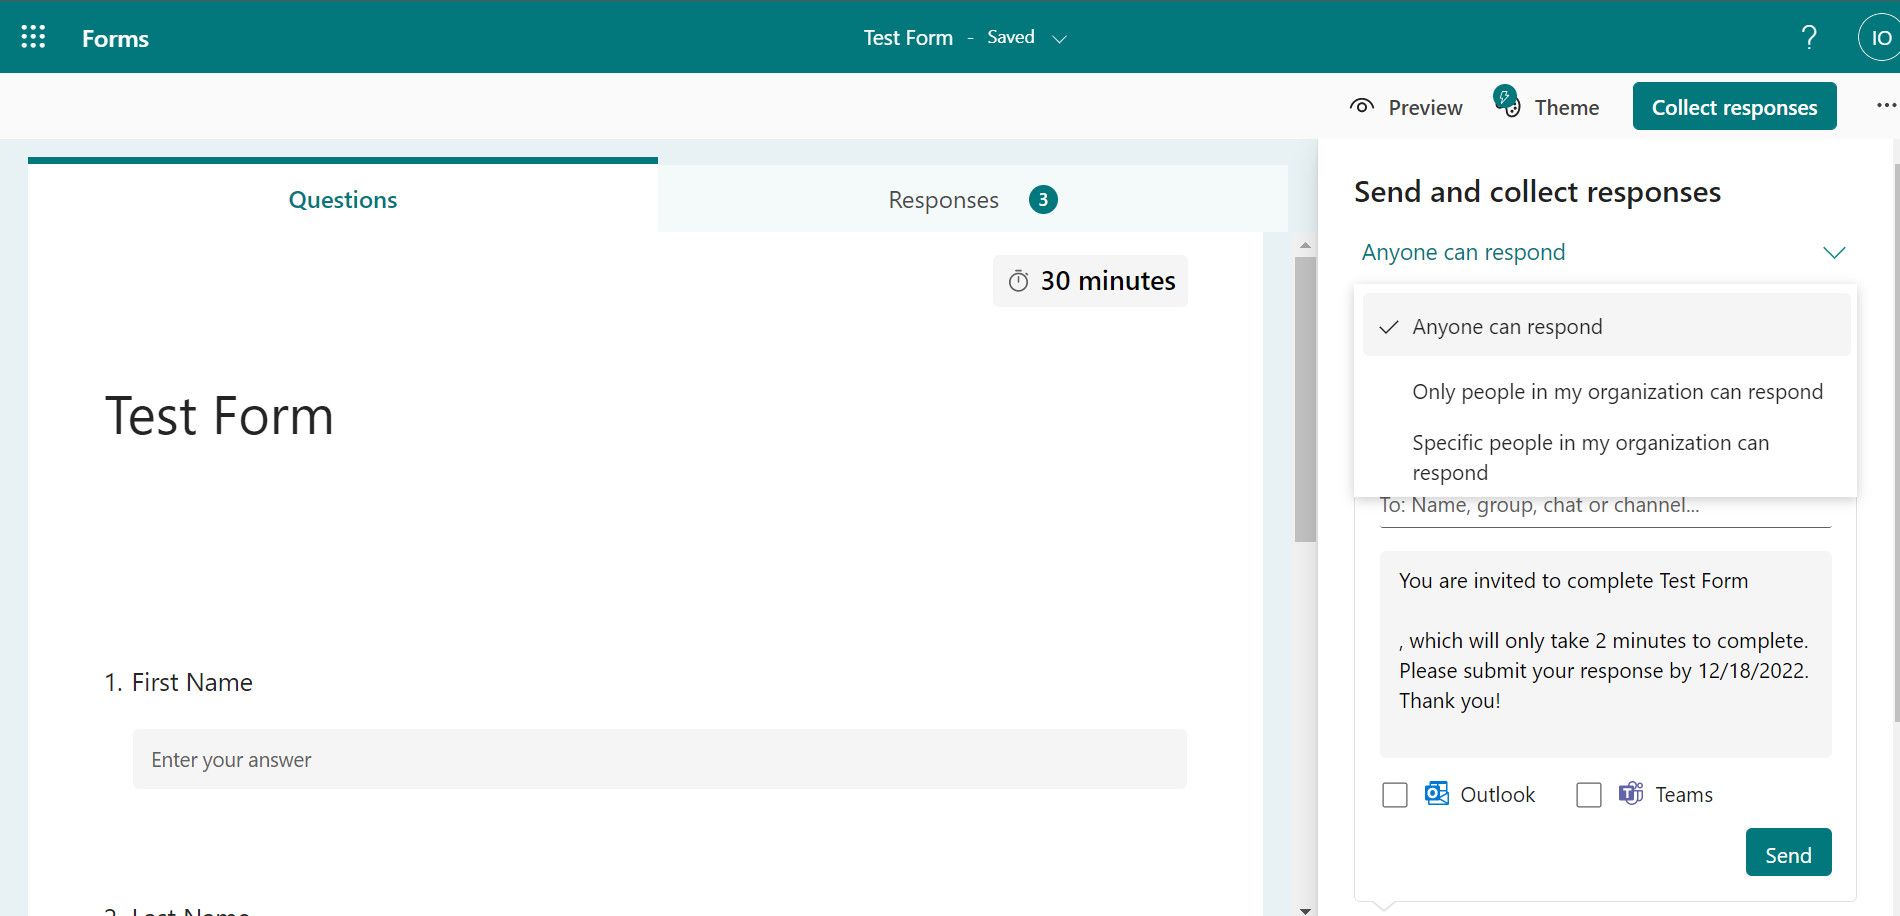
- Click Collect response at the top right of your form.
-
Choose your recipient group preference by selecting Anyone can respond, Only people in my organization can respond, or Specific people in my organization can respond.
-
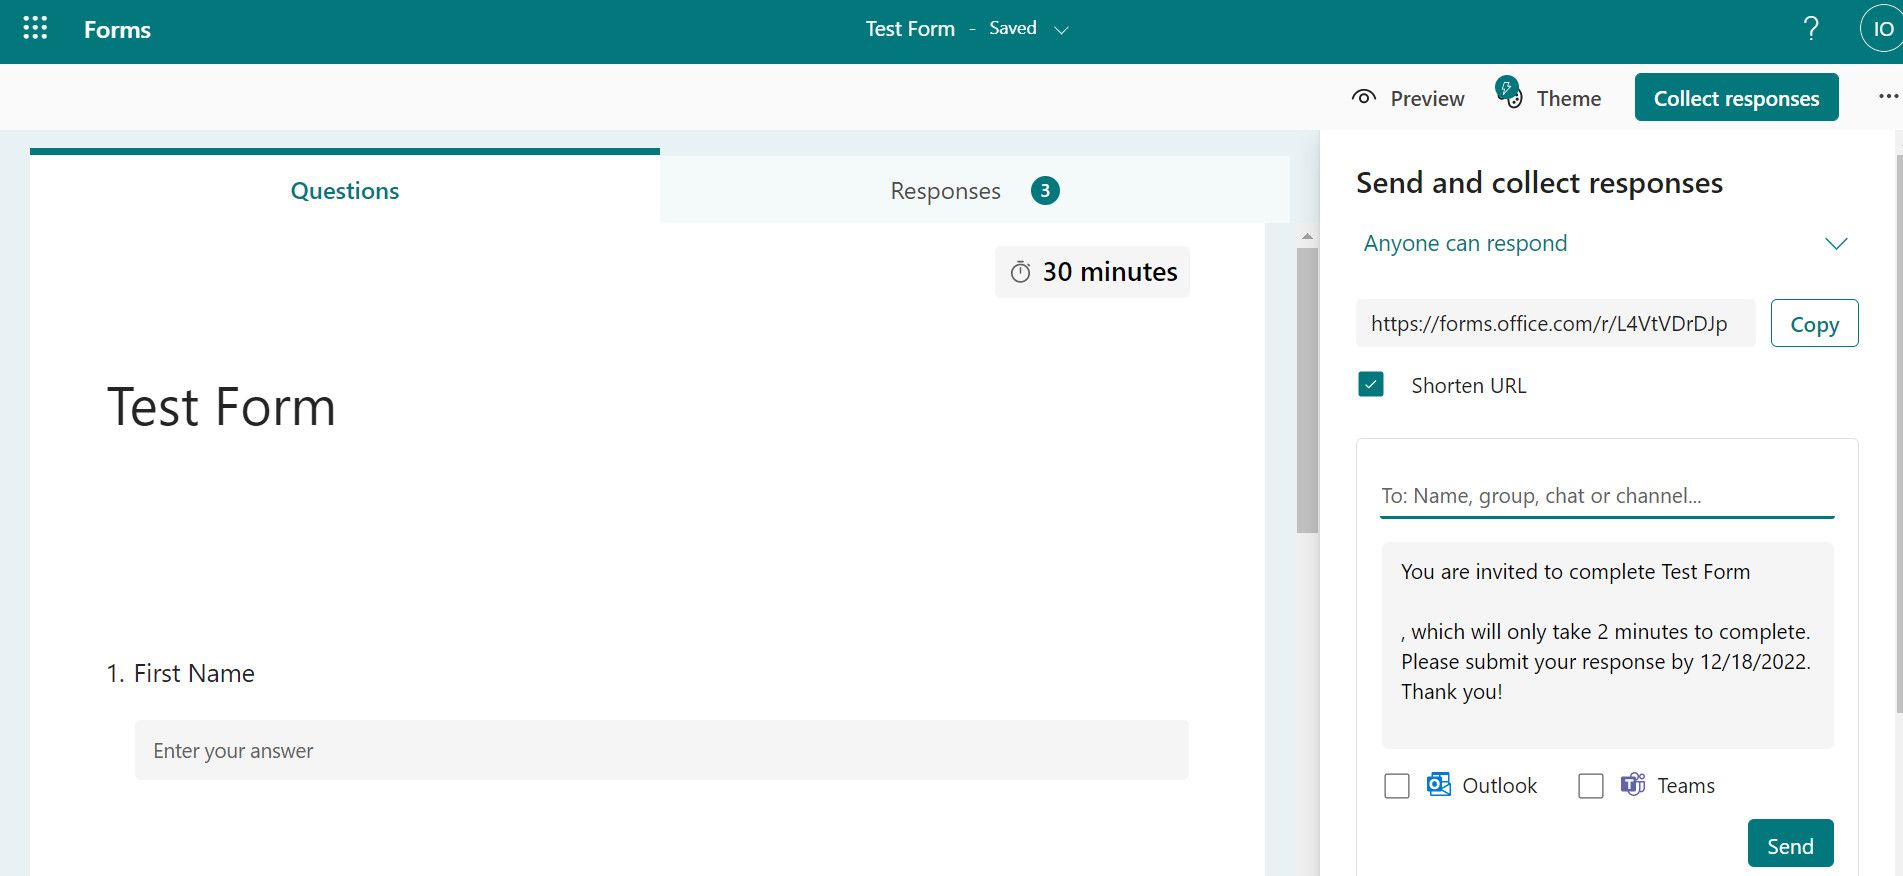
Click the Shorten URL checkbox for a shorter form URL (optional). Then click Copy to start sharing your survey with your target participants.


Share With Specific People Using Custom Invitations
While sharing your form, you can back it up with a custom invitation message to make it more professional:

- Click the Collect response tab at the top right of your form.
- Select your recipient preference.
- Enter your recipient's email address, name, or group in the contact field. You can enter many recipients.
- Fill in the text field with your custom message.
- Finally, click Send. Your participants will now get a custom message leading them to the form page.
2. View Response in Excel in Real-Time
When collating Microsoft Forms responses, you typically have to download an Excel copy of your data. The downloaded data doesn't get updated with new submissions. Hence, you might need to repeat the download at intervals to update the existing data on your local drive.
To prevent these multiple interval downloads, you might wait till your respondents complete the survey before exporting their responses to Excel.
But sometimes, you want to see how people respond in real-time—especially if the survey is extensive. It's easy; a Microsoft 365 Business account lets you see Microsoft Forms responses in Excel in real-time. You can achieve this directly using the built-in Forms for Excel or via Power Automate.
3. Prevent Duplicate Form Responses
Microsoft Forms allow someone to respond multiple times by default. You can set your form to allow only one response per person.
When you disallow people from submitting multiple times, they'll need to sign in to their Microsoft account to respond to your survey. Thus, the form will prevent the same account from accessing the survey twice.
4. Embed Microsoft Forms iFrame on Your Website
If you want people to log onto your website to fill out a survey, you can insert the form as a frame on your website instead. All you'll do is copy an iFrame copy of your prepared form and paste it into your website's HTML. To do so:

- Go to your form and click Collect responses at the top right.
- Click the code icon towards the lower-right of the opened sidebar.
- Copy the embed code by clicking Copy.
- Paste the copied code into your website's HTML file.
5. Use a QR Code to Share Forms
You can also download and send a QR code of your form to your respondents. This is an alternative way to share your survey URL with a focus group. To download your Microsoft form QR code:

- Go to the Collect responses tab at the top right.
- Click the QR code icon at the bottom of the sidebar (to the left of the code icon).
- Click Download to save the QR code image to your local drive.
- You can now share the downloaded QR image with your target group.
6. Set Form Completion Duration
You might not be running a quiz, but you still want your respondents to fill out your form within a specific duration. For instance, you want job applicants to respond to an application form before a specific date. You can tie their response to a deadline.
You can do this by tweaking the form settings:
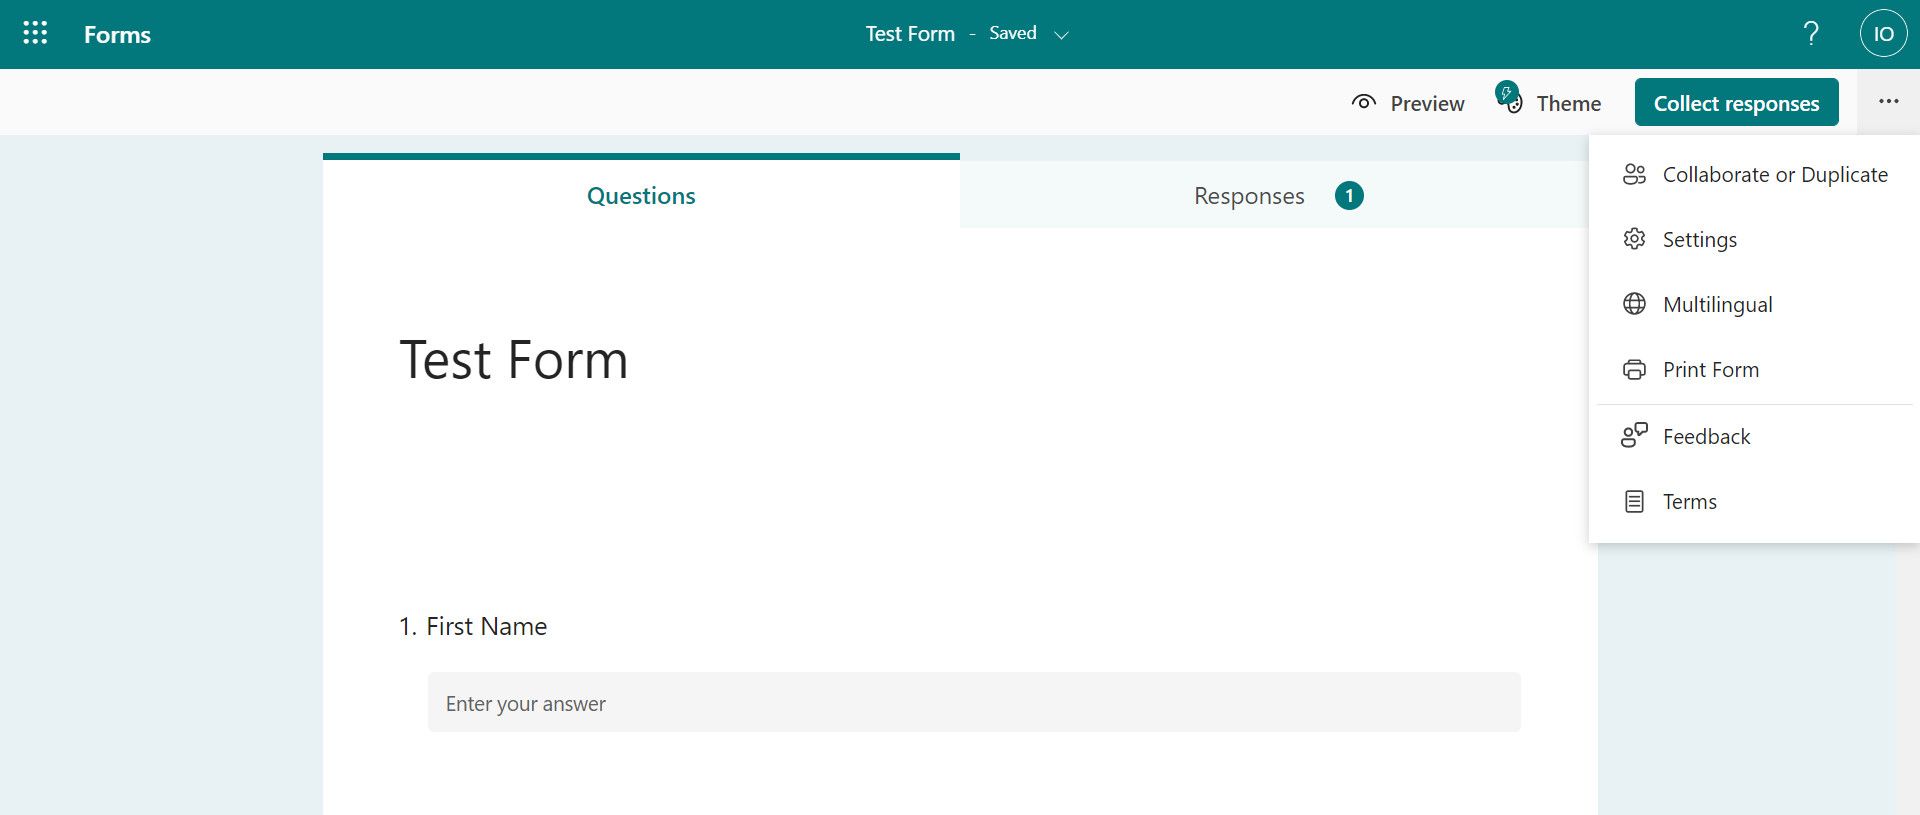
- Click the three horizontal menu dots at the top-right.
-
Go to Settings.
- Click Start date. Then click End data to wrap up the duration of your survey.
-
You can also time the form by clicking Set time duration; this starts a timer once someone starts filling out the form.
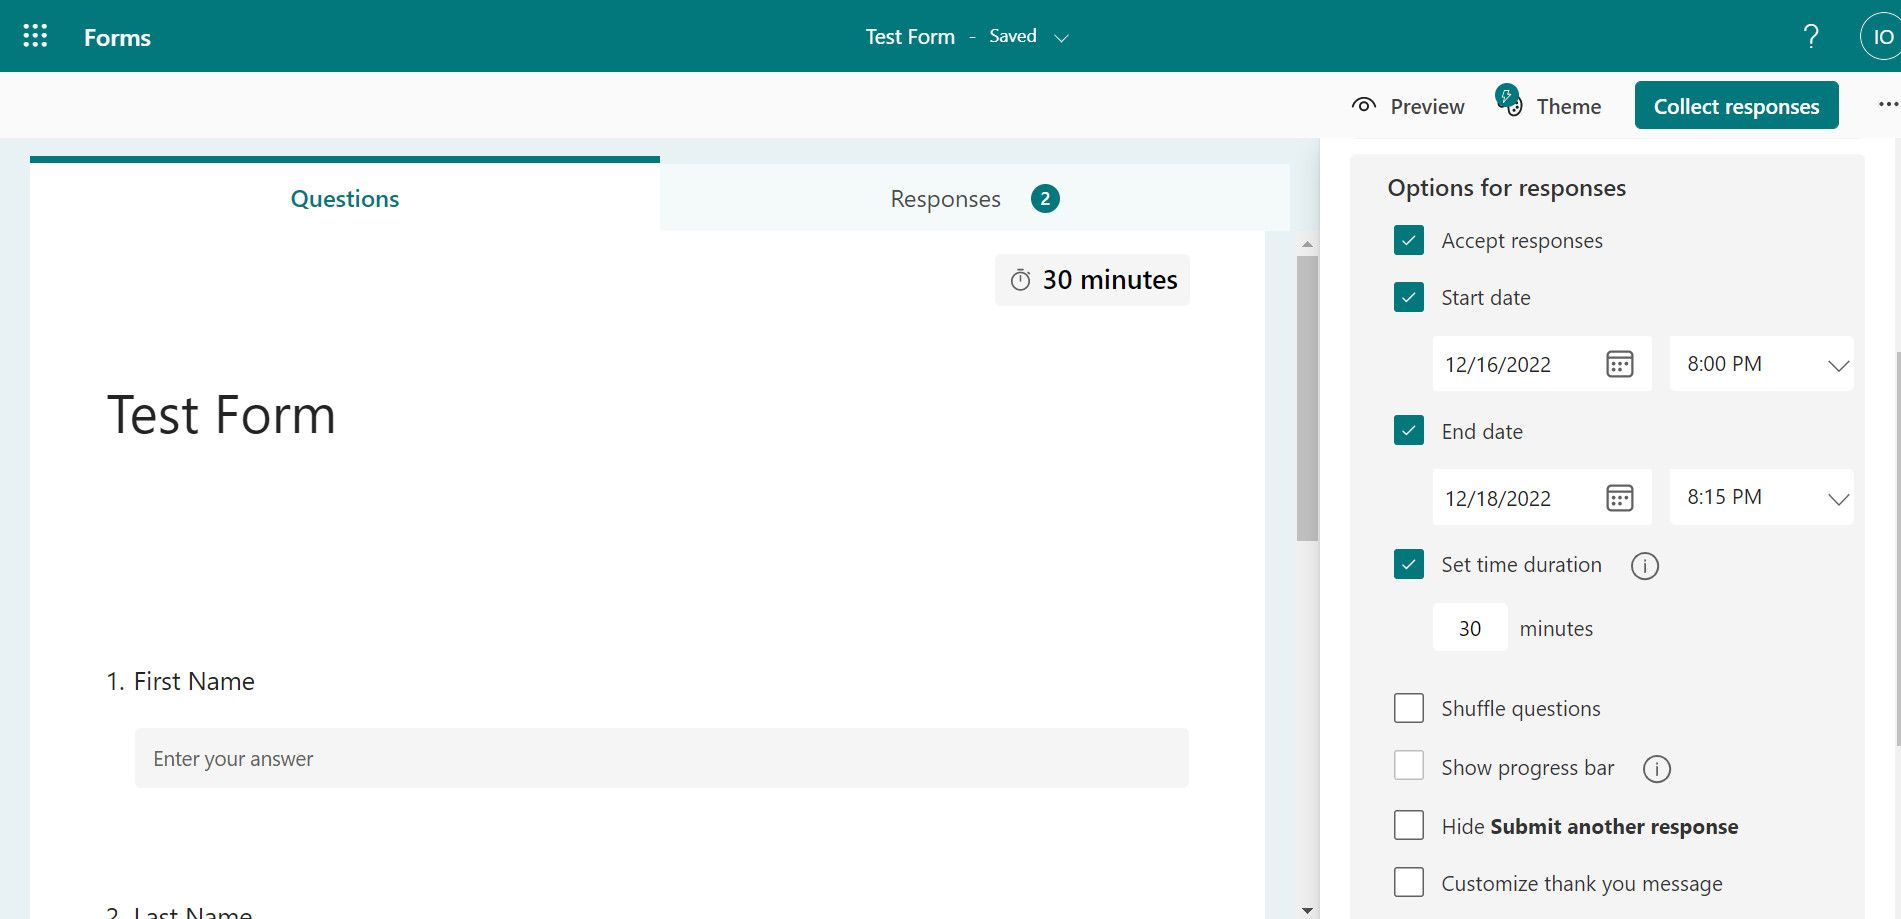


If you have timed the survey, your respondents will get a prompt informing them that it's a timed survey before starting.

7. Create and Customize Quizzes in Microsoft Forms
Like Google Forms, you can also create quizzes in Microsoft Forms. Thankfully, quizzes are as easy to make as regular forms. To create a quiz in Microsoft Forms:
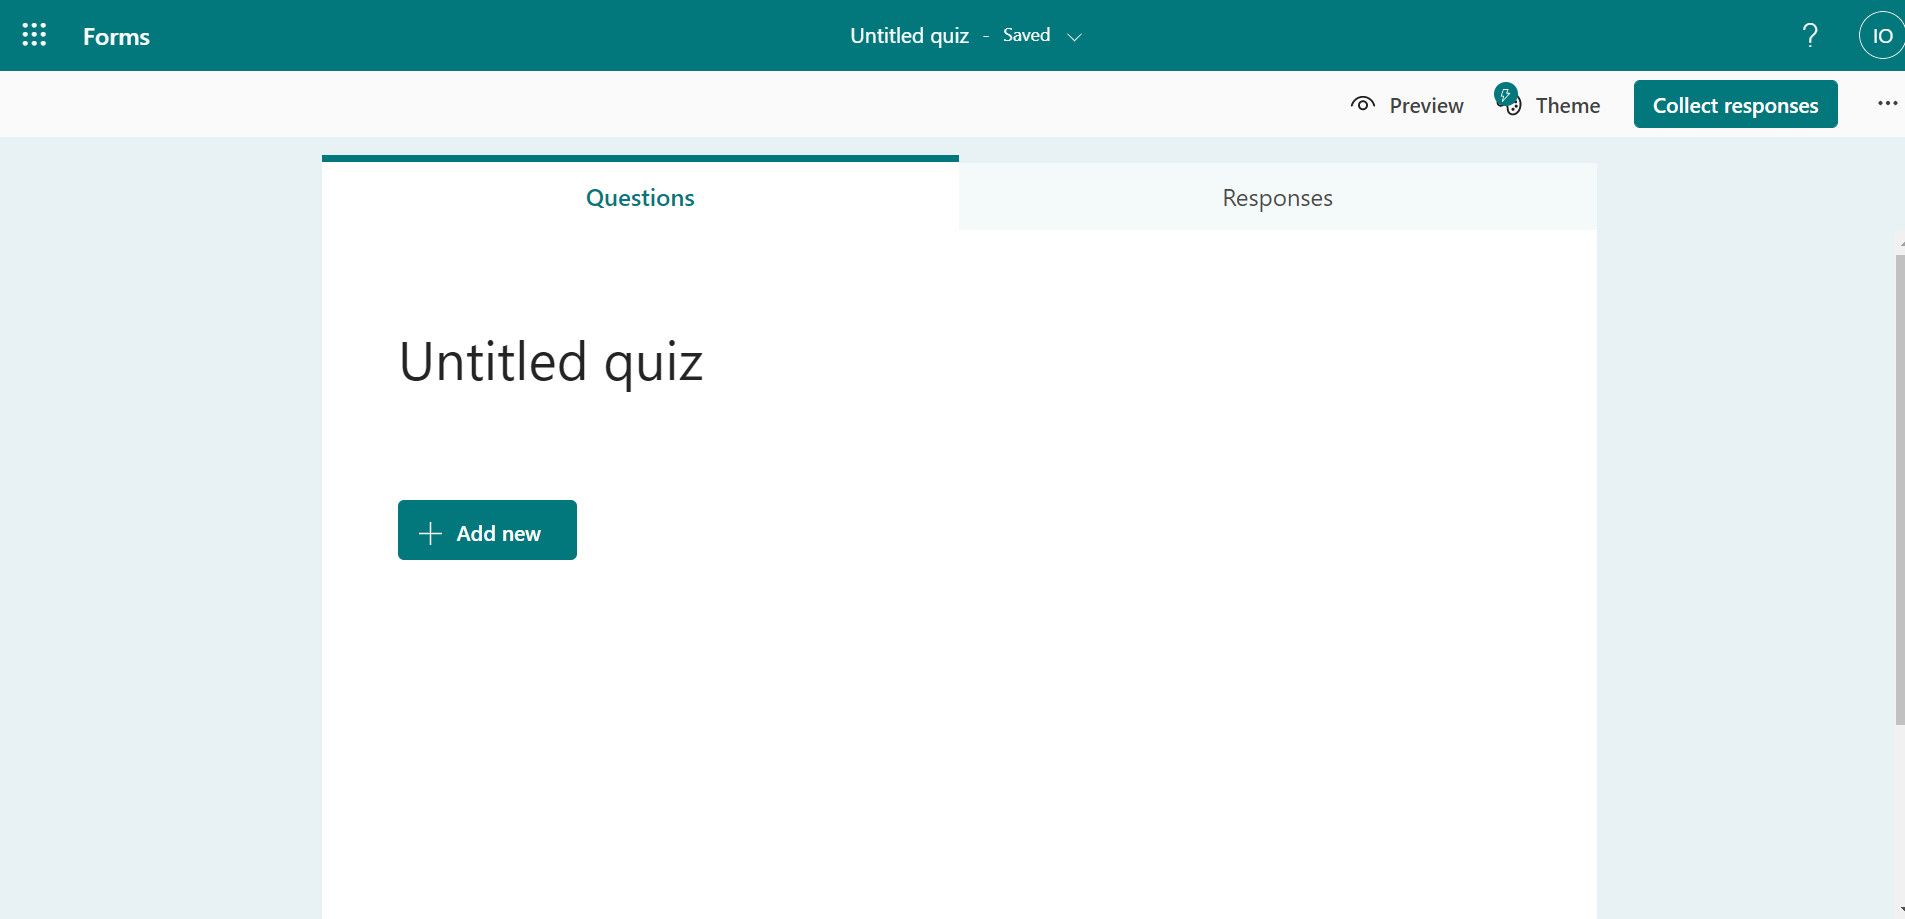
-
Click New Quiz from your Microsoft Forms dashboard.
- Fill in the title field with your quiz name. Then enter the optional description below this field if you have one.
-
Click Add new.
-
You'll see the available quiz options in the displayed bar. For instance, you can select Choice for multiple options questions.
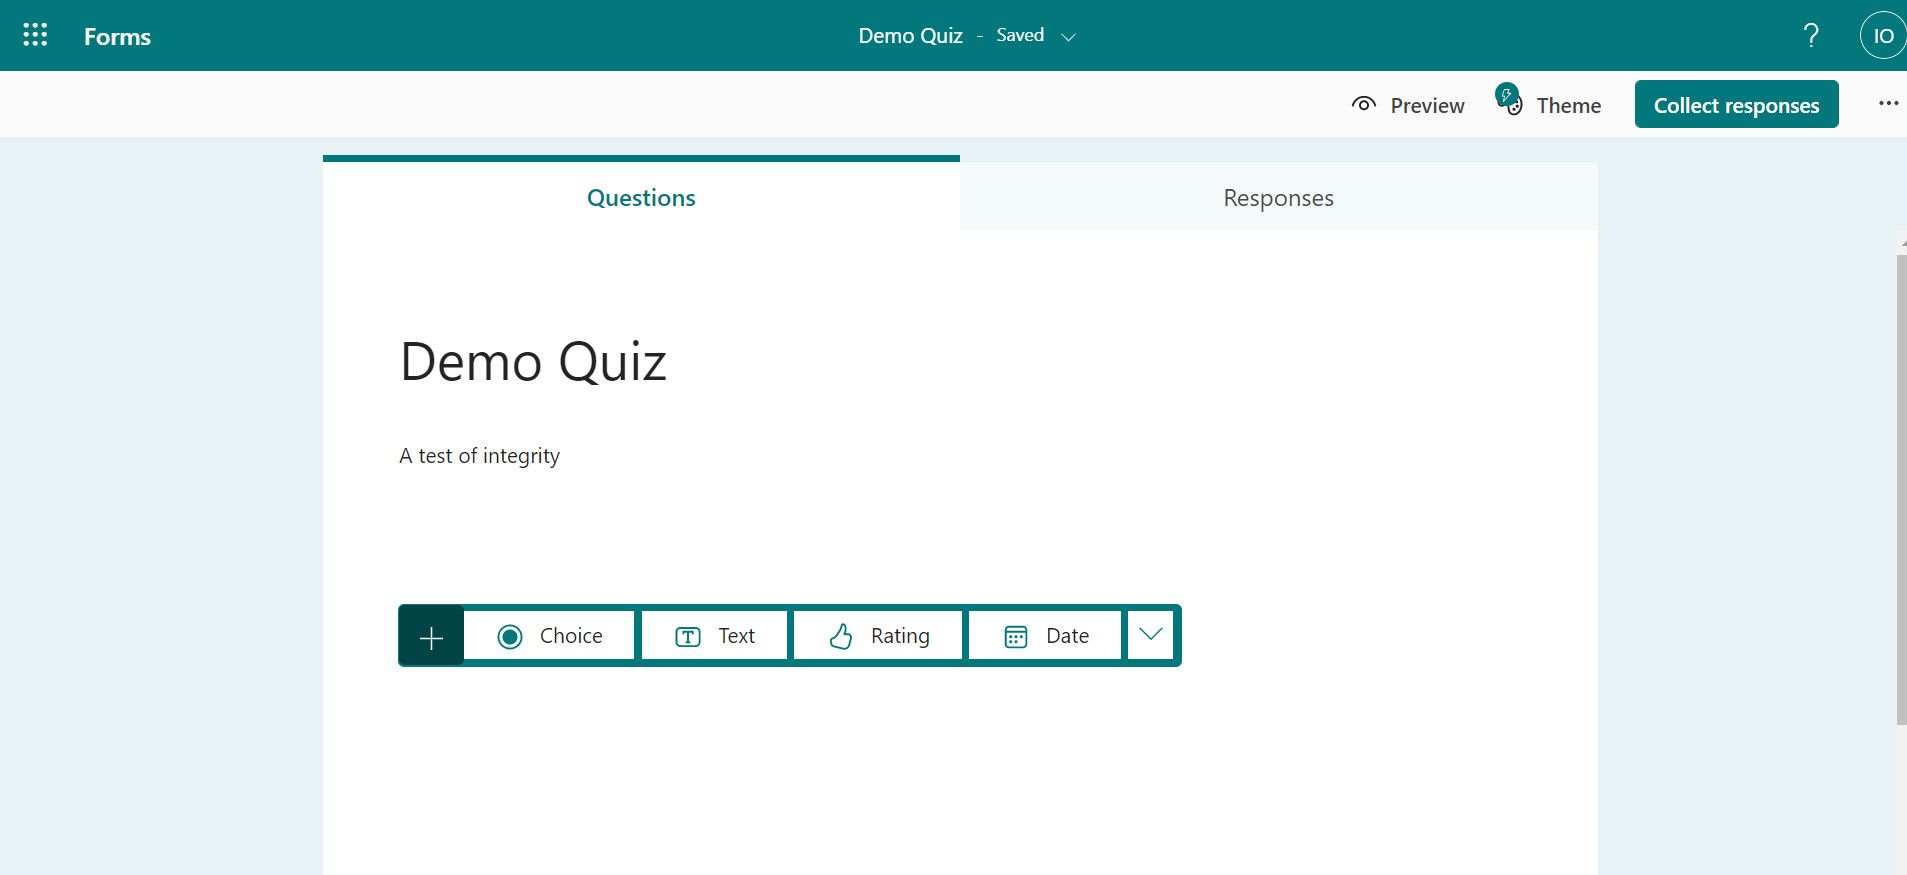
- Click Add new to add a new question.


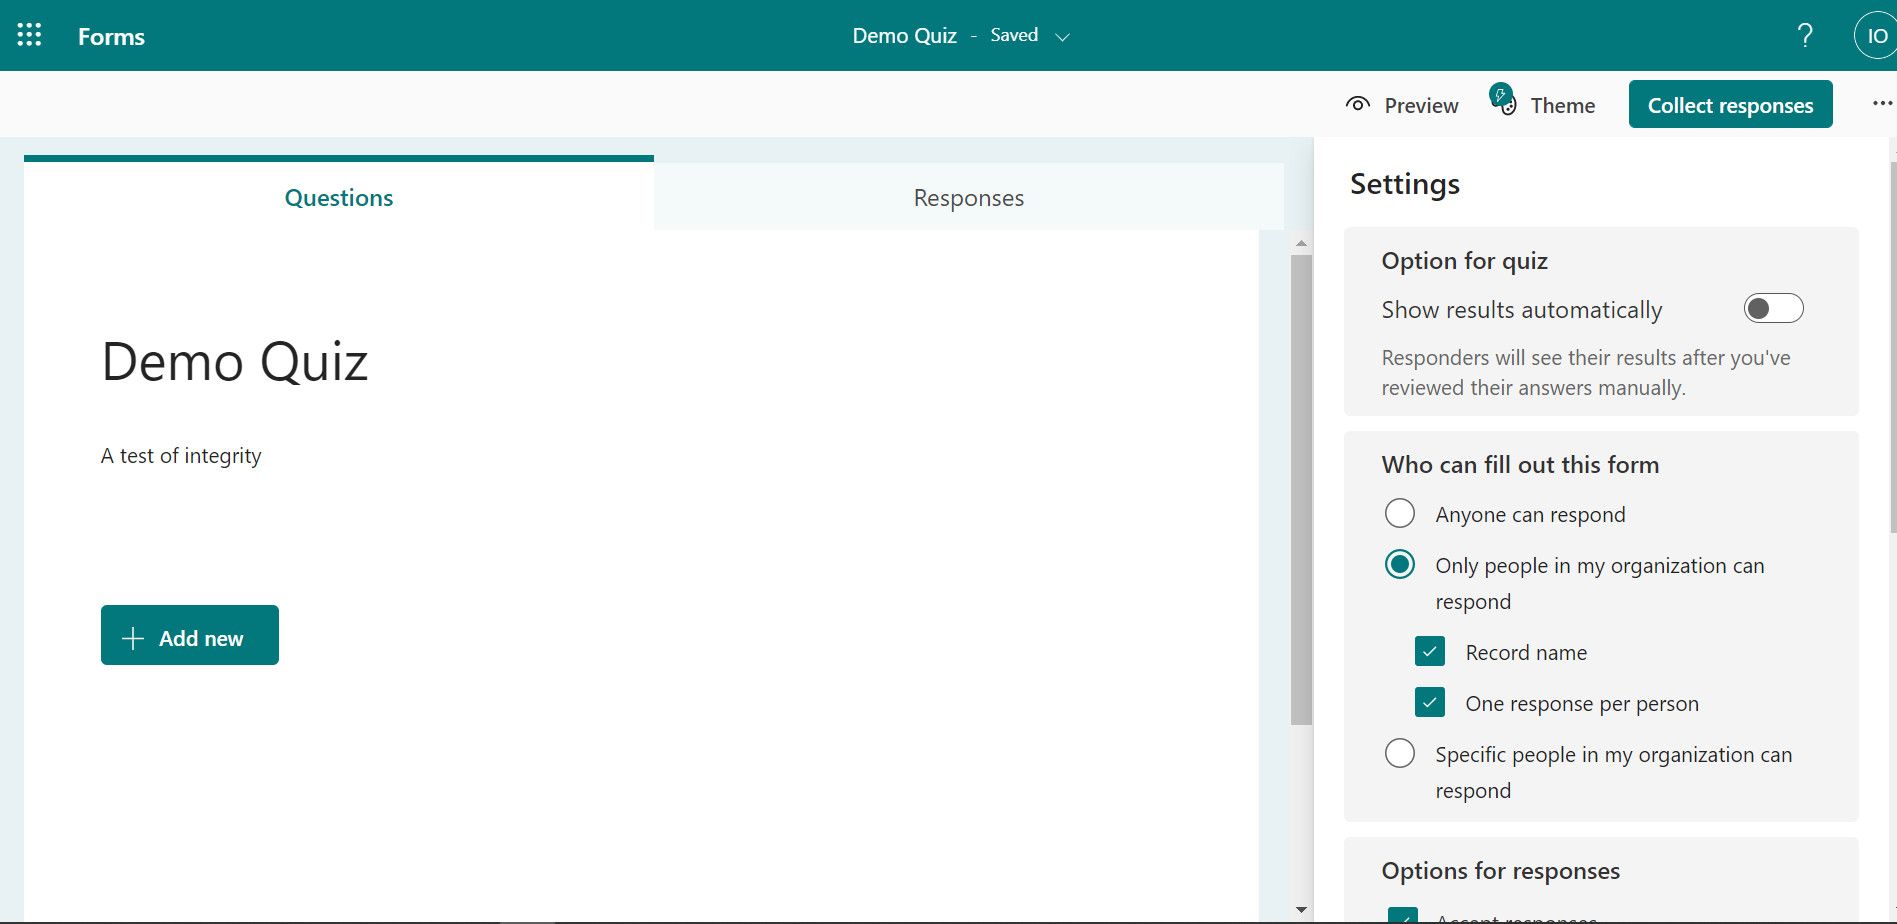
Set Quiz Result Visibility
You might also want to prevent participants from seeing the test results after submission:
- Click the three horizontal menu bars at the top right.
-
Go to Settings.
-
Toggle off Show results automatically.


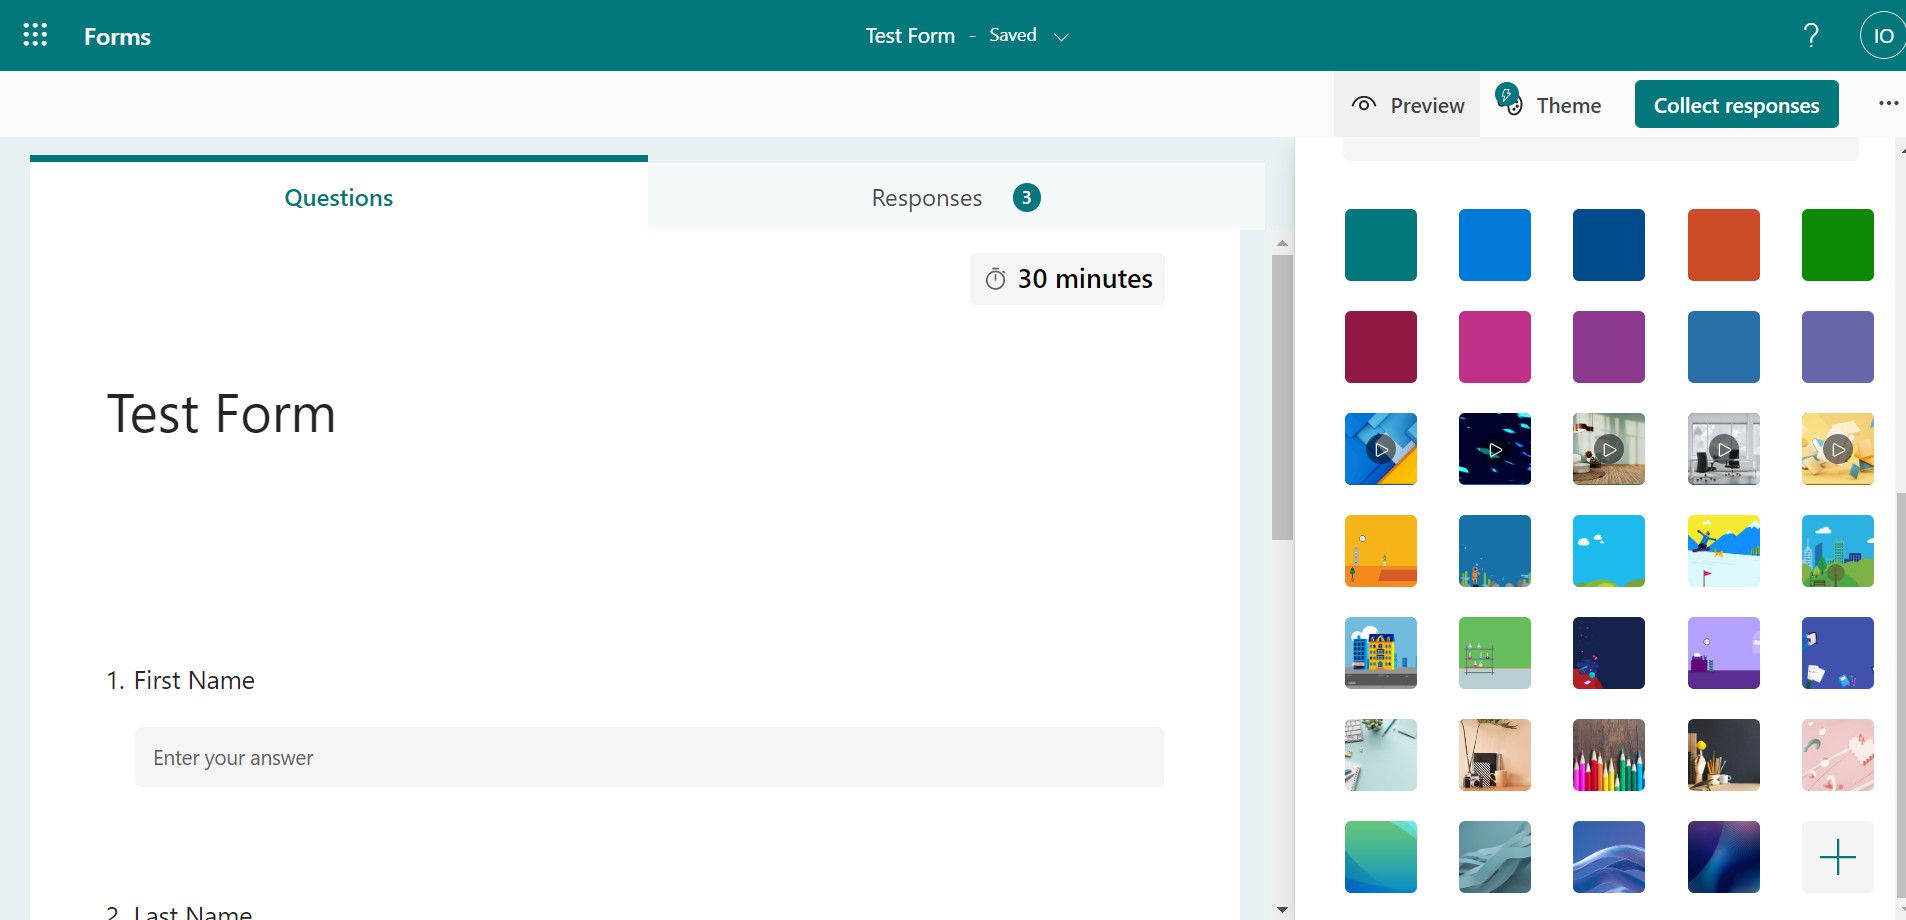
8. Upload and Customize the Form Theme
Besides its UI, with Microsoft Forms, you can determine the UI your respondents see when they open your survey. This is an excellent way to display your professionalism. While Microsoft Forms provides built-in themes, you can also design and upload a custom theme.
- From your form, click Theme at the top right.
- Choose from the listed themes.
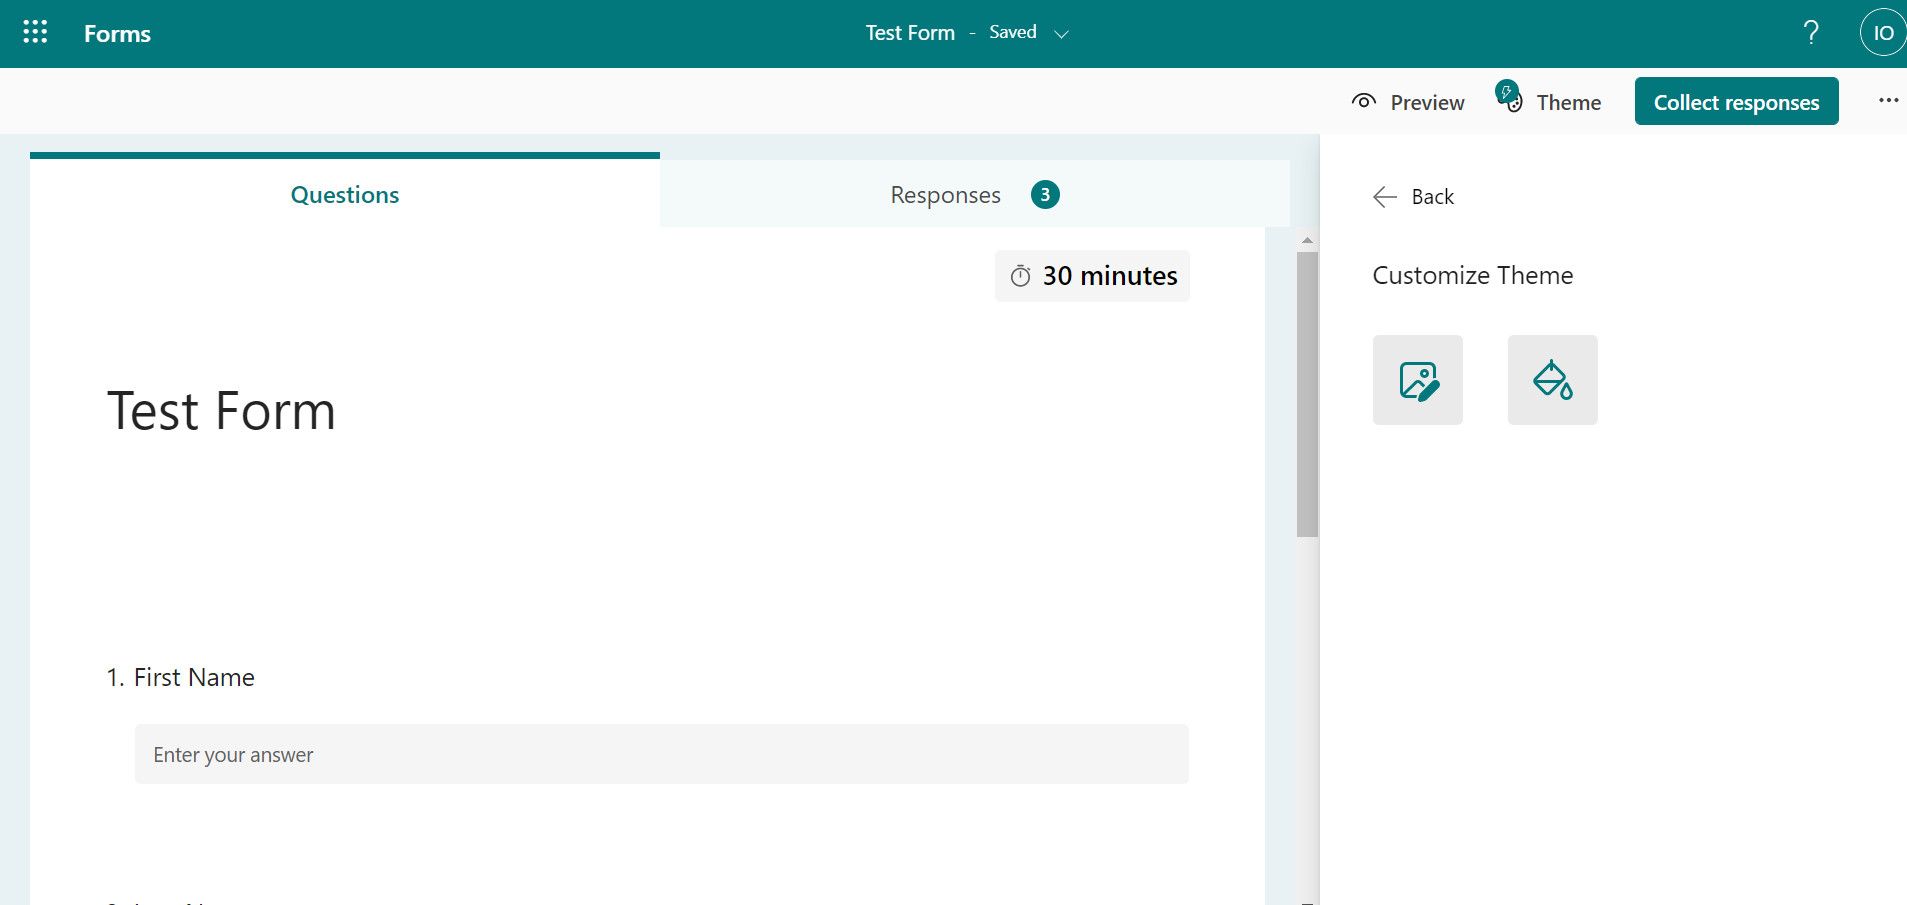
-
To upload a custom theme instead, click the cross sign (+) at the bottom-right of the theme bar.
-
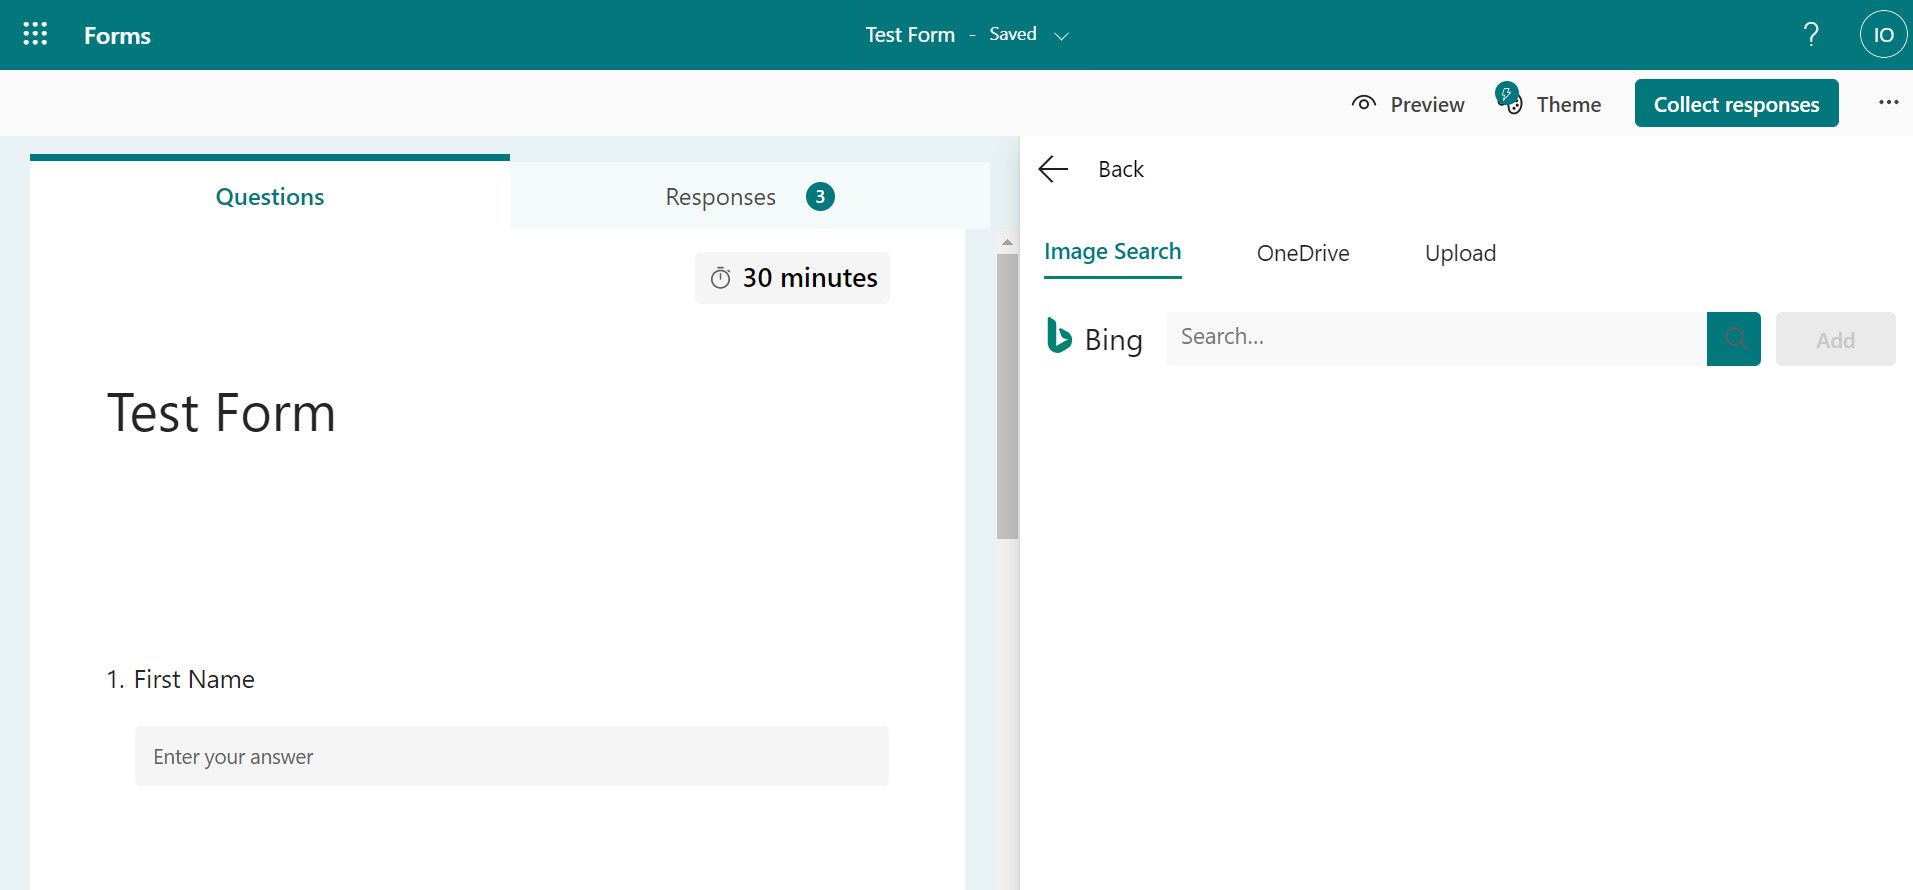
Click the image icon in the following menu.
-
Next, upload a theme from Bing or OneDrive. Or you can click Upload to select a theme from your local drive.


9. Allow Others to Use Your Form Template
If you've created a lovely theme with inclusive and relevant survey questions, you can allow others to use it. When you allow others to use your template, you'll share its duplicate instead. Hence, your respondents can use it as a template for their survey.
Head into your form and follow these steps:
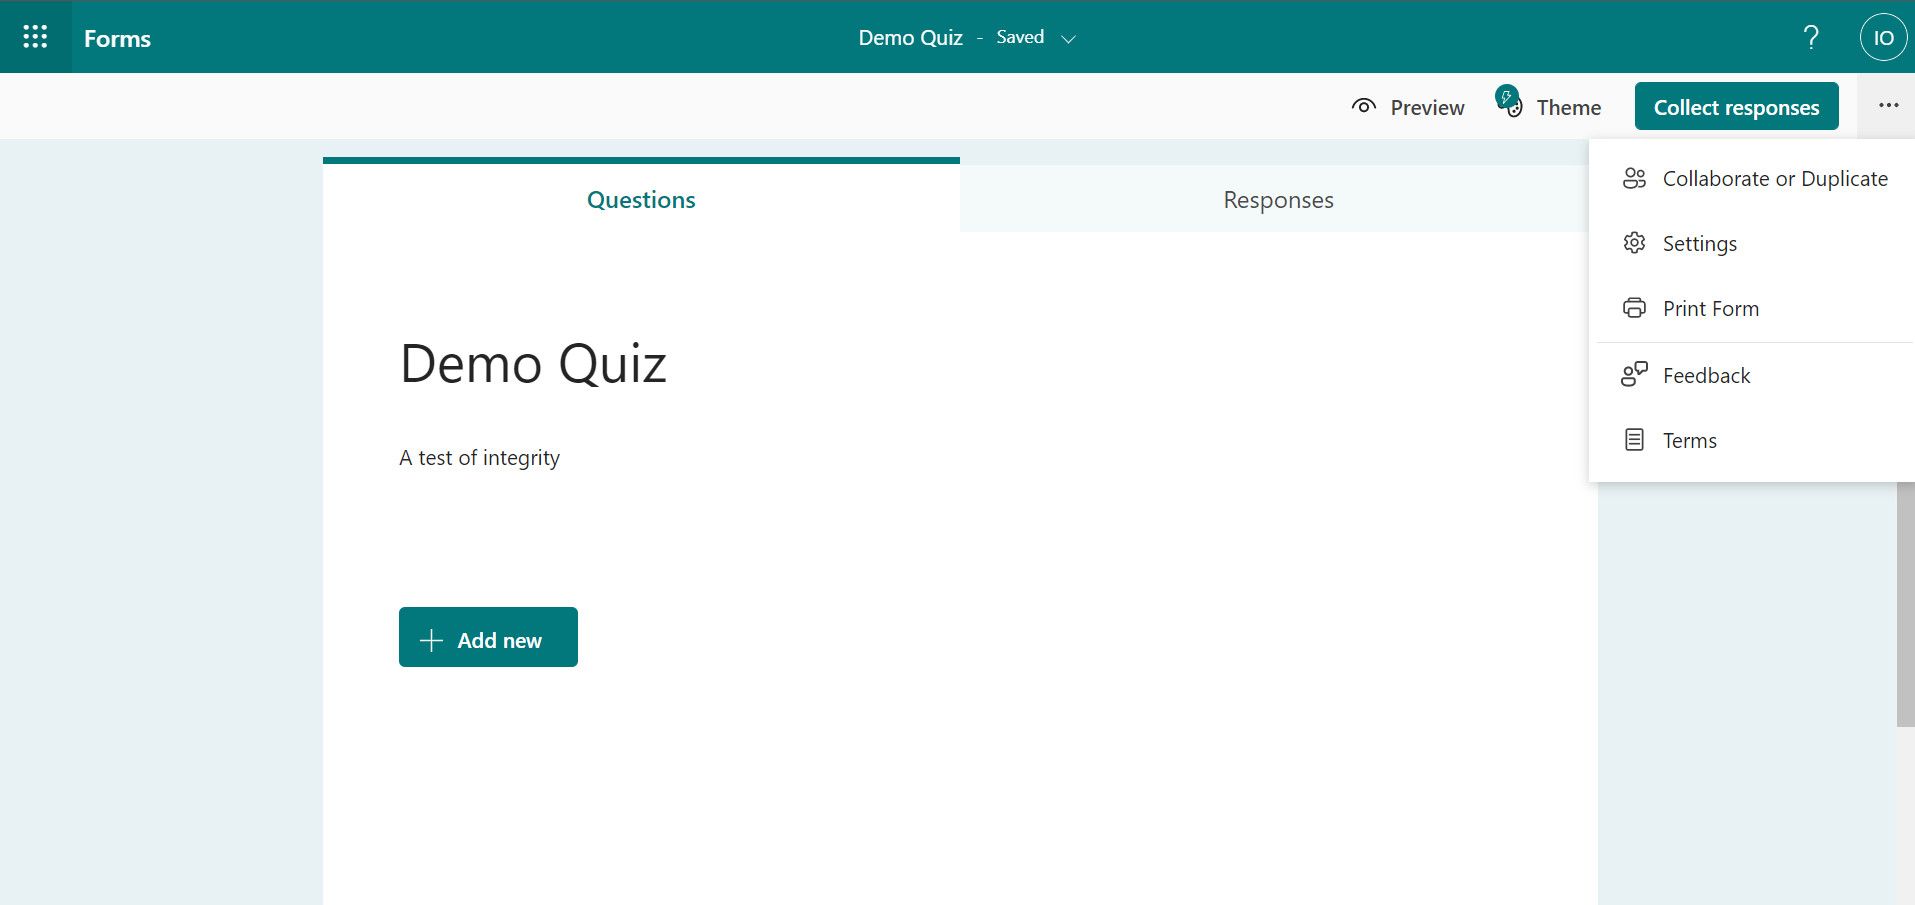
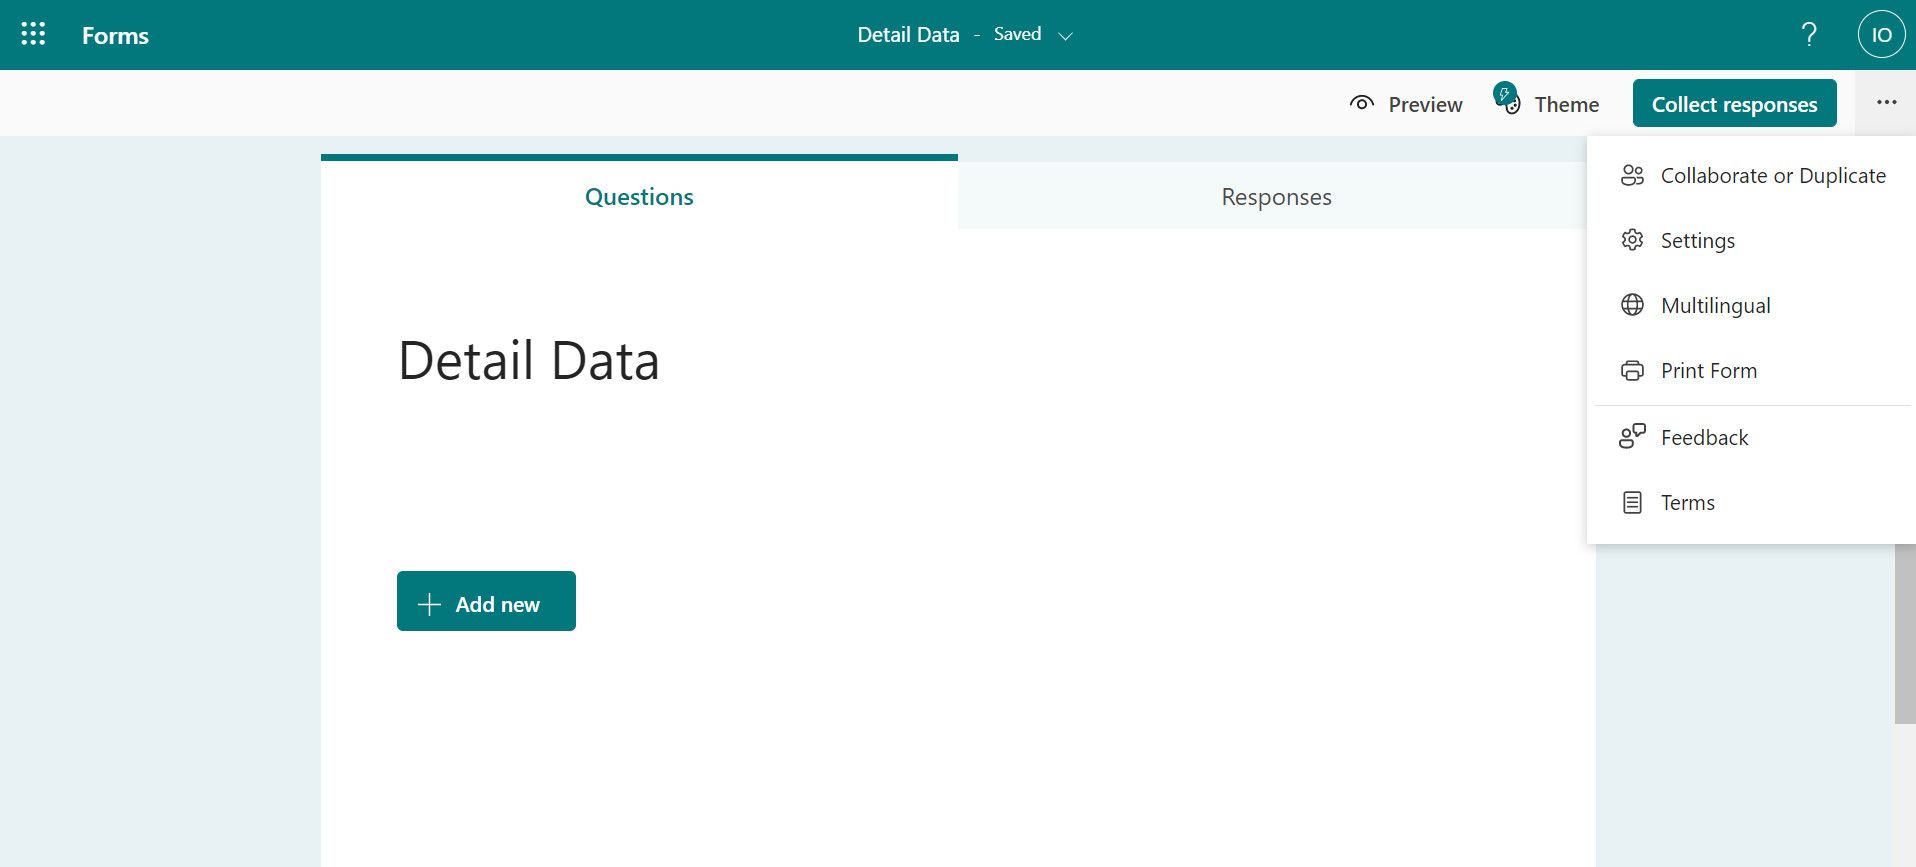
- Click the three horizontal menu dots at the top right.
-
Click Collaborate or Duplicate.
-
Under the Share as a template section, click Get a link to duplicate.
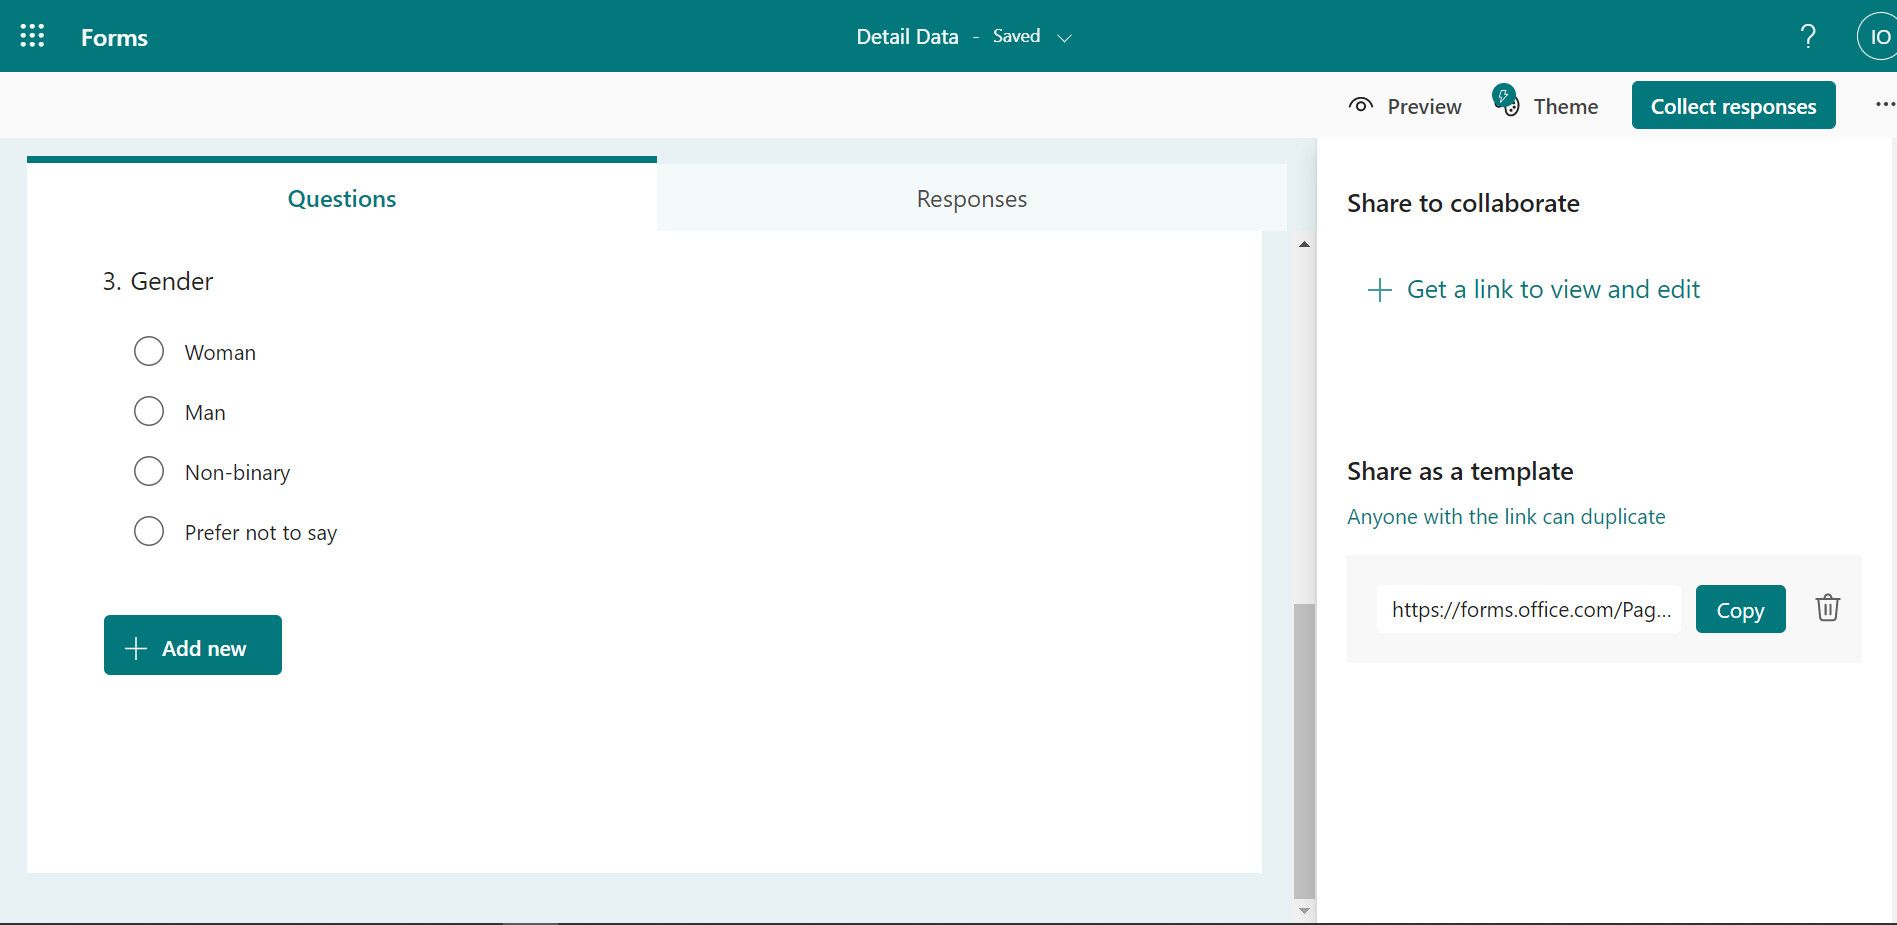
-
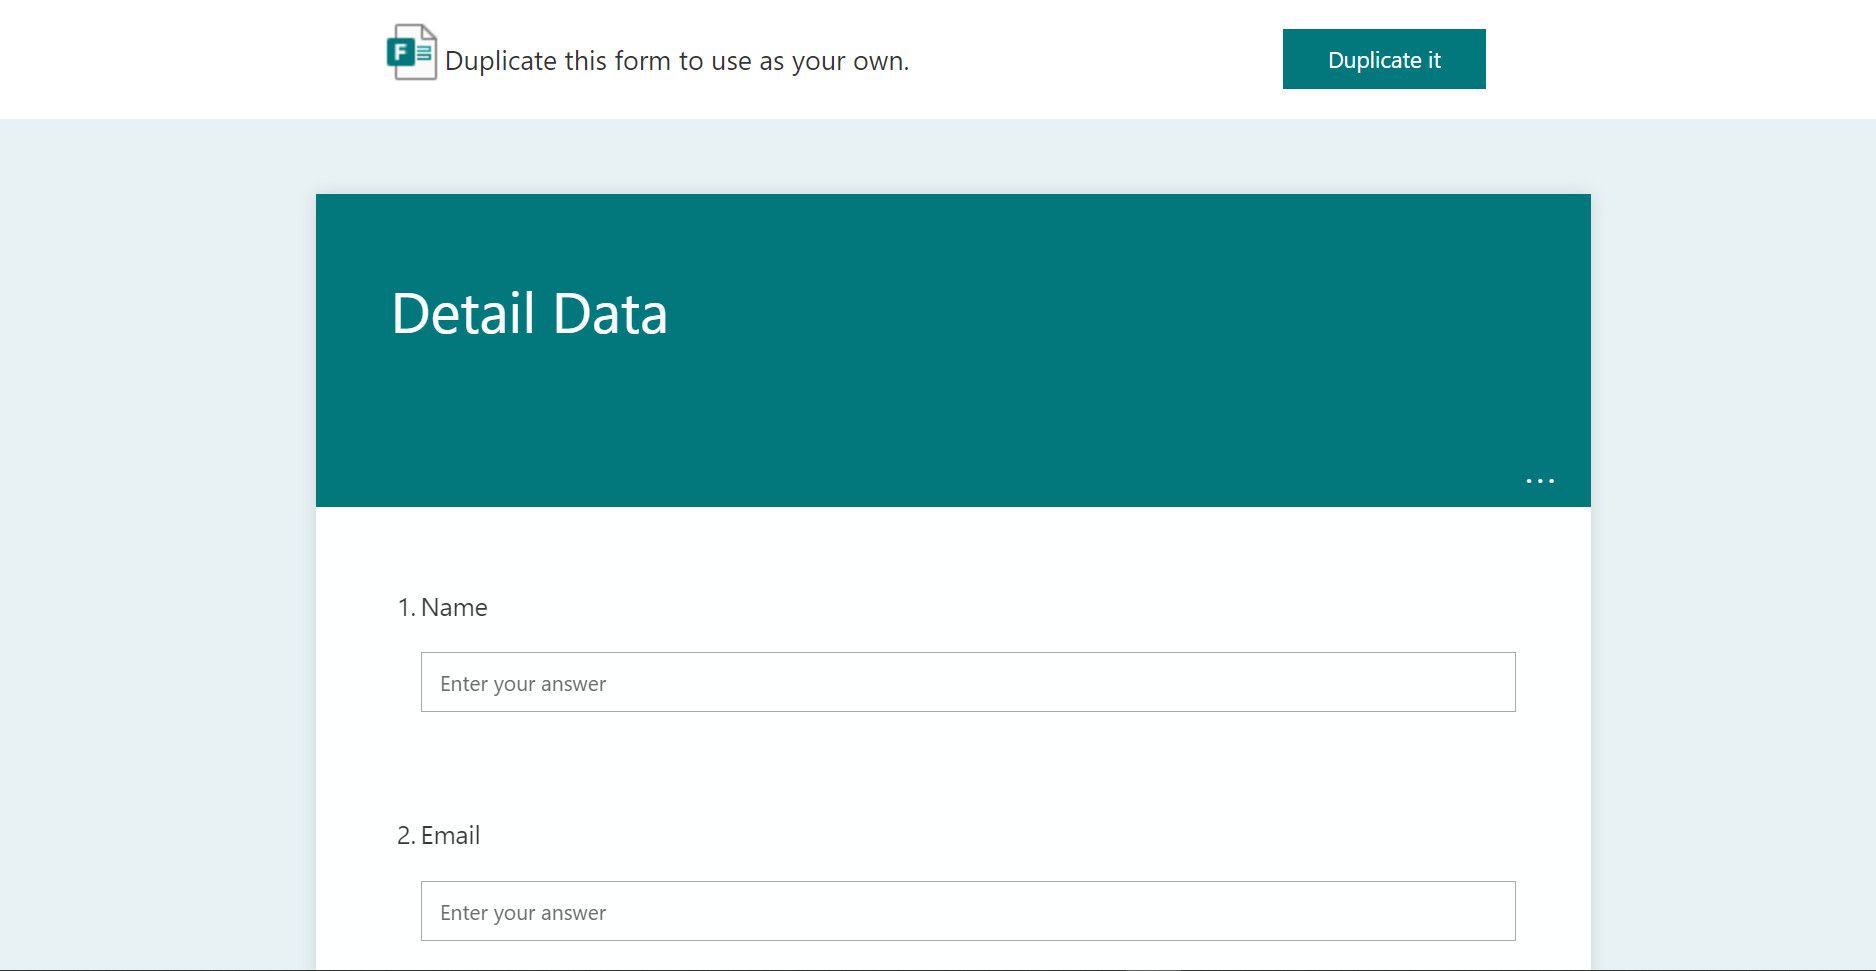
Copy the generated link and share it with your participants. While they'll still be able to fill and submit the form, they can also duplicate it and use it as a template for their surveys if they have a Microsoft 365 account.


10. Customize a Farewell Message
You can also appreciate your participants for taking the time to respond to your survey. This message appears once they submit your form.
Such a message can go a long way in building a relationship with participants. For instance, you can use this opportunity to remind your respondents that you'll respond to their inputs at a particular time. To customize a farewell message:
- Click the three horizontal menu dots at the top right of your form.
-
Go to Settings.
- Click the Customize thank you message checkbox.
-
Then fill in the field with your message.
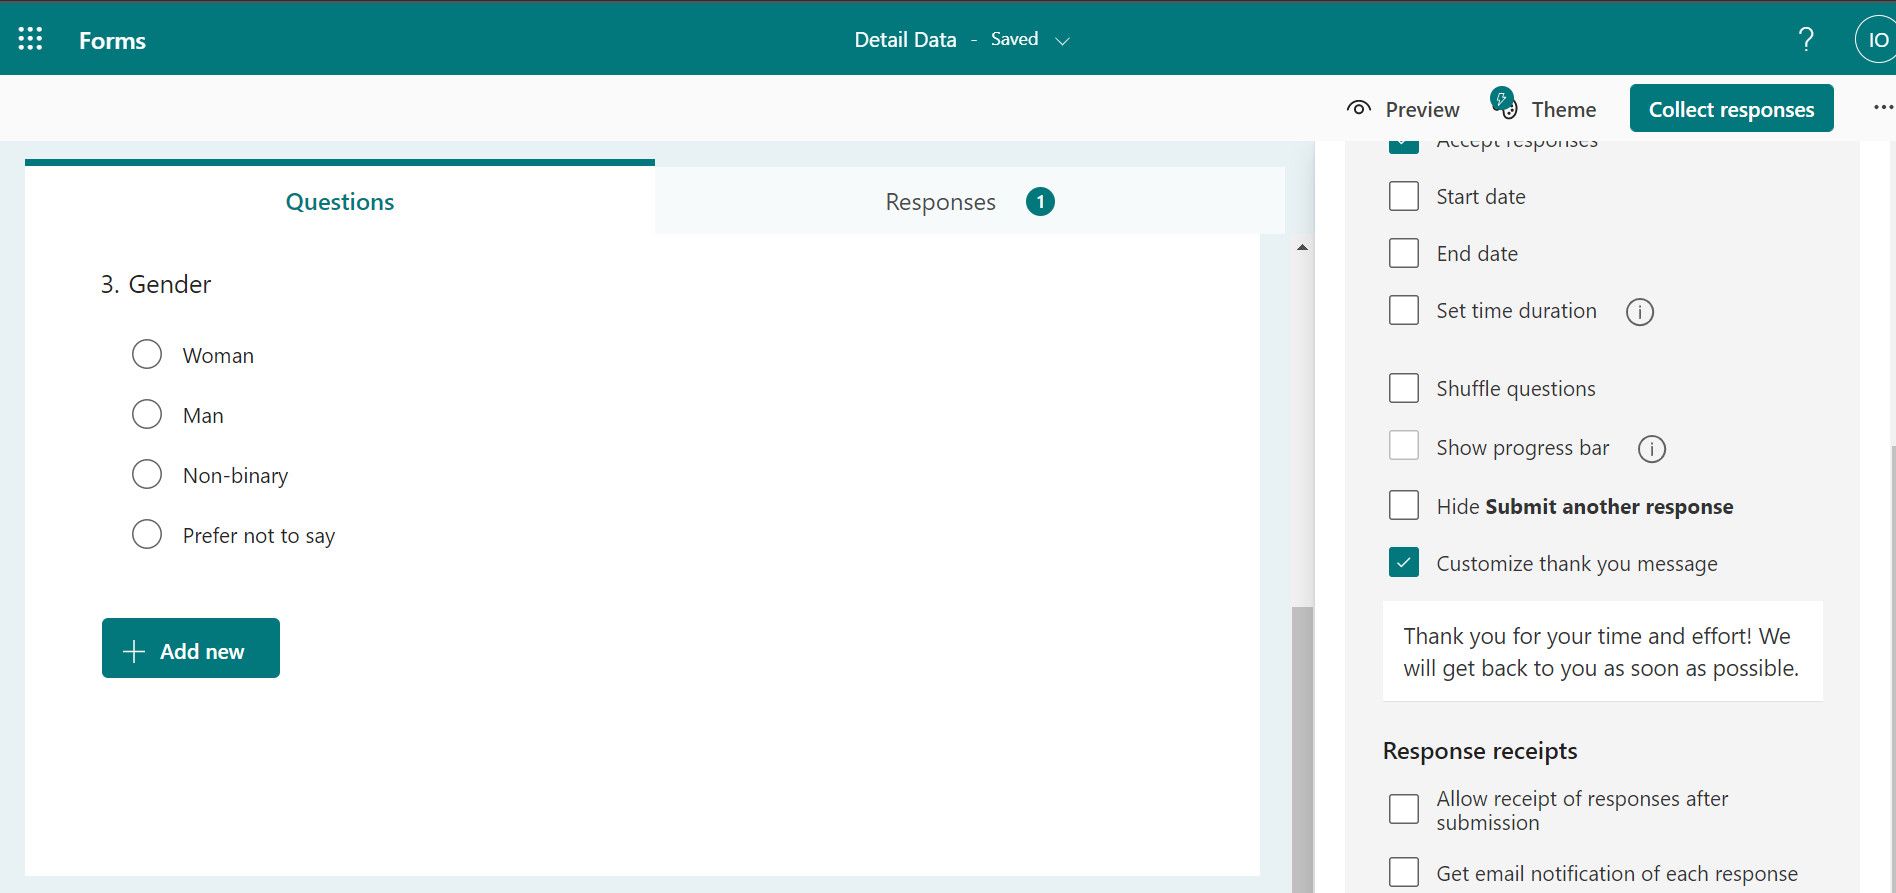


People will now get your message after submitting the form.

11. Get an Email Notification of Each Response
You can get an email notification each time someone responds to your survey. While this might not be a desired practice in extensive surveys, it helps you track responses—especially if you have fewer participants. To do so:

- Click the three horizontal menu bars at the top. Then go to Settings.
- Click the Get email notification of each response checkbox.
12. Make a Copy of the Previous Forms
While editing a previous form and using it for another survey makes your job faster, you end up overwriting its content. Duplicate the form you want to build on and edit its second one instead:

- Go to your Microsoft Forms dashboard.
- Once you locate the previous form you want to build on, click the three horizontal dots at the bottom right of its banner.
- Select Copy to duplicate it. You can now edit the extra.
Share Your Surveys Professionally
Online survey tools like Microsoft and Google Forms make life easy. However, while you can leverage their simplicity for localized and extensive surveys, knowing your way around their professional use cases simplifies them further.
Although you've learned about tips and tricks for using Microsoft Forms in this article, you might also want to see some professional usage of Google Forms.