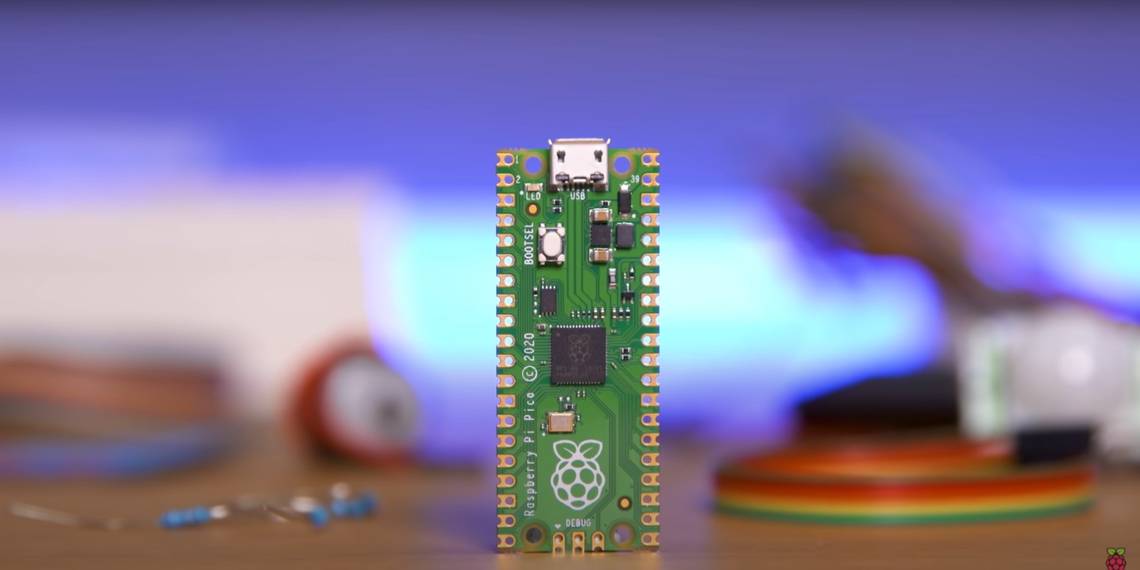
The Raspberry Pi Pico is the newest member of the Raspberry Pi Family. Before this, the Raspberry Pi line of products were single-board computers capable of running an operating system.
Based on the new RP2040 chip, the Raspberry Pi Pico supports both MicroPython and C/C++. With the Raspberry Pi Pico, beginners and enthusiasts can control hardware and connected devices. The Raspberry Pi Pico's GPIO pins can be used to fade lights, read the state of switches and much more.
What Is MicroPython?
Programming on microcontrollers was predominantly done in C language, as seen used in Arduino development boards. Then in 2014, a new programming language for microcontrollers, MicroPython, was published. MicroPython allows you to write Python code on the bare metal of a microcontroller. This means you can write Python code without an operating system.
Python is a beginner-friendly, high-level programming language that allows users to focus on learning programming concepts. This is much the same with MicroPython.
Using an LED
To control hardware, the Pico talks to the series of pins along both its edges. These are called general purpose input output (GPIO) pins and the on-board LED can be found on GPIO 25. To control it, first import the necessary libraries:
import machine
import utime
Then call the Pin function using the machine library to handle the Pin’s GPIO pin, in this case we’re setting up the Pin at GPIO 25, so it is the first parameter. The second parameter sets it as an output pin rather than an input pin, doing so, the pin knows what it should be doing:
onboard_led = machine.Pin(25, machine.Pin.OUT)
To continue on, in the following code, we are telling the Pico to then set its pin value at GPIO 25 to 1, or ‘on’.
        while True:
    onboard_led.value(1)
However, you may realise that nothing seems to happen. This is because the Pico works very fast, so the LED lights up faster than you can perceive with the eye. To fix this, we need to slow down the program by using the sleep command from the utime library. The full code where the LED will turn on and off can be seen below:
        import machine
import utime
onboard_led = machine.Pin(25, machine.Pin.OUT)
while True:
    onboard_led.value(1)
    utime.sleep(5)
    onboard_led.value(0)
    utime.sleep(5)
Toggling LEDs On and Off
Alternatively, there is another way to turn LEDs on and off, with the toggle command:
        import machine
import utime
onboard_led = machine.Pin(25, machine.Pin.OUT)
while True:
    led_onboard.toggle()
    utime.sleep(5)
In the example, the toggle command replaces the need to set the value of the LED to 1 and later 0. It will still light up for 5 seconds and then go out for another five, as long as the program is running.
Creating Functions

As programs get more complex, it helps to group chunks of code together so it maintains coherence. To do so, MicroPython like Python allows the use of functions. Functions are a group of related statements that performs a specific task. For example in the following code, a function called printNames is defined:
        def printNames:
    print(“Raspberry Pi 1”)
    print(“Raspberry Pi 2”)
    print(“Raspberry Pi 3”)
    print(“Raspberry Pi 4”)
    print(“Raspberry Pi Compute Module”)
    print(“Raspberry Pi 400”)
    print(“Raspberry Pi Pico”)
    printNames()
The last line in the code calls the function so that it actually executes.
Loops

Conditional logic performs different actions depending on whether a Boolean constraint evaluates to true or false. Plenty of Raspberry Pi Pico projects are based on these logical statements. In the following example, an if-else statement is used to determine whether a print statement will execute:
        i = 17
def printNames():
    if i > 15:
        print("i is greater than 15!")
    else:
        print("i is not greater than 15")
printNames()
In the next example, the for loop is used with the range function. These loops can be used to repeat a block of code a number of times.

For this example, the print command will be executed five times with a delay of five seconds in between each of them with the sleep command:
        import utime
def printNames():
    for i in range(5):
        print("Raspberry Pi Pico")
        utime.sleep(5)
printNames()
Analogue to Digital Converter (ADC)
Although you won’t be able to see it, the Raspberry Pi Pico has an internal analogue to digital converter. In the following example, a potentiometer is hooked up to the Raspberry Pi Pico on GPIO 26, which is capable of ADC functionality:
        import machine
import utime
pot = machine.ADC(26)
while True:
    print(pot.read_u16())
    utime.sleep(1)
Here, before we can use this ADC capable pin it needs to be set up with the ADC function. Then while the program is running, the value of the potentiometer will print every second. Other pins on the Raspberry Pi Pico that are ADC capable include GPIO27, 28 and 29.
Pulse-Width Modulation (Pwm)
A microcontroller’s digital output can only be 1 or 0. To create an analogue signal, you’d need a digital to analogue converter. However, another way is to artificially create an analogue signal, by using pulse-width modulation or PWM for short.
By turning a digital signal on and off, this is known as a pulse. By modulating the width of a pulse, this artificially creates an analogue signal as seen in the following example:
        import machine
import utime
pot = machine.ADC(26
led = machine.PWM(machine.Pin(21))
led.freq(1000)
while True:
    led.duty_u16(pot.read_u16())
First, the machine and utime libraries were imported. An object, onboard_led is created with an activated PWM output on GPIO pin 21. Then, using the freq command, this sets the frequency to modulate the pulse width. Imagine turning the potentiometer, the LED will grow brighter when turned one way.
This happens because the analogue value from the potentiometer is used as a value for the PWM signal’s duty cycle, it is a value between 0 and 65535. However, without conversion, turning the potentiometer slightly may already cause the LED to reach its maximum brightness level.
To fix this, so that the potentiometer only reaches full brightness when turned to the very end, the value is converted with the duty_u16 function. This function turns it into a 16-bit integer which is a value between 0 and 1024 which is the same range of values that you would receive from the Pico’s analogue pin.
Create More With Raspberry Pi Pico
This article has covered the basic commands in MicroPython on the Raspberry Pi Pico. For more information, check out the official documentation on MicroPython programming with the Raspberry Pi Pico.
If it isn't already set up on your Raspberry Pi Pico, get the Thonny IDE to run your MicroPython code, or alternatively check out the Unicorn CPU emulator to run a virtual microcontroller directly on your computer.