The Media Creation Tool lets you upgrade your PC to a new Windows version or create a bootable Windows USB drive. At times, when you try to run the tool, you may encounter the error code 0x8007043C - 0x90017.
The primary reason for this error is insufficient permission to run the tool or if it has been blocked from running on your PC. You can unblock it from the tool's properties to fix the error. Here is how to fix the Media Creation Tool 0x8007043C - 0x90017 error and perform an upgrade or create a bootable drive.
1. Run the Media Creation Tool as an Administrator
You can fix permission issues by executing the Media Creation Tool with administrator privileges. By default, the tool does not require administrator rights to run. But you can manually run Windows apps as an administrator to see if that resolves the error.
To run Media Creation Tool as administrator:
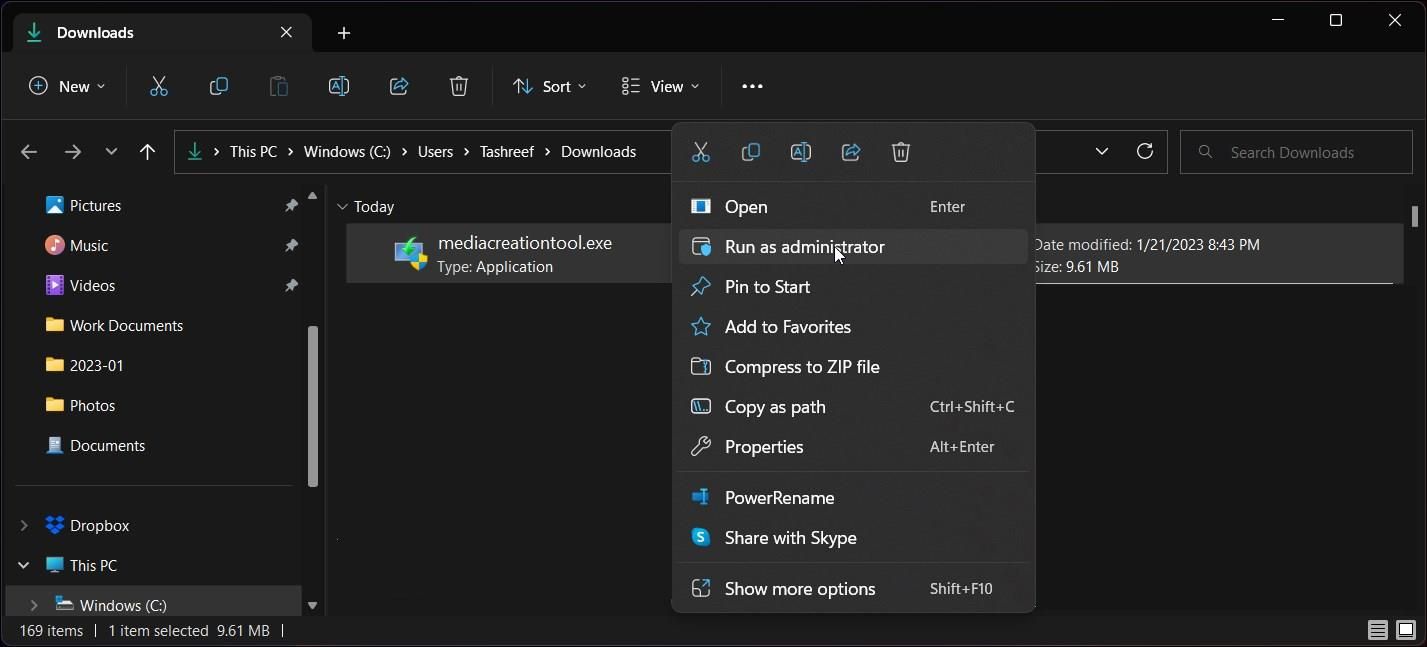
- Open File Explorer and navigate to where you have saved the mediacreationtool.exe file.
-
Right-click on the Mediacreationtool.exe file and select Run as administrator.
- Click Yes when prompted by UAC. Wait for the tool to launch and check for any improvements.

2. Unblock the Media Creation Tool
Windows can block suspicious executable files from running to protect your computer. However, it can also block genuine files due to false positives.
If you have downloaded the Media Creation Tool from the Microsoft website, check if the file is blocked on your PC. If yes, you can unblock the executable file from the Properties dialog. Here’s how to do it.
- Navigate to the location where the Media Creation Tool is saved.
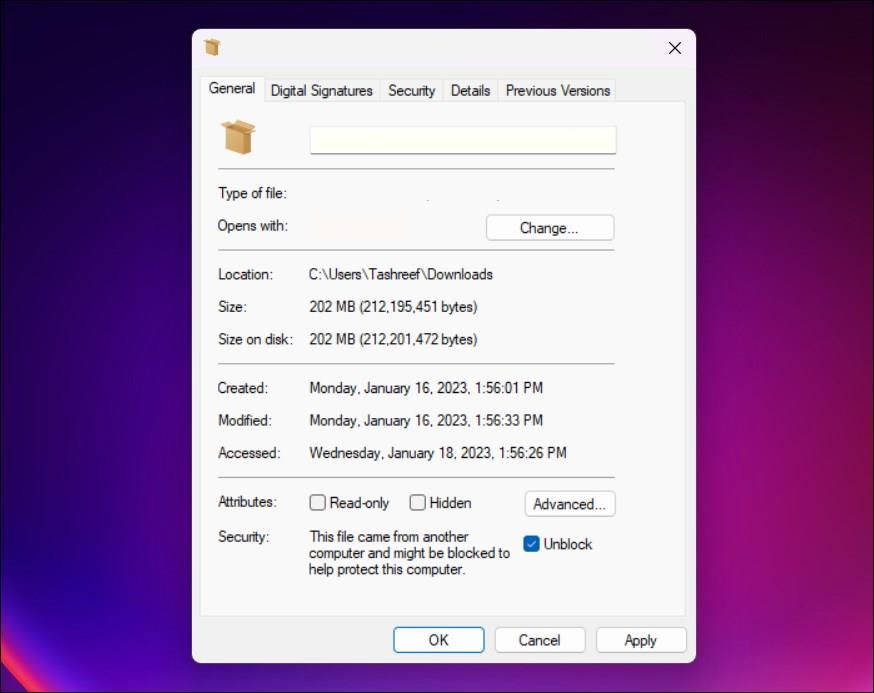
- Select and right-click on the tool and select Properties.
- In the General tab, locate the Security section.
-
Next, check the Unblock option.
- Click Apply, and the security option will disappear.
- Next, click OK to apply the changes.
- Run the Media Creation Tool again, and it should work without the 0x8007043C - 0x90017 error.

3. Install Any Pending Windows Updates
If the error occurs during an upgrade, ensure you have installed all the latest updates available for your PC. Often Windows updates consist of performance improvements and bug fixes. Install all the updates to see if that helps you resolve any issues interrupting the upgrade process.
To update your Windows computer:
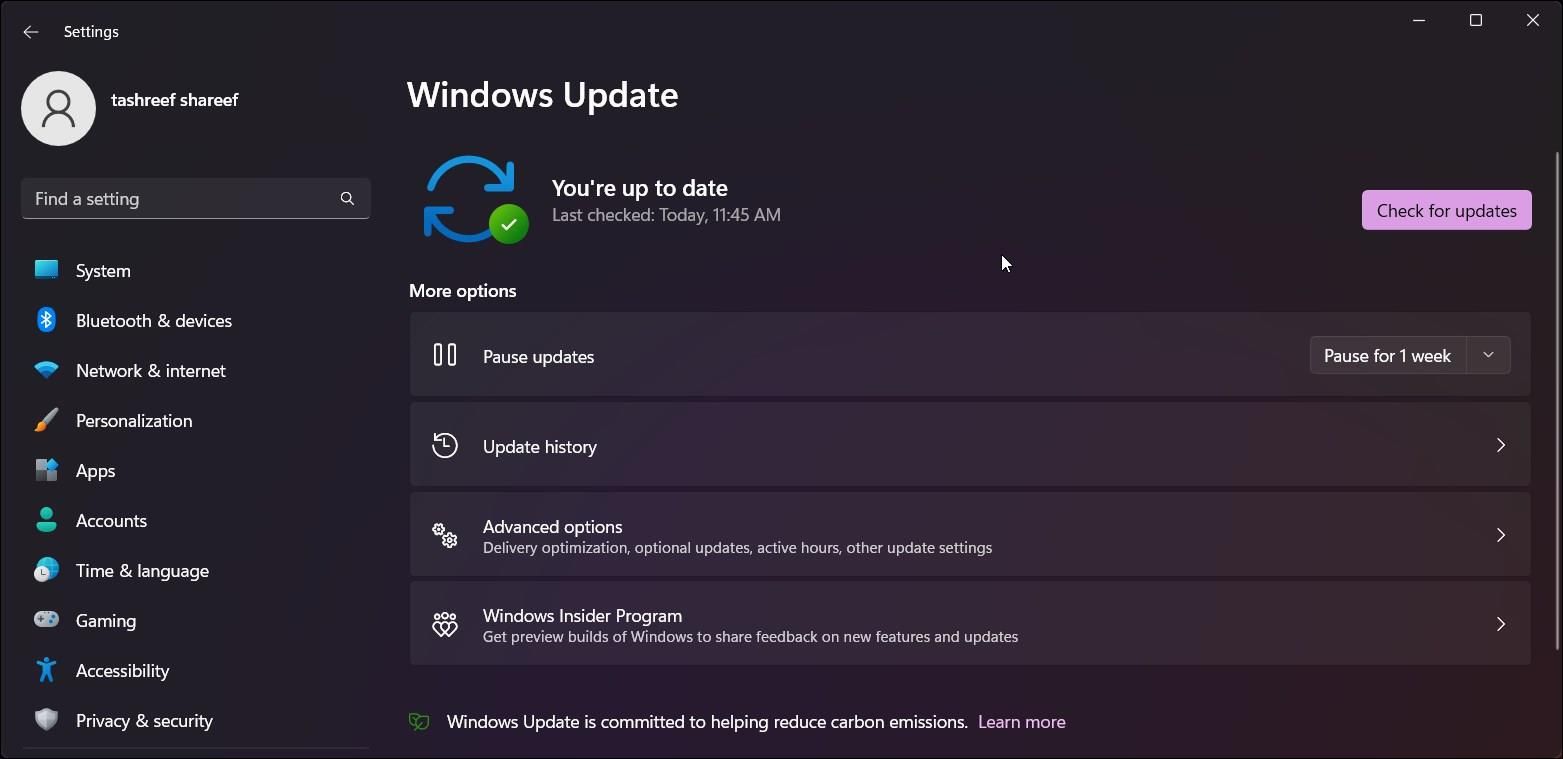
- Press Win + I to open Settings.
- Open the Windows update tab in the left pane.
-
Click on Check for updates to find the pending updates.
- If available, click on Download & Install and wait for the updates to install. Restart your PC and run the tool again to see if the error is resolved.

4. Run the Windows Update Troubleshooter
The built-in Windows Update troubleshooter is a great way to fix Windows Update issues on Windows 11. It will scan the system for issues and try to fix them automatically.
To run the Windows Update Troubleshooter:
- Press Win + I to open Settings.
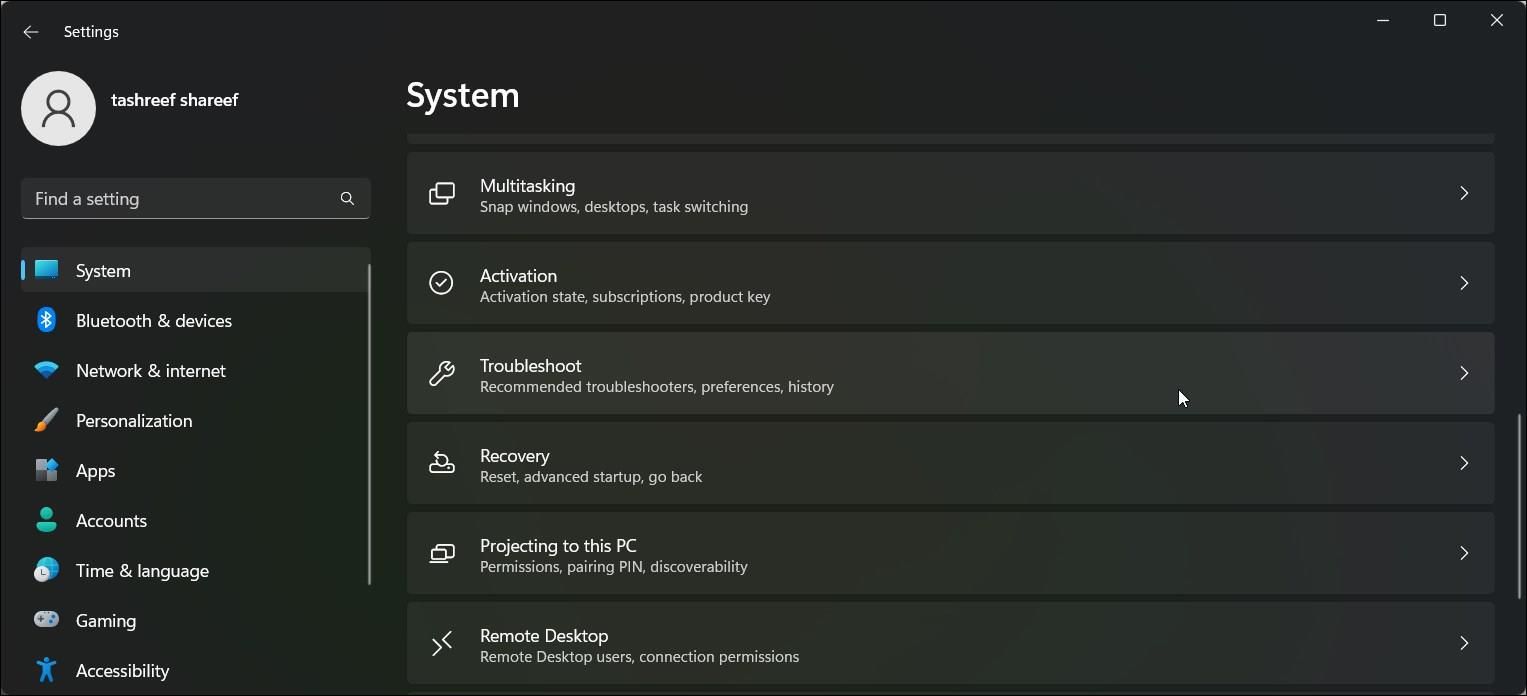
-
In the System tab, scroll down and click on Troubleshoot.
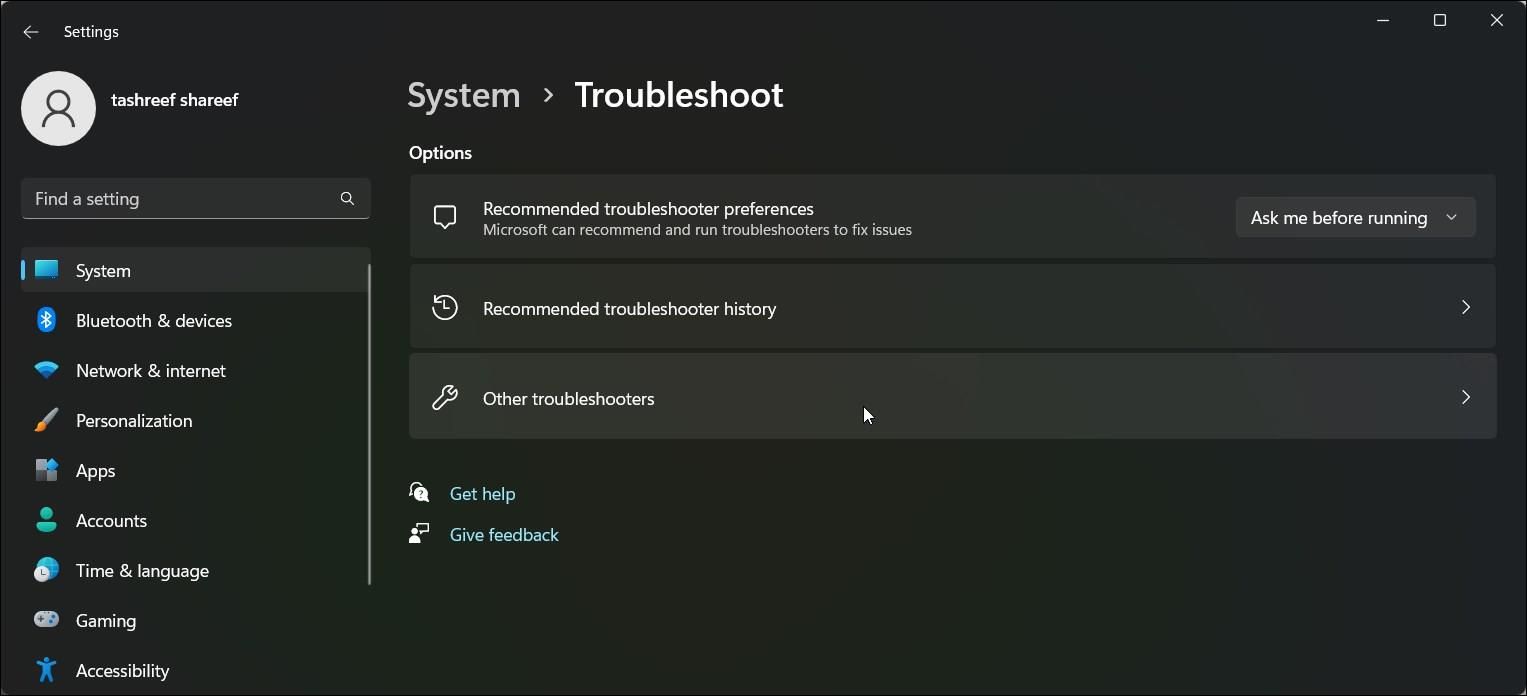
-
Next, click on Other troubleshooters.
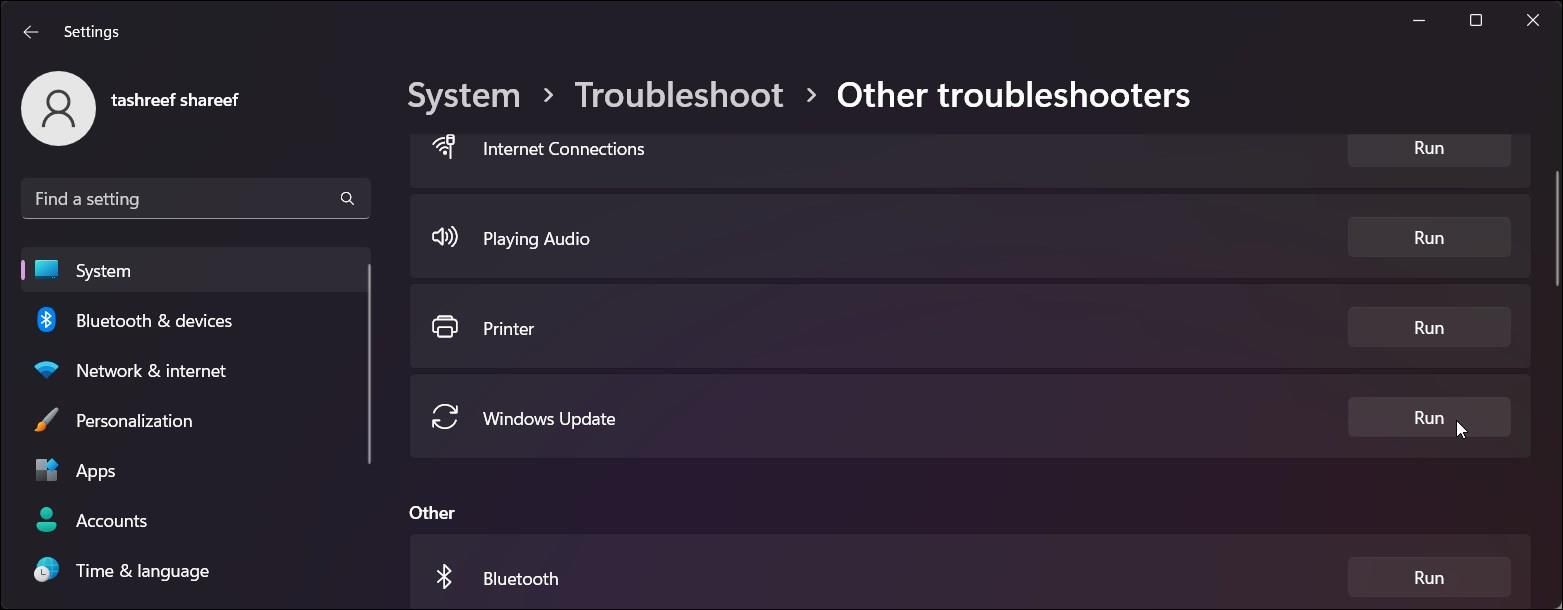
-
Under the Most frequent section, click the Run button for Windows Update.
- The update troubleshooter will initialize diagnostic and scan for issues. If found, it will apply the fix and show a status report. With the Windows Update dialog open, run Media Creation Tool and check if the error is resolved.
- If not, click No in the Windows Update troubleshooter dialog.
- Next, click on View detailed information. Here you can view the issues found and potential issues that were checked.


5. Check for a Third-Party Antivirus Conflict
Third-party antivirus can be overzealous and block genuine system modifications as malicious. You can disable the security app temporarily to determine if your third-party antivirus is triggering the error.
Once disabled, relaunch the Media Creation Tool and check if the error persists. If not, check and reconfigure your antivirus settings or switch to one of the best antivirus solutions on Windows.
6. Run the DISM and System File Checker Tool
Deployment Image Servicing and Management (DISM) is a command-line tool to repair your Windows 10 and 11 images. It can look for corrupted or missing system files and repair them to fix critical errors on your PC.
System File Checker utility can help you fix malfunctioning Windows functions. It will scan the system for issues and, if detected, restore the necessary files to fix the problem. You can run the DISM and System File Checker tools in tandem to get the best result. Here’s how to do it.
To run the DISM and System File Checker Tool:
- Press the Win key and type cmd.
- Right-click on Command Prompt and select Run as administrator.
-
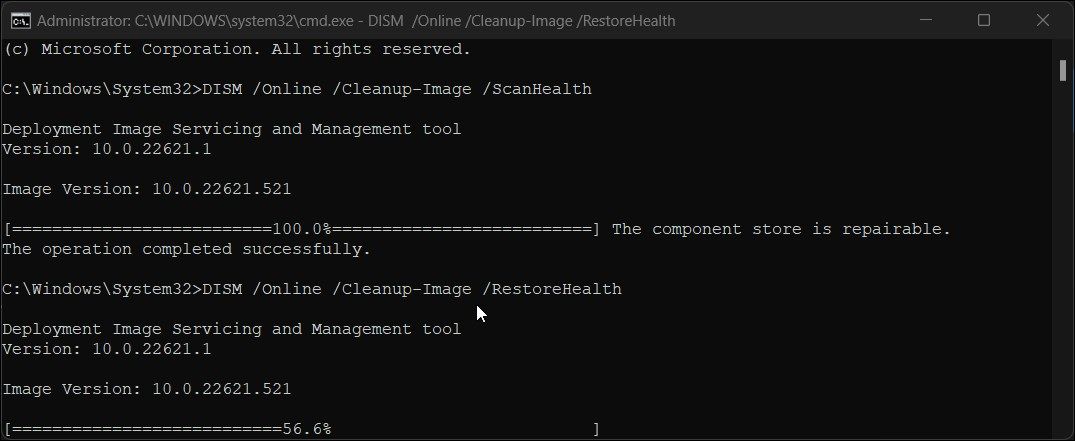
In the Command Prompt window, type the following command to run the DISM tool:
DISM.exe /Online /Cleanup-image /Restorehealth
-
Press Enter to execute the command. It may take some time for the process to complete. Once the process reaches 100%, you can run the System File Checker tool.
-
Type the following command and press Enter to run the System File Checker utility:
sfc /scannow
- The verification can take several minutes. So wait for the verification to reach 100%. The return will indicate if any issue is found and if the tool was able to fix it.
- Type exit and press Enter to close the Command Prompt.

7. Use Rufus to Create a Bootable USB Drive
While Media Creation Tools lets you create a bootable drive, it is not your only option. You can use a popular third-party app, Rufus, to create a bootable Windows USB drive. You can download a Windows 11 ISO file from the Microsoft servers and then use it to create an installation media using Rufus.
Rufus is safe to use and offers some customization, such as choosing a partition format. You can also download the ISO file using Rufus.
8. Perform a Repair Reinstall or Clean Install Windows
Before we do a full clean of Windows, consider performing a repair reinstall. This allows you to perform an in-place upgrade and reinstall the Windows OS without deleting your files and apps.
If all else fails, a clean install may be necessary. Make sure to create a backup of your data and then learn how to clean install Windows 11.
Fixing the Media Creation Tool Error 0x8007043C - 0x90017 Error
The 0x8007043C - 0x90017 Media Creation Tool error is often due to an insufficient permission issue. You can unblock the utility in the Properties dialog to run the utility without the error. Only in rare instances, you may need to perform a clean install due to system file corruption.