AppImage is a universal package format that simplifies the distribution and installation of Linux packages. Its biggest advantage over conventional Linux packages is that it's distro-agnostic, meaning AppImages are easy for developers to develop and distribute and for users to use.
That said, AppImage does have some shortcomings. One such is that it doesn't have a central repository where you can browse and manage AppImages.
This is where AppImage Pool comes into play. It's a simple desktop client for AppImageHub—a catalog of AppImages—with simplified categories and some additional features, which makes AppImage management easier.
Let's dive in to explore AppImage Pool.
What Is AppImage Pool?
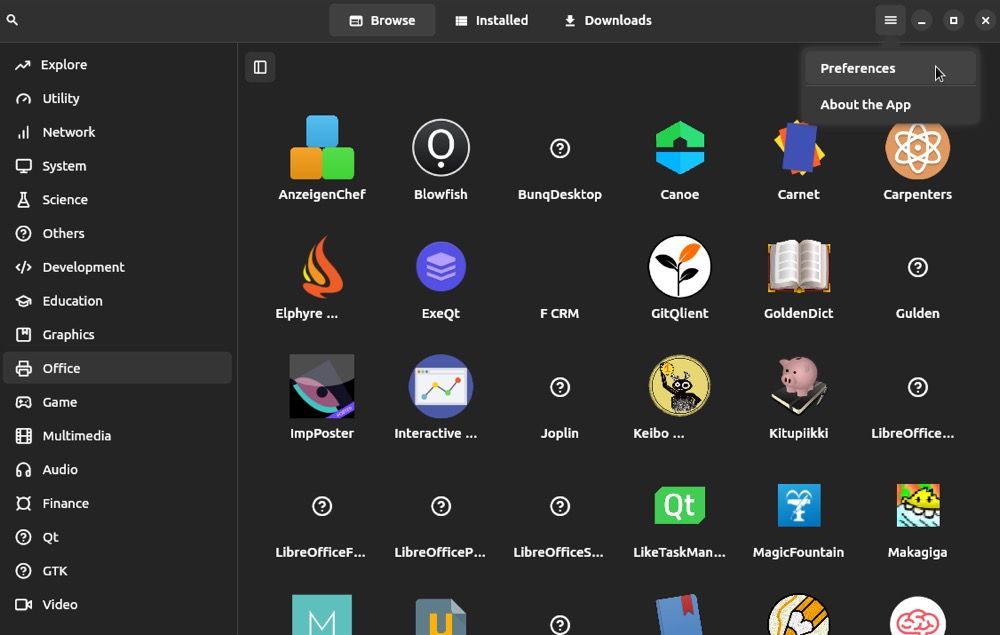
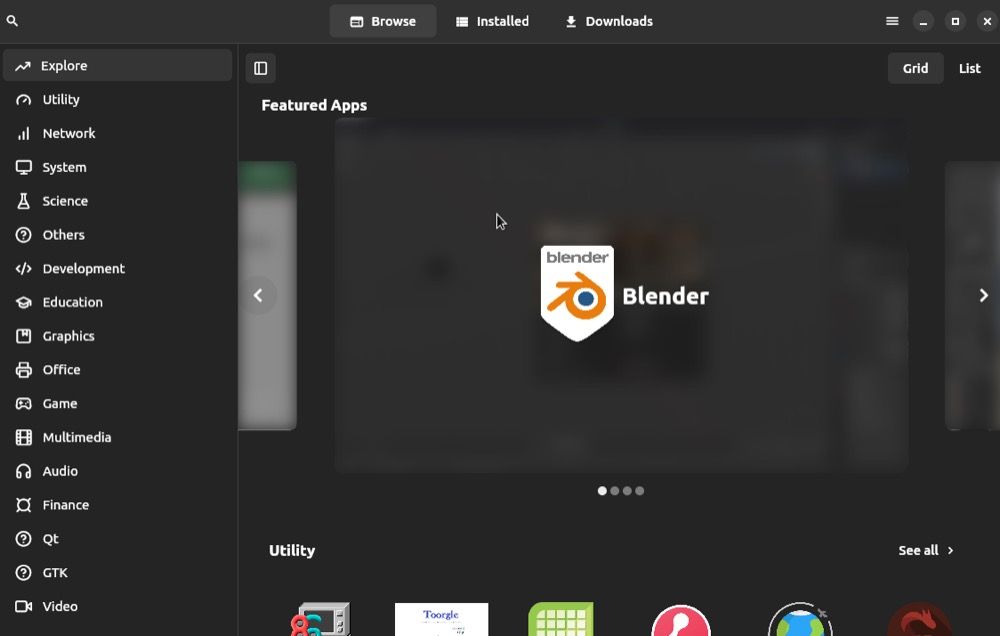
AppImage Pool is a clean and intuitive AppImageHub client written in Flutter. It has a wide catalog of AppImages spread across various categories, ranging from network, utility, and system to development, graphics, game, and multimedia.
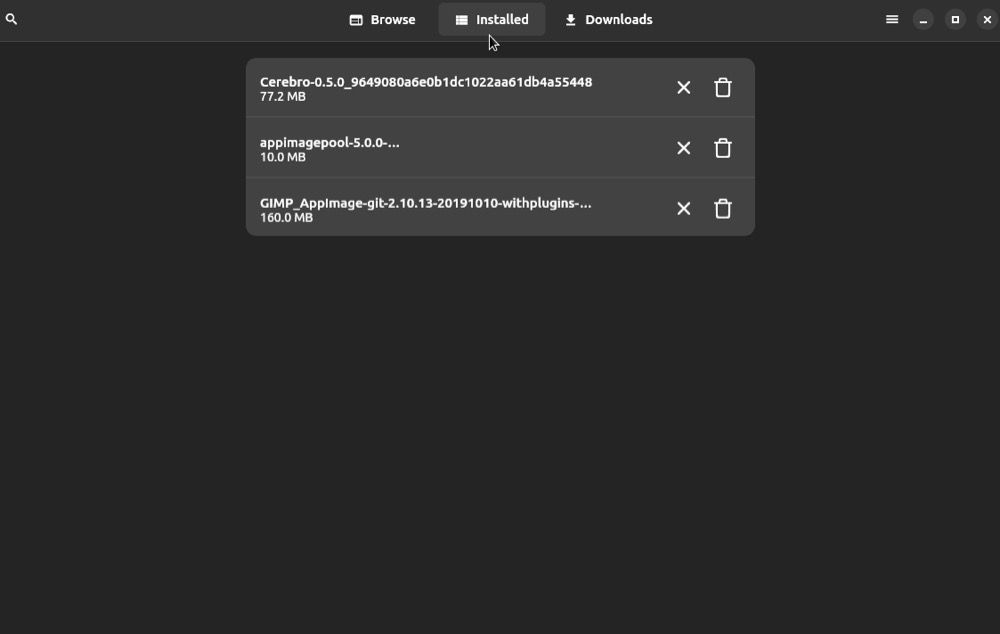
Being an AppImage launcher, AppImage Pool lets you explore and easily download programs on your Linux system. All your downloaded AppImages, along with the AppImages already present on the system, can be found under the Downloads and Installed sections on the app, respectively.
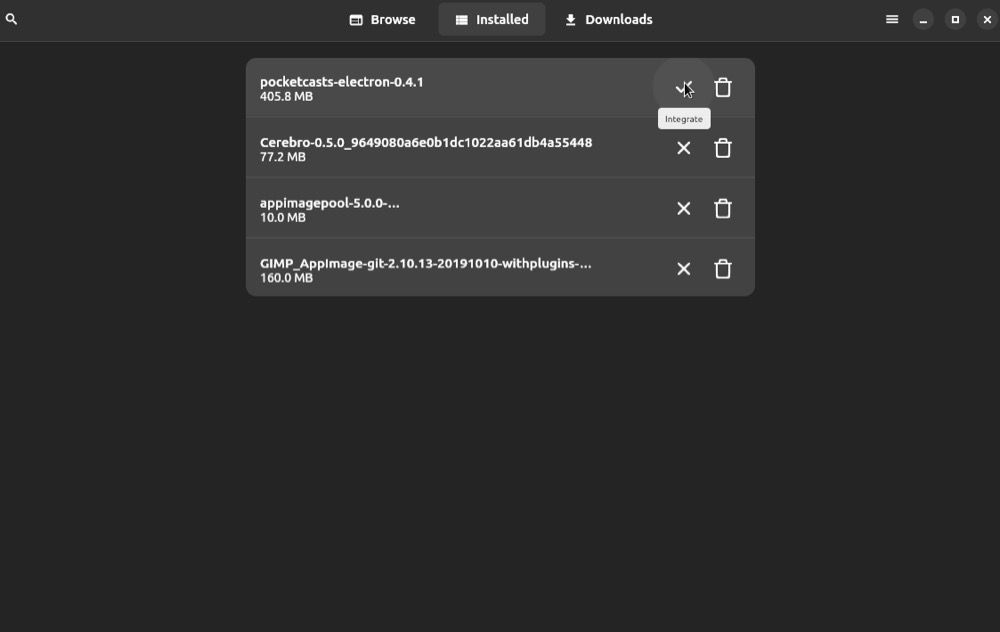
From there, you can integrate/disintegrate programs to add/remove them from the Applications menu and delete the ones you no longer use.
AppImage Pool Features
- Easy-to-navigate interface
- Dark theme
- Filter apps by categories
- Quick app search
- View installed AppImages
- Download a specific version of an app
- Integrate/disintegrate AppImages
- Remove apps
How to Install AppImage Pool on Linux
There are a couple of ways to get AppImage Pool on Linux: you can either install it from Flathub or download its AppImage. Here are the steps to install it using either method:
Method 1: Using Flatpak
First, make sure Flatpak is present on your Linux machine. To do this, open the terminal and run flatpak --version. If this returns a version number, you have Flatpak on your system. If not, you can follow our Flatpak guide to install and set it up first.
Once that's done, run the following command in the terminal to install AppImage Pool:
flatpak install flathub io.github.prateekmedia.appimagepool
To run it, use:
flatpak run io.github.prateekmedia.appimagepool
Method 2: Using the AppImage Pool AppImage
Unlike Flatpak, this method doesn't involve installation. Instead, you need to download the AppImage for AppImage Pool and make it executable to get it running on your Linux machine.
To do this, start by clicking on the link below to download AppImage Pool.
Download: AppImage Pool
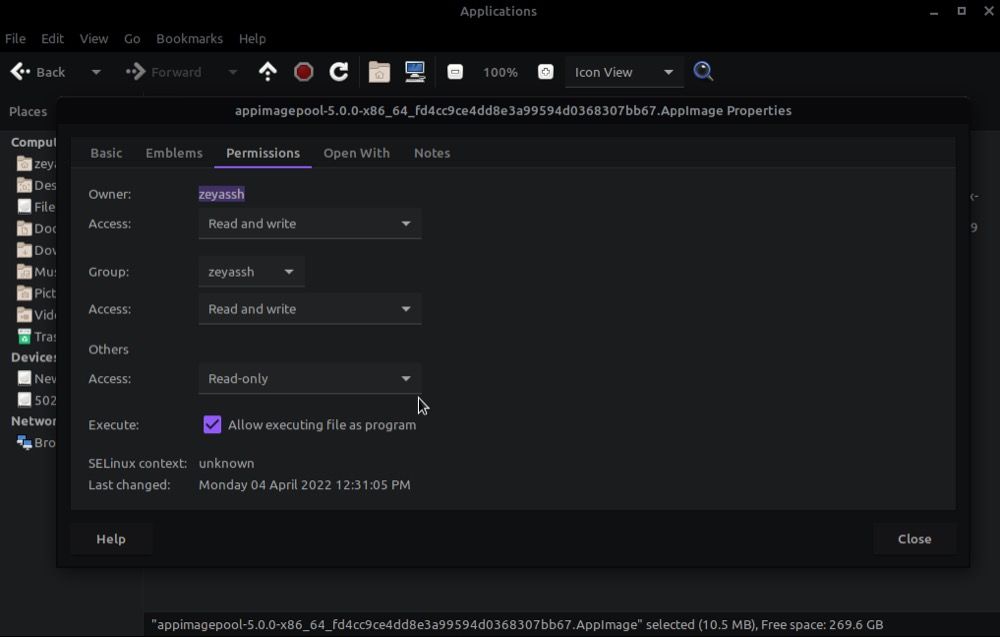
Next, go to the directory where you've downloaded the AppImage. Here, right-click on the file and select Properties. Go to the Permissions tab and check off the box next to Allow executing file as a program if you're on a Nautilus-based file manager. Tick the Is executable option if you're using Dolphin and change the Execute dropdown to Anyone if you're on PCManFM.
Alternatively, open the terminal and use the cd command and the ls command to go to the directory containing the AppImage Pool AppImage. Here, run the following command to change its permissions:
chmod a+x appimagepool-x86_64.AppImage
And enter the following command to run it:
./appimagepool-x86_64.AppImage
AppImage Pool First Run
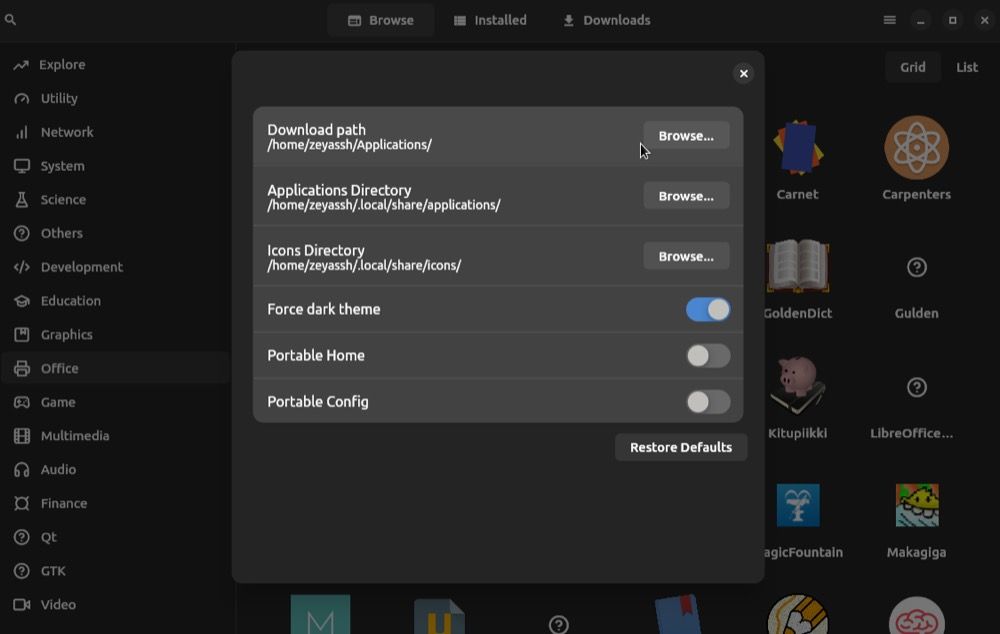
When you run AppImage Pool for the first time, there are a couple of things you need to do. First up, you must set the download path for the apps you download using AppImage Pool. And secondly, you should change the Applications directory, i.e., the directory where you store AppImages on your system.
To do either, click on the hamburger menu button in the AppImage Pool menu bar and select Preferences.
Here, tap on the Browse button next to the Download path option and select the path where you want to save the AppImages you download going forward.
Similarly, tap on the Browse button beside Applications Directory and select the location where you've saved existing AppImages on your computer. If your AppImages are present under Downloads or any other directory, you may want to move them to /home/user/.local/share/applications or set the Applications Directory to that directory.
How to Use AppImage Pool
With the defaults configured, here's how to use AppImage Pool to download and manage AppImages on your Linux computer.
When you launch AppImage Pool, you're greeted with the Explore page that shows a bunch of featured apps as well as an overview of the various apps available under different categories on it. Click on an app to learn more about it.
If you'd like to explore apps by categories, click on a category from the sidebar on the left, and AppImage Pool will show you all the apps available under that category. Alternatively, for searching an app by its name, click on the search icon on the top left and enter the app's name in the search box.
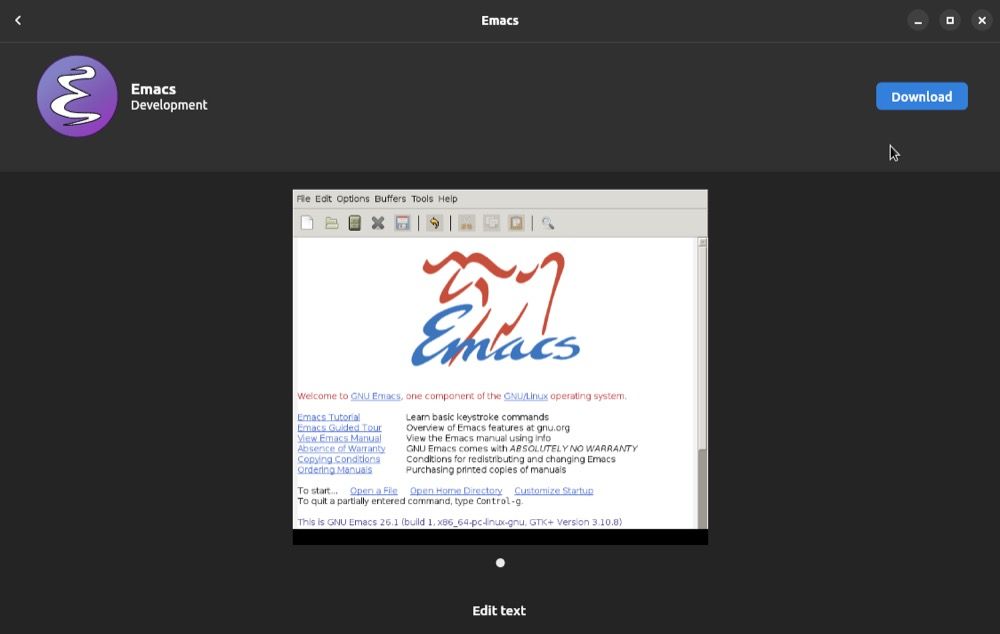
When you've found the app you want to install, click on it to open its details page. Here, click on the Download button.
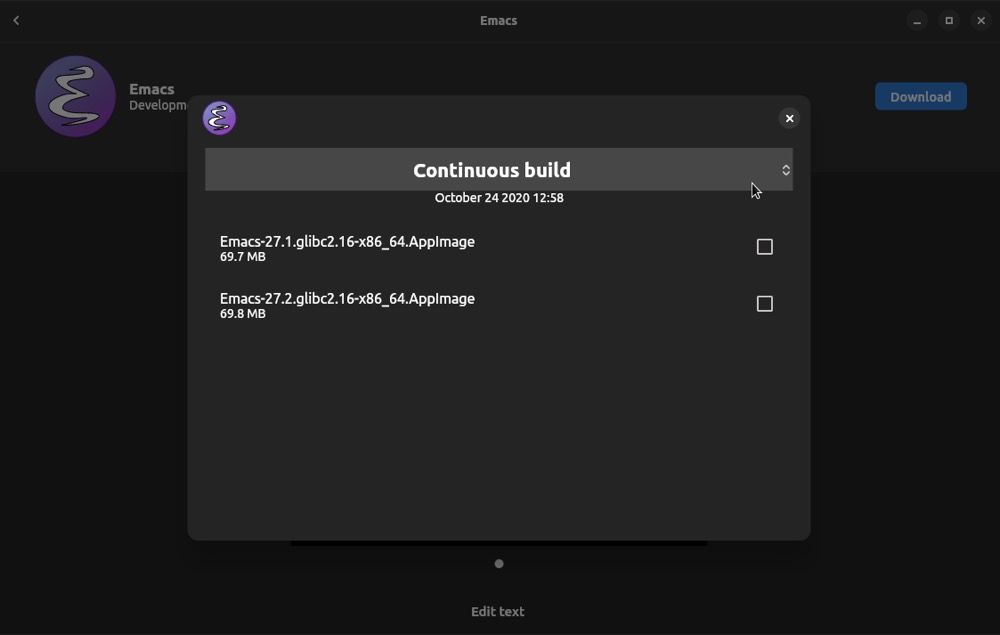
When AppImage Pool shows a list of all the different versions you can download for that app, tick the checkbox beside the one you want to download and hit the Download button at the top.
AppImage Pool will now start downloading the app. You can find its progress by tapping on the Download button in the title bar or going back to the AppImage Pool's home page and clicking on the Downloads button.
Once it's downloaded, go to the Installed tab.
Here, tap on the tick icon next to the app you just downloaded to integrate it, i.e., make it executable and add it to the Applications menu.
When the AppImage is integrated, you'll see a cross (X) button beside it. If you want to disintegrate the app, click on this button.
To launch the app you just downloaded, click on its name under the Installed tab. Or, bring up the Applications menu, enter its name, and launch it from there.
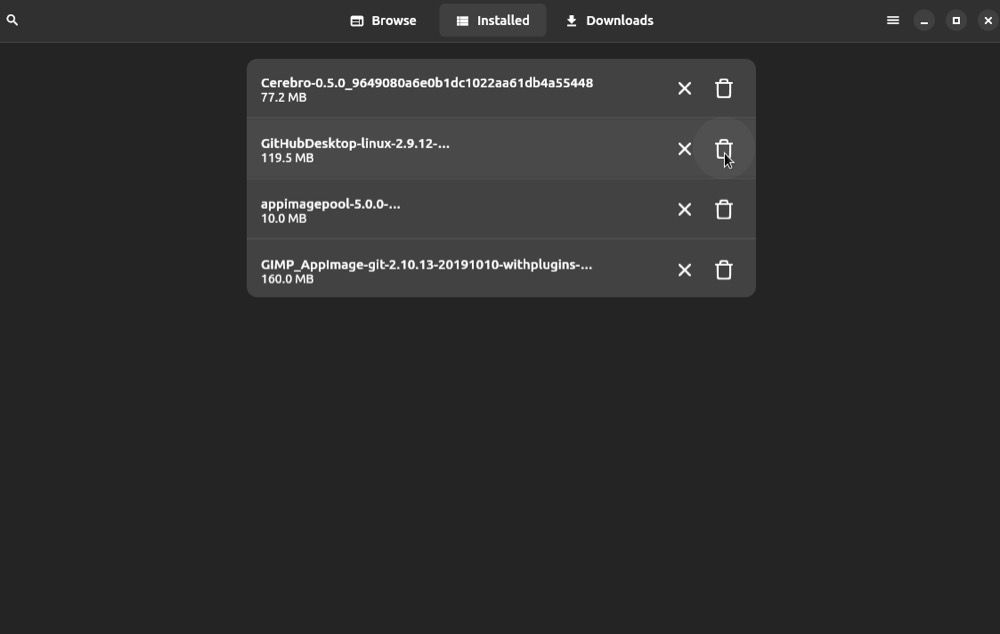
Lastly, if you ever want to remove an app, go to the Installed tab on AppImage Pool and click on the bin icon beside that app. This will delete the app's AppImage from the Applications tab and remove it from the Applications menu on your system.
Exploring and Managing AppImages Made Easy
Having an app that brings together all your AppImages in one place can make it really easy to explore new apps and manage existing ones.
AppImage Pool is a solid app that manages to deliver on most of these fronts very well. While you can perform some of these tasks on AppImageHub, we feel a dedicated client provides a more streamlined experience and makes the entire process more efficient.
If you're new to Linux and confused between the different distro-agnostic package managers, we've got you covered.

