Starting a YouTube channel has never been more accessible, and you can find content relating to almost every subject imaginable on the platform. The idea that it’s “too late to start a YouTube channel” is somewhat inaccurate; anyone can enjoy success as long as they remain committed for the long run.
Creating content becomes a little easier once you’re in the swing of things, but many would-be greats stumble at the first video. Why? Because the task feels far too overwhelming. In this article, we’ll discuss everything you should include in your very first YouTube video, so you can get the ball rolling.
1. Create a Brief Outline for Your Video
Putting together content for YouTube is much easier when you know what you want to talk about. Before switching the camera on, you should think about what you will discuss in your first upload. You don’t need to think of a complex topic. Simple ideas include:
- Introducing who you are and what you’ll use your channel for.
- Reviewing art you’ve made and explaining what you like and dislike.
- Talking about your goals and ambitions in your field.
Once you’ve picked a topic, create a brief outline and break down each section into a few bullet points. You might want to avoid writing a script, as using one will often make your content feel more forced. You can use Microsoft Word or Google Docs to create your outline, or even a notes app on your smartphone.
2. Fix Your Camera Settings
You don’t need a fancy camera to start recording videos for your YouTube channel. In many instances, your smartphone—or a simple vlogging camera—will more than suffice. You also don’t need to be a professional videographer, but getting the fundamentals right is critical.
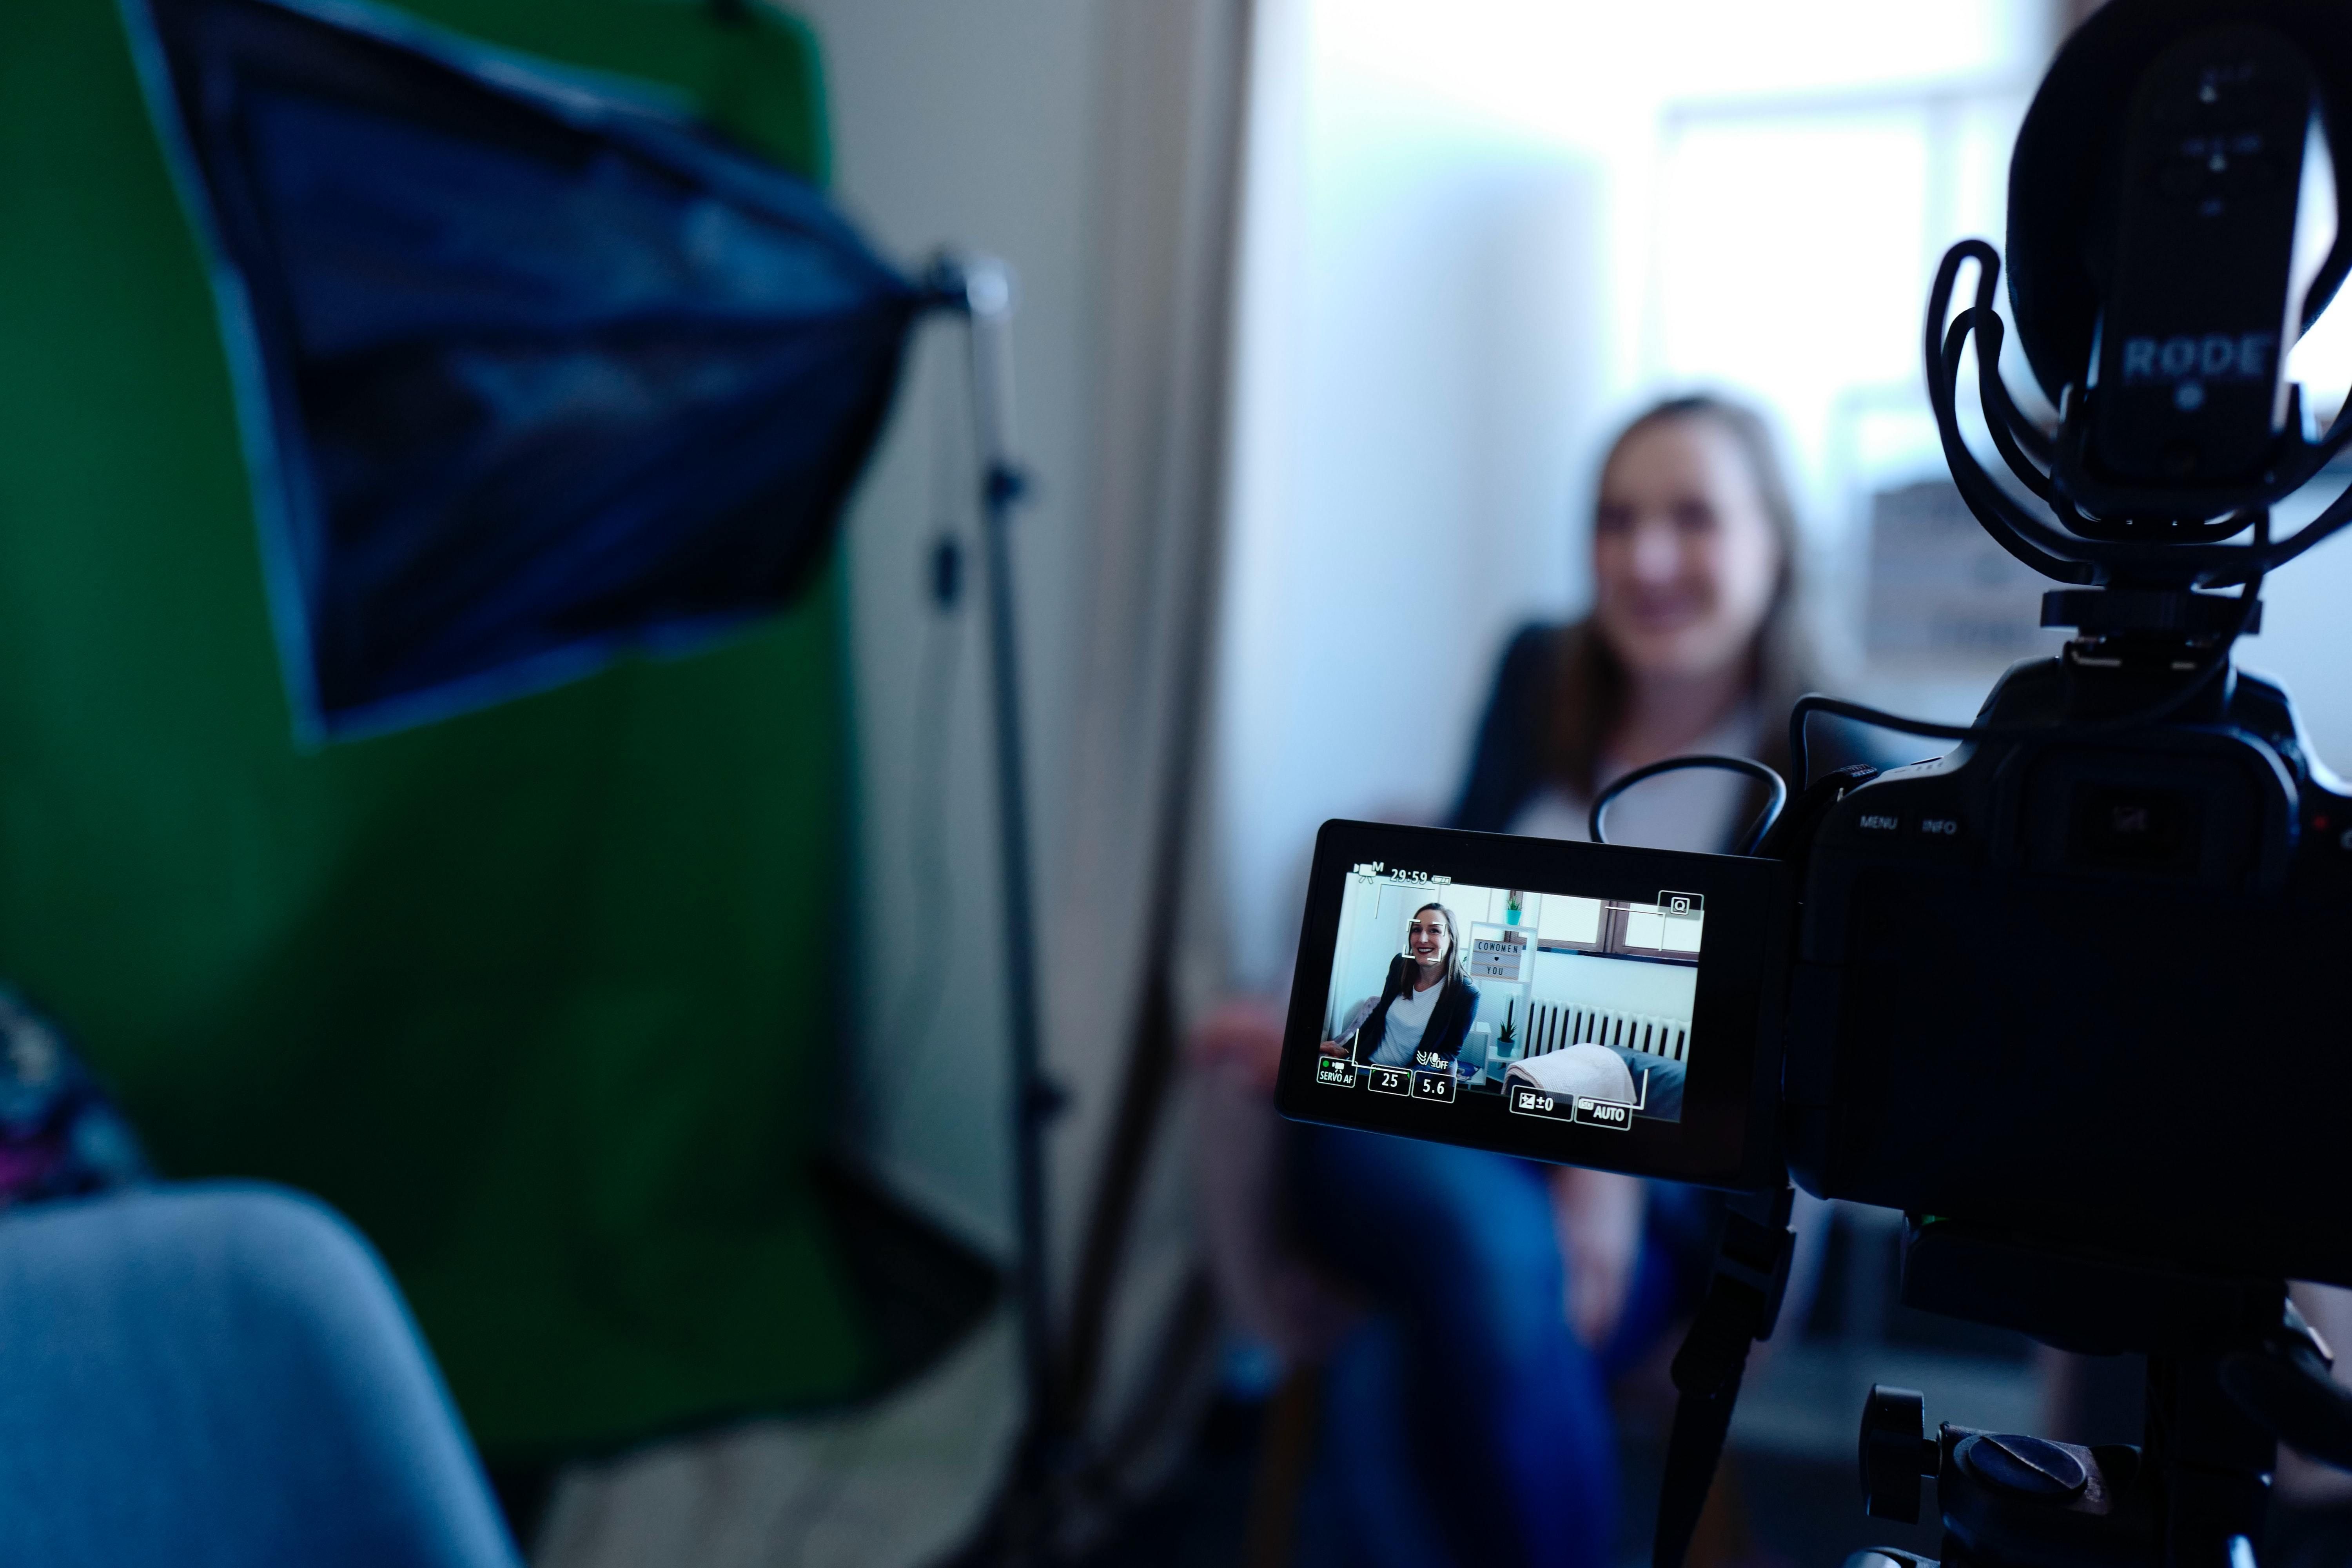
Start with the basic settings on your camera and master them before you experiment with different styles. First and foremost, you should turn your camera’s autofocus face tracker on; doing so will ensure that you remain in focus for the entire clip and can focus on talking instead.
When recording, consider using a flat or neutral color profile. You’ll have a significant degree of flexibility in post-production if you do, especially with color correction and color grading.
White balance can significantly impact the look and feel of your visuals. Before recording, go to your camera’s settings and alter the Kelvin number depending on your conditions. Try to ensure that your skin tone looks natural.
3. Make Sure Your Camera Is at a Good Height
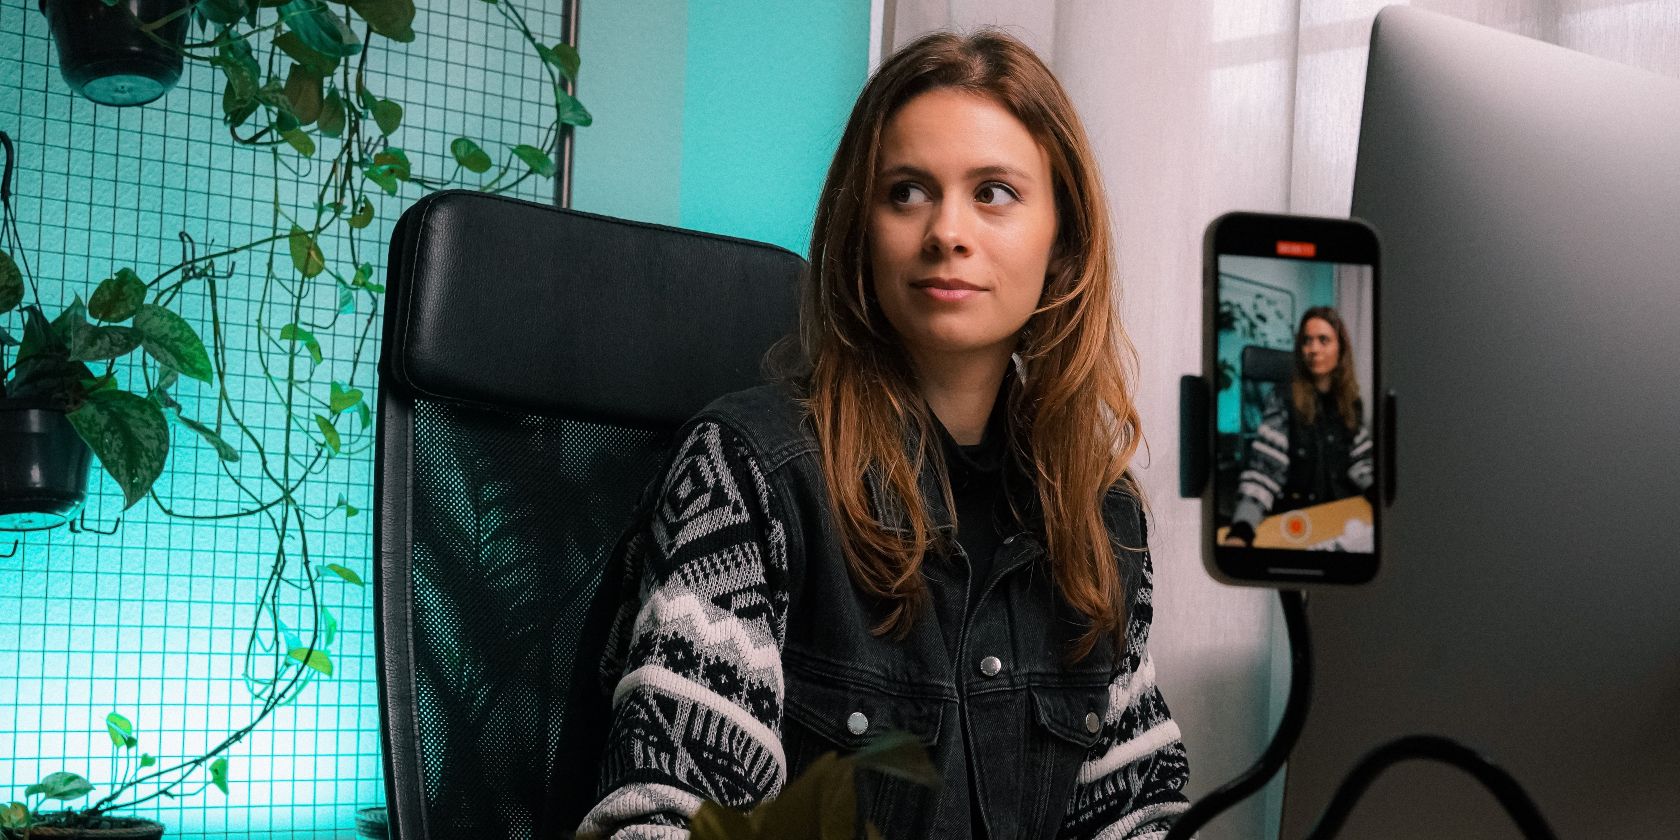
The last thing you want is to record your video and realize that nobody can see your entire face. Before talking on camera, you must ensure that your device is at a good height and on a stable surface.
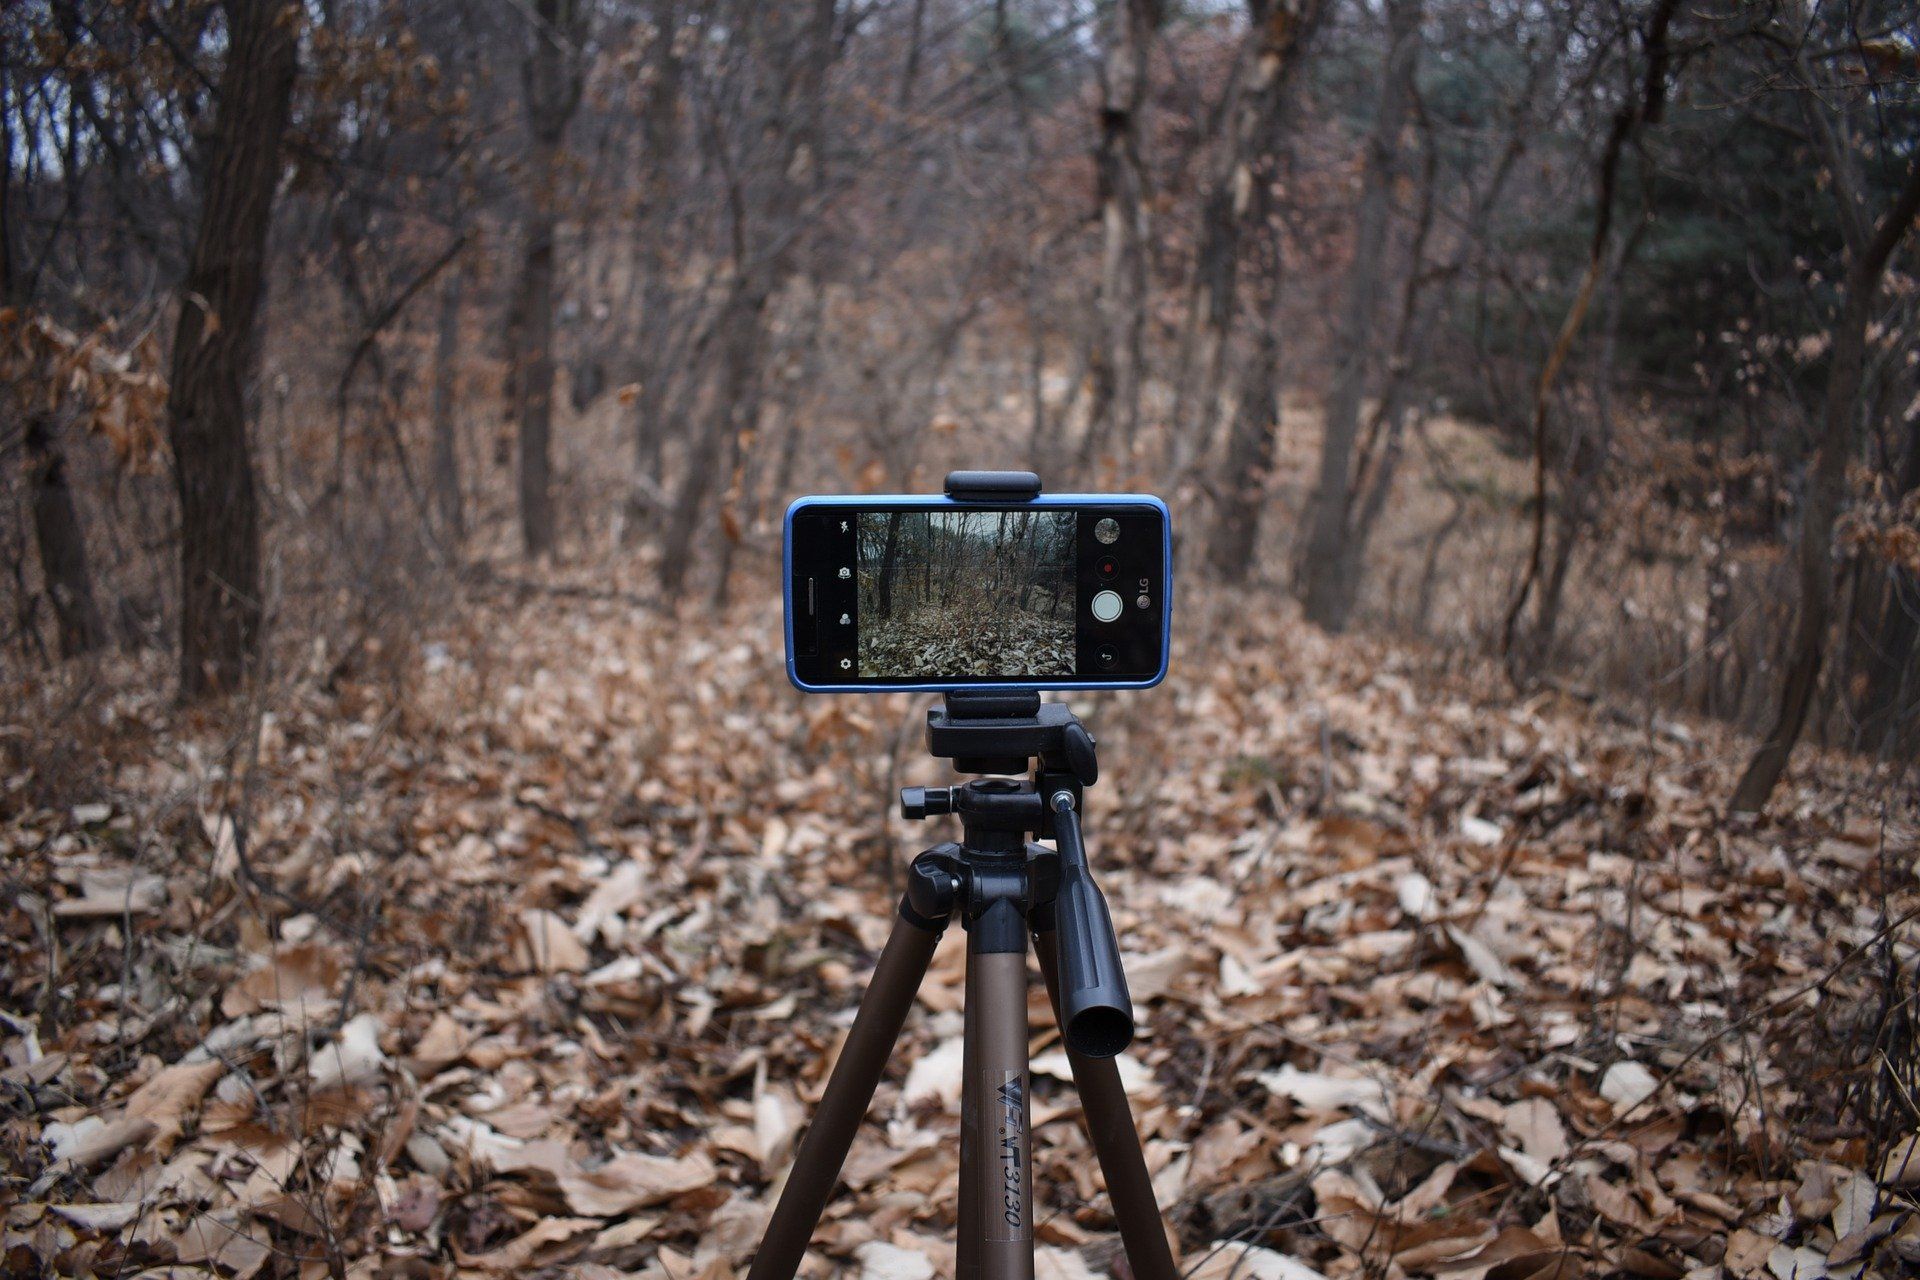
If your table isn’t tall enough, you can stack a few books on top of each other until your camera is at the desired height. Tripods are helpful tools for photographers, and they’re just as beneficial for videographers; consider investing in one if you plan to upload videos to YouTube regularly.
4. Introduce Yourself and the Video Subject in Your Intro
Your introduction needs to hook the viewer in, and you’ll struggle to do that if you don’t let them know what they can expect from your video. When you hit the record button, introduce the subject you’re going to discuss before talking about anything else.
After introducing the subject you’ll discuss, you should also talk about yourself a little. Mention your name and why you have the authority to speak about this topic. Doing both of these things will give users more of a reason to stay.
5. Let Your Camera Record All the Way Through
When recording their first YouTube video, many people hit the record button on and off whenever they make a mistake. However, having dozens of clips is inefficient when you’re ready to edit.
You will probably make mistakes, but you don’t need to keep the bits you dislike in your video. Record your video in one long clip and remove the errors you made in the post-production stage.
6. Keep Your Editing Simple
Many videos on YouTube have professional-level editing quality these days. You’ll reach the same level as them if you’re consistent over a lengthy period, but cinematic shots aren’t necessary for your first few uploads.
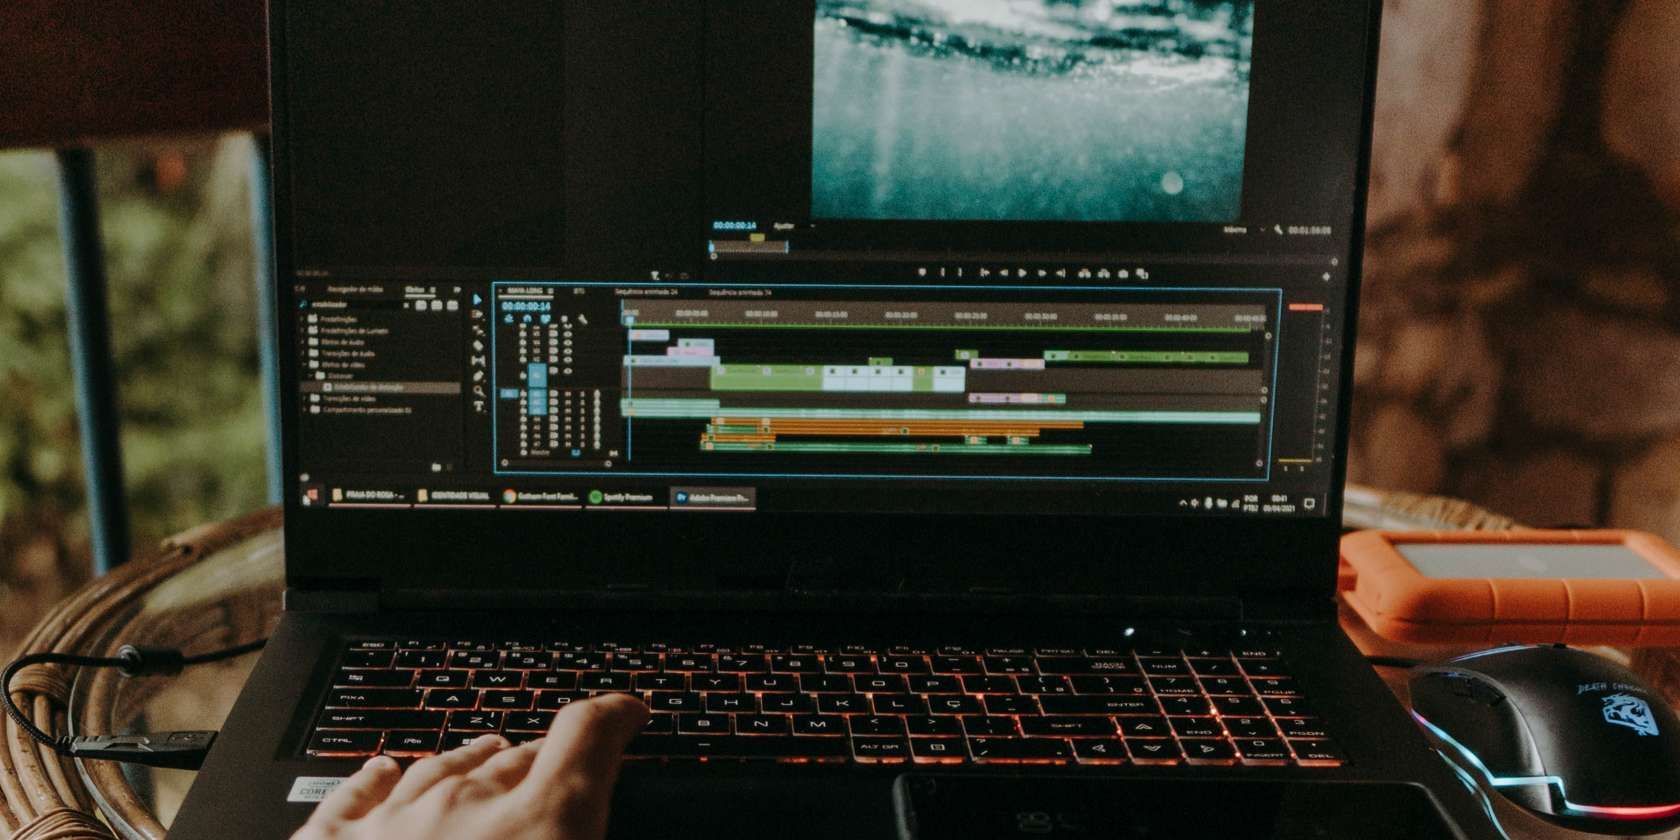
Once you’ve finished recording your video and any accompanying B-roll, keep your edits as simple as possible. Do the basic color corrections and color grading, but don’t worry about adding slow-motion shots and that sort of thing. Over time, you can add new shot types and video editing techniques.
7. Create Your Video Thumbnail
When you’ve finished recording and editing your video, you’re almost ready to upload it. But before you do, you’ll need to create a thumbnail that people will see when they click on your channel or find your content in search results.
You should make your thumbnail catchy and mention the video’s subject somewhere. You don’t need to include your face, but doing so could help you stand out. There are plenty of tools to help you produce engaging thumbnails, and Canva is one of the best ones.
8. Optimize Your Video Before Uploading It
When uploading your video to YouTube, remember that the platform is a search engine. In the same way that you’d optimize an article for Google, you’ll need to make your content more discoverable to audiences on YouTube.
For each video you upload, you can add a description. Here, you should talk about what your content is about. You might also want to include links to external sites, including your social media profiles and personal website.
Another way you can optimize your video for YouTube’s search engine is by including hashtags, keywords, and categories.
Start Making Your Very First YouTube Video
Once you’ve uploaded your first YouTube video, you’re ready to start thinking about the next one. You probably won’t receive much traction with your first couple of uploads, and that’s fine; consistency over time is what will bring results.
As you become more experienced, you’ll naturally become better at talking to the camera—along with editing and optimizing your videos. Try adding one new thing to your content each time; if you upload one piece per week for a year and adopt that approach, you will progress significantly.

