A catchy cover page helps you grasp the attention of your reader. Whether you’re drafting an essay, or you’re creating an important document, you’ll need to leave a lasting impression.
Making your own cover page in Google Docs doesn’t have to be challenging; you can do it in just a few steps. Here, we’ll show you how to do just that.
What You Should Include on a Cover Page
A cover page is the first thing your reader will see before getting into the crux of your document. The aim of a cover page is not only to give your document a professional look, but to provide a brief outline of your document.
Your cover page should include important details such as the title, your name, and other necessary details, depending on the type of document you’re drafting. Your cover page should also have an attractive design to set the tone of the document.
How to Create a Cover Page From Scratch in Google Docs
Google Docs isn’t like other online word processors, where you’d get a range of cover page templates to choose from. With Google Docs, you need to create a cover page from scratch. To do this, you’ll need to create your design by adding a border, uploading your own images, and inserting text.
You can be as creative as you want with a cover page, and you don’t have to add a border and images, but you can use our instructions as a guide.
How to Insert a Border
You might already know how to create and edit tables in Google Docs, but, you can also use the table feature to insert a border. To do this, follow these steps:
-
Open a file in Google Docs, then click on Insert in the top menu.
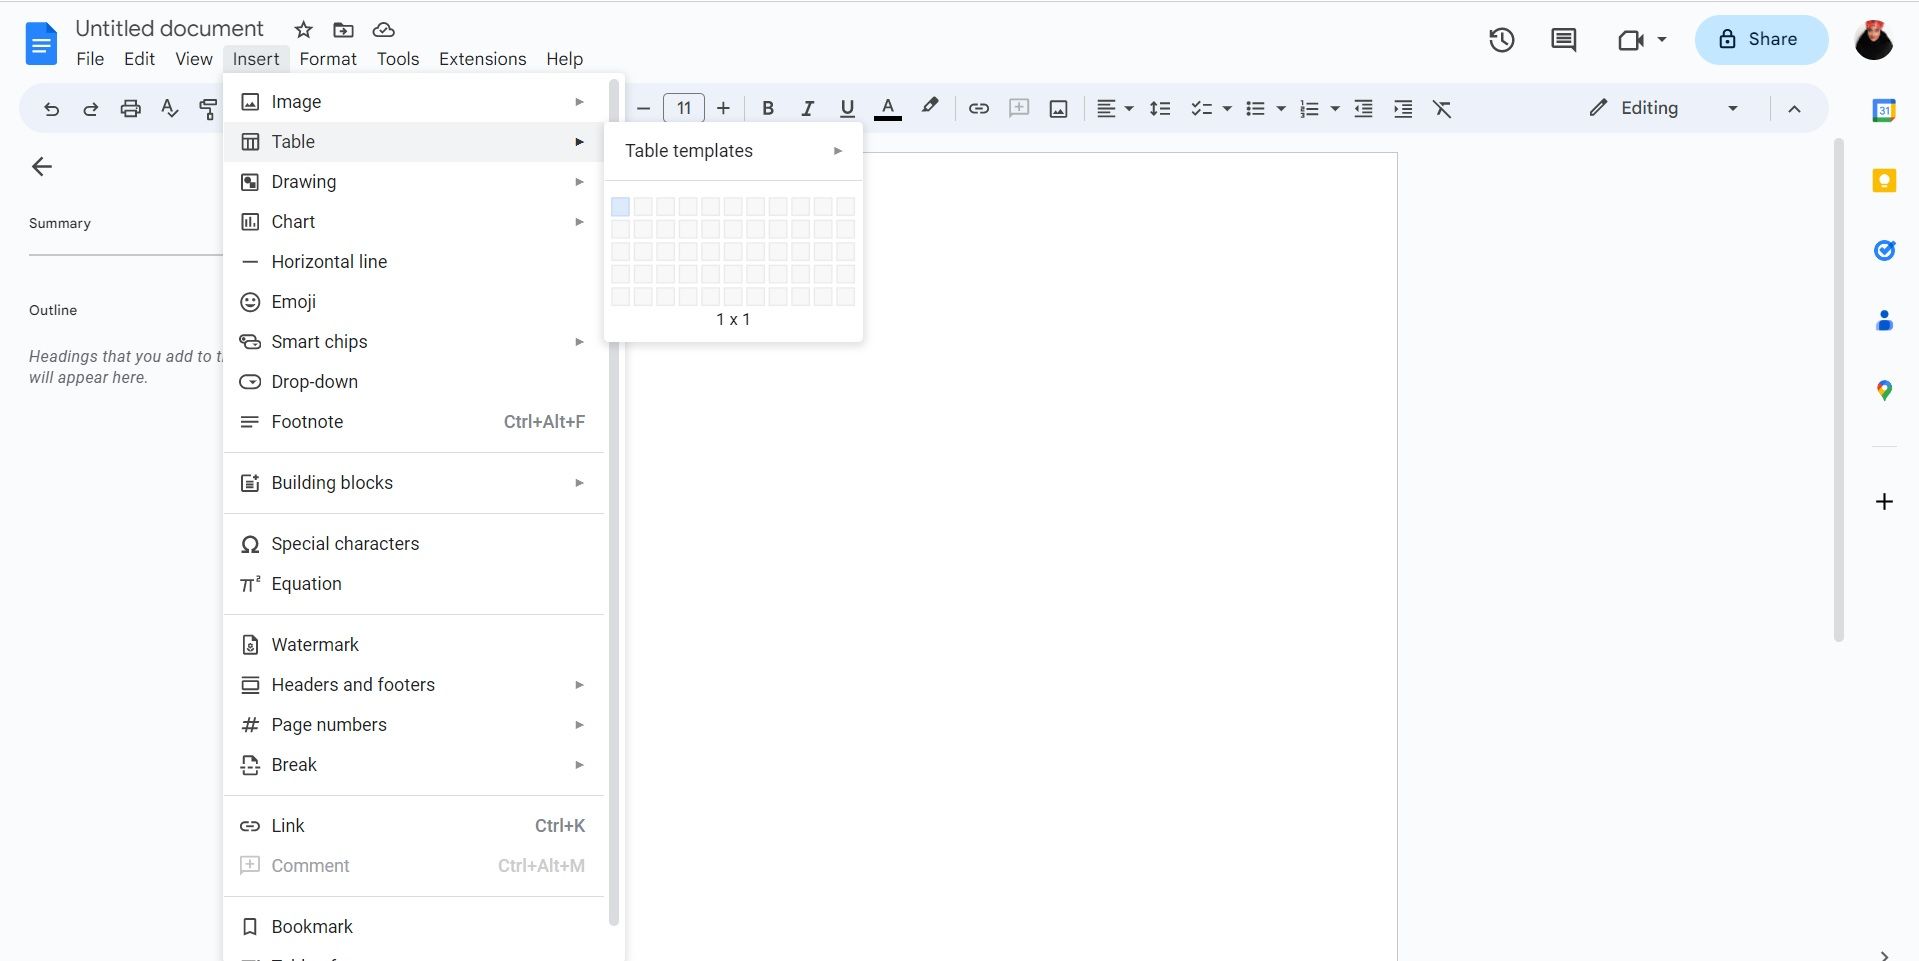
- Head to Table and insert a 1x1 cell.
- Drag the bottom part of the cell until the end of the page.
-
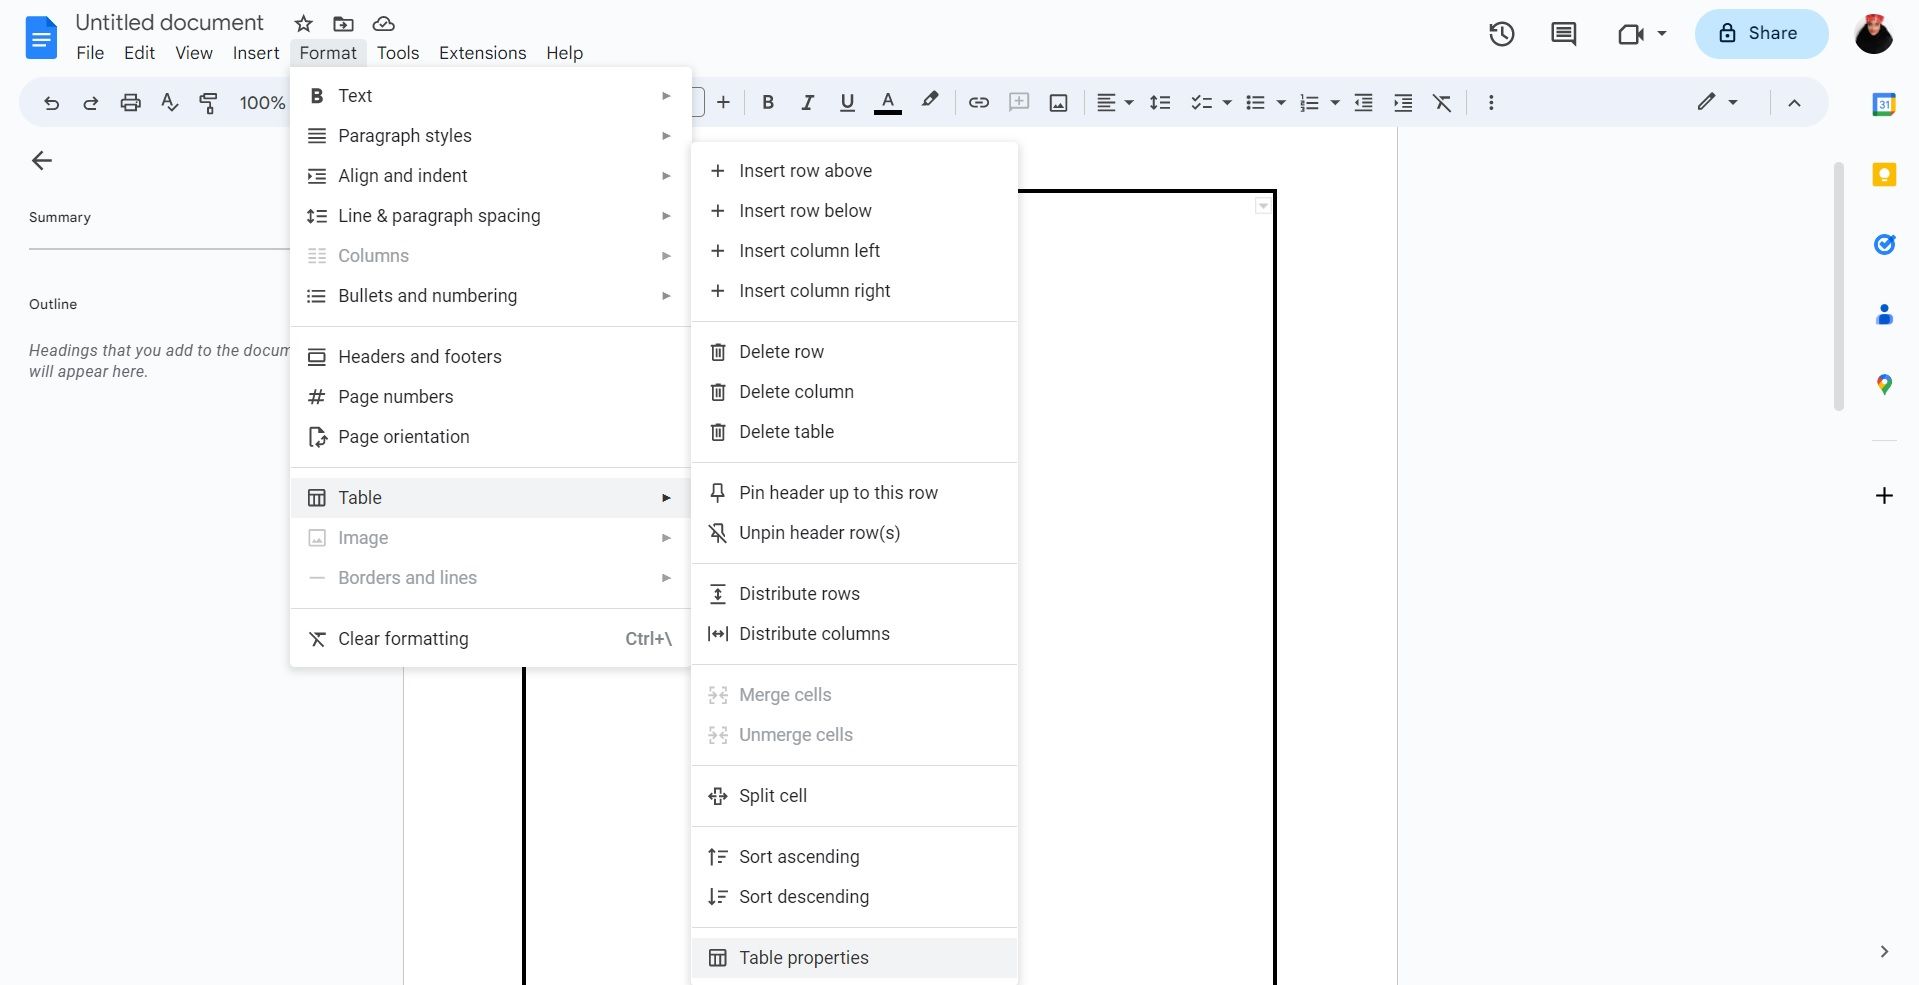
To change the color and thickness of your border, head to Format in the top menu. Then, click on Table and select Table properties.


How to Insert Text and Images
If you want to add an image that you can type on, you’ll need to use the drawing feature. Here’s how:
-
Click on Insert in the top menu.

-
Head to Drawing, then click on New.
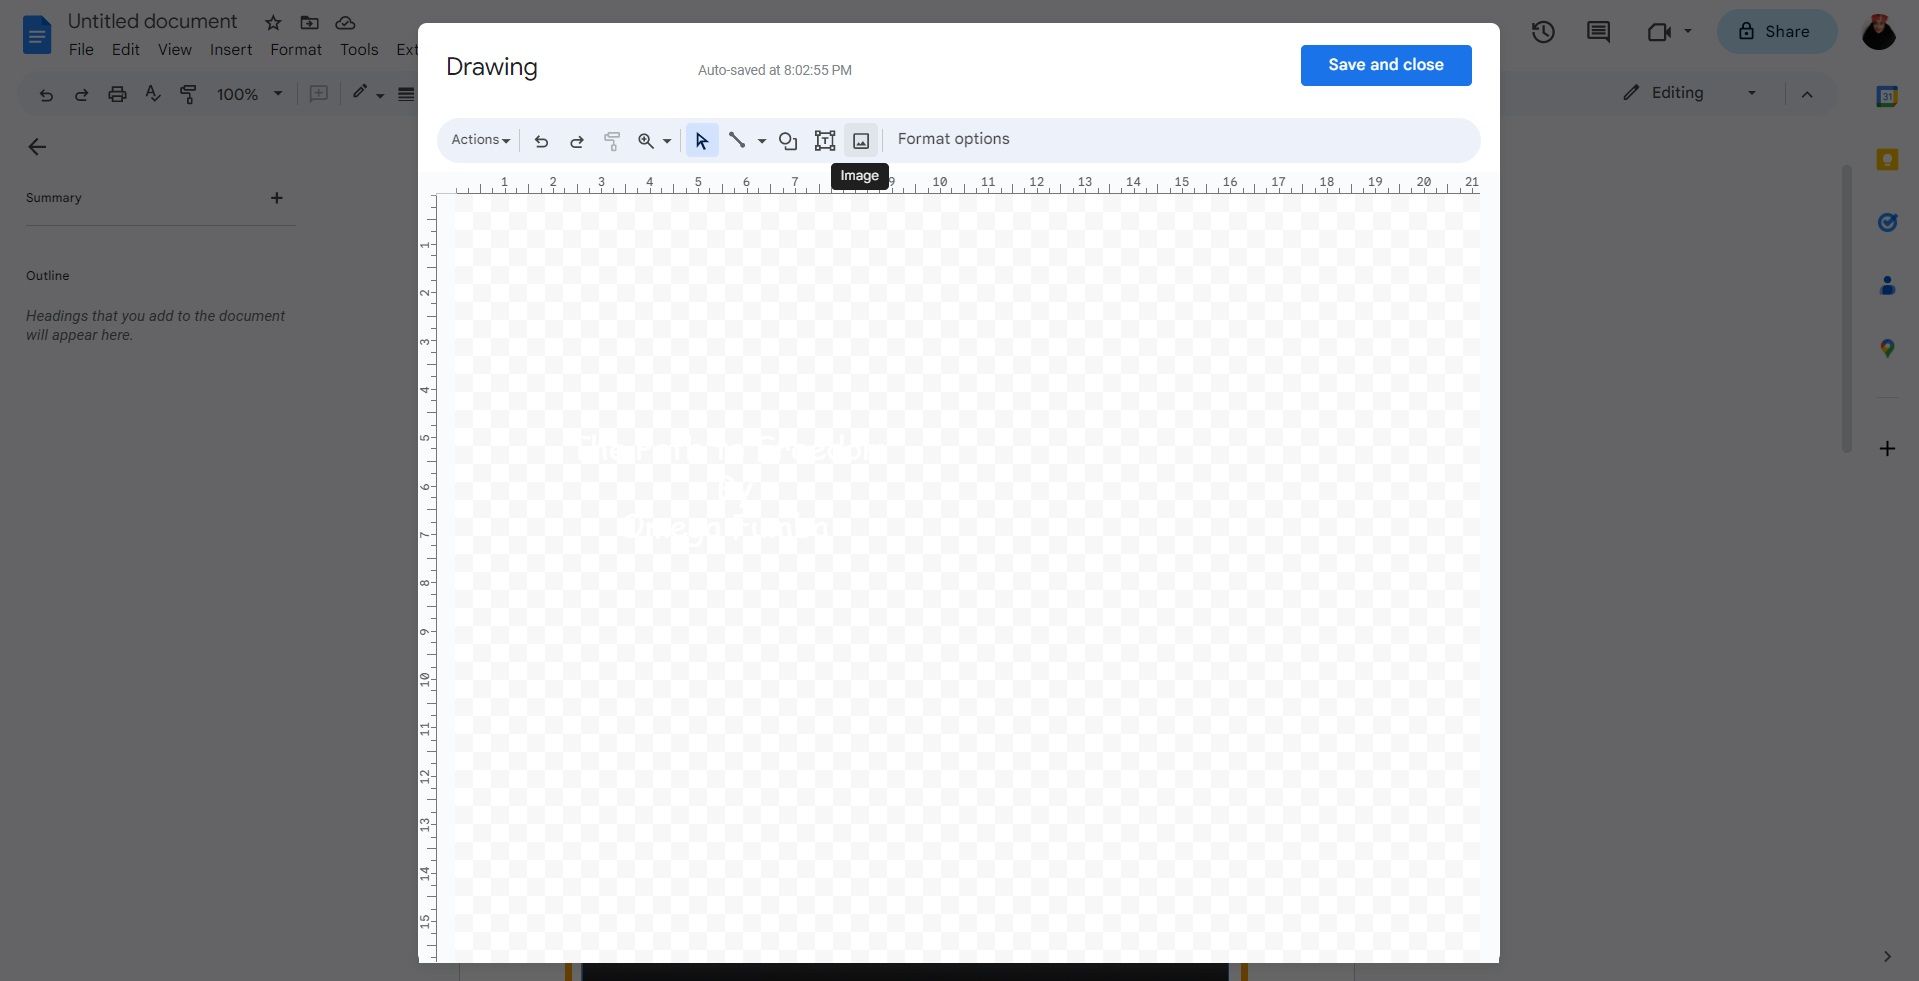
- Click on the image icon to insert your image.
-
Once your image is in the drawing box, click on the text box icon in the menu and position it on top of your image.
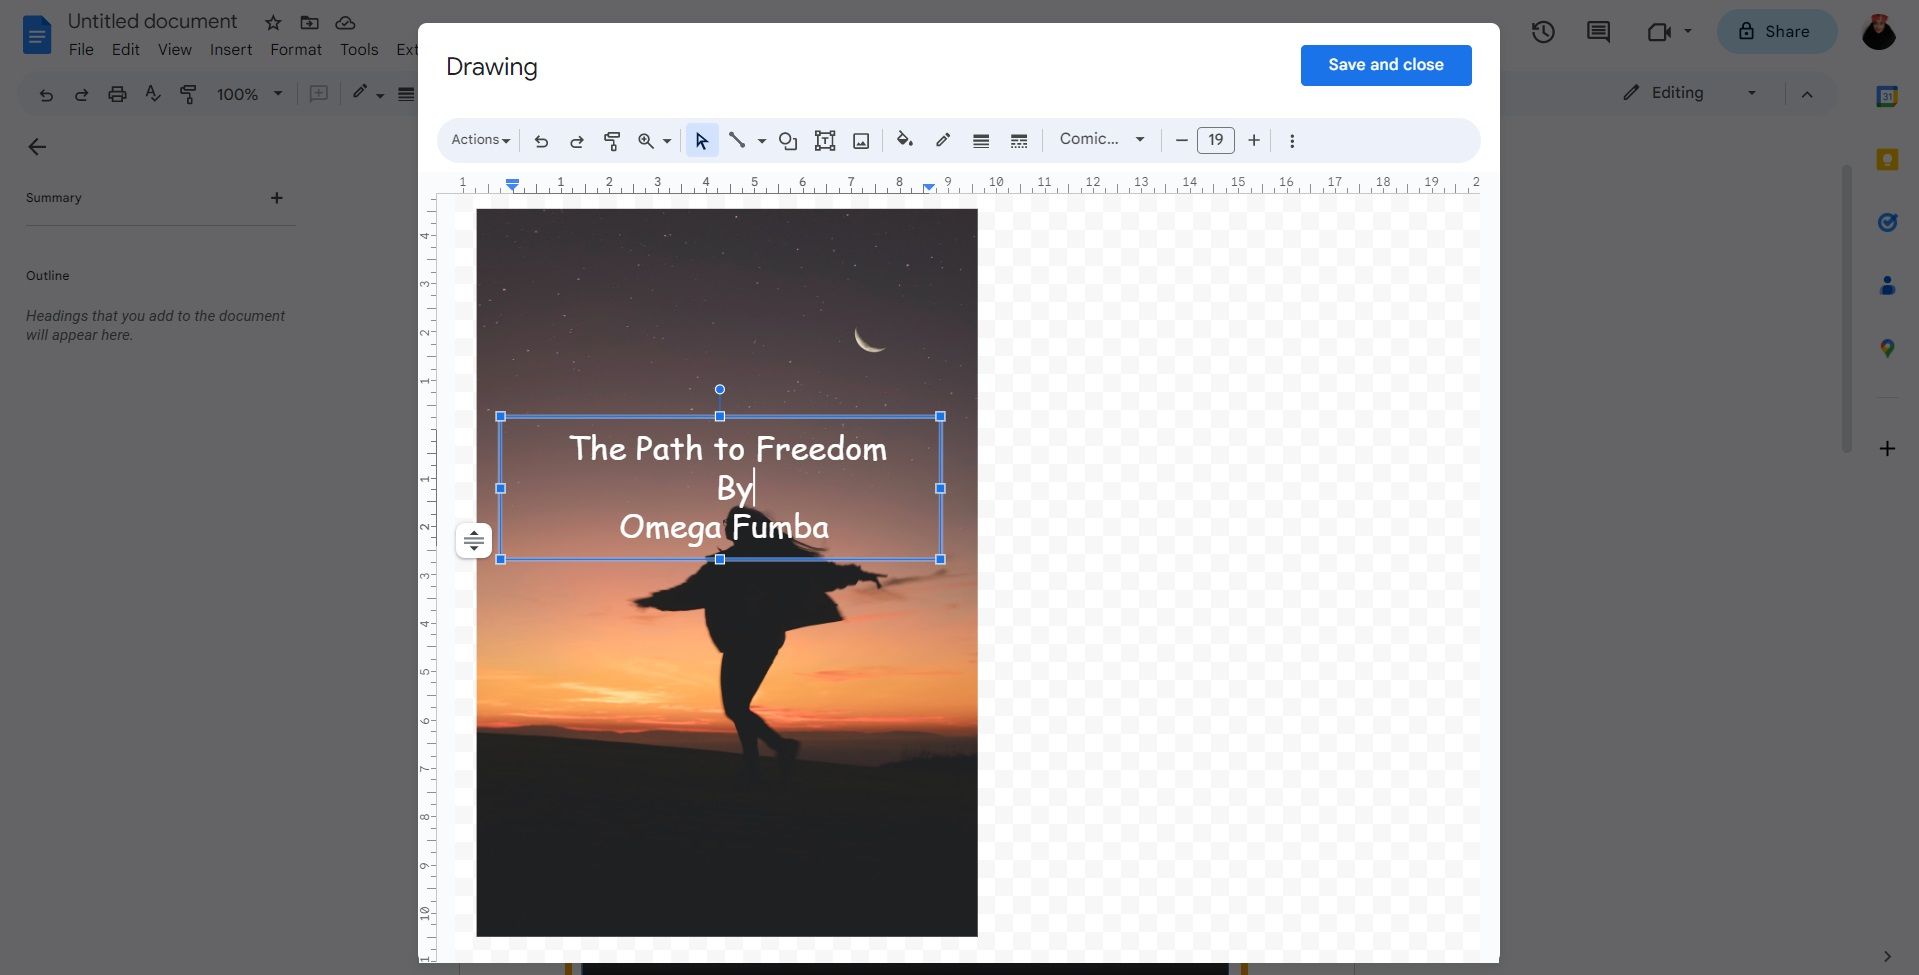
- Add your text into the text box and customize it using the features on the right side of the top menu.
- Select Save and close once you’re done.


Enjoy Creating Your Own Cover Page With Google Docs
Having a cover page to introduce your document is a great way to impress your reader and show them that you mean business. Now that you know how to create a cover page in Google Docs, you won’t have to share bland documents ever again.