Canva is a great tool for quickly making designs for social media or a variety of other things. Canva elements, such as graphics, linework, or logos, really elevate your designs. But sometimes you want to upload your own elements you’ve drawn yourself.
Often, your own vectors can’t be edited once uploaded to Canva, but what if you learned how you can edit the colors of your own elements in Canva? Let's show you how to do it using Adobe Illustrator.
Step 1: Draw Your Element
We’re focusing this tutorial on using Adobe Illustrator to help make your color-editable Canva element, but you can use other software that has similar features. Whether you draw your image directly in Illustrator or draw in Procreate and vectorize in Illustrator, or any other method, you just need to have a drawn element.
You could also download a premade vector graphic from any online marketplace. There’s an abundance of places to find free SVG files or you can purchase them from Etsy or Creative Fabrica. If you drew an element in another program or have downloaded an element, bring it into Illustrator as a PNG.
Draw or create your image with multiple colors so you get the full benefit of this color-changing tutorial. It doesn’t have to be complex. It should be a small, fun graphic like any you might typically use in Canva.
Step 2: Convert the Drawing in Adobe Illustrator
Once you’ve finished your drawing, use Adobe Illustrator to convert your drawing into a suitable graphic.
Option 1: Expand Stroke Lines to Fill
If your graphic uses stroke lines, you need to convert your strokes to fill.
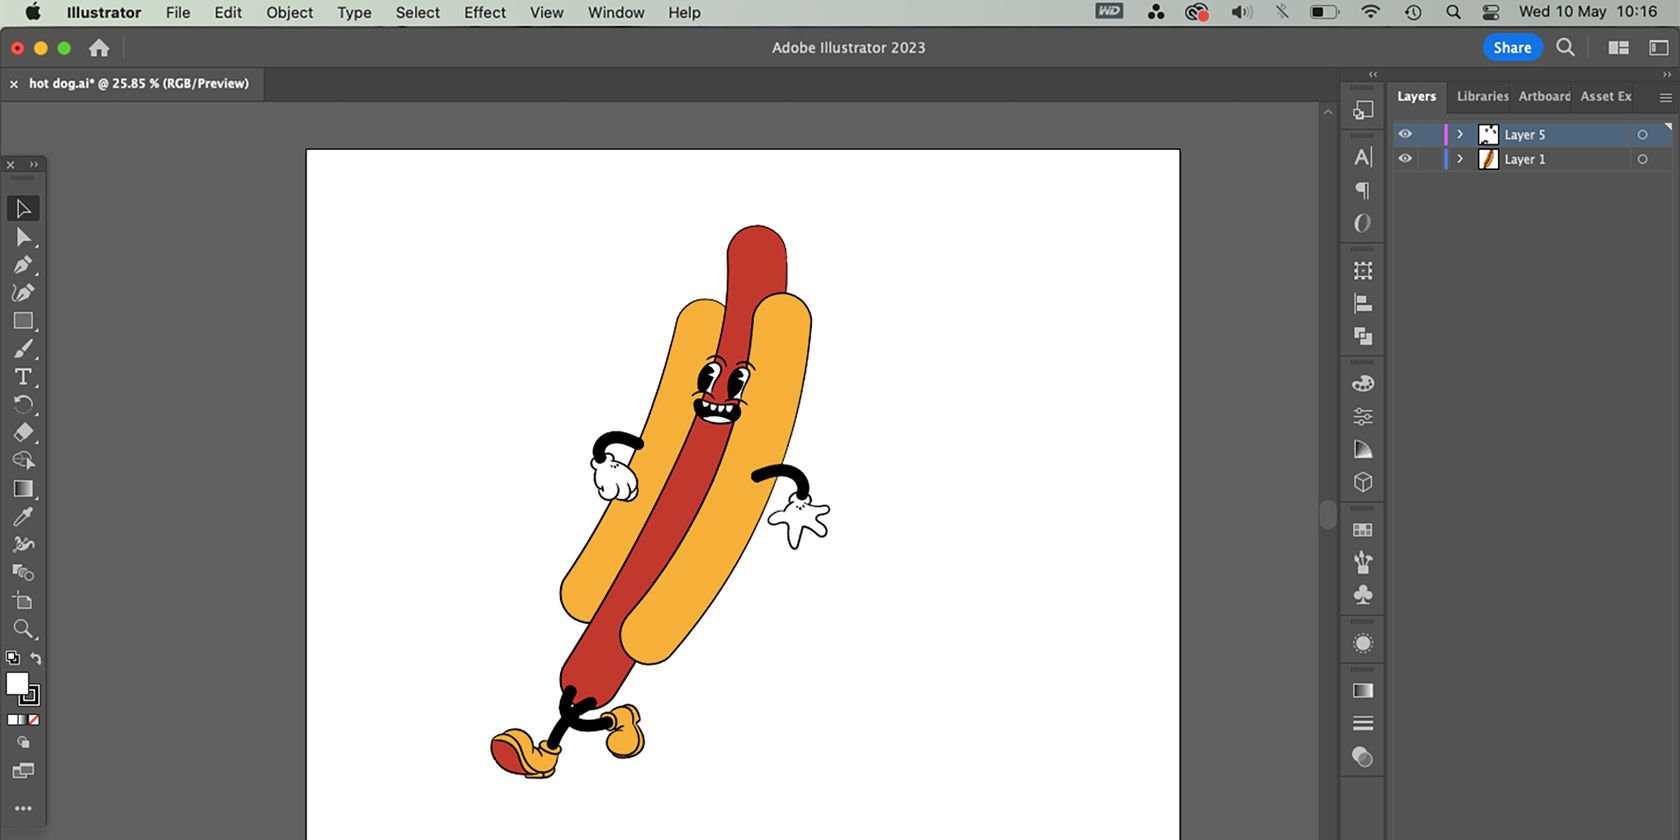
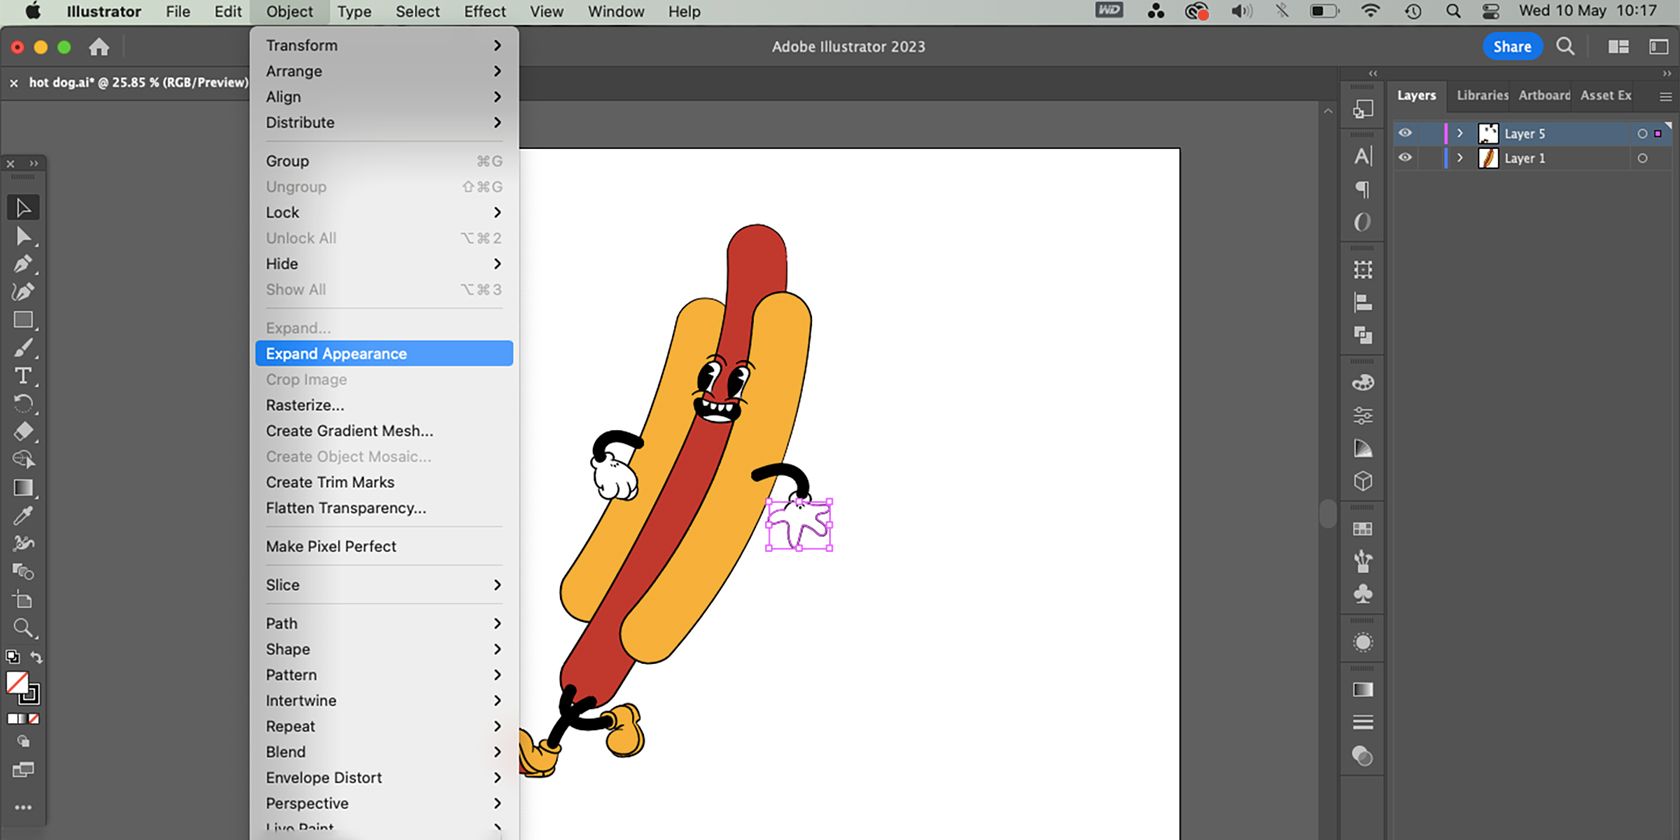
To do this, select the entire graphic using the Selection tool (V). Click and drag your cursor over the image to select it, then go to Object > Expand Appearance.
Go back to Object > Expand. Then right-click the image and choose Ungroup.
Check that it’s worked by selecting an individual part of your graphic—especially a part that was previously a stroke line—and the color should appear on the Fill swatch, not the Stroke swatch under the toolbar.
Option 2: Image Trace
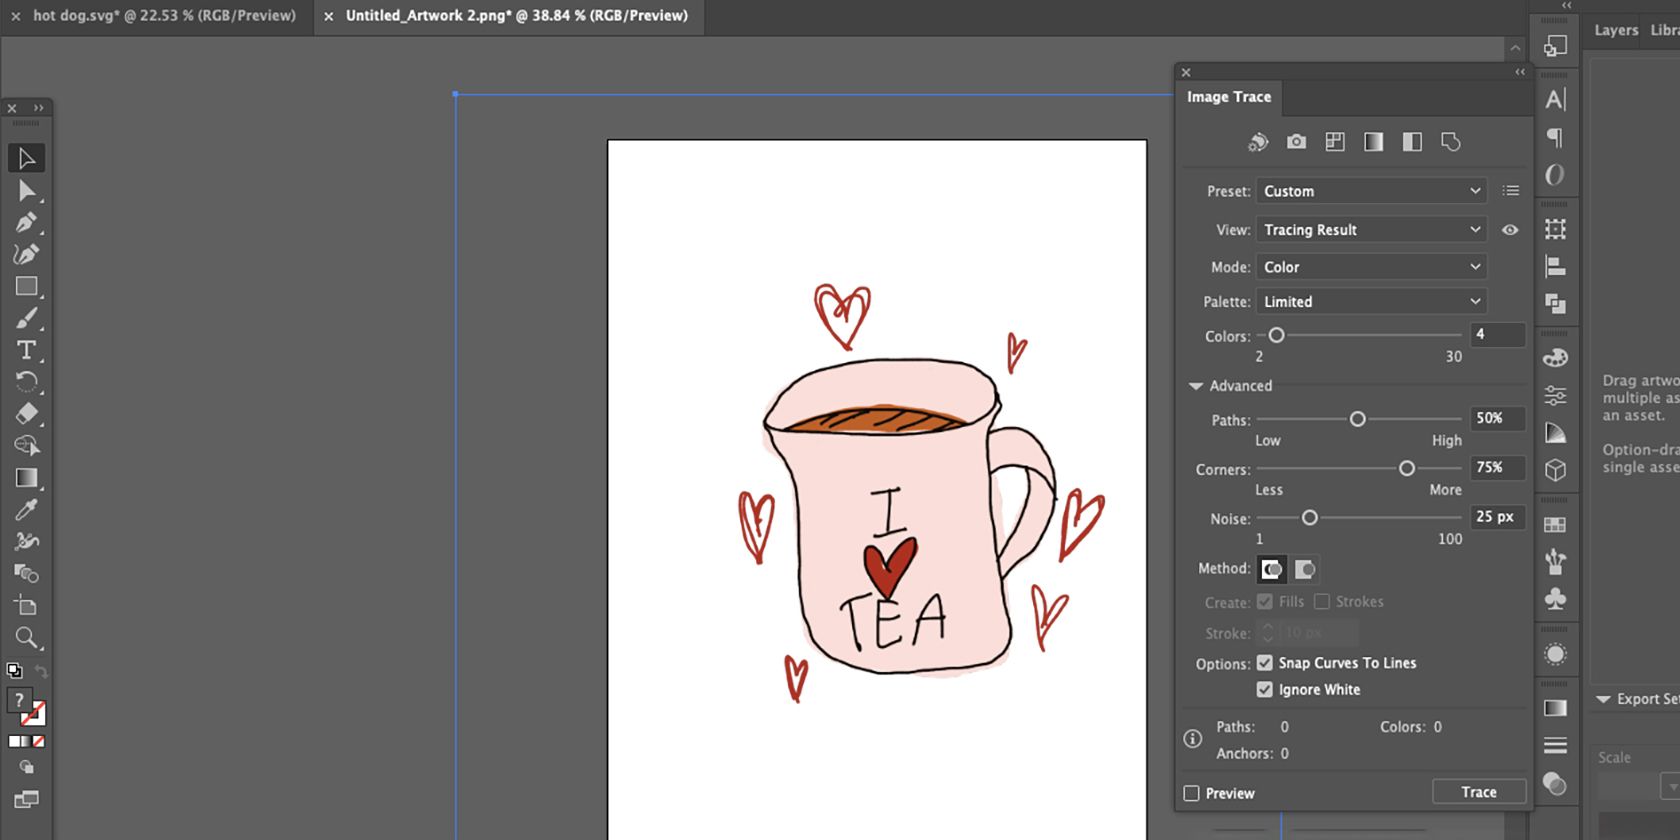
If you drew your graphic using a raster-based program—or by hand and scanned it in—you’ll need to convert it to vector for this to work. This involves using Illustrator’s Image Trace function.
You can follow our short guide for vectorizing raster images in Adobe Illustrator. You’ll have the best results with a simplified preset; try to use a preset that has the same amount of colors as your original artwork.
Step 3: Export or Save Your SVG File
There are two ways you can export or save an SVG file in Illustrator. If you’re creating an SVG from a file that has only one graphic on it, you can save it directly. If your artboard contains multiple graphics that you’d like to save individually, then you should export each graphic as an SVG asset.
Option 1: How to Save an SVG File in Illustrator
If your entire artboard consists of one graphic that will become your Canva element, you can save the file as it is. Ensure, firstly, that there is no background to your artboard. Your graphic should be alone on the artboard.
Using the Selection tool (V), click and drag over your entire graphic to select it. Right-click and choose Group. If your artwork was made across multiple layers, this will merge it all into one layer.
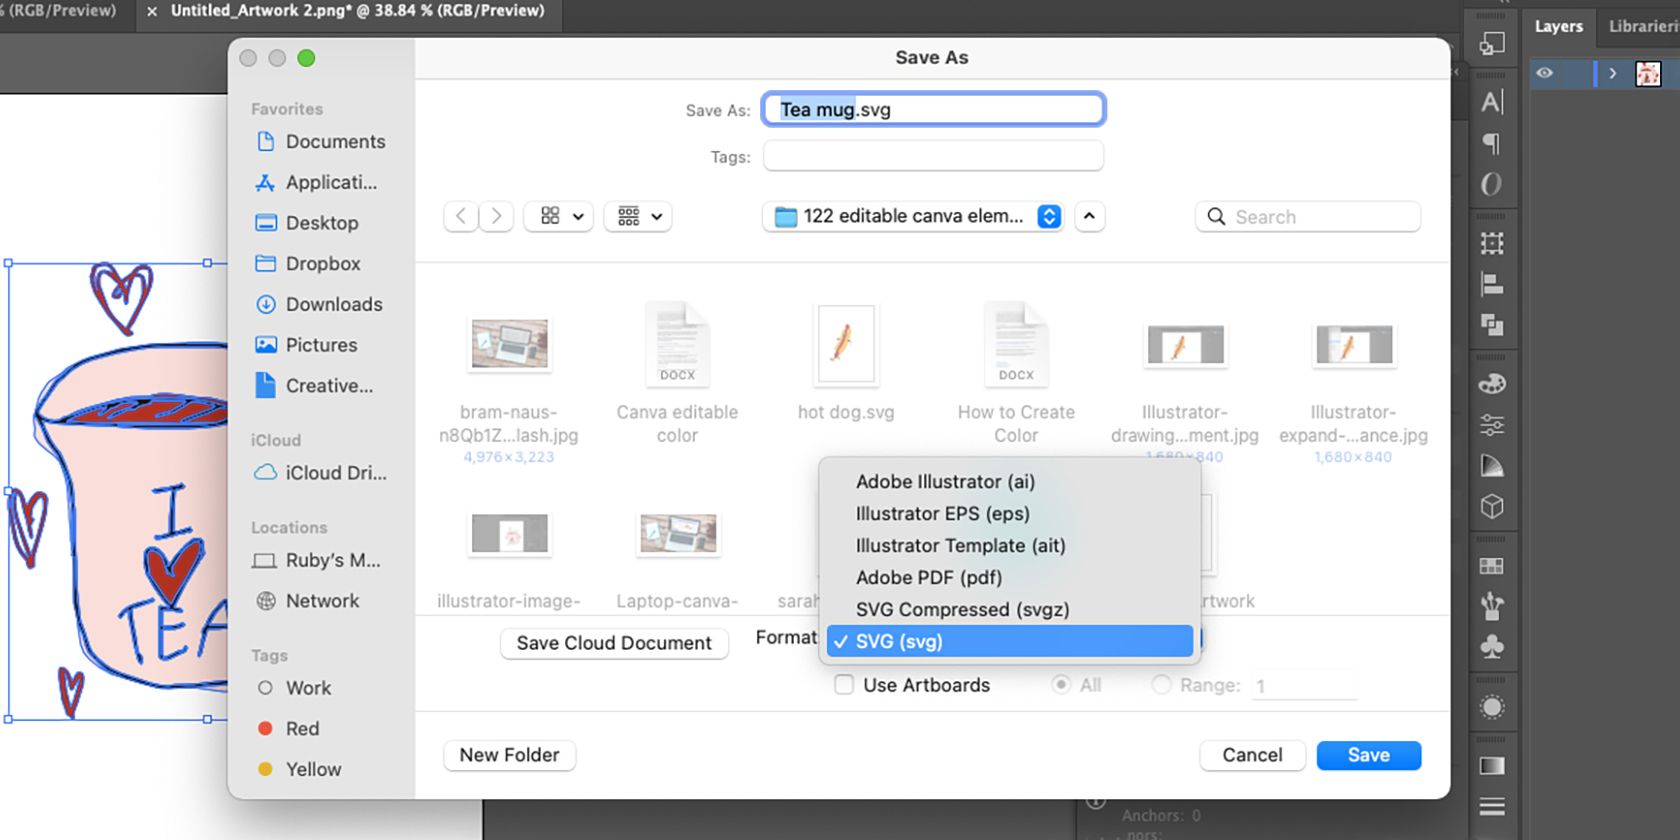
To save the file as an SVG, go to File > Save As and choose SVG (svg) on the Format dropdown. Leaving the Use Artboards box unchecked will crop the SVG to the edges of your artwork. However, if you’d prefer the empty space around the art, check the Use Artboards box, and you’ll have a transparent background surrounding your graphic.
Select Save and then OK on the next window.
Option 2: How to Export an SVG Asset in Illustrator
You can use this technique if you only have one graphic on your artboard, but it is more useful if you’ve created more than one graphic on your artboard or Illustrator file. You can easily export individual graphics without saving all your graphics as SVG if not needed.
With the Selection tool (V) selected, click and drag your cursor over the entire image to select it all. Then right-click the graphic and choose Group. Do this individually for any graphics you wish to export.
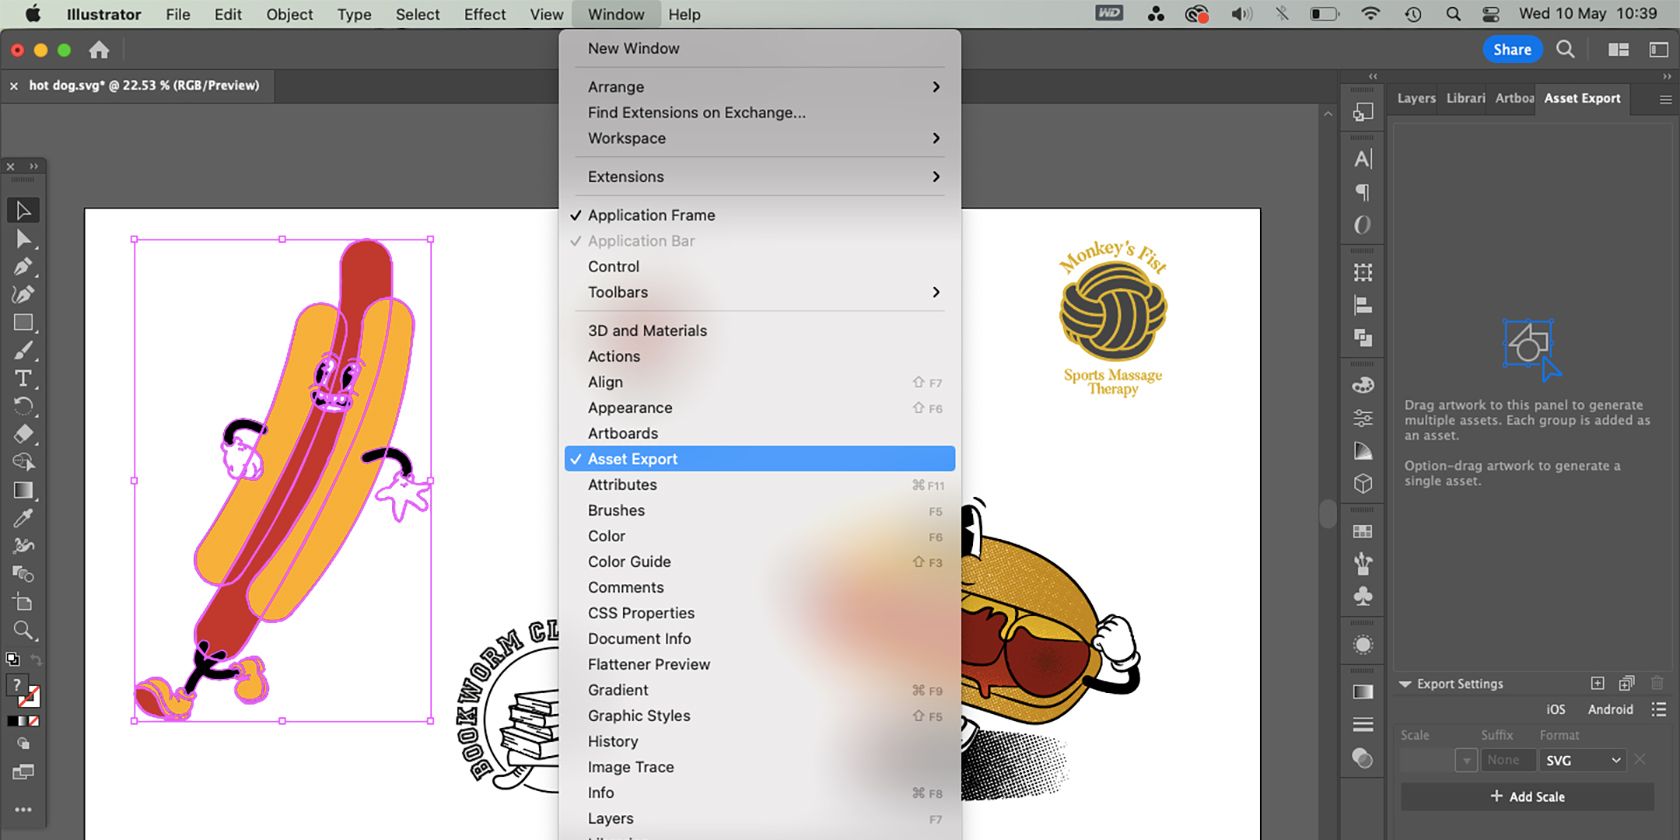
Next to the Layers panel, you’ll find a tab called Asset Export. If you don’t see the tab title, go to Window > Asset Export, and it will appear next to your Layers.
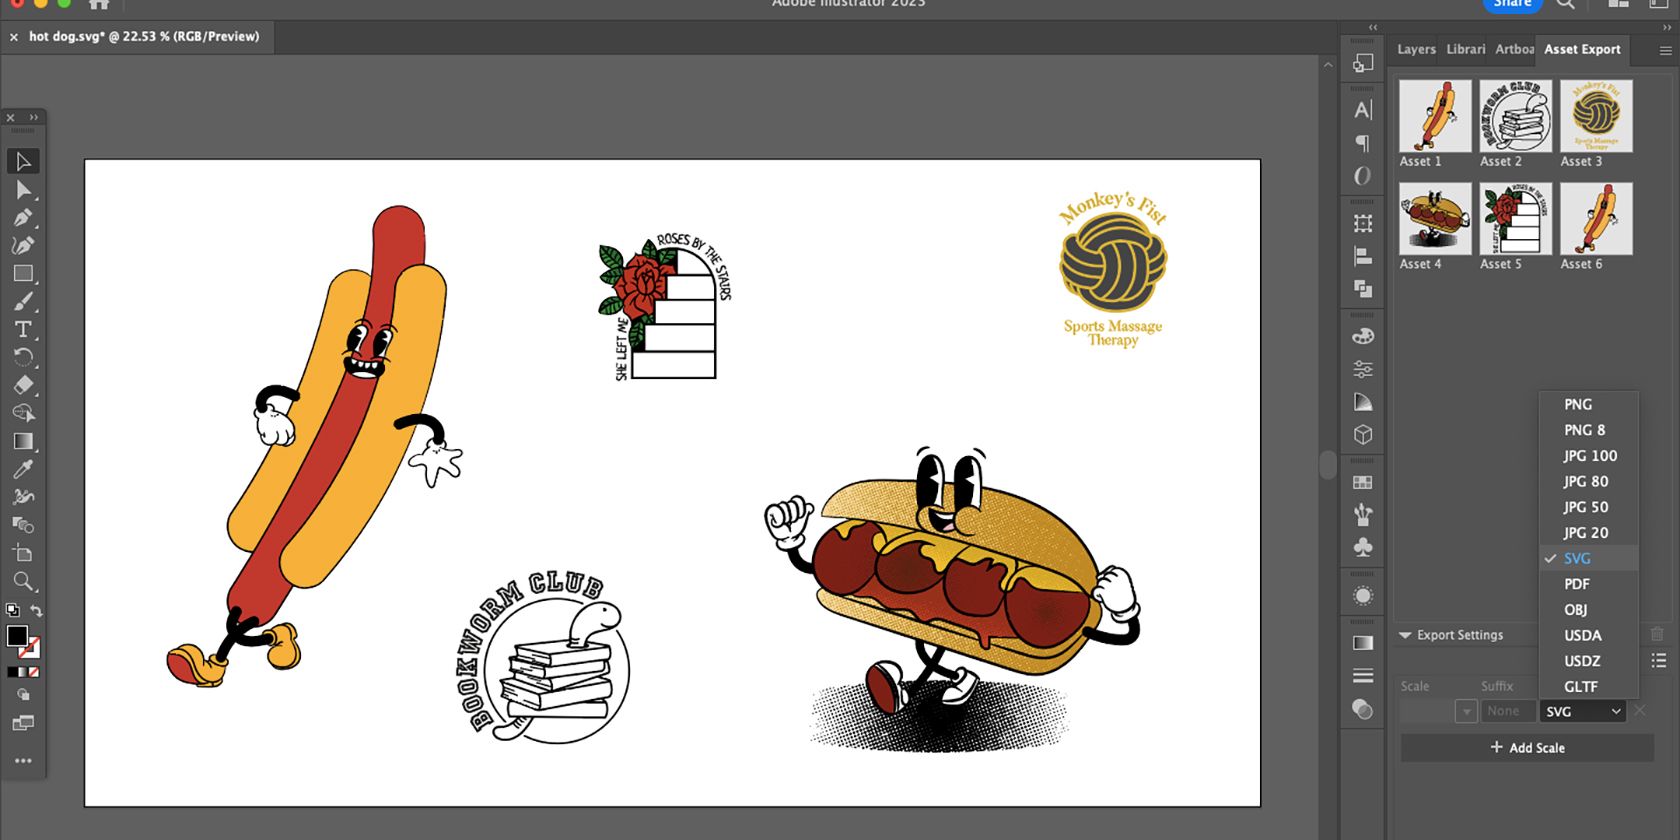
Click and drag your grouped element over to the Asset Export box and drop it. If you have multiple graphics, as long as they’re each grouped individually, you can drag them all at once to the box to create individual assets. Each asset is numbered in the Asset Export box.
Under the Export Settings, choose SVG in the Format dropdown. If you need your element in any other formats, you can select Add Scale to export in other formats simultaneously.
Select which numbered assets you want to export, then select Export and navigate to where you want to save the asset; select Choose to save it. You’ll export your assets to SVG and any other formats you’ve chosen.
If you use Adobe Firefly’s vector recoloring tool, those graphics will also be saved as SVG once you’ve made your recolor options. You can upload them to Canva and apply the same color-changing process.
Step 4: Upload the Element to Canva
After creating your SVG graphic, go to Canva. You can upload your own elements using a free Canva account, which is a great way to get the most from this great software.
You first need to upload your element on a new, blank design rather than using a template. Once you’ve uploaded your element to a new design, you will then be able to access it and edit the colors on any template you design, too.
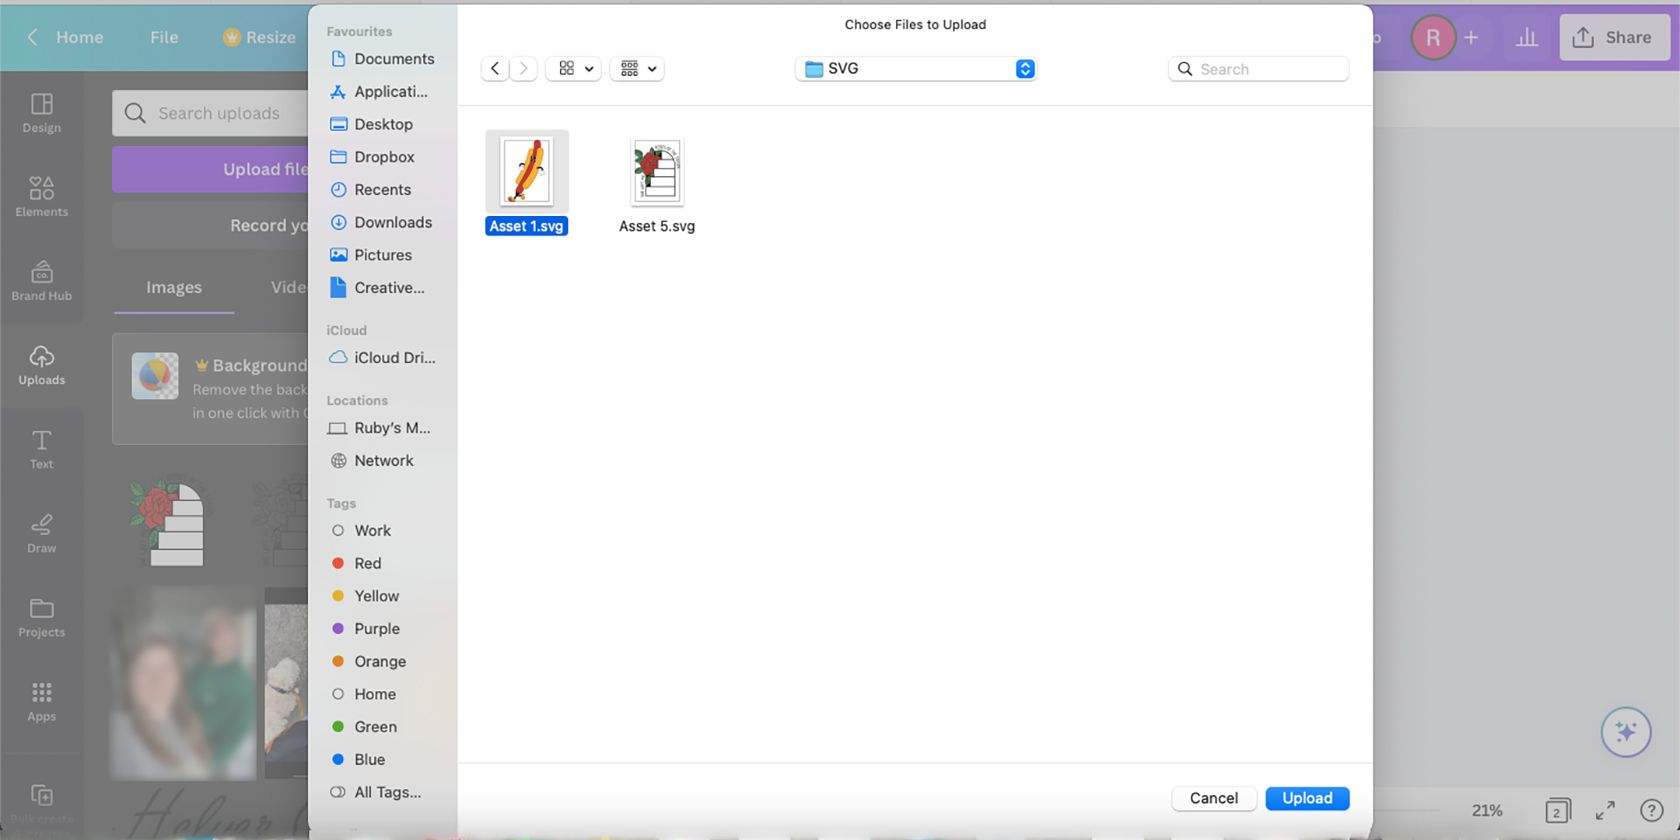
Select Create a design. Once the canvas is open, select the Uploads tab on the left, and select Upload files. Navigate to your SVG in your system and select it, then hit Upload. Your SVGs will be in their own folder labeled SVG in whichever place you chose to export to.
Step 5: Edit the Element Colors in Canva
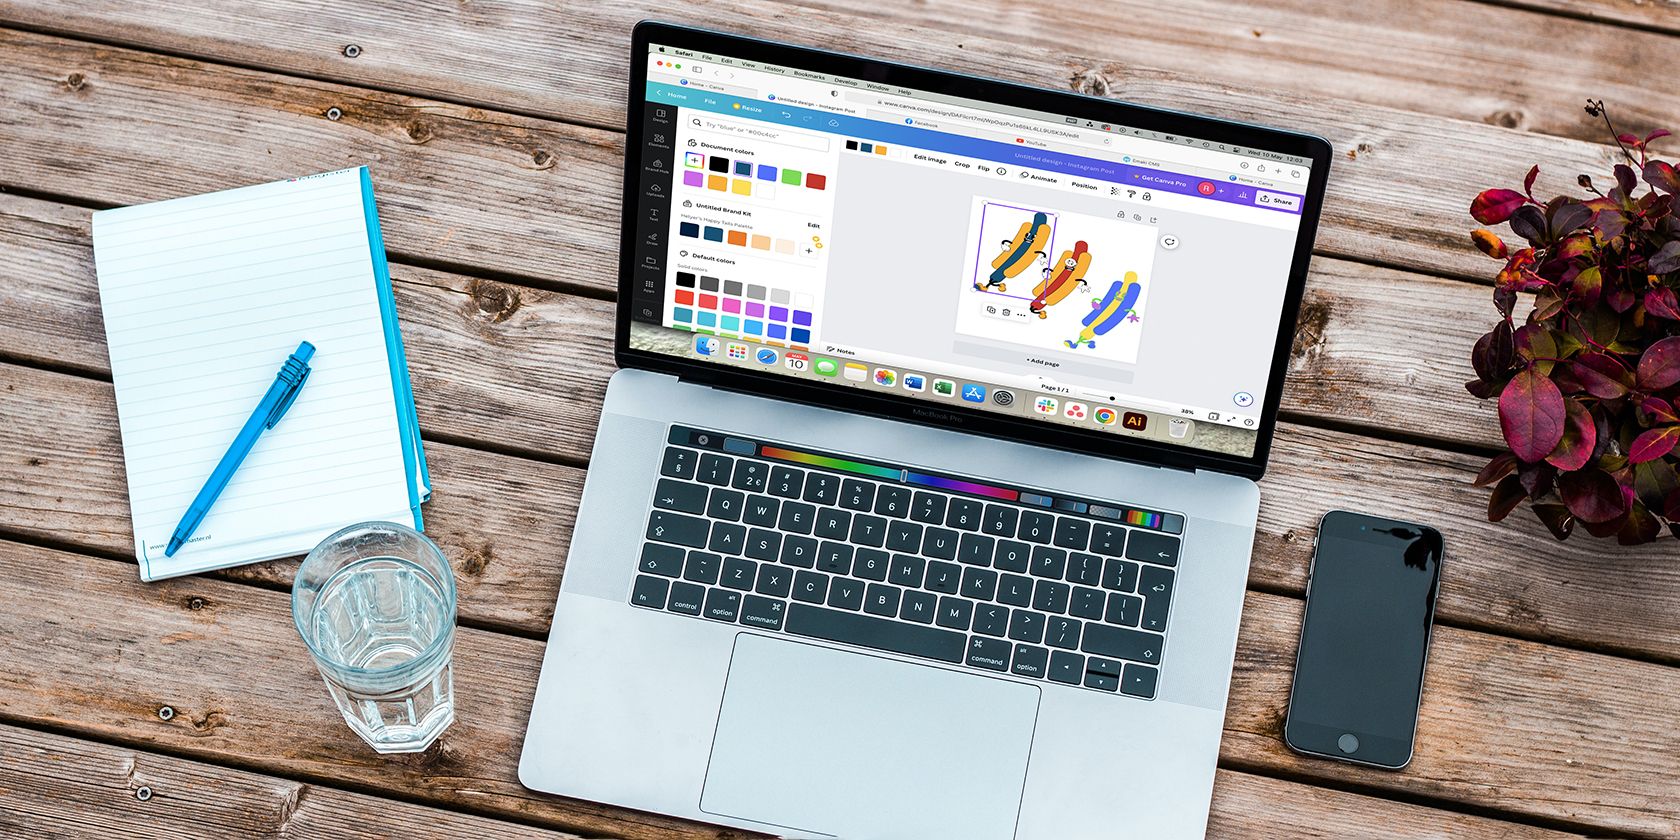
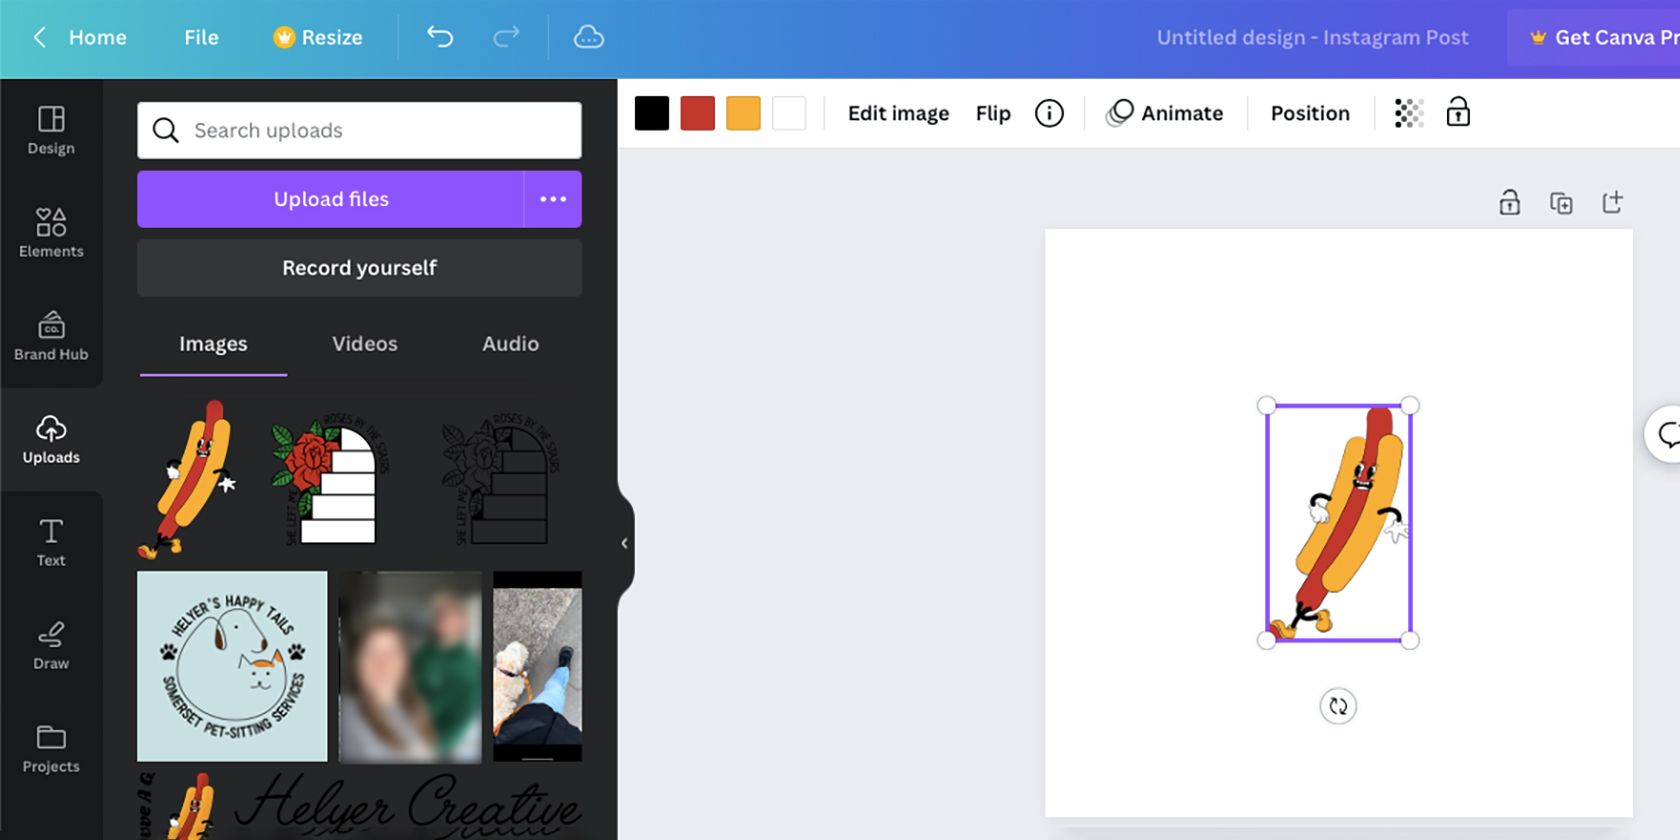
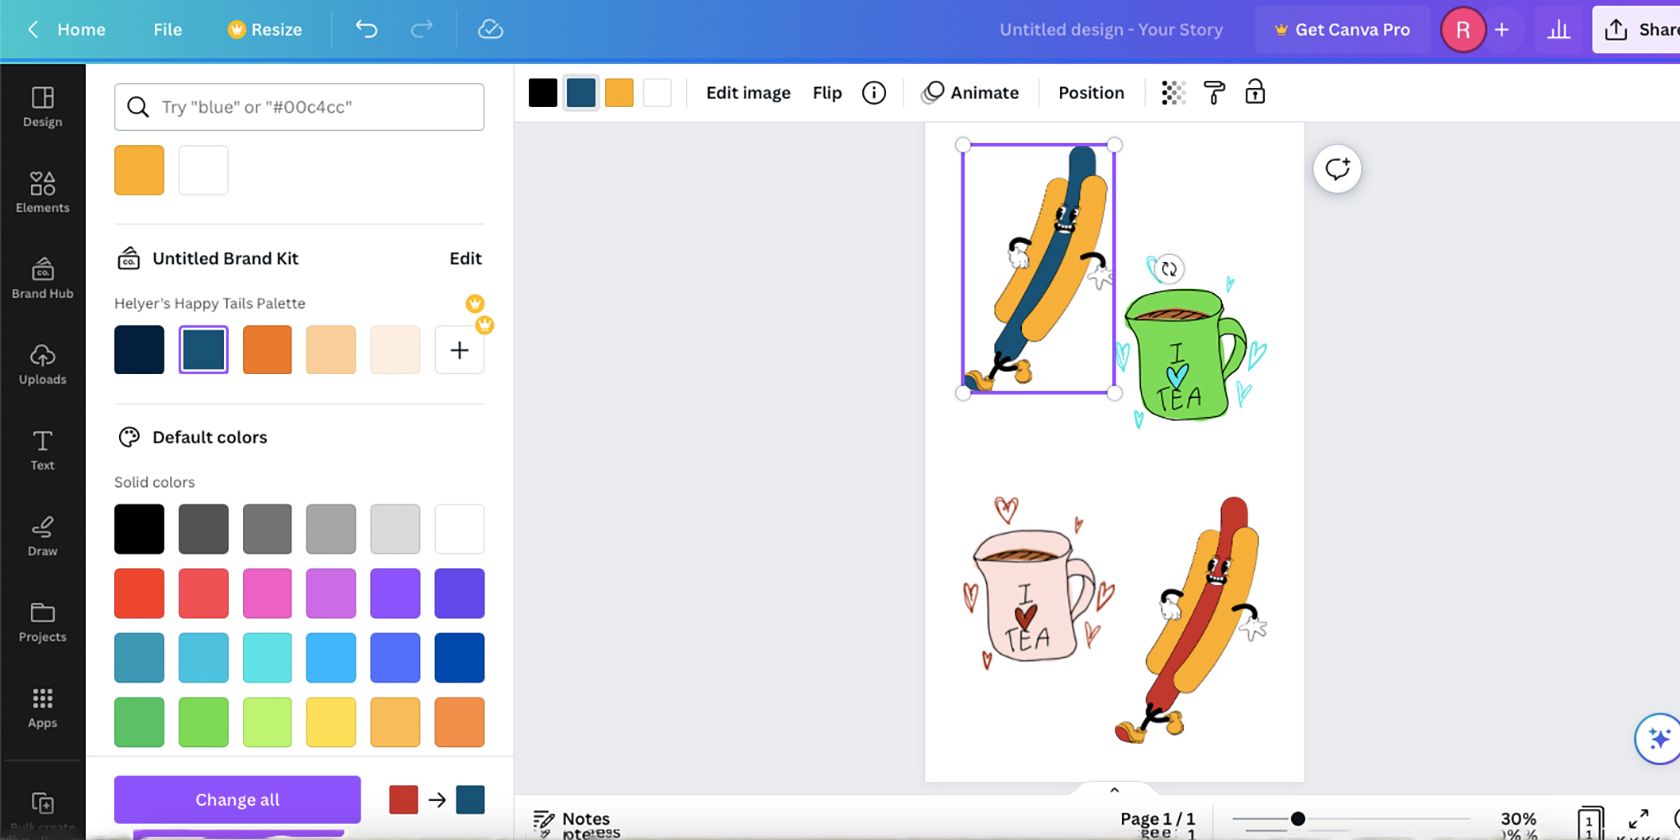
Once uploaded to Canva, you can select or drag your element to the canvas to add it to your project. It will always appear in the original colors you made it with. When selected, you’ll see square color swatches above the canvas with the colors present in your graphic; one square for each color.
Select any of the swatch squares to change the color. The color tab will open which allows you to choose any color, type in a name, or use a HEX value. If you’ve used Canva’s brand kit feature, you’ll see your brand colors here. This is a great feature to keep all graphics and illustrations colored appropriately for your brand.
To change other colors in the graphic, select another one of the original swatches above the canvas and the color tab will be available for that swatch too.
You can now open the element from your Uploads folder on any Canva project. It’s easy to edit the colors to match your project colors for full harmony in your Canva designs. Why not add animation to your new Canva graphic to truly customize your designs?
Customize Your Own Graphic Elements in Canva
Canva makes it fun to add graphics and elements to any project. Now, with only a handful of steps, you can upload your own graphic elements that you can edit directly in Canva. This makes it easy to use stock illustrations or bulk-create your own illustrations and set the colors to fit your design. It’s a quick and easy hack that will elevate your Canva designs.

