Working in front of a screen can be difficult when you have a visual impairment. Thankfully, Apple aims to make its devices, including Macs, accessible to everyone. So macOS includes some helpful Accessibility features that you can do to help you see and work better on your Mac.
Here are the best Mac Accessibility features for people with visual impairments or partial blindness.
How to Turn On Mac Accessibility Features
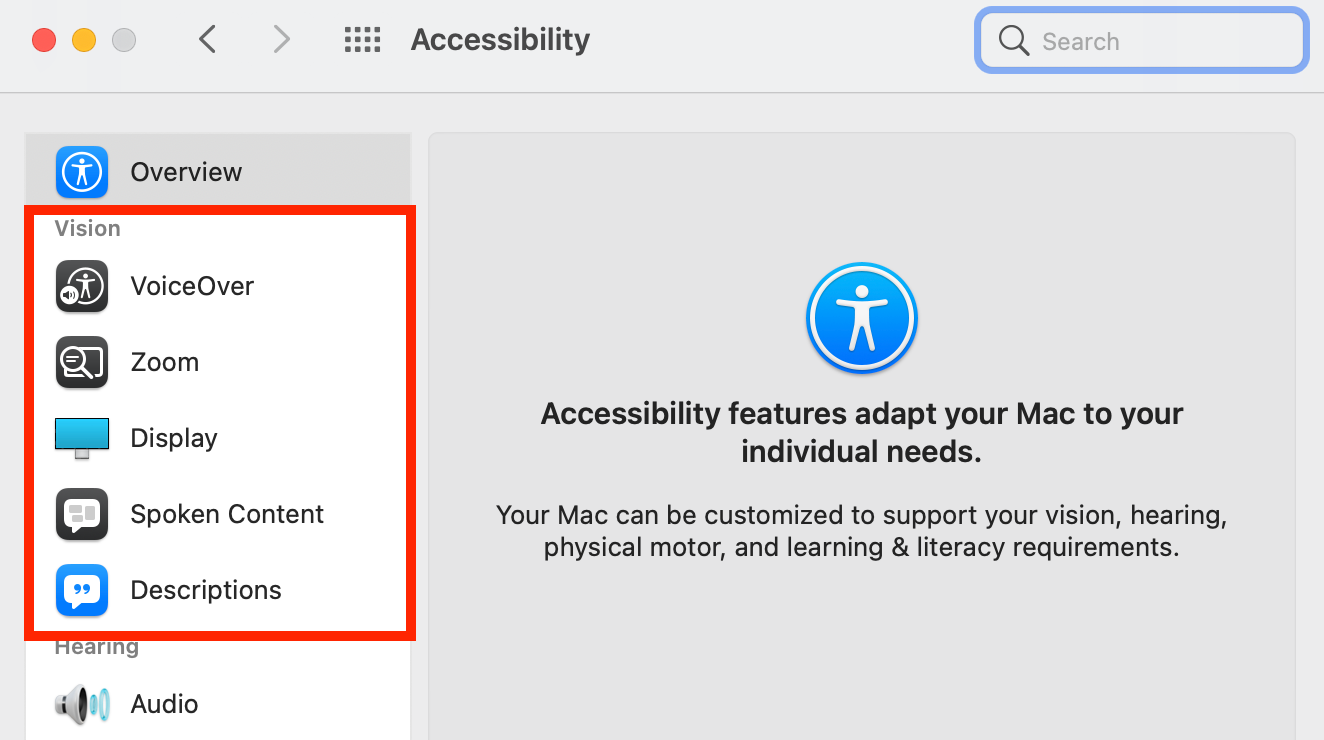
A Mac has several Accessibility preferences that can be useful for people with visual difficulties. Here’s how to access most of them:
- Open the Apple menu and click System Preferences.
- Select Accessibility.
- Choose from one of the features under Vision, namely VoiceOver, Zoom, Display, Spoken Content, or Descriptions.
If you’re using a device with Touch ID or using a Magic Keyboard, you can quickly access the Accessibility Shortcuts panel by rapidly pressing the Touch ID three times. You can also access the panel by pressing Option + Cmd + F5.
Use VoiceOver to Read Your Screen’s Content
This built-in screen reader on a Mac read aloud whatever is on the screen, such as the text in documents, and helps you navigate and use apps.
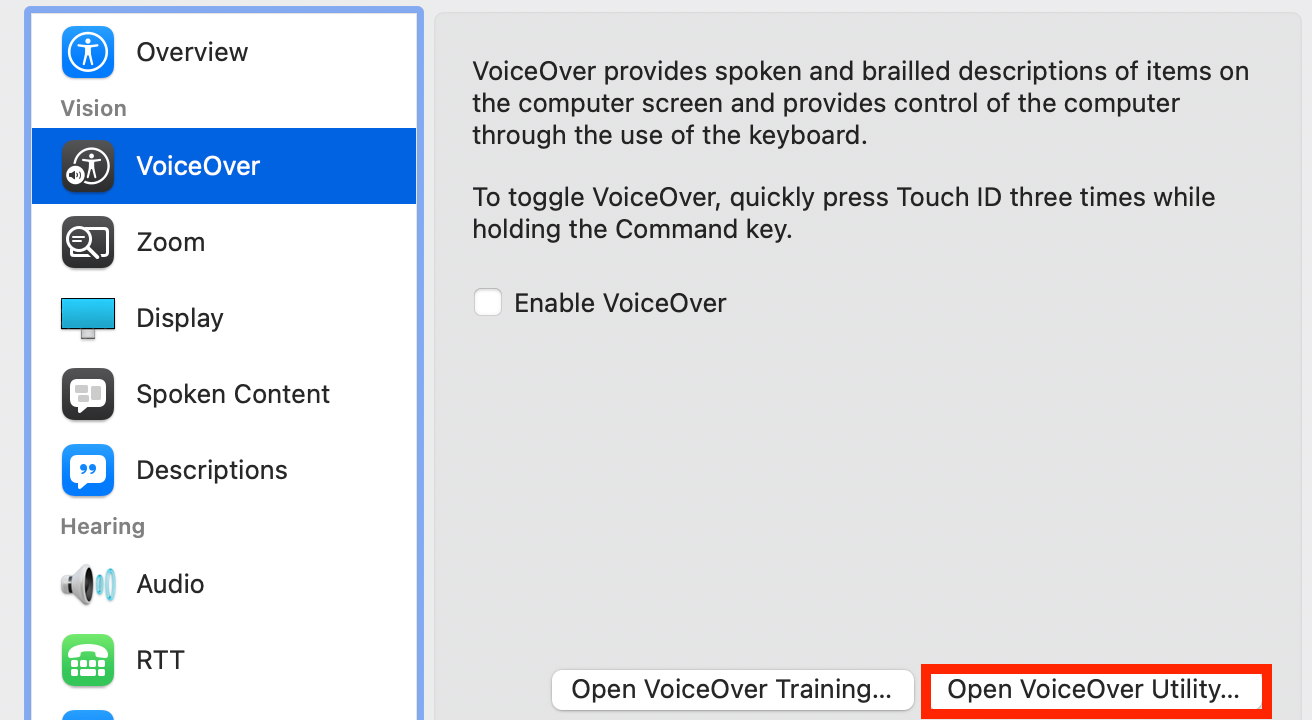
To use it, choose the VoiceOver option in the Accessibility preferences, then tick Enable VoiceOver.
Choose Open VoiceOver Training to learn about basic VoiceOver commands. Then head over to VoiceOver Utility to customize settings like Verbosity, Speed, and Navigation.
Enlarge Content With Zoom
With Zoom, you have the option of enlarging the entire screen or just a specific area of it.
You can choose one or a combination of the options to zoom in on any content:
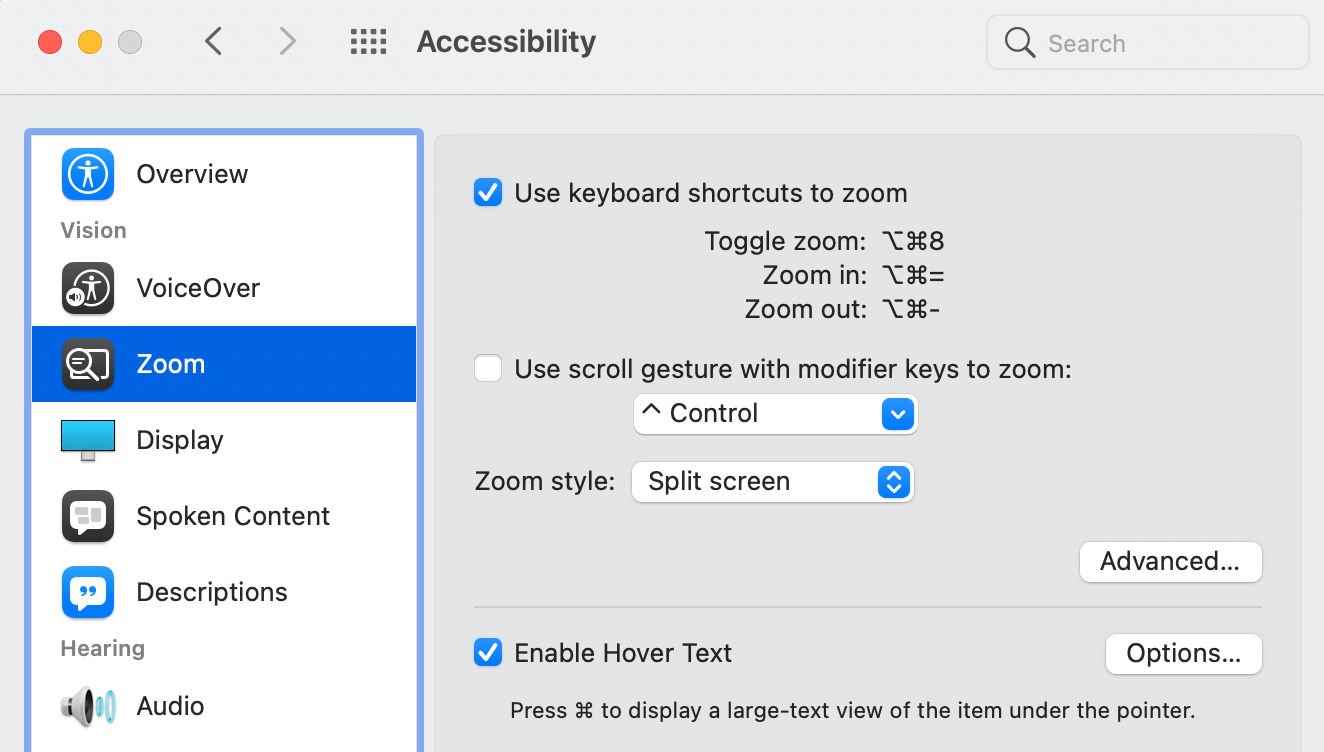
- Use keyboard shortcuts to zoom. Use keyboard shortcuts to zoom in (Option + Cmd + Equals), out (Option + Cmd + Hyphen), and switch between the two (Option + Cmd + 8).
- Use scroll gesture with modifier keys to zoom. This allows you to zoom in and out by pressing the Control key or another key then swiping on your trackpad with two fingers.
- Hover Text. If you choose this, you will see an enlarged view of the text under your pointer when you press Cmd.
If you’re using another screen, you can set the Zoom to appear on it separately with Full screen. Otherwise, you can view the Zoom style in Split screen or as a Picture-in-picture display.
Click Advanced, then go to the Appearance tab to modify how the screen image behaves and how the zoomed image appears. Choose the Controls tab to select which controls you prefer to manage the feature. You can also set the range of the minimum and maximum rapid zooming capacity by moving the sliders.
Adjust Your Display Settings
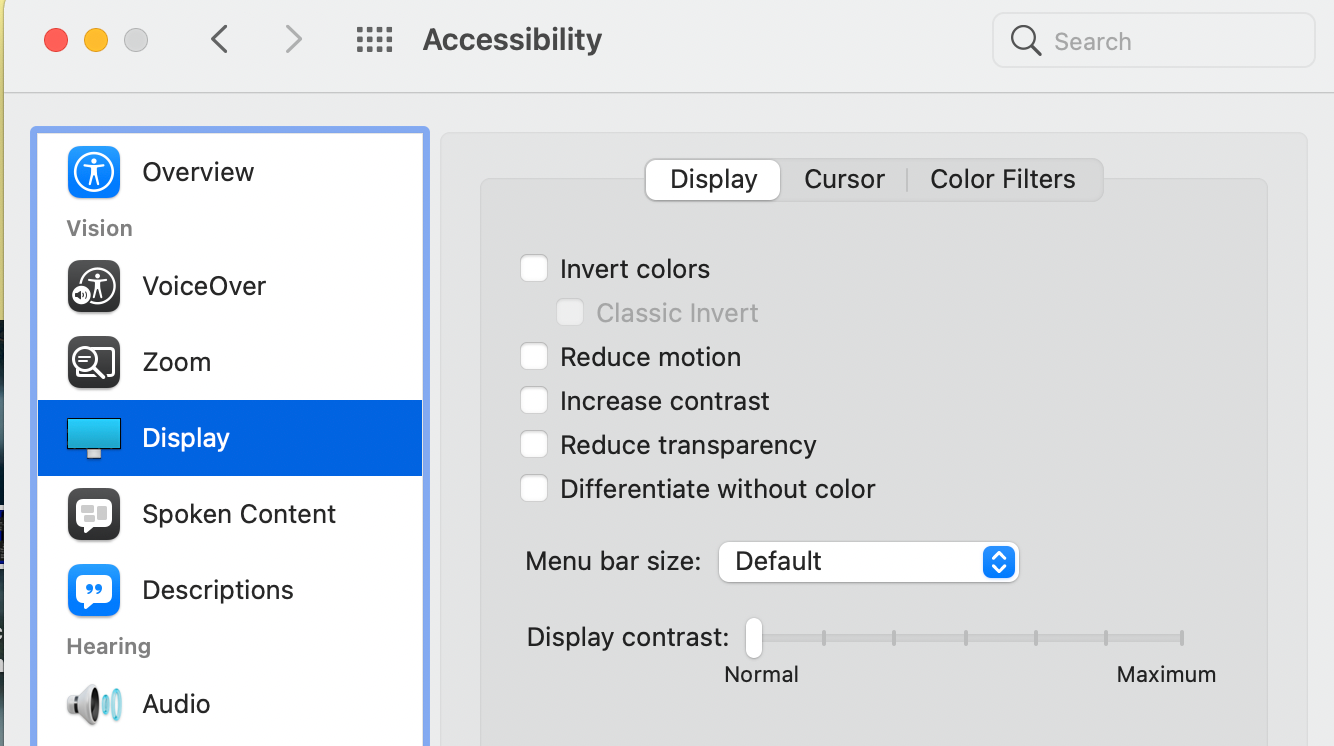
Visual challenges vary from person to person. Some visual impairments are worsened by motion, while others are challenged by perceiving some colors more than others. Head to Accessibility > Display to modify your Mac’s Display, Cursor, and add Color Filters to suit your particular needs.
While a more sophisticated display and a good UI make navigation aesthetically pleasing, these may cause some people challenges. Luckily, Apple gives you these options to modify the display and the UI:
- Invert Colors. This inverts the colors on your screen. However, enabling Night Mode automatically turns this feature off.
- Reduce Transparency. This turns the transparent areas in applications and desktop windows from transparent to gray.
- Increase Contrast. This reduces the transparency of backgrounds and makes the borders of boxes, buttons, and other UI elements more visible.
- Differentiate Without Color. Some items or options use color as a differentiation. This feature changes these user interface items to use more perceivable differences, like shapes.
Cursors can also be difficult to locate sometimes. Tick Shake mouse pointer to locate to enlarge the cursor when you can’t find it on your screen. You can also move the sliders to adjust Cursor size.
You can also add Color Filters to your display to accommodate for specific types of color blindness, like Protanopia or Deuteranopia. If you want to have more control over the color and intensity of your filter, select Color Tint. Choose your preferred color on the color selection, and move the sliders to adjust the intensity.
Make Your Mac Read the Screen to You
With Spoken Content, you can make your Mac speak text and announce apps and alerts, so you don’t miss them. You can also make it speak items under your pointer or speak out text as you type it.
Listen to Audio Descriptions
Sometimes, movies, TV shows, and other media have too much visual information that can easily be missed, especially when the image quality isn’t ideal for people with visual difficulties, like movies filmed in dark settings.
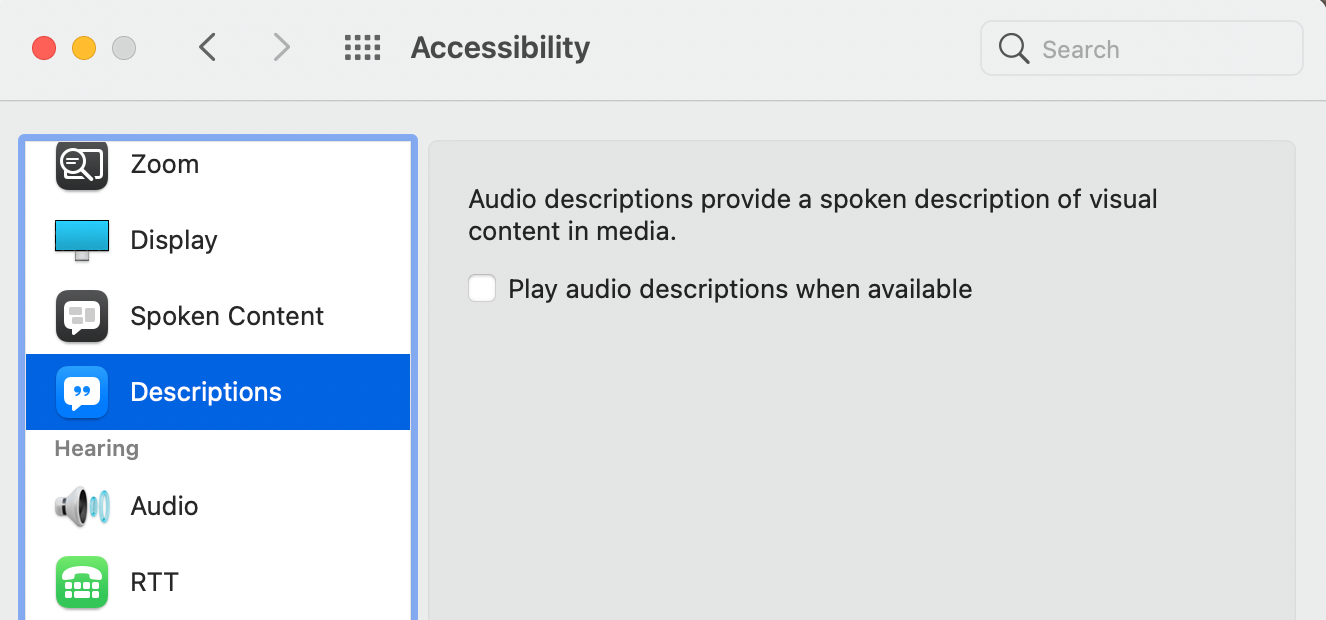
Audio descriptions provide people with more information about the visual content of the media you’re watching. To allow your Mac to play audio descriptions when they’re available, go to Accessibility, then scroll down to Audio Descriptions on the sidebar, then click Play audio descriptions when available.
Other Helpful Features
Aside from these Accessibility features, here are other useful tips to help you see better on your Mac.
Select a Less Busy Desktop Picture
While beautiful desktop pictures are nice to have, some may find them too busy, making it challenging to discern desktop icons from the background itself. Look for a desktop picture with lesser shapes or colors by going to System Preferences > Desktop & Screensaver, then choosing a picture with a solid color.
Adjust Your Screen Brightness
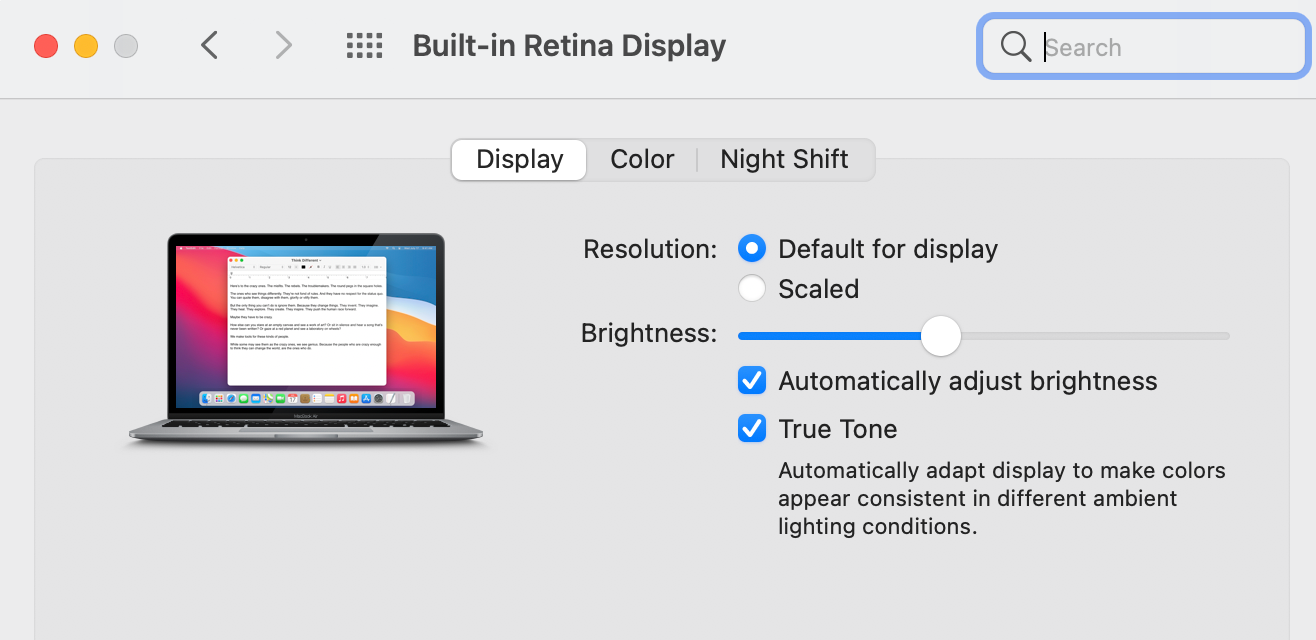
Brightness is also a factor that can help or hamper your ability to view your screen. To adjust your Mac’s brightness, head to System Preferences > Displays, click the Display tab, then drag the Brightness slider.
Tick Automatically adjust brightness to allow your Mac to adapt the screen’s brightness to match your ambient lighting, and enable True Tone to allow it to change your display’s color temperature. Activate Night Shift to make your screen colors warmer at night. This may also help you get better sleep.
Quickly Zoom In
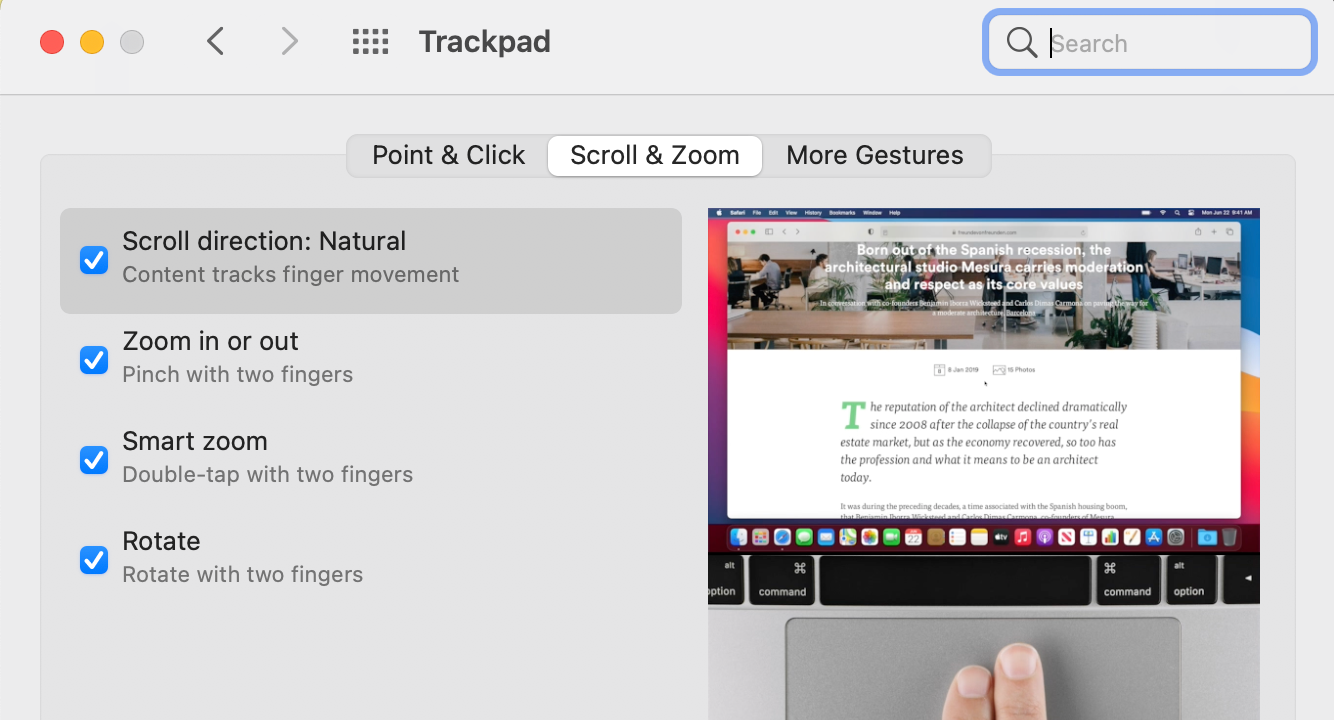
In some apps, pressing Cmd + Equals or Cmd + Hyphen allows you to enlarge or reduce the text size. Alternatively, double-tap with two fingers on your trackpad or double-tap with a finger on your mouse. To enable this:
- Go to System Preferences > Mouse > Point & Click, if you’re using a mouse.
- Go to System Preferences > Trackpad > Scroll & Zoom > Smart zoom, if you’re using your trackpad.
Enlarge Text in Certain Apps
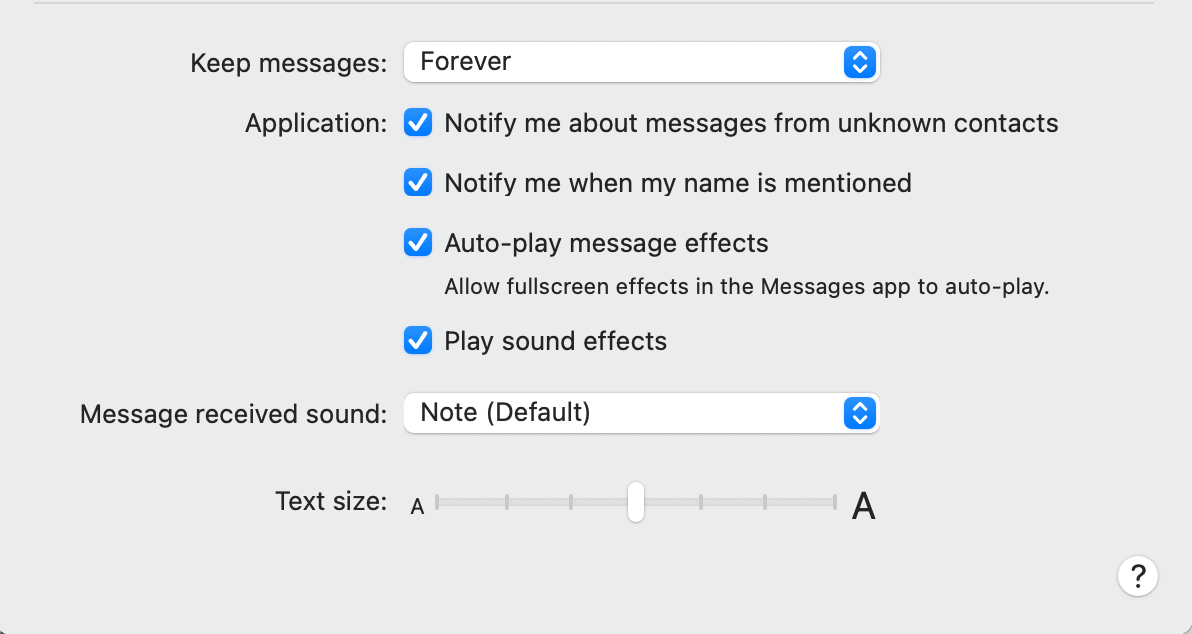
If you’re sending messages through your Mac and want the text to be larger, head to Messages > Preferences, then drag the Text size slider.
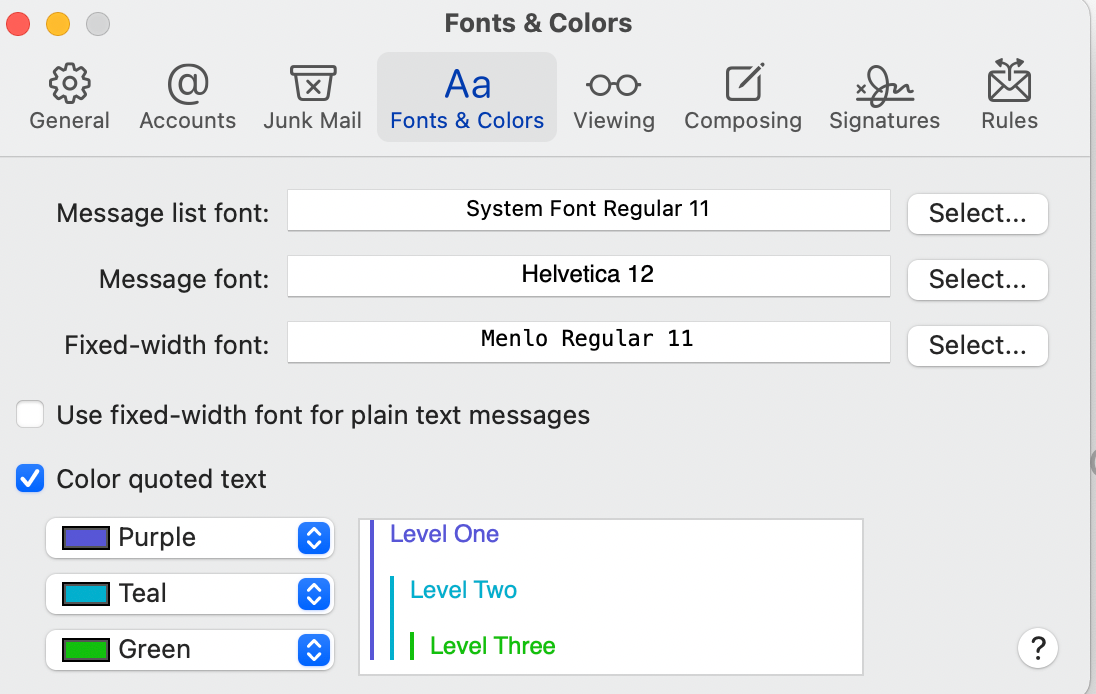
Similarly, you can increase email text size in Mail. To do so, go to Mail > Preferences > Font and Colors, click Select beside Message font, and adjust the font size. You can also choose a font that’s easier on the eyes.
Make Icons and Icon Texts Bigger
If you’re straining to see the desktop icons and text, enlarge them by Control-clicking on your desktop, then select Show View Options. Drag the icon size slider and modify the text size to your liking.
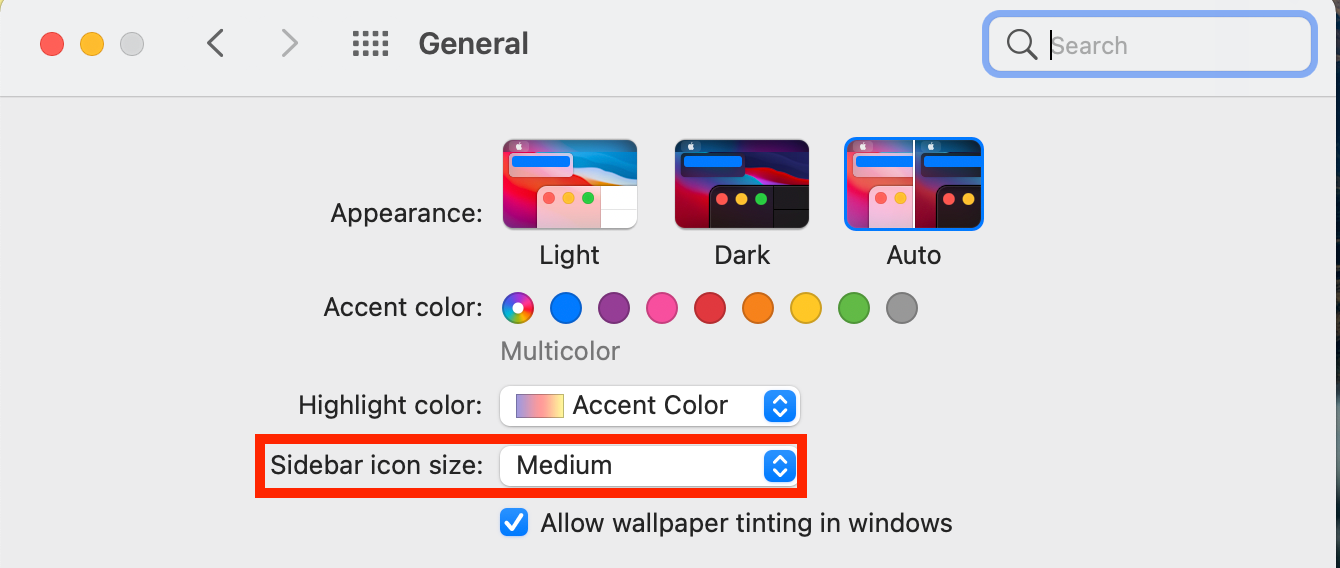
You can do the same for sidebar icons. Just head to System Preferences > General, then click to choose from the options for Sidebar icon size.
Navigate Your Mac With Ease Thanks to These Settings
In this age, using computers has become a necessity. With Mac’s Accessibility features, everyone can navigate through and make the most of their devices—including people with visual impairments.


