If you've ever played a tape or video backwards, you will know that you can end up with a dramatically different sound. When you combine this effect with musical instruments and sound effects, the potential uses for those sounds expand significantly.
Reversed audio makes up the backbone of many musical tracks and genres. You can use it to build up into transitions, add to the overall ambiance, provide a unique sound with a dynamic effect, and much more.
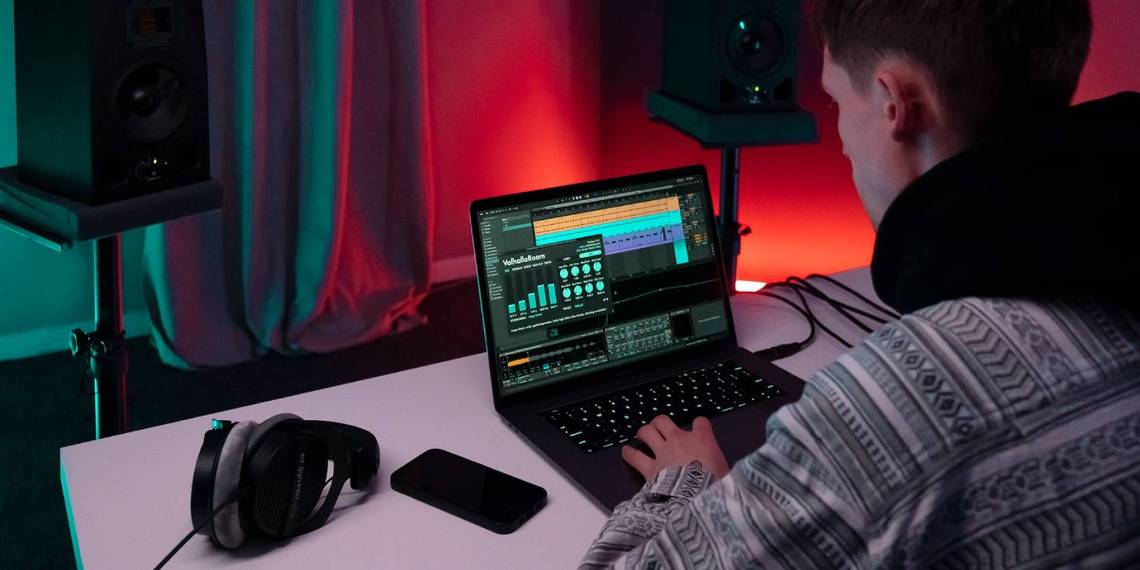
Fortunately, Logic Pro provides you with the tools to reverse your audio regions easily.
Why You Should Reverse Your Audio

The technique of reversing audio is used frequently in many genres, ranging from electronic music to cinematic scores. It provides you with two base sound options for the price of one and can breathe life into your works.
To give an example, a percussion hit (like a crashing cymbal) typically sounds strongly from the moment it is hit and gradually decays into silence. Reverse it, and suddenly you have a sound that begins in silence and steadily gains in volume into a dramatic finale.
What's more, the sound produced by any applied effects, like reverb and delay, can also be reversed. This can produce altogether unique sounds that turn into key pieces of your projects and gel your music together.
How to Reverse MIDI Files in Logic Pro

Before we show you how to reverse any audio regions, it is important to mention the process to reverse any MIDI region. Given that you can only reverse audio regions, you must first convert your MIDI region into an audio region.
To do this, select the MIDI region(s) you want to convert into audio. Then, press Ctrl + B to bounce it in place—this converts it into an audio region on a new track. Now we're ready to reverse the audio region.
How to Reverse Audio Regions in Logic Pro

You can use the Region Inspector, a keyboard shortcut, or the Audio File Editor to quickly reverse your audio in Logic by doing the following:
- Navigate to the Region Inspector in the top left of your screen. If you can't see it, press I to open the Inspector side-window. Select the arrow next to Region, press More, and check the Reverse box.
- You can also use the keyboard shortcut Ctrl + Shift + R to do all the above.
- Press E to open the Audio Track Editor and click on File at the top of the editor window in the bottom half of your screen. Then, navigate to the top-left of the editor and window, and press Functions > Reverse.
Previously, the second method was destructive to the original audio. Now, it works as a shortcut to check or uncheck the Reverse box in the Region Inspector.
Similarly, you can use the Reverse function as many times as you want in the Audio File Editor so your original audio file is never at risk of being lost. To make sure you never lose any of your work, back up your Logic Pro projects. This can also save your third-party plugins from breaking when you update Logic Pro.
How to Reverse Audio FX

One of the most used and sought-after reversed plugin sounds is the reverse reverb effect. We'll use reverb as an example, but the method can be applied beyond reverb plugins.
Before you add the reverb plugin to your track, reverse your chosen audio region so you can hear how the reversed effect will sound. Tweak the settings to your taste, and set the dials to 100% wet and 0% dry.
Now that the reverb is ready, it must be recorded to its own track. To do this, click the Sends option to send the track to an available Bus. Set the volume of the dial next to the Bus to 0. Then, make a new audio track and change its input to match the Bus you just selected. Press R to record once the track is armed (click the R icon on the Track Header so it flashes red) and a new audio file will be created.
Go back to the original track, un-reverse the audio, and turn off the bus and reverb plugin. You can now add some final touches like placing the reversed effect before an entry or fading it to avoid pops and clicks.
If you're spending more than a few minutes fading your audio in your projects, find out how you can fade all your audio regions in seconds in Logic Pro.
Use Remix FX to Reverse Audio In Logic Pro

There is another way you can reverse your audio regions in Logic that is slightly unconventional: use the reverse button in the Remix FX plugin.
To use this tool, click on the Audio FX area to bring up the drop-down menu of all plugins. Then go to Multi Effects > Remix FX. You can also place the Remix FX in an Aux track for greater efficiency. Find out how aux tracks can improve your Logic Pro performance.
In the Remix FX plugin window, the icon that looks like a reversed play symbol is the reverse tool. You can click on the left-hand side or right-hand side of the reverse play symbol for two different reversed sound variations.
To better understand how it works, click on the settings button on the left of the Reset button. This will show you at the top of the plugin window the note length of the reverse effect. By default, the left side is set at 1/8 and the right side is set at 1/16.
Click and hold on either side of the reverse play button to apply the effect. After you use the effect, the next playthrough of your track will automatically integrate your changes.
For finer precision, turn on automation (keyboard shortcut A), go to your chosen Track Header, and click on Volume. From the resulting drop-down menu, go to Remix FX > Reverse On/Off. You can now turn the reverse effect on and off within your selected track with mathematical precision.
Expand Your Creative Toolset With Reversed Audio in Logic Pro
Once you've learned to reverse specific parts of your software instruments and audio regions, your creative possibilities increase significantly. Use the Region Inspector, keyboard shortcuts, or the Audio File Editor to quickly reverse any audio region. Integrate reversed audio effects, the Remix FX plugin, and automation to add new sounds with precision and enliven your works.
Do so and the typical sound you expect from an instrument and applied effects multiplies into many options that can make your projects unique and improve their overall quality.