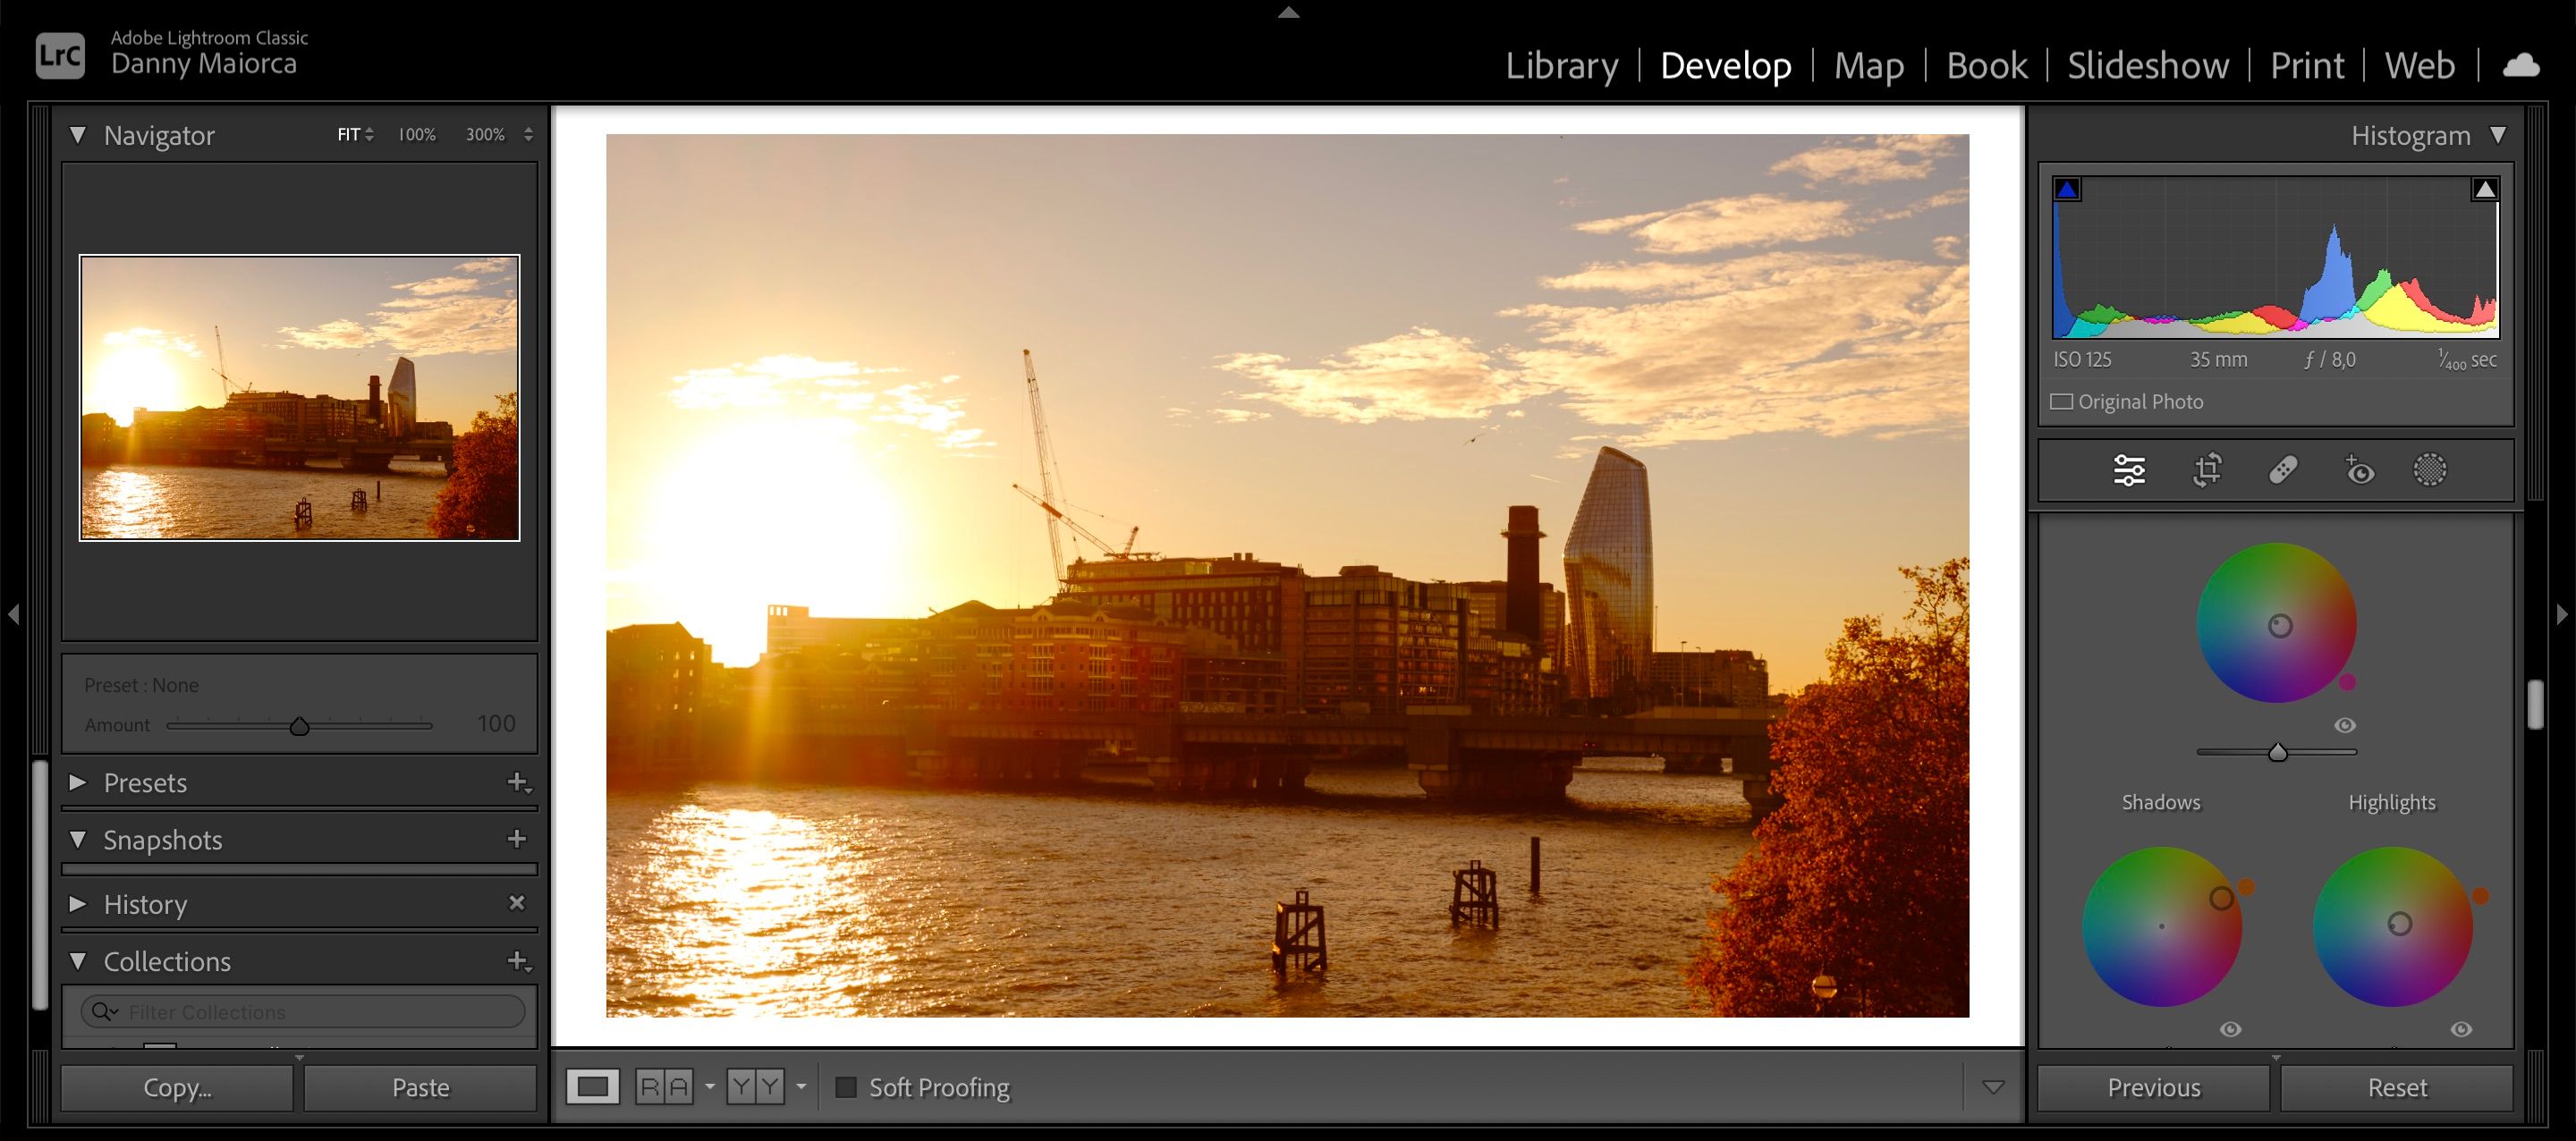
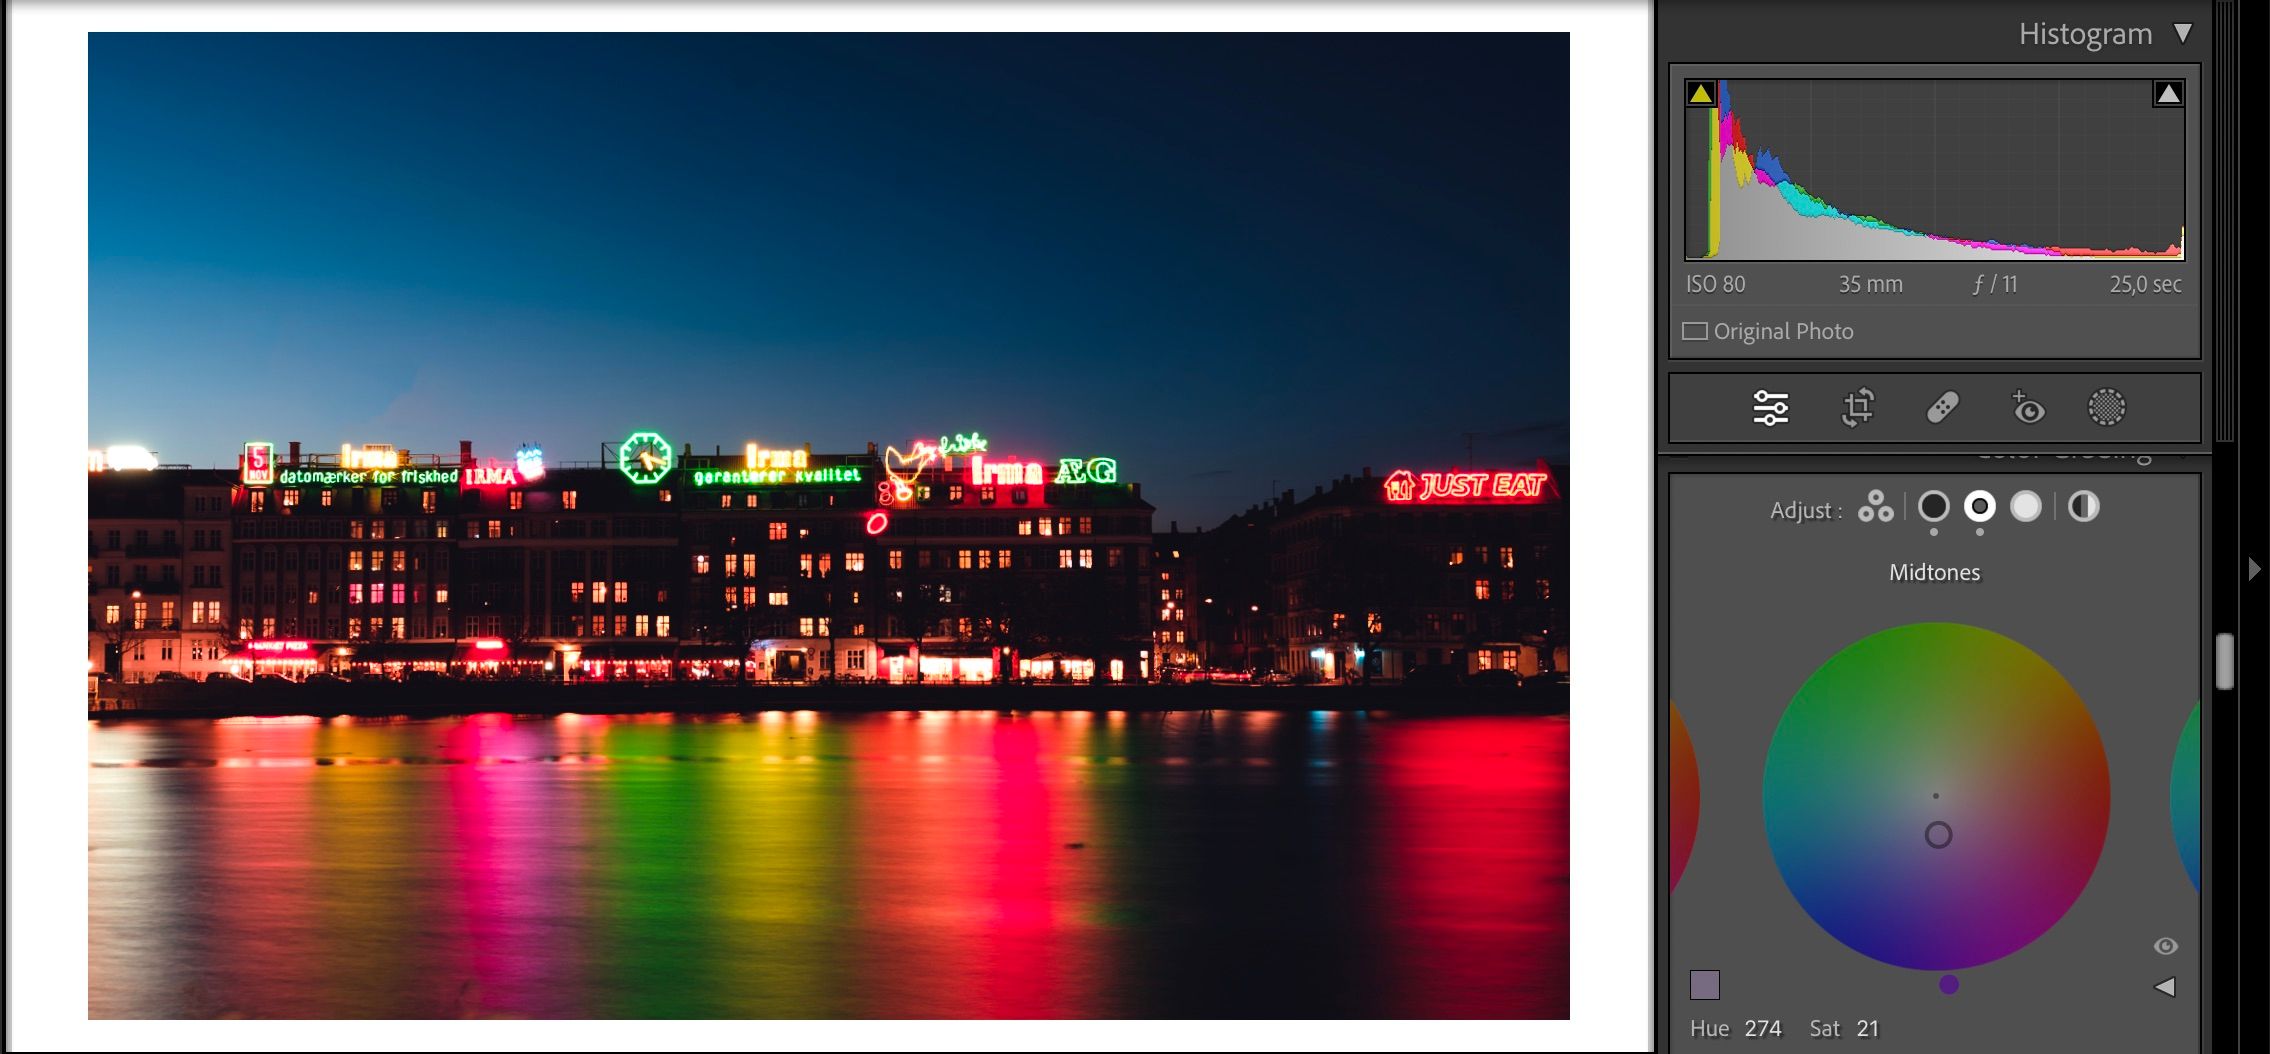
Before October 2020, split toning was one of the most popular tools for editing colors in pictures with Adobe Lightroom. But as any photographer that’s used it before will tell you, the feature—while useful—had its limitations.
Since then, however, Adobe has replaced split toning with color wheels. These existed in Adobe Premiere Pro long before making their way to Lightroom, and they work similarly.
This article will teach you how to start color grading your photos in Lightroom, and you’ll also learn what the feature does.
What Does Color Grading Do in Adobe Lightroom?
As you might have guessed from the name, color grading allows you to adjust the colors in certain parts of your image. You can use these color wheels to adjust the hue and saturation; for each of them, you will also find a luminance slider at the bottom.
Color grading adds more of the colors that you want into your photo. It differs from individual color sliders, which focus largely on increasing those particular colors within the image.
Color grading is useful in multiple scenarios. For example, you can make your golden hour photos look more orange, yellow, or red than what it looks like in real life.
Should You Color Grade Before Making Other Edits?
While you can use color grading whenever you want, making basic edits before doing so is a good idea. Why? Because if you don’t, your edit will often look sloppier—and you’ll spend more time correcting these errors.
In particular, using the HSL sliders for each color is a good idea before color grading. Similarly, you should determine whether you want to adjust other basic settings—such as your exposure, texture, and contrast.
Besides using the sliders, it’s also worth making other corrections before you color grade your pictures in Lightroom. For example, you should ensure that you pick the right camera profile. Similarly, the early stages are a good time to make lens corrections and crop your photo.
If you want to make more advanced color edits after using color grading, you can always use Photoshop together with Lightroom.
What Color Wheels Are Available in Lightroom?
In Adobe Lightroom, you will see three main color wheels: Midtones, Shadows, and Highlights. Each of these impact the colors in that particular area of the image, without having an effect on the other parts.
You will also see a color wheel that changes the colors for the entire photo. It’s called Global, and you’ll find it on the last circle in the Color Grading section on your Lightroom app.
Regardless of whether you use Lightroom Classic or Creative Cloud, you will have access to the color grading wheels. And if you use Adobe Lightroom on your smartphone or tablet, you will also see them. This is different from Photoshop Express for mobile, which still uses the split toning feature.
How to Color Grade Your Photos in Lightroom
We’re now ready to look at how you can color grade your photos in Lightroom. First, you’ll need to go to the Color Grading tab.
To increase the saturation in your photos, move the circle in the middle of each wheel further out to the edge. You’ll need to be careful, however, as moving the circle too much can result in an oversaturated picture—as you can see below.
If you want to change the hue, you can move the circle around to different colors on the wheel. And to change luminance, all you need to do is move the slider to the left or right for each section.
When color grading your photos in Lightroom, you might also want to change the view. While many editors prefer seeing the three main wheels together, you can click on the individual circles at the top of this section to focus on one at a time.
Once you’ve finished color grading your photos in Lightroom, you can save and export them. Alternatively, you can make more advanced adjustments in another app.
Start Color Grading in Lightroom
Color grading seems like a daunting task, but it’s actually quite simple. And when you get to grips with how it works, you can dramatically improve the results of your photo edits—while also finding a style that suits your personality.
If you’re new to color grading, spend a little time playing around with each wheel. You can, to improve your workflow in the future, save your favorite edits as presets.


