
JES is a piece of software you can use to programmatically edit photos, videos, and sounds. It uses the Jython programming language, which closely follows Python’s syntax.
As well as using JES to edit an image, you can use built-in functions to ask the user to select an image, and to render the image in a new window. Other built-in functions can copy an image or find out other information such as its height and width.
You can also open another window that allows you to explore each pixel in the file, to get information about the image’s colors.
How to Render an Existing Image Using JES
Jython closely follows Python syntax, which means that the indentation will determine the structure of your code. If you need to, you can revise what Python is and what you can use it for, or other useful Python commands for beginners.
You can render files by prompting the user to select a file through a file dialog window. Once the user has selected an image, you can render the selected image in another window.
- Open the JES software on your computer.
-
In the programming window at the top of the JES interface, create a new function called displayPic():
def displayPic(): -
Inside the displayPic() function, use the built-in pickAFile() function. This will open a file explorer, and you will be able to select what image you would like to render. Store the image selected in a new variable called "file":
file = pickAFile() -
Use the makePicture() function to create a new picture object using the selected file:
pic = makePicture(file) -
Use the show() function to render the image. This will open the selected image in a new window:
show(pic) -
To run the function, click on the Load Program button located between the command line and the programming area. Click on Yes when prompted to save. Once loaded, call the displayPic() function using the command line:
displayPic()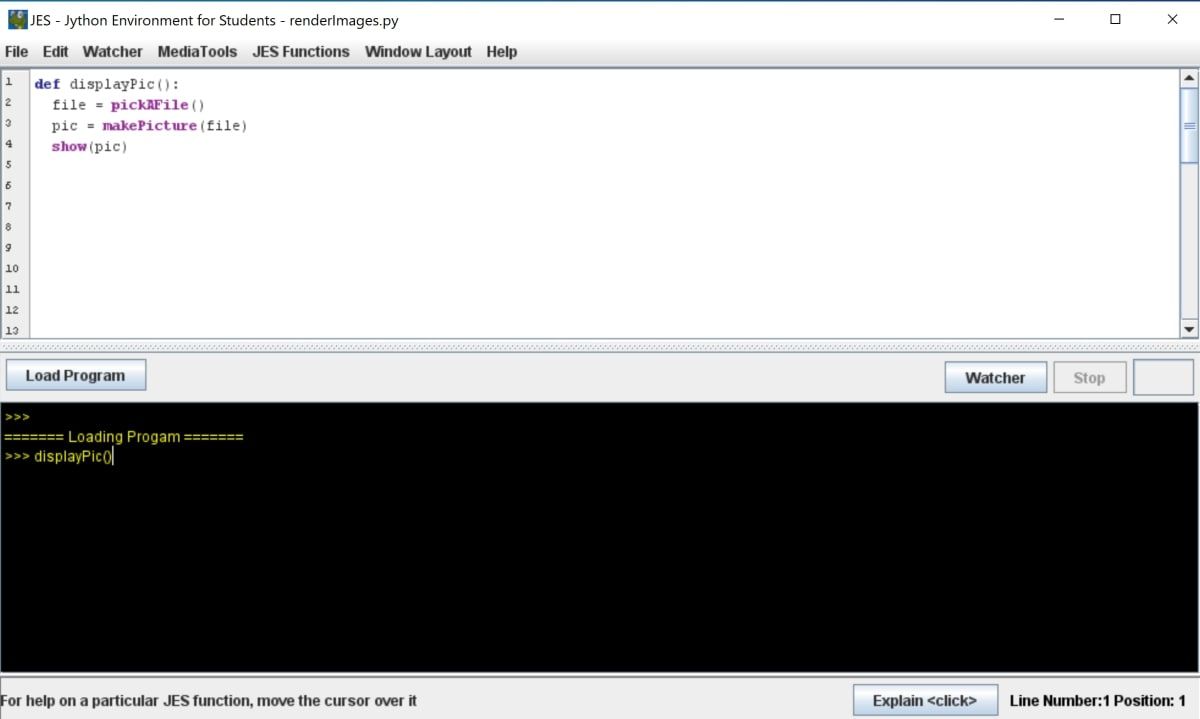
-
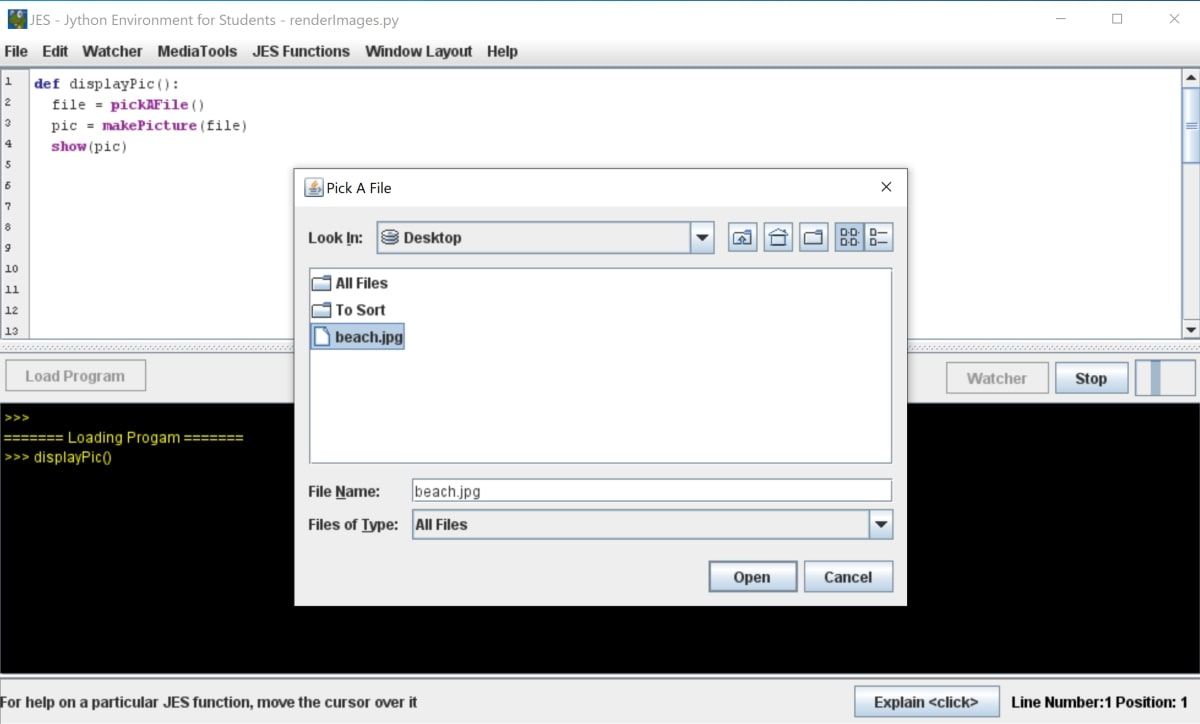
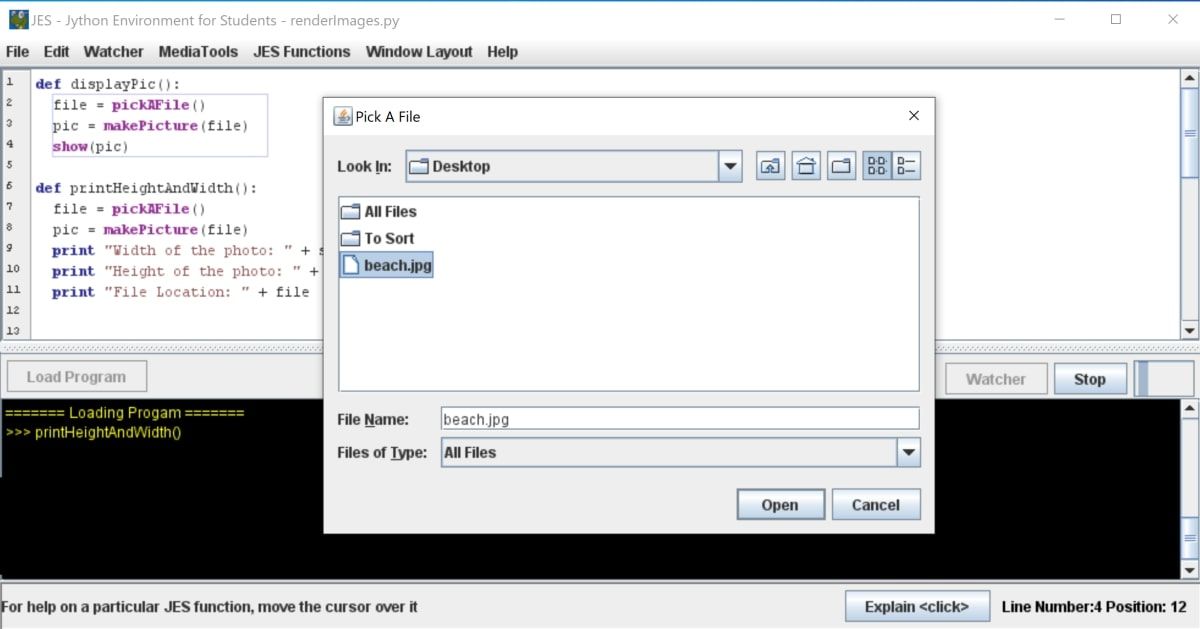
When the function starts running, it will display a file explorer. Use it to select the image you would like to render, and click on Open.
-
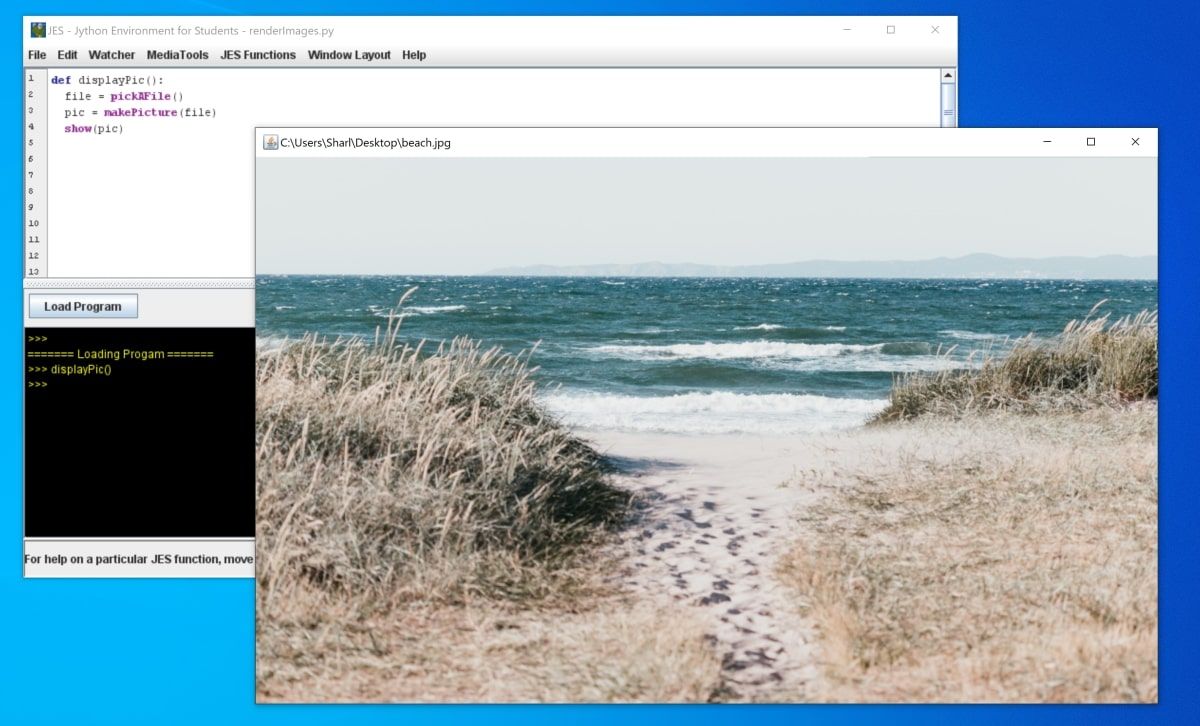
Confirm that your chosen image renders in a new window.


How to Display Information About the Image
You can also retrieve information about the image, such as its local file path location, width, or height. JES offers built-in functions like getWidth() and getHeight(), which you can use to get this information.
-
In the programming window, create a new function called printHeightAndWidth():
def printHeightAndWidth(): -
Inside the new printHeightAndWidth() function, use the pickAFile() function to ask the user to select an image. Use the selected image to create a new picture object:
        file = pickAFile()
pic = makePicture(file) -
Get the width of the image using the getWidth() function, and display the result:
        width = getWidth(pic)
print "Width of the photo: " + str(width) -
Get the height of the function using the getHeight() function, and display the result:
        height = getHeight(pic)
print "Height of the photo: " + str(height) -
Print the file location of the selected file:
print "File Location: " + file -
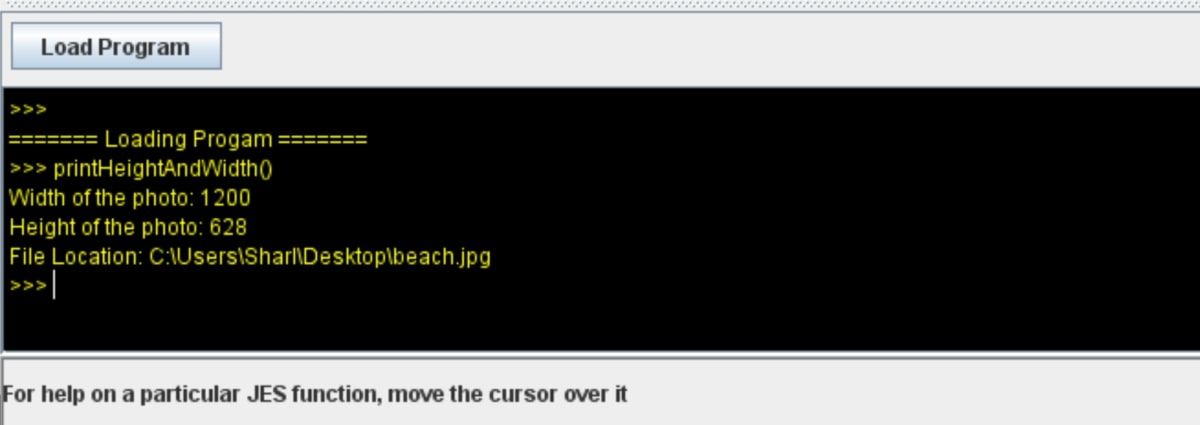
Click on the Load Program button, and select Yes when prompted to save. Enter the printHeightAndWidth() function into the command line to run it:
printHeightAndWidth()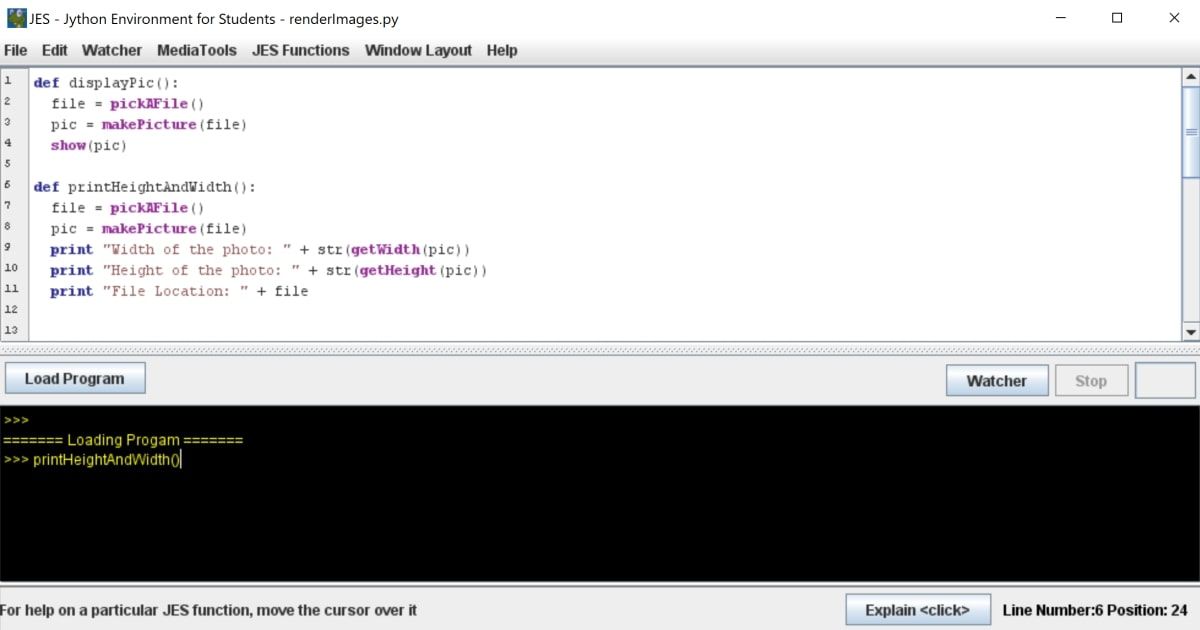
-
Use the file explorer window to select an image, and click on Open.
-
View the information about the image's width, height, and file path location in the command line.


How to Duplicate an Image
You can duplicate an image using the duplicatePicture() function. This clones an existing image into a second picture object. This allows you to make edits to a copy of an image, without affecting the original image.
-
In the programming window, create a new function called duplicateImage():
def duplicateImage(): -
Inside the new duplicateImage() function, use the pickAFile() function to ask the user to select an image. Use the selected image to create a new picture object:
        file = pickAFile()
originalPic = makePicture(file) -
To clone the image, use the duplicatePicture() function. Enter the original image as an argument into the function. The duplicatePicture() function will return a cloned version of the original image. Store the cloned image in a new variable called "pic2":
pic2 = duplicatePicture(originalPic) -
Use the show() function to display both images:
        show(originalPic)
show(pic2) -
Click on the Load Program button, and select Yes when prompted to save. Enter the duplicateImage() function into the command line to run it:
duplicateImage()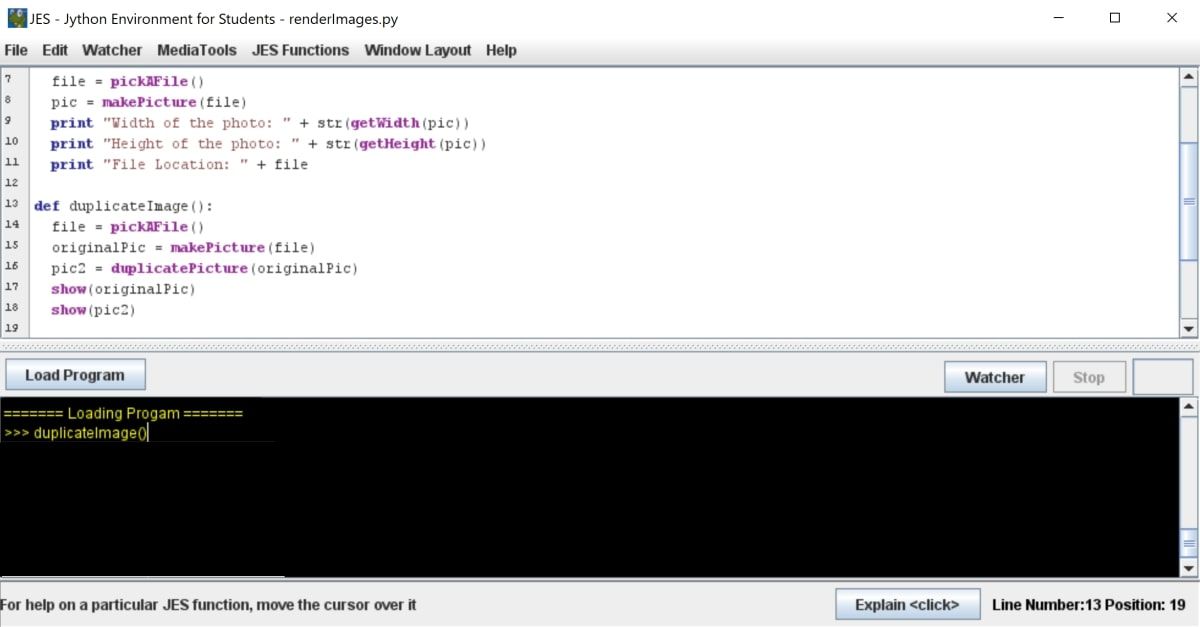
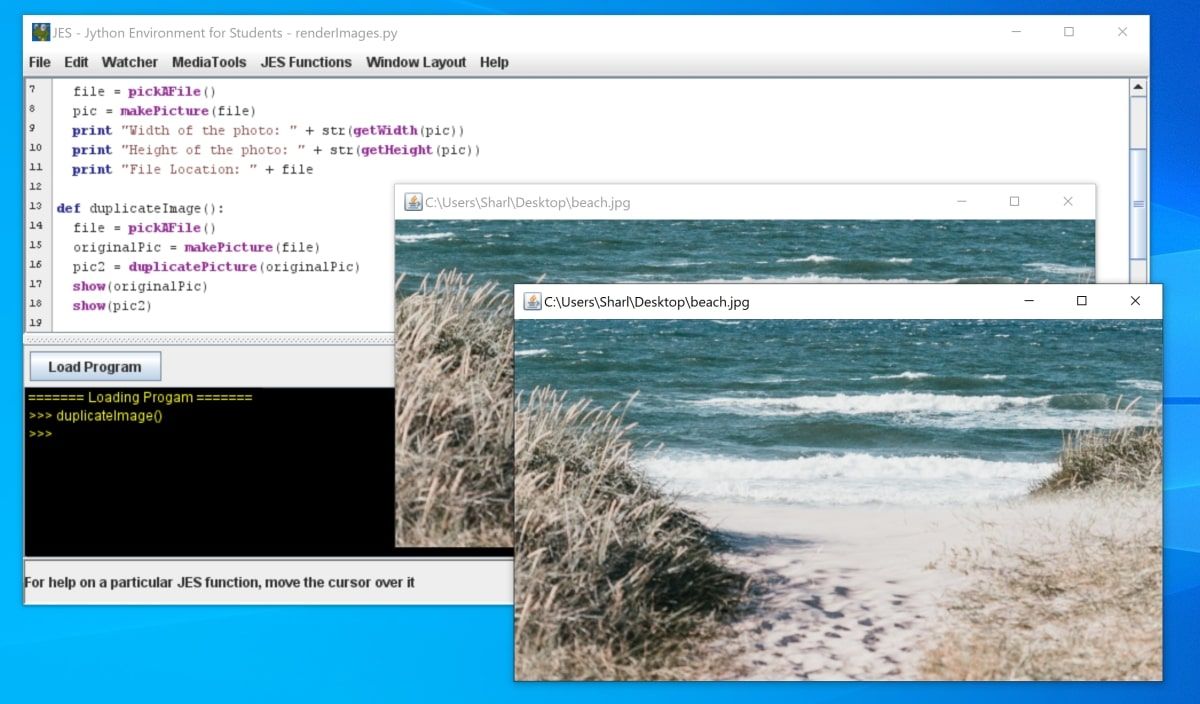
- Use the file explorer window to select an image, and click on Open.
-
Both the original image and the cloned image will open in two separate windows.


How to Explore Pixels in an Image
Being able to view or select any pixel in an image is an extremely useful function that many online image editors for Photoshop effects use. In JES, you can use the built-in explore() function to open the image in explore mode.
Explore mode will open the image in a new window and offers extra functionality that the show() function does not. For example, you can select any pixel in the photo to view information about it, such as its color or x and y coordinates.
-
In the programming window, create a new function called exploreImage():
def exploreImage(): -
Inside the new exploreImage() function, use the pickAFile() function to ask the user to select an image. Use the selected image to create a new picture object:
        file = pickAFile()
pic = makePicture(file) -
Use the explore() function to open the image in explore mode.
explore(pic) -
Alternatively, you can use the built-in openPictureTool() function. This function also allows you to examine pixels within a selected image:
openPictureTool(pic) -
Click on the Load Program button, and select Yes when prompted to save. Enter the exploreImage() function into the command line to run it:
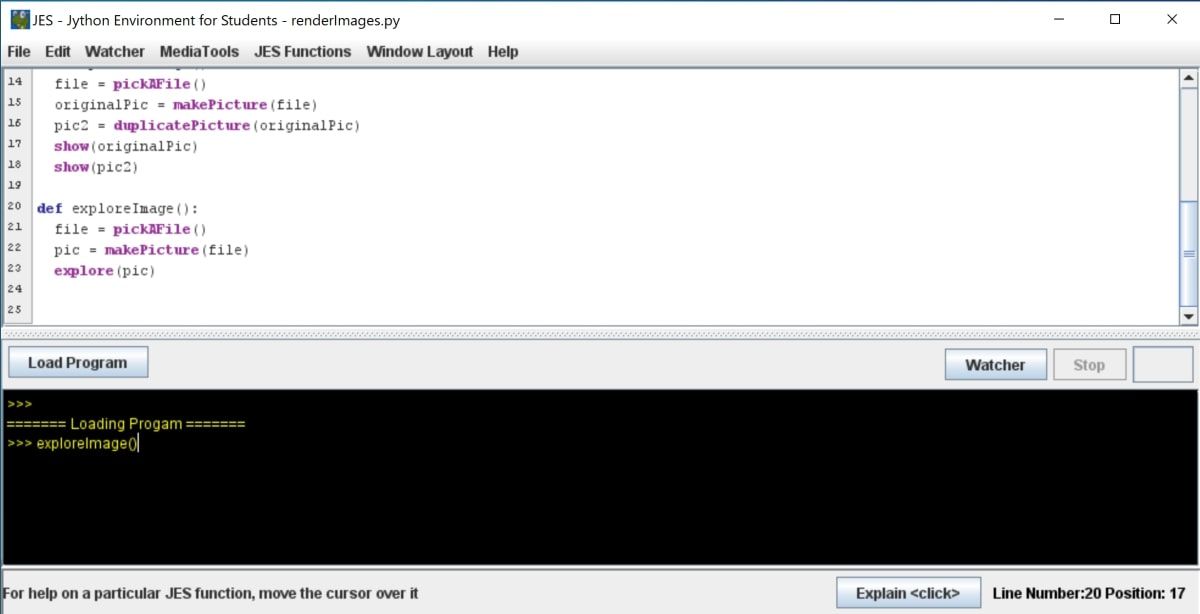
-
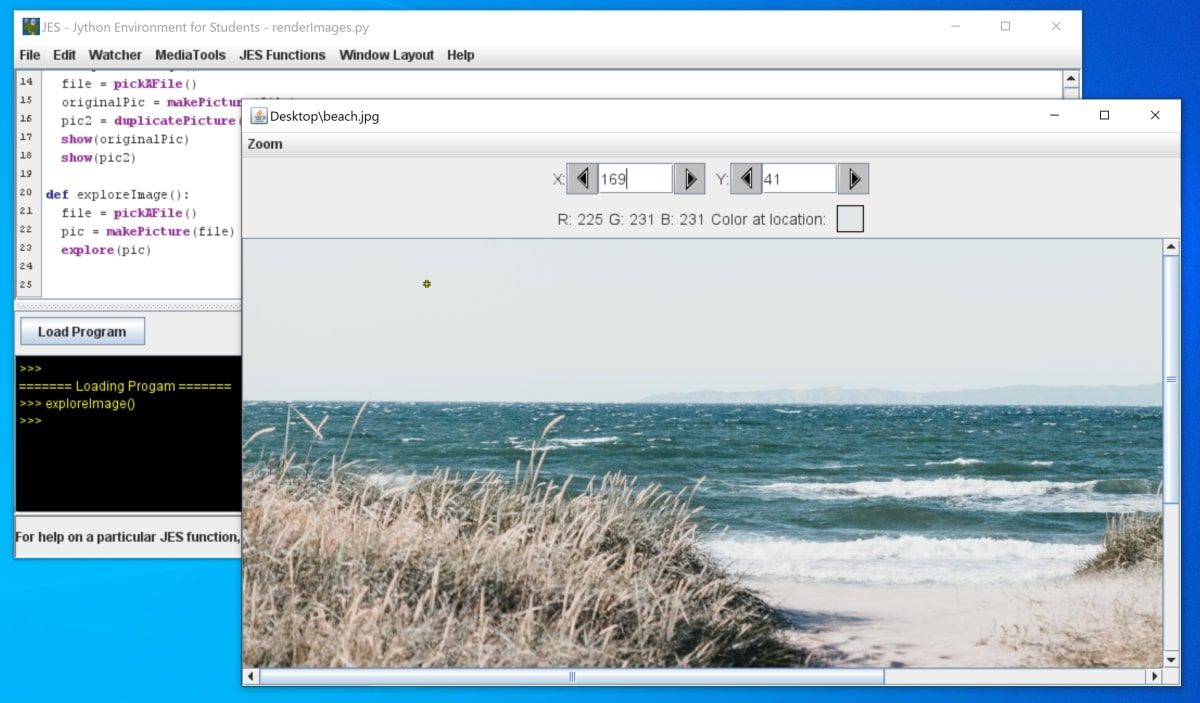
Select an image using the file explorer to view the image in explore mode. Here you can select any pixel in the image to view its x and y coordinates. You can also see the pixel's RGB color values.


Rendering Images Using JES
Now that you know how to render images using JES, you can explore pixels in more detail. You can use this approach to perform specific edits on your photos.
Since Jython is very similar to Python, you can explore more Python exercises to strengthen your Python knowledge.