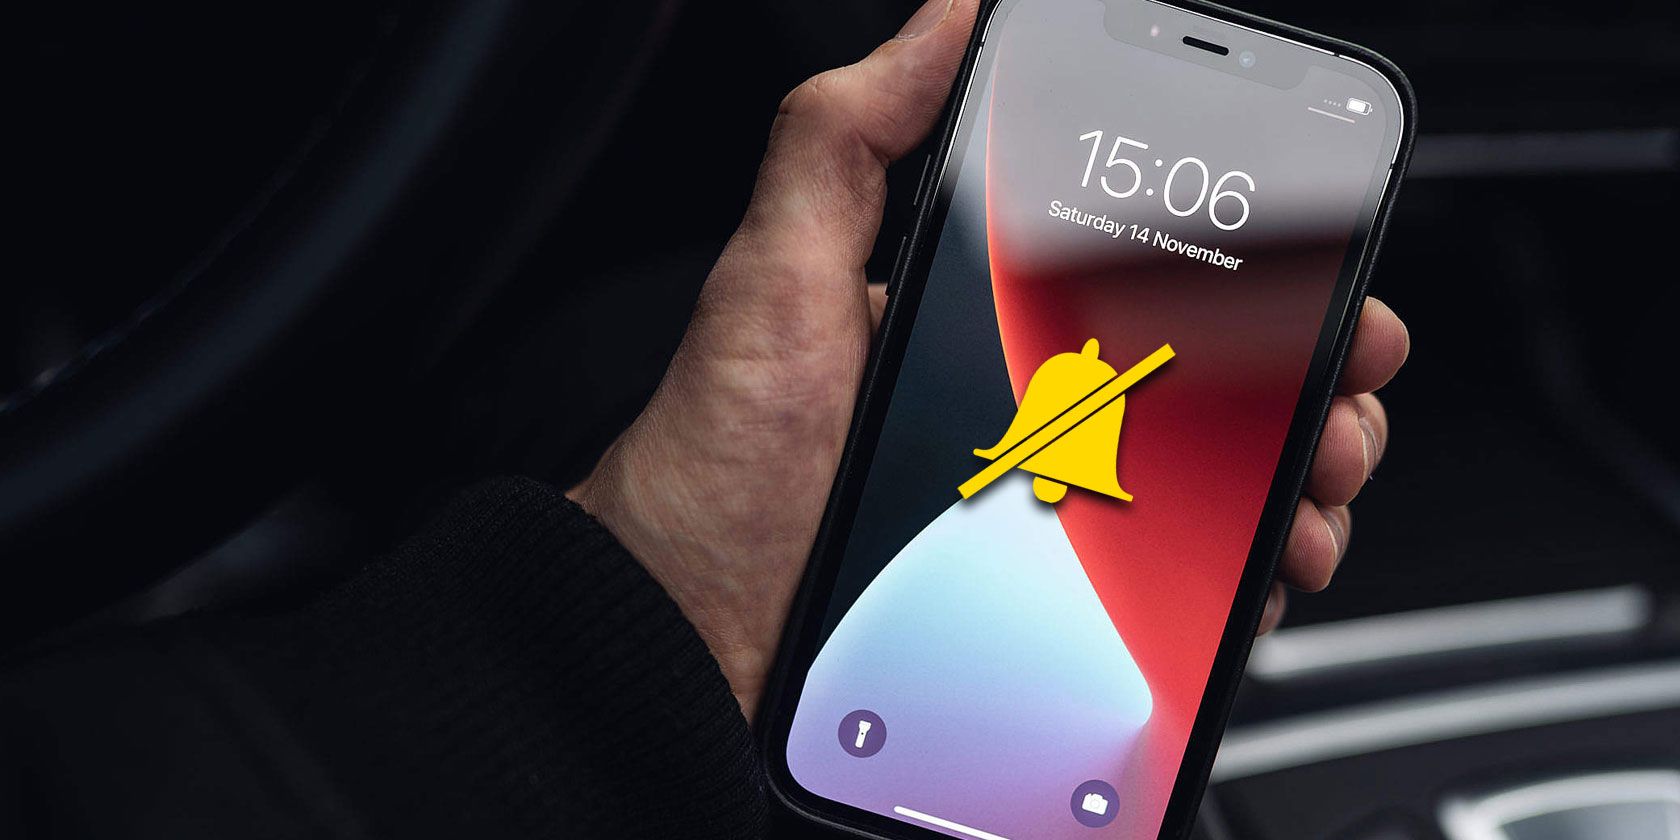
It can be really annoying to have your iPhone pinging and beeping with notifications all day. Sometimes you want to turn these noises off to disconnect from your phone, and other times you need your iPhone to be silent for important meetings or screenings.
If you're not too sure on how to use your iPhone's silent mode, here's everything you need to know.
What Does Silent Mode on Your iPhone Actually Do?
When you put your iPhone in silent mode, you're stopping it from making any noises. This is for both notification sounds and system sounds, such as keyboard clicks. You'll still receive all your notifications, texts, and calls to your iPhone visually.
Your iPhone can still play music or video sounds while in silent mode.
In silent mode, your iPhone will vibrate instead of making a sound. This means you'll still be able to tell if a notification has come through on your iPhone without it disrupting anybody else.
How to Silence Your iPhone
There are a couple of different ways to silence your iPhone. You might have noticed the dedicated switch above the volume buttons—this is the Ring/Silent switch.
If you're not a fan of the switch, or if you use it for auto-lock instead, you can also use the volume buttons to mute your iPhone.
Using the Ring/Silent Switch
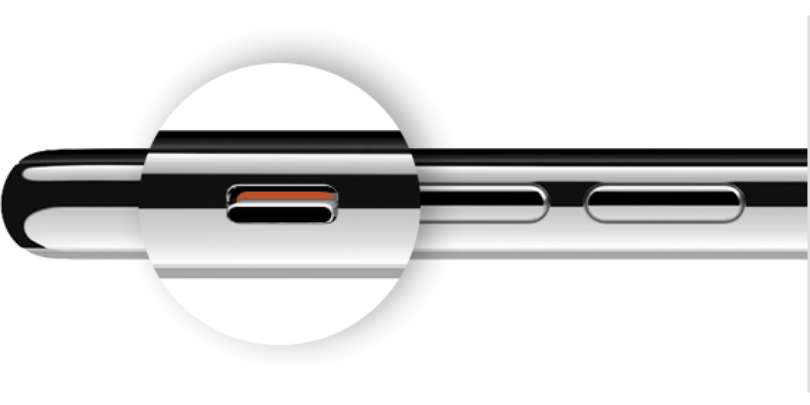
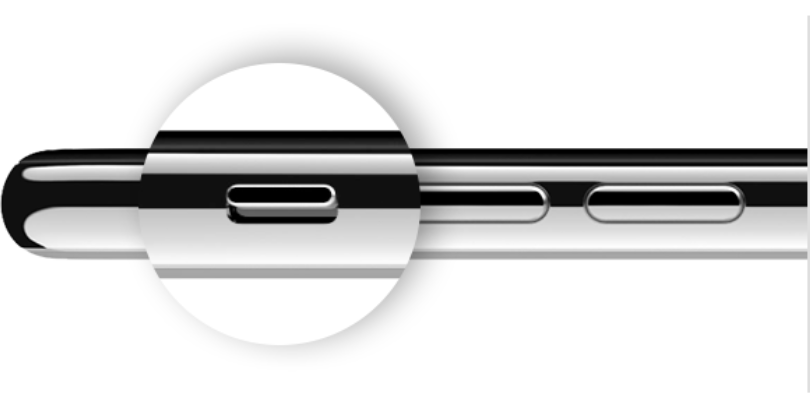
The Ring/Silent switch is above the volume buttons on the left side of your iPhone. You'll be able to find the switch here on all iPhones as the position has never changed.
To silence your iPhone, flick the switch toward the back of the iPhone. You'll be able to tell when you've done this as the switch will show an orange indicator.
Once you've done this, you'll also see a notification showing that your iPhone is in silent mode on the display.
If you want to un-silence your iPhone, do the same thing in reverse. Flick the switch towards the front of the iPhone and you'll receive a confirmation on the screen showing that silent mode is off.
Using the Volume Buttons
While you can't use the volume buttons to completely silence your iPhone ringer, you can silence other sounds.
When you're in applications that are playing sound or consuming media on your device, you'll be able to use the volume buttons to turn the sound down all the way to silence. The bottom button is volume down and the top button is volume up.
One example of how you can use the volume buttons is to turn off the camera shutter sound in the Camera app.
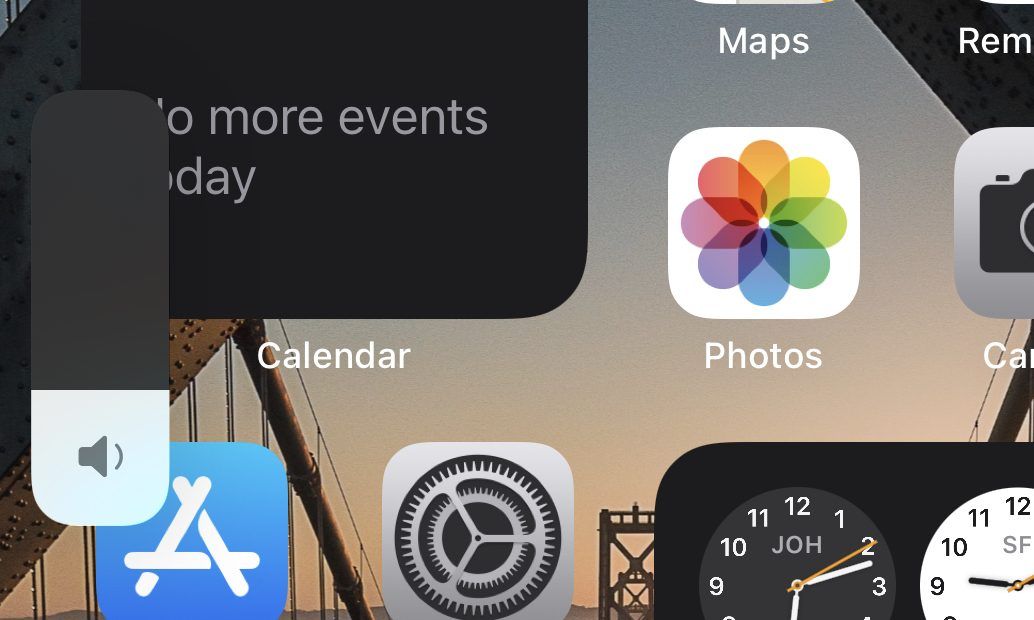
You can also use the volume buttons to turn down your ringer to the lowest level of noise using the volume buttons. It's the same process, but make sure you're not trying to do this while other sounds are playing.
If other sounds are playing, just quickly go to the Home Screen to adjust the ringer volume.
What About Turning Off Vibrate?
It's all well and good turning your iPhone's ringer off, but sometimes the vibrations are just as much of a problem. If your iPhone is on a table, the vibration alerts can sometimes make just as much noise as the ringer. So you might want to turn off vibrate on your iPhone as well.
Doing this is really easy:
- Just head into the Settings app.
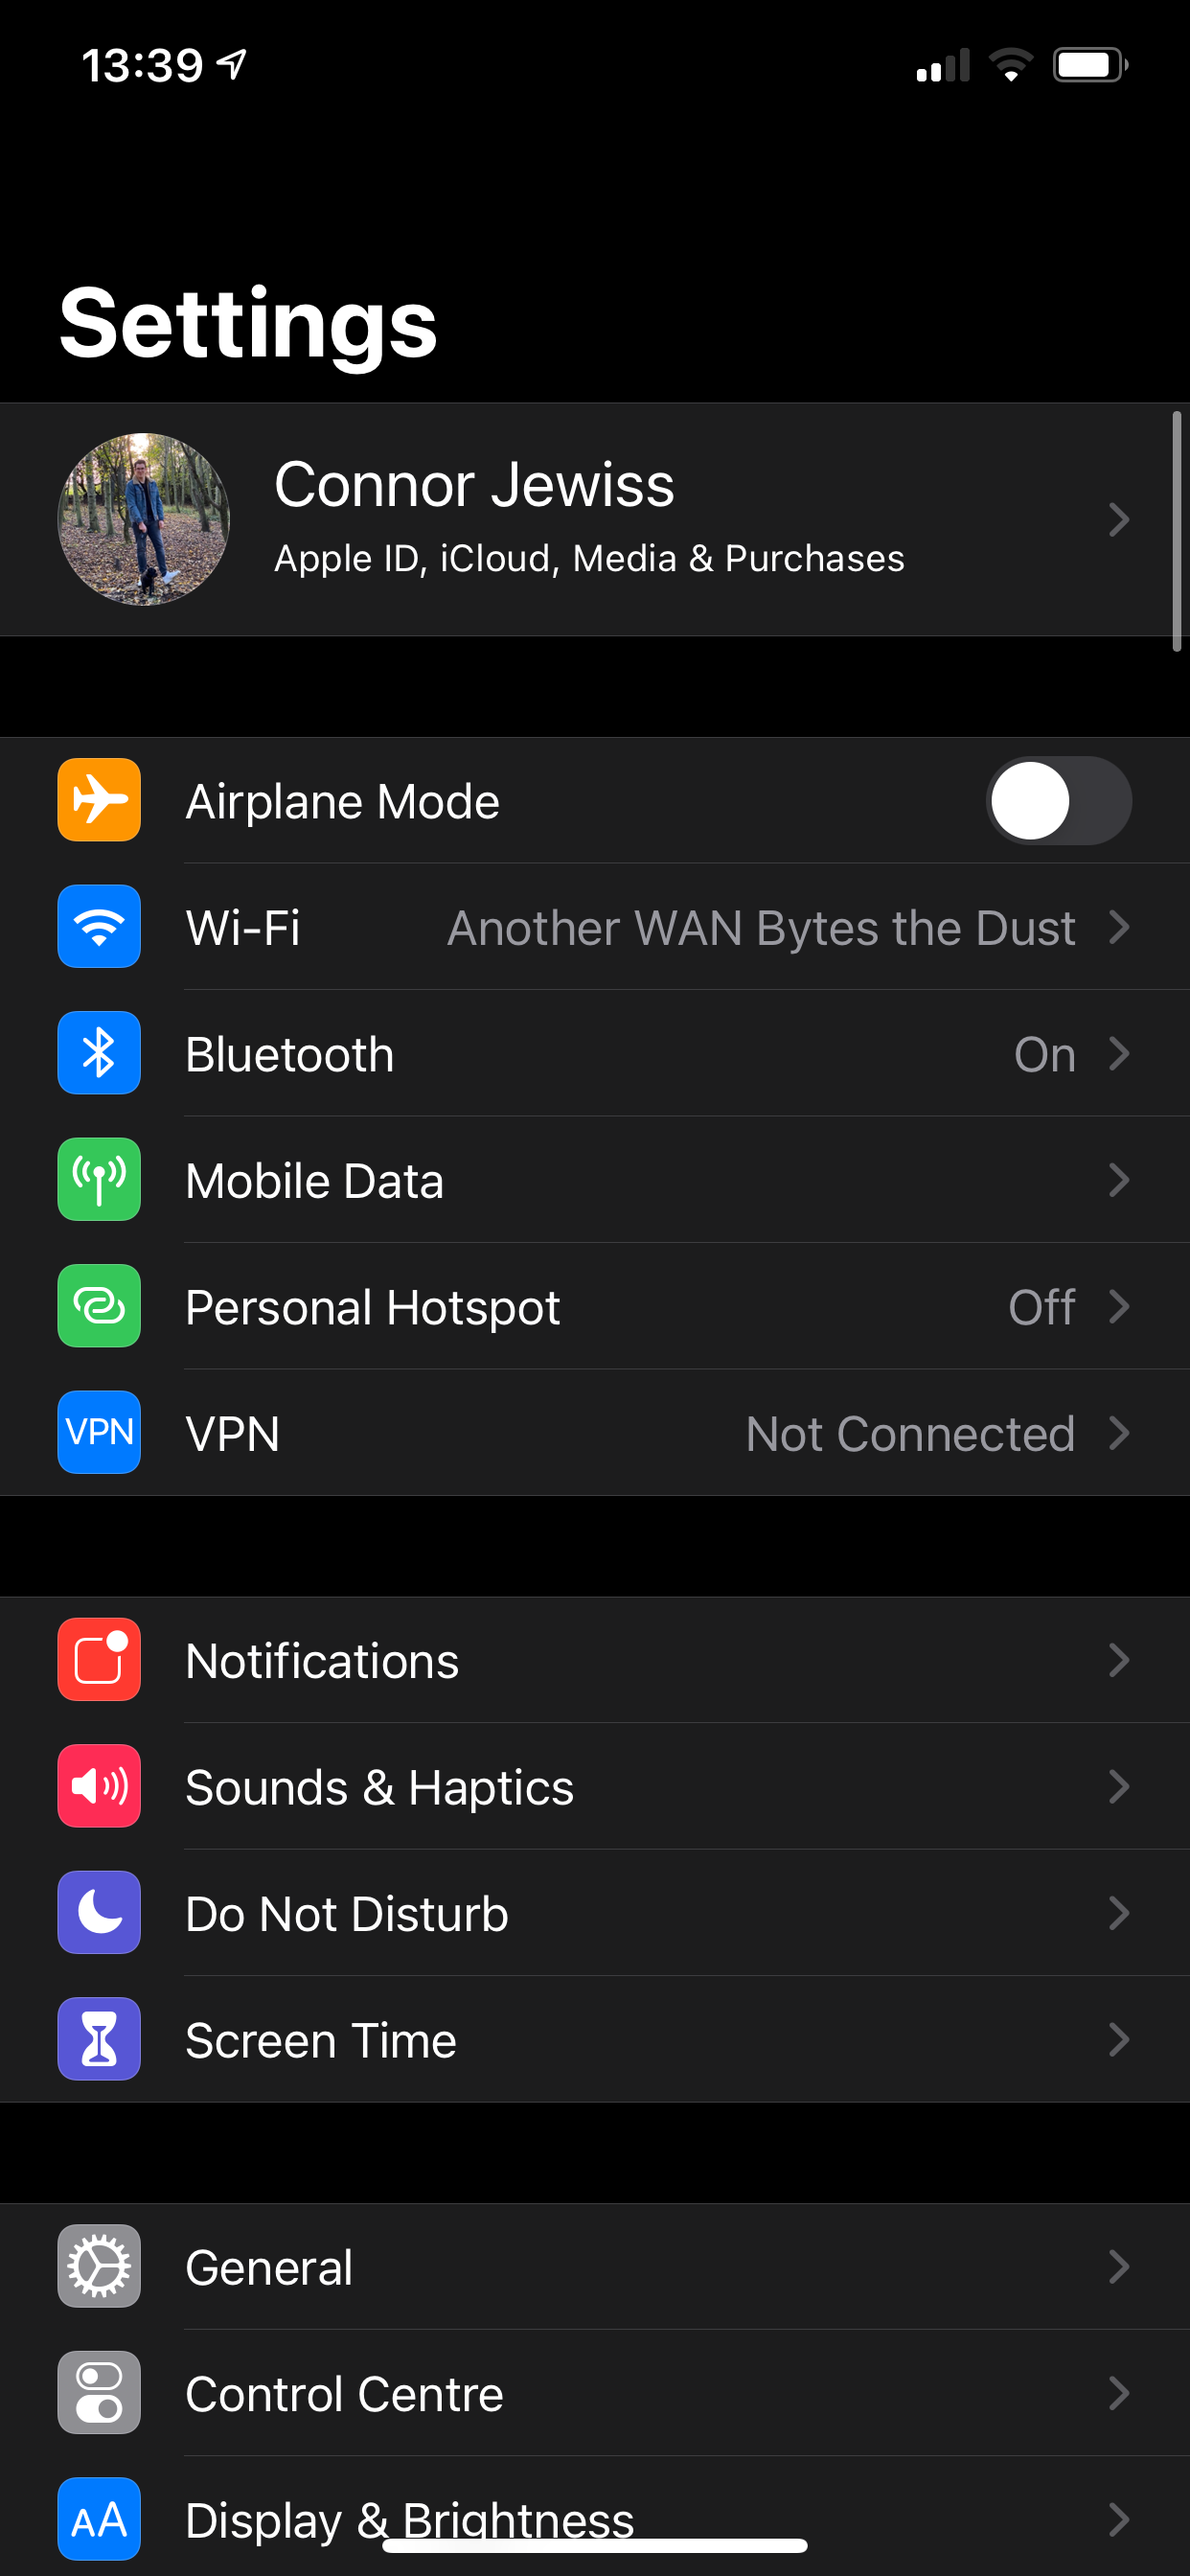
- Tap Sounds & Haptics, which is near the top of the app.
- Once on this page, turn off the toggle for Vibrate on Silent.
This will stop your iPhone from vibrating at all when it's in silent mode.
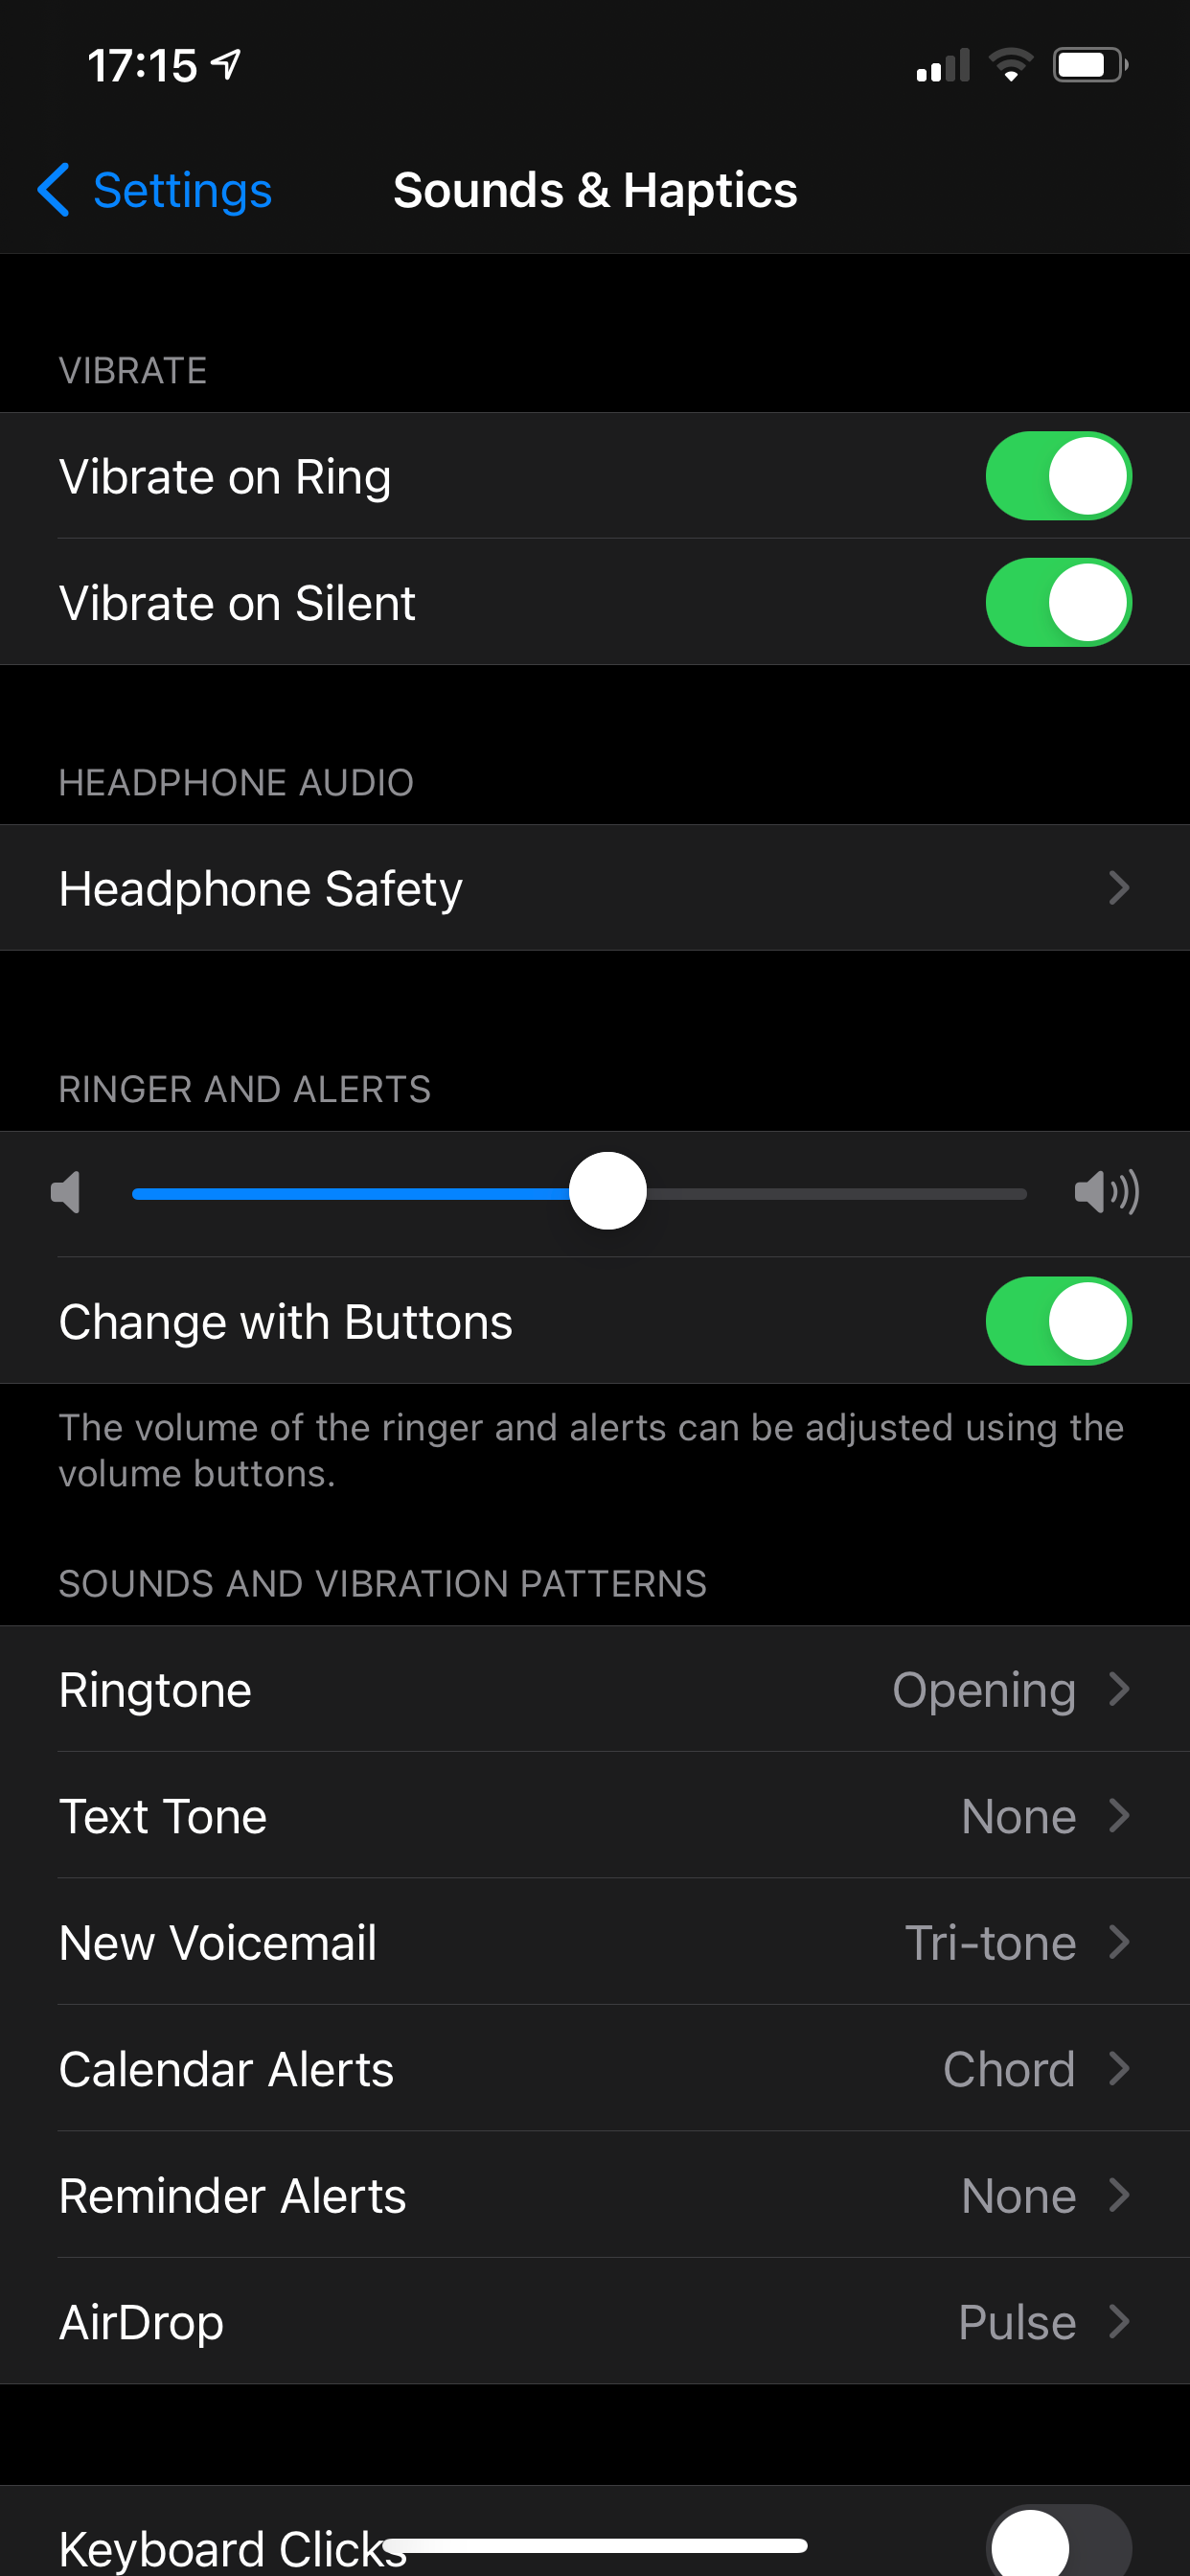
You can turn off vibrations for when your iPhone ringer is on too. You just need to turn off the toggle for Vibrate on Ring. This will stop your iPhone from vibrating at the same time it makes the notification sound.
You can come back to change these settings as often as you need to. If you just want to turn off vibrations for a short while and then have them back on again, this is absolutely not a problem.
How to Silence Specific Apps
If you just want silence specific apps to stop them from vibrating or making notification sounds, iOS allows you to do this in the Settings.
To silence a specific app:
- Head to Settings.
- Tap on Notifications.
- Once this page opens, find the app you want to change the settings for by scrolling up or down the list.
- When you've found the app you're looking for, tap on the app name.
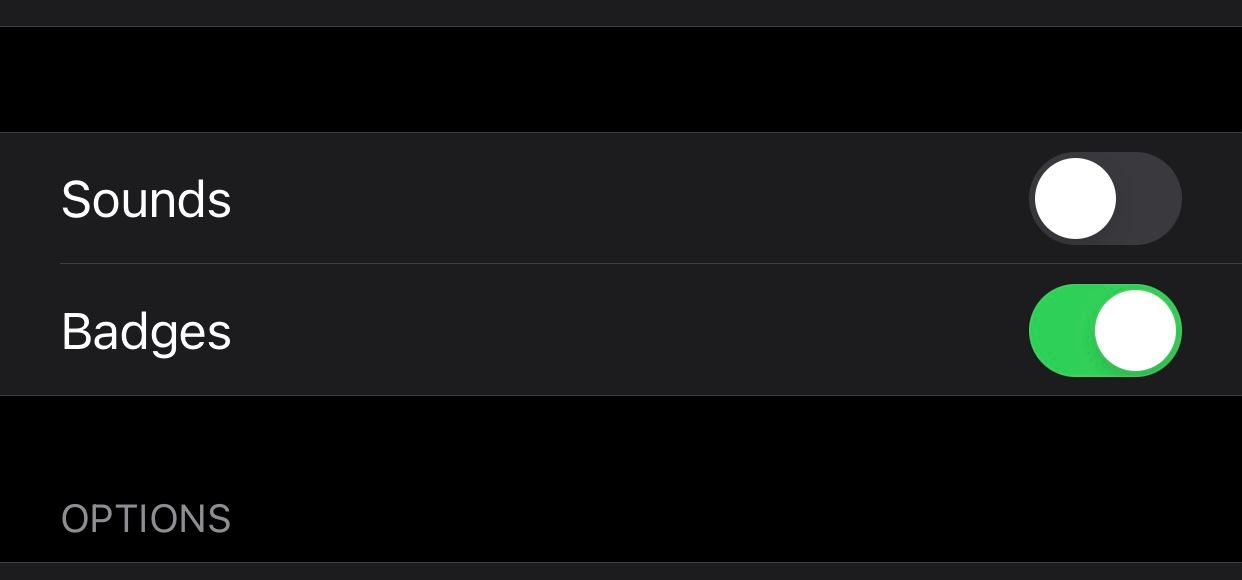
- In this screen, you'll see a toggle for Sounds, switch this to the off position.
Keep in mind that doing this will stop that specific app from making any sounds or vibrations at all. This is the case regardless of which mode your iPhone is in. Unfortunately, you're unable to turn off either of the two options by themselves.
Do You Want Silent Mode or Do Not Disturb?
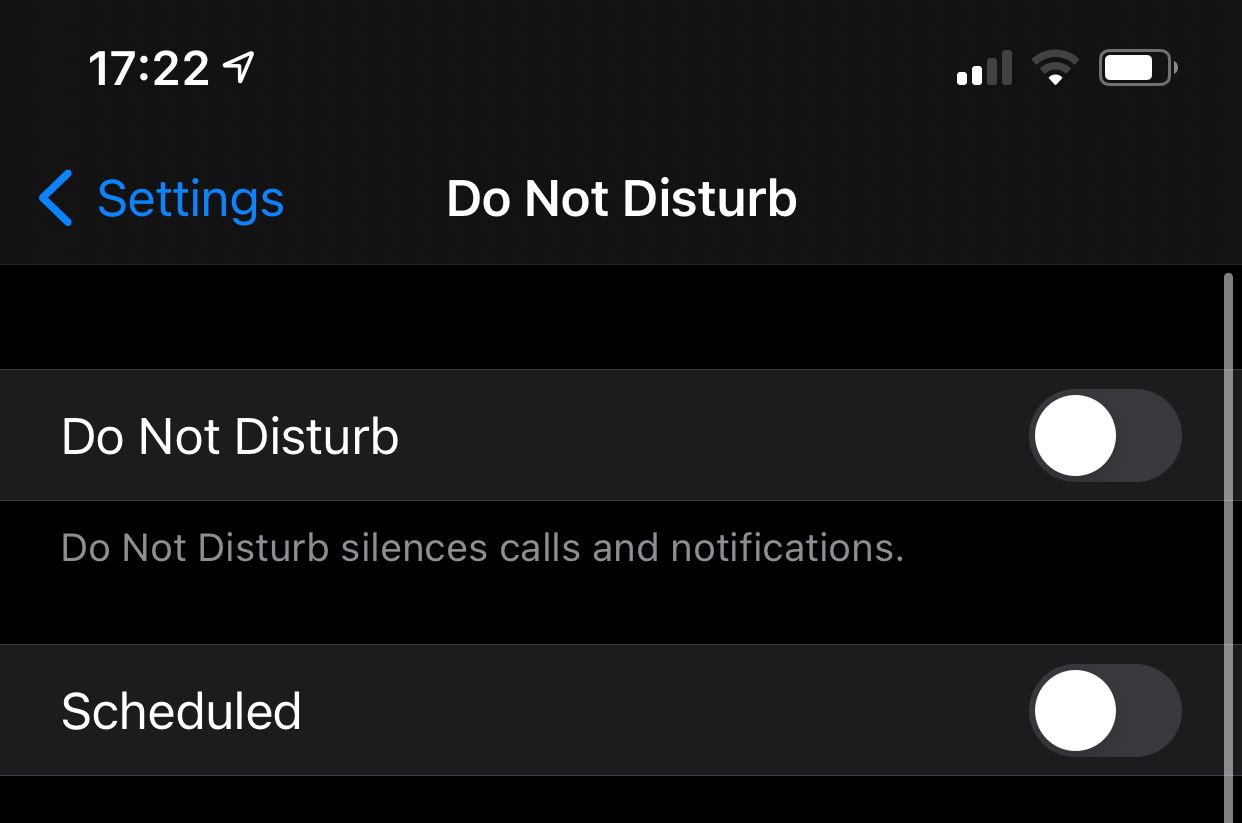
Another option to consider is using the Do Not Disturb feature. Do Not Disturb allows you to completely silence all notifications from both sounds and vibrations. You set up Do Not Disturb on a schedule or switch it on and off manually.
You can change Do Not Disturb's features to allow some phone calls and messages to get through while the feature is turned on. You can also have the feature turn on when you're driving or whenever your iPhone is locked. It's pretty flexible.
A Do Not Disturb schedule is handy for when you need to silence your iPhone at regular time periods each day or for just short amounts of time throughout the day. It means you won't accidentally forget to flick the switch, and there's also no switch that can get caught on your pocket and accidentally turn off.
A Quick Recap
There are a couple of ways to silence your iPhone. You can use the ringer switch to immediately turn off notification sounds or the volume buttons to silence other media sounds from your device.
If the vibrations are still annoying, you can turn those off as well. Using Do Not Disturb can save you plenty of trouble when it comes to silencing your iPhone, and you can change settings for specific apps as well.

