As well as taking a screenshot, you can also record the screen on your iPad for sharing purposes. Sharing a screen recording is often better than taking multiple screenshots. If you are using an iPad and don’t know how to use the built-in screen recorder, this is the guide for you.
Apple has come a long way from its days of not even offering screenshot support on iPhones and iPads. There’s now a native screen recorder tool that’s really easy to use. The feature is available on all generations of iPad, iPad mini, iPad Air, and iPad Pro.
Start by Adding the Screen Recording Shortcut to Control Center
Before recording the screen on your iPad, you need to add the screen recording shortcut to Control Center. This is because Apple doesn’t have an app for the feature; it’s just a simple toggle that allows you to start recording the screen.
Here’s how to add it to the Control Center:
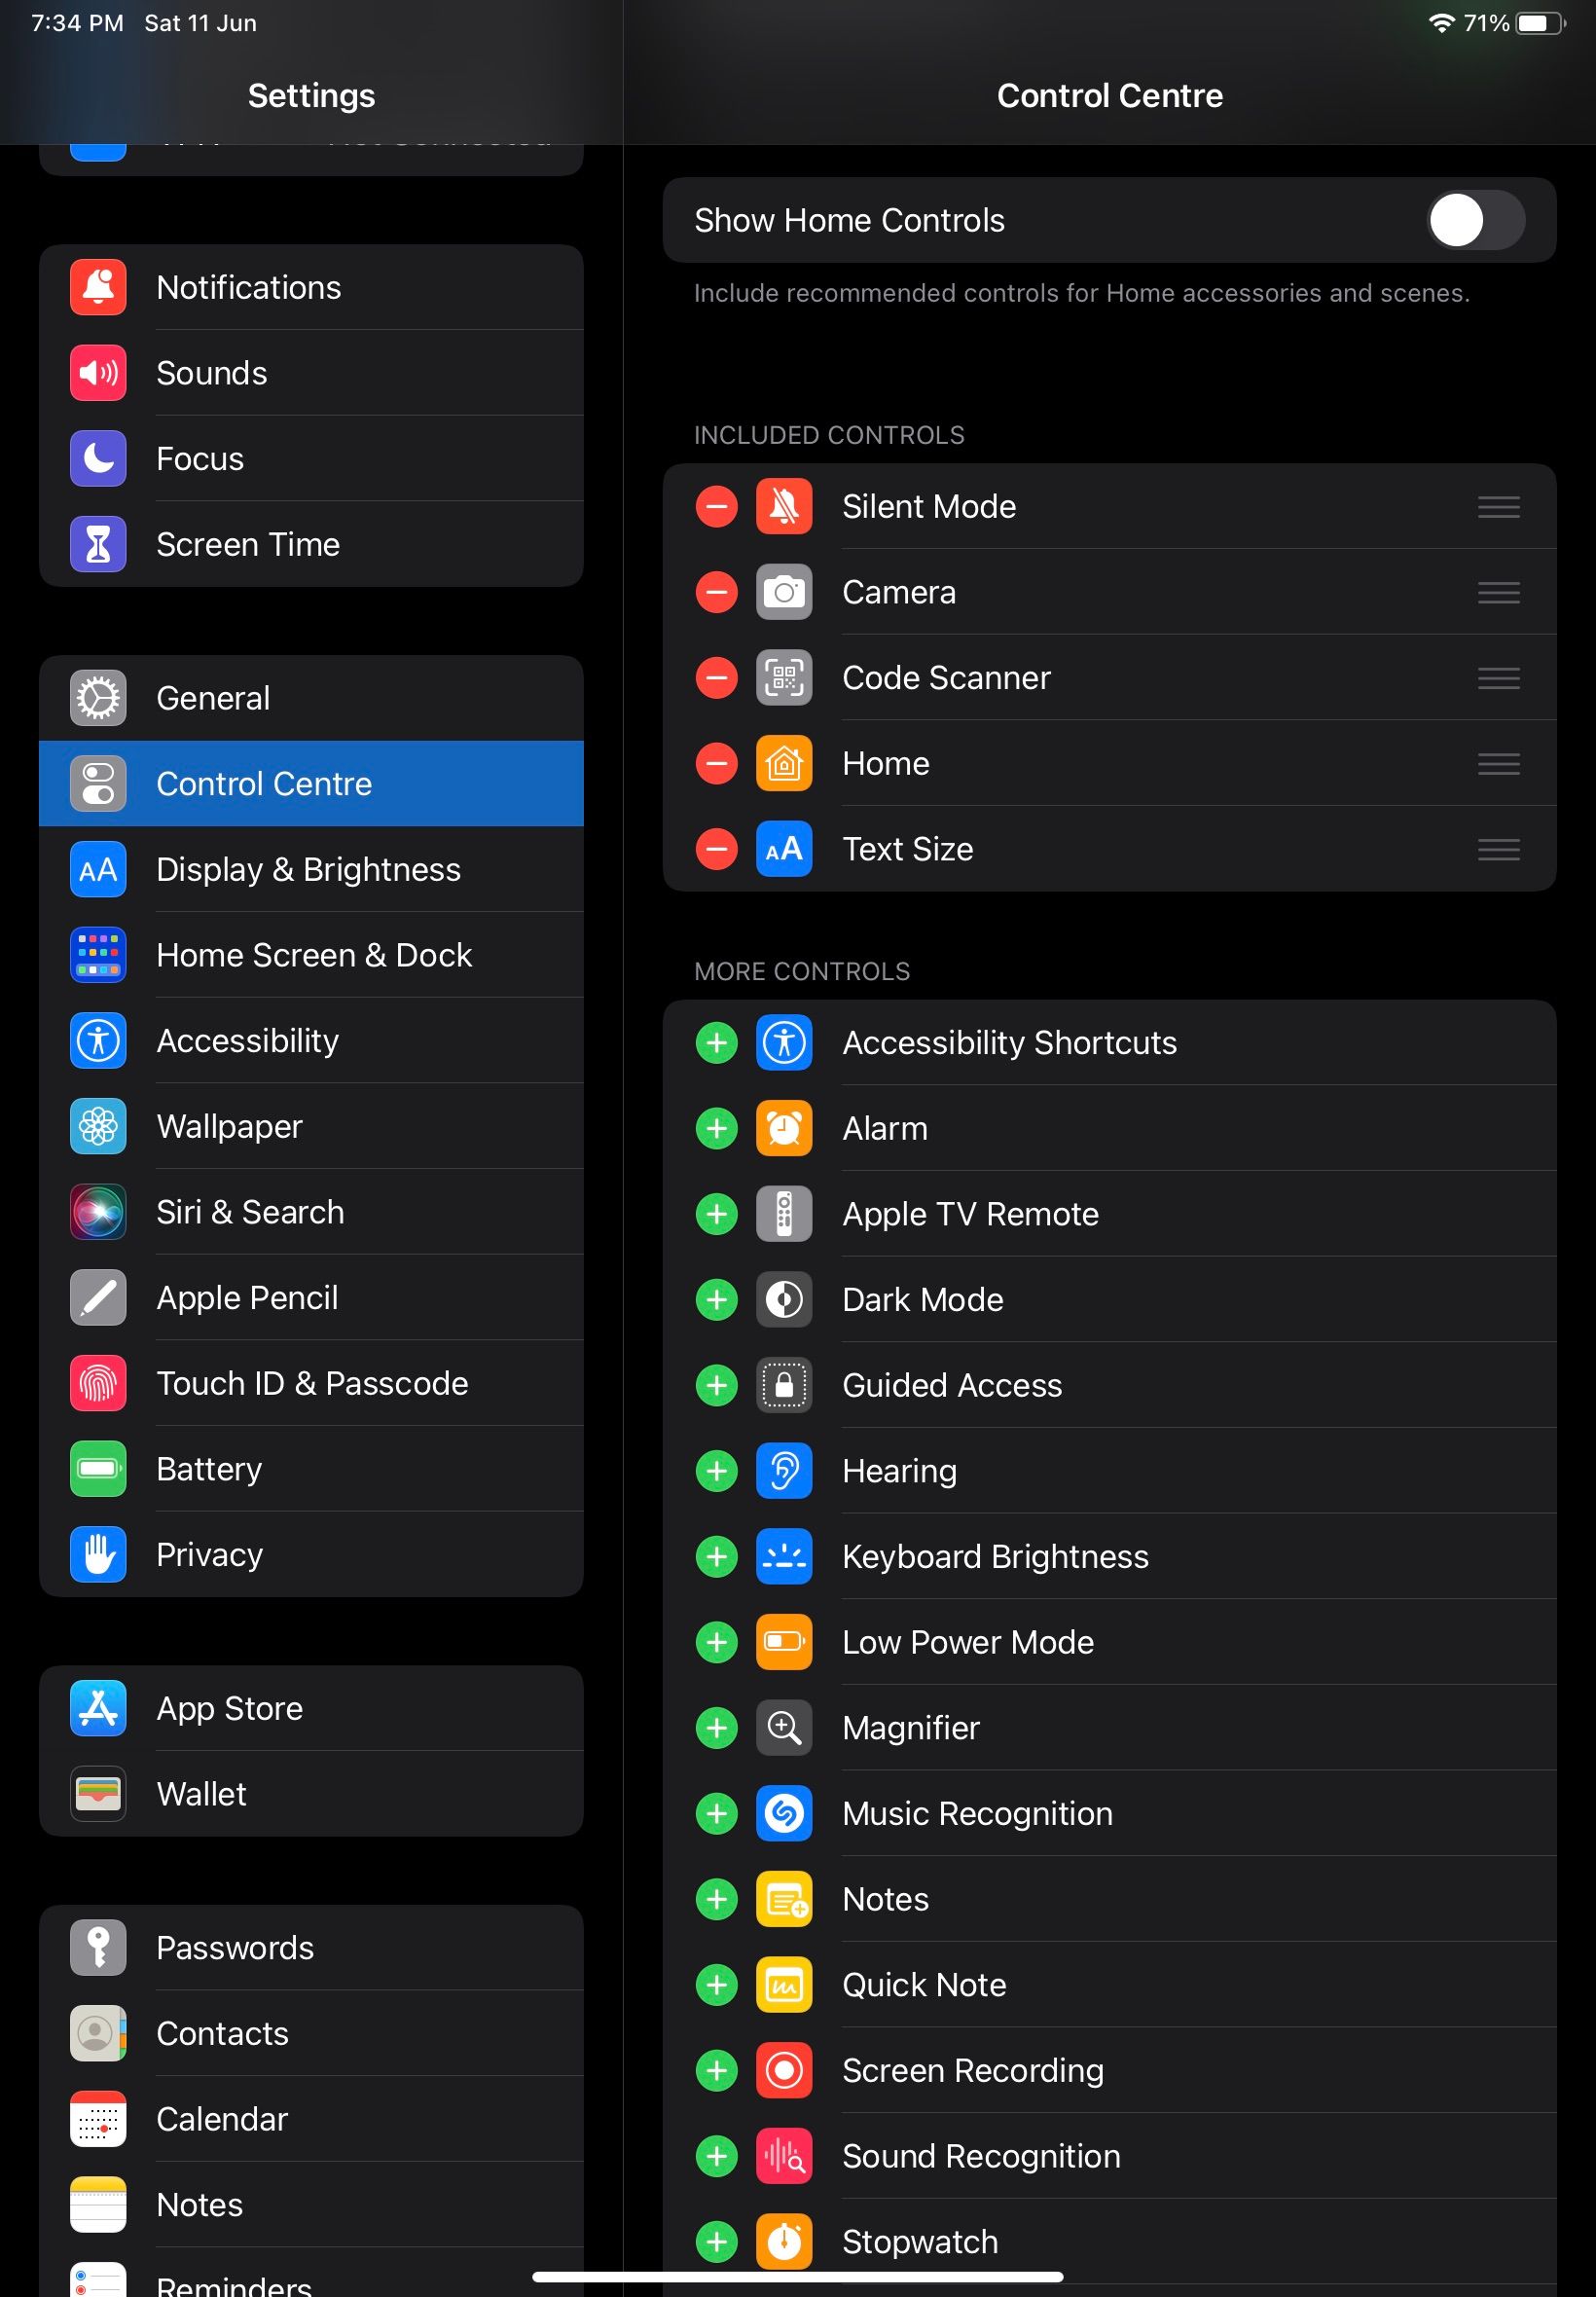
- Open the Settings app on your iPad.
- Scroll down and select Control Center.
- Tap the plus (+) icon you see next to the Screen Recording option to add it to the Control Center.
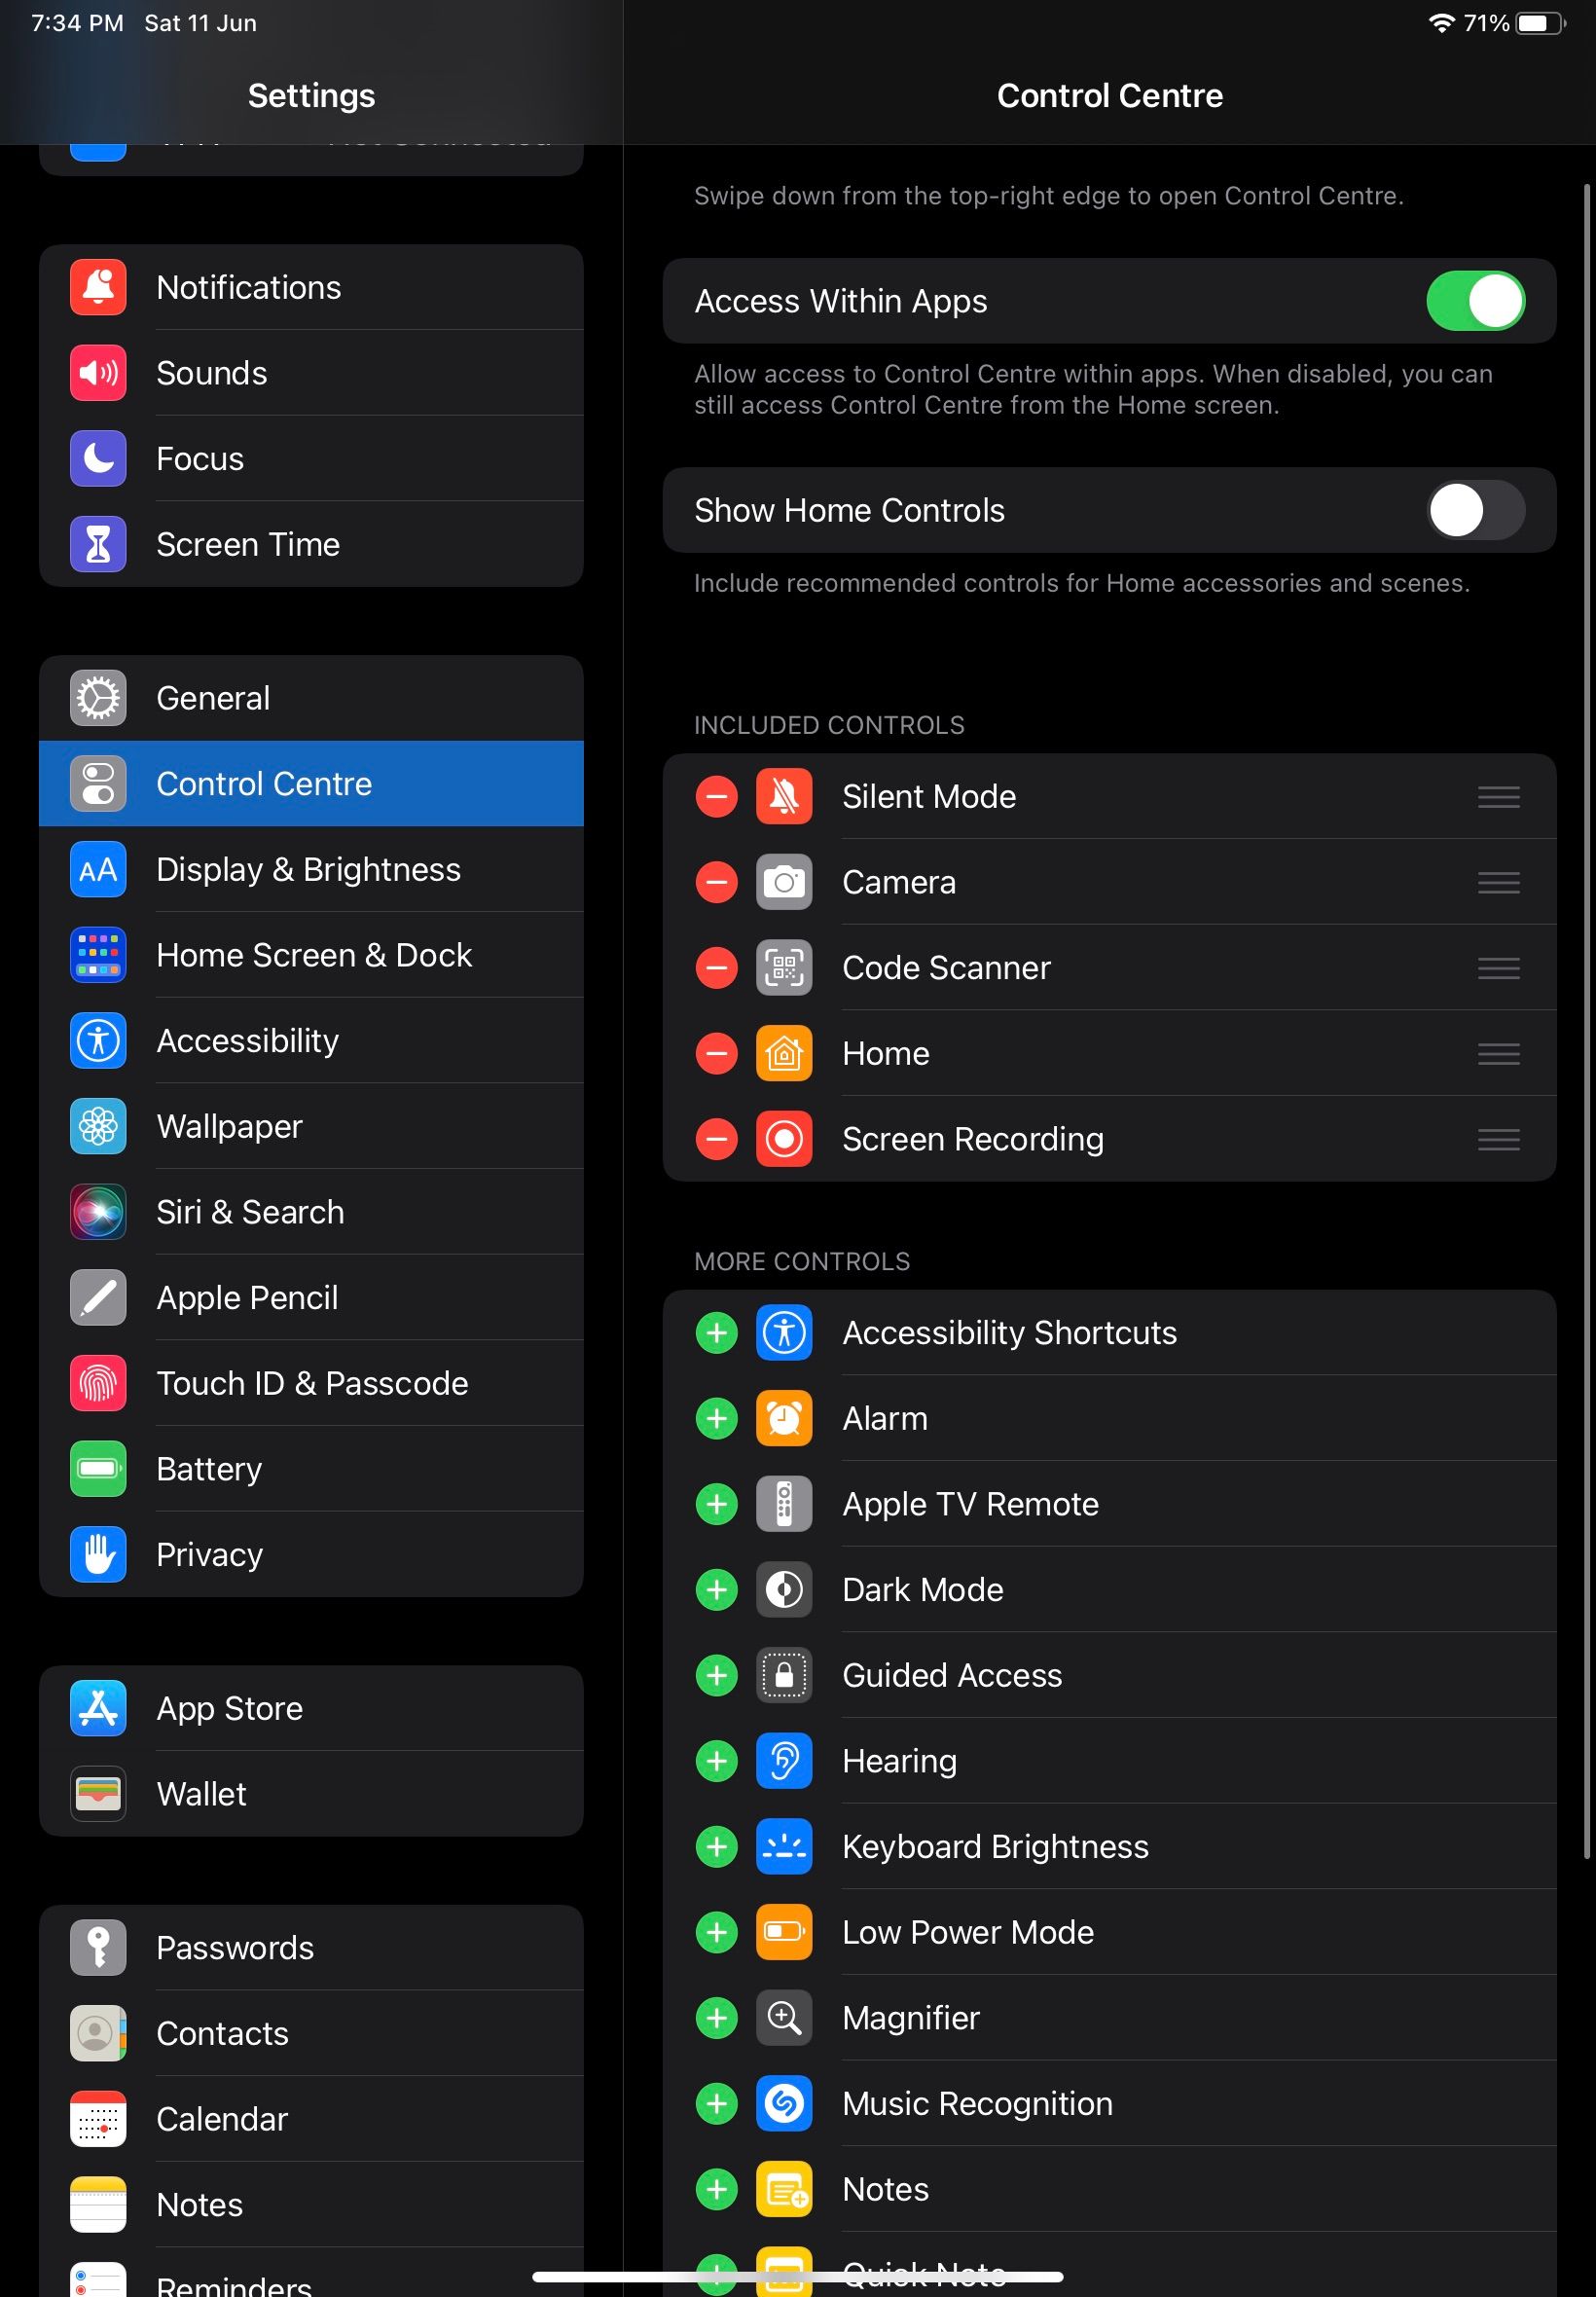
You can now quickly start screen recording on your iPad using this toggle. You can further customize the Control Center on your iPhone or iPad to get the most out of it.
Use the Control Center Shortcut to Record Your iPad Screen
After adding the screen recording shortcut to the Control Center, you can record the screen of your iPad even when using any app or game. You just need to bring up the Control Center and tap the shortcut.
Ideally, you should enable Do Not Disturb or use a Focus mode on your iPad to block notifications first, to ensure they don’t pop up and ruin your recording.
The gaming performance of your iPad will take a slight hit when screen recording. This should not be an issue in most cases, but you may notice some dropped frames in heavy games.
To record your iPad screen:
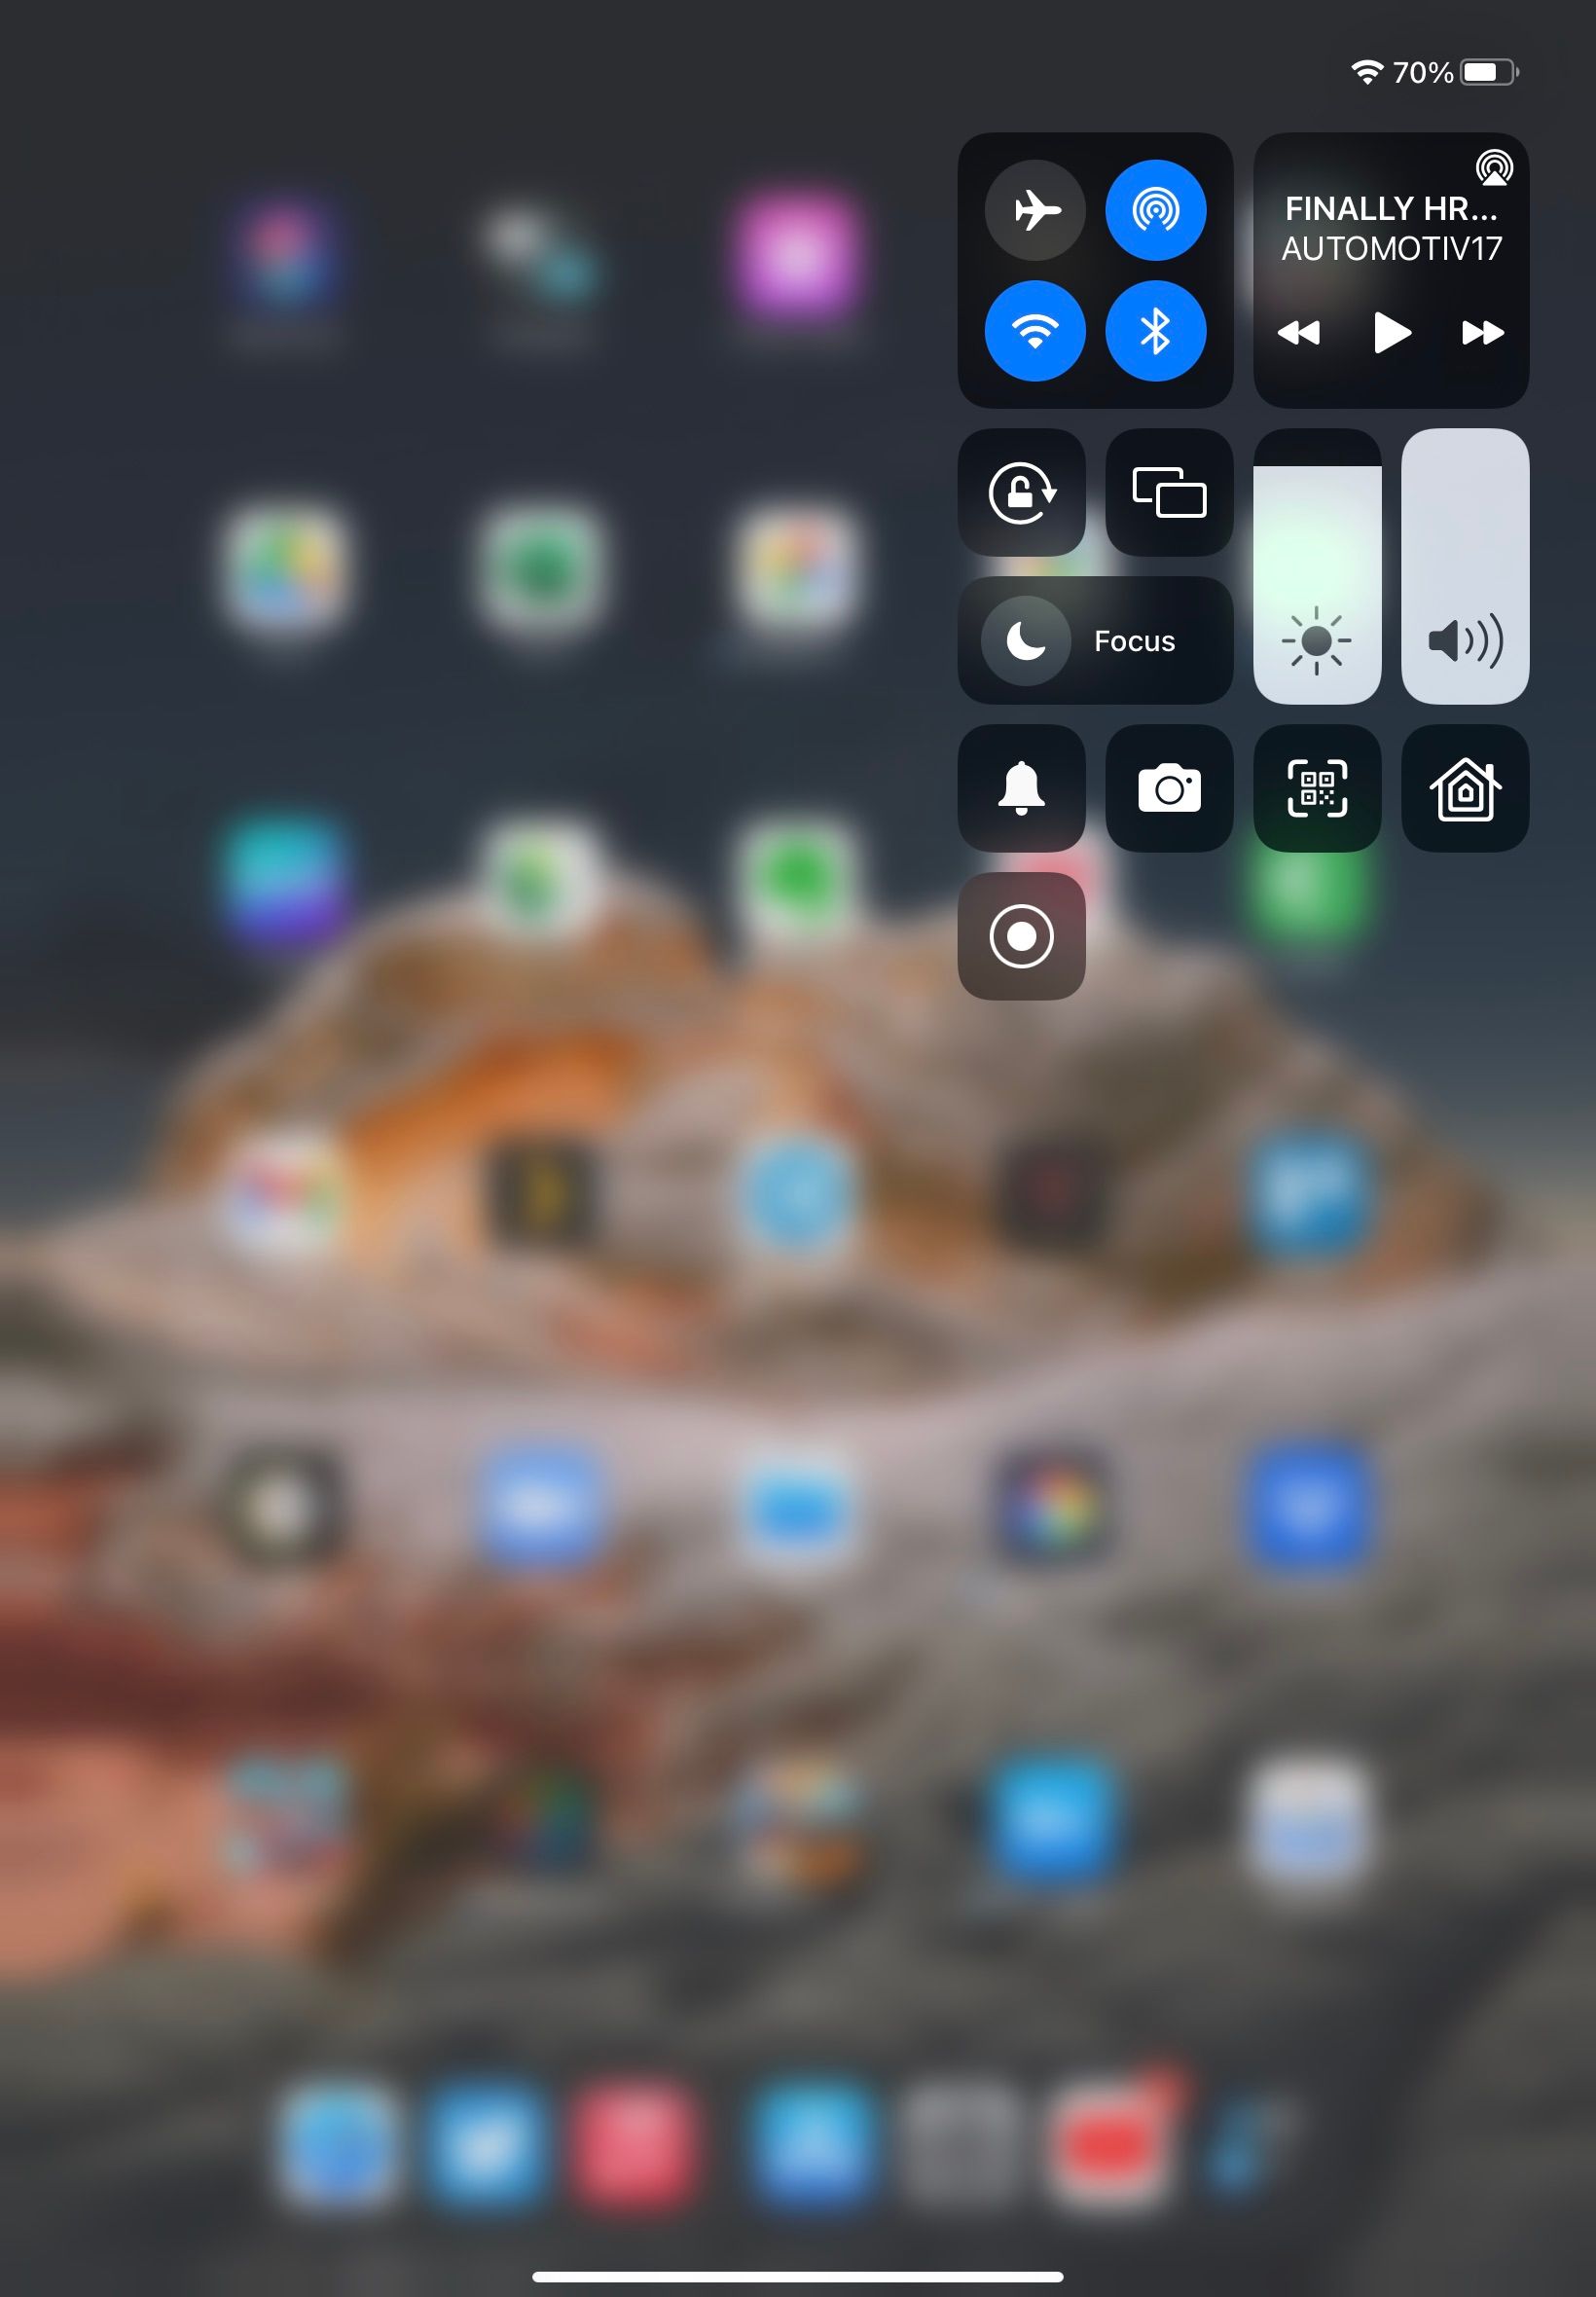
- Open the Control Center by swiping down from the top-right corner of the display.
- Tap the Screen Recording shortcut. A three-second countdown will show up, after which the screen recording will start.
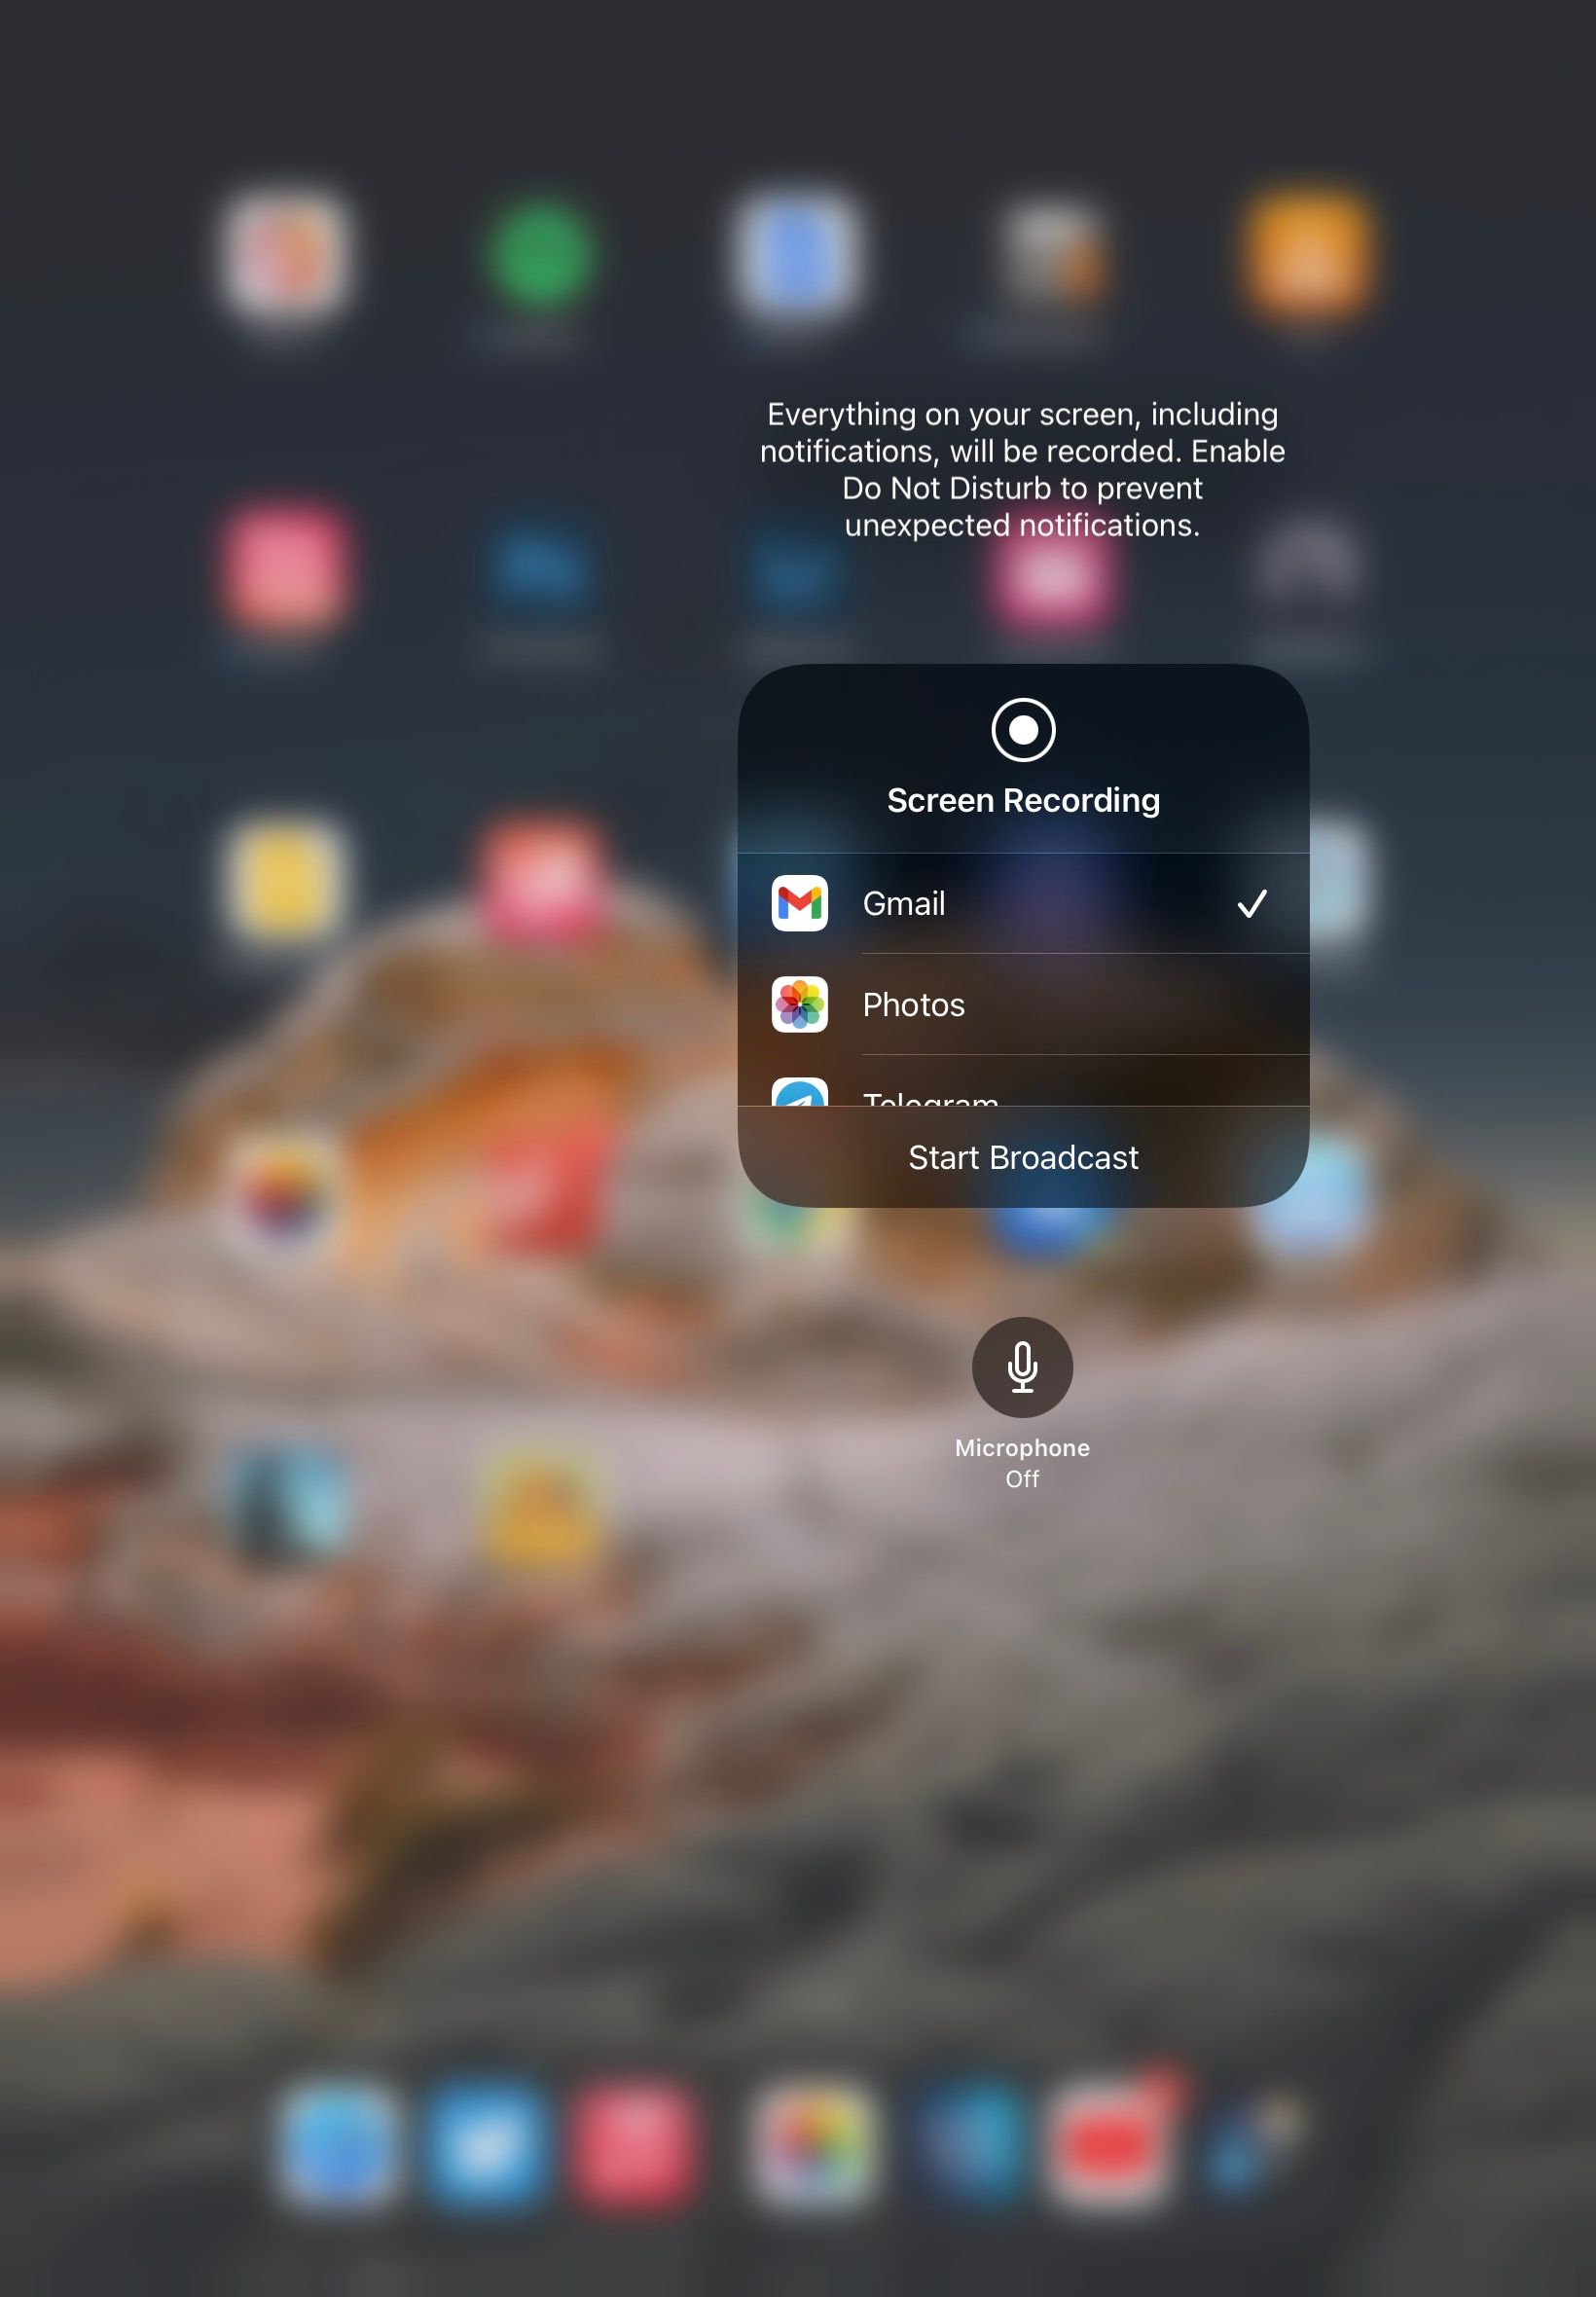
- By default, no audio is recorded when screen recording. Long-press the shortcut if you want to record audio using your iPad’s microphone. Just enable the Microphone option and then start recording.
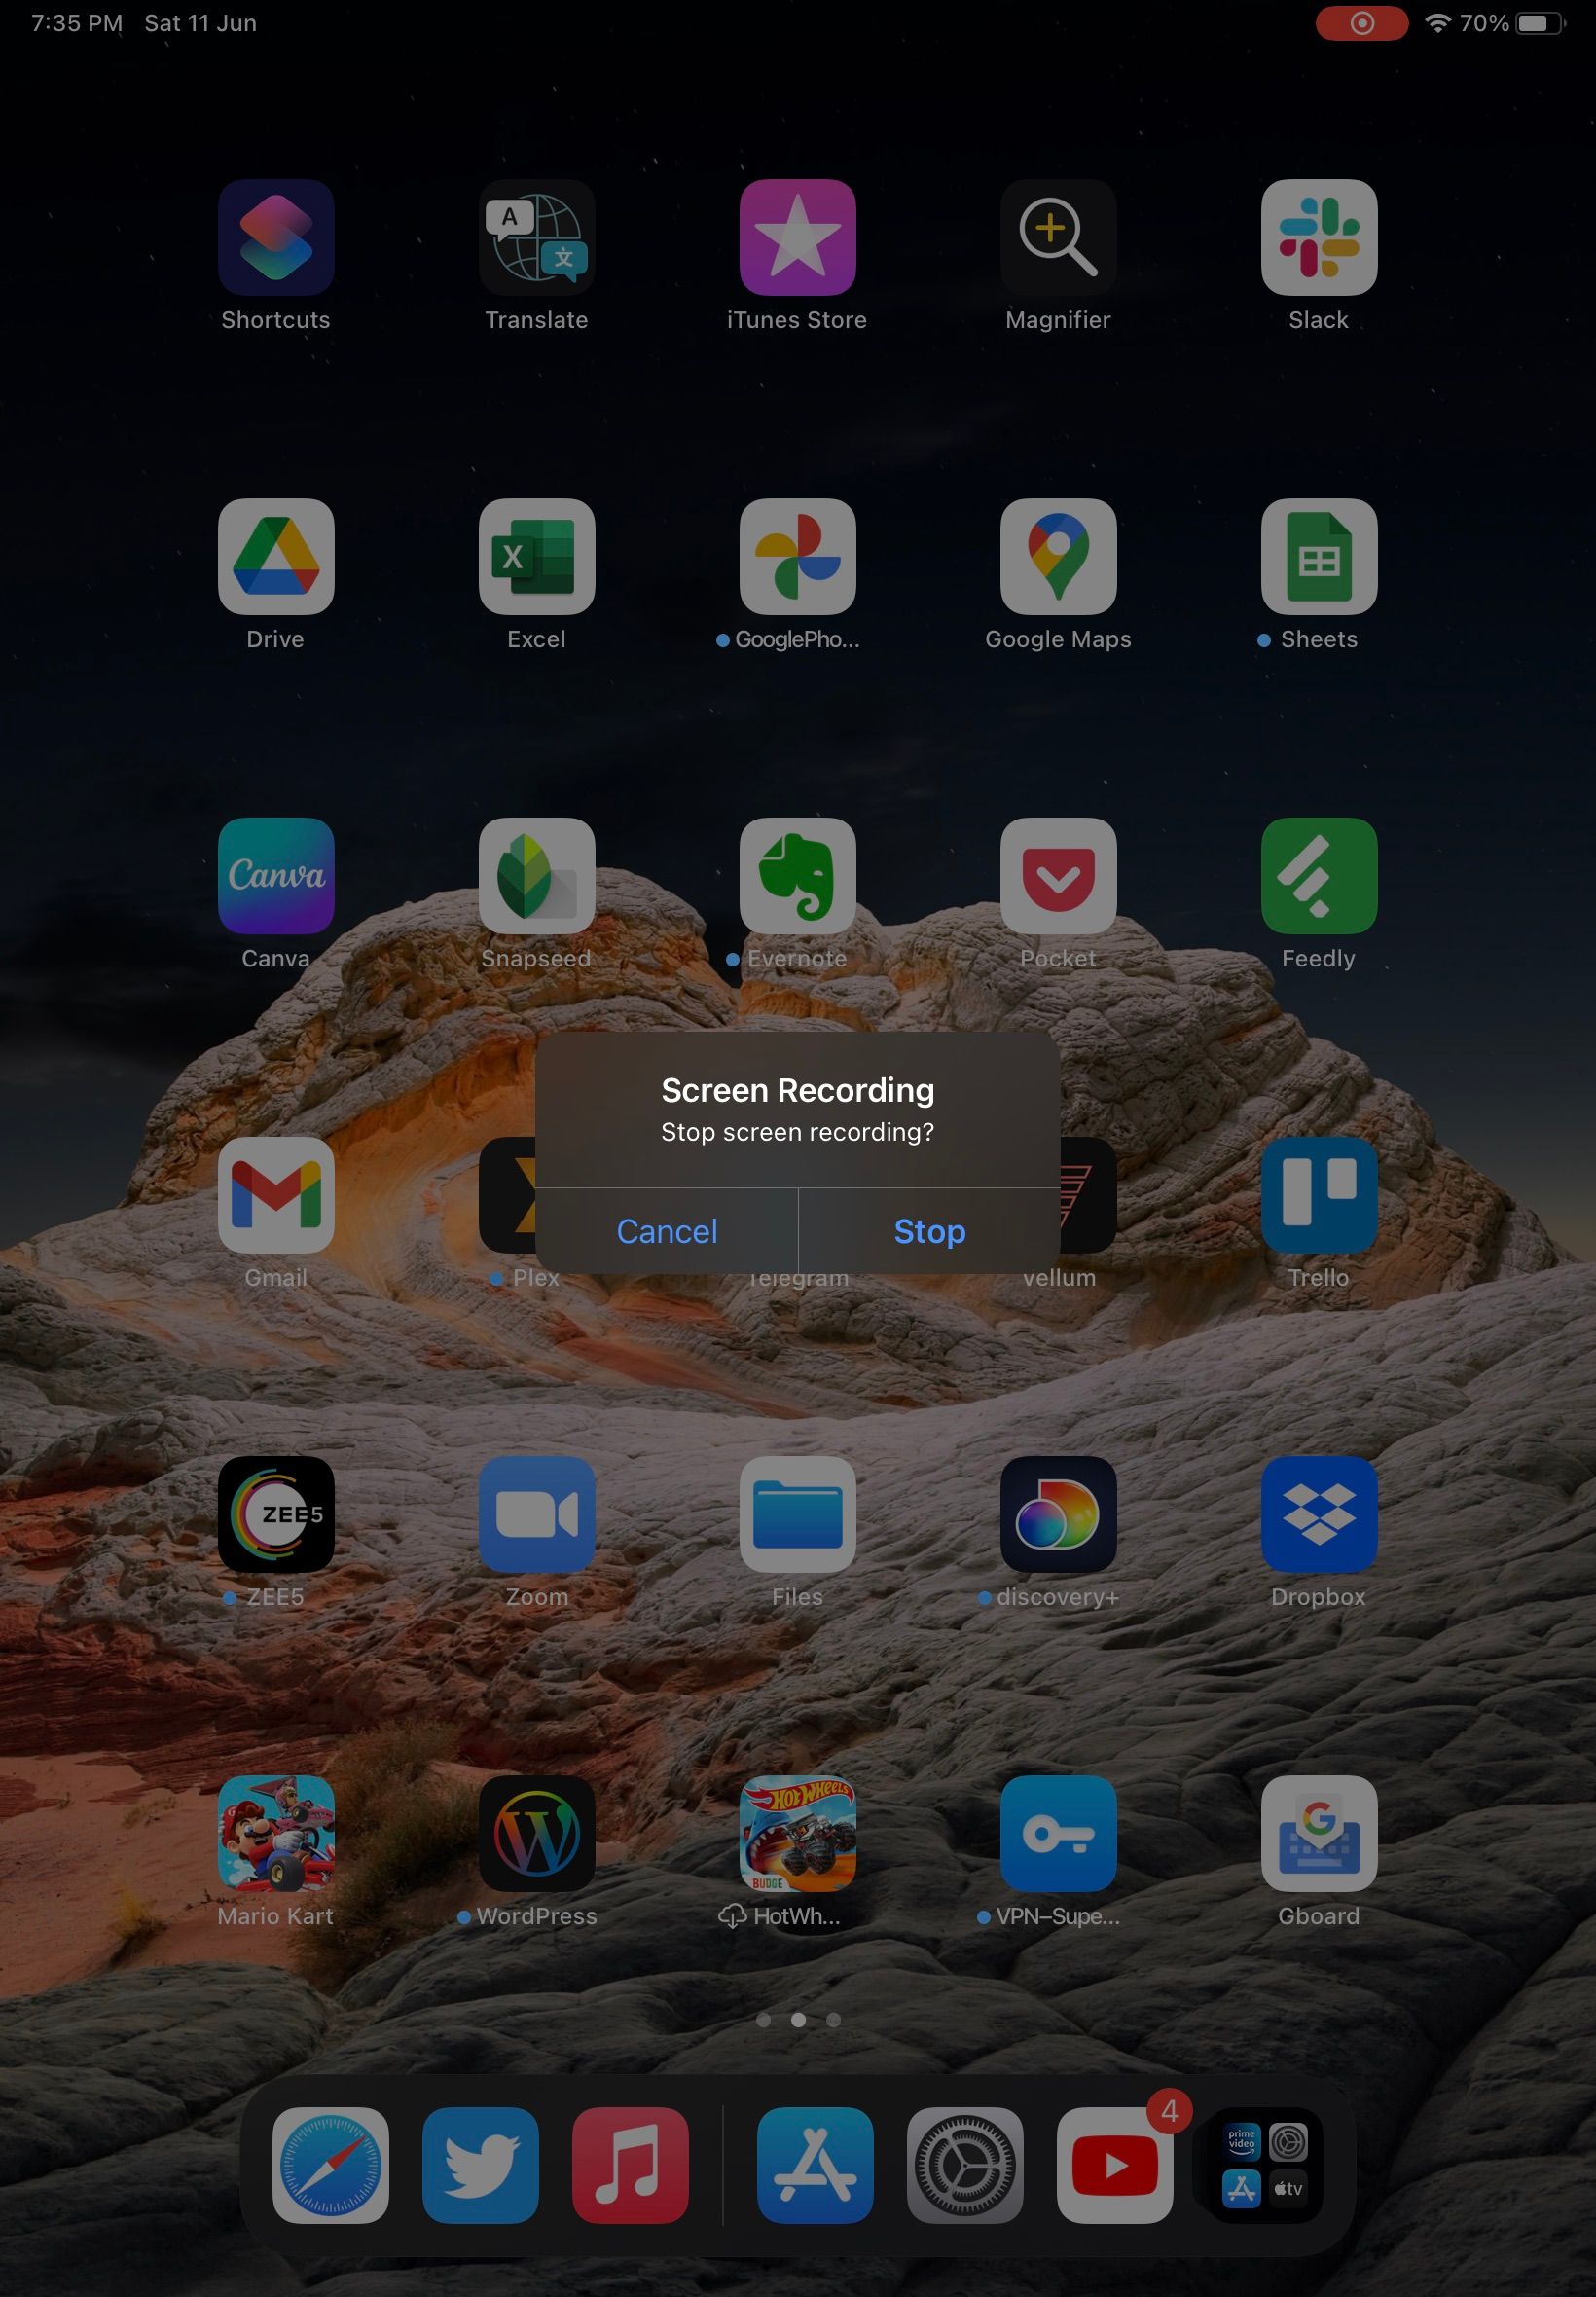
- A red icon will appear in your iPad’s status bar, indicating that the screen is being recorded. You can stop the recording anytime by tapping the red icon. Alternatively, tap the Screen Recording button in Control Center again.
- A dialog box will pop up asking to confirm whether you want to stop and save the recording. Tap Stop to stop and save the recording. If you select Cancel the recorded content will be discarded.
You can access the saved screen recording from the Photos app on your iPad. Use the built-in editor to trim the screen recording if required.
There’s no time limit on how long you can record your iPad’s screen. It depends on the free storage on your device, though the recording may stop randomly during long sessions. You must also ensure your iPad doesn’t enter sleep mode while the screen recording is active.
Certain apps like Netflix and Prime Video do not allow their content to be recorded for copyright reasons. If you enable screen recording while playing content from any such app, it will show up as a blank screen.
Recording an iPad’s Screen Is a Straightforward Process
Thanks to the built-in screen recording tool in iPadOS, recording your iPad’s screen is a simple process. You only need to ensure that the toggle is added to the Control Center first.
The ability to record audio from the iPad’s microphone further increases the usefulness of the screen recording tool. Though it would be nice to include built-in audio as well.

