No one likes to think about the possibility of getting into trouble or an emergency, but it’s always better to be prepared. Similar to when you learned about your fire escape plan in your workplace or a safety drill in school, it’s equally vital to be familiar with your iPhone’s safety and emergency features.
Your favorite companion provides various features to help you contact the proper authorities, send an SOS to your loved ones, display your medical information, and more. So, here’s a rundown of some iOS safety and emergency features you should know.
1. Medical ID
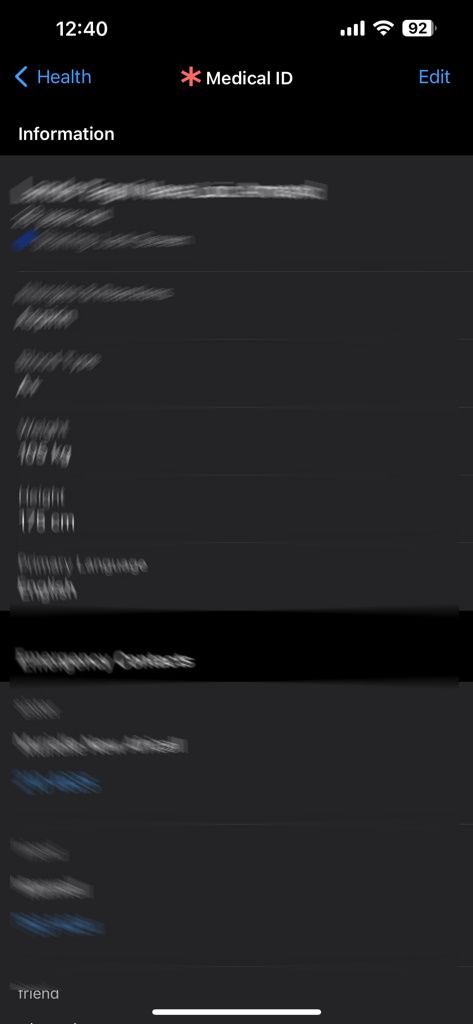
If you get involved in an accident and are not responsive, paramedics or other medical personnel can use the Medical ID feature on your iPhone to access your health information immediately. This lets them know your allergies, underlying medical conditions, blood type, and other vital details that can help them render medical services quickly and without worsening your condition.
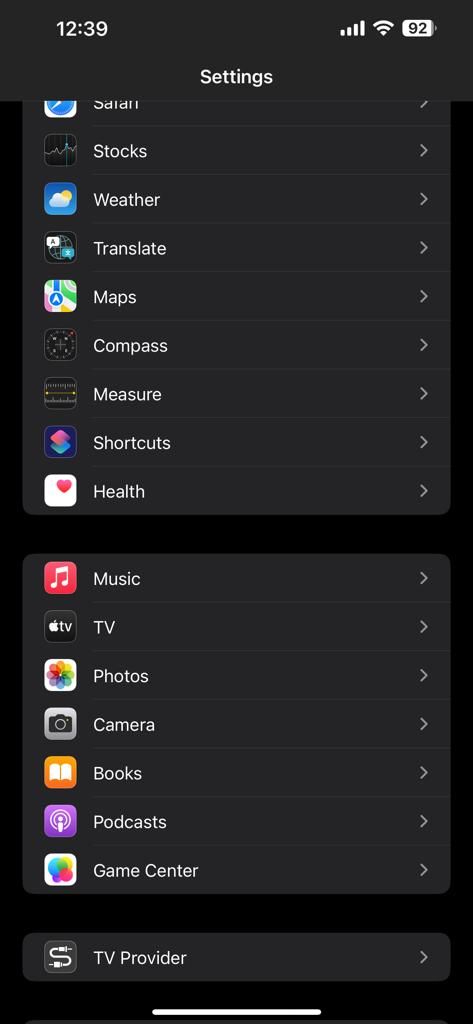
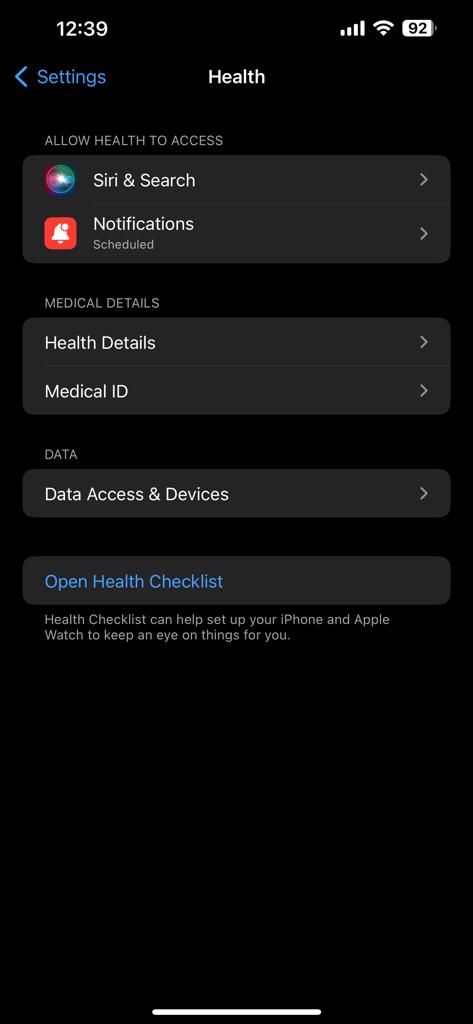
That said, you want to ensure you have set up Medical ID on your iPhone that can come in handy in emergencies. Here’s how to do that: Go to Settings > Health > Medical ID, and tap Edit. Add all relevant health information, like your medical conditions and allergies.
You can also add Emergency Contacts, so they can receive your location when you use the Emergency SOS feature. Lastly, enable Show When Locked under Emergency Access at the bottom of the page to allow access to your Medical ID even when the screen is locked.
2. Emergency SOS
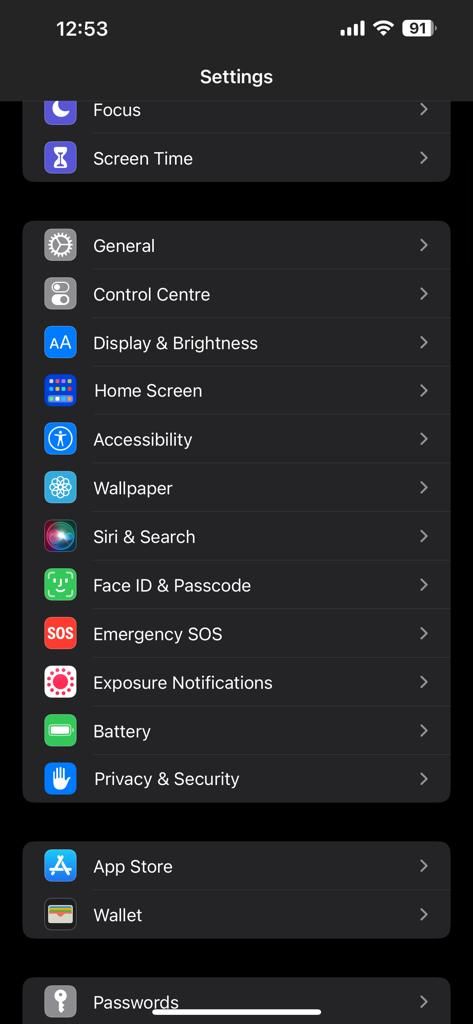
Unlike in the example we mentioned above, let’s say you are conscious during a crisis and can use your iPhone to call for help. However, every second counts, so you might not have time to unlock your phone and dial an emergency hotline.
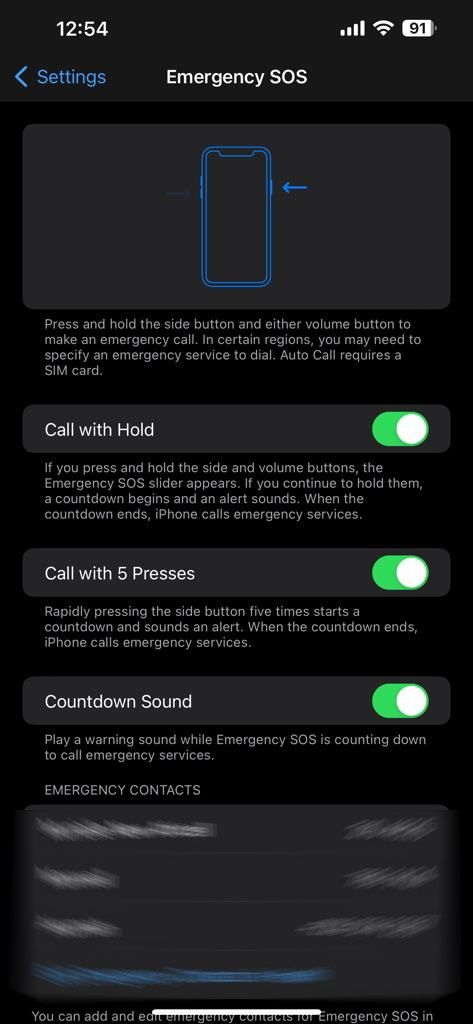
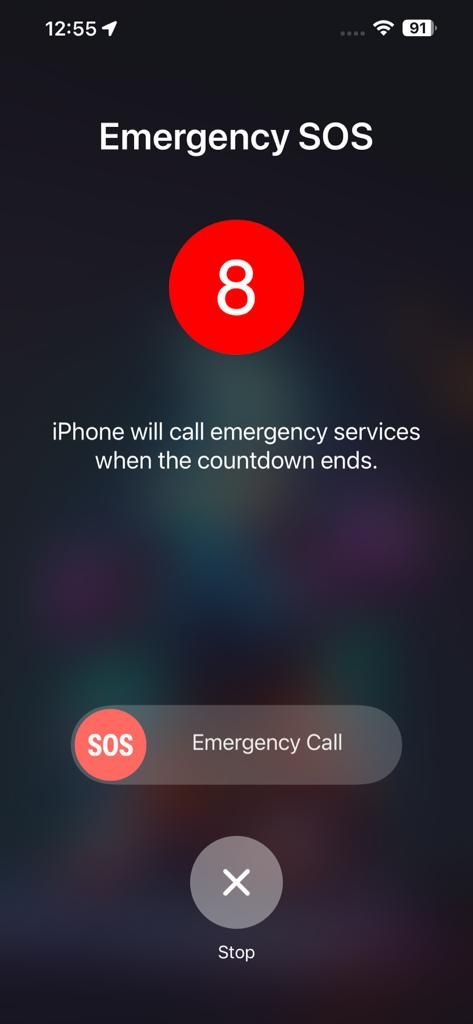
Thankfully, your iPhone has a handy feature that makes calling for help faster and easier. To use the Emergency SOS feature on your iPhone, press and hold the Side (Power) and Volume buttons until the Emergency SOS slider appears and slide it to the right to make the call. This will automatically call the emergency services in your region and notify any Emergency Contacts you’ve set up.
Alternatively, you can rapidly press the Side button five times to automatically start a countdown and call emergency services when it ends. You can enable this feature by going to Settings > Emergency SOS > Call with 5 Presses.
So, what happens when you are out of cellular or Wi-Fi coverage? If you own an iPhone 14 or any iPhone 14 pro model, it will try to connect you via satellite to the local emergency services. This process takes less time during favorable weather conditions and with a direct sky view.
3. Share Your ETA
Let’s say you’re out for a long drive, going to an unfamiliar place, or are off visiting a friend. You can easily keep your family members or friends in the loop by sharing your estimated time of arrival (ETA). This is a convenient safety feature to ensure they know how your trip is progressing and when you will arrive.
To share your ETA, open the Maps app and enter a destination like you usually do. Choose your transportation method, say, driving. Then, tap Go and select Share ETA from the bottom of the screen in the route card. This will bring up some suggested contacts. You can also tap on the Contacts option to choose someone else from your contact list.
If your chosen contact is an iPhone user, they’ll receive a Maps notification with your ETA. They can open the notification to check your current location and keep track of your journey. However, if your chosen contact is an Android user, they’ll receive an SMS with your ETA.
4. Find My
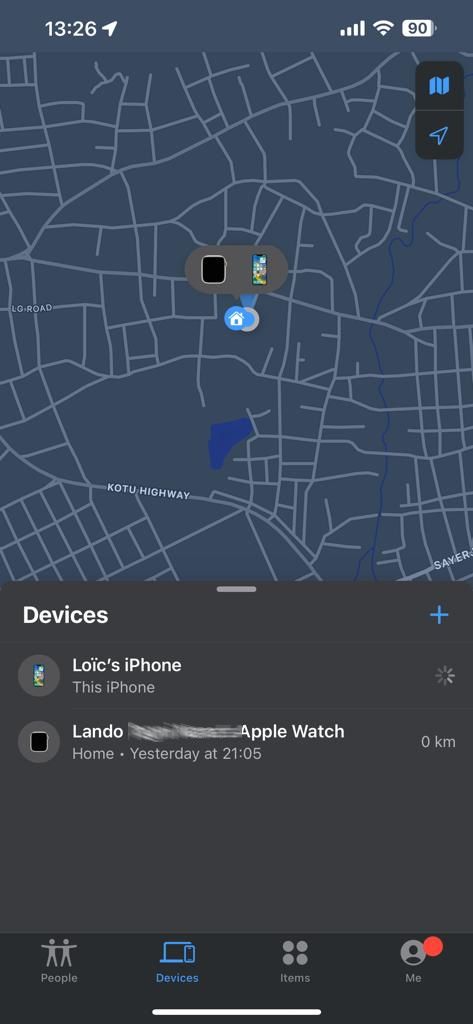
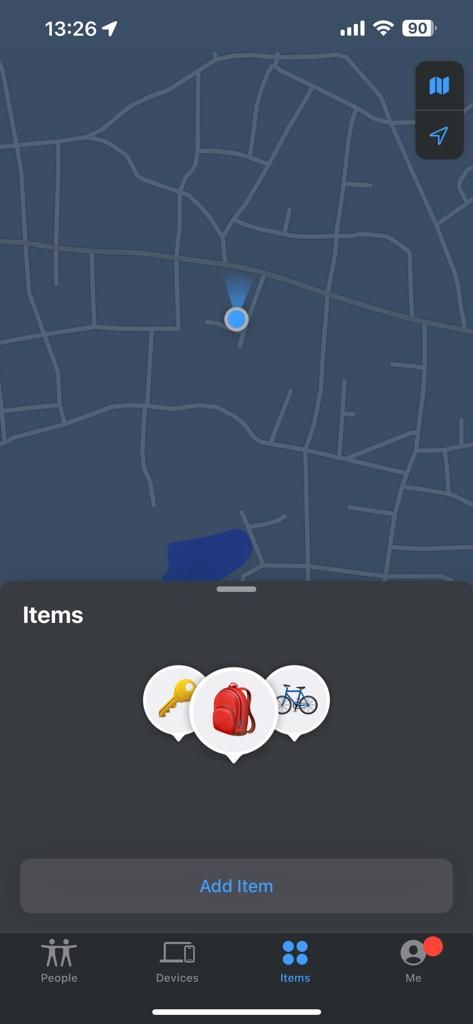
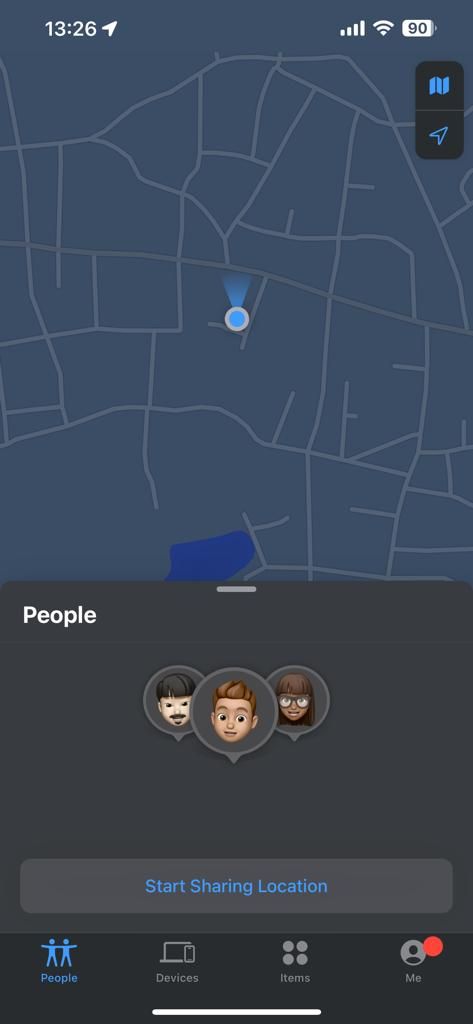
We bet you don’t go anywhere without carrying your iPhone along, so the thought of it getting lost or stolen is quite scary. However, if your iPhone goes missing, you want to ensure you have done everything possible to find it. Thankfully, your iPhone has an app that can help you locate and protect your Apple devices.
Here’s how to find your lost or stolen iPhone using the Find My app: First, if you own other Apple devices, you can use those to locate your missing iPhone in the Find My app. Alternatively, you can use the iCloud website from any device with an internet connection.
Next, you want to sign in to your Apple ID account, and you will see a map with your device’s location. You can choose to play a sound on the device, so you can easily find it if it’s nearby.
5. Erase Data After Several Attempts
Since you go everywhere with your iPhone, it probably contains valuable personal data. So, if some bad actors get their hands on your iPhone, and you can’t recover it, you’ll want to ensure they can’t access your data. Although you may have set a password for security, it’s still possible for someone to crack it.
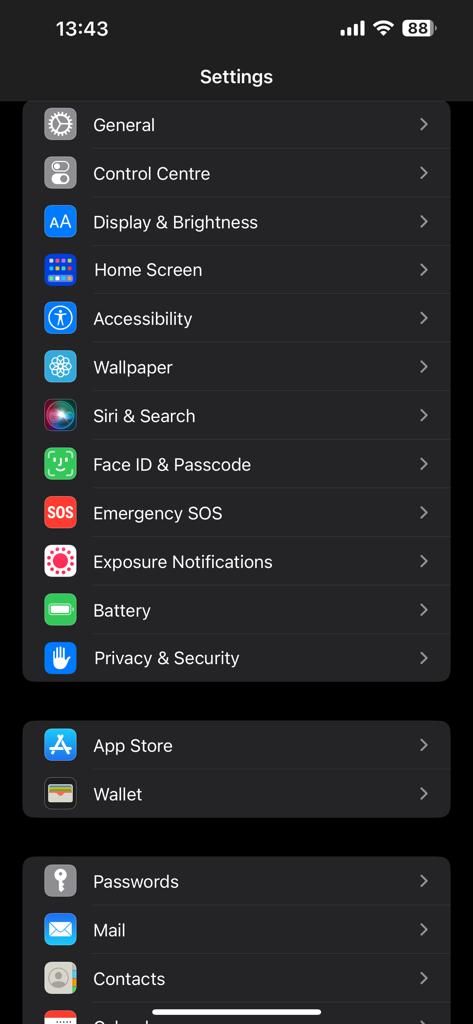
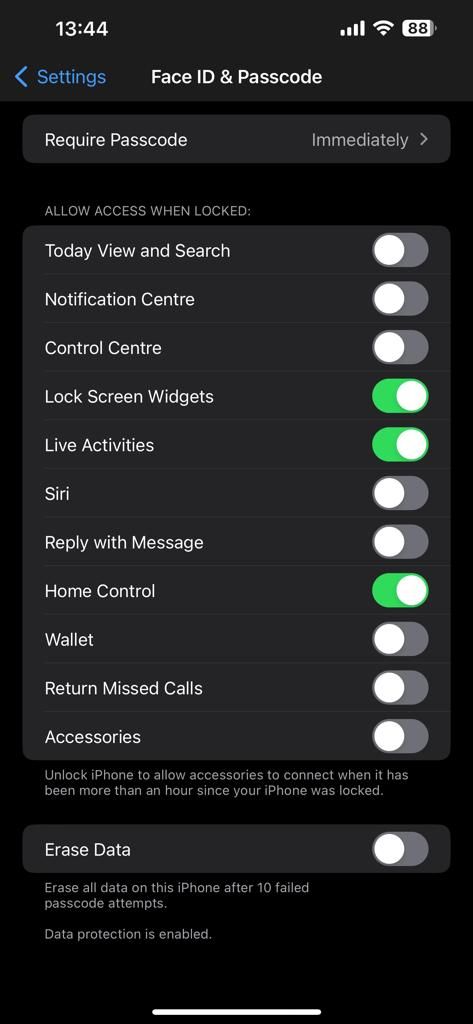
Thankfully, Apple has a safety feature that, when enabled, can erase your data after ten failed attempts. You can activate this feature by going to Settings > Face ID & Passcode > Erase Data (found at the bottom of the page).
Now, what if your iPhone falls into your little ones’ tiny hands, and they are just trying to play with it? Apple has taught about that; this is why they included a timer after a few failed attempts. We bet your kids won’t be patient enough to wait that long and will quickly move on to their next target, so your data will remain safe and sound!
6. Lockdown Mode

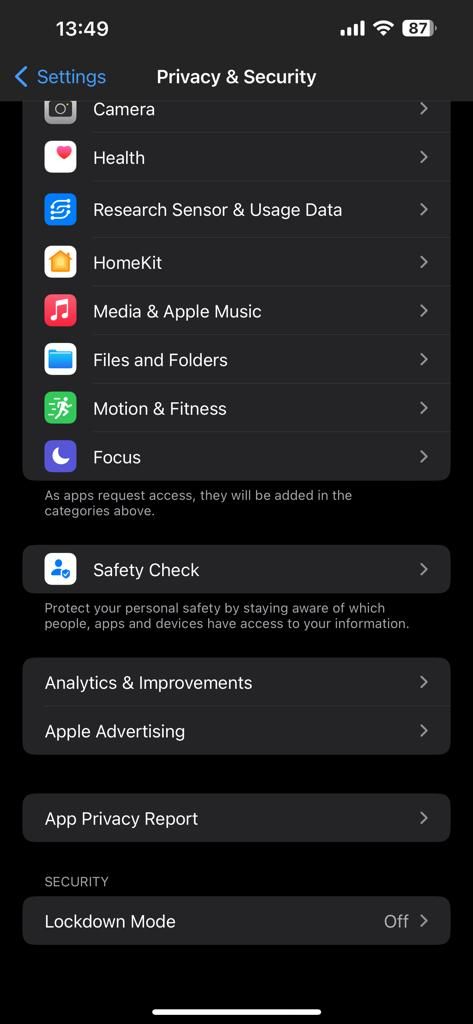
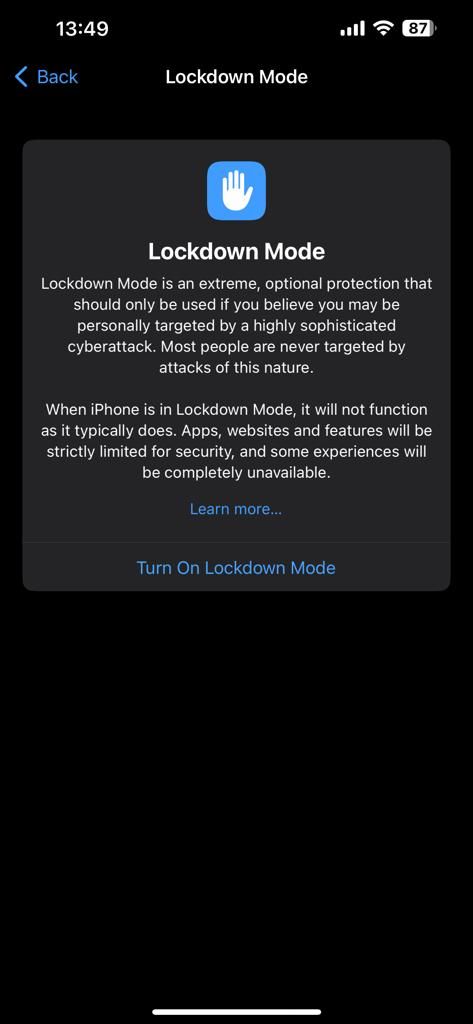
In an extreme situation, when you feel like you might be the target of a sophisticated cyberattack, your iPhone has a Lockdown Mode feature that can reduce your vulnerability. However, it is worth noting that most users won’t ever need to use this feature, as it is intended to protect phones from sophisticated and high-level threats.
So, what does Lockdown Mode do, you ask? It prevents anyone from accessing your personal data by limiting several features, websites, and apps. For instance, enabling Lockdown Mode will block some message attachment types like links and link previews. In addition, you won’t be able to receive FaceTime calls from people you haven’t called before.
To activate Lockdown Mode, go to Settings > Privacy & Security > Lockdown Mode. While it’s unlikely that you’ll need to use this feature, it is worth knowing it’s there.
7. Safety Check

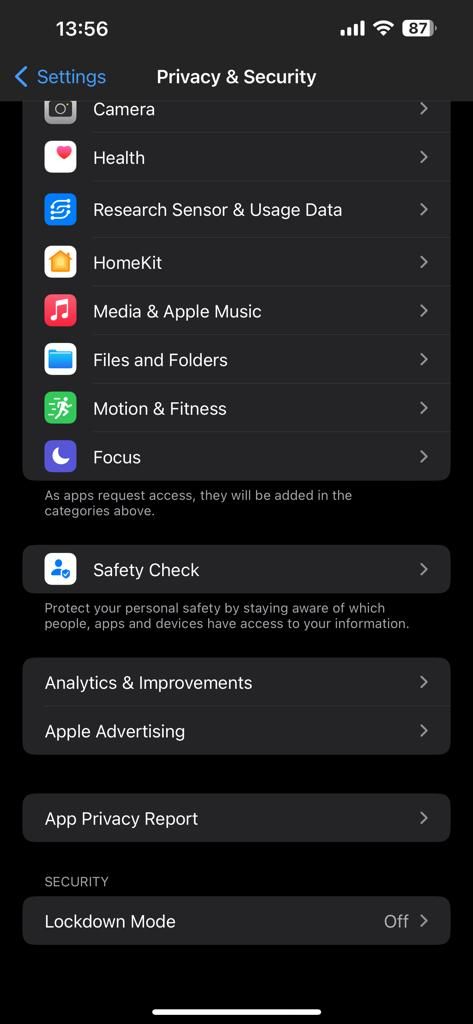
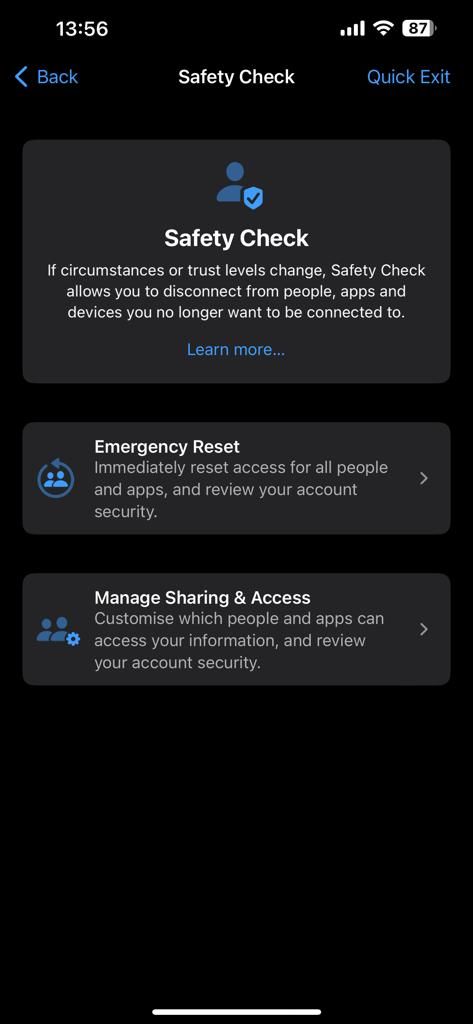
For safety reasons, if you’d like to revoke location access or other information from someone, an app, or a device you no longer trust, you can use the Safety Check feature to entirely or partially disconnect them from your iPhone. Apple added this feature to iOS 16 for people whose personal safety may be at stake, for instance, domestic abuse victims or similar.
To enable Safety Check, go to Settings > Privacy & Security > Safety Check. From here, you can select Emergency Reset to immediately disconnect all access to your data from all devices or apps. Alternatively, you can select Manage Sharing & Access to customize which people and apps can access your data.
Prepare for Any Emergency With These iOS Safety Features
It’s always a good idea to take extra precautions regarding your safety and security. While hoping you never find yourself in a situation where you need these safety features, it’s better to be safe than sorry.
That said, it’s important to be familiar with your iPhone’s safety features, as they could save you in an emergency. And if you use an Apple Watch with your iPhone, know that it has some life-saving features too.

