Ubuntu is one of the most popular Linux distributions out there. Even if you are a Windows user, you may have heard of Ubuntu and its features from your peers. It has lower system requirements than Windows and can help you re-purpose your old PC.
But what if you don’t want to install it directly on your machine? We understand your skepticism about trying out a new operating system which is why you can try Ubuntu on a virtual machine. Here's how you can install Ubuntu on VMware.
Prerequisites to Install Ubuntu on VMware
To run Ubuntu in a VMware virtual machine, you'd need a computer that supports virtualization. You cannot use VMware or any other hypervisor to run virtual machines if your CPU or motherboard doesn’t support virtualization.
If you're using Windows, launch Task Manager and switch to the Performance tab to see if virtualization is active. If it is inactive, you need to enable virtualization from BIOS.
You'd also need the latest version of VMware Workstation Player. You need to download and install it to create and run the virtual machine.
Another requirement is a PC with adequate RAM, processor cores, and disk space. Ubuntu is lightweight, but you will have to share your system resources with the host machine. It means that the host system will run while Ubuntu runs in VMware. So, you need a four-core processor, 4GB to 8GB of RAM, and at least 20GB of free disk space on the host system.
You will also require the Ubuntu ISO image. It is available for free, and make sure to download the LTS version.
How to Install Ubuntu on VMware
Firstly, you need to enable virtualization from BIOS and download VMware and the Ubuntu ISO file on your system. Finally, you'd create a VMware virtual machine and install Ubuntu inside the VM.
Step 1: Enable Virtualization Using BIOS
To enable virtualization on your system, follow the given steps:
- Restart your system. Press the designated Fn-key or Esc key to enter the BIOS setup.
- Navigate to the Advanced Settings page and locate the Virtualization option. It may appear as SVM, Intel VT-x, Intel Virtualization Technology, or AMD-V.
- Enable the feature and press F10 to save changes and exit.
- Your system will restart and then boot to the desktop. Launch Task Manager and switch to the Performance tab. Now, it will show the Virtualization feature as enabled.
Step 2: Download VMware and the Ubuntu ISO File
Download VMware and the Ubuntu ISO from the respective websites.
Download: VMware Workstation Player
Download: Ubuntu
Navigate to the Downloads folder and install VMware with administrator privileges. Launch the app to check if it runs without any issues.
Step 3: Create a Linux Virtual Machine
Launch VMware Workstation Player on your system. Click on the Create a New Virtual Machine option present on the home page.
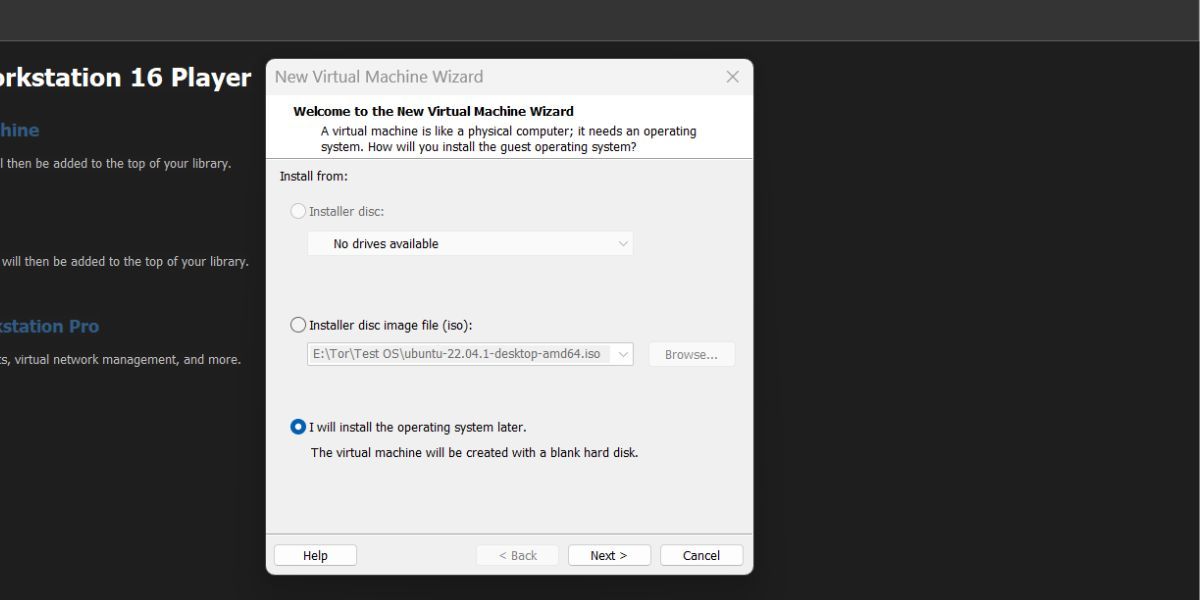
The New Virtual Machine Wizard window will launch. Click on the I will install the operating system later option and then click Next.
Now you need to select the guest operating system. Click on the Linux radio button and pick Ubuntu from the drop-down list. Then, click Next.
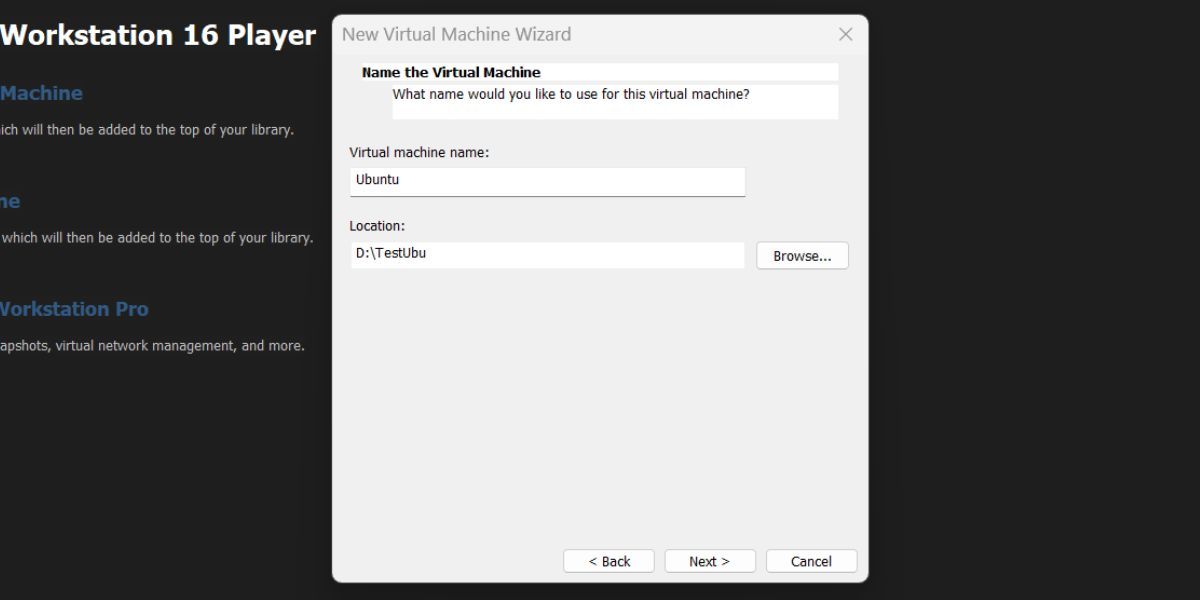
Enter the name of the new Linux virtual machine. Keep the virtual machine location as C drive if you have ample space or click on Browse to select a different location.
Make sure to create a new folder and pick that folder as the storage location. If you don’t do this, all the files will be out in the open and clutter the directory. Click Next to continue.
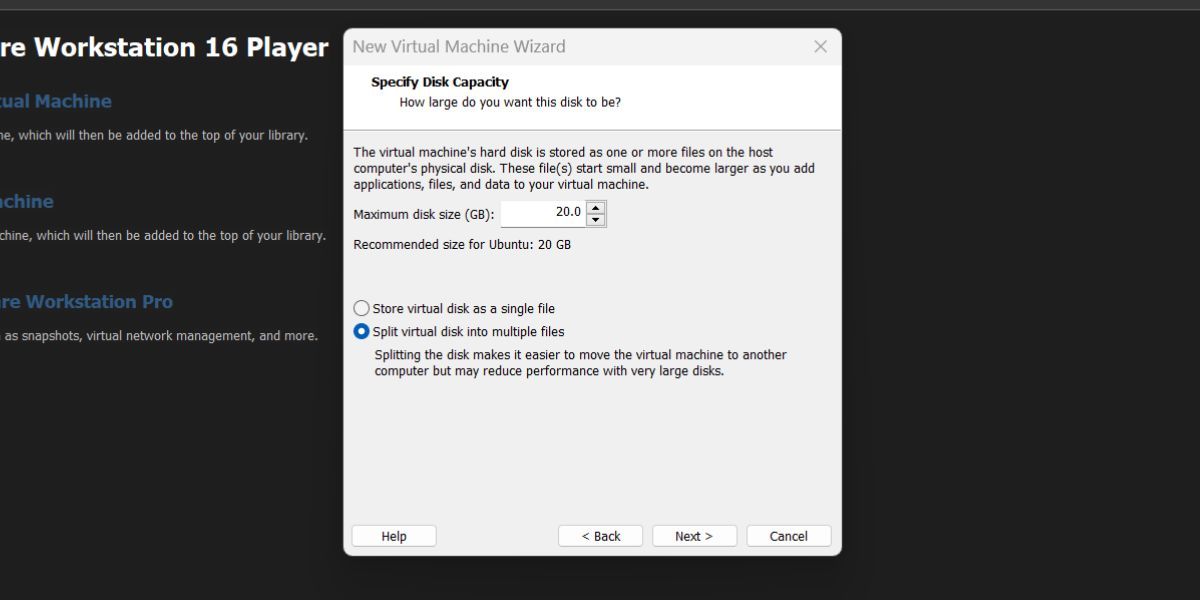
Now, you need to pick the size of the virtual disk. Go with the recommended size of 20GB if you want to merely try out the OS. You can increase the size later on.
Keep the Split virtual disk into multiple files option checked and hit Next.
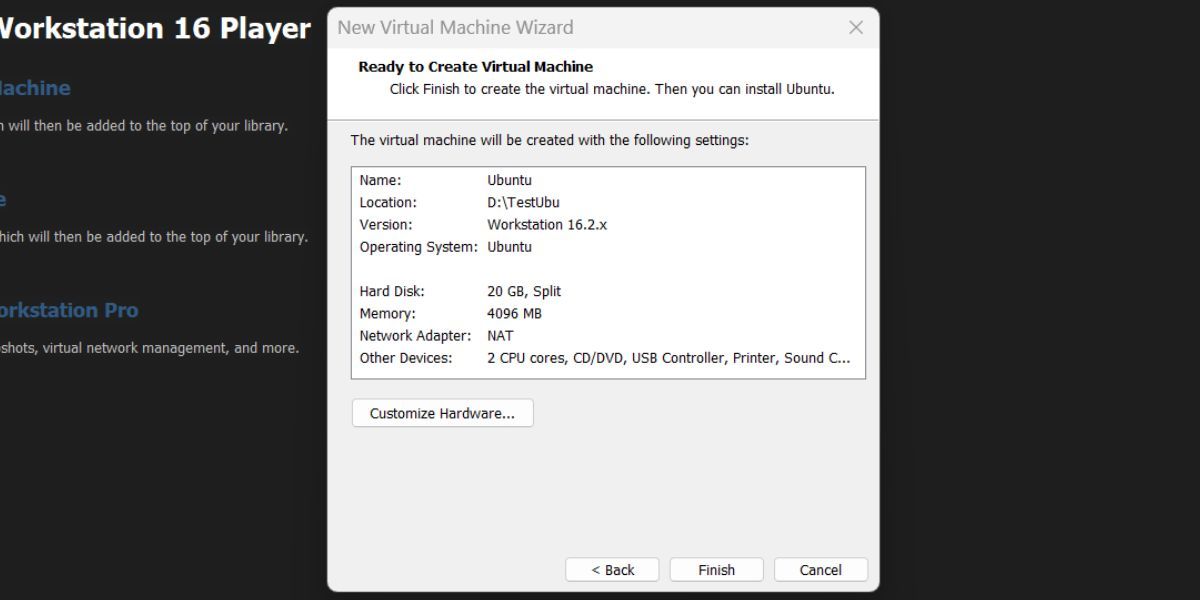
The following window will showcase a summary of the virtual machine settings. However, you still haven’t configured the processor cores, RAM, and other settings. To do so, click on the Customize Hardware button.
4GB of RAM is enough for Ubuntu, but you can decrease it to a minimum of 2GB if you have 6GB or less RAM on your host system. Similarly, for processor cores, assign two cores or more, depending on your host machine.
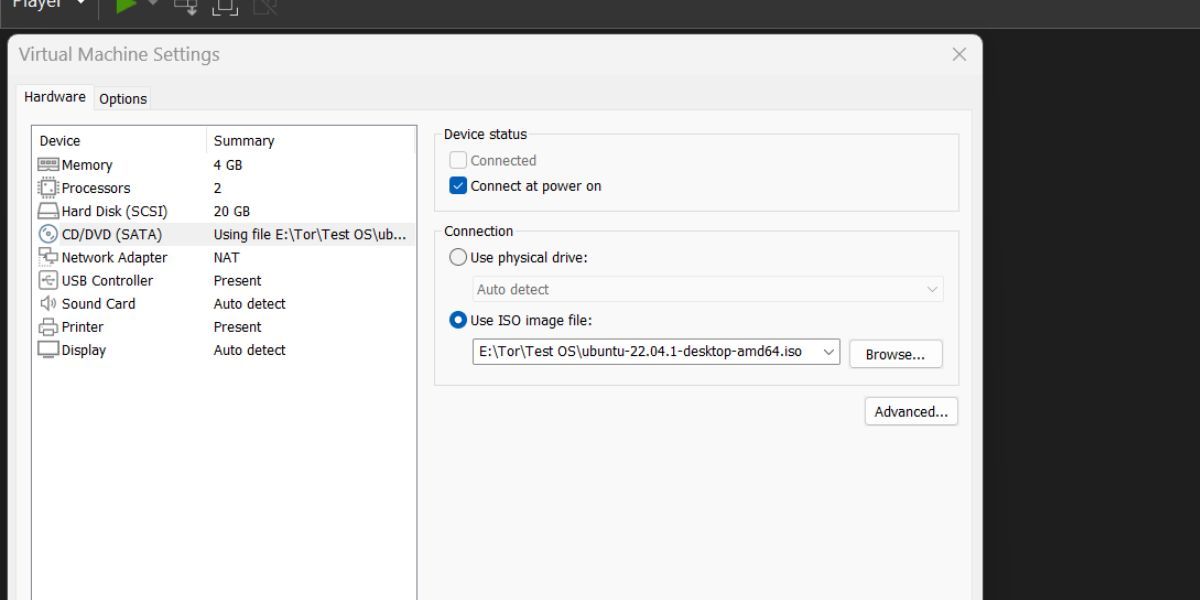
Click the CD/DVD (SATA) option and select Use ISO image file. Then, click Browse and select the Ubuntu ISO file. Finally, click Open.
Click Ok to save the settings and then Finish to create the virtual machine.
Step 4: Install Ubuntu on the Virtual Machine
The newly created Ubuntu virtual machine will appear in the virtual machine list on the left side. Select it and then click on the Play virtual machine option.
The Ubuntu GRUB menu will appear. Highlight the Try or Install Ubuntu option and press Enter. The Ubuntu installer will launch.
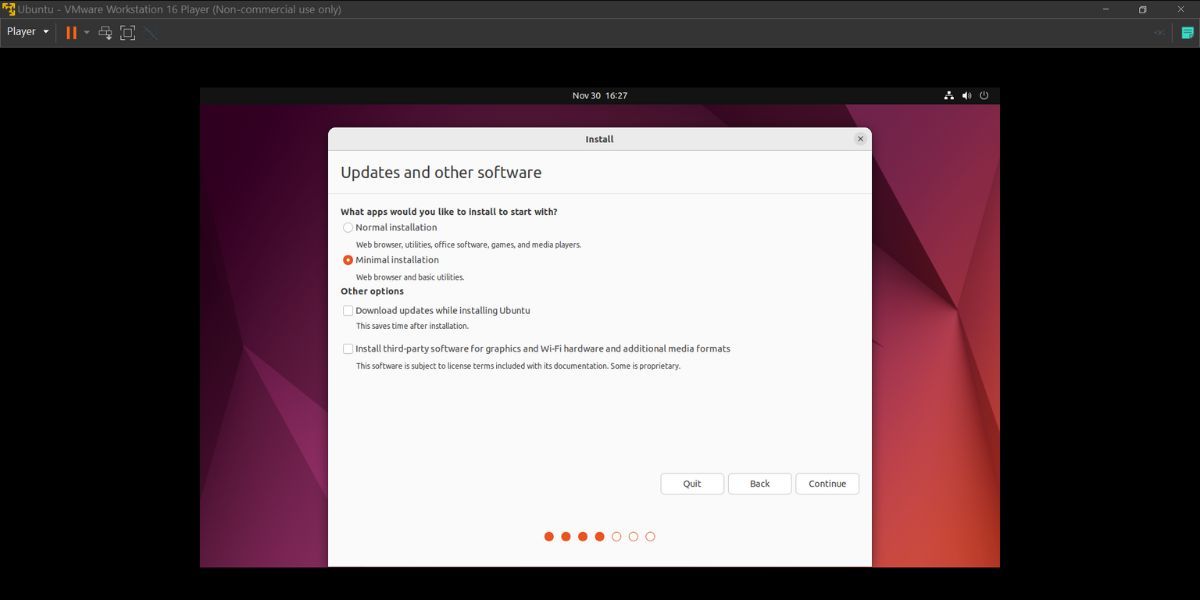
Click on the Install Ubuntu button. Keep the keyboard layout as default and click Continue. Next, choose Minimal installation and uncheck the Download updates while installing Ubuntu option. Proceed by clicking Continue.
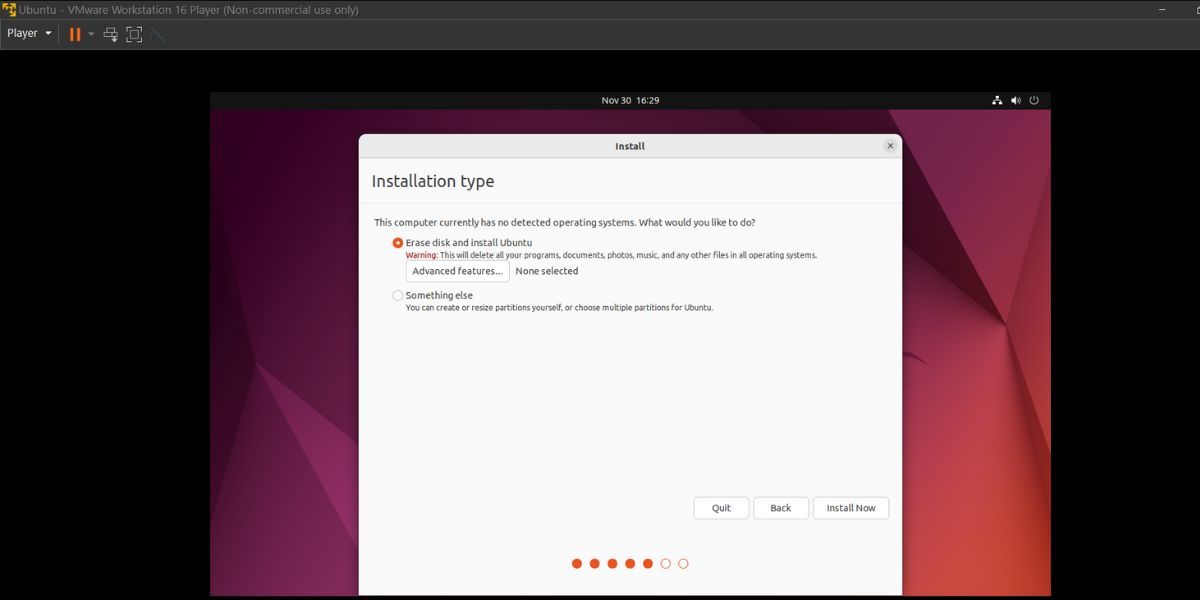
Keep the installation type as Erase disk and install Ubuntu and click Install Now. The setup will reconfirm your decision and show all the partitions that it will create on the virtual machine disk. Click on the Continue button.
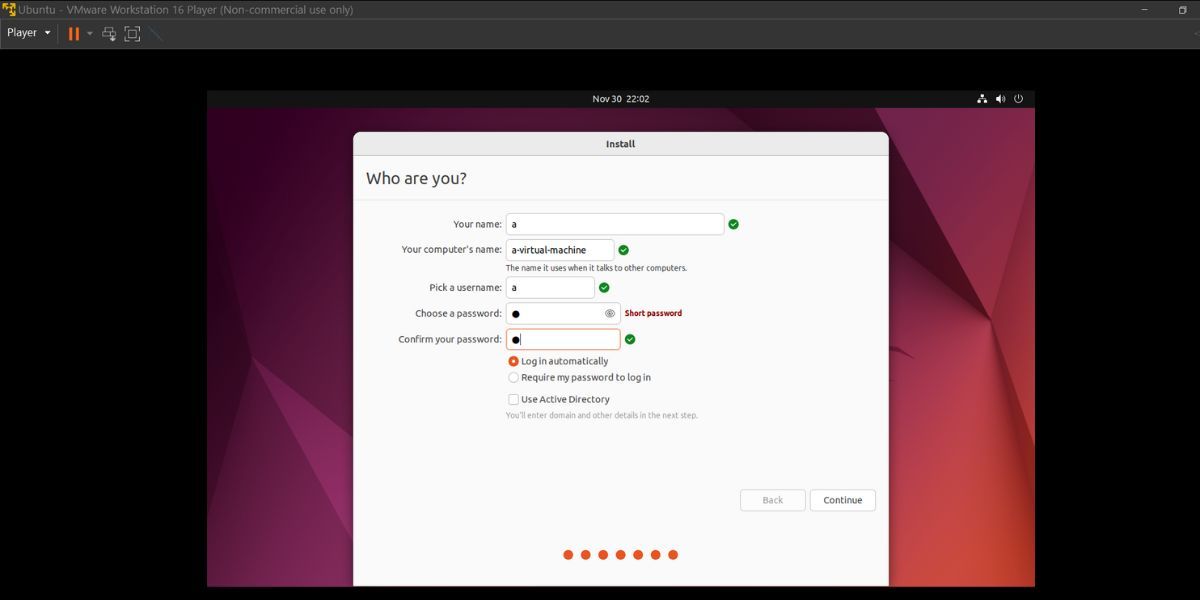
Pick the appropriate region and click Continue. Lastly, you need to enter your name, PC name, and password. After that, click on the Login automatically option and hit Continue.
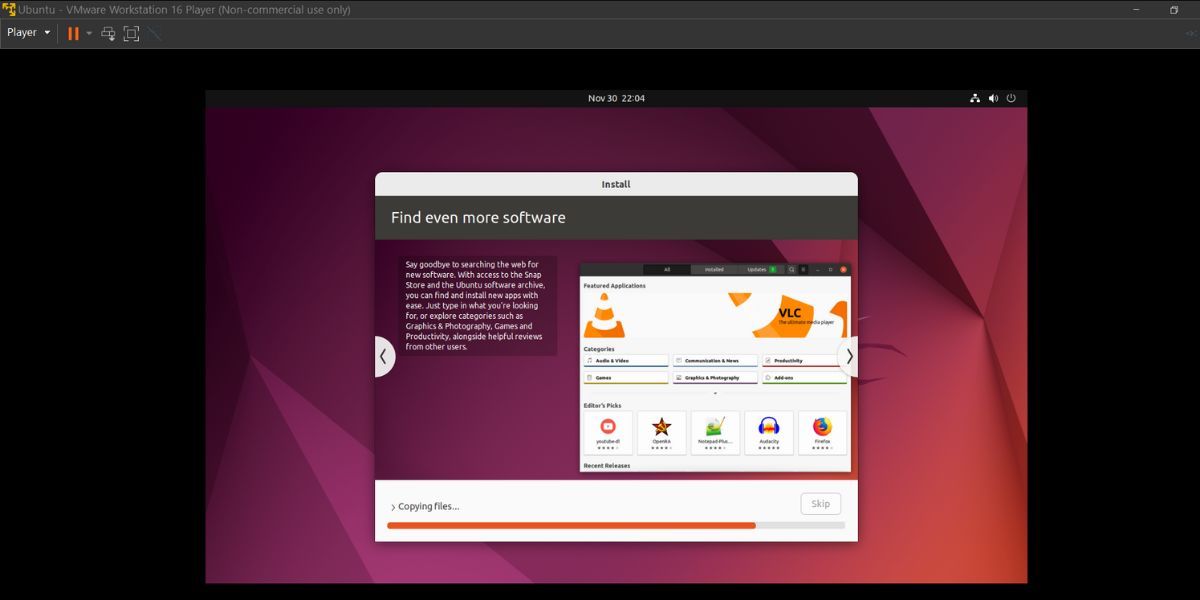
The Ubuntu installer will begin copying files on the virtual machine disk. It will take a while to install Ubuntu on the virtual machine. If you use an SSD, the installation will be much faster. Once the installation completes, click on the Restart Now button.
Press the Enter key to boot Ubuntu. Click Skip on the sign-in page and then set up Livepatch and Improve Ubuntu settings. Click Done to close the Welcome window.
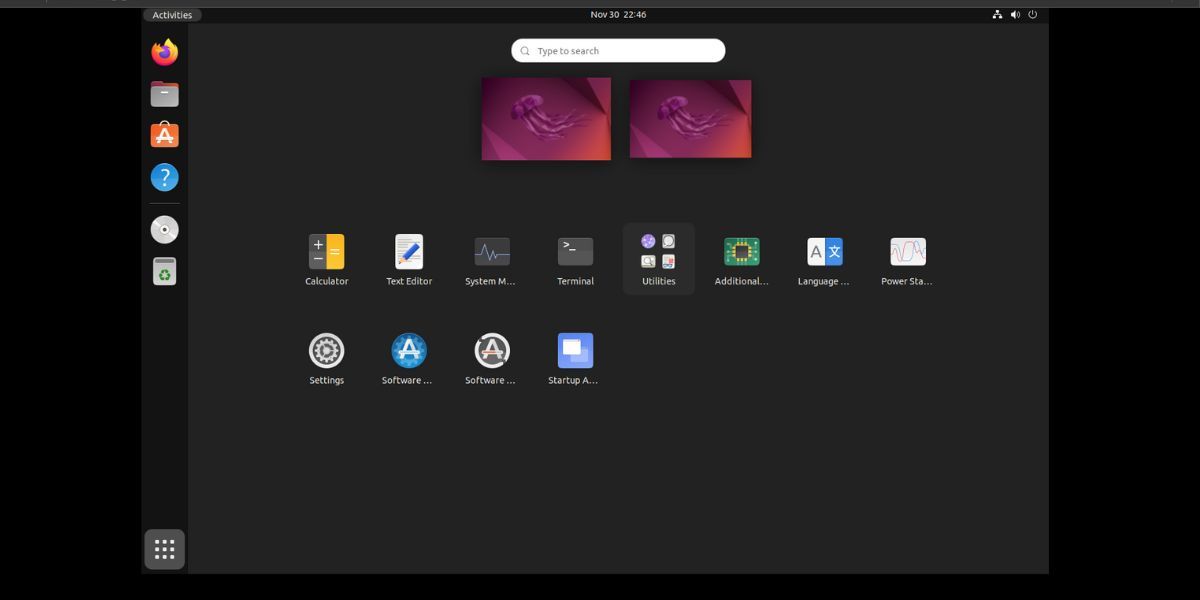
The Ubuntu screen will be very tiny. Click on the Show applications icon (or press Super) and then search Settings. Open the app and then navigate to the Display section. Change the screen resolution to a value that best fits your display. Then, click Apply.
Ubuntu is now up and running on your system. You can also install Ubuntu on VirtualBox, which is a hypervisor similar to VMware. Explore the operating system and power off the virtual machine once you finish testing it.
Try Ubuntu Without Installing It on Your Host System
VMware is a great hypervisor to test out other operating systems. You can try out other Linux distributions as well. Although the process of setting up the virtual machine will be more or less the same, the installation process can differ for other Linux distros.


