Homebrew is a free and open-source package manager for Linux and macOS. Although different Linux distros ship with their own package managers, such as APT, DNF, Pacman, etc., to facilitate software installation, you'll want Homebrew on your system if you wish to install programs that aren't available in the default Linux distro repositories.
Let's check out Homebrew and the steps to install and use it on Linux.
What Is Homebrew?
Homebrew is a package manager that simplifies the installation of programs that aren't available in the official Linux distro repositories. It contains over 5000 packages (also called "formulae") and is perfect for installing Unix tools and other open-source programs and utilities.
One of the advantages of using Homebrew is that its packages are better maintained than those available on other repositories. This means you can install the latest versions of programs even if you're running an older Linux distro on your computer.
How to Install Homebrew on Linux
Homebrew is easy to set up. Follow these instructions to install Homebrew on your Linux machine:
Step 1: Install Build Tools
The first thing you need to do is install build tools on your Linux machine. Build tools, for the uninitiated, are programs that facilitate package building on a Linux machine.
On Debian or Ubuntu, open the terminal and install the build-essential package and other dependencies using the following command:
sudo apt install build-essential procps curl file git
If you're using Fedora, CentOS, or Red Hat, you can install build tools with:
        sudo yum group install 'Development Tools'
sudo yum install procps-ng curl file git
sudo yum install libxcrypt-compat
To verify that the compiler is available, run this command:
which make
If this returns a path, it means you have a working compiler on your Linux machine. Else, there's something wrong with the installation, in which case, you need to go over the installation process again.
Step 2: Install Homebrew on Linux
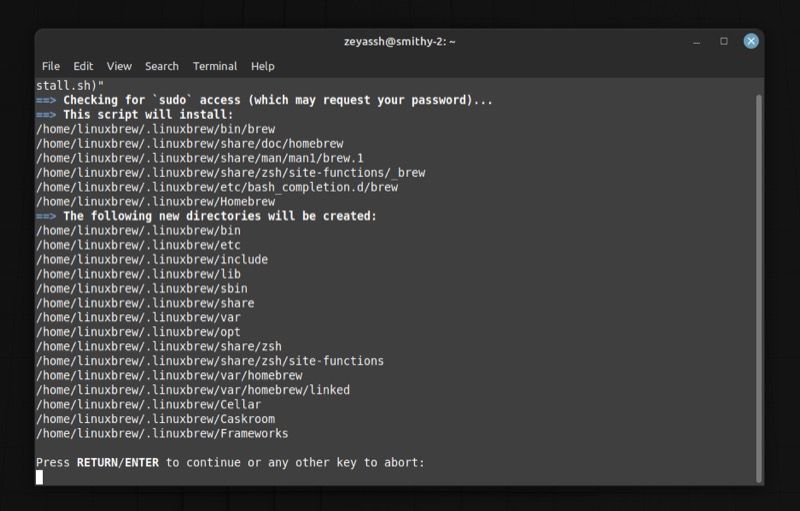
With the build tools in place, all you need to do now to install Homebrew is run the installation script. Open the terminal and run this command to do this:
/bin/bash -c "$(curl -fsSL https://raw.githubusercontent.com/Homebrew/install/HEAD/install.sh)"
When prompted to continue installation, press Enter, and the script will start downloading and installing Homebrew on your system. Wait for a few minutes for the installation to complete.
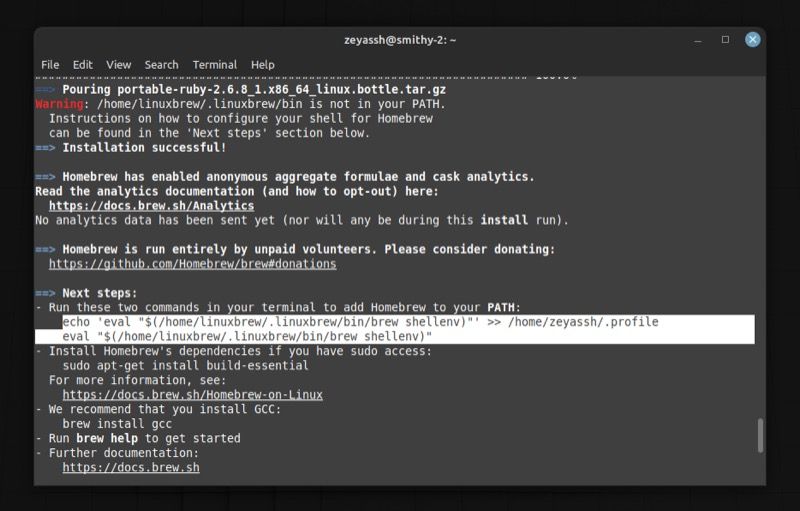
As soon as it's done, you'll see the Installation successful message on the terminal, along with a section called Next steps that tells you what you need to do next before you can start using Homebrew.
Here, you'll see two commands for adding Homebrew to your PATH. Copy these and run them one by one below. Here's what these commands look like:
        echo 'eval "$(/home/linuxbrew/.linuxbrew/bin/brew shellenv)"' >> /home/user_name/.profile
echo "$(/home/linuxbrew/.linuxbrew/bin/brew shellenv)"
We need to set the PATH for Homebrew so that the shell can find it when you call it for installing, updating, or deleting packages, irrespective of your present working directory.
How to Use Homebrew on Linux
With Homebrew installed, you can now use it to install, update, and delete existing Homebrew packages on your Linux machine. Follow the instructions in the following sections to carry out these operations.
1. Installing a Package Using Homebrew
Before you jump in and install a package using Homebrew, you must first update Homebrew and all its package definitions. Open the terminal and run this command to do this:
brew update
Since you've just installed Homebrew, it's likely already up-to-date, but it's always a good practice to do this before installing a new package.
Now, if you're following a guide online to install a package, you'd be sure that the package is present on Homebrew, and therefore, you can install it right away. However, if you aren't sure, you can look up the package to verify Homebrew has it by running:
brew search package_name
For example, to search if htop is available on Homebrew repositories, enter:
brew search htop
Finally, to install the package, use:
brew install package_name
For example:
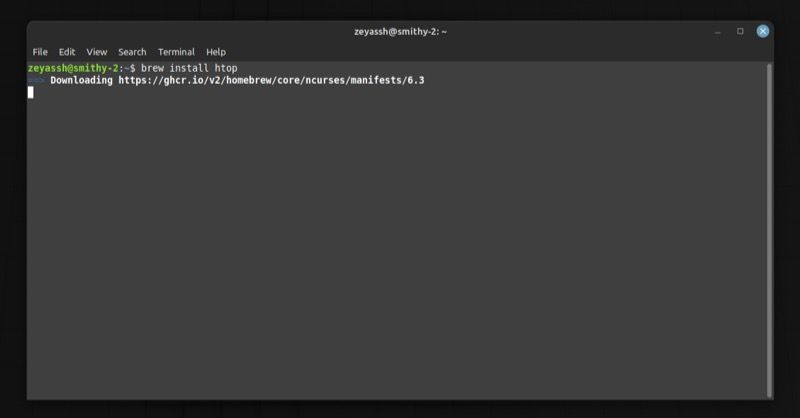
brew install htop
2. Upgrading a Homebrew Package
Over time, as you use a program, it will receive new updates with bug fixes, new features, and other improvements. Since Homebrew doesn't automatically upgrade (not update) the packages themselves, you'll need to do this manually.
But before you upgrade a Homebrew package, you may want to verify a package's version to know exactly which version you're running. To do this, open the terminal and run the command below:
brew list --versions package_name
To check available versions for the htop package:
brew list --versions htop
Now, if there's a new version for the package, you can upgrade to it like this:
brew upgrade package_name
For example:
brew upgrade htop
Alternatively, if you wish to upgrade all Homebrew packages installed on your system at once, you can do this by running:
brew upgrade
3. Uninstalling a Homebrew Package
If you no longer need a package on your computer for some reason, you can uninstall it, just like you do with traditional Linux package managers. To uninstall a package using Homebrew, run this command in the terminal:
brew uninstall package_name
How to Uninstall Homebrew on Linux
Similar to the Homebrew installation process, uninstalling Homebrew also involves using a script, which automatically uninstalls the package manager from your Linux system.
Open the terminal and run this command to download and run the uninstallation script:
/bin/bash -c "$(curl -fsSL https://raw.githubusercontent.com/Homebrew/install/HEAD/uninstall.sh)"
As soon as the script finishes uninstalling Homebrew, it will list down some files that weren't removed during the uninstallation process. You can remove these leftover files from the file manager or terminal in the way you see fit.
Other Useful Homebrew Commands You Should Know
Although the commands discussed so far are pretty much all you need to know to use Homebrew on Linux, Homebrew also has a few other useful commands that you should know about. These include:
- brew help: It prints out various Homebrew commands with their usage and purpose.
- brew help sub_command: It's useful when you want to learn more about a specific Homebrew command, including the available options and usage.
- brew doctor: It checks your system for any potential problems and lists them out, so you can fix them and avoid running into issues when using Homebrew.
- brew outdated: It's used for listing out all the Homebrew packages on your system that are outdated and need to be updated.
- brew pin package_name: It allows you to specify a Homebrew package to prevent it from being upgraded when you run the brew upgrade command on your system. Later, if you wish to unpin the package, Homebrew will then upgrade it along with all other packages.
- brew cleanup: It's used for cleaning up old versions of packages on your system and other related data.
Install Your Favorite Programs on Linux With Homebrew
Now that you've installed Homebrew and got an idea of how to use it for installing new packages, you can easily find and install programs that aren't otherwise available through traditional Linux package managers on your machine.
If you're a budding programmer, Homebrew can come in quite handy for you, as you can install different CLI tools on your system effortlessly using it. Likewise, while you're at it, you may also want to check out Git installation and setup to familiarize yourself with a version control system.


