Arduino provides students, hobbyists, and organizations with a robust platform for developing electronic projects and prototyping at a very low cost.
Linux is a great OS for developing your Arduino project, but first, you'll need to install the Arduino IDE on your system. The Arduino IDE will help you write code, run it, and finally, upload it to your Arduino board.
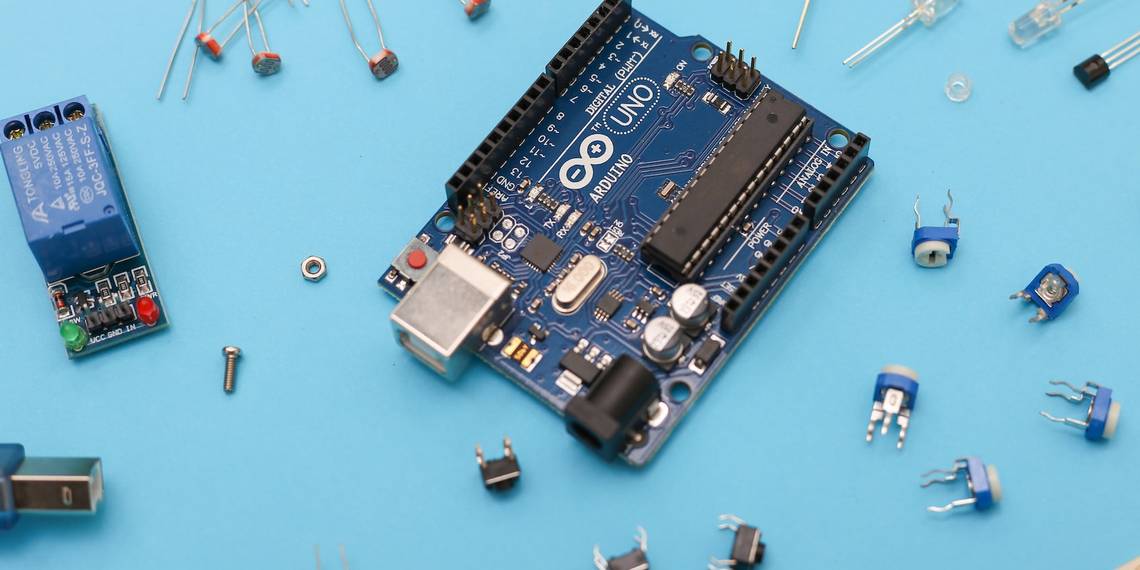
Why Use Arduino?
Arduino is the perfect platform to get started with robotics and electronics. It is widely used in schools and other organizations because it is very accessible and affordable. You can use it to create a wide range of projects ranging from small-scale to complex ones.
Arduino is cross-platform and hence easy to use no matter what platform you are on. It's supported on Unix, macOS, Linux, and Windows, whereas most microcontroller competitors are only supported on Windows.
Another big advantage is that Arduino is open source. Most people associate open source with software alone, but Arduino comprises both open-source hardware and software. This allows contributions from a wide audience to make the platform even better.
Step 1: Downloading the Arduino IDE Archive on Linux
You can get the latest Arduino IDE from the Arduino website. The Arduino IDE is available on all major OSes and architectures including ARM and 32-bit architectures.
Download: Arduino IDE
The IDE comes in form of a tar archive. Tar files are compressed archived files that are widely used for distributing software on Linux. They usually have the following file extensions: TAR.XZ and TAR.GZ.
Use the GNU tar utility to extract the downloaded archive file on Linux. To do that, go to the Downloads directory or wherever you have downloaded your IDE using the cd command:
cd ~/Downloads
Then, extract the archived file using tar. Remember to replace the file name with the correct one in the below command:
tar xvf arduino-*.tar.xz
The files are extracted to the folder arduino-1.8.19. The version number will be different depending on the IDE version you've downloaded.
Step 2: Installing the Arduino IDE on Linux
To start the installation, go into the extracted folder, which will have a name similar to arduino-x.x.x, with x.x.x being the version number. In this case, the extracted folder name is arduino-1.8.19.
cd arduino-1.8.19
Run the install.sh installation script using the following command:
sudo ./install.sh

The script will install the IDE for you and will let you know when it's done.
Step 3: Configuring Your IDE and Device
After the installation is complete, you can connect your Arduino device to the USB port on your PC.
Press the Super key and search for "arduino" to launch the Arduino IDE from the GUI. Alternatively, simply run the command arduino in your terminal.
The first time you launch the IDE you'll get a permission checker dialog similar to the one below. Click on the Add button to proceed. This will add your user to the dialout group, which enables you to upload execution code to your Arduino device.

Alternatively, you can manually add your user to the dialout group, using the command:
sudo usermod -aG dialout $USER
Log out from the terminal and PC and then log back in again for the changes to take effect. Only the root user and the members of the dialout group can upload code to Arduino devices connected to your PC.
In your Arduino IDE, go to Tools > Port, and you'll find your Arduino device listed under the Serial ports label as shown below.

If it is still not listed, try to replug your Arduino device.
Running Your First Program Using the Arduino IDE

The Arduino IDE comes with some basic examples that contain ready-to-run code. Click on Files > Examples > 01. Basics > Blink. This will open a basic light-blinking code project, which basically turns on the light on your Arduino for a second then off and on again indefinitely.
As a good practice, you have to verify or compile your code before uploading it to your device. This way you'll catch errors in the IDE. Click on Sketch in the menu then select Verify/Compile, or simply press Ctrl + R. If your code compiles successfully, you are ready to upload your code to the Arduino device.
Click on the Sketch menu option again and select Upload. You can also use the keyboard shortcut Ctrl + U.
The TX and RX lights on your Arduino Microcontroller will blink as the IDE uploads the code. Then, the main light on the Arduino will start blinking according to the instructions given.
Arduino IDE on Linux Is Great for Beginners
With the Arduino IDE installed, you are all ready to build awesome robotic and automation projects. Arduino is a robust platform with a large community of users and is relatively cheap to start with.
To make the most out of your Arduino, start with small projects that do not require so much equipment and move on to complex projects with time.