One thing that users really love about Linux is its open-source development culture. Even if you can't afford to splurge your money on high-end close-sourced software, you don't have to settle with substandard products. The open-source community ensures that by developing and releasing free apps.
One such app is GIMP, short for GNU Image Manipulation. With GIMP installed on your Ubuntu machine, you can handle all, if not most, of your tasks related to images—including everything from super easy stuff like capturing screenshots and cropping images to more heavy-duty things such as image creation, animation, scripting support, and more.
How to Install GIMP on Ubuntu?
There are plenty of ways to install GIMP on Ubuntu. Let's go through all of them one by one.
Install GIMP Through Terminal
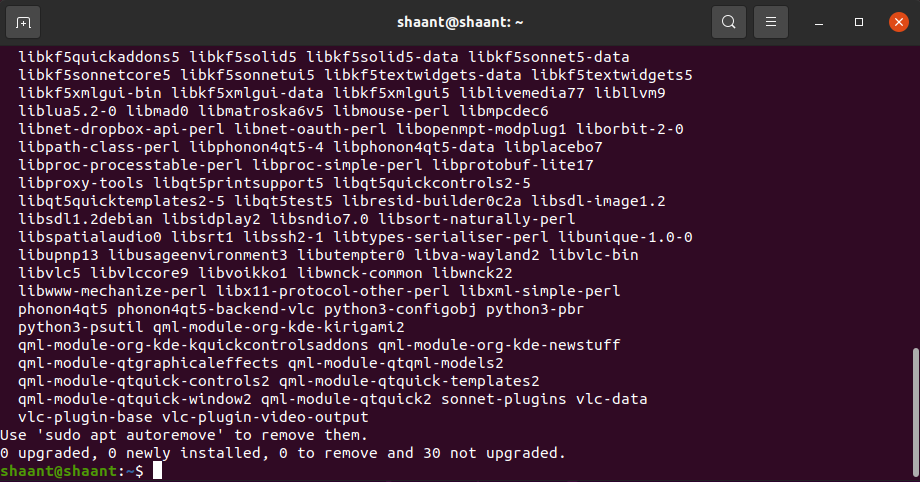
Every Linux user knows that the command-line is the best way to control a machine. So, let's begin with this method first. To start, launch the Terminal from the Applications menu or press the Ctrl + Alt + T keyboard shortcut. Then, type the command from below, and hit Enter:
sudo snap install gimp
Note that the aforementioned command assumes you have the Snap package manager already installed on your system. But if you don't, though, run this command:
        sudo apt update
sudo apt install snapd
After you've installed the snap package, run the command to install gimp again.
Install GIMP From the Software Center
If you are still learning the ins and outs of the Terminal, or just plainly don't like it, you can use the GUI instead. Luckily, gone are the days when you simply had to use the command line if you wanted to work on a Linux-based system.
Now, you can just use the Ubuntu Software application for installing new software. To start, launch Ubuntu Software from the Applications menu and search for 'gimp.' Click on Install to download the GIMP package, and the system will get it up and running in no time.
Install GIMP on Ubuntu With Flatpak
Flatpak is a package management and software development utility for the Linux environment. Flatpak and Snap are similar package managers and like Snap, you can use Flatpak to install GIMP on Ubuntu as well.
If you don't have Flatpak installed on your computer, run this command:
        sudo add-apt-repository ppa:alexlarsson/flatpak
sudo apt update
sudo apt install flatpak
After you are done with the installation, add the flathub repository to Flatpak:
flatpak remote-add flathub https://dl.flathub.org/repo/flathub.flatpakrepo
Now, all that's left to do is a quick restart so that everything is up and running.
After the restart, install GIMP with this command:
sudo flatpak install flathub org.gimp.GIMP
And that's all about the different ways to install GIMP on Ubuntu. Now, let's see how you can use GIMP in creative ways on your machine.
Creative Ways to Use GIMP on Linux
The current version of GIMP is a force to be reckoned with. With features like animation, screenshot capturing, and more, GIMP is one of the best Photoshop alternatives for users on a budget. Moreover, it's available for a variety of platforms, such as Windows, macOS, Linux, etc.
As said by GIMP developers themselves, “Whether you are a graphic designer, photographer, illustrator, or scientist, GIMP provides you with sophisticated tools to get your job done.”
Let's go over a few use cases of GIMP on Ubuntu.
Capturing Screenshots With GIMP
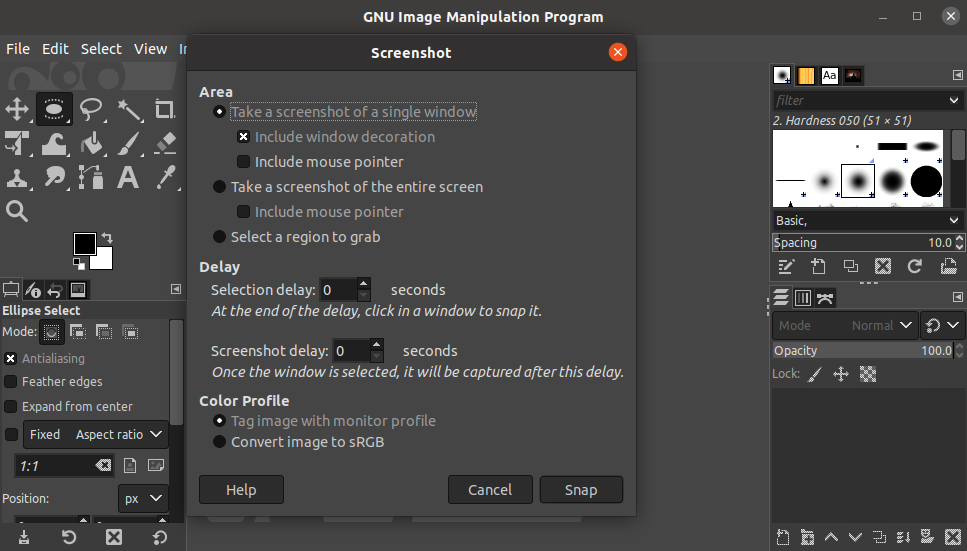
If part of your job involves giving presentations or explanations to an audience, you're eventually going to need screenshots. GIMP will come in handy when you do. To capture one now, launch the app and from the main menu, select File > Create > Screenshot.
A new dialog box for capturing the screenshot will appear. From there, select the options that you prefer.
In the Area section, you will have to select the kind of screenshot you want. You can choose from a screenshot of the entire screen, a screenshot of a single window, or if you want, just a screen clip of a specific region.
There's also a Delay and Color Profile section that lets you tinker with the time delay of screenshot and settings respectively.
Scaling and Resizing Images
Resizing or scaling images is a common requirement for many people who work with images daily. GIMP can help you with this.
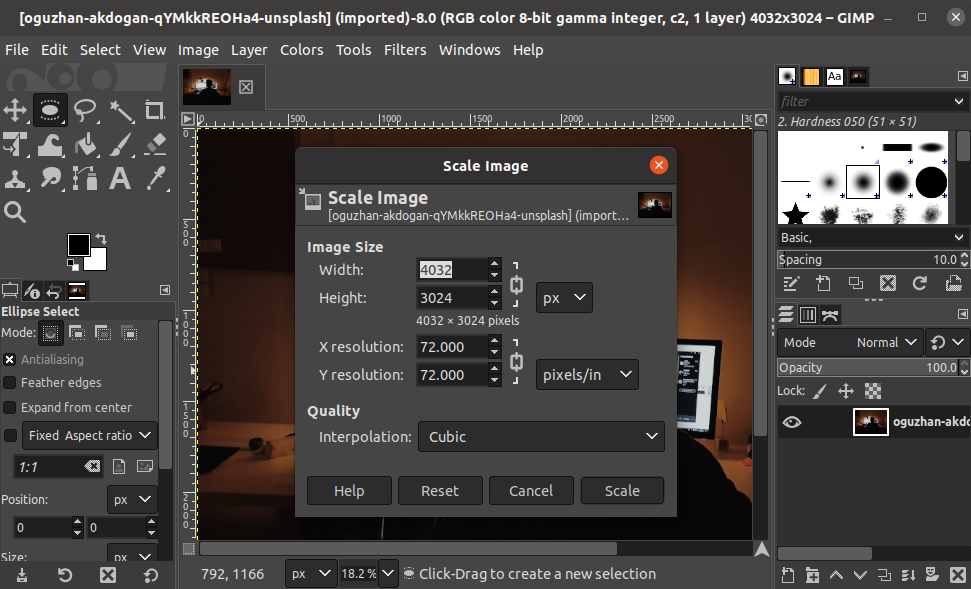
Open the image that you want to edit with GIMP. Now, from the main menu, click on Image > Scale Image.
In the next dialog box, alter the Image Size by tinkering with the height, width, X resolution, and Y resolution. You can tweak the quality to the setting that you want. Finally, click on Scale to finalize the changes.
After you're done with editing, click on File > Export As to save the file in the desired format.
Changing the Size of Images
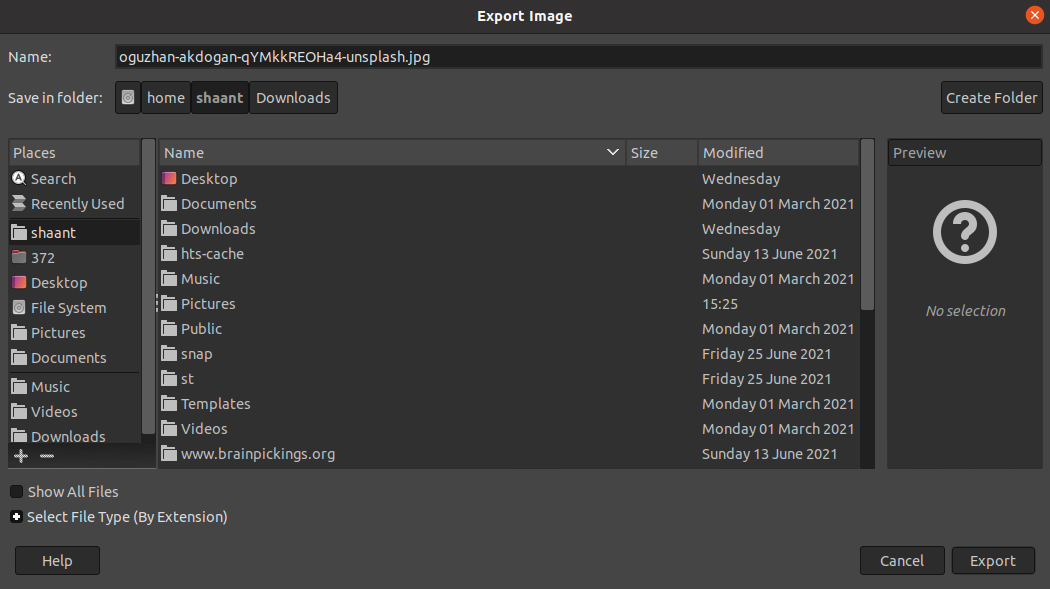
You can reduce the size of an image, too. Open any image that you want to reduce the size of and select File > Export As.
Now, select the image that you want to resize and set a new name and file type. You should choose either JPG or PNG as these are lossy image formats. This means you'll only lose a small amount of image quality when you reduce the image size.
Click on Export. In the new dialog box, reduce the quality of the image to tweak its original size. When you do that, you'll see a reduction in the file size. And if you know what you're doing, click on Advanced Options to tinker with more image settings.
Finally, click on Export to complete the process.
Crop an Image Using GIMP
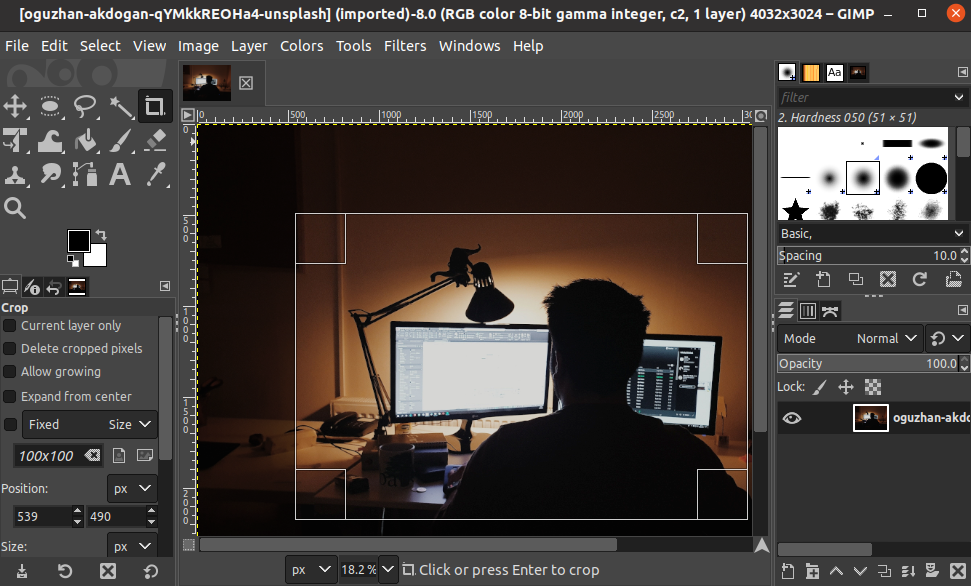
At other times, you might only need a specific region or part of an image. Again, this is something GIMP can help you with, through its cropping tool. To crop an image, select the Crop Tool from the tool palette. Now, all you have to do is grab the area by dragging your mouse over it.
Left-click anywhere on the image and drag the mouse over the area you want to crop. Again, left-click in the region that you've selected, and GIMP will crop the image for you. Finally, select File > Export As to save your cropped image.
Creating a Circular Image
Circular images are mostly used for avatars in social networking sites. However, you might need them on for personal use; maybe for your blogs posts, or something similar.
Select an image and then click on Layer > Transparency. From there, select Add Alpha Channel.
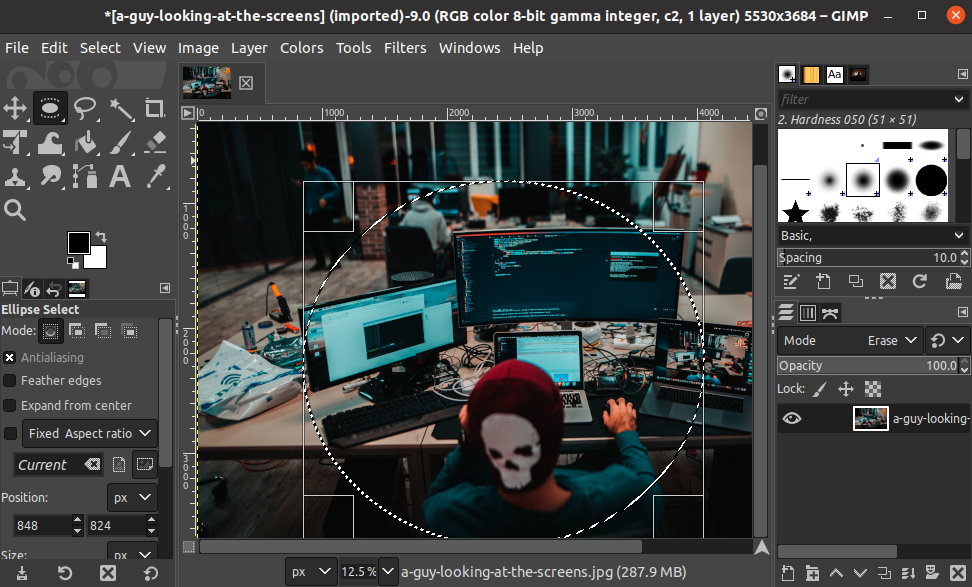
On your tools palette, right-click on the Rectangle Select tool and click on Ellipse Select. Now, go to the Windows tab, and select Dockable dialogs > Tool options.
To set a perfect circle, use the Fixed option, select the Aspect ratio and enter 1:1. Select the area you want to crop, and then, press Ctrl + I to invert the selection. By doing this, you've selected all the portions that you want to exclude. Press the Delete key to remove all the selected areas.
Now, save the image in PNG format. PNG is the only format that supports transparent images right now, so this is a slight limitation that you'll have to deal with while using GIMP.
Installing And Using GIMP on Ubuntu
GIMP is a versatile app, touted as an open-source alternative to Photoshop. Hopefully, you were able to download and run GIMP on Ubuntu through the above methods.
GIMP certainly has a steep learning curve, so don't give up if you can't catch up with everything at once. Luckily, you can find numerous guides related to GIMP on the internet, which can help you in getting comfortable with the application and its environment.


