Anaconda is an open-source software used to manage machine learning, data science, and other scientific workflows. It is an integrated Python environment that comes packed with hundreds of scientific packages that help you get started with your projects.
Anaconda is easy to install and configure on Linux as well as other operating systems, including Windows and macOS. Let’s see how you can install and set up Anaconda on Ubuntu via the command line.
What Is Anaconda?
Anaconda is a distribution of the R and Python programming languages for scientific computing. Used in projects that involve machine learning, data processing, data science, and predictive analysis, Anaconda makes package management and deployment easy for novice users and scientific communities.
Anaconda consists of conda, a package and an environment manager used to isolate projects that use different versions of Python or its packages. It is also used to update packages and install or uninstall them from a particular project.
How to Install Anaconda on Ubuntu
Here are the steps to install Anaconda on Ubuntu:
Step 1: Update and Upgrade Your System
To begin installing Anaconda on Ubuntu, you will first need to update your Linux system repositories. To do that, open the Ubuntu terminal by pressing Ctrl + Alt + T and then issue the following command:
sudo apt-get update
Now run the following command to upgrade the system packages:
sudo apt-get upgrade
Step 2: Download the Anaconda Installer on Ubuntu
In this step, you'll use the wget command to download the Anaconda package. If you don’t have Wget installed on your system, run the following command:
sudo apt-get install wget
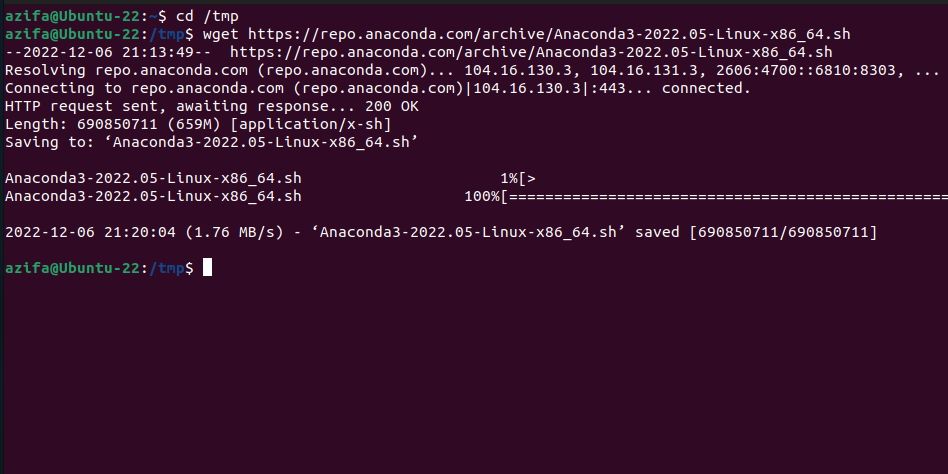
You need to download the installer to the /tmp directory. Use the cd command to enter the /tmp folder:
cd /tmp
Once you are in, execute the following command to download the package:
wget https://repo.anaconda.com/archive/Anaconda3-2022.05-Linux-x86_64.sh
This may take a while to download so hang on. The Anaconda package is a large file, almost 500MB+. When you download Anaconda, it comes packed with conda, Python, and more than 150 scientific packages and their dependencies.
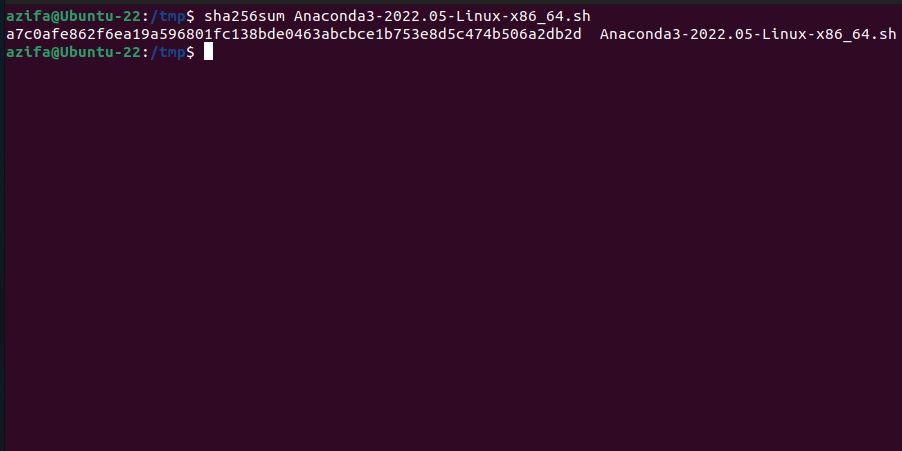
Once you've downloaded the Anaconda installer package, verify its hash code integrity using the following command:
sha256sum Anaconda3-2022.05-Linux-x86_64.sh
The output is the SHA256 checksum of the Anaconda installer, and it must match the code present on the official Anaconda webpage.
If the match fails, you will get errors and the script will not install Anaconda. If the code matches, you can move on to install Anaconda on your system.
Step 3: Install Anaconda on Ubuntu
To install Anaconda, run the Anaconda Bash shell script like this:
bash Anaconda3-2022.05-Linux-x86_64.sh
Those who don’t want Anaconda to take up all the disk space on their system can install Miniconda instead. Miniconda is a lighter distribution that only comes packed with conda and Python. If you want to install any scientific packages, you can still do it with conda.
To install Miniconda, use the following commands:
        wget https://repo.anaconda.com/miniconda/Miniconda3-latest-Linux-x86_64.sh
sha256sum Miniconda3-latest-Linux-x86_64.sh
bash Miniconda3-latest-Linux-x86_64.sh
The first command will download the package, the second command will verify the hash integrity of the downloaded file, and the third command executes the Miniconda installer.
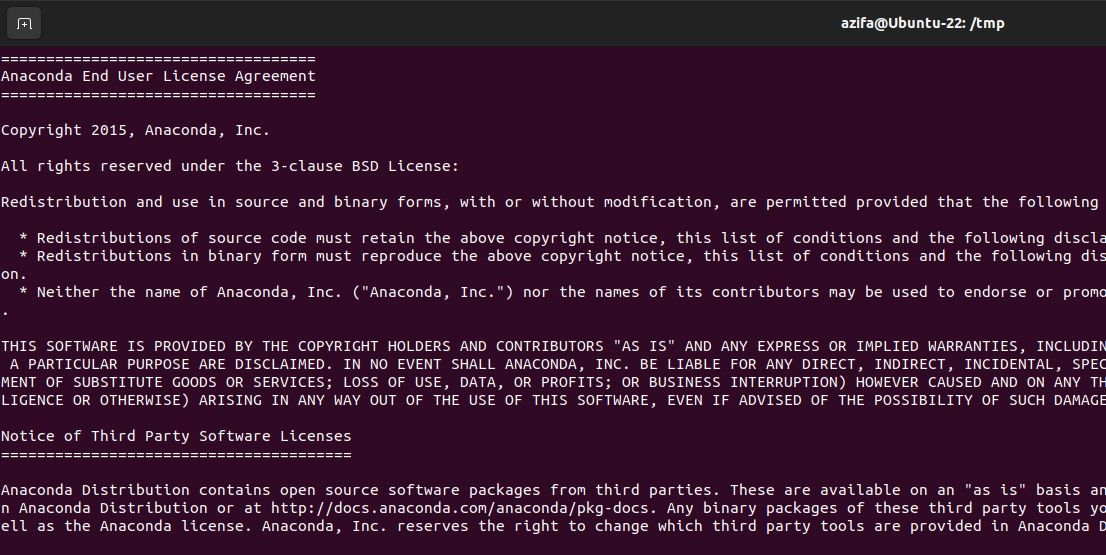
Once you have run the Bash script, it'll prompt you to view the license agreement. To view the license, type yes and hit Enter.
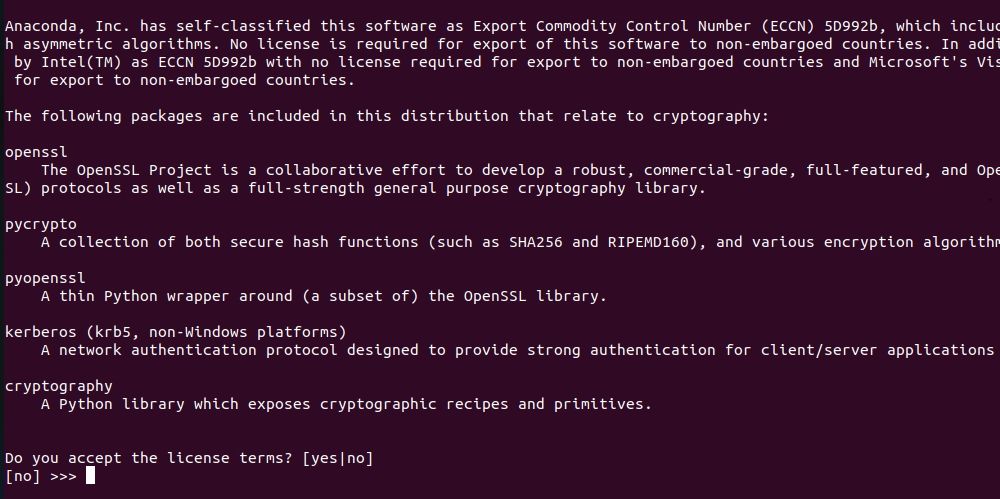
After viewing the license agreement, the installer will ask if you want to accept the license or not. Type yes to agree and hit Enter.
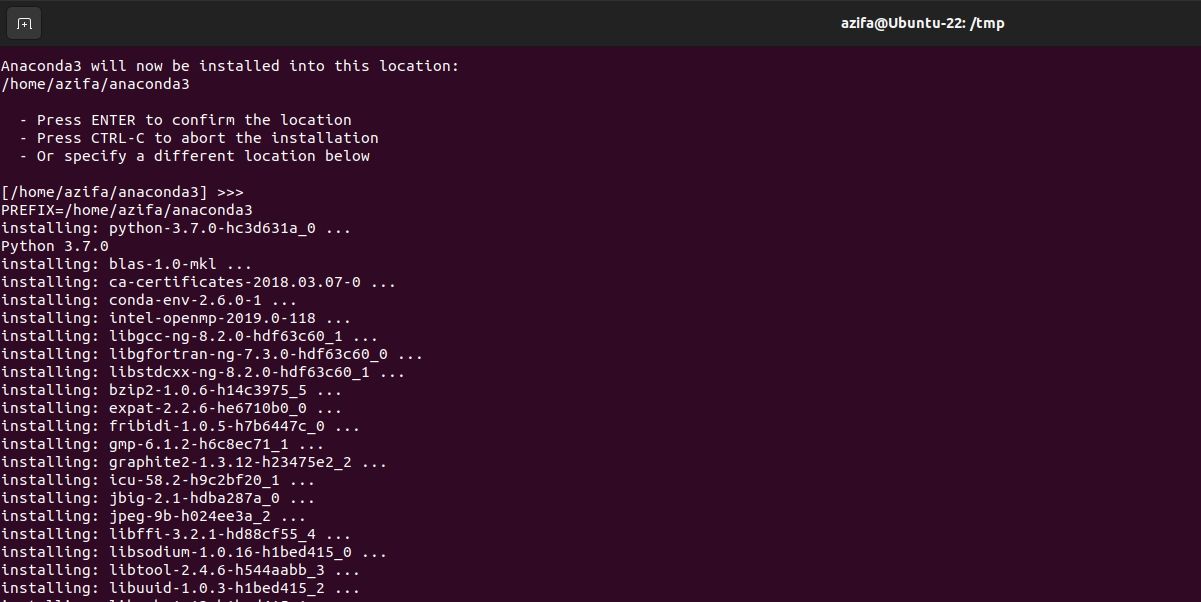
Next, the installer will ask you the location where you want to install Anaconda. To keep the default location, hit Enter. Otherwise, mention the path to the directory where you want to install the application. After this, the installation will begin, and you can track it on the terminal.
Once the installation is complete, activate the environment settings with the help of this command:
source ~/.bashrc
Step 4: Verify the Installation
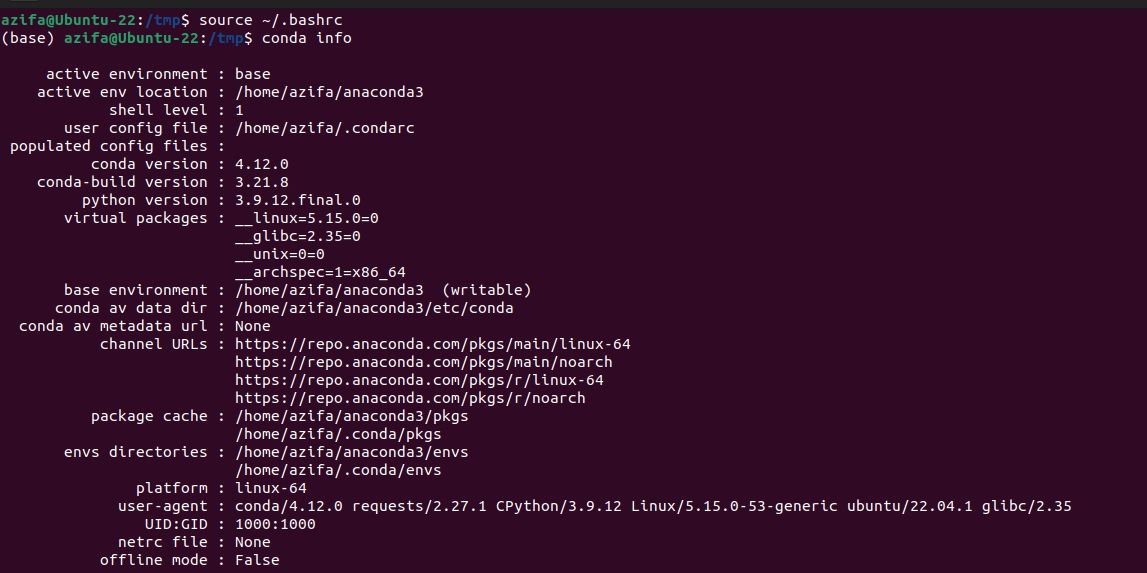
After the installation process is complete, it is a good practice to verify the installation. You can achieve that with the help of the following command:
conda info
In the output, you will see all the information regarding Anaconda. This tells that Anaconda now exists on your system. In case, you get the “conda: command not found” error, this means there was a problem with the installation which is why the installer failed to install Anaconda.
To fix this, try installing Anaconda all over again and make sure you don’t miss any steps.
Another way to verify the installation is by checking the version of the application you just installed. If you get the version number in the output, this means the application was successfully installed, and it now exists on your system, ready for you to use.
To check the version of conda, issue the following command:
conda --version
How to Update Anaconda on Ubuntu
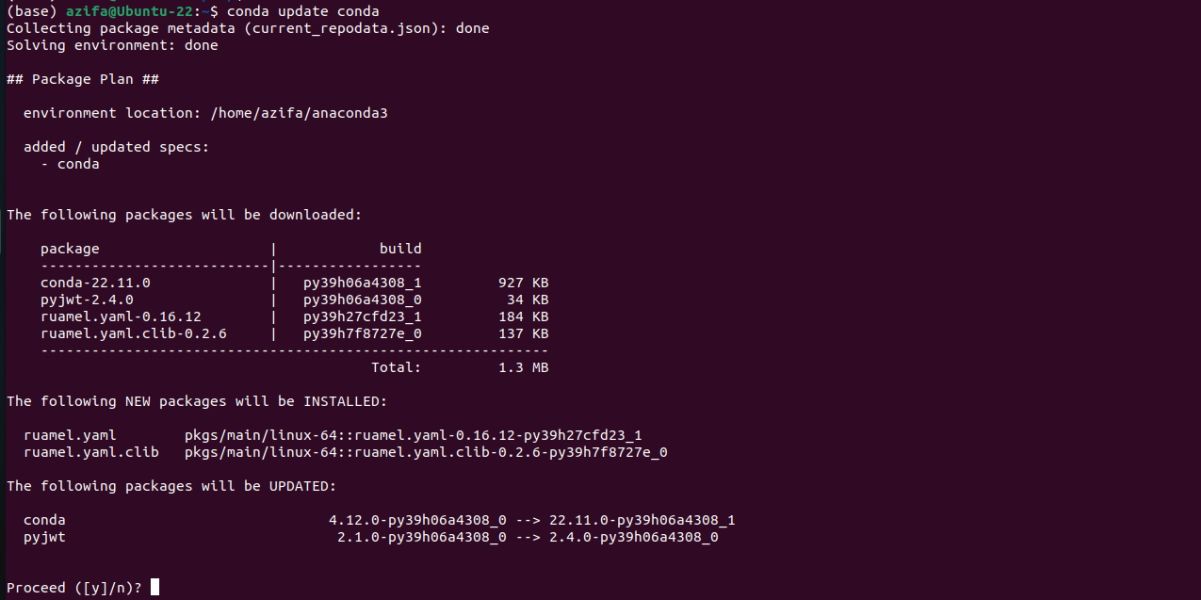
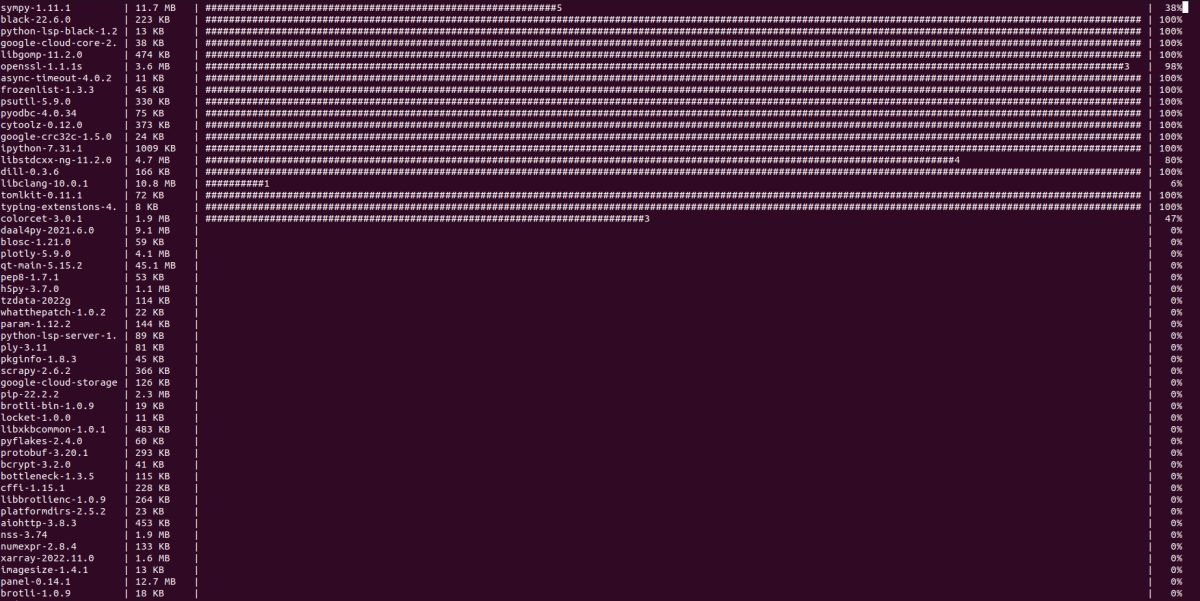
You don’t need to update Anaconda right after installation. But you might need to do it sooner or later. In that case, you will first update the conda package manager by running the following command:
conda update conda
Enter y or yes to proceed.
After that, use the following command to update Anaconda using conda:
conda update anaconda
How to Uninstall Anaconda From Ubuntu
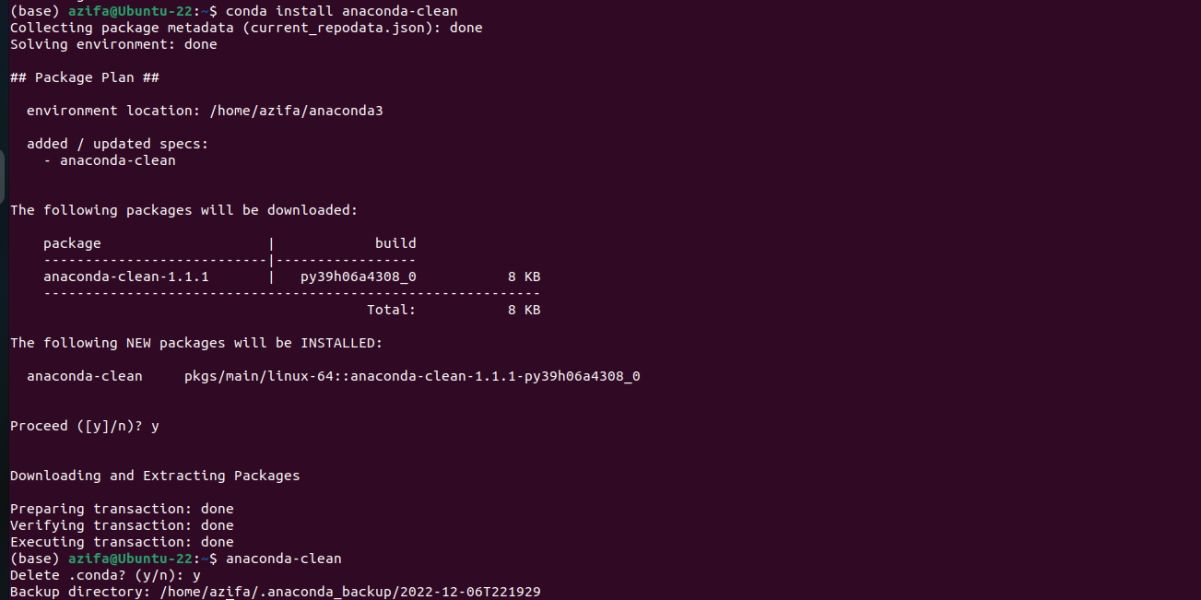
What if you need to uninstall Anaconda from your system? You can simply remove Anaconda from Ubuntu with the help of two basic Linux commands. First, you will install the anaconda-clean package on your system using the following command:
conda install anaconda-clean
Next, use it to delete all the files and directories that belong to Anaconda:
anaconda-clean
Handle Scientific Workflows Effortlessly With Anaconda
You have successfully installed Anaconda on Ubuntu and can now begin experimenting with the different scientific packages available. You can also install additional packages with conda if you want.
Anaconda is a powerful tool that allows you to easily develop and deploy machine learning models and makes learning easy with the help of hundreds of scientific packages and libraries that it offers.


