Using Adobe Illustrator, there are many ways to scale your digital artwork, but the stroke width doesn’t always scale along with the rest of the object. Even when holding down Shift to keep constraints proportional, you need to check a separate setting to scale the stroke widths proportionally to your illustration.
If you’ve ever been frustrated by your lines looking too wide when scaling down or too slim when scaling up in Illustrator, here is how to fix it.
How to Proportionally Scale Objects in Illustrator
There are multiple ways to scale objects in Illustrator, including using anchor points or the Scale tool. Each option has different merits and results, but you can proportionally scale objects using either technique.
Scale From the Bounding Box
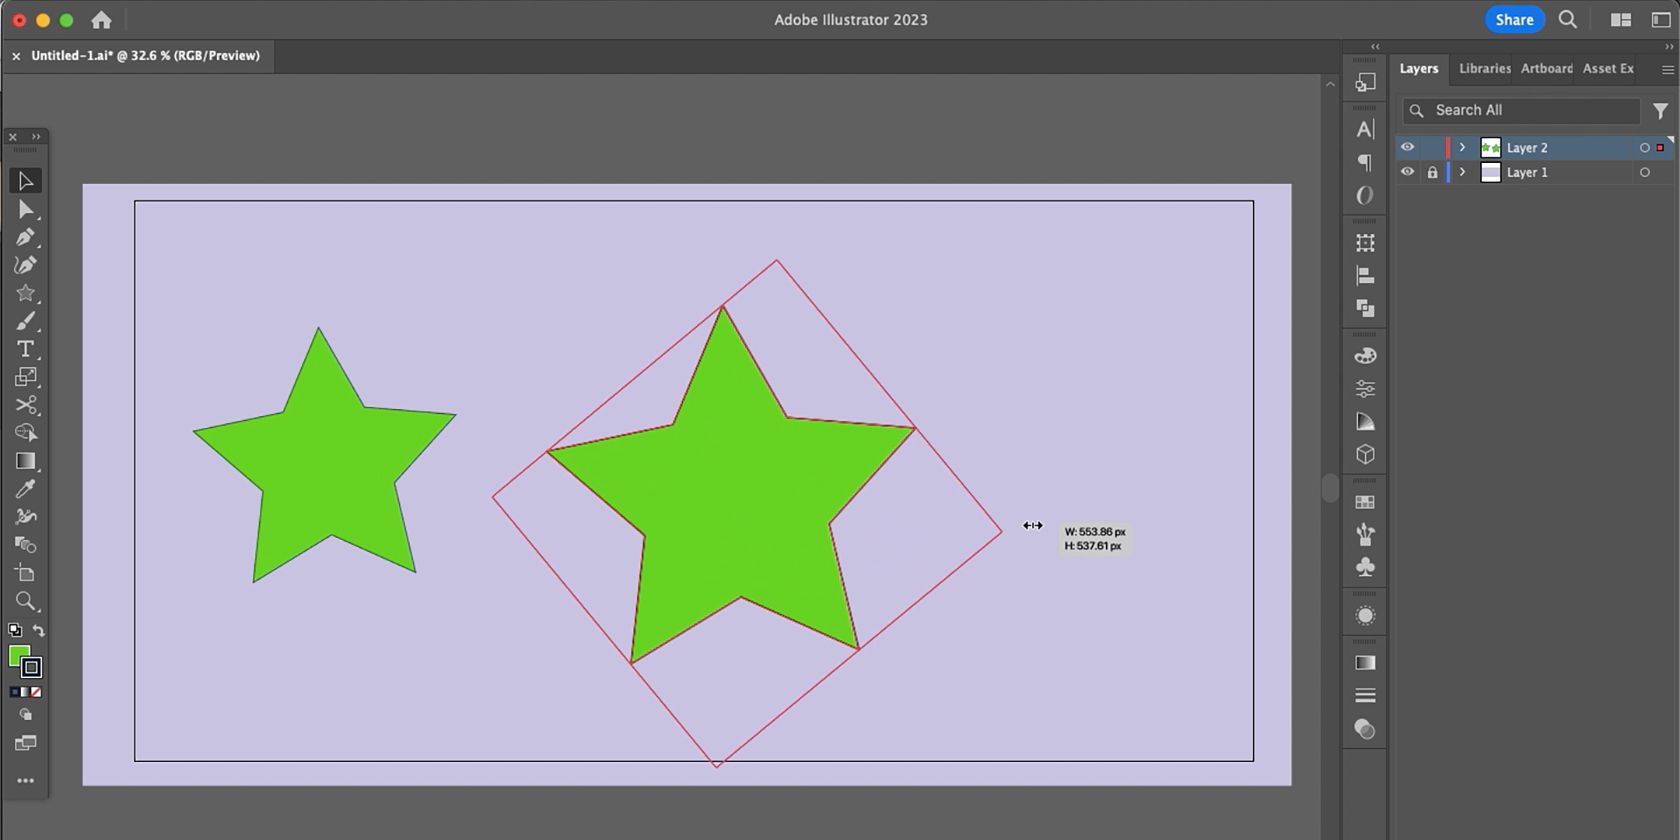
If you draw or write something in Adobe Illustrator, you can easily scale your object up or down. By selecting your object (V), then clicking and dragging any anchor point, you can scale or warp the size of your object. Doing this alone doesn’t scale proportionally, though, and may result in unsightly warping.
To scale an object proportionally, hold down Shift while dragging an anchor point, and the selected object will stay in proportion to itself as you scale up or down. This works for any object you can create in Illustrator: paths, words, shapes, and completed illustrations.
If you want to scale an object from its center, hold down Alt at the same time as Shift, and then click and drag an anchor point. This ensures your design alignment stays the same if you’ve already aligned your object to the center of the design.
Scale With the Scale Tool
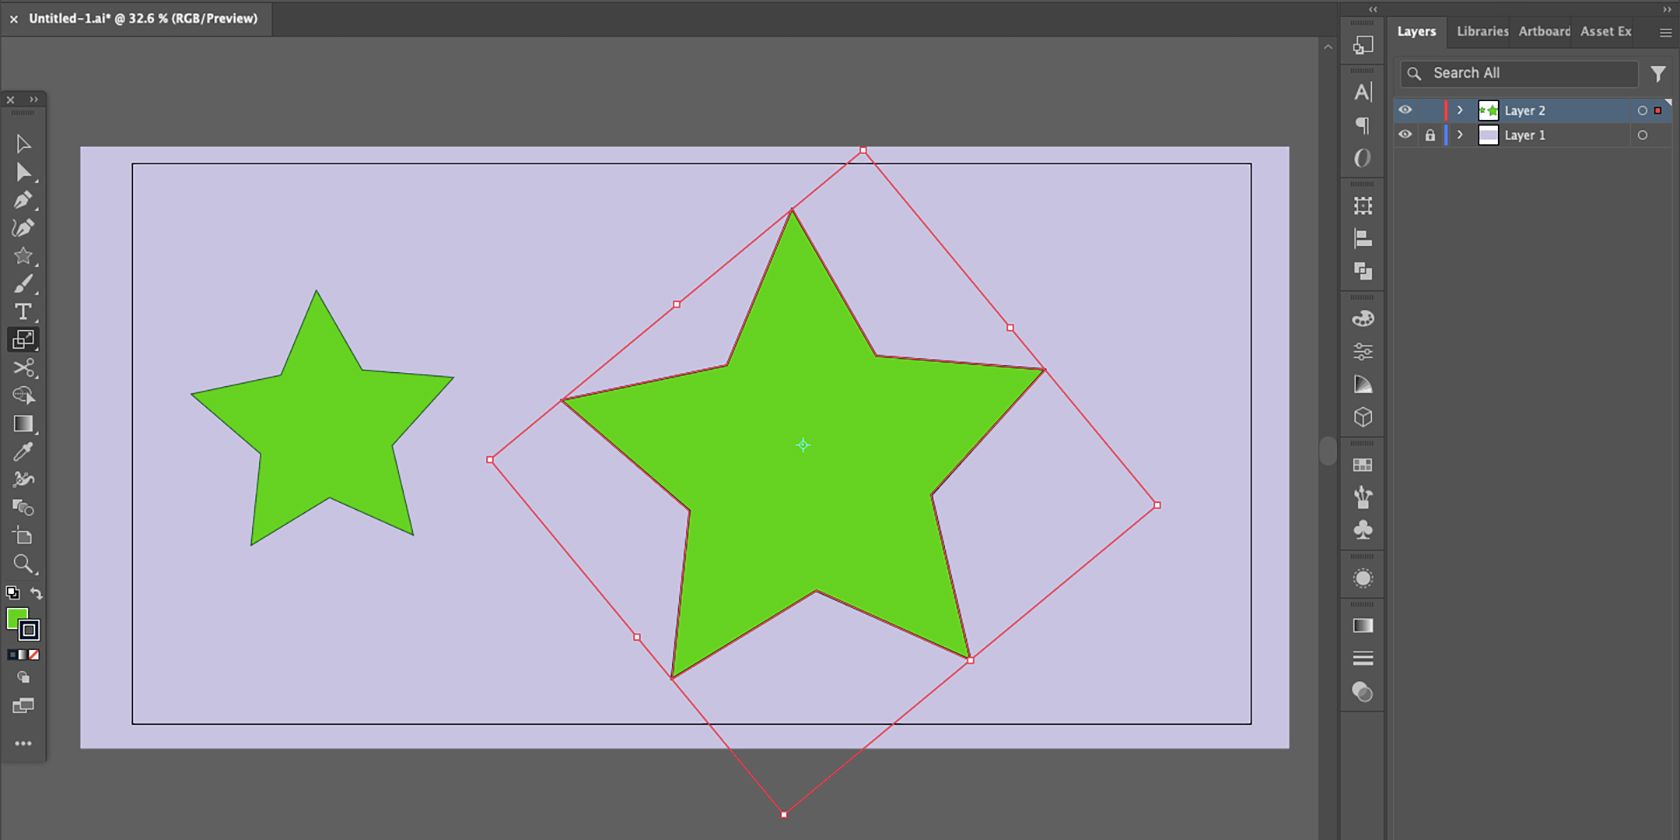
The Scale tool (S) is one of many useful hidden tools in Illustrator. You can use it to scale any object in multiple ways. You can set a reference point by selecting anywhere on the object while the Scale tool is selected, or you can scale from the object’s center point by not setting a reference point beforehand.
First, select your object, then, with the Scale tool selected, click and drag your cursor anywhere on the screen—it doesn’t have to be on the object—to scale it in multiple directions. Pull your cursor at a 45-degree angle of the object to scale in proportion, otherwise, the object will scale only in the direction you drag, thus stretching the object.
Scaling using Shift or Scale only proportionally scales the object as a whole; it doesn’t scale your stroke paths with it. For your stroke paths to stay in proportion to the rest of the object while scaling, you must change some extra settings.
How to Scale Stroke Paths Proportionally
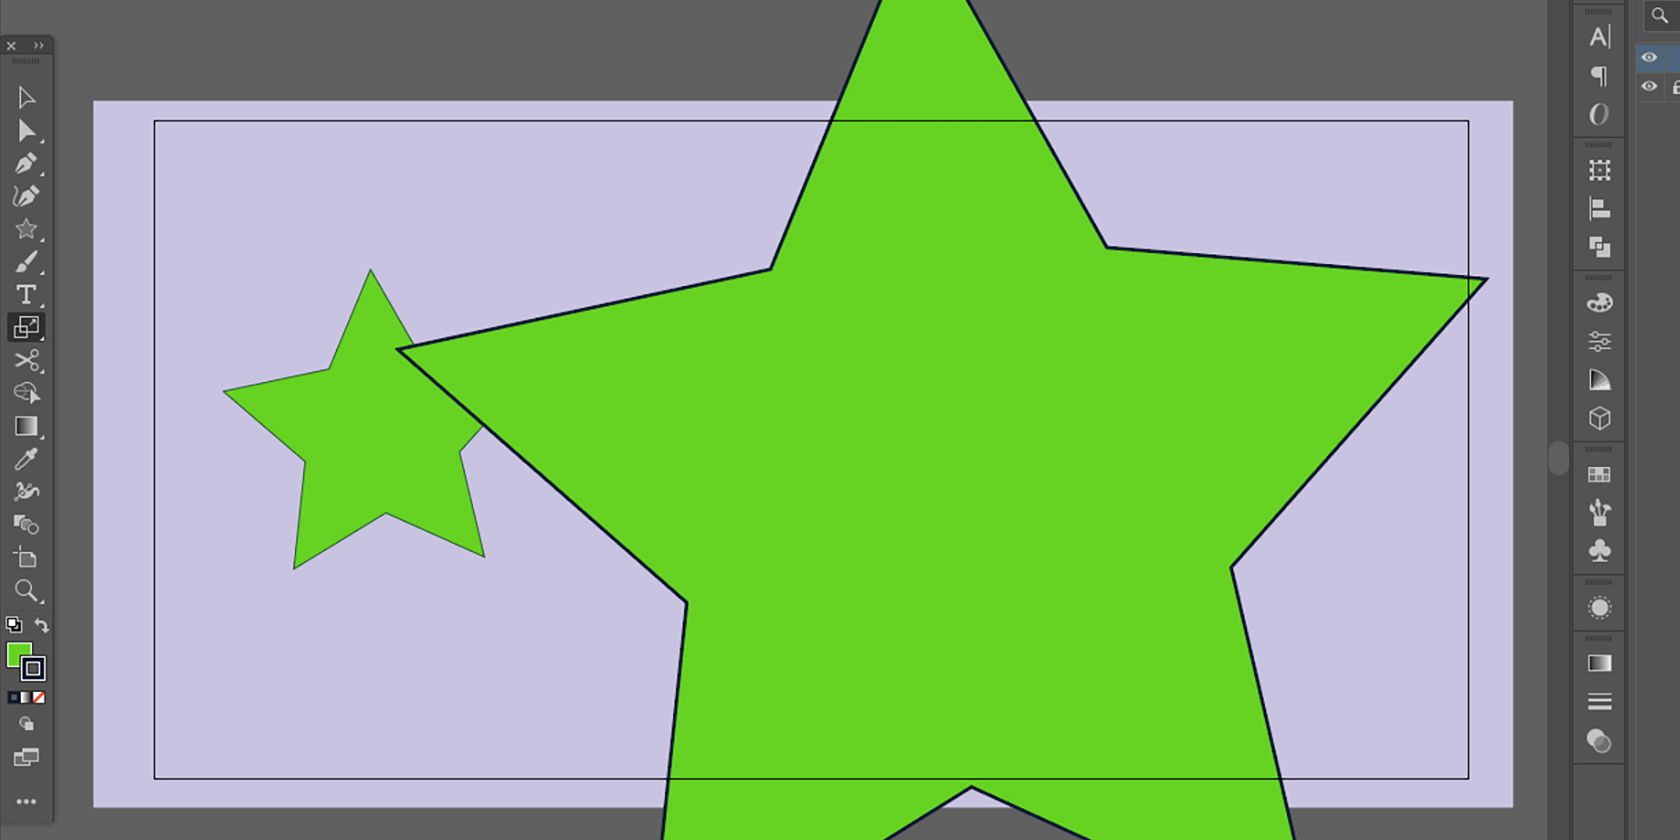
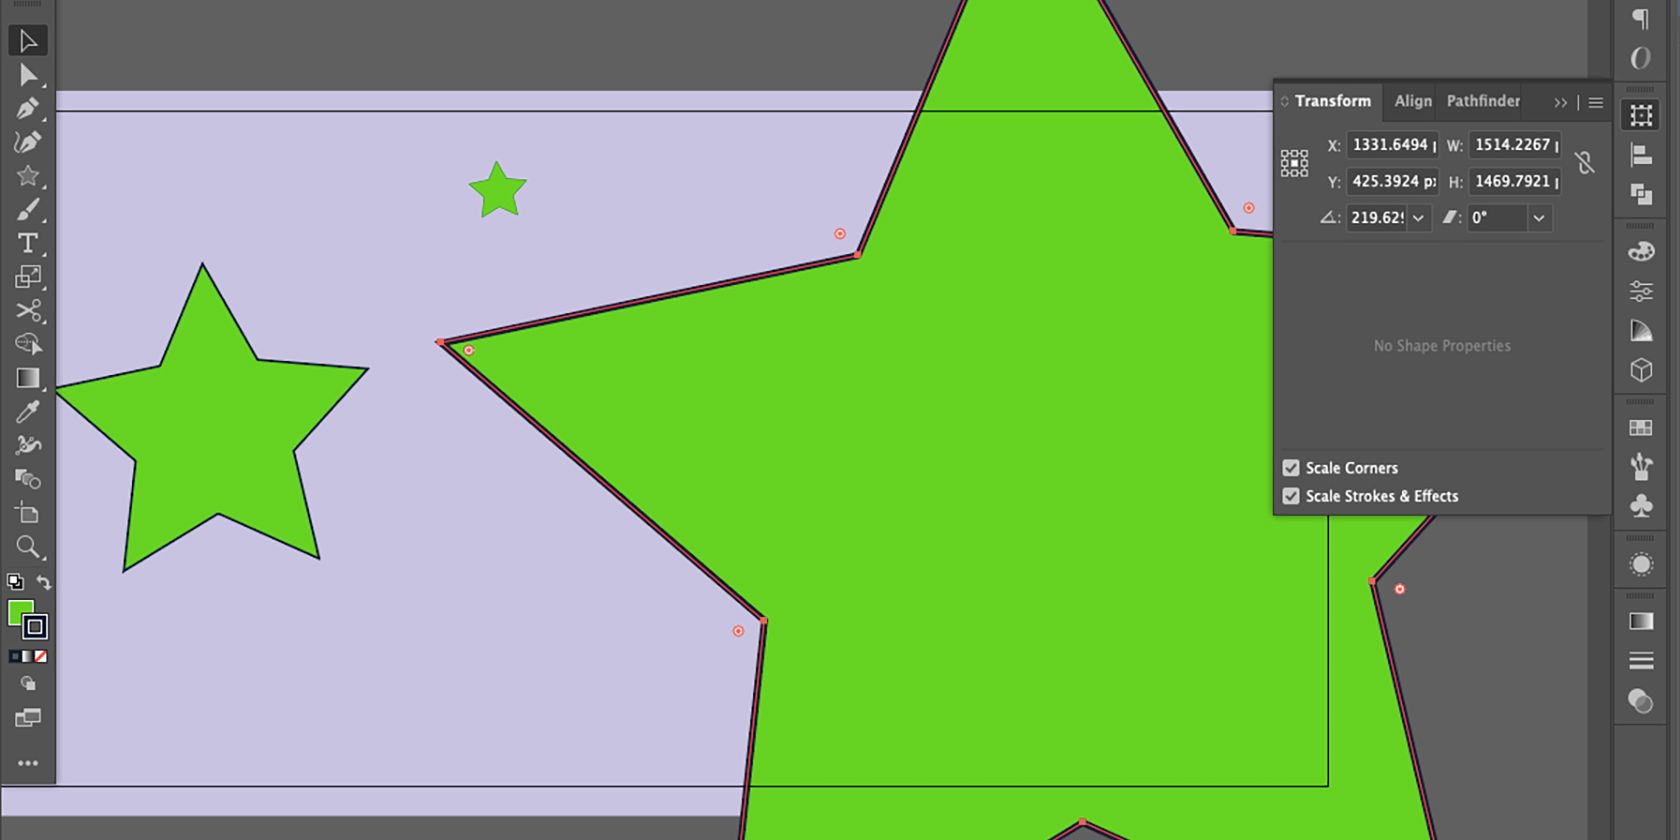
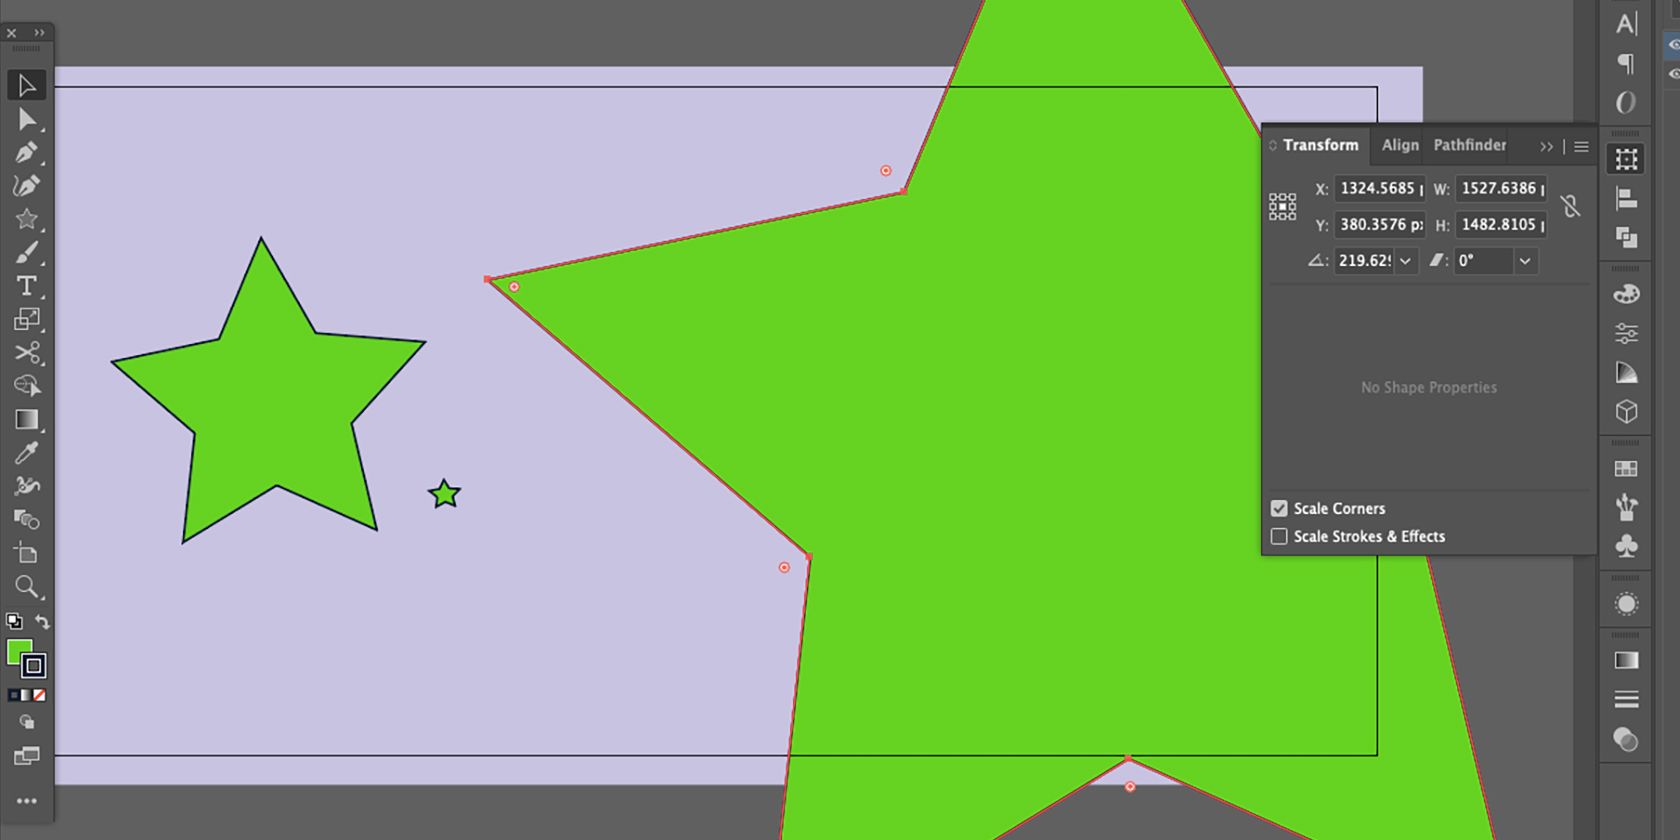
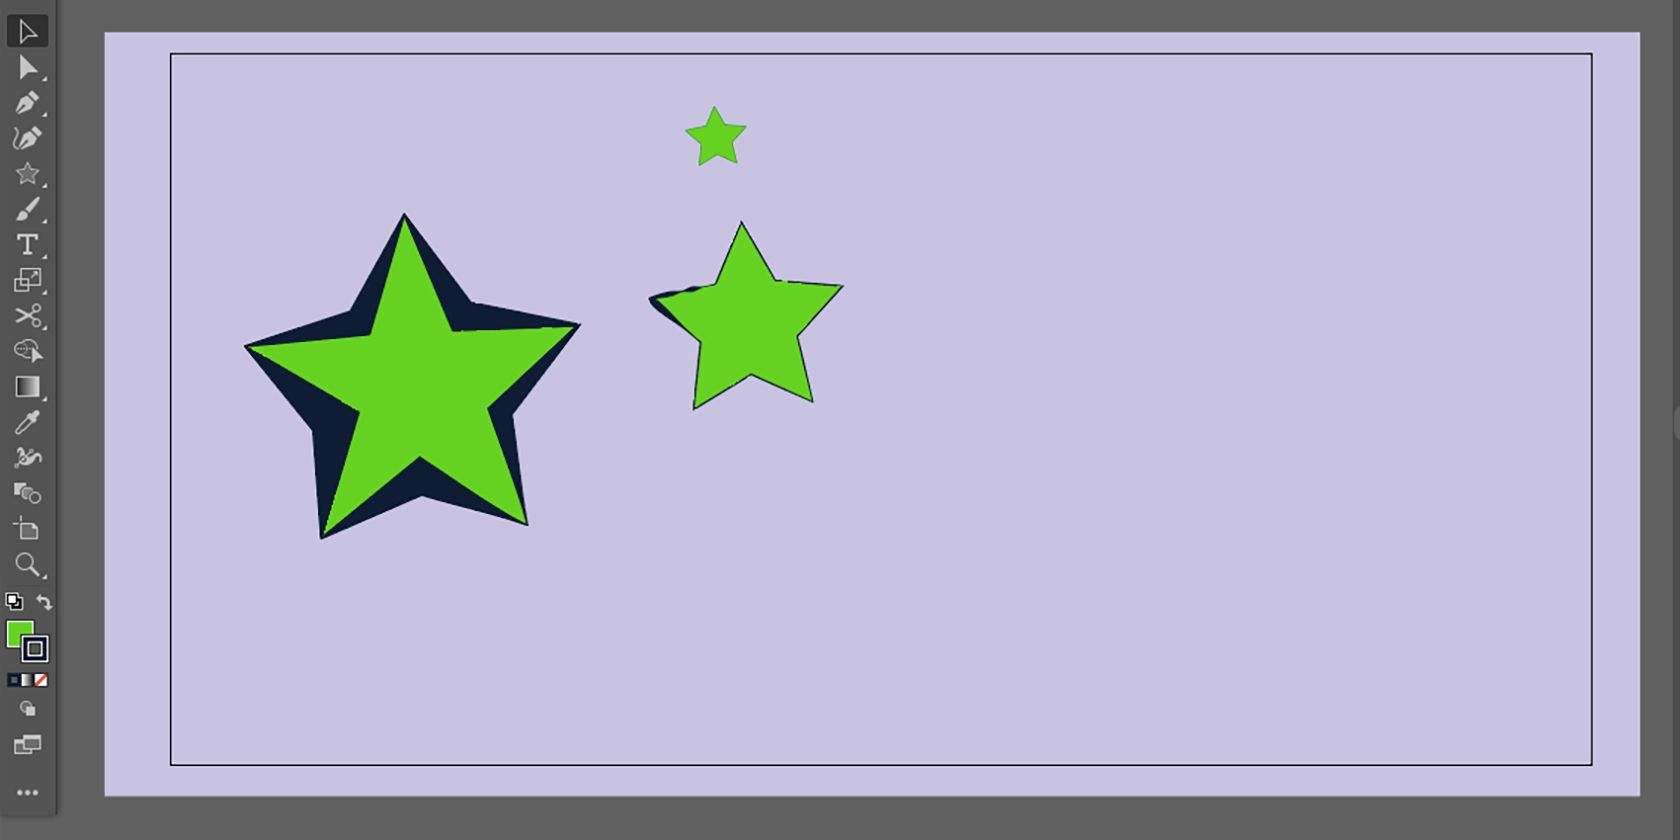
While scaling in Illustrator resizes the entire object, it, unfortunately, doesn’t scale the width of the object’s path stroke. Thus, scaling an object down results in paths that look too thick for the size of the image.
The opposite is true when scaling up; the paths become too skinny for the object’s size. A 2px width path will stay 2px wide even when the object is smaller or larger than the original size. While this effect might be fine for your project, oftentimes you’ll want to scale everything when scaling an object.
Scaling the strokes proportionally means the stroke width will match the scale of the rest of the object and won’t look out of place. There are a few ways to change the settings, but it’s simple to scale stroke widths in Illustrator.
Use the Transform Panel
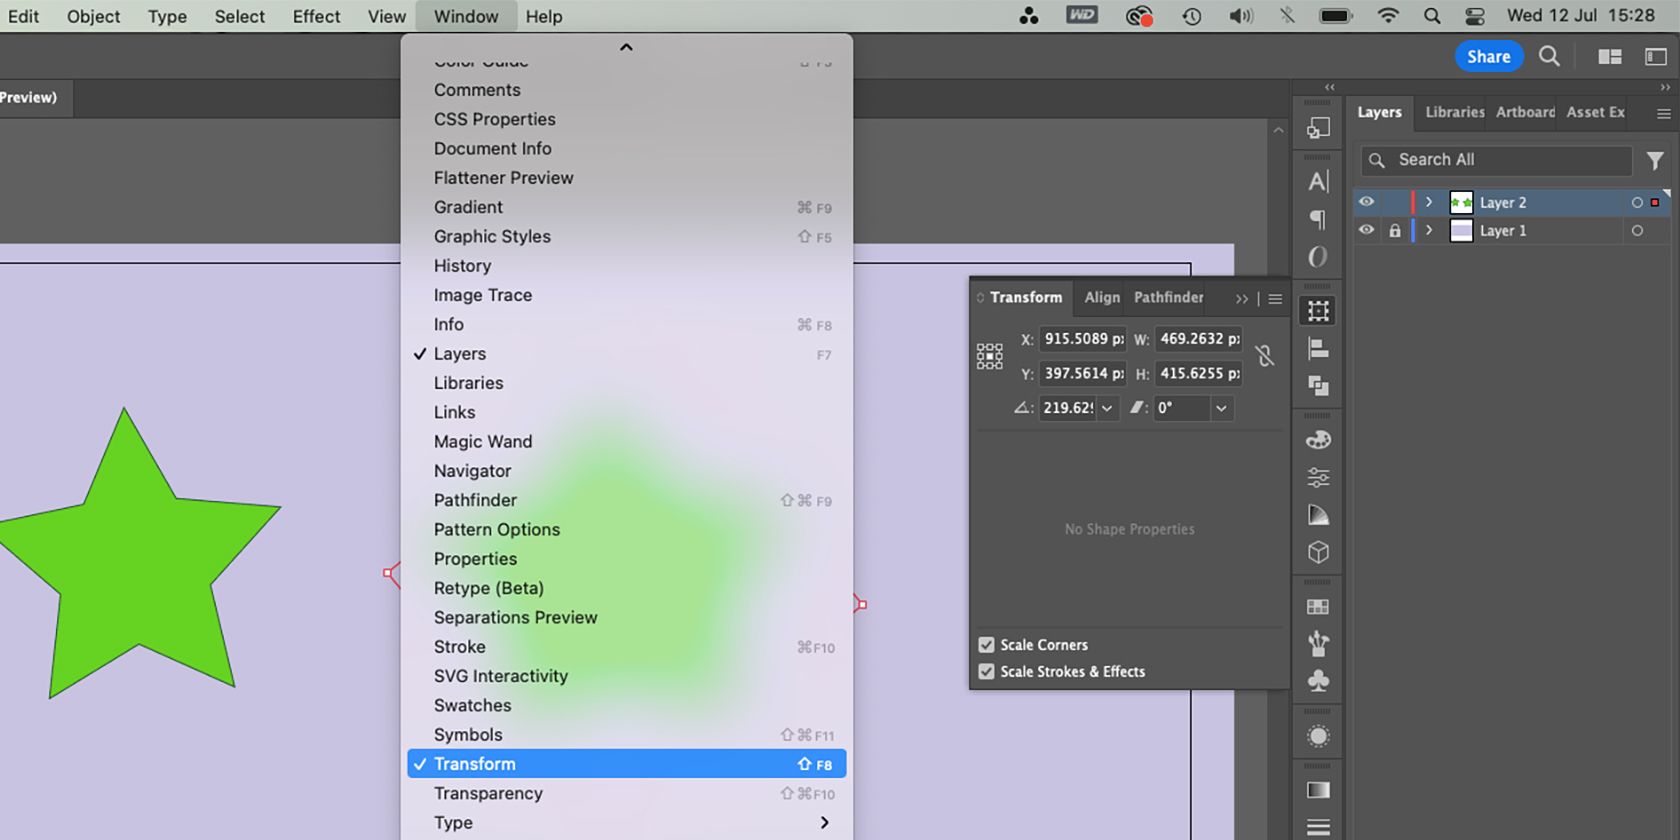
You can apply scaled transforming globally with the Transform panel. Go to Window > Transform to open the Transform panel. You can select the Transform icon to open or close the panel later.
To start, select the object or objects you wish to scale. The effect will apply to any objects scaled after changing the setting, but it won’t affect any previously scaled objects.
Open the Transform panel and check the Scale Strokes & Effects box at the bottom. With this checked, you can scale any object up or down and the stroke width will accommodate the proportions. No longer will scaling down result in too-wide paths that overwhelm the illustration.
You can turn off the scaling setting as easily as you turned it on. But until you uncheck it, all current and future scaling will proportionally scale the stroke paths. Turning the setting off later won’t change any previously scaled projects or objects.
Change Illustrator’s Preferences
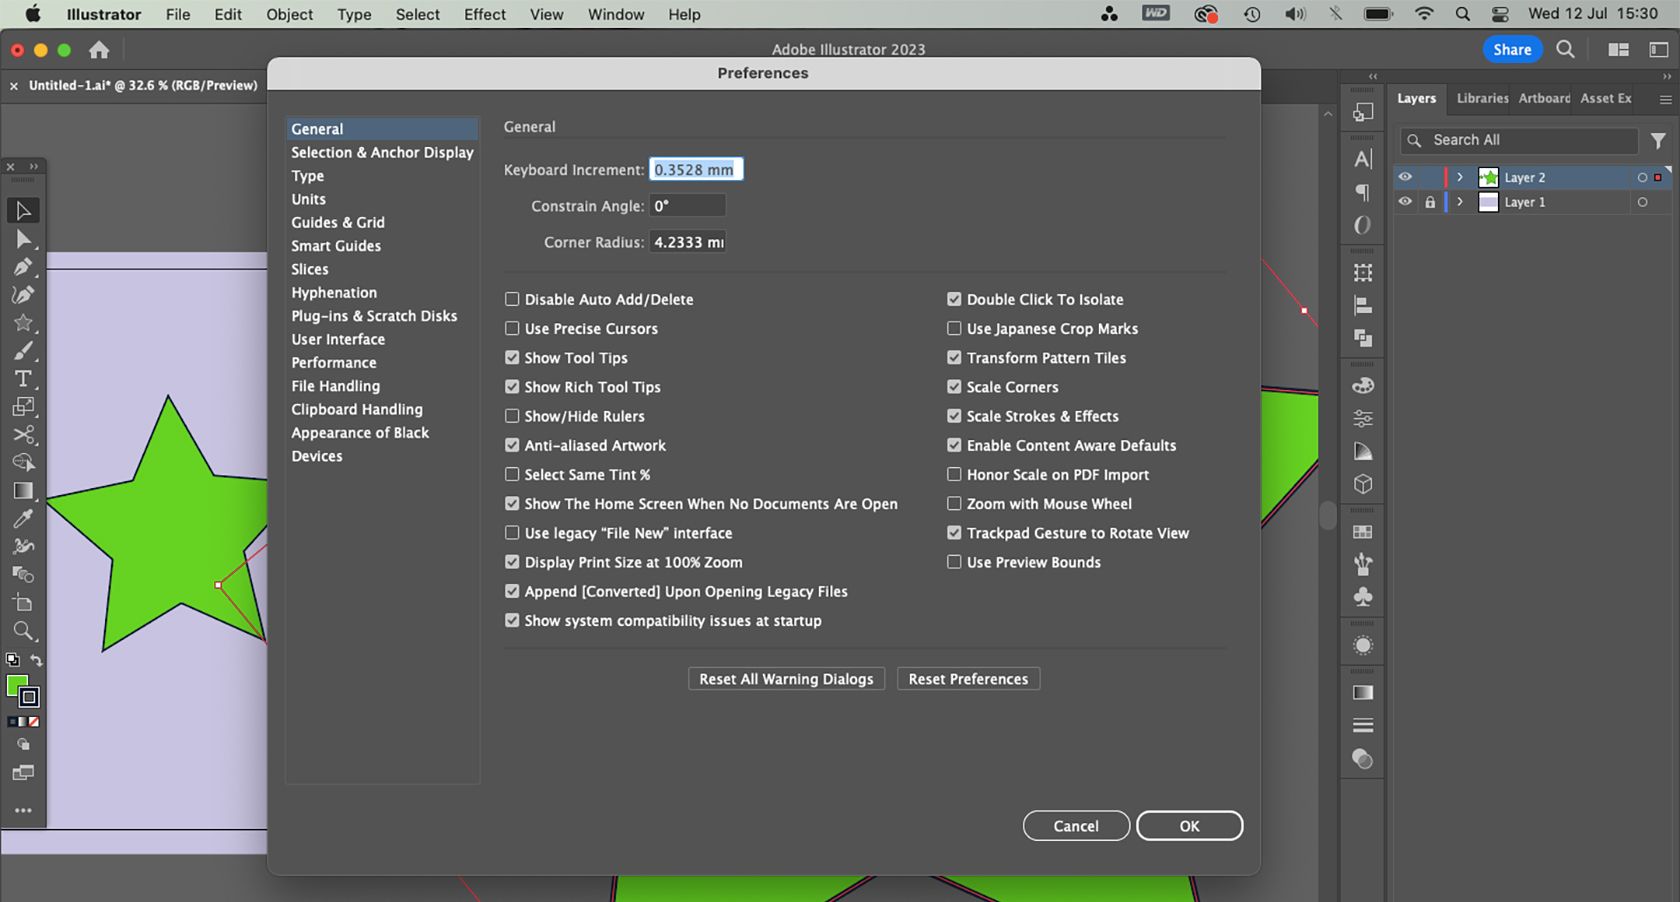
Again, this setting makes a global change that affects all scaling until it is switched off again.
If you’re using a Mac, go to Illustrator > Preferences > General and check the box for Scale Strokes & Effects. Here, you can also change other preferences, such as rotating the artboard, adding crop marks, or double-clicking to isolate an object. Select OK to confirm your choice.
From a Windows system, select Edit > Preferences > General to find the checkbox for Scale Strokes & Effects. You can reverse your preference selections at any point without affecting older projects.
Once you’ve set your preferences or checked the setting in the Transform panel, you don’t have to do anything else to scale the strokes proportionally. No matter the technique you use to scale—whether with the bounding box or the Scale tool—your strokes will scale up or down in proportion to your object.
You can also intertwine your stroke paths in Illustrator, allowing even further dimension to your digital designs and artwork.
How to Change the Stroke Width
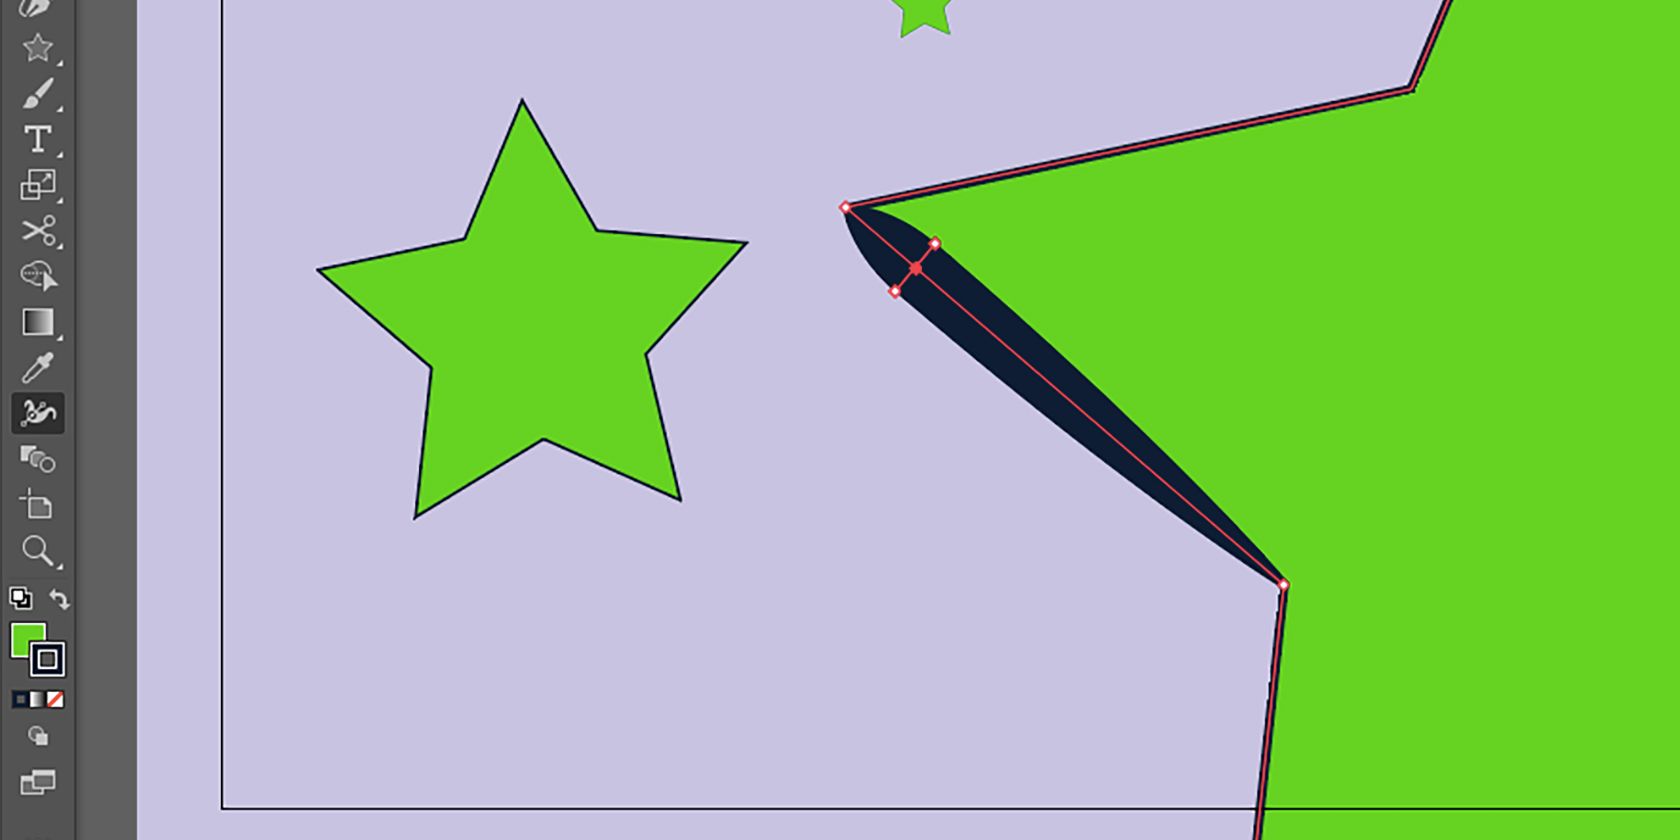
Scaling your strokes is one way to affect stroke width, but there are other ways, like using the Width tool. With this tool, you can invariably change the width of your stroke which will then scale in proportion to the rest of your stroke and object if you scale it later.
The Illustrator stroke settings offer a variety of styles and sizes for your strokes, including variable widths and tapered ends. Using the Width tool, you can add thickness or thinness to any area of your stroke path. This gives you full creative control.
To customize the stroke width, select the Width tool (Shift + W) from the vertical toolbar and hover over any path you wish to customize. You do not need to pre-select the path. With the Width tool cursor, click on a path and drag your cursor left or right to change the width.
You can add or remove width to any area of a path. However, it will only affect areas of paths between anchor points, so you should remove any unnecessary anchor points in your drawing.
Once you’ve edited the width of your path, your path strokes will stay in proportion when scaling as long as the Scale Strokes & Effects box is checked.
Changing the stroke width is a great way to add some personal style to your illustrations. You can also use Illustrator’s Generative Recolor tool to create unique color schemes on your art.
Scale Your Illustrator Artwork With Proportional Strokes
Without adding proportional stroke widths, your illustrations may look complex and splodgy when small, or appear too thin and delicate when large. Checking the Scale Strokes & Effects box keeps your illustrations and paths looking sharp and perfectly in proportion to the size.
Your paths won’t look out of place anymore, and you can easily resize your artwork without creating extra work for yourself.

