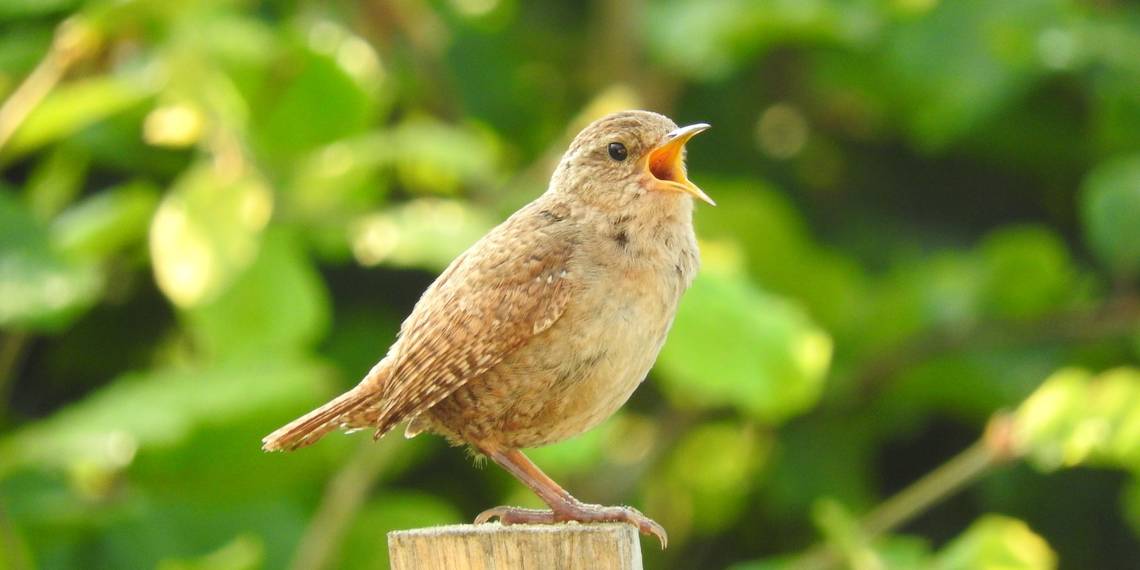
You may well have seen various bird species in your backyard or garden, but there may well be many more roosting nearby that you have only heard. To identify them, you don't need to be an expert in ornithology, however: all that's required is a Raspberry Pi equipped with a mic and the BirdNET-Pi software.
The latter listens 24/7, analyzing recordings using machine learning to identify bird calls and sounds. Bird detections are added to a database and can be viewed and heard easily via a handy web interface. Here's how to set up a listening station.
What You'll Need
For your bird detection station, you'll need the following items:
- Raspberry Pi 4, 3B+, or Zero 2 W
- microSD card (16GB or greater recommended)
- Microphone (with USB connector or via a USB sound card)

While it is possible to use an ultra-low-cost mini USB mic dongle, the sound quality won't be great, so it's advisable to use a better mic. For our station, we used a fairly inexpensive lavalier condenser mic—see our guide to the best budget lavalier microphones. We plugged its 3.5mm jack plugged into a USB sound card adapter.
For best results, the mic should be an omnidirectional one so that it can detect sounds from every direction. For more advice on mics, see the BirdNET-Pi mic suggestions page.
Step 1: Install the Software
To run BirdNET-Pi, you will need the 64-bit Lite version of Raspberry Pi OS. In Raspberry Pi Imager, you can find Raspberry Pi OS Lite (64-bit) after clicking Choose OS and Raspberry Pi OS (Other). In addition, you’ll want to use Imager's advanced settings to enable SSH and configure the Wi-Fi connection. For more details, check out our guide on how to install an operating system on a Raspberry Pi.
In the advanced settings of Raspberry Pi Imager, you can change the hostname to birdnetpi.local or something similar to make it easier to find on your wireless network.
Now power up your Raspberry Pi. If it's not connected to a monitor, you can use SSH to access it from another computer (using the Terminal on Linux/Mac, or PuTTY/PowerShell on Windows). To install BirdNET-Pi, enter the following command at the terminal:
curl -s https://raw.githubusercontent.com/mcguirepr89/BirdNET-Pi/main/newinstaller.sh | bash
It will take around 10-15 minutes to complete the installation, before automatically rebooting the Raspberry Pi.
If using a Raspberry Pi Zero 2 W, you'll need to enter some additional commands before installing BirdNET-Pi. Find the details on the BirdNET-Pi wiki.
Step 2: Access the Web Interface
When the Raspberry Pi has rebooted, it will automatically run a web server that you can access from any other device on your wireless network. Just point a browser to http:// followed by the Raspberry Pi's hostname (or IP address); e.g. http://birdnetpi.local. You will then see the BirdNET-Pi web interface.

For more ideas on how to use your Raspberry Pi in the wild, including a bird box camera, check out our fun rugged Raspberry Pi projects to build for the outdoors.
Step 3: Test Your Mic
Plug your microphone into Raspberry Pi, via a USB sound card adapter if needed. To check it's working, click on Live Audio at the top right of the web interface; you'll need to log in with the default username birdnet and no password to access it. With the volume turned up, you should be able to hear the sound from your mic. If not, check your mic connection; if it's via a USB sound card, you may need to use a TRS/TRRS jack adapter to match the latter's input.
If the volume is a little low or there's too much background noise, you can adjust the sound input level for the mic. To do so, select Tools from the BirdNET-Pi web interface, then Web Terminal to log into your Raspberry Pi via SSH. Then enter the command alsamixer -m to bring up the sound settings. Press F6, select USB Audio Device, press F4, and adjust the Capture level for the mic.

Step 4: Bird Detecting
With a working mic located outside (ours is just hanging out of a window), BirdNET-Pi should soon start detecting birds from their sounds recorded via the mic. New detections will appear on the Overview screen of the web interface. You'll also see a chart at the top for the top ten species detected for that day.
To see what's going on under the hood, go to the View Log screen. You'll then be able to see BirdNET-Pi analyzing the current audio recording in real-time, assigning confidence scores to various bird species.
Each bird detection includes a spectogram and an audio recording you can listen to. Clicking on the bird's Latin name takes you to its Wikipedia entry. The Daily Detections screen shows all detection for the current day. You can also browse the Recordings section by species or date, and view detailed Species Stats.

Occasionally, BirdNET-Pi may make a misidentification. Don't worry: you can remove it from the database. Go to Tools > Database Maintenance and click Login. Search for the relevant species, click on detections, and delete the relevant entry/entries. You can also tell BirdNET-Pi to ignore certain species by going to Tools > Excluded Species List.
Step 5: Add Images
To automatically add images to your bird detections, you need to link up to Flickr. In the BirdNET-Pi web interface, go to Tools > Settings and click on the link there to obtain a Flickr API key. Back in Settings, paste it into the relevant field and click Update Settings.
While on the Settings screen, double-check your location's Latitude and Longitude by clicking on the link to find your co-ordinates on a map.
Step 6: Upload Data to BirdWeather
BirdWeather is a citizen science project that collates bird detections from around the world and shows them on a map. You can link your BirdNET-Pi detecting station up to it. On the BirdNET-Pi Settings screen, click on the link to obtain a BirdWeather ID; this will generate an email to send to the administrator.
Once you receive your ID, paste it into the field in Settings and then click Update Settings. Your station should soon appear on the BirdWeather site, where you can select it to view its stats and listen to recordings.

A Raspberry Pi Project for the Birds
You now have a working listening station that can detect bird species from their calls. Using the web interface, or BirdWeather if linked up, you can browse all your detection data and get a good idea about which bird species are living in your locale. It really does give you a fascinating insight into the natural world.
By setting up a mobile hotspot on your smartphone with the same SSID as your Wi-Fi router, you can even use BirdNET-Pi on field trips to discover more birds. In addition, you can set up notifications of new detections from around 70 services in the settings. Happy birding!