Google Photos is undoubtedly the best way to manage your expansive and ever growing photo library. The various tools it offers make it a breeze to sort through your photos and videos, and group them by events and people.
As a privacy measure, and to protect your personal photos from prying eyes, you can also lock all your private photos into a special folder. This Locked Folder will then only be accessible once you enter the unlocking PIN for it.
The Google Photos Locked Folder
All photos and videos that you move to a Locked Folder will not appear in search results, albums, your photo library, or Memories. They will also be removed from all existing albums and won't show up on your smart displays either.
However, there are quite a few caveats to how Locked Folder works in Google Photos.
- Firstly, the feature is currently only available on the Google Pixel 3 and newer Pixel devices. Google has not expanded the Locked Folder feature to non-Pixel devices as of now.
- The Locked Folder feature is only available on your phone and not on the web. The feature will also not show up on Pixel devices that are managed by enterprises and selected other account types.
- Your Locked Folder is also not synced across devices, so you won't be able to access it from other devices.
- While Google Photos itself is cloud-based, the Locked Folder feature works locally. Any photos or videos that you transfer to a Locked Folder in Google Photos will be downloaded on your Pixel and password-protected using its screen lock. The cloud backup copy of that photo or video will then be deleted from your Google Photos library.
- Contents in the Locked Folder are also erased if you ever clear the app data of the Google Photos app. If you ever erase your Pixel phone, all photos and videos stored in the Locked Folder will also be deleted.
- You also cannot share any photos stored in a Locked Folder.
- Locked Folder will use the same screen lock as your phone. You cannot set a different unlock pattern or PIN for Locked Folder in Google Photos.
- For security reasons, you cannot take screenshots of the Locked Folder, so you can be rest assured the content inside it is always protected.
If you use Google Photos to save a lot of photos and videos, follow this guide to free up storage space in Google Photos.
How to Set Up Locked Folder in Google Photos
Before you can move your photos and videos to Locked Folder, you must first set it up.
- Open the Google Photos app on your phone.
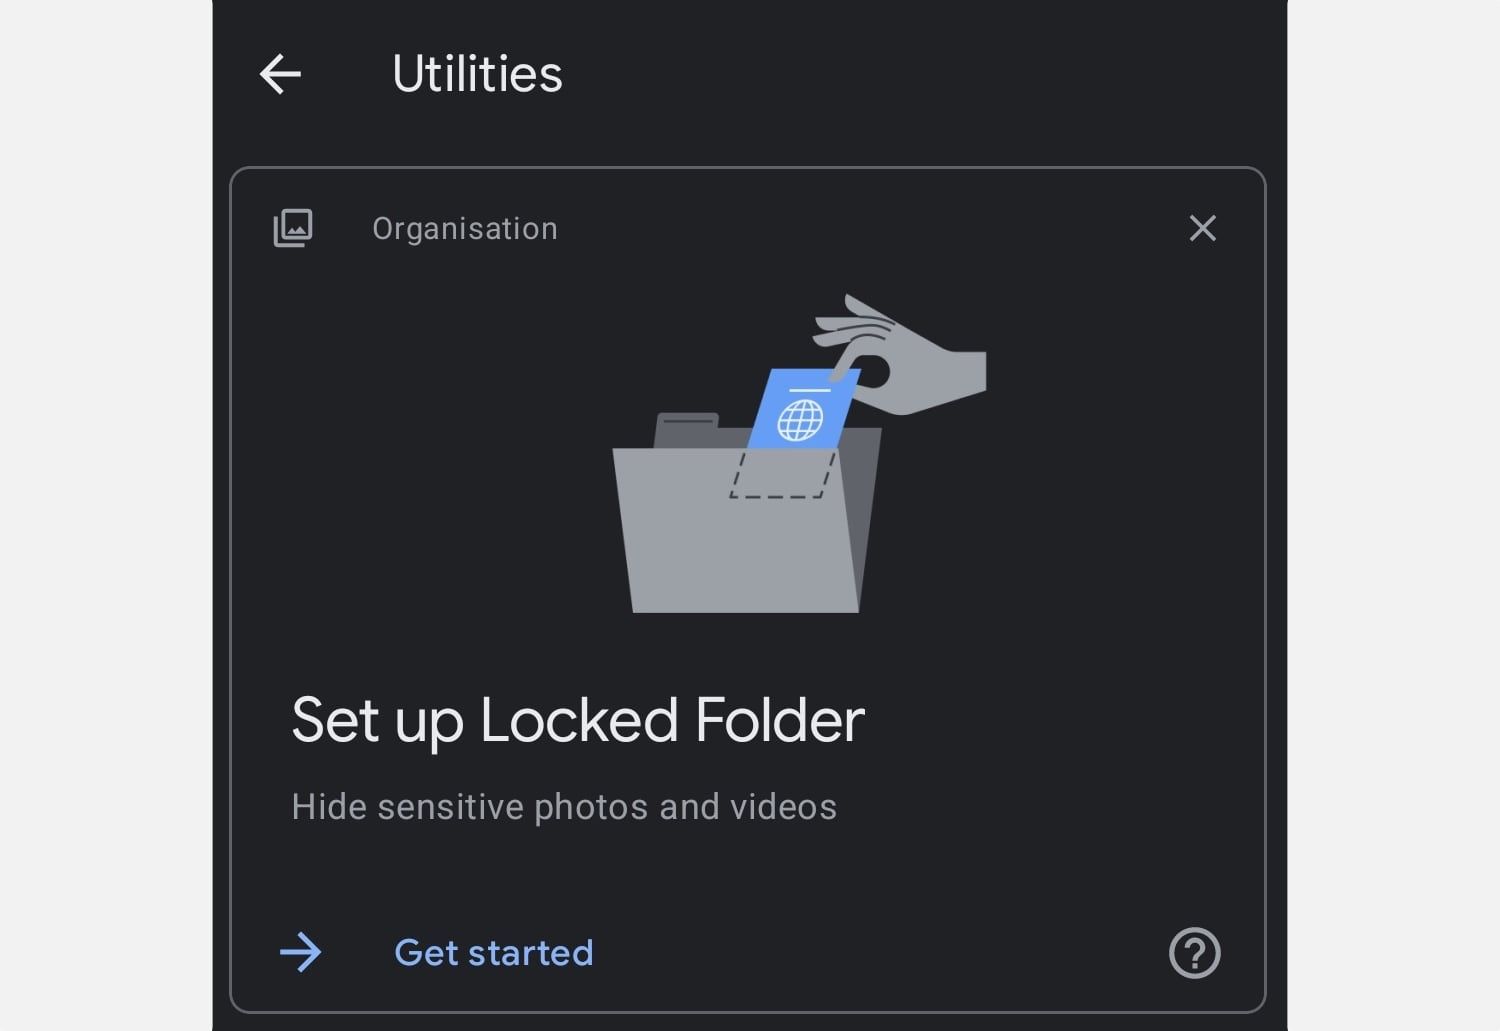
- Select the Library tab at the bottom. Then select Utilities > Locked Folder.
- Tap the Set up Locked Folder option. You will then have to unlock your device using the unlock pattern/PIN/password.
How to Move Photos and Videos to Locked Folder in Google Photos
- Open the Google Photos app and select all the photos and videos that you want to move to your Locked Folder.
- Tap the 3-dot menu button on the top-right corner and then select the Move to Locked Folder option.
- Confirm your selection by tapping Move again.
You can also directly take photos and videos that will be saved in the Locked Folder. For this, open the Camera app on your Pixel phone. Click on the Photo gallery icon in the top-right corner followed by Locked Folder.
Now, any photo or video that you take will be automatically saved in the Locked Folder in Google Photos.
Hiding Photos in Google Photos' Locked Folder
Locked Folder is a useful addition to Google Photos. However, the feature has many restrictions, which makes it less than ideal for hiding your important photos and videos.
The lack of cloud syncing for photos stored in Locked Folder means you risk losing them if your Pixel phone ever stops working or if you have to factory reset it for some reason.


