There is no denying that NVIDIA graphics cards are powerful, which can make or break your gaming experience. But you need to keep your NVIDIA GPU updated.
After each graphics card update, your system performs better with other peripherals and gets the required drivers to provide a seamless graphical experience.
While Windows does provide regular driver updates, there are many occurrences wherein you might feel the drivers are outdated and not performing as they should. In such cases, here are some ways in which you can update your NVIDIA graphics card.
Pre-Installation Groundwork
Before you deep-dive into the updates directly, it’s necessary to know your graphics card model for best results.
There are two ways for you to check the name of the model:
• Ideally, the model’s name is available on the packaging box
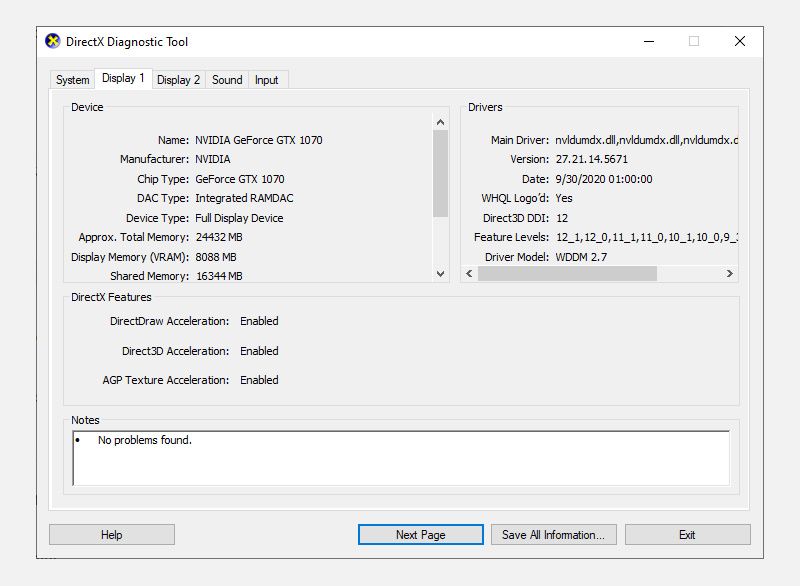
• Alternatively, you can obtain the name by using the DirectX Diagnostic Tool
Using DirectX Diagnostic Tool for Extracting System Stats
While the first part is relatively easy, to check the name via DirectX Diagnostic Tool, perform the following simple steps:
- Press Windows key + R to open the Run dialog.
- Input dxdiag and press Enter to open the DirectX Diagnostic Tool on your system.
- First, check if you have a 32-bit or 64-bit system. You can access this information from the System tab, along with your Operating System build.
- Check the Chip Type in the Display tab. Locate the name of your NVIDIA graphics card here.
Now that you have established the system and chip type, it is time to move ahead and start looking at ways to update the installed drivers.
There are three ways you can perform this task:
• Manually
• Windows Updates
1. Update Your GPU Drivers Manually
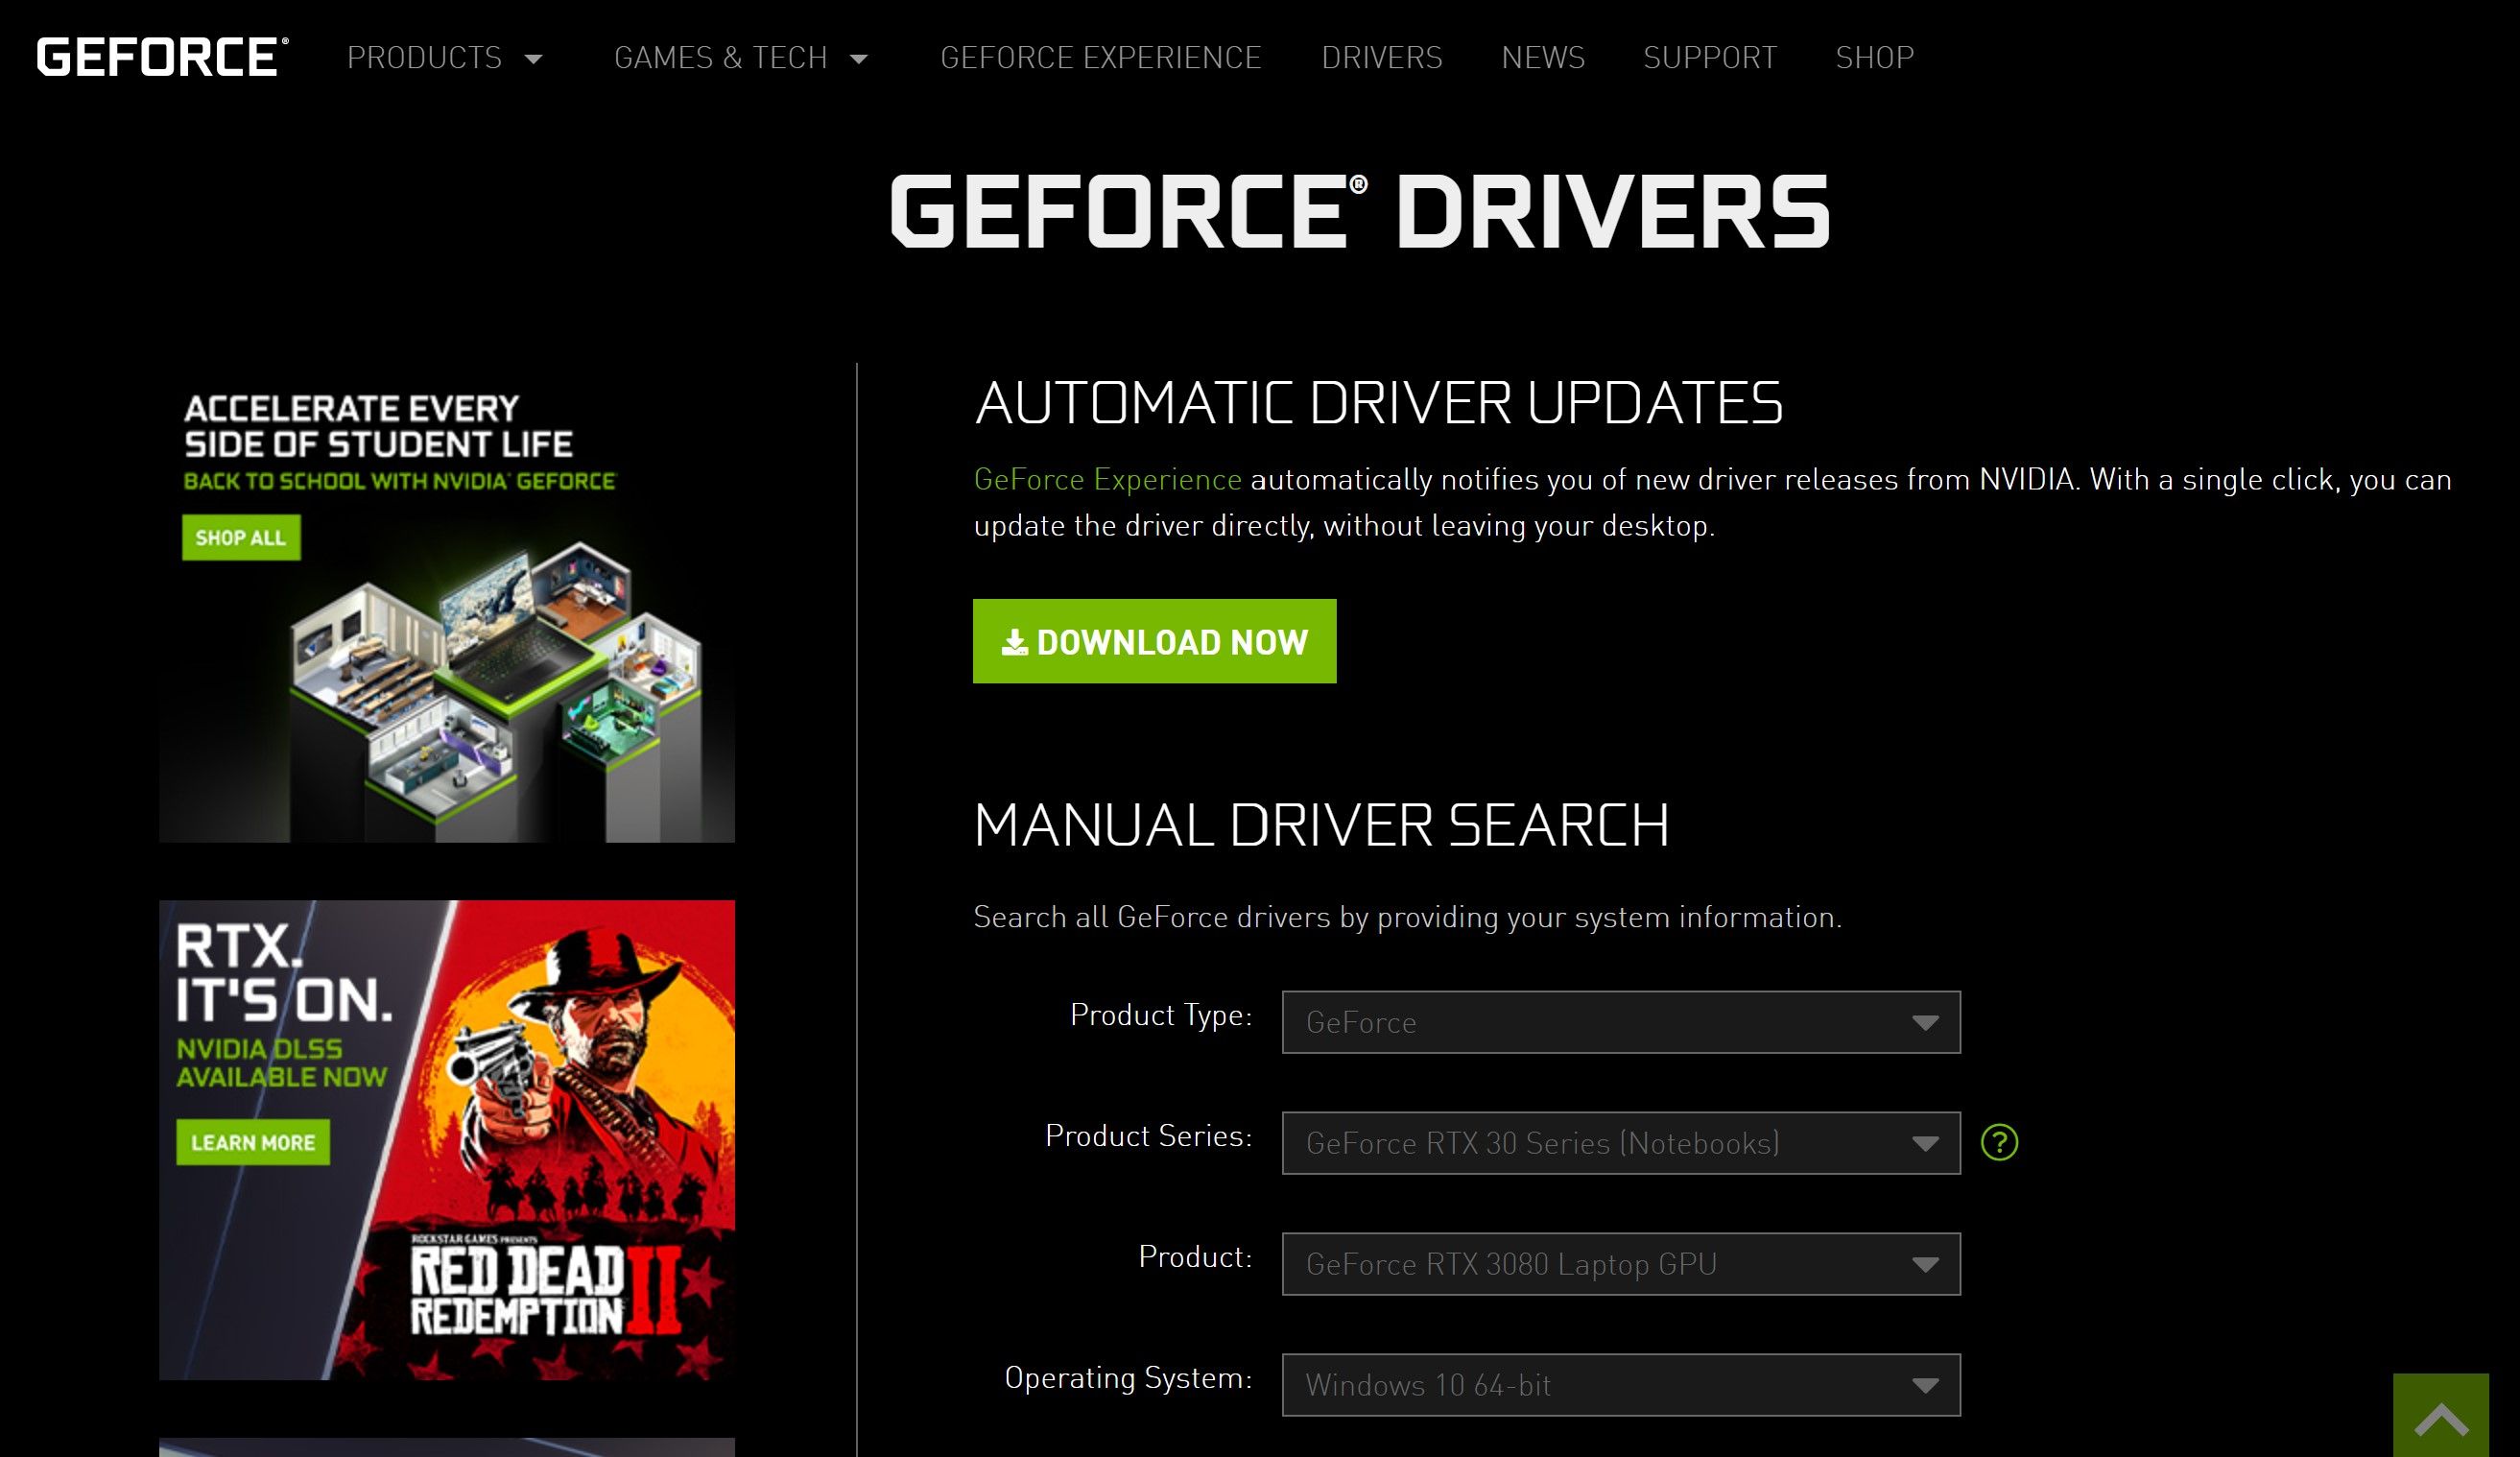
The manual procedure might seem a little tedious, but it is quite helpful if everything else fails. To download, install or update the drivers manually, head to the NVIDIA GeForce Driver Download page.
Search for the required GPU drivers and download a copy for your system. Use the dropdown menu to locate the latest version for your hardware, then download and install.
2. Update Using GeForce Experience
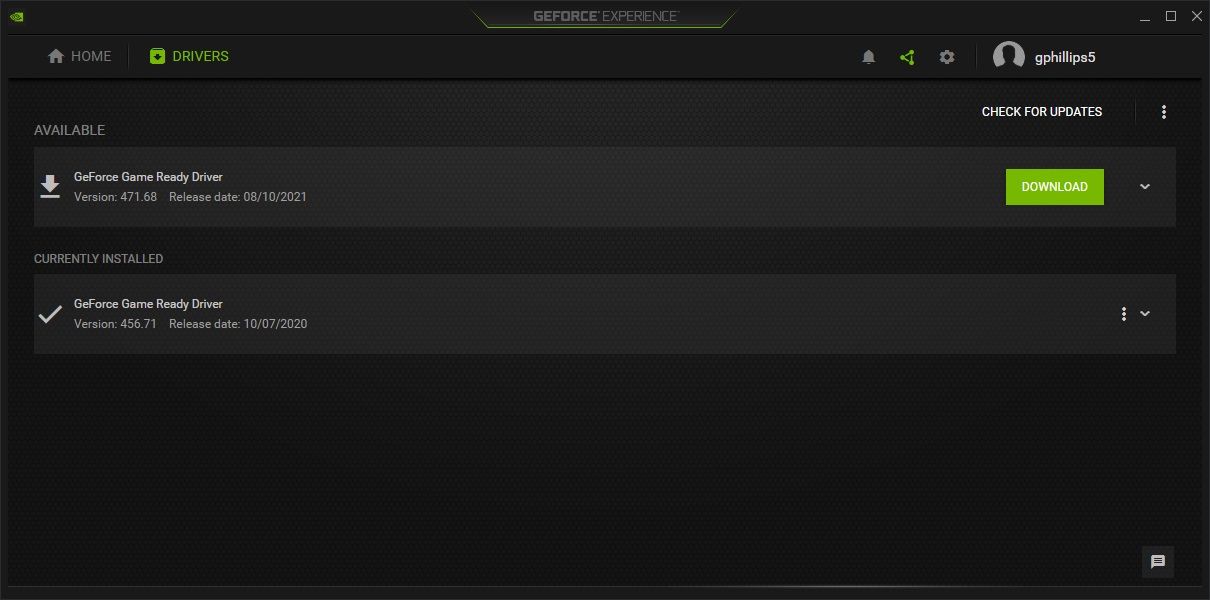
GeForce complements your NVIDIA drivers, and the experience of updating your drivers just does not get better than this. You can download GeForce Experience from their official website.
After downloading and installing the NVIDIA GeForce Experience, you will be greeted with a sign-in page. Enter your credentials if you are already a member. If this is your first time using this website, you will need to sign-up for their services.
As soon as you sign in/sign-up, open the Drivers tab. Download the latest GPU version for your system and follow the usual protocol to initiate the installation.
This is as simple as it gets.
3. Update Your GPU Through Windows Update
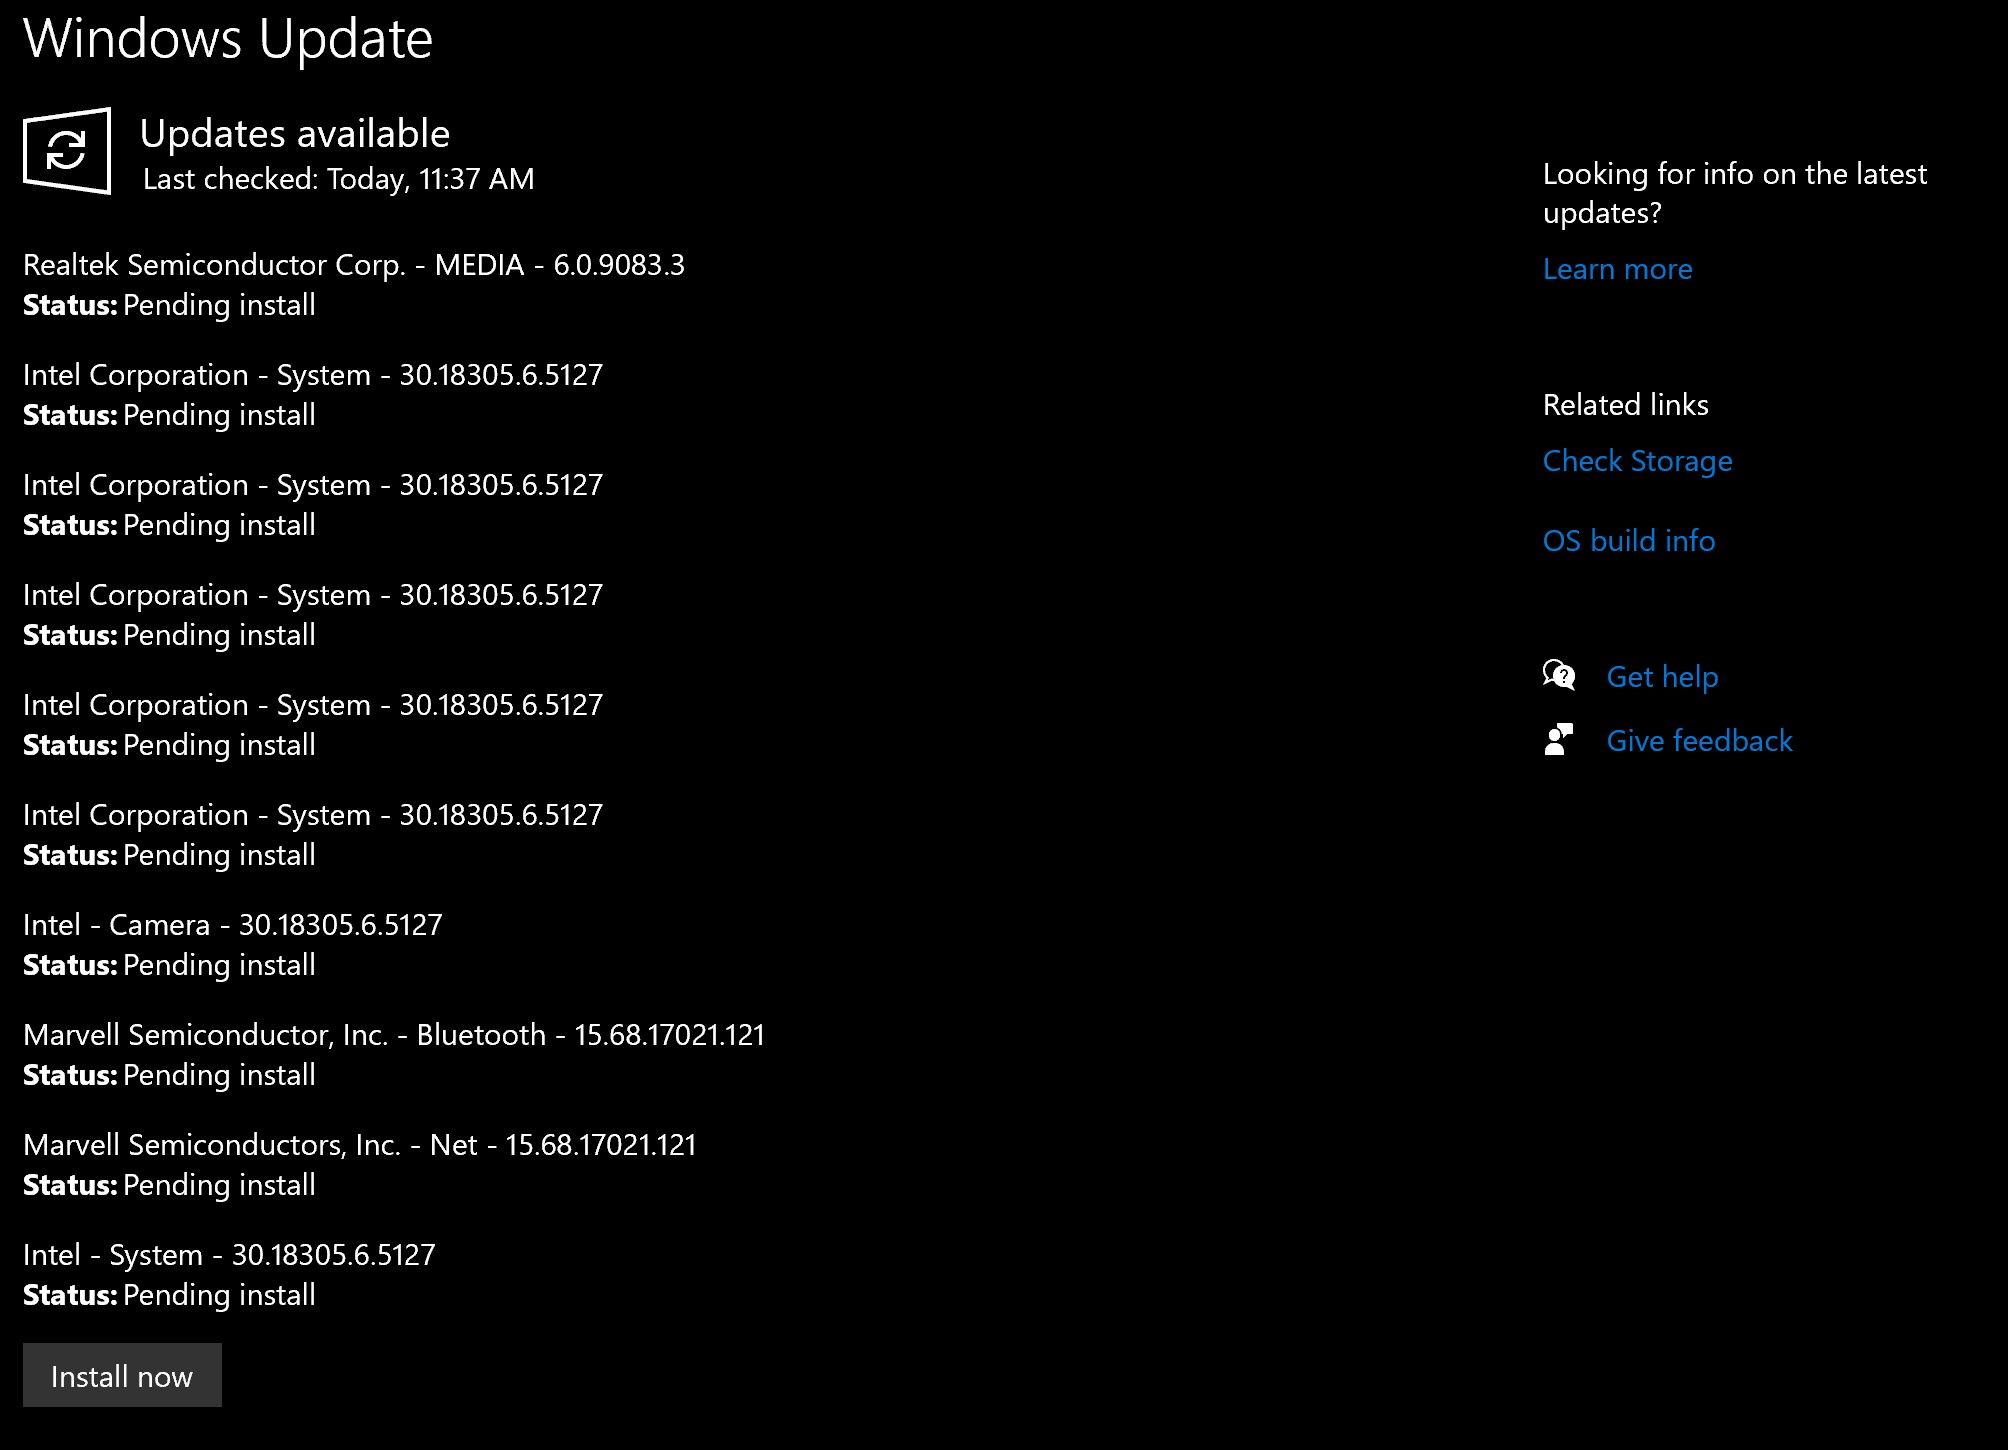
The third and final step is to update your drivers via Windows Update. You can also update your drivers at specific periods along with the bundled updates, as Windows does couple these updates together.
To install these drivers:
- Press Windows key + I to open Settings
- Head to Update and Security > Windows Updates
- Select Check for Updates and see if any updates are available for your system.
Download and install any pending updates. If your system is already up to date, then you can sit back and relax, for there’s nothing else left for you to do.
Update Your NVIDIA Graphics Cards For Better Performance
There are plenty of ways to update your NVIDIA Graphics Cards. However, it is essential to ensure you choose the right option, depending on your system version and the GPU.


