
Want to show off your subject's pearly whites? In this tutorial, we will show you how to quickly whiten teeth in any photo.
You can follow along by downloading this free image from Unsplash.com. Feel free to use one of your own photos to achieve great results in a matter of moments.
Why Whiten Teeth in Photoshop?
There are several reasons why you would want to whiten teeth in your photos, even if your subject already has perfectly white teeth. It’s not always about vanity; sometimes there are technical considerations.
Professional photographers and amateurs alike may face technical obstacles when it comes time to take pictures of their subjects. One of the main obstacles is imperfect lighting.
Imperfect lighting isn’t just a lack of brightness to make for proper exposure. Sometimes, there are other colors in the available light which may be reflected in the teeth, resulting in an unwanted color cast.
Whether you are actually whitening teeth or removing a color cast (or both), the following steps will ensure that you get perfectly white teeth in relation to the rest of your photo’s attributes.
Those who are proficient in Photoshop know there are often several ways to achieve the same results. Below, we'll go over how to whiten teeth in both color and black-and-white images.
How to Whiten Teeth Using a Hue/Saturation Adjustment Layer
-
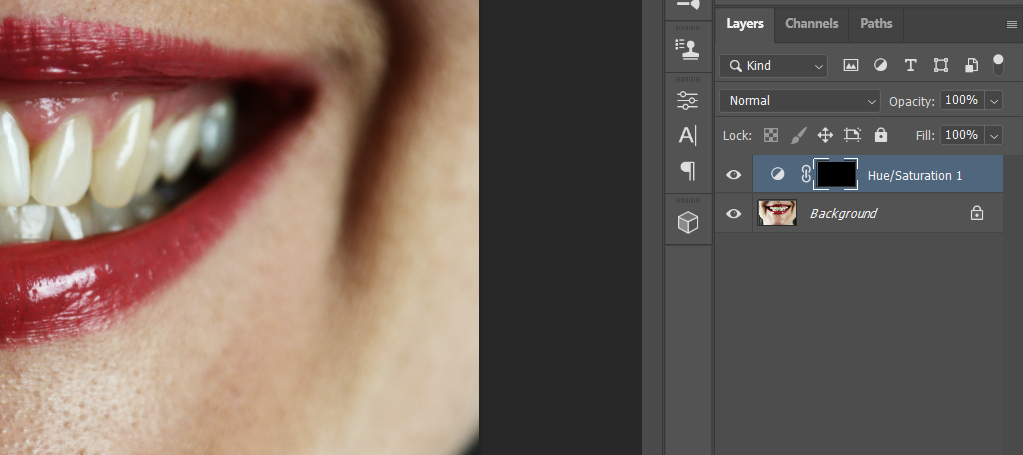
Create a Hue/Saturation layer.
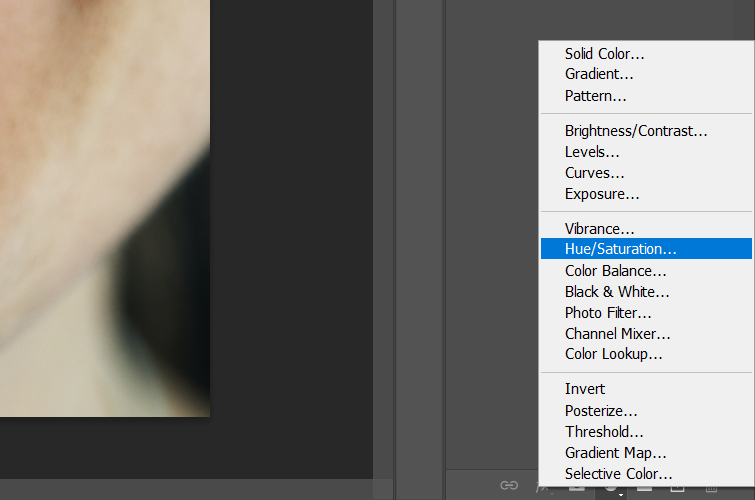
-
Click on the Hand icon with the arrows to activate the Eyedropper tool.
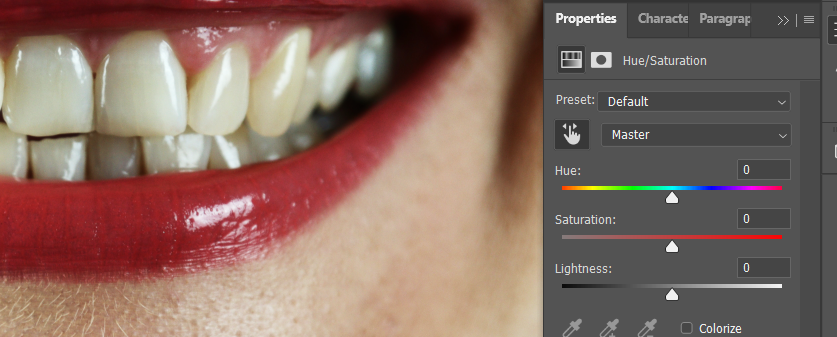
-
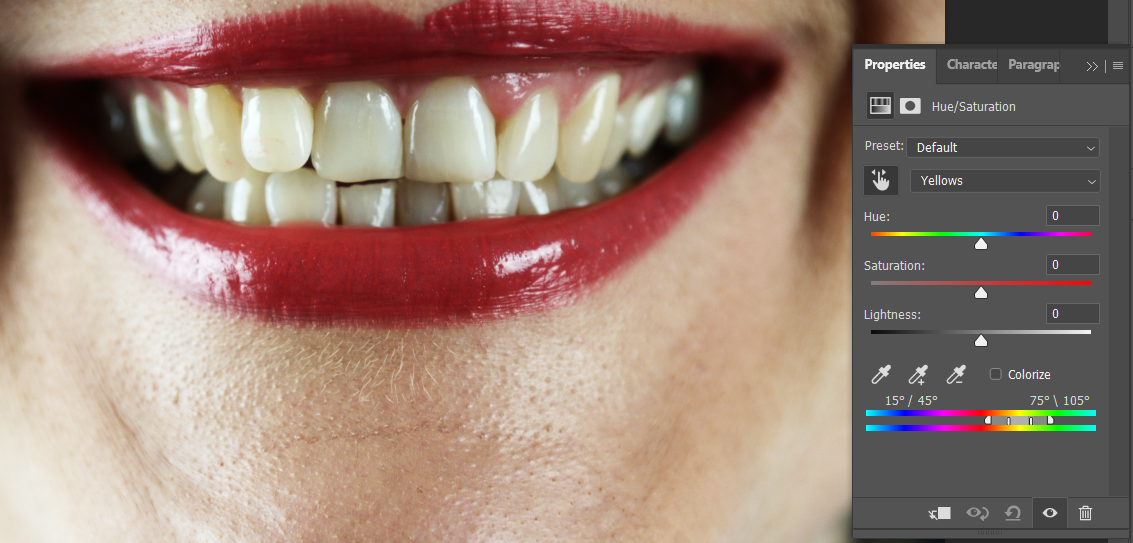
The Eyedropper tool should appear when you scroll your mouse over the image. Click on a tooth that has the most yellow (or color cast) to select a sample range.
-
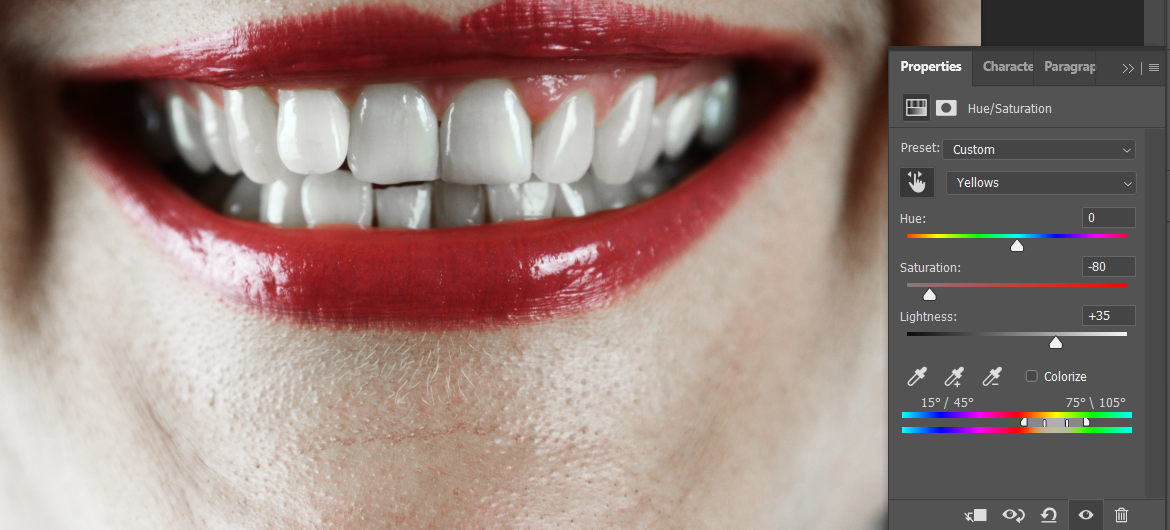
Lower the Saturation to the left to desaturate the teeth. You may also brighten the teeth by increasing the Lightness slider.
-
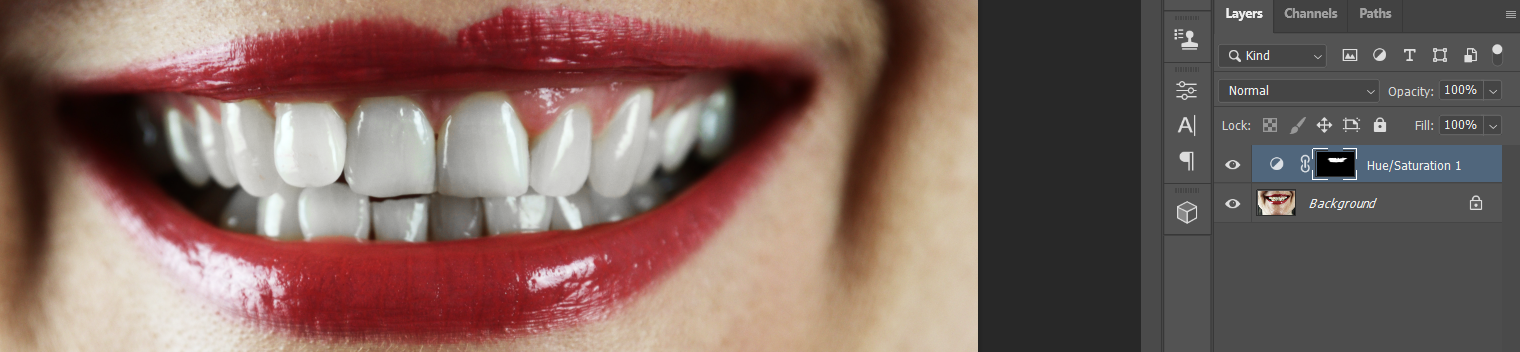
Click on the Hue/Saturation layer mask, and click Ctrl + I to invert the layer mask. The layer color should now be Black.
-
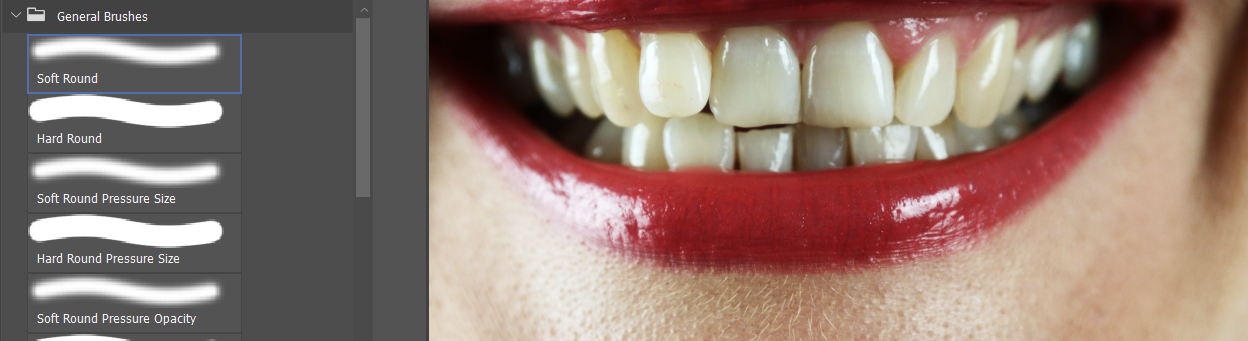
Hit B for the Brush tool and choose a Soft Round brush.
-
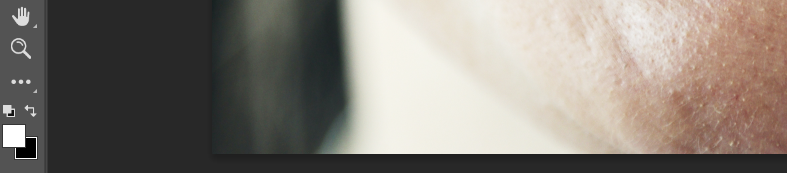
Toggle the X or D key until the foreground is White.
-
Paint with White over all the teeth.
-
Lower the Opacity slider to reduce the effect if necessary.


There are plugins, like PortraitPro, that can also whiten teeth in your photos, as well as transform your portraits in many powerful ways. But if you’re looking to whiten teeth with your existing Photoshop options, these simple steps should get the job done in most cases.
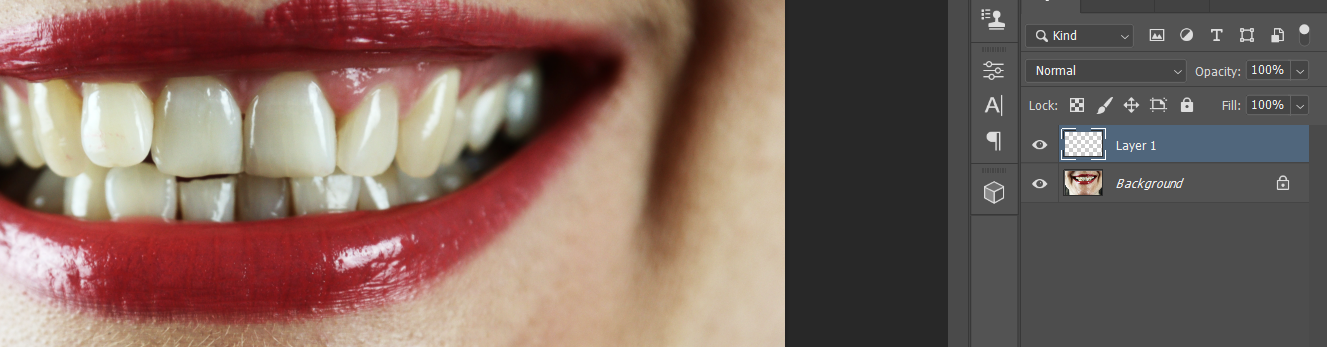
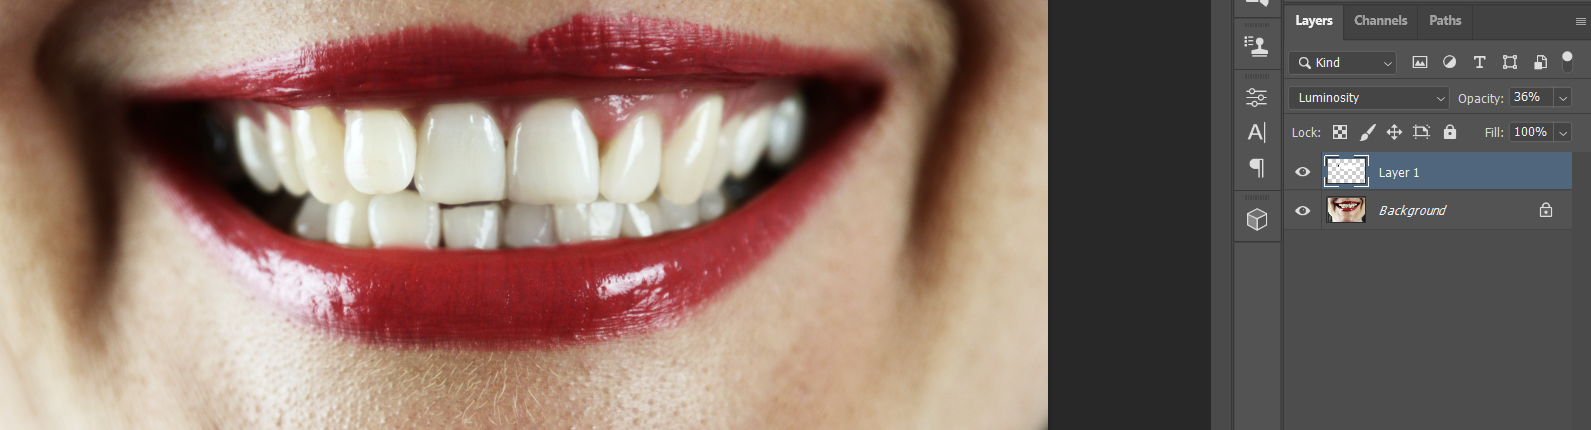
How to Whiten Teeth Using a New Blank Layer
-
Create a new Blank layer.
-
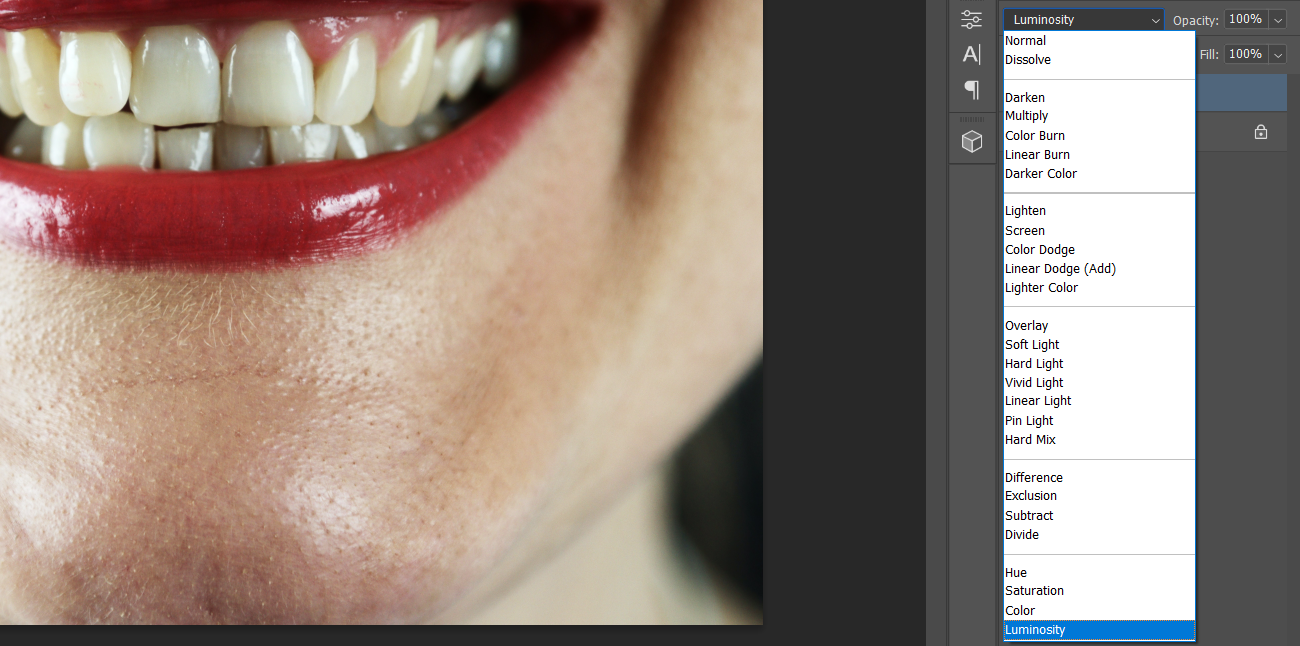
Change the blending mode to Luminosity.
-
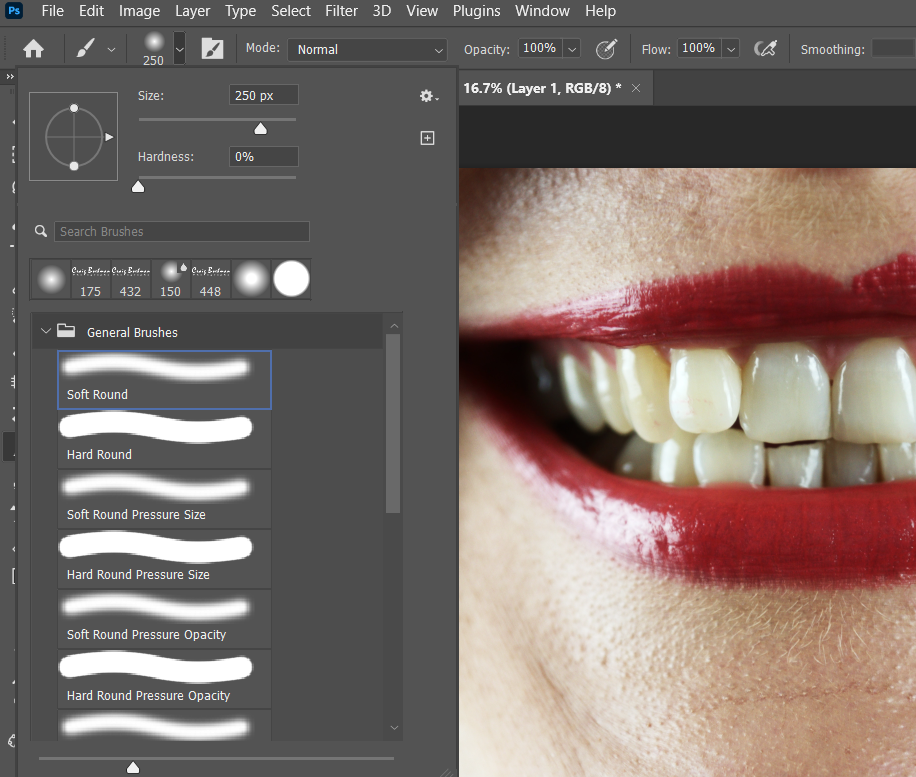
Select B for the Brush tool, and select a Soft Round brush.
-
Toggle the X or D key until the foreground color is White.

-
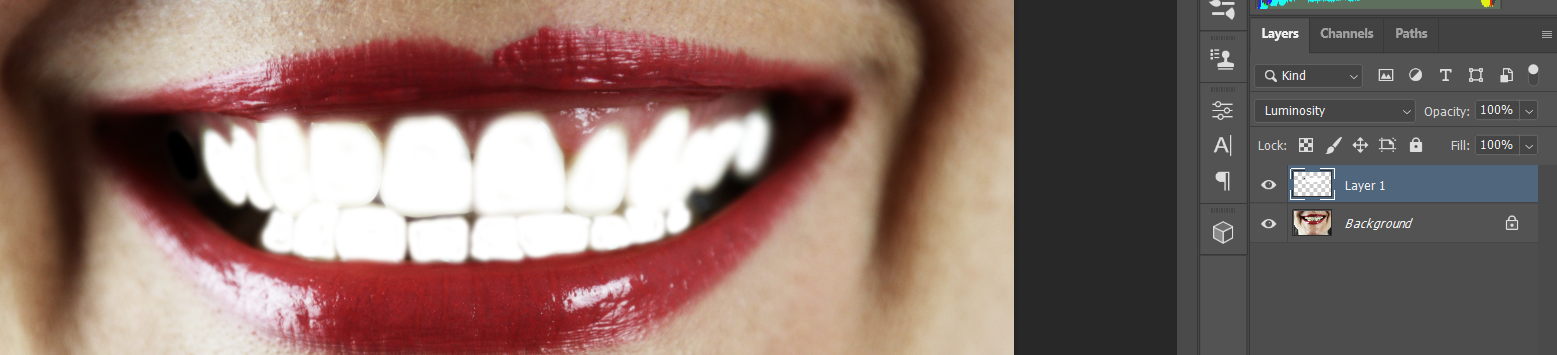
Paint with White over all the teeth.
-
Lower the Opacity slider to reduce the effect.


It will be obvious once you start painting white onto the teeth that the effect at this stage is heavy-handed. This is okay because, at the end of the process, you'll have to reduce the opacity of this photo by nearly two-thirds.
A quick note on “brushing” the teeth: be sure to only paint over the teeth to avoid an unwanted glowing effect in the surrounding pixels.
How to Whiten Teeth in a Black-and-White Image
As with color images, there are several ways to whiten teeth in a black-and-white image. In fact, the previous blank layer method could be employed to whiten teeth in exactly the same way as a color photo.
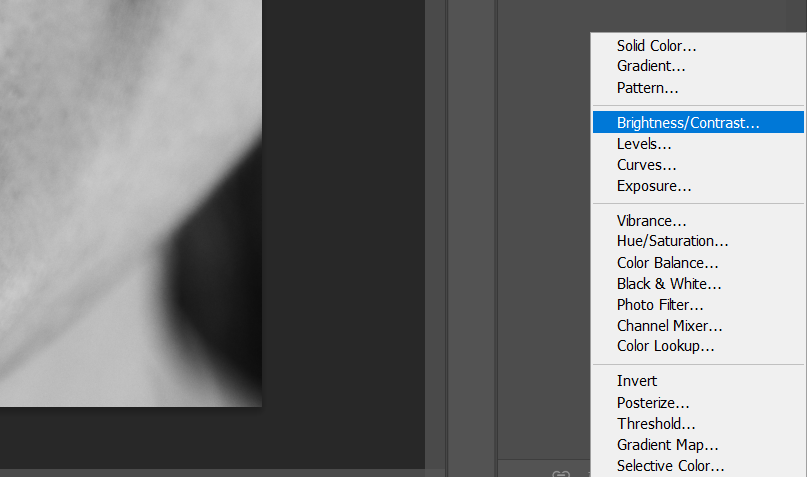
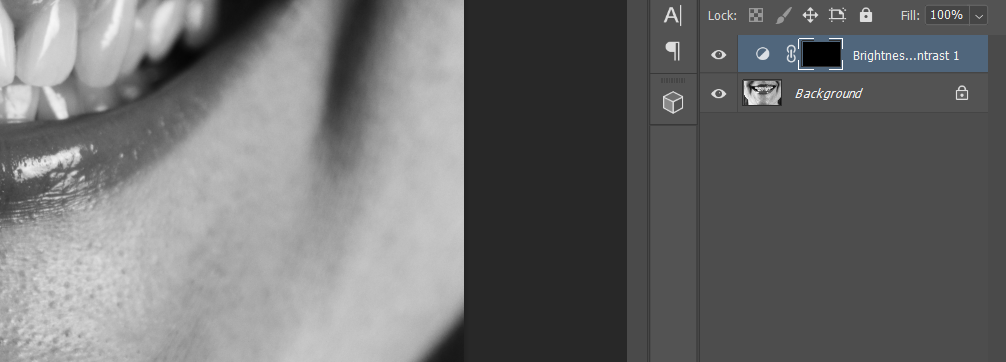
But let’s use a slightly different method to whiten teeth in a black-and-white image that you can't use for color photos. For this example, we'll be using a Brightness/Contrast layer.
-
Create a Brightness/Contrast layer.
-
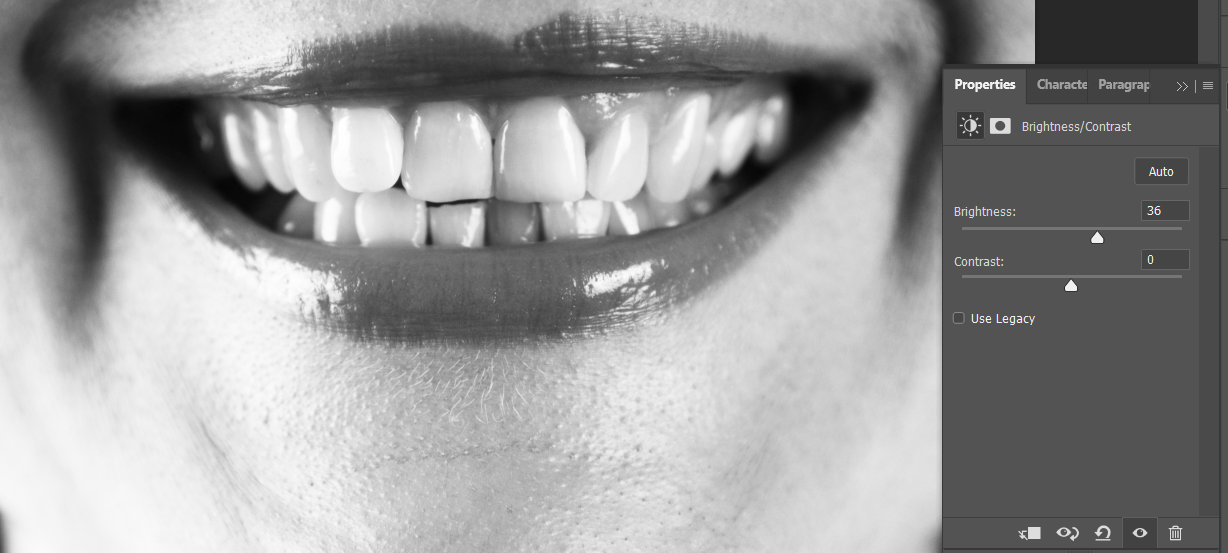
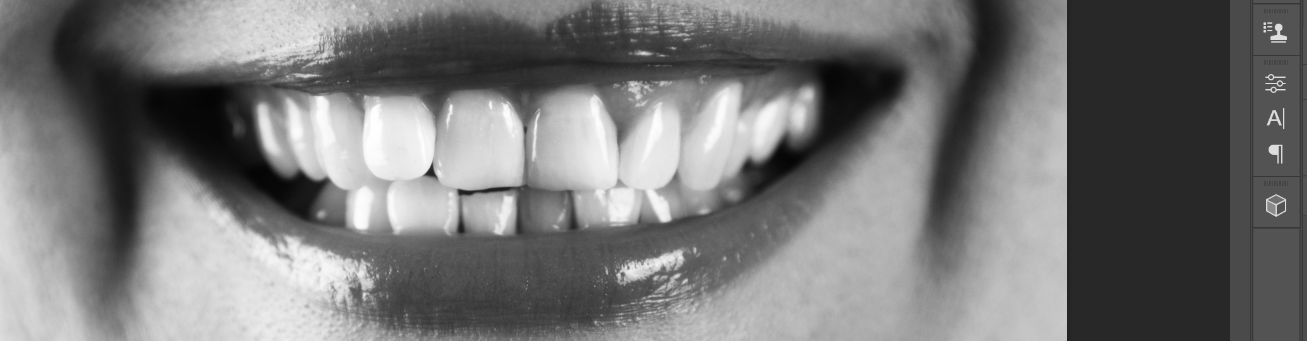
Adjust the Brightness slider to the right. Stop just before the highlights in the teeth become distorted or start to vanish.
-
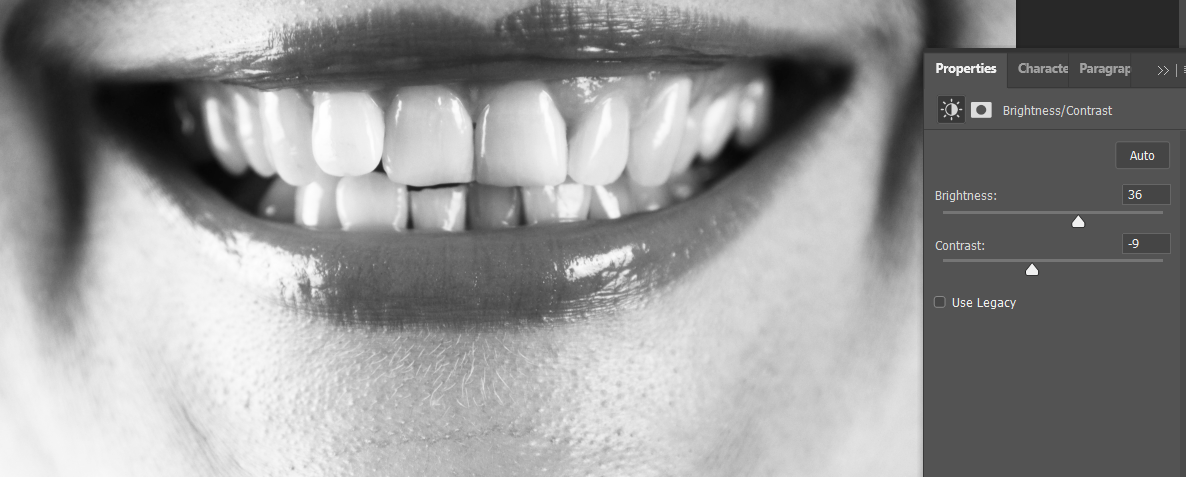
Adjust the Contrast slider to taste. This step will vary depending on the photo, but the point is to lessen or raise the Contrast slightly to make the teeth more appealing.
-
Click on the Brightness/Contrast layer mask, and then click Ctrl + I to invert the layer to Black.
-
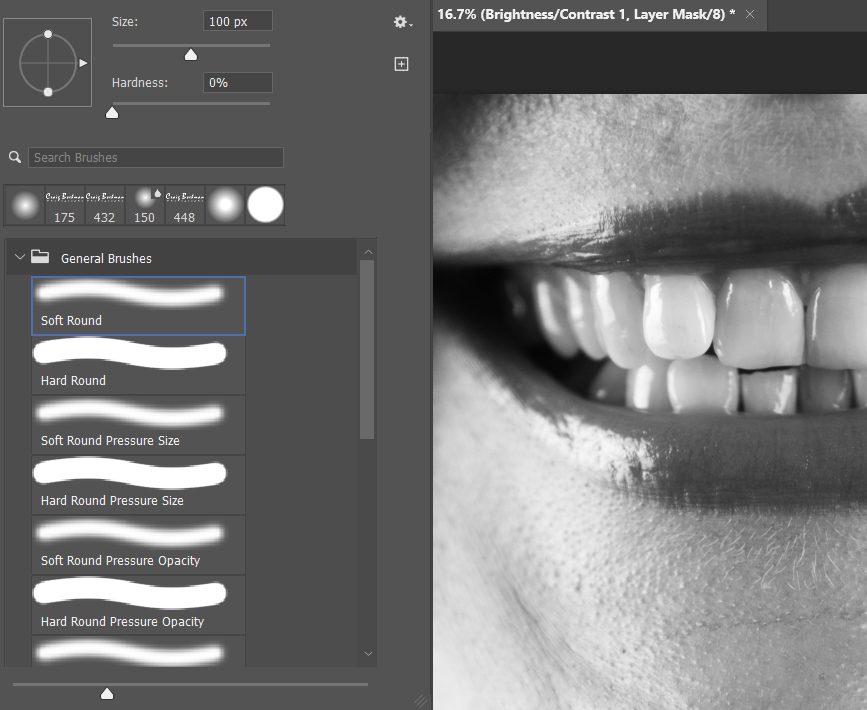
Hit B for the Brush tool, and select a Soft Round brush.
-
Toggle the X or D key until the foreground color is White.

-
Paint with White over all the teeth.
-
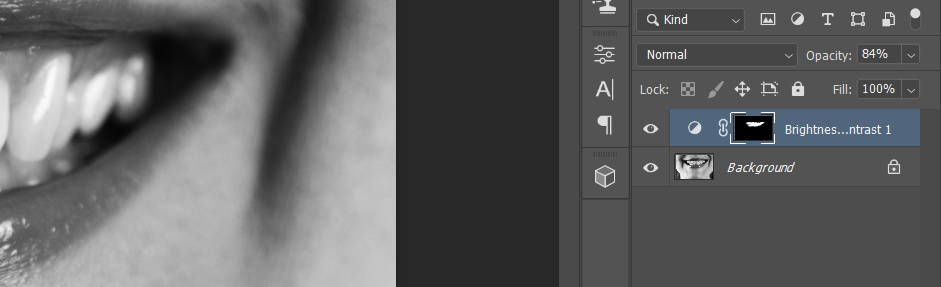
Lower the Opacity slider to reduce the effect if necessary.


Things to Avoid While Whitening Teeth in Photoshop
Photoshop is a powerful program, and it's easy to misuse its tools. When whitening teeth in Photoshop, keep the following pointers in mind.
Don't Go Too Far With Whitening
Sometimes it’s not always necessary to make teeth perfectly white. In fact, it’s almost never necessary to do so. Whitening too much runs the risk of creating a glow effect that will make your subject’s teeth stand out unnaturally, especially if the brightness value is too high.
The Opacity slider is your best friend. Make use of it to dial back the effect to make whitened teeth look natural. The whole point of teeth whitening is to make it look like Photoshop was never used at all.
Don't Apply Whitening Inconsistently in Group Photos
If you have a photo with two or more people smiling and showing their teeth, wouldn’t it be nice if all of your subjects’ teeth had the same relative whitening effect applied to each of them?
Of the several pitfalls for bad group photos, inconsistent retouching can make one or more of your subjects appear unflattering compared to the rest of the group. To avoid this, repeat your favorite teeth whitening steps for each person in your photo.
Afterward, adjustments can be made to fine-tune the effect to make sure everyone has the same perfectly-white teeth.
Mastering Other Photo Editing Techniques

Whitening teeth in photos is just one of the many essential changes that can be made during the editing process in Photoshop. However, Photoshop can do far more than just that.
If you want to improve your photo editing skills, you'll want to make sure that you have the basics down pat first.
Image Credit: Asa Dugger/Pexels