The fear is real when you're looking at a version of your Google Docs that was previously perfect but now looks terrible. When an entire team is working on the same document you want to make sure you know exactly who is making edits and when they were done. Google Doc's Version History can take you back in time to all the revisions with only a couple of clicks.
Let's learn how it works.
How to Access Your Version History
There are two ways to access a document's version history in Google Docs.
Use the File Menu
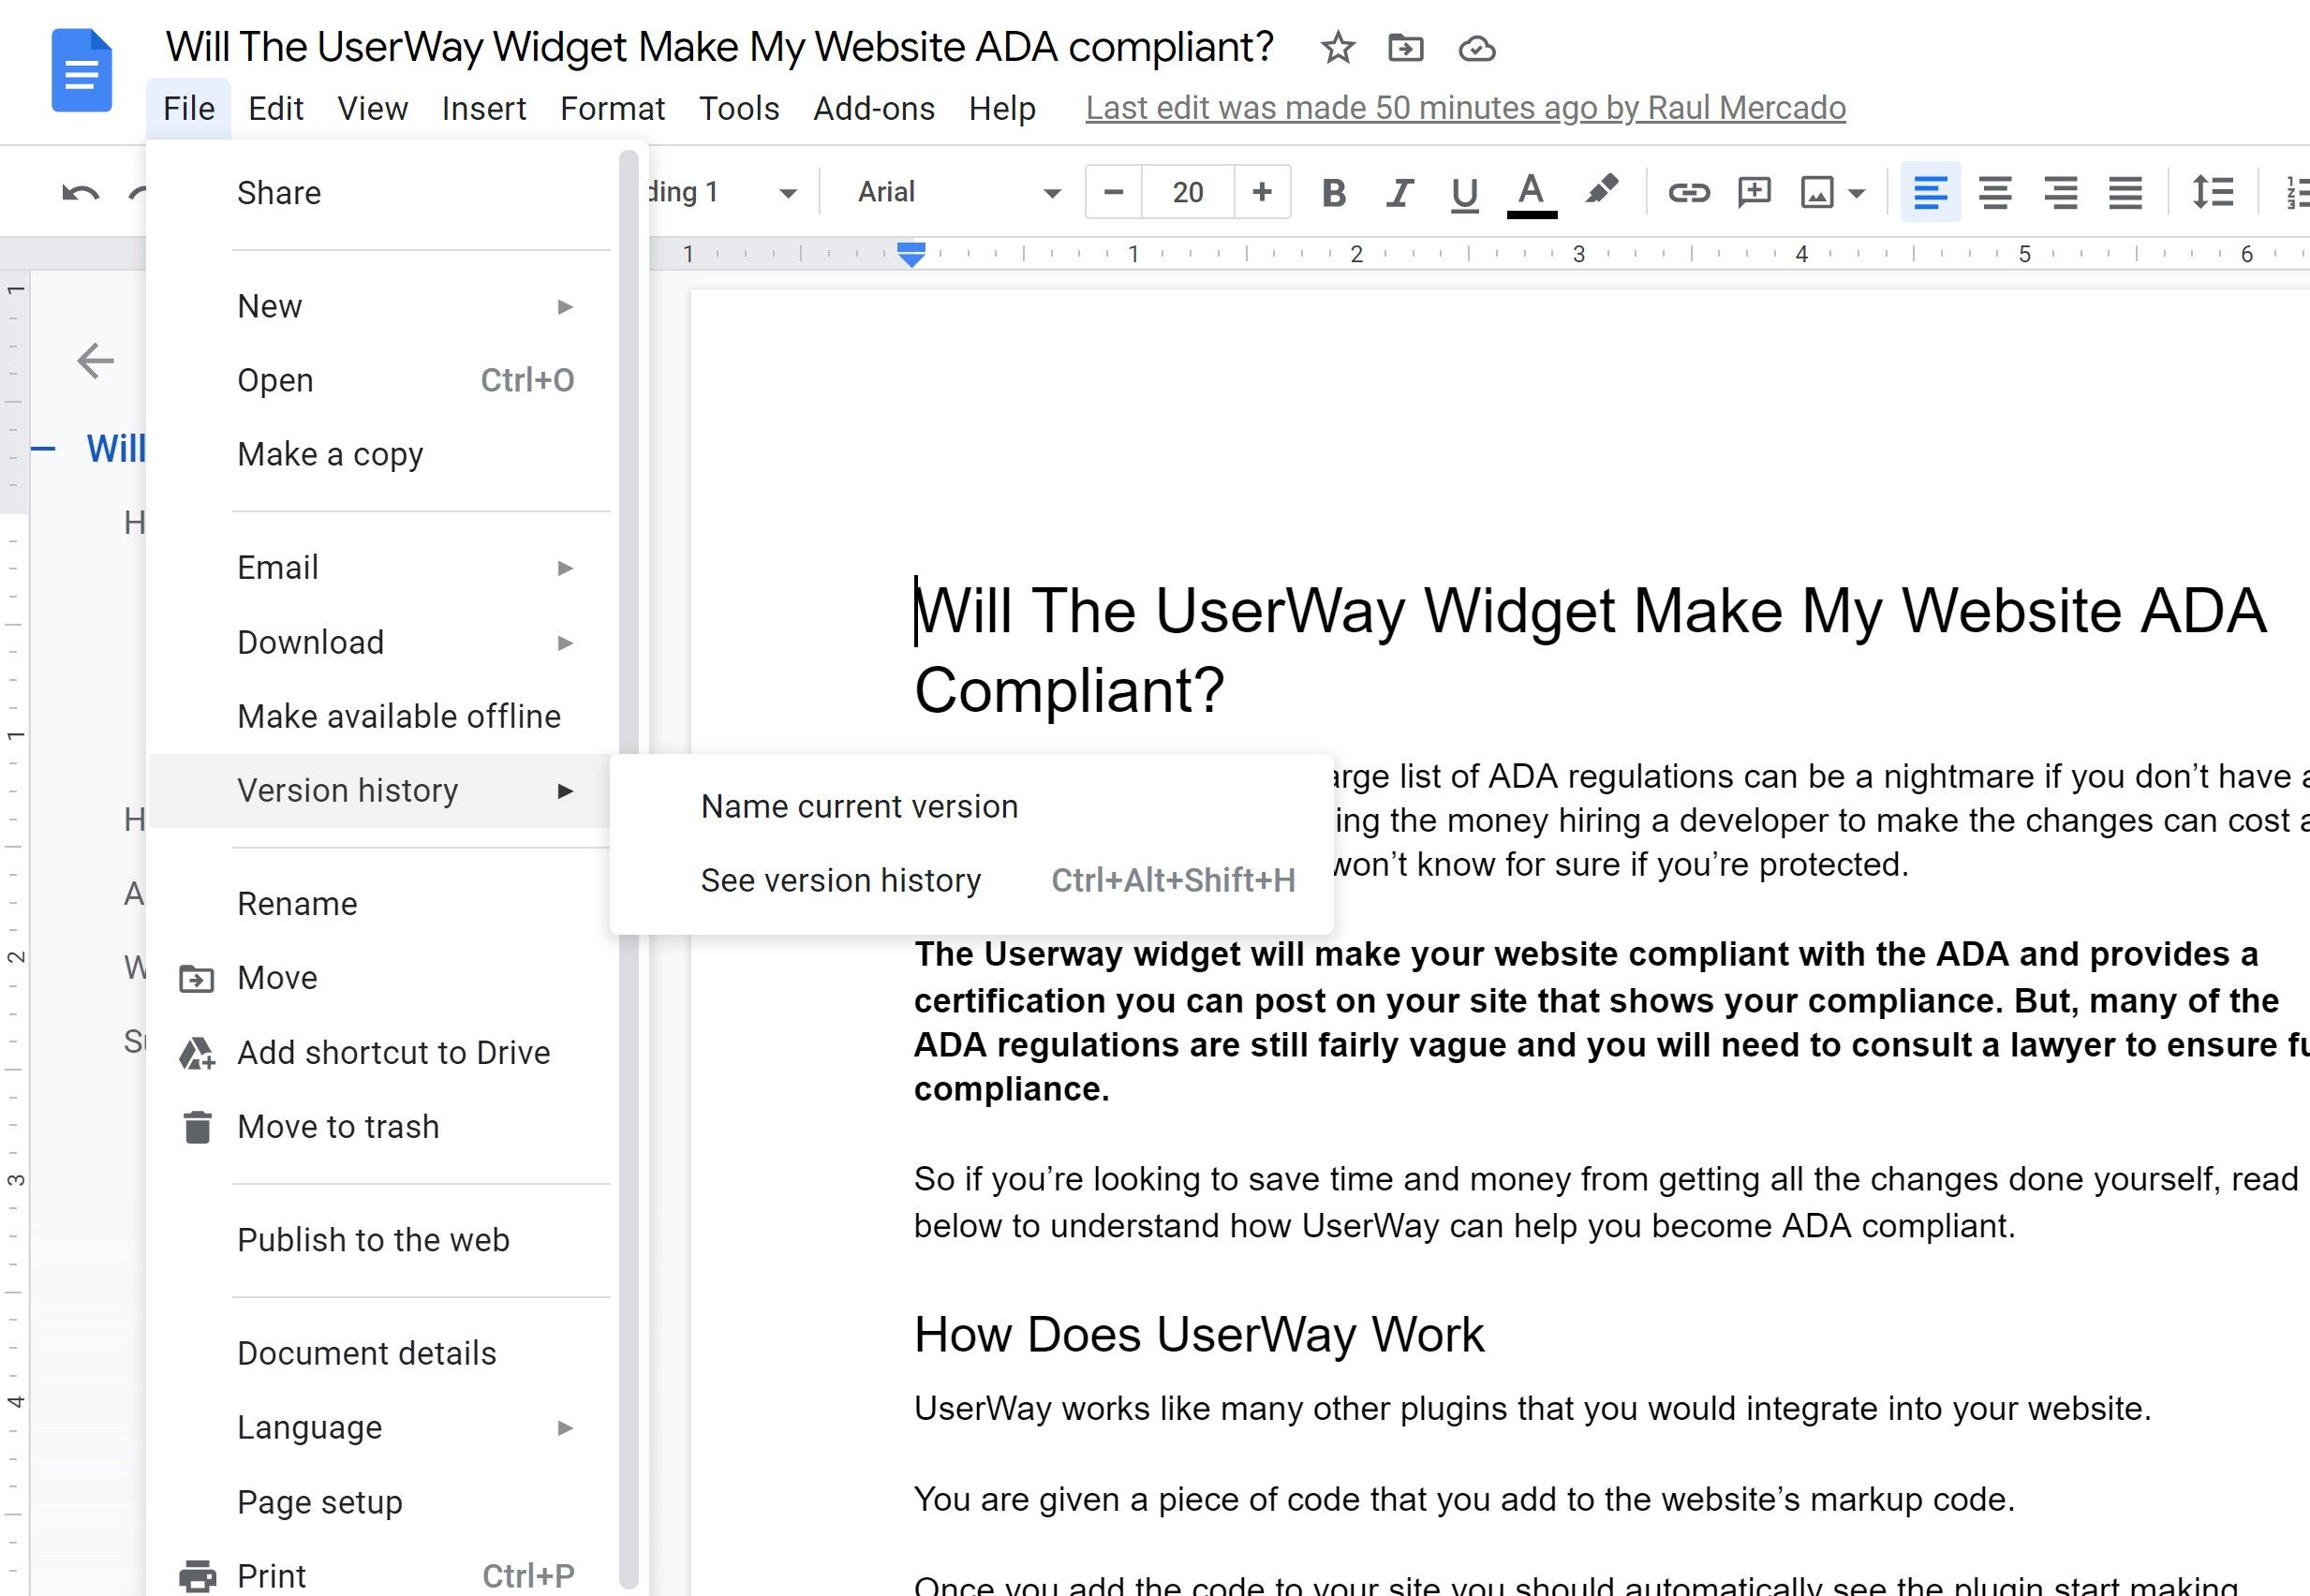
- Click on the File > Version history.
- You'll see two options given: Name current version, which we will cover later, and See version history. Click on See version history. A panel on the right is a timeline of the changes that have been made to the document.
Use the Last Edited Link on the Toolbar
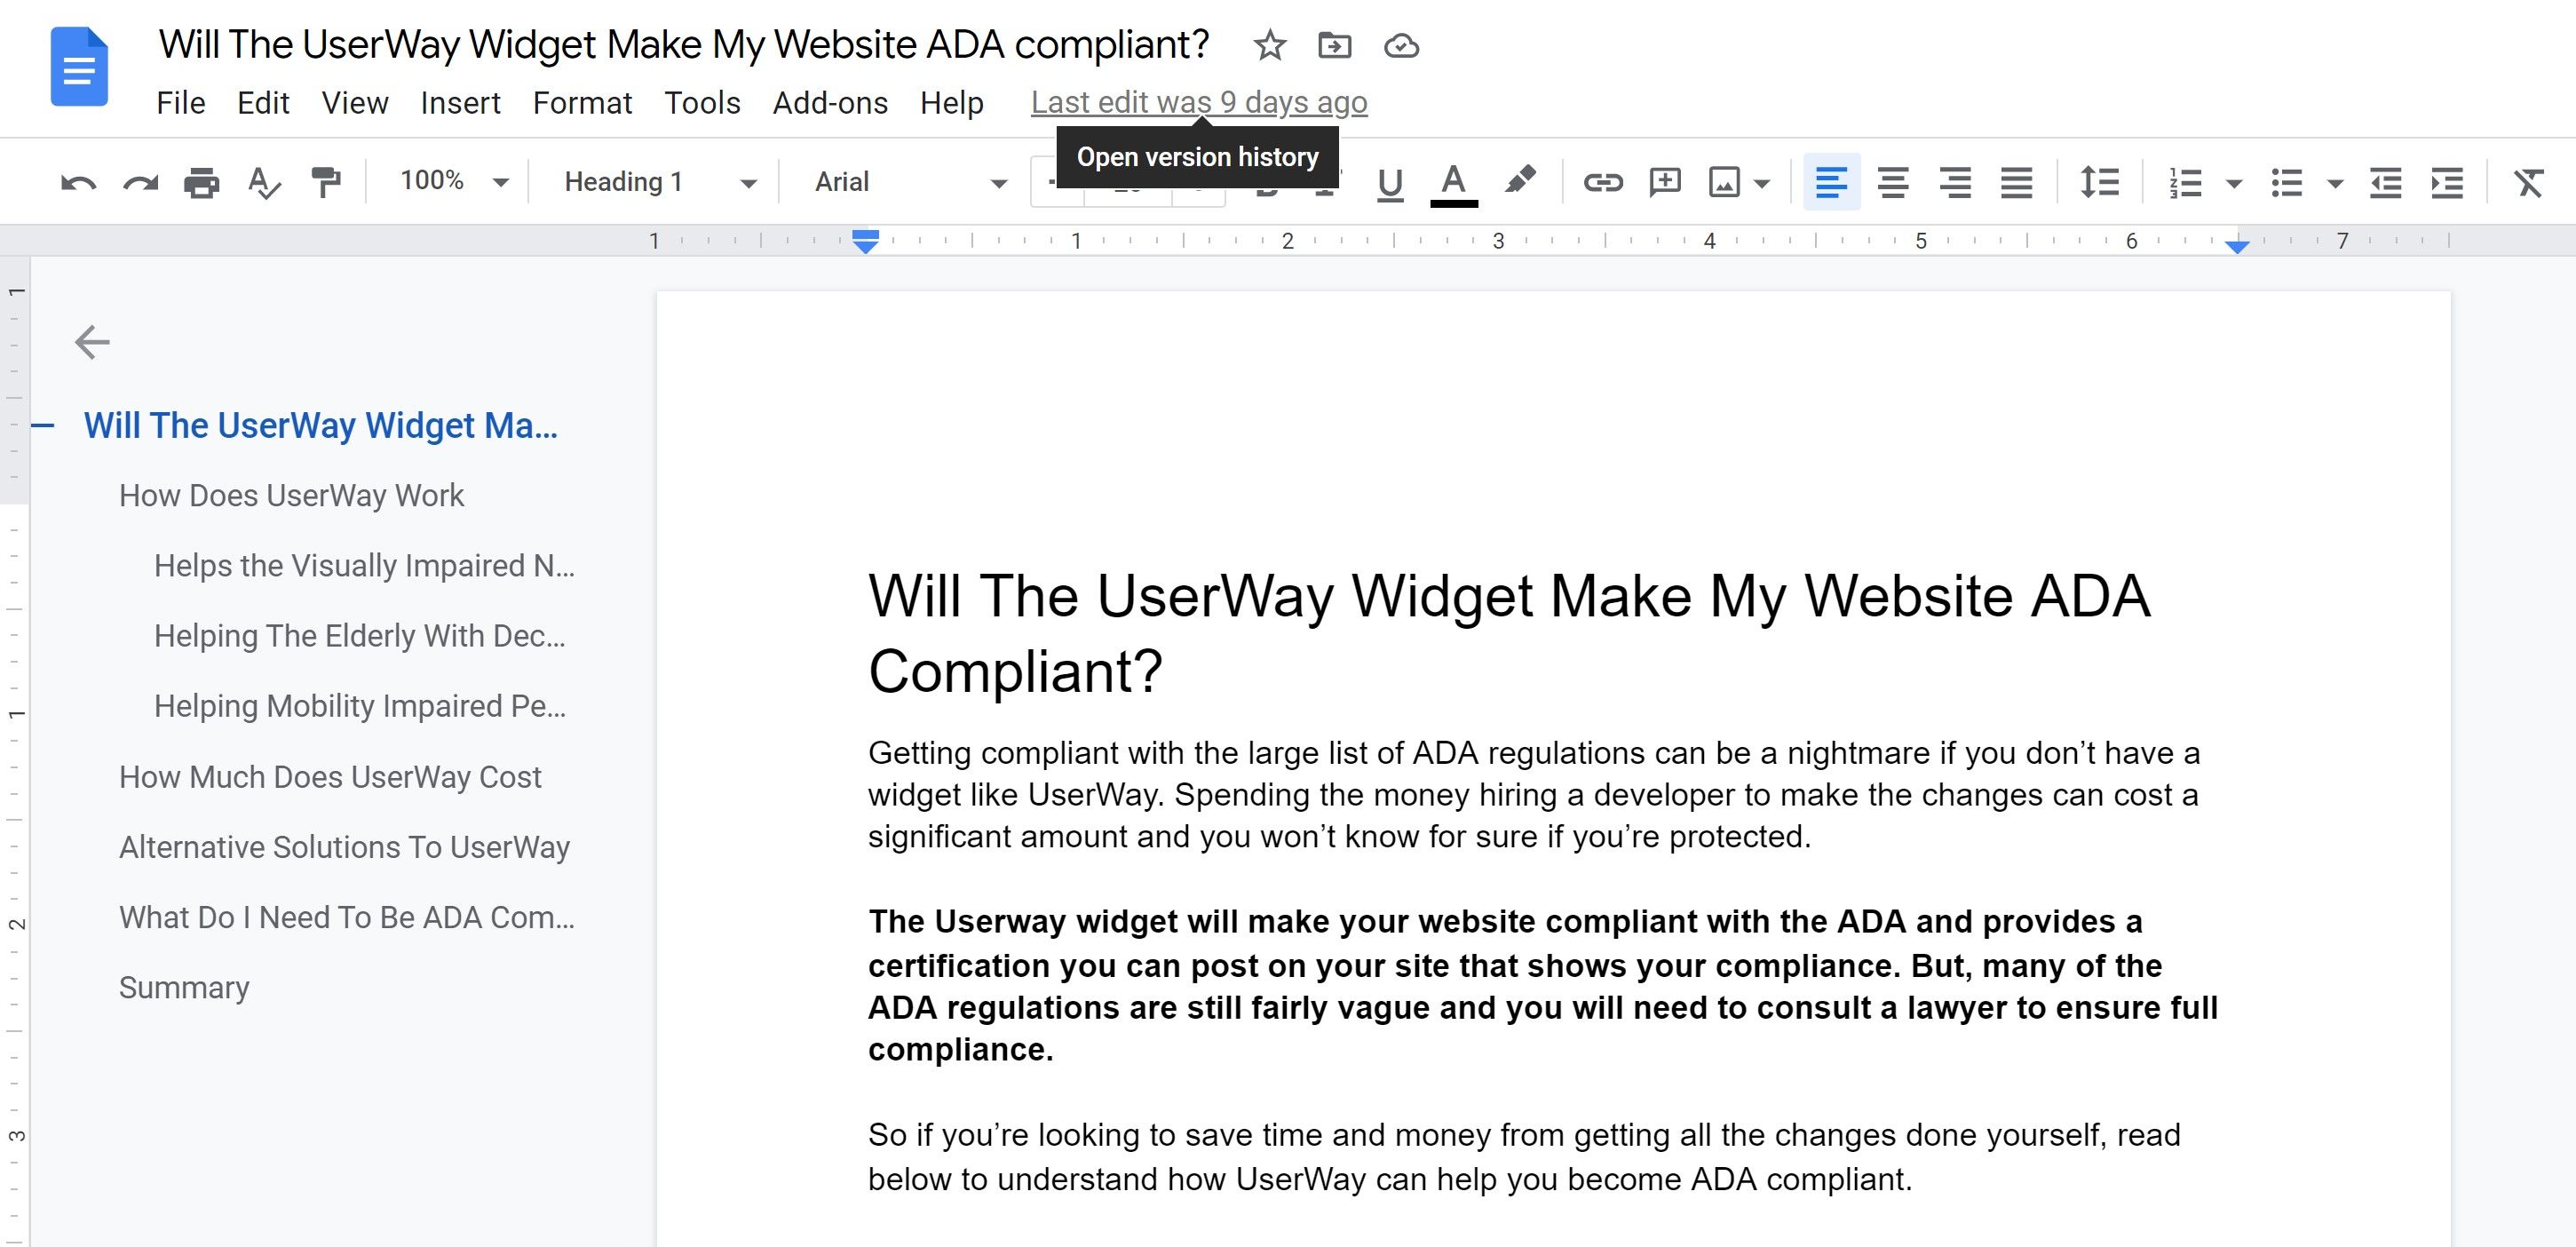
The other way you can access this section is slightly quicker because there is a link that displays the time from when the last edit was made. It will redirect you to the Version history but you'll only see this link if you've made actual changes to your document.
- Click on the Open version history link.
This method of accessing the Version history won't prompt you with an alternative option to name your current version. You can still rename any version of your document when you are redirected to the Version history.
Reviewing Your Version History
Once you've accessed your Version history there is a lot of data that can come in handy, especially if you're collaborating with Google Docs.
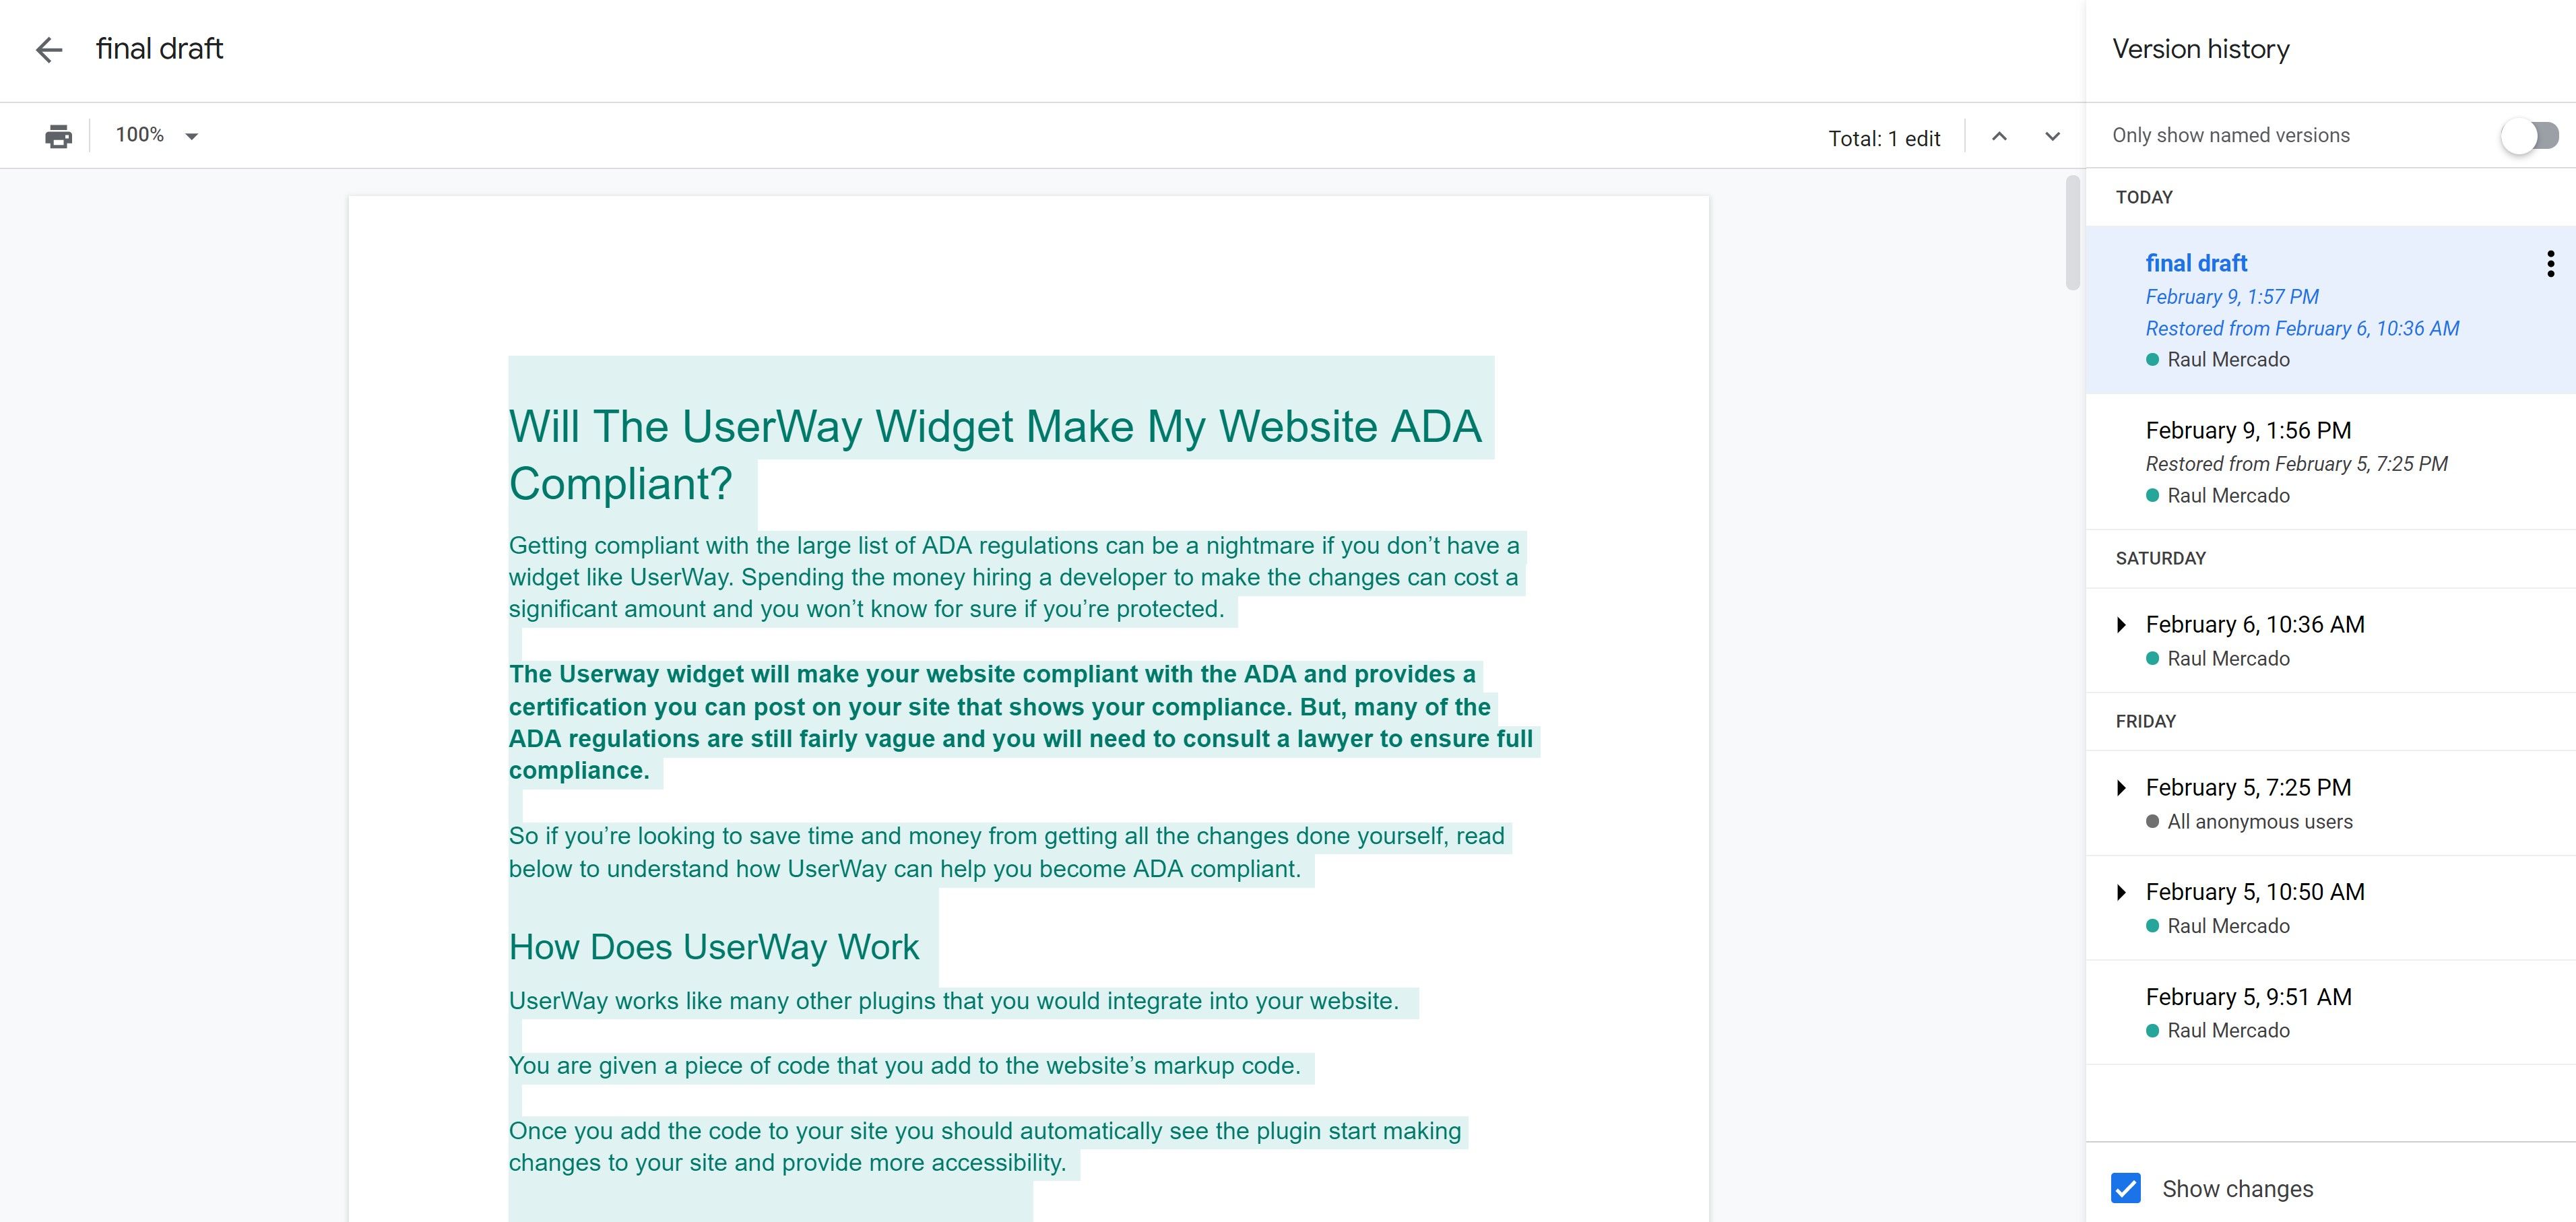
The date in the top left corner of your screen will inform you of when the last edit was made on the document. If you rename your versions then this name will be displayed in place of the date and time. Below the date is an option to print the document, or save it to your computer, and an option to zoom in on the document.
On the right-hand side, you'll notice in the main document window the total number of edits made. This number is specific to the version that you are currently displaying.
Click on the two arrows to cycle through each of the edits for a better idea of what changes were made for that version.
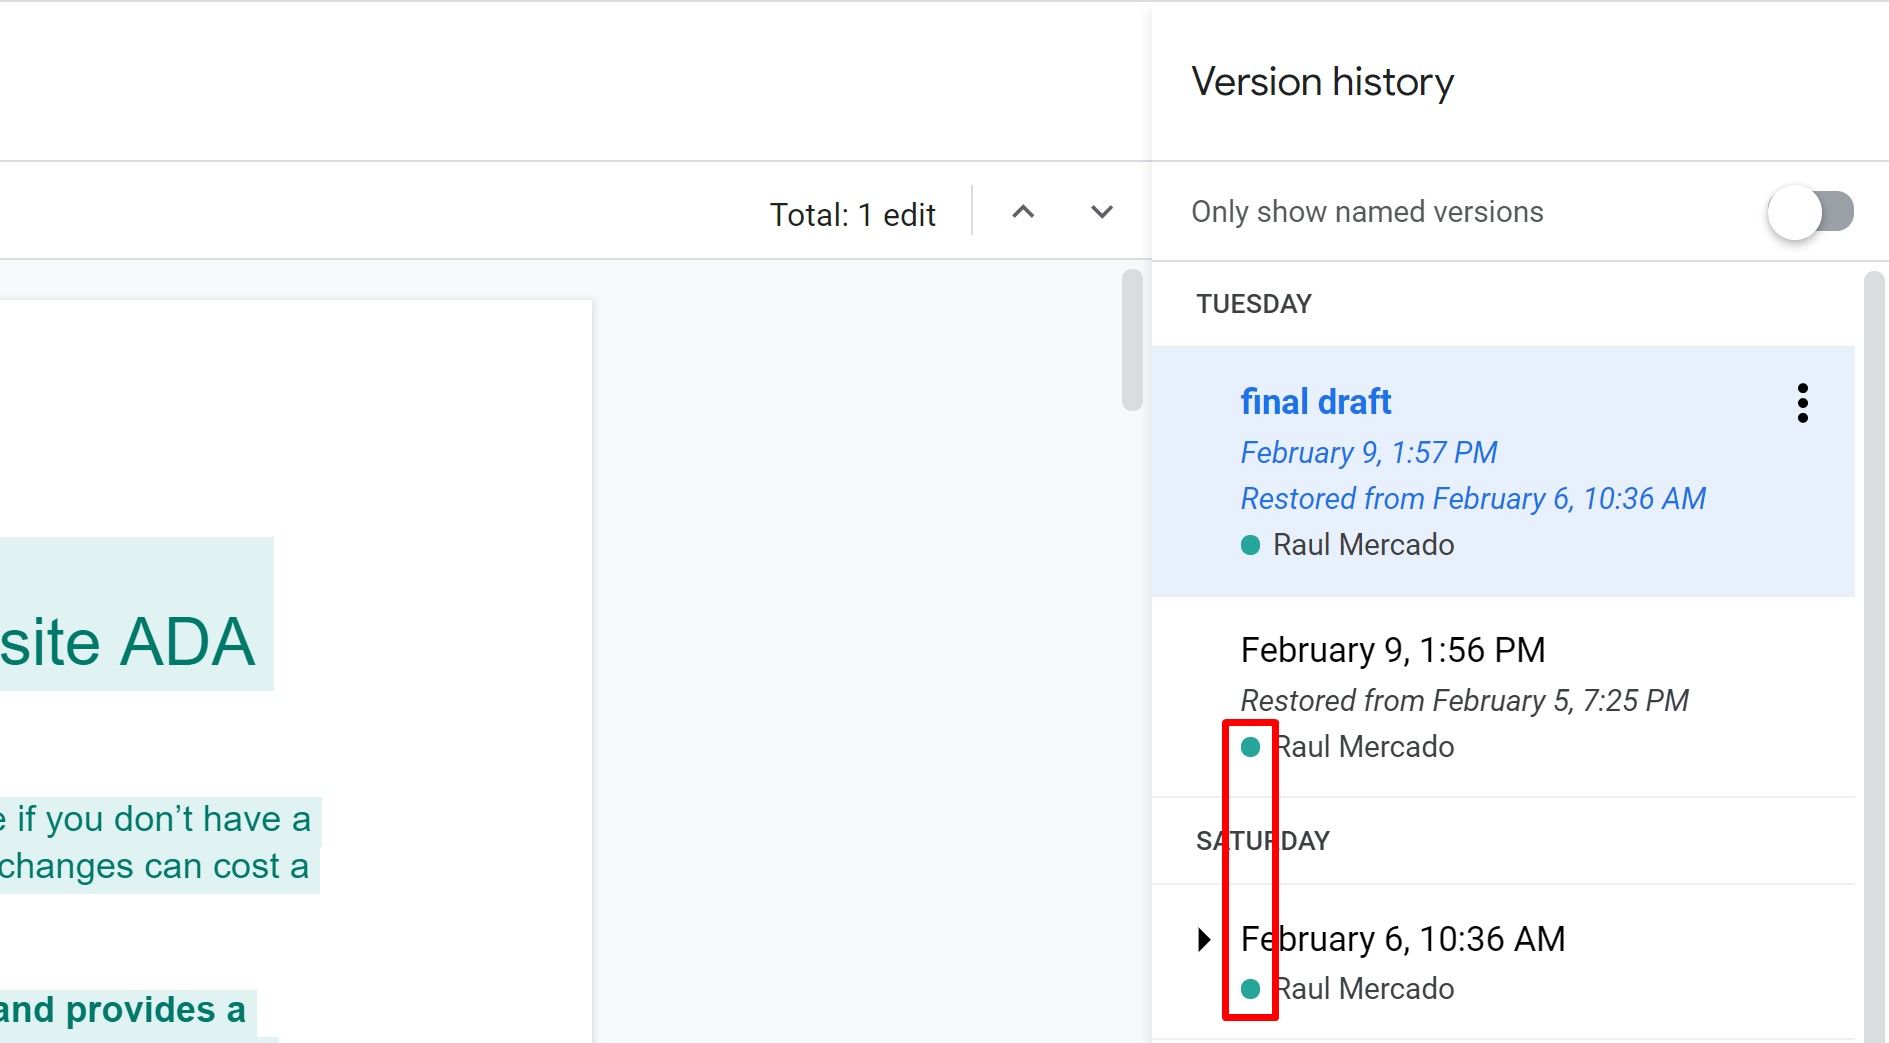
On the right is a sidebar that includes additional info for all the saved versions of your document.
It is easy to see exactly who on your team has made changes and when they did it with a different circled color next to their name. That color will correspond to the changes you see on the main document screen.
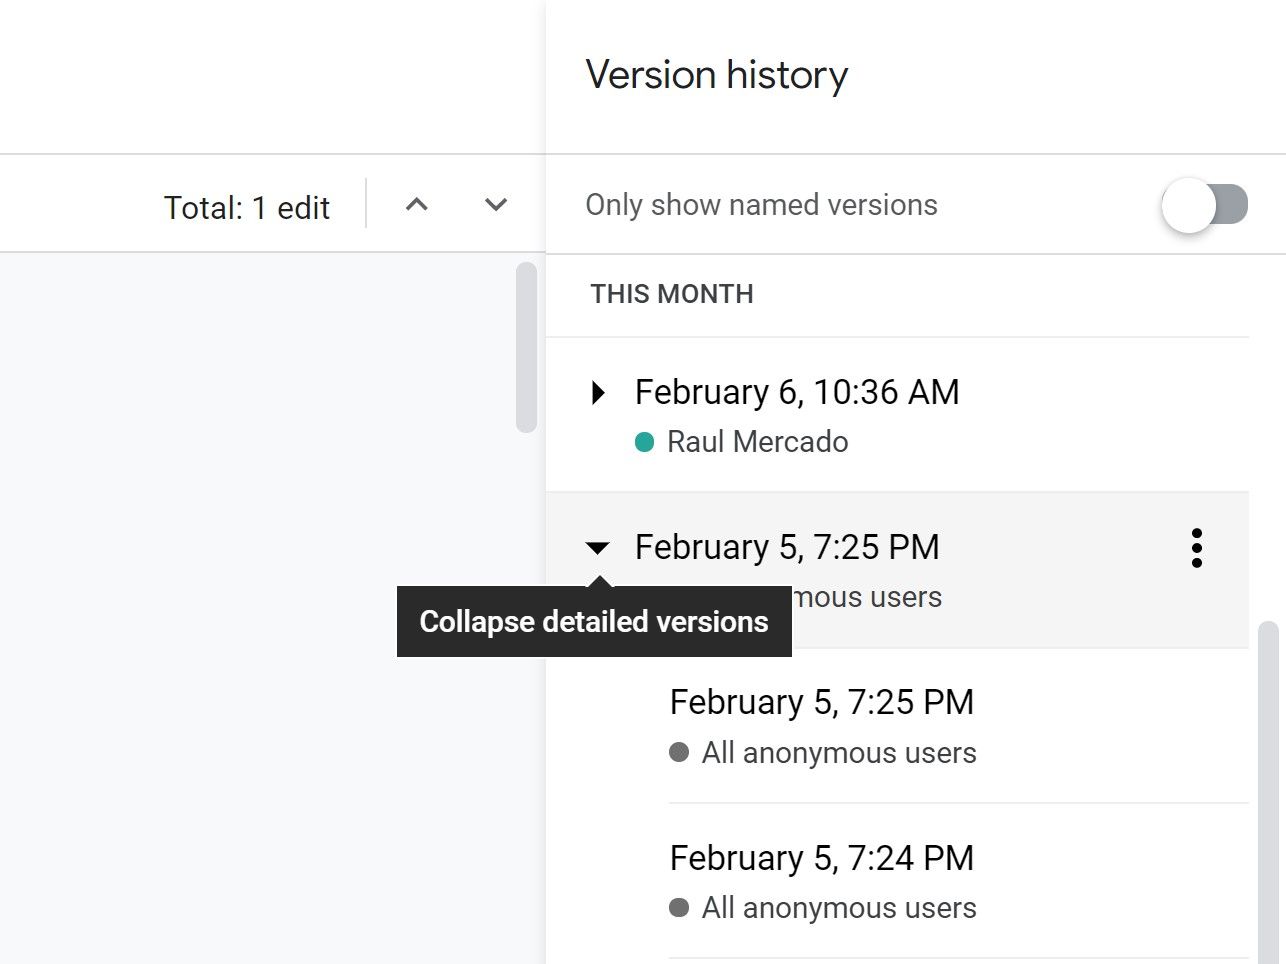
This is how you can easily identify who on your team made the specific changes to the document. You'll notice that next to each saved version of the document is an arrow pointing at the date and time.
Click the arrow and the extra details will help you choose what to restore. You can opt to include some of the edits made that day but exclude others.
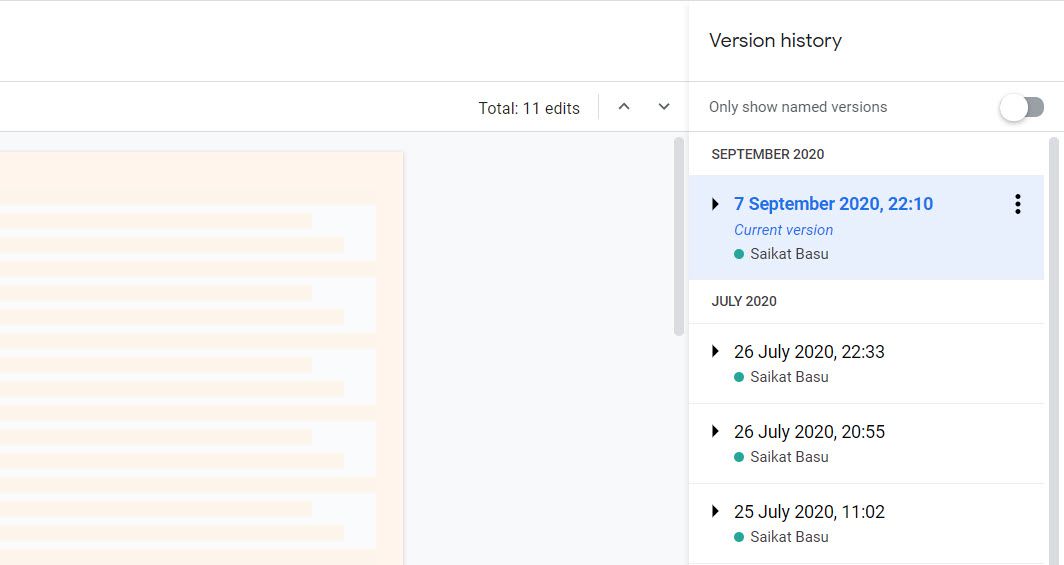
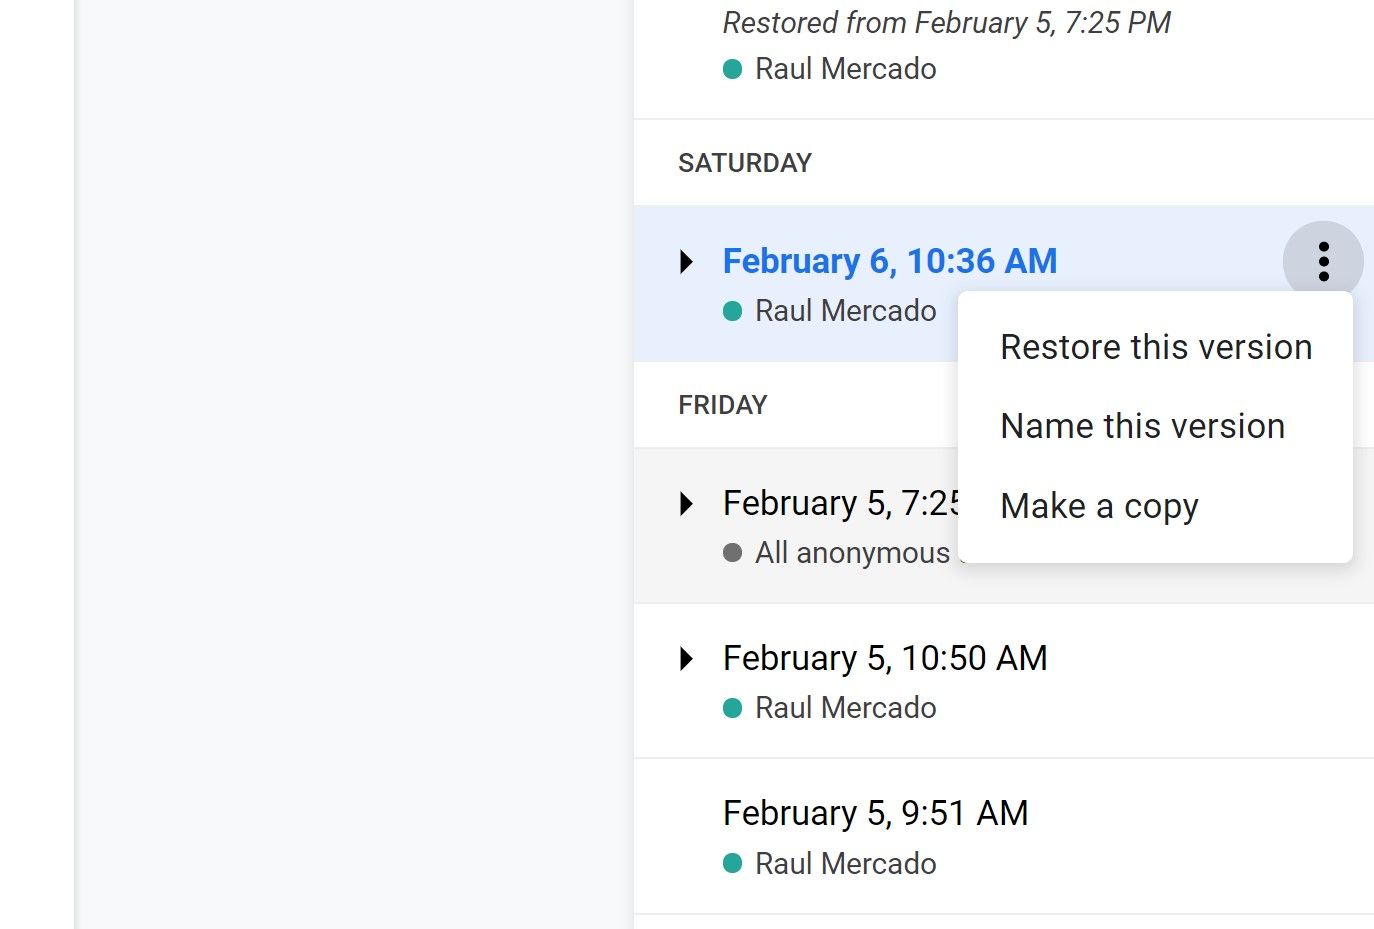
Click on the three dots next to the date and time for more options like the ones you see below. There is even a toggle at the top of the sidebar where you can show only the versions that have been named.
We'll cover why this can be useful and the best practices for naming your document versions.
Restore Previous Versions
While you're in the Version history section you'll have the chance to revert to older versions of your documents before certain edits have been made.
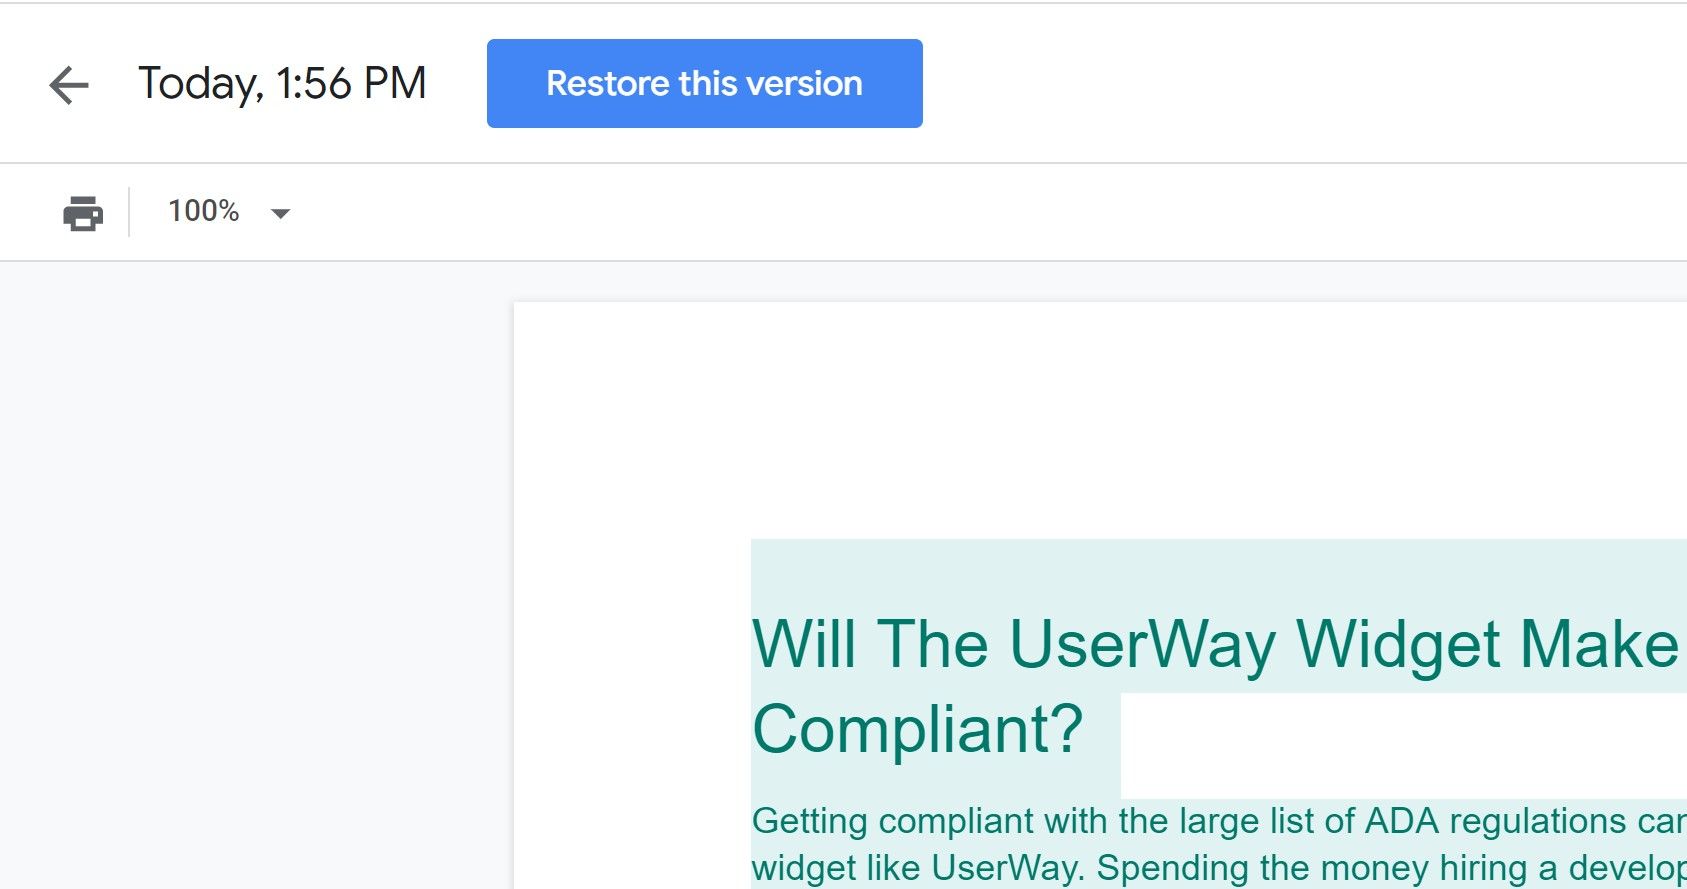
Go to one of the older versions of your document and you'll immediately see a big blue button appear at the top of the screen that says Restore this version.
Click on the Restore this version button and confirm if you would like to restore this version of your document.
You're Google Doc will automatically be updated to reflect the older version. There is even a small popup at the top of the screen letting you know which version you're seeing.
Each older version will have even more hidden versions you can view by expanding the section using the arrow to the left of the date and time. These versions will have each individual edit that was made on that day and you have the option to restore any of these versions as well.
You can even store a previous version but still delete one of the pages if you're looking to rewrite some of the material but not all of it.
Best Practices for Saving a Document Version
Throughout your writing and editing process, especially if you have multiple team members, you'll want to use smart saving practices. This will make going through your older versions much easier if there are any potential problems.
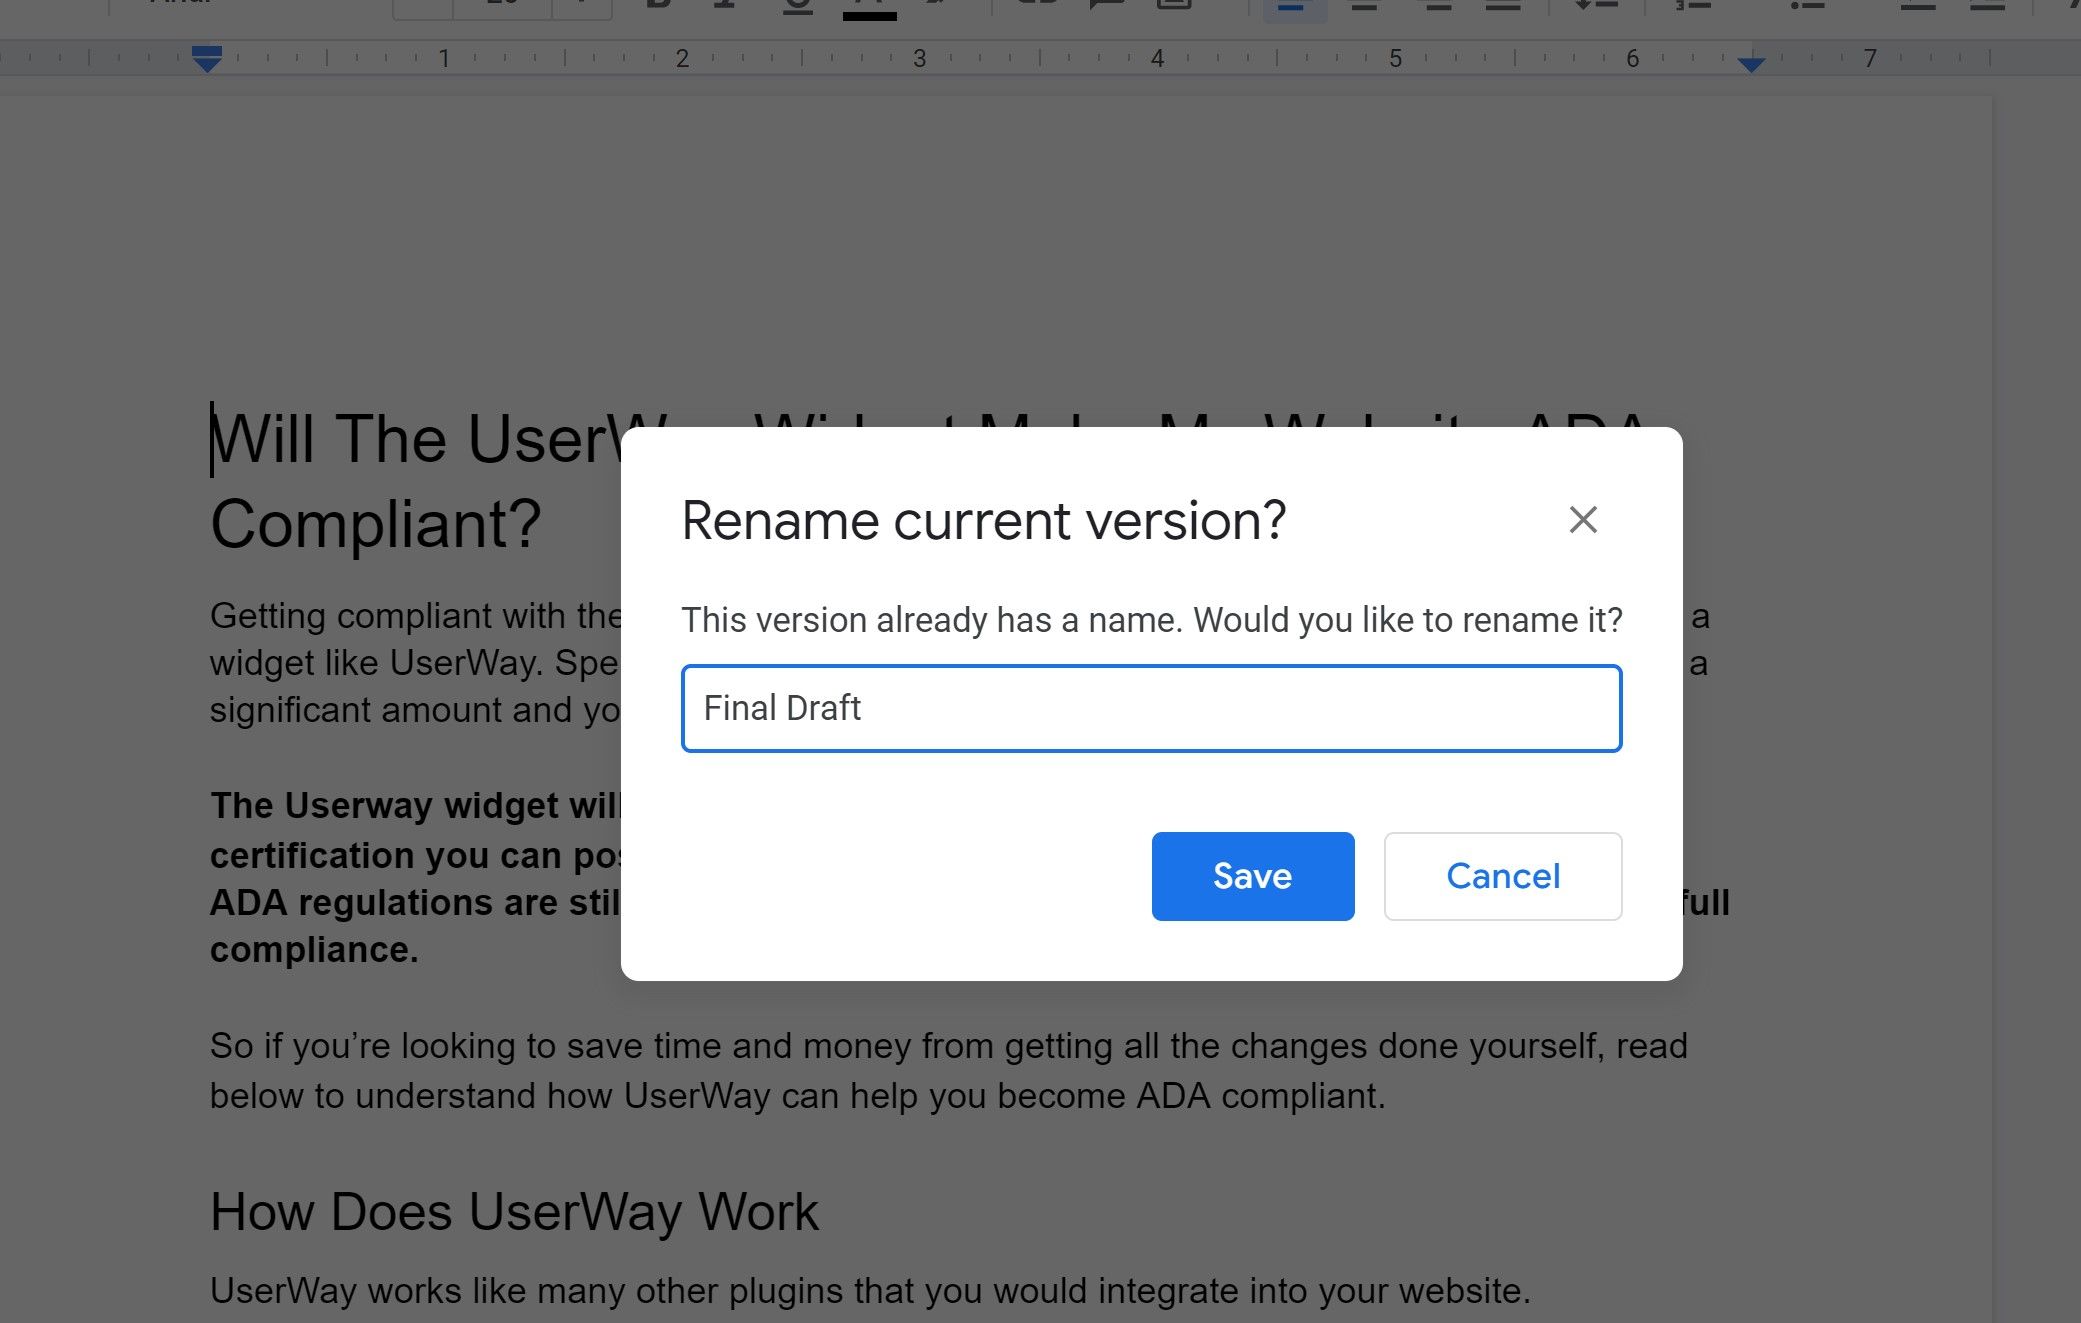
In order to rename your versions, click on File > Version history > Name current version. A popup will ask you to come up with a name for your current version.
Keep the name something simple that describes what was done to the document on that day. If a draft was done for the first time, you can rename that version First Draft.
If the editor made revisions, you can name that version Editor. The same process can be followed for implementing feedback and the final draft.
This will make it much easier to go back through the edits and understand what stages were being done and when they were completed.
You can also use the toggle on the right-hand side to show only versions that have been named to make it even more clear.
Easier Editing and Revising in Google Docs
Name the different versions of your document at every stage of writing. This will make it easier to go back to earlier versions if there's a problem.
The version history shows you which team members are making what changes. These steps add up to help you get the perfect version of your article when you need it.


