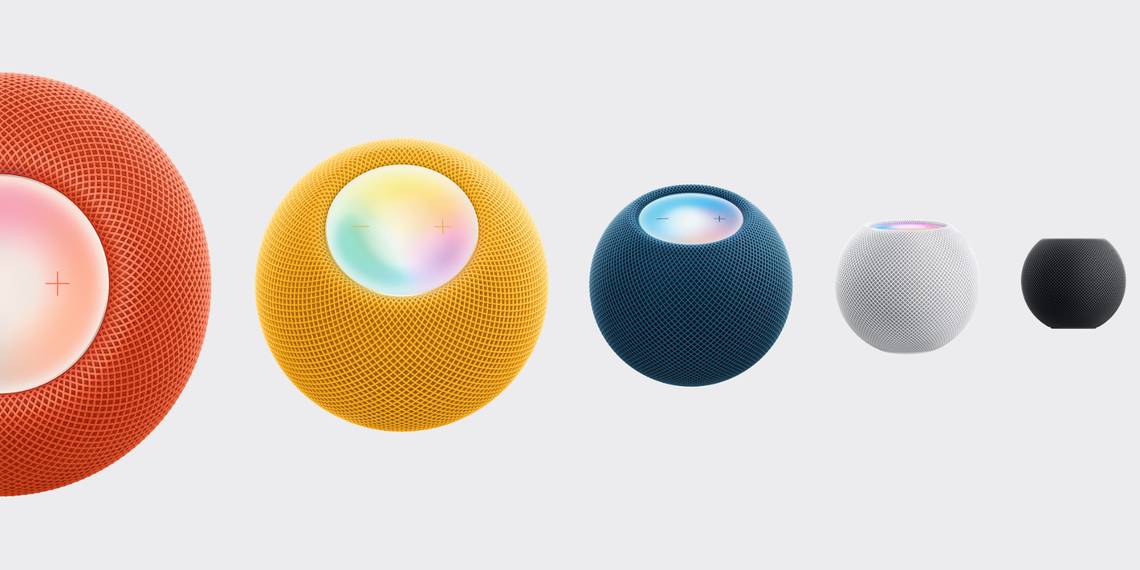
While Apple’s HomePod mini and HomePod are great ways to rock out with the music you love and even interact with Siri, there is a unique smart home feature you might not know about.
The HomePod mini and second-generation HomePod offer a built-in temperature and humidity sensor. We’ll show you how to access that information and how it can be used as part of a smart home.
What You’ll Need to Get Started

To access the temperature and humidity data, you’ll need iOS or iPadOS 16.3 or later on your iPhone or iPad.
Either HomePod will need to be running version 16.3 or later of the HomePod software. If it hasn’t already been downloaded and updated your current smart speakers, doing a manual update takes just a few minutes.
With that, you should be able to access the information that the speaker is collecting.
Just to note, Apple says that the temperature and humidity data collection is optimized for indoor homes from 59 to 86 degrees Fahrenheit and humidity levels from 30 to 70 percent. Accuracy may also decrease in some situations where audio is playing for an extended period of time at high volume levels.
Accessing the Temperature and Humidity Data
The easiest way to check the temperature and humidity information being collected by the HomePod mini and HomePod is simple—just ask Siri. You can say “Hey Siri, what’s the temperature” or “Hey Siri, what’s the humidity.”
Apple’s virtual assistant will then tell you the most up-to-date reading.


Smart home users can also find the data in the Home app. Open up the app and select the three dots surrounded by a circle in the top-left side of the app. Then you’ll select the room where the speaker is located.
At the top of the page, under the name of the room should be a temperature and humidity reading. To confirm it is from the HomePod or HomePod mini, tap the reading and see more information including the speaker’s name.
Finally, you can also choose the speaker in the room view and scroll down to the bottom of its information page. Select the Settings icon on the bottom right part of the page. Choose Accessories to see the temperature and humidity.
Creating HomeKit Automations With Temperature and Humidity
Being able to see the current temperature and humidity levels at your HomePod or HomePod mini is always handy. But combining that data with automations in HomeKit can open up a wide variety of ways to create a true smart home.
If you’re new to HomeKit automation, it uses multiple compatible products to work together.
There are four major types of automations you can create with the Home app. But with the temperature and humidity data, you can create an automation with sensor cues. For example, you can turn on a fan once the HomePod detects a temperature over a certain threshold.


To create an automation, open the Home app and select the + sign in the top right corner. Select Add Automation. Under Events, choose A Sensor Detects Something.
On the next page, you’ll choose either the HomePod temperature or humidity sensor. You can choose for the automation to begin when rising above or drops below a certain threshold.
For further customization, you can choose for the automation to only happen during specific times of the day. It can also occur when people are home or not at home. On the next page, you’ll select what happens when the temperature or humidity threshold is met.
Making Apple’s Smart Speakers a Bigger Part of Your Smart Home
With the temperature and humidity sensor, the HomePod mini and second-generation HomePod is more than just a great speaker.
Enjoy creating automations and making the most of the great Apple-centered smart home technology.