Although artificial intelligence has grown steadily for the past few years, tools like DALL-E and ChatGPT sped things up considerably. For instance, DALL-E uses text prompts to generate images. Other models, such as Midjourney and Stable Diffusion, perform the same function.
Fortunately, you can use Stable Diffusion on a Mac. But what exactly is Stable Diffusion, you ask? Below, we'll tell you all about it and teach you how to generate AI images on your Mac using Stable Diffusion.
What Is Stable Diffusion?
Stable Diffusion is a text-to-image model like Google Imagen, which uses a frozen CLIP ViT-L/14 text encoder to train the model through text prompts. However, it uses the diffusion process, similar to DALL-E, to create AI images from texts.
It starts with a noisy image first and slowly improves it until you don't have any noise. Moreover, Stable Diffusion is much cheaper than DALL-E and has twice the resolution that DALL-E provides.
How to Install Stable Diffusion on Your Mac
Whether you have a Mac with an Apple silicon chip or an Intel processor, you can run Stable Diffusion using DiffusionBee. So, follow these simple instructions to learn how to install it:
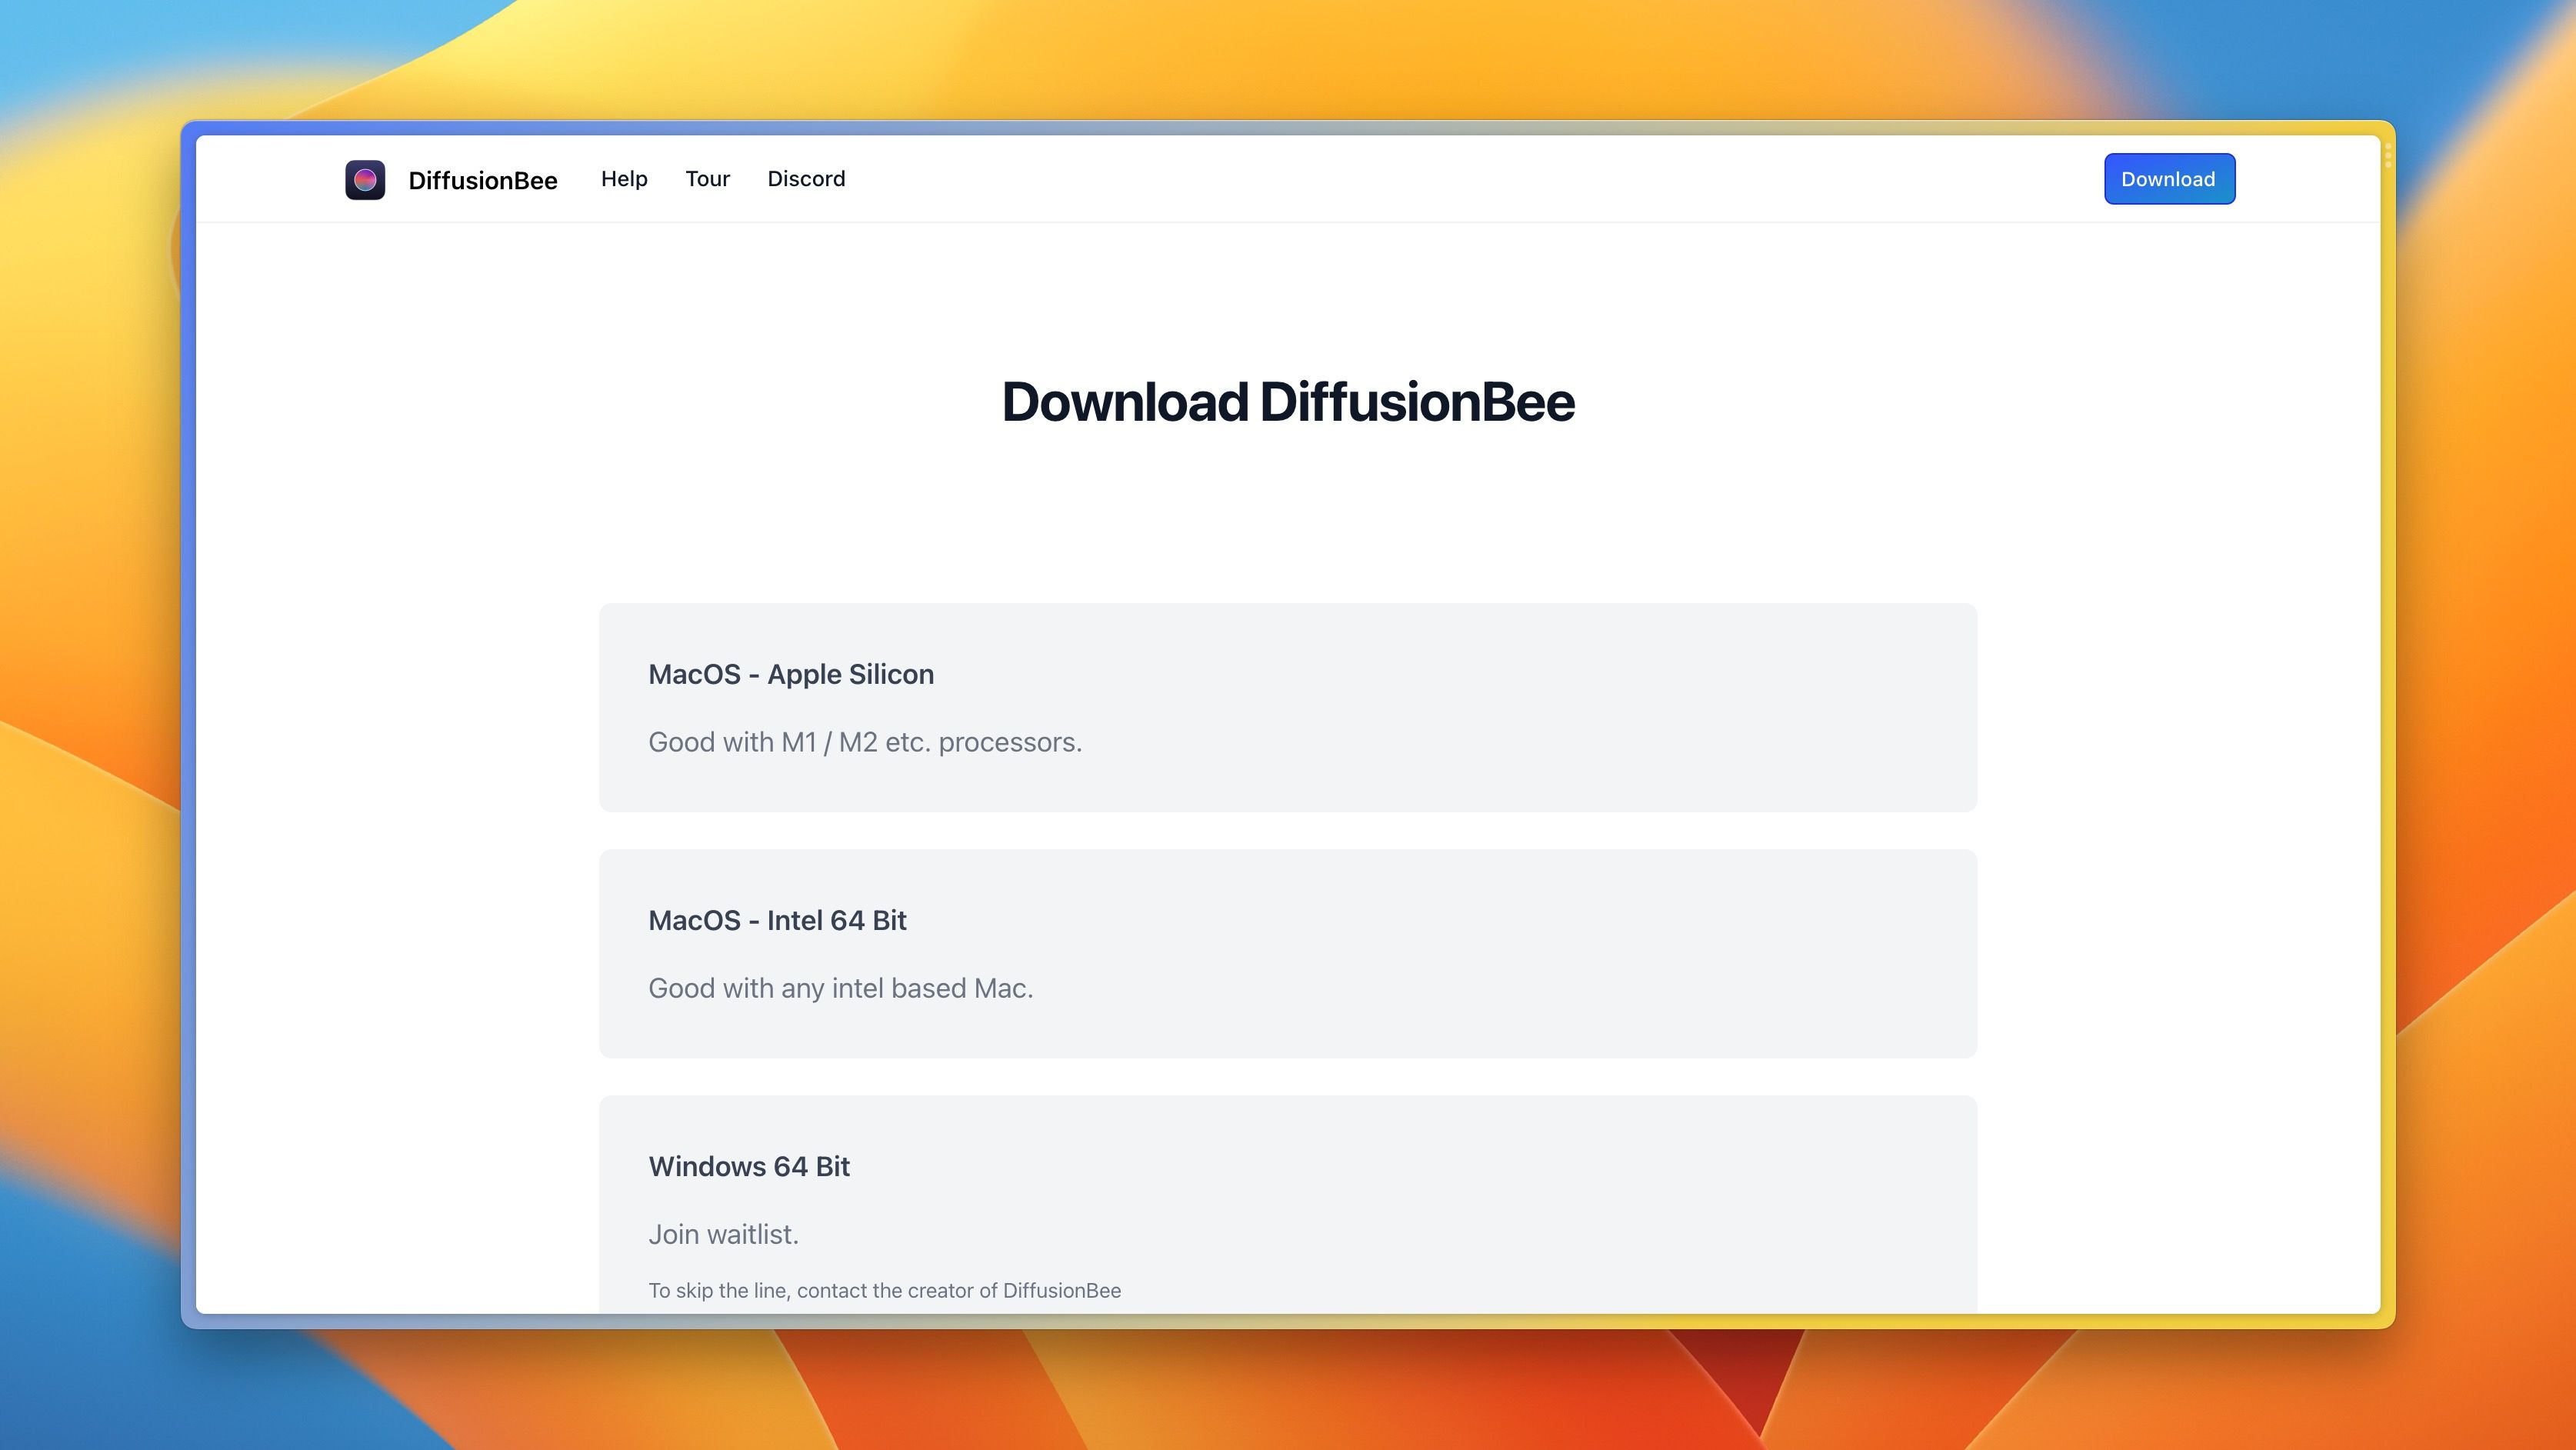
- Visit DiffusionBee's download page in any browser on your Mac.
-
If you own an Apple silicon Mac, select the macOS - Apple Silicon option. But if you have an older Intel-based Mac, select the macOS - Intel 64 Bit option.
- Open the downloaded DMG file.
-
Drag the DiffusionBee icon to the Applications folder to install it.
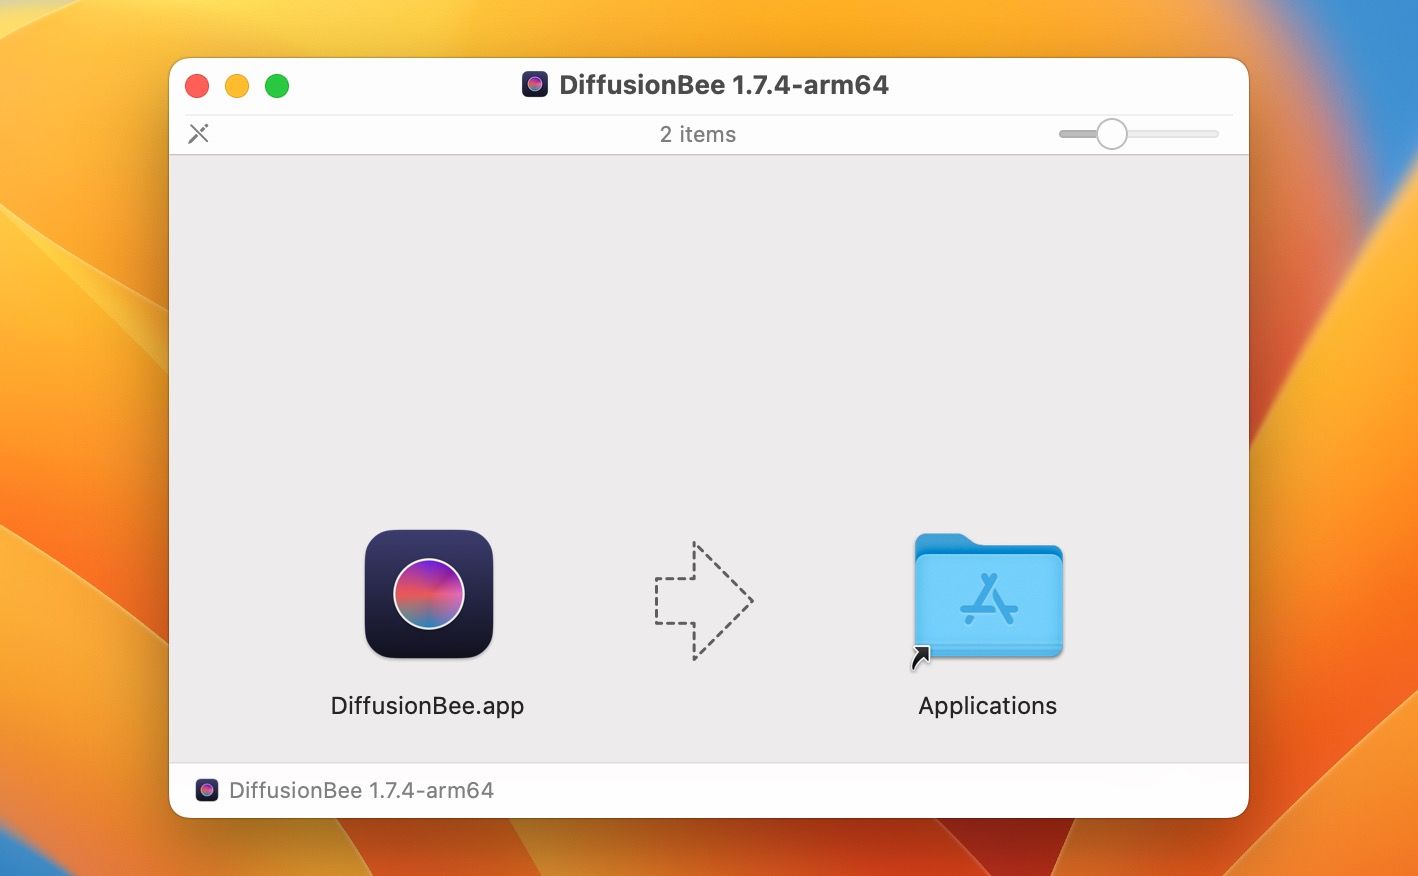

Once the installation finishes, you can unmount the DMG file and launch the DiffusionBee app from the Launchpad or the Applications folder.
How to Generate Images Using DiffusionBee on a Mac
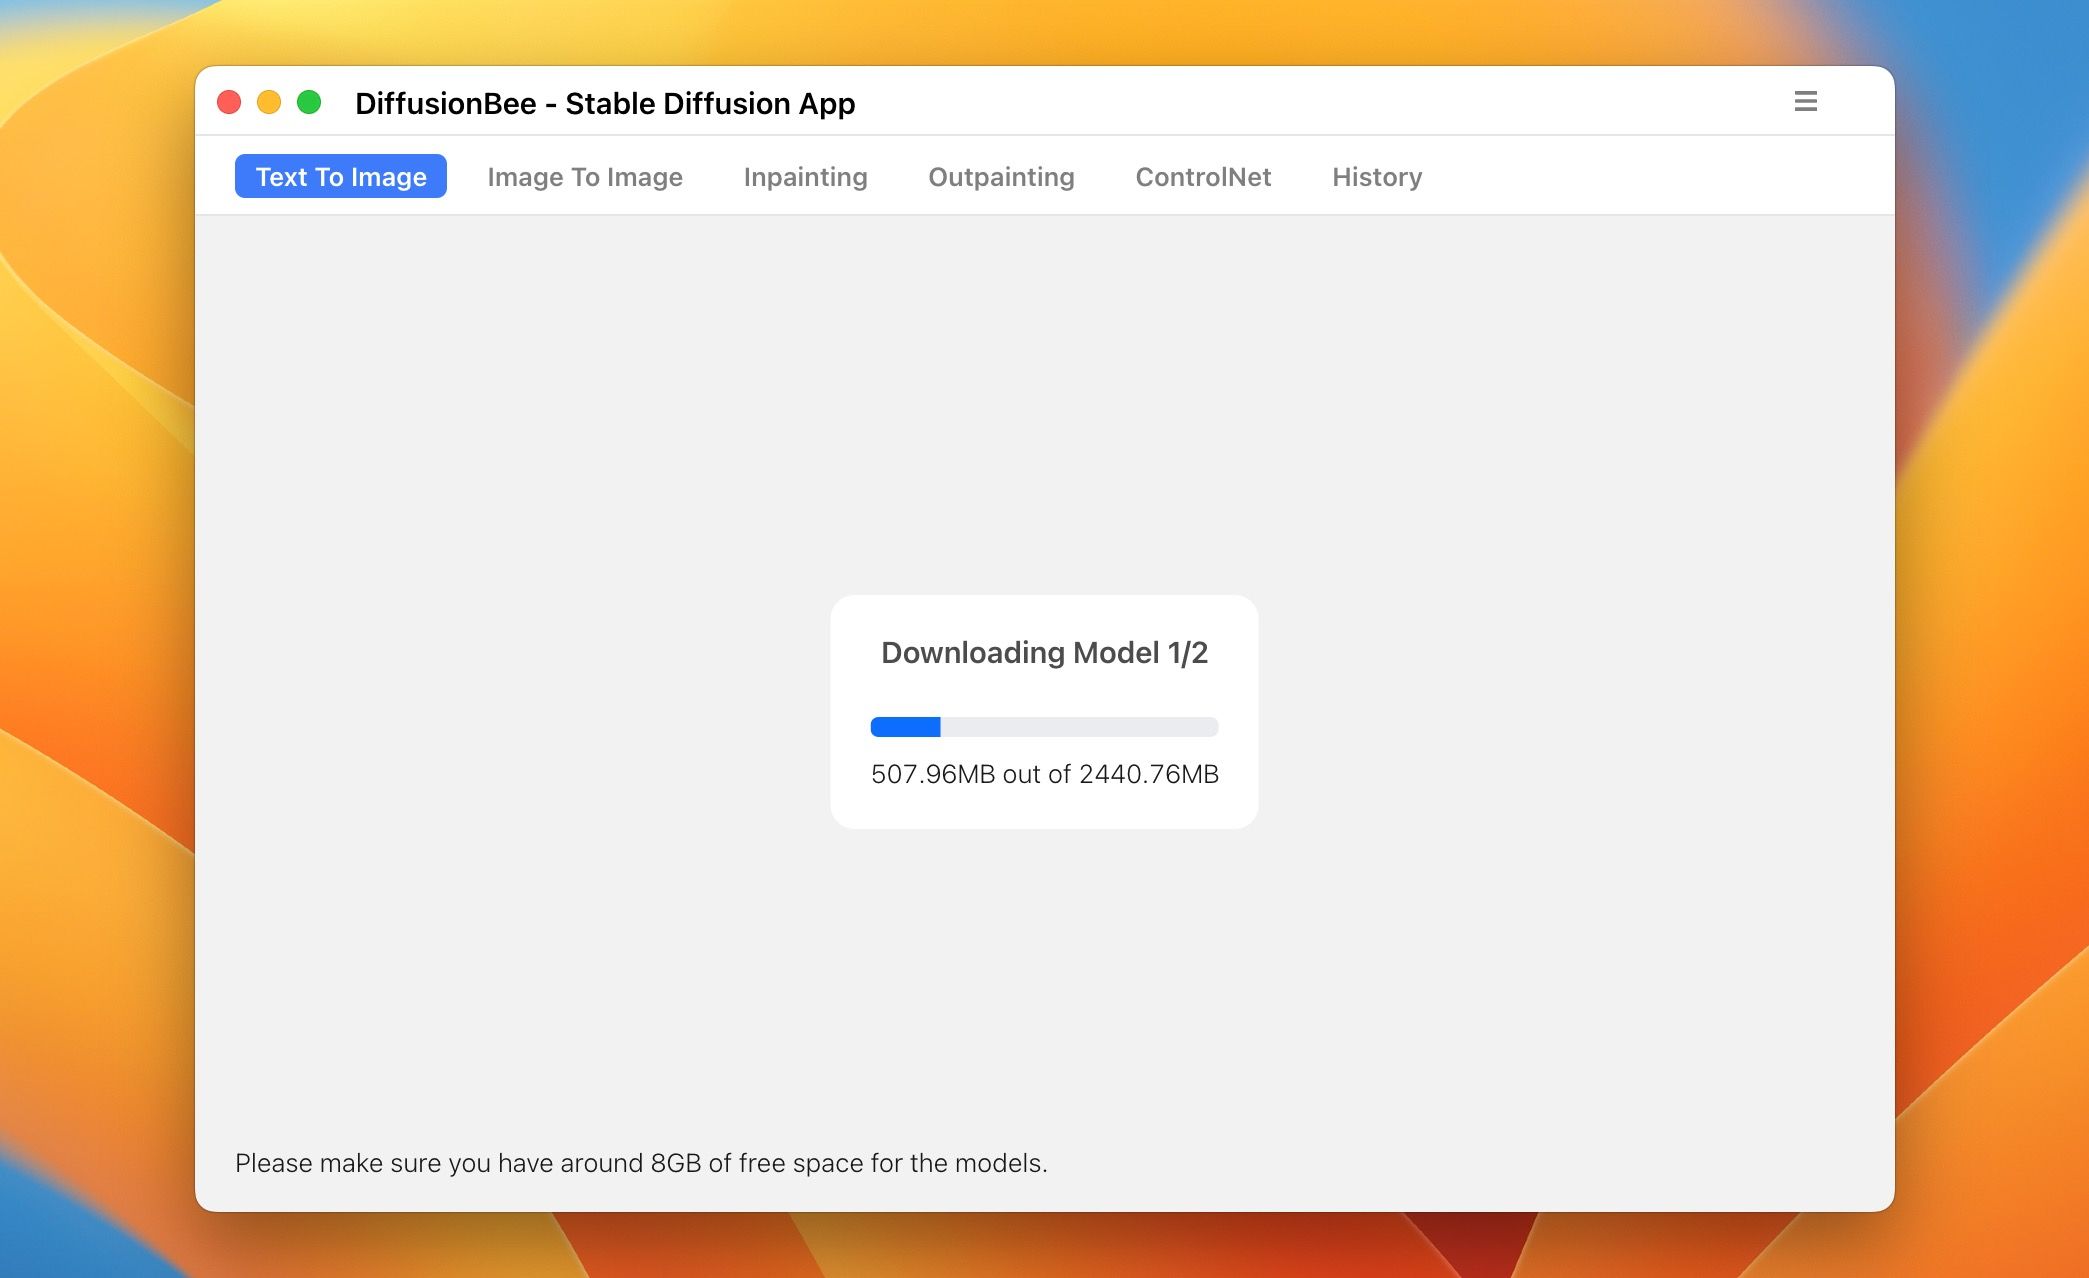
Once you install DiffusionBee on your Mac, you can start using it to generate images using Stable Diffusion. However, ensure you've at least 8GB of free space on your Mac. Follow these simple steps to learn how to generate an image with DiffusionBee:
-
Open DiffusionBee on your Mac and wait for it to download the Stable Diffusion model.
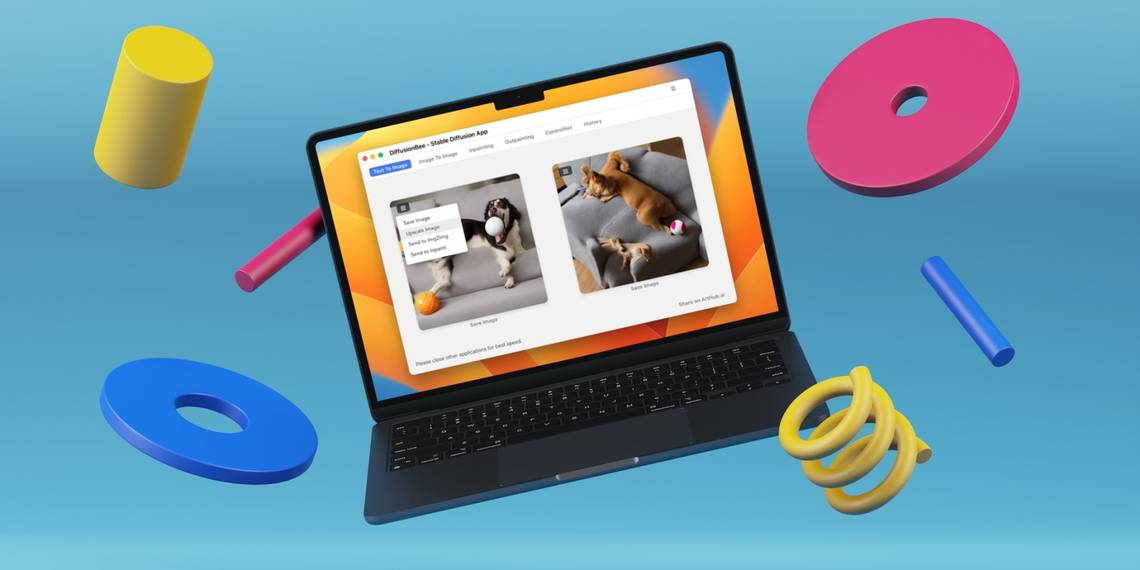
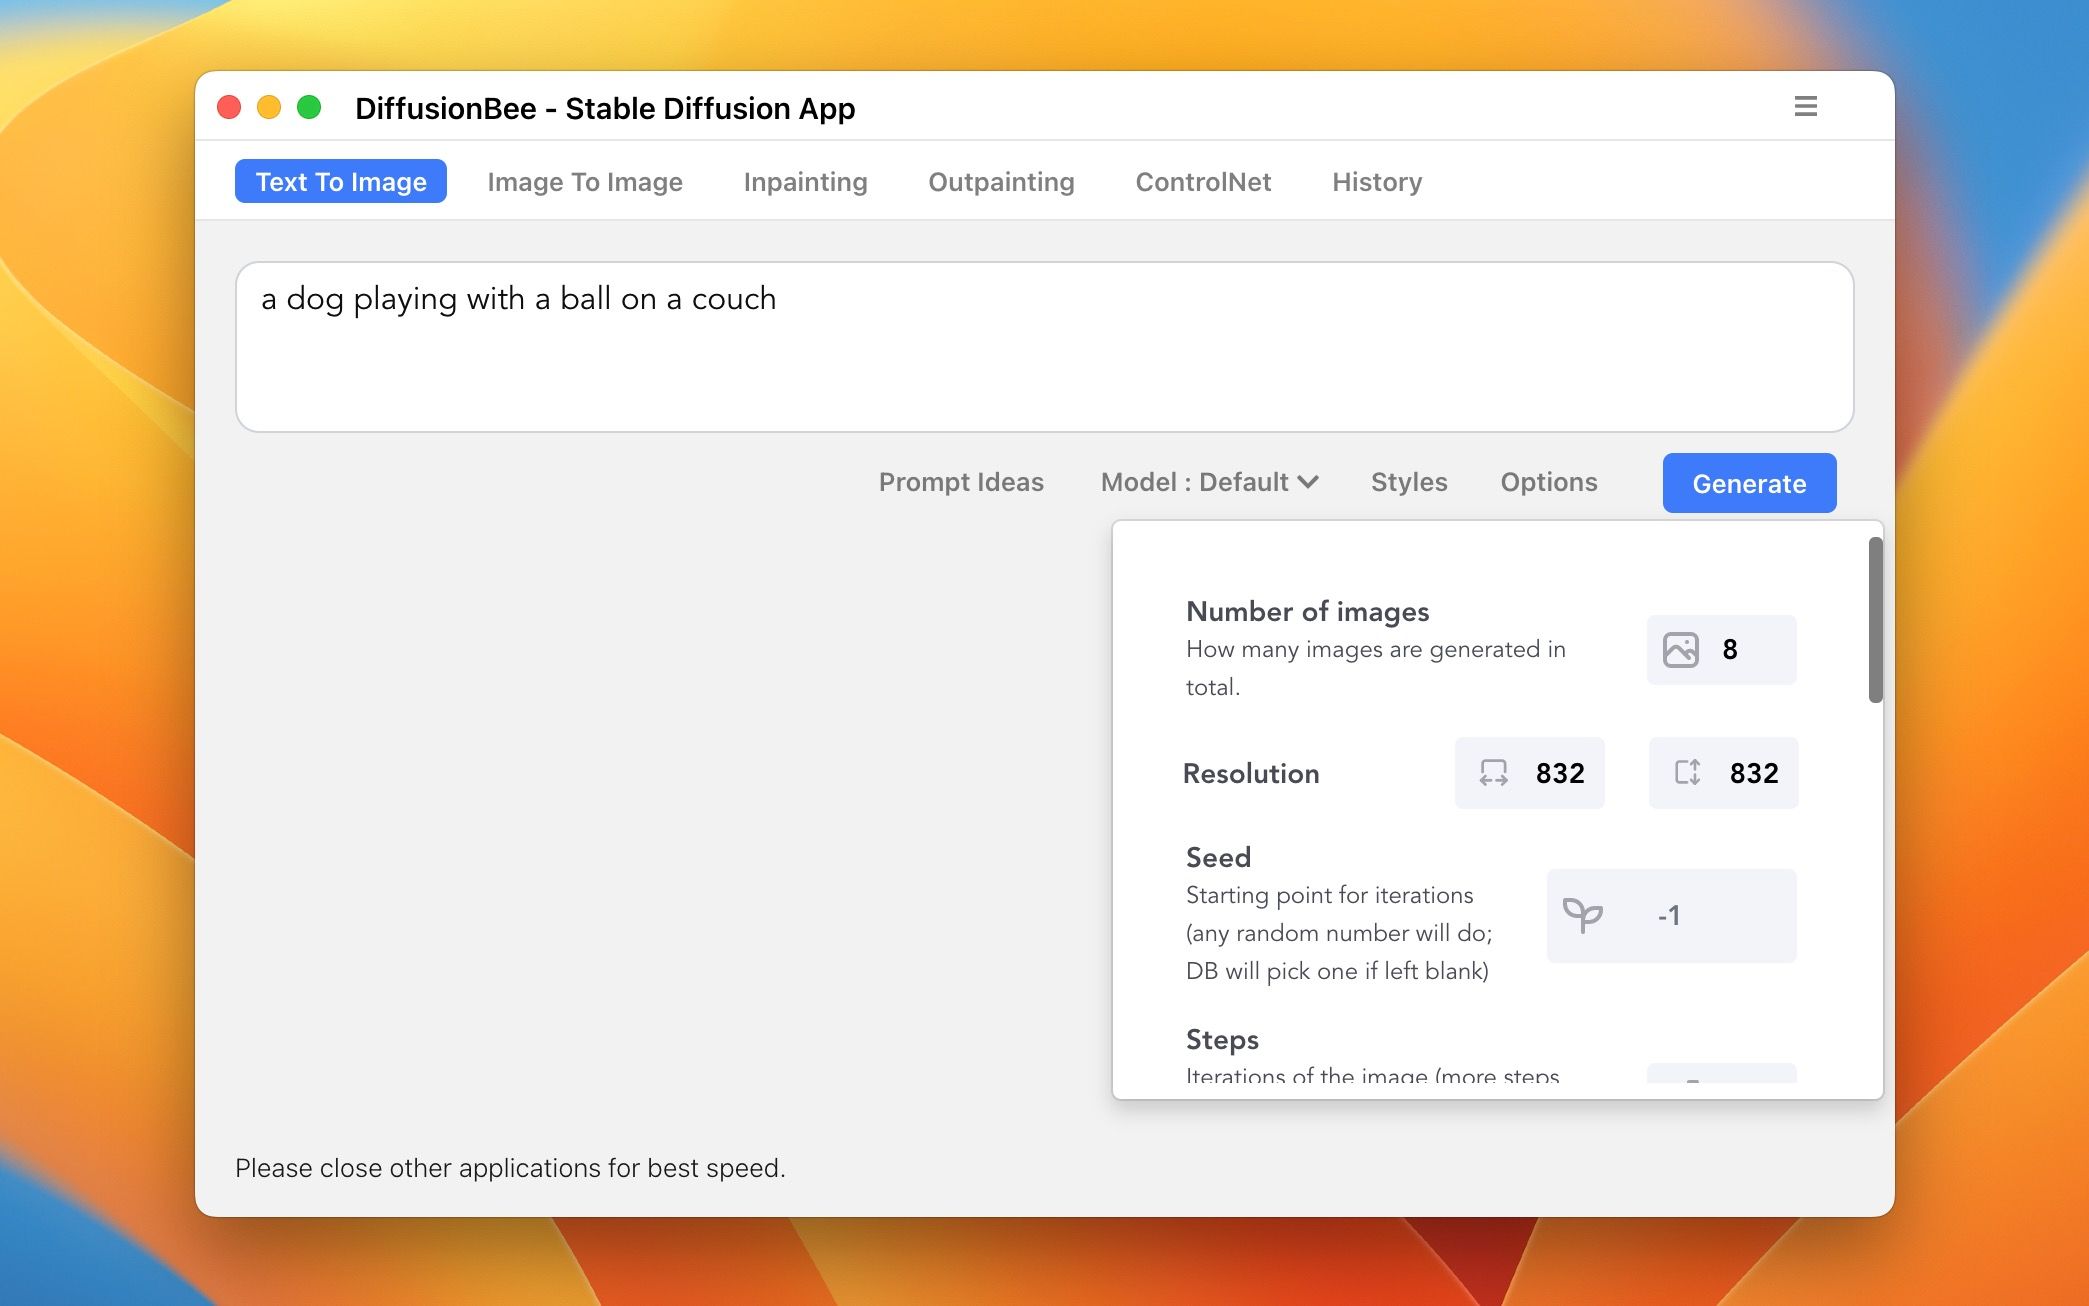
- Enter your prompt in the Text to Image tab once it finishes downloading the model. For instance, "a dog playing with a ball on a couch."
- Next, click Options and choose the resolution and number of images you want.
-
Now, click Generate to start generating the AI images.


It's worth noting that DiffusionBee generates two images at a time. So, depending on the number of images and the resolution you choose, it can take a while. And if you have multiple applications opened besides DiffusionBee, it can take much longer.
Once it completes generating images, you can click the Save Image under any image to save it to your Mac.
How to Upscale Generated Images in DiffusionBee
If you like a generated image from DiffusionBee and want a higher resolution, you can upscale it. Follow these instructions to upscale generated images in DiffusionBee:
- Click the hamburger menu (three vertical lines in a small black box) on your desired image.
-
Select the Upscale Image option from the dropdown menu.
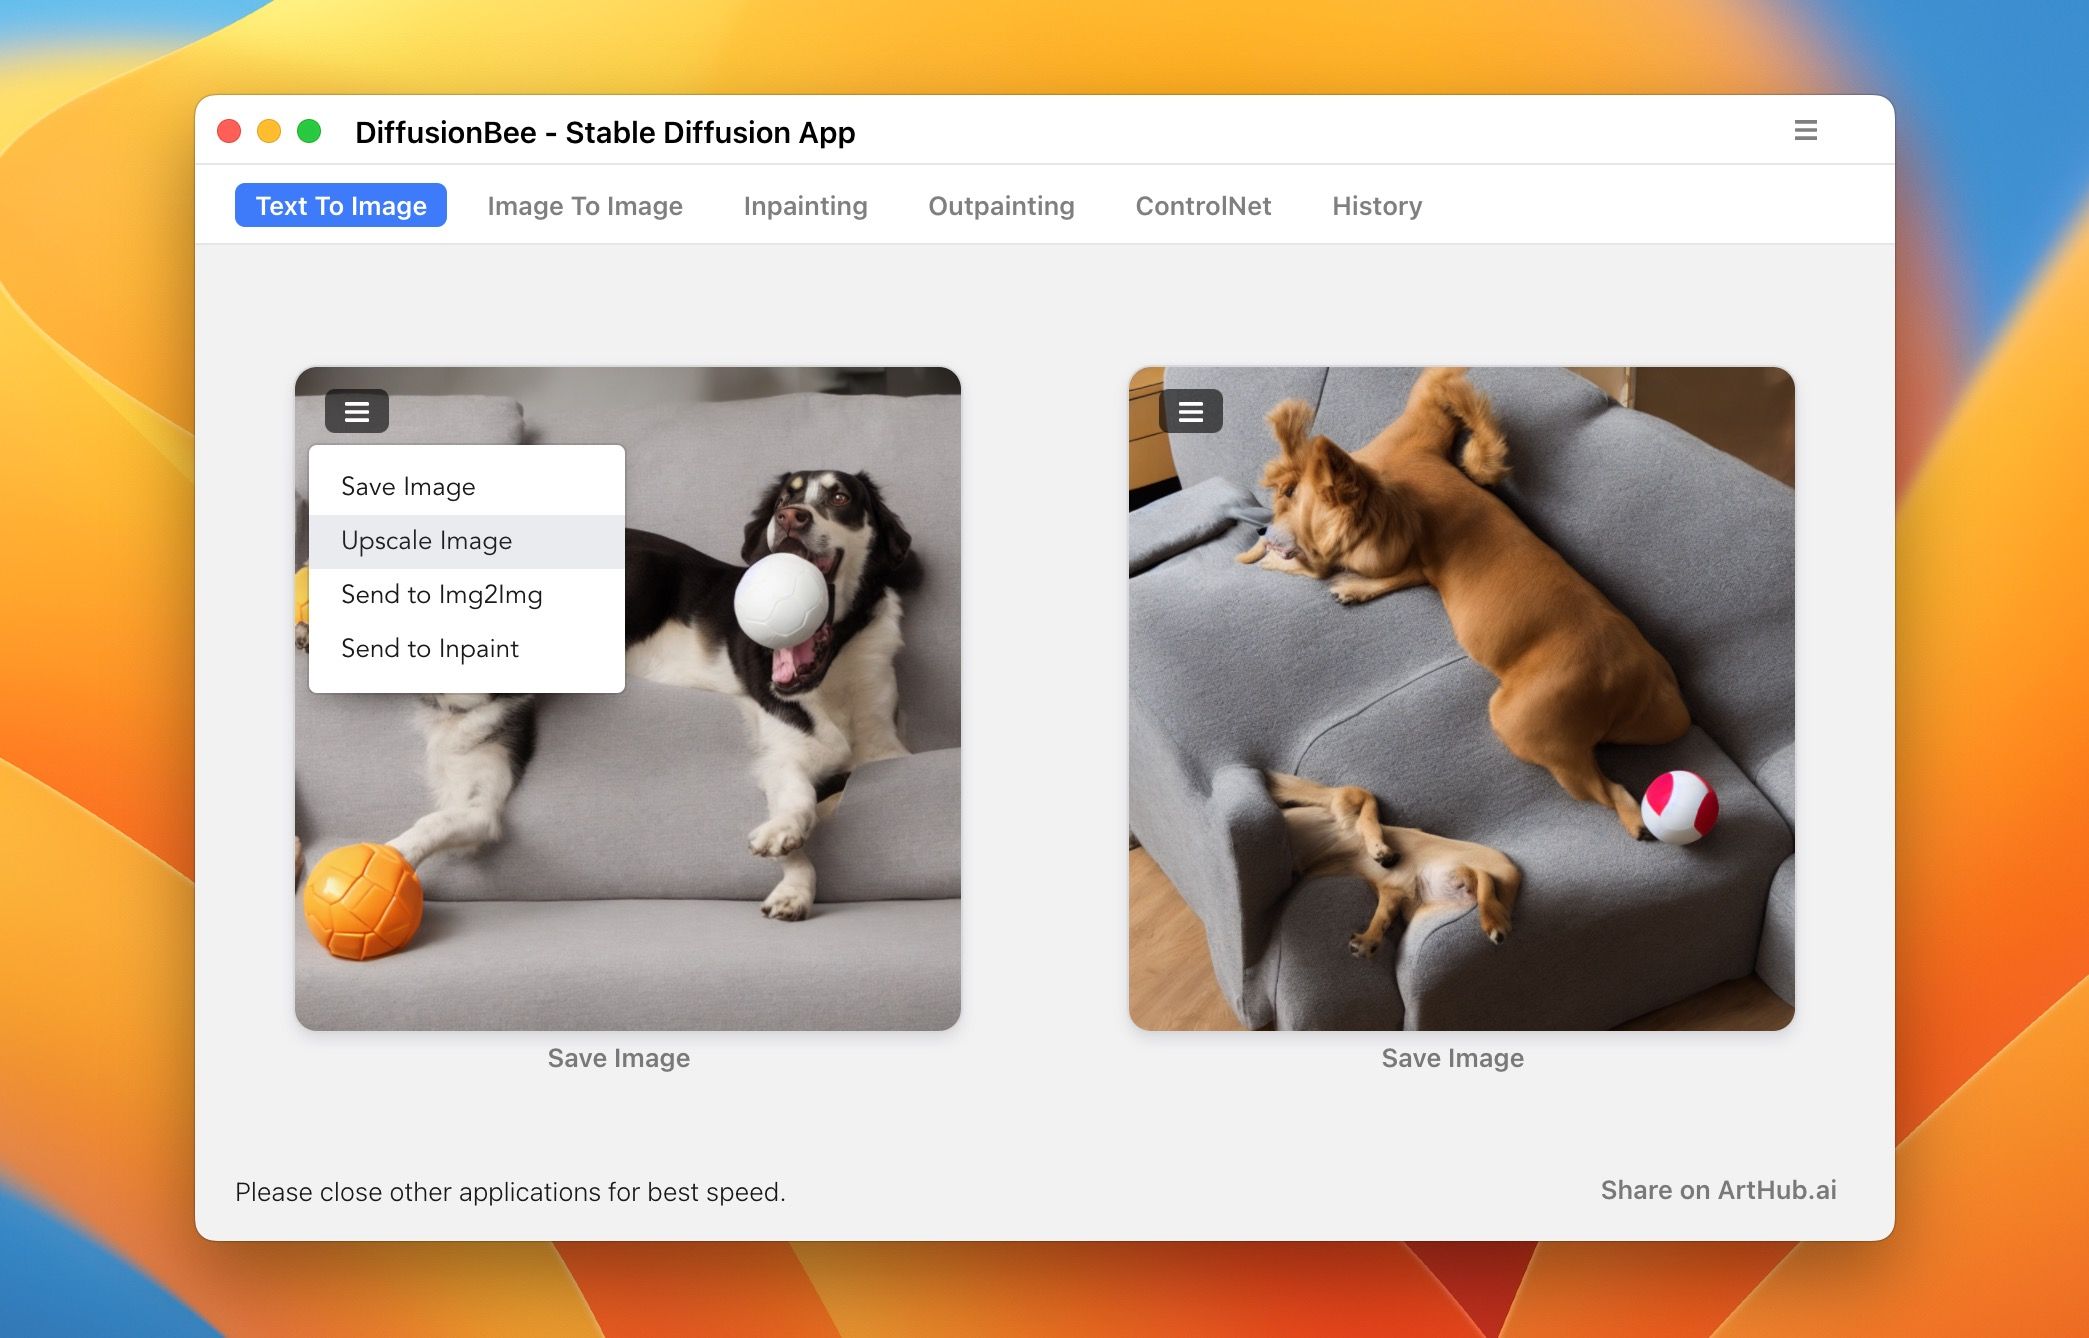

Once selected, DiffusionBee will upscale your image by four times. You can scroll down and click Save Image under the photo to save the upscaled image to your Mac.
Use Stable Diffusion on Your Mac
DiffusionBee lets you use the Stable Diffusion AI model on your Mac. Apart from generating images from texts and upscaling images, you can also generate images from images, do in-painting and out-painting, and much more.
Although the generated images aren't perfect, they'll improve over time with improvements in the Stable Diffusion model. Nevertheless, if you want to generate images from texts, various other free tools are available.