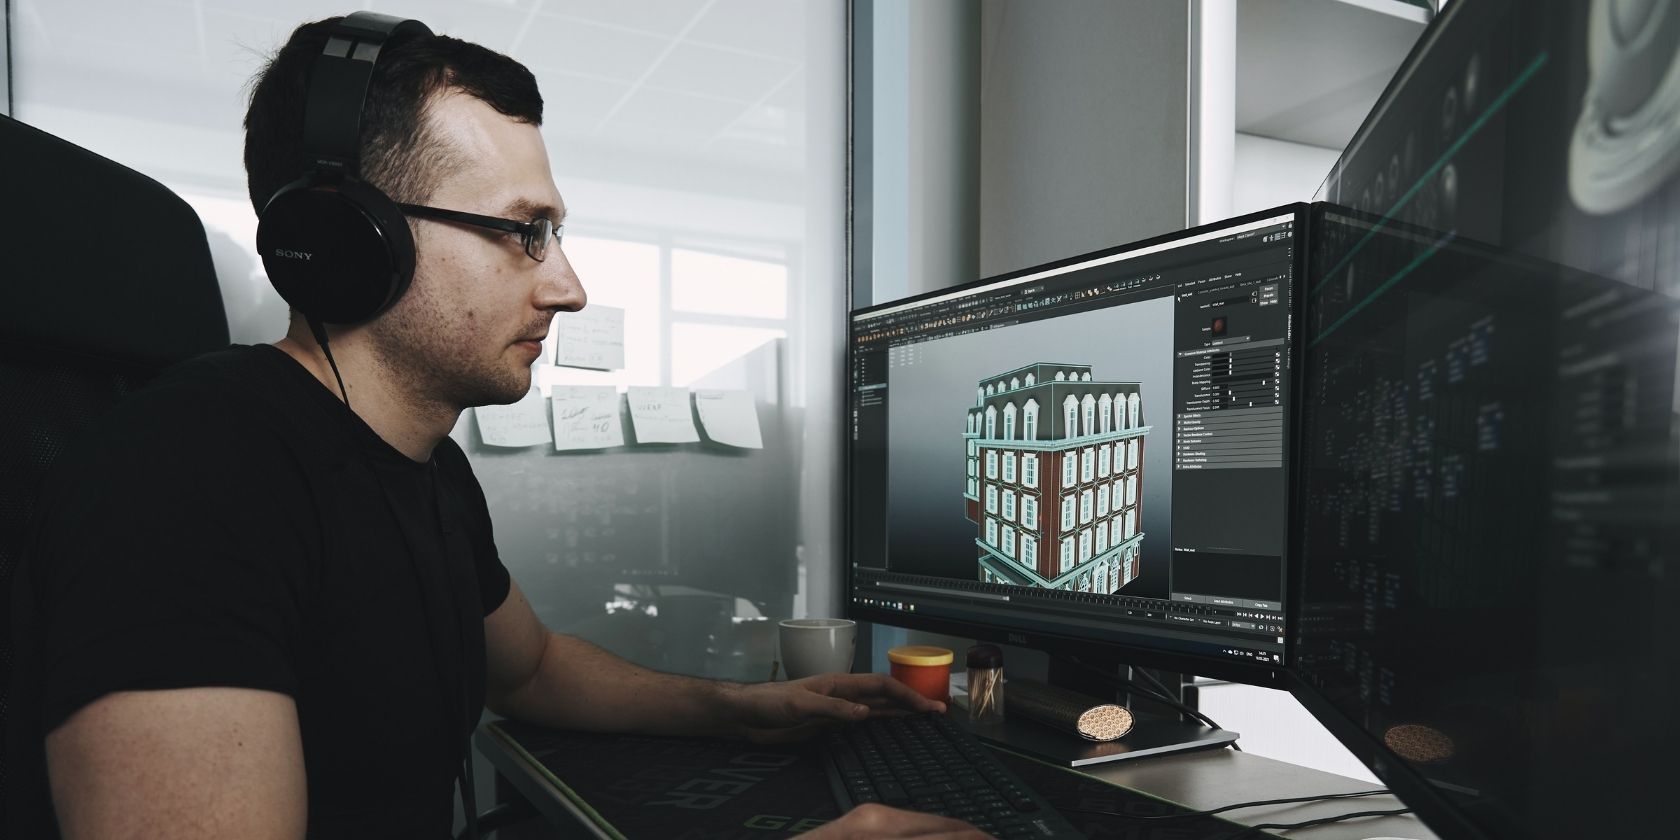
Have you ever tried using a creative app like Photoshop to house all of your Blender references images? Take it from us: there's a better way.
PureRef is our image reference app of choice for Blender, as well as pretty much any other creative endeavor. Graphic design, illustration, and any other creative undertaking can all be made so much easier and so much more convenient with the right accompanying reference application.
PureRef is our favorite way to Blend. We have a feeling that you're going to take a shine to it, too. Here's everything you need to know about it.
What Is PureRef?
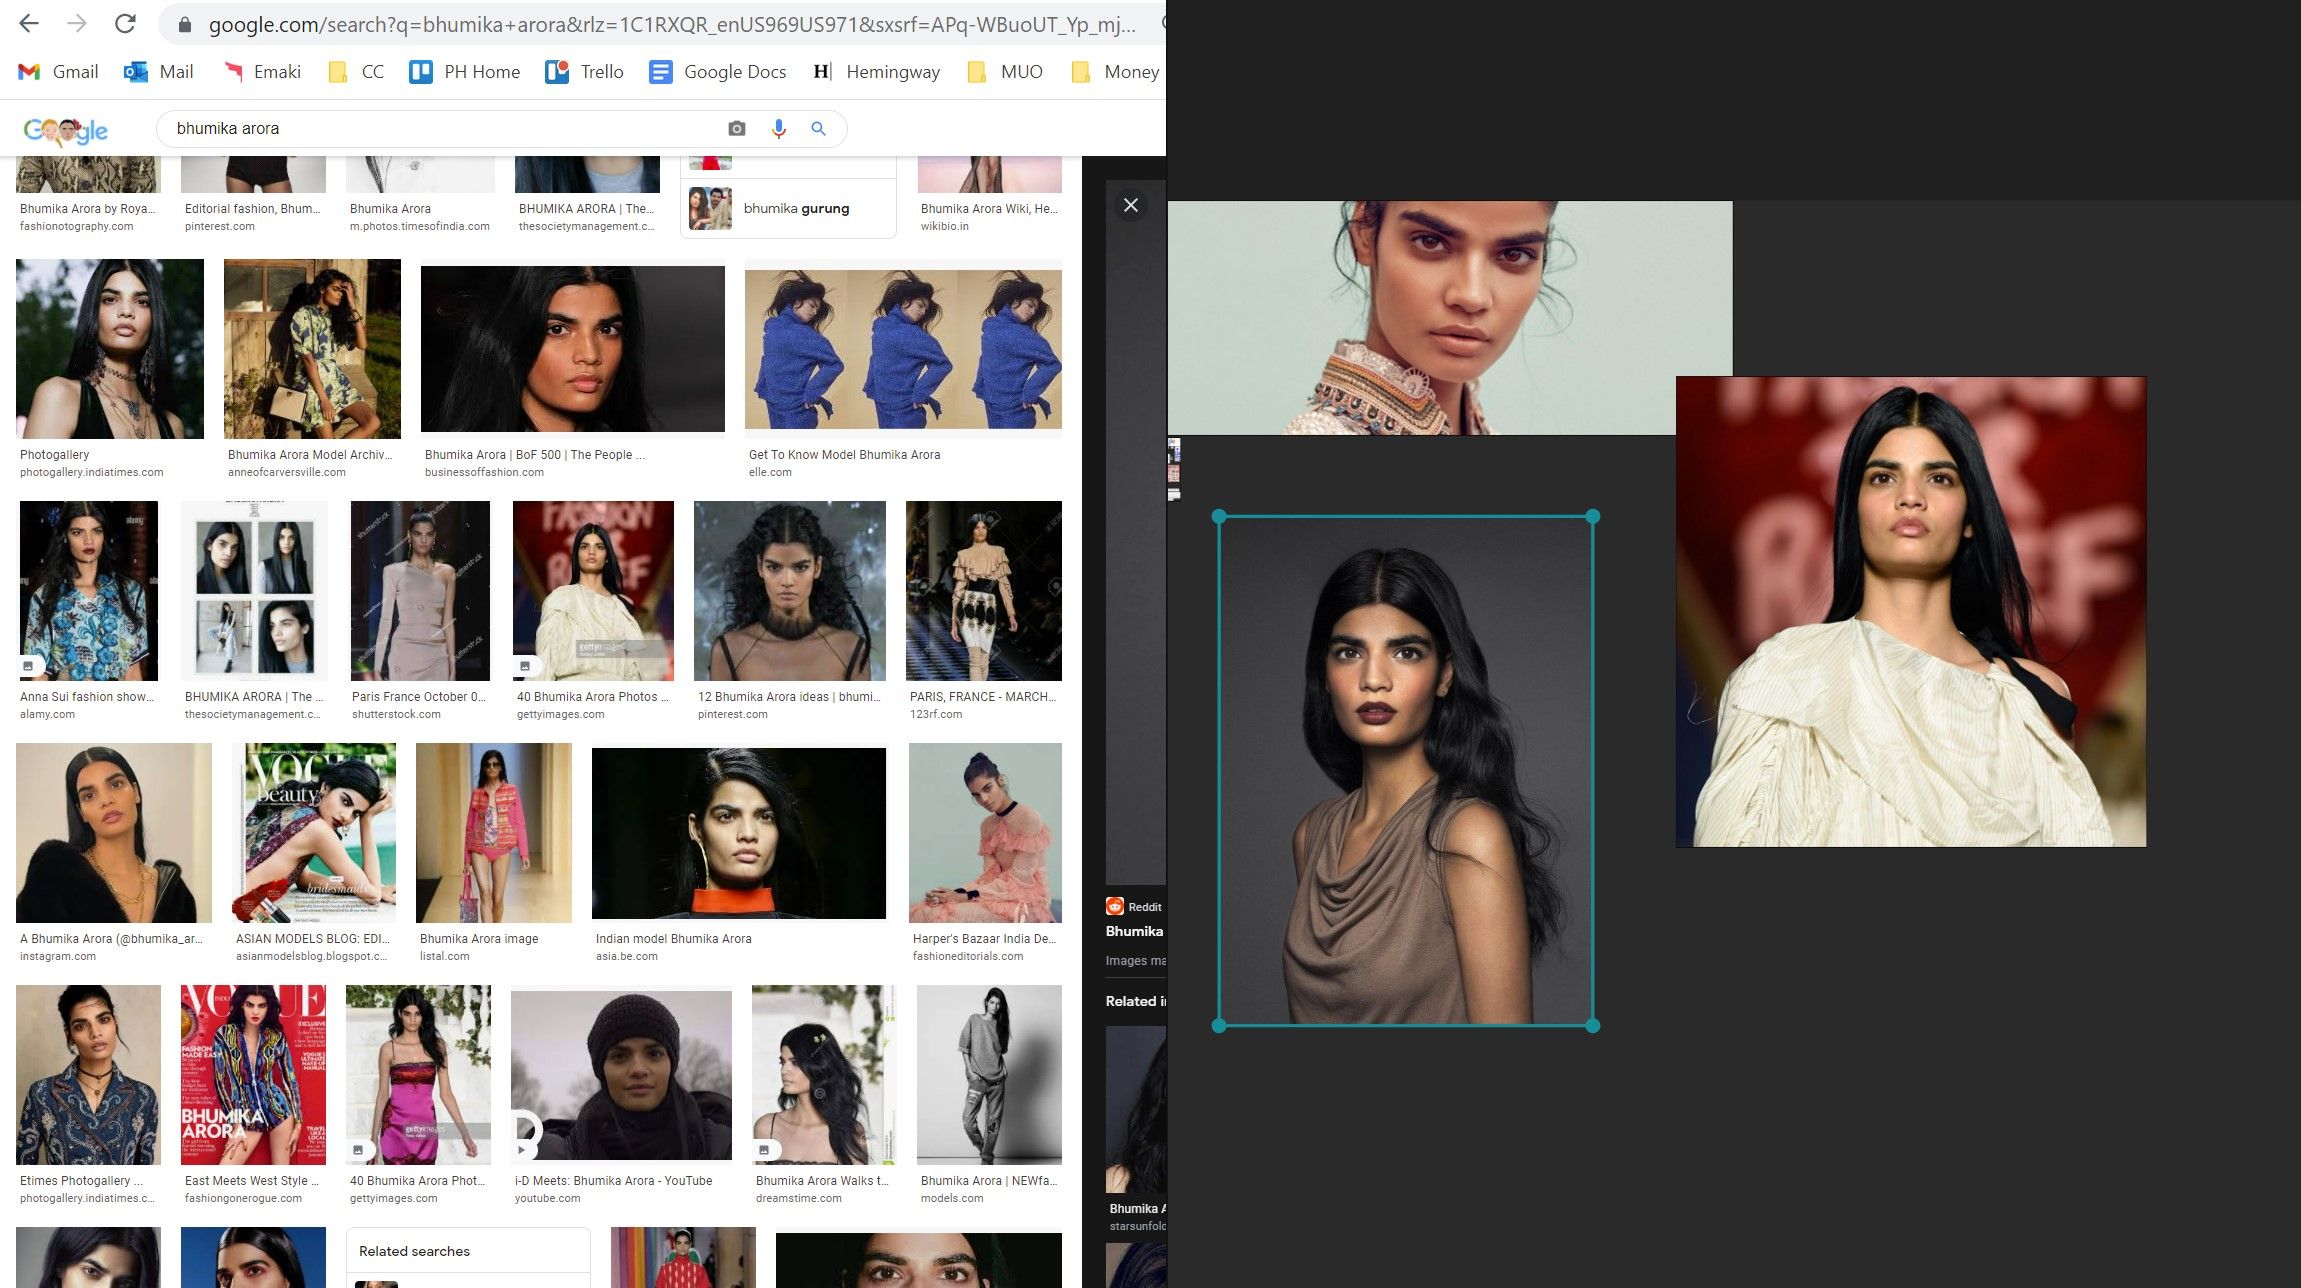
If you've ever dreamt of an interactive, completely configurable Pinterest board that goes wherever you do, PureRef is the reference image software for you. It's basically a giant window with no paneling or controls—you simply add your images in and adjust the size of the window to your liking.
The PureRef window exists outside of everything else within your desktop and any other windows that you have open. It's a virtual corkboard with one purpose, and one purpose only: to exist as a canvas, to which you're able to pin everything that you need for your Blender project.
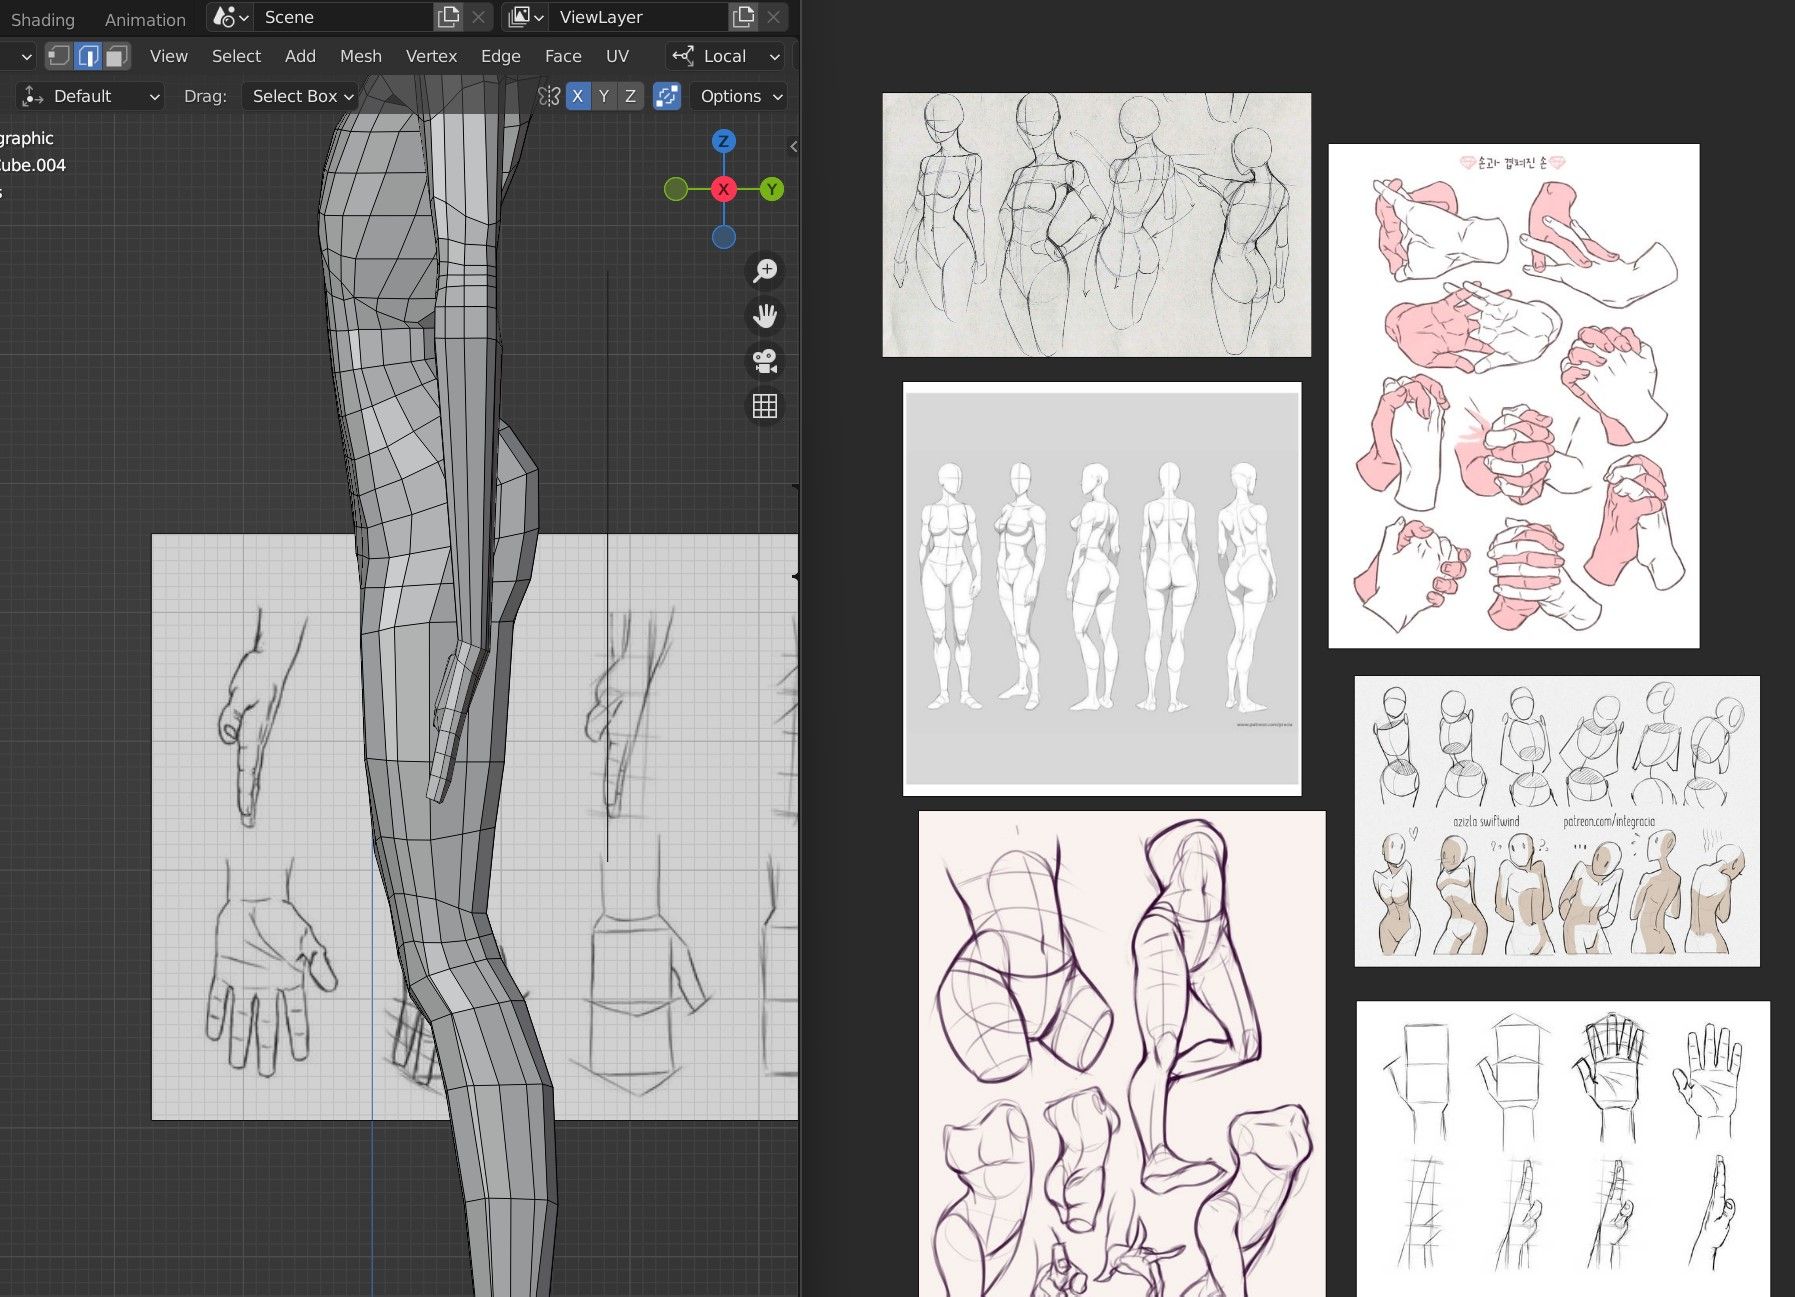
PureRef is the reference image app to use for many reasons, aside from BlenderGuru's official recommendation. Once you have everything that you want added to the board, it's basically an infinitely-huge field of space with room for concept art, anatomy reference, style guides, and literally anything else that you'll need, end-to-end.
PureRef is cherished within the Blender community mostly as a tool for reference images, but creatives should never limit themselves to using it with Blender only. It's really useful when building mood boards and even mind maps, for example, both for yourself and for others.
If you were always one to dump all of your Legos out onto the floor before beginning to build with them, PureRef will likely become a long-time favorite.
How to Add Images to PureRef
First things first: you'll need to download PureRef from the official source. It's available for Windows, macOS, and Linux. You can choose to donate, or you can add a custom donation of $0 if, like us, you are also balling on a budget.
When you first fire PureRef up, you'll probably be a little bit lost. Fear not, though; once you have at least one image to work with, mastering PureRef will be an extremely intuitive and enjoyable process.
To add an image to your PureRef reference board, you can either:
- Drag and drop an image in.
- Paste an image from your clipboard.
- Hit Ctrl + I to import your images.
- Right-click into the canvas and choose any option under the Load pull-out.
After adding an image, you'll find that PureRef creates a new canvas automatically, which is just a set of bounds containing everything that's on your board. Ctrl + O will optimize your canvas, creating a skin-tight fit after you've got everything loaded in.
Deleting an image is as simple as selecting the offending element and hitting Delete or Backspace. All of your usual copy and paste commands are alive and well here, too. To scale any image up or down, select it so that it's active and use the highlighted frame to adjust its size. You can also use the left mouse button while holding Crtl and Alt to do the same.
Alt + Shift while clicking the left mouse button lets you flip an image along any axis—while holding down these three commands, give the image of your choosing a swipe in the direction that you would like for it to flip against. You can also rotate an image using Shift + Ctrl while dragging.
Clicking and dragging an image while holding Shift restricts the translation to either your X or Y axis. Holding both Shift and Space allows you to snap images to one another on their perpendiculars, which might make organizing your arrangement easier.
To move the entire PureRef window, you can right-click and drag it anywhere on your screen. Alternatively, you can choose instead to morph it around the window that you're working in by left-clicking and dragging the sides of the window, allowing you to squeeze it in anywhere without obscuring anything else that you need to see.
Use the middle mouse button while dragging to explore the collection currently on your canvas. A double left-click instantly zooms your display to fit everything on the board to the screen. You can then zoom into your cursor with your scroll wheel or by holding Z while dragging with the left mouse button; this combo move is particularly useful when you need to find something specific and hone in quickly.
Ctrl + F brings you to full-screen mode instantly, which is awesome when you're just using PureRef to brainstorm or to plan out a project. Full-screen is also really useful if you have a couple of monitors to work with—if you're only using one screen, however, you'll need to create a partition between PureRef and your Blender session open right next to it.
How to Use PureRef With Blender
Part of the magic of PureRef is having all of your reference images in one single, easy-to-manage window. After you have everything that you want up in front of you in PureRef, open up Blender and set up both windows so that you can use them both comfortably, ideally with some of your reference images loaded into Blender itself.
In PureRef, you'll find two options that might give you a leg up: Always On Top and Always On Bottom, both of which will be found after right-clicking into your canvas and hovering over the Mode pull-out. The right one for you will depend on your workflow and preferences. They're pretty self-explanatory, two modes that prevent PureRef from overtaking your Blender session or from getting lost in the sauce as you work.
After your window arrangement has been decided upon, you'll probably have some finagling to do in order to fit them all into the space allocated to your PureRef window. It's really easy to tidy things up once you make it to this point—select every relevant image individually or use Ctrl + A and hit Ctrl + P to prompt the Pack Optimal option.
This PureRef tip will save you plenty of clicking around, and you can even group images selectively by purpose or need. You can also adjust your preferences to group images by Name or by Addition, the order that they were added to the canvas, through your PureRef preferences. You can access the preferences menu with Ctrl + U.
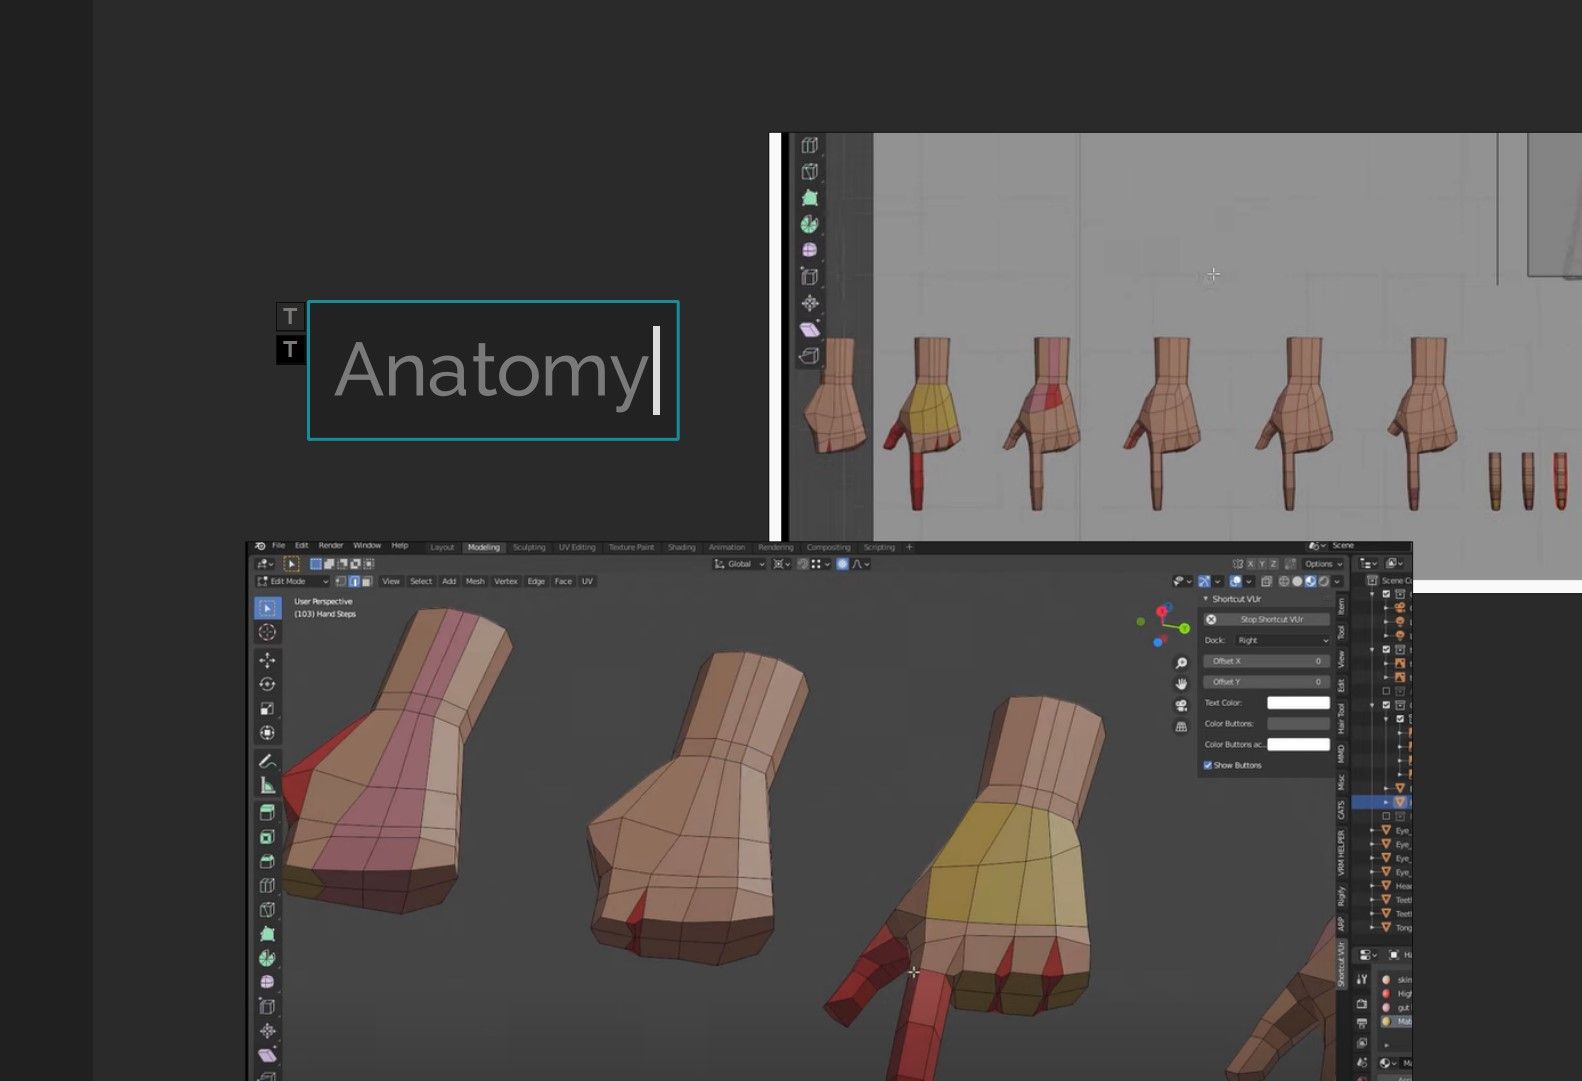
To label any of these image groups or to add a note for yourself or somebody else, you can use Ctrl + N to add a new text field.
There are tons of ways that you can customize your PureRef experience further, but, if you're anything like us, you're probably more than ready to play once you've reached this point. Don't let us stop you—if your images are in and you have a project in mind, you're already well on your way.
Every Blender Artist Should Use PureRef
Drop them in. Scroll through it all. Why waste your time with fifteen preview windows? Never find yourself shuffling through the pile for that one image that you need ever again.
PureRef is free, but that's far from the only reason it deserves a place in your arsenal of Blender tools.


