Have you ever wondered if your online activity is being monitored by prying eyes? Your online activity might not be as secure and private as you think.
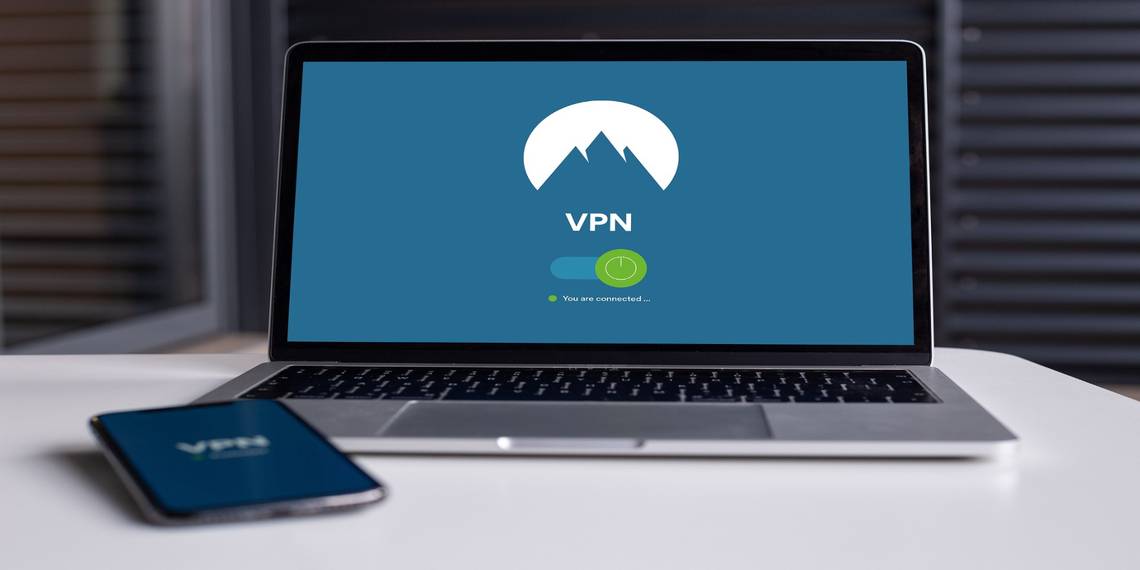
NordVPN is a powerful Virtual Private Network (VPN) and provides you with inexpensive, fast, and secure internet access. Here’s how you can set up NordVPN on your desktop and mobile.
Why Should You Use a VPN?
In today’s digital world, internet privacy is a huge concern for many users. With the wealth of sensitive data being misused and sold online, safeguarding yourself from prying eyes has never been more critical.
If you frequently use public Wi-Fi networks, shop online, or use online banking services, then you may be at serious risk of exposing your browsing activity and private information. Hackers with malicious intent could tap into your device or network and gain access to your sensitive data, leaving you vulnerable to some severe issues.

A VPN essentially provides you with anonymity in the online world. VPNs do so by creating a secure tunnel between you and a remote server managed by the VPN provider. All of your network traffic is routed through the secure tunnel to the remote server thousands of miles away.
With the extra layer of security, you can browse the internet without worrying about your privacy.
Internet Service Providers (ISP) have access to a lot of your online activity and may sell that valuable data to marketing companies. A VPN will mask your IP address and can even protect you from your ISP.
If you are concerned about your online privacy or bothered by targeted advertisements that make you feel you are being spied on, then you need a VPN.
How to Use a VPN
A virtual private network sounds quite fancy and tech-savvy, but with all the different VPN services available today, the reality is far from it. Securing your online privacy is much easier than you think and can be done in just a few clicks.
You first need to choose an effective and reliable VPN service. Ideally, you want a fast service that provides complete anonymity, is easy to use, and has a reliable reputation. You don’t want your VPN service provider to rip you off, so always choose a trusted VPN service.
When you are going through the different VPN services available, you will often come across free and paid VPN services. Free VPNs exist, but they usually have a free trial for a limited time or only offer basic protection features.
Paid VPNs, however, such as NordVPN, provide a multitude of features and over 5,400 servers in 59 countries. This keeps you significantly safer and offers excellent value for money. If you subscribe for a year or a six-month subscription, you are more likely to get a good deal.
Once you have decided on a VPN service, you need to register and create an account on the official website or mobile app. After that, you can download the desktop or mobile app, log in with your credentials, select a server and browse the internet with greater privacy.
How to Use NordVPN App
If you are confused about how to use NordVPN, don't worry: whether using it on mobile or desktop, you can activate it easily in just a few simple steps. NordVPN is available on several different platforms and can be easily set up on any device.
TRY OUR #1 RANKED VPN: Get amazing discounts on NordVPN
Once you have registered and chosen a pricing plan, you can go ahead and download the NordVPN app to set up a secure VPN connection. NordVPN allows you to connect six devices at simultaneously.
Windows

You can set up NordVPN on your desktop PC in a few short clicks:
- Head on to the NordVPN downloads page and download the NordVPN Windows app.
- Install the downloaded file by double-clicking the file and following the on-screen instructions.
- Once the installation is complete, open the NordVPN app, log in with your existing account, or create a new one.
- After a successful login, you can either choose a specific server or click Quick Connect to connect to the best server near you automatically.
- You can also configure additional settings such as Kill Switch, auto-connect, split tunneling, and more within the Settings.
Android
- Navigate to the Google Play Store and search for the NordVPN app.
- Download the app and launch NordVPN.
- If you do not have an existing NordVPN account, click Sign Up, create a new account, or Log In with your existing credentials.
- Once you have logged in, click on Enable CyberSec for enhanced security protection.
- Click on Quick Connect to automatically connect to the best server based on your preferences or choose a specific server you want to use.
- You will then get an Android warning message. Allow NordVPN to control the VPN connections by clicking OK.
- Android will notify you of a successful connection, and you can also change your connected server if you face issues.
- NordVPN also gives you the ability to choose from several Specialty servers such as P2P, Dedicated IP, Onion over VPN, among others.
- You can manage your account and change VPN settings from the My Account & Settings menu.
Mac

The best way to use NordVPN on a Mac is by installing the NordVPN native application.
- Download NordVPN IKEv2 from the App Store or from the NordVPN downloads page.
- Double click on NordVPN IKE from the Launchpad.
- Go on Log In with your credentials or Sign Up if you are a new user.
- You can quickly start NordVPN by clicking on Quick Connect or select the specific server you want.
- The first time you connect NordVPN, neagent will request permission for access to NordVPN in your Keychain. Enter your Mac password and click Always Allow.
- You are then successfully connected and can choose to configure additional settings from the Preferences menu.
iOS
- Download NordVPN from the App Store.
- Launch NordVPN and Log In with your existing account.
- If you do not have an existing account, click Sign Up to continue.
- Accept the privacy notification by clicking on Agree & Continue.
- Go on Quick Connect or select your preferred remote server.
- You then need to Allow NordVPN to add VPN configurations.
- If you see a VPN icon in the status bar or a green ping within the app, you are now connected.
- You can adjust account and VPN settings from the Account information and Settings menu.
Get Fast Private Internet with NordVPN
Internet privacy has become a necessity, and if you are concerned about your browsing activity, then you need a VPN.
NordVPN is a powerful VPN that provides you with the privacy you need to stay clear of anyone looking to pry into your online activities. Easily set it up on your mobile and desktop and secure yourself.