We are going to show you several ways to use Hue/Saturation layer adjustments to make your images pop in Photoshop.
Why use Hue/Saturation layer adjustments? Because compared to other methods, using layer adjustments allows you to work non-destructively on your images, as it gives you the option to return to them and make changes in the future.
What is Hue/Saturation?
There are three components that make up every color in the digital world. Photoshop has designed a powerful tool to allow you to change the parameters of each one.
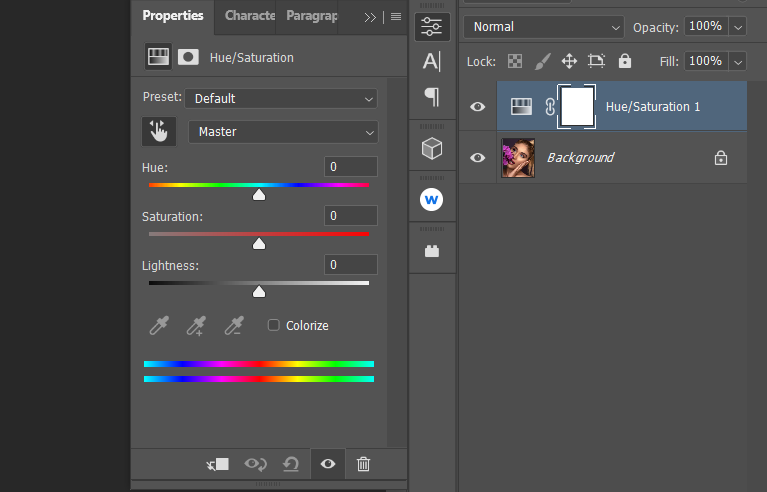
Hue is the color. It’s represented on the top slider of the Hue/Saturation adjustment layer menu.

Saturation is how much of one color. It’s represented on the middle slider of the Hue/Saturation adjustment layer menu.

Lightness is how bright the color is. It’s represented on the last slider of the Hue/Saturation adjustment layer menu.

How to Create Basic Hue/Saturation Adjustments
One of the easiest ways to use the Hue/Saturation tool is to simply create a Hue/Saturation adjustment layer and then manipulate the sliders. Sometimes, images only require simple tweaks at various stages in the editing workflow.
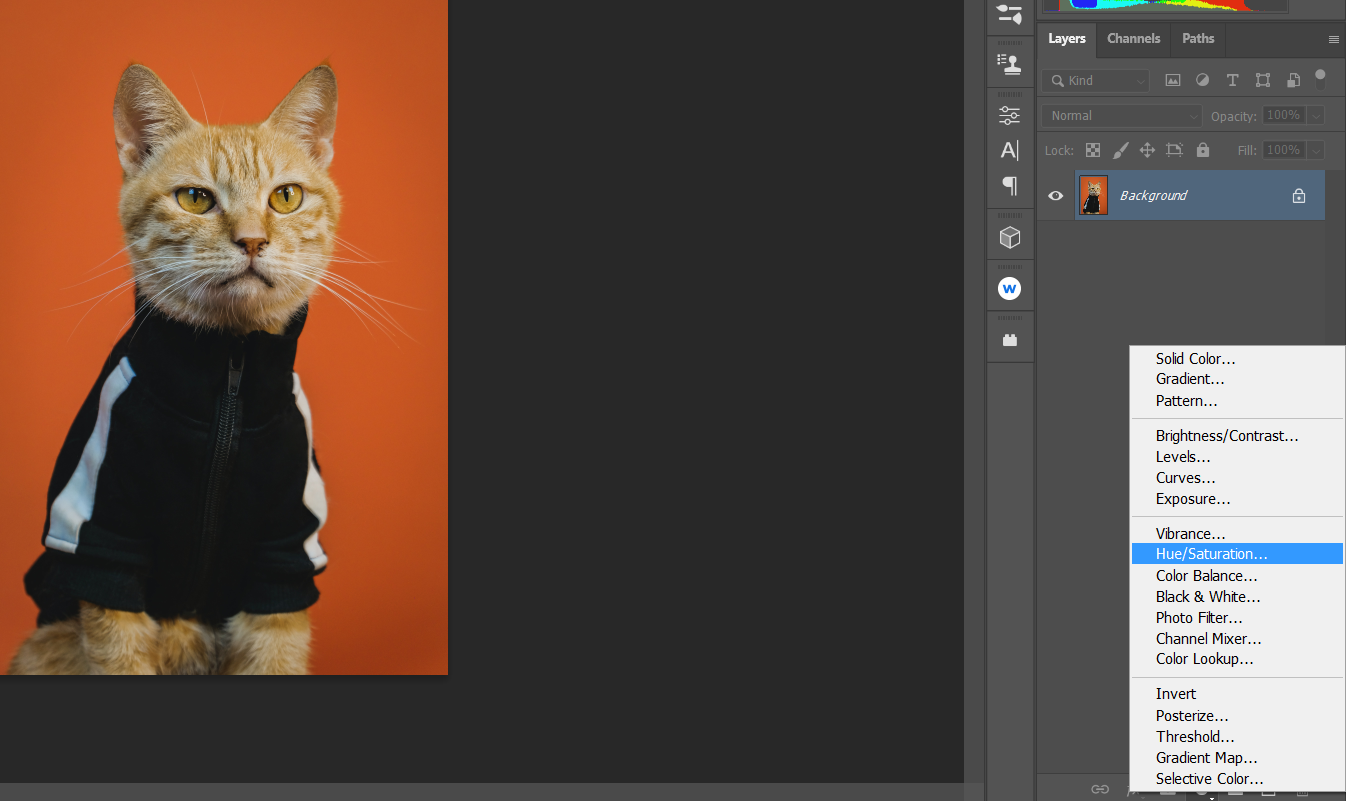
But with this image of a cat, we will take this a step further to make it more interesting. Let's say you want to remove the color in the background to make the cat stand out. The Hue/Saturation adjustment layer has a mask built-in to allow you to do just that.
-
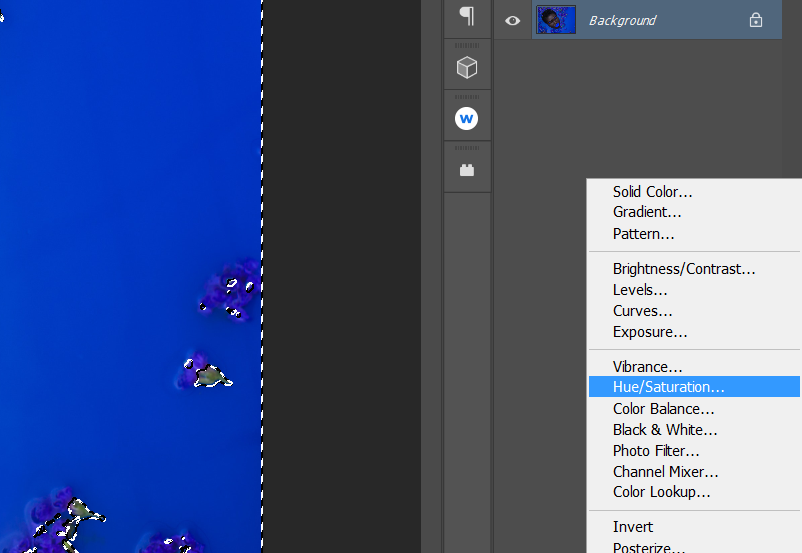
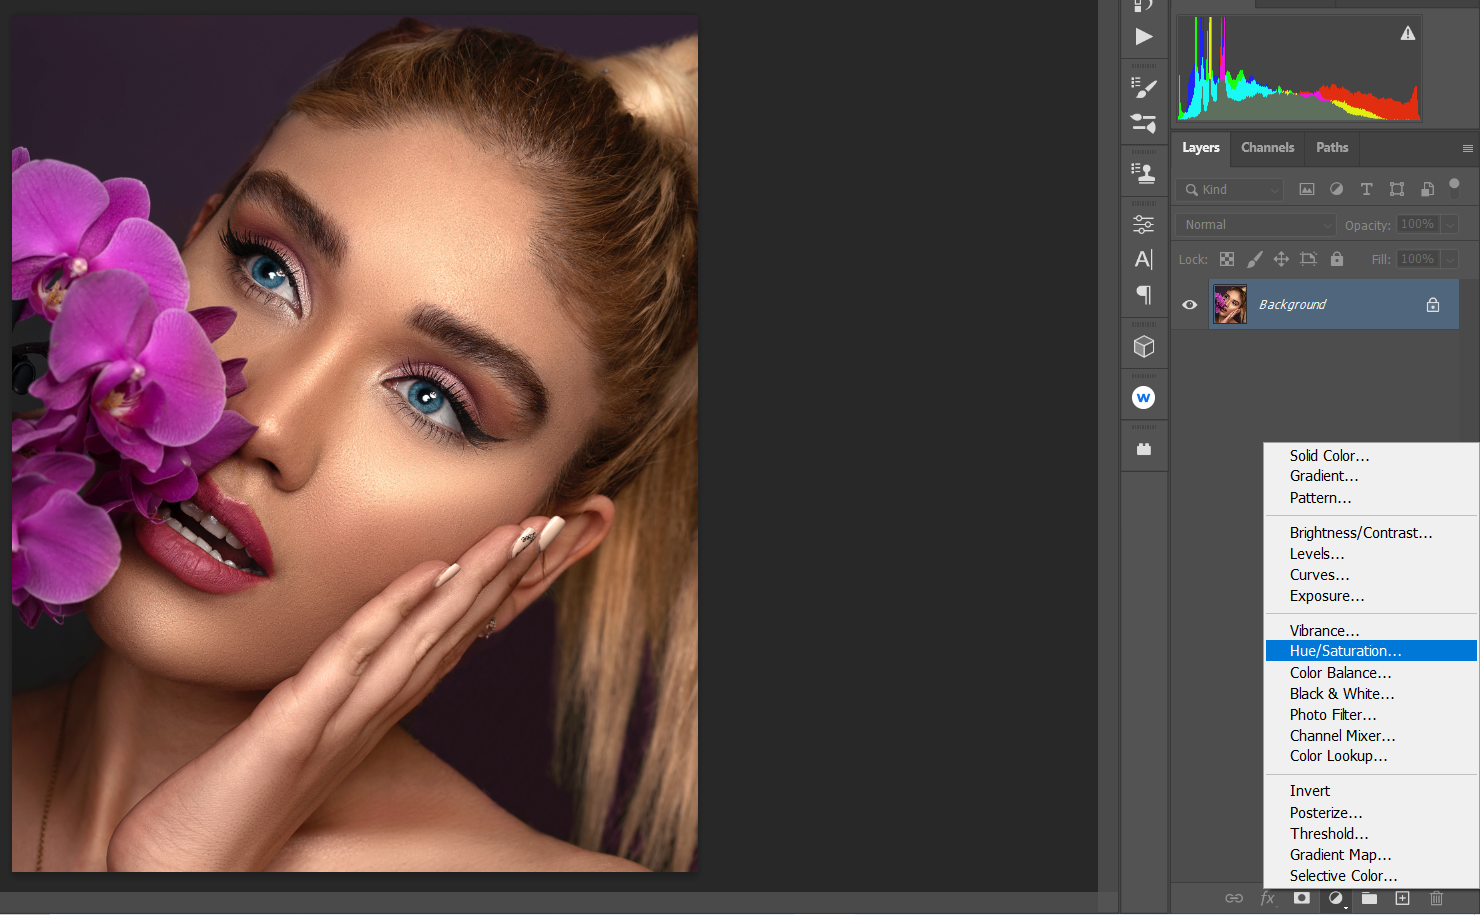
Create a Hue/Saturation adjustment layer by clicking on the Adjustments icon at the bottom-right of the screen. Click on Hue/Saturation.
-
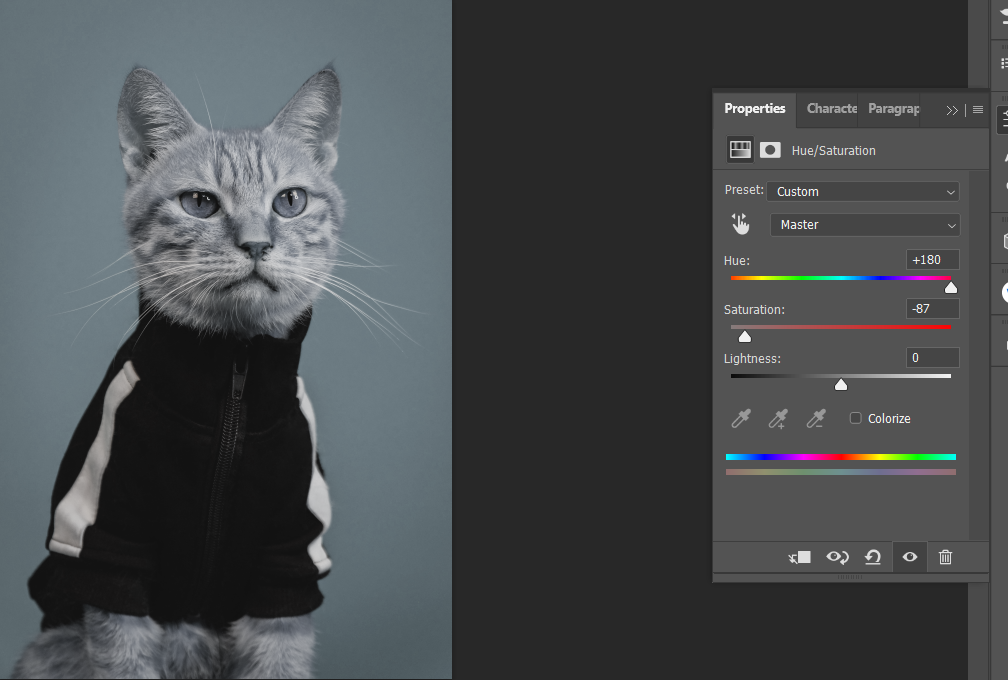
Lower the Saturation slider almost all the way to -87. Then, go up to the Hue slider and raise it all the way to +100.
-
Click B for the Brush tool. With the Foreground set to Black, paint over the selection of the cat to bring back its original colors.
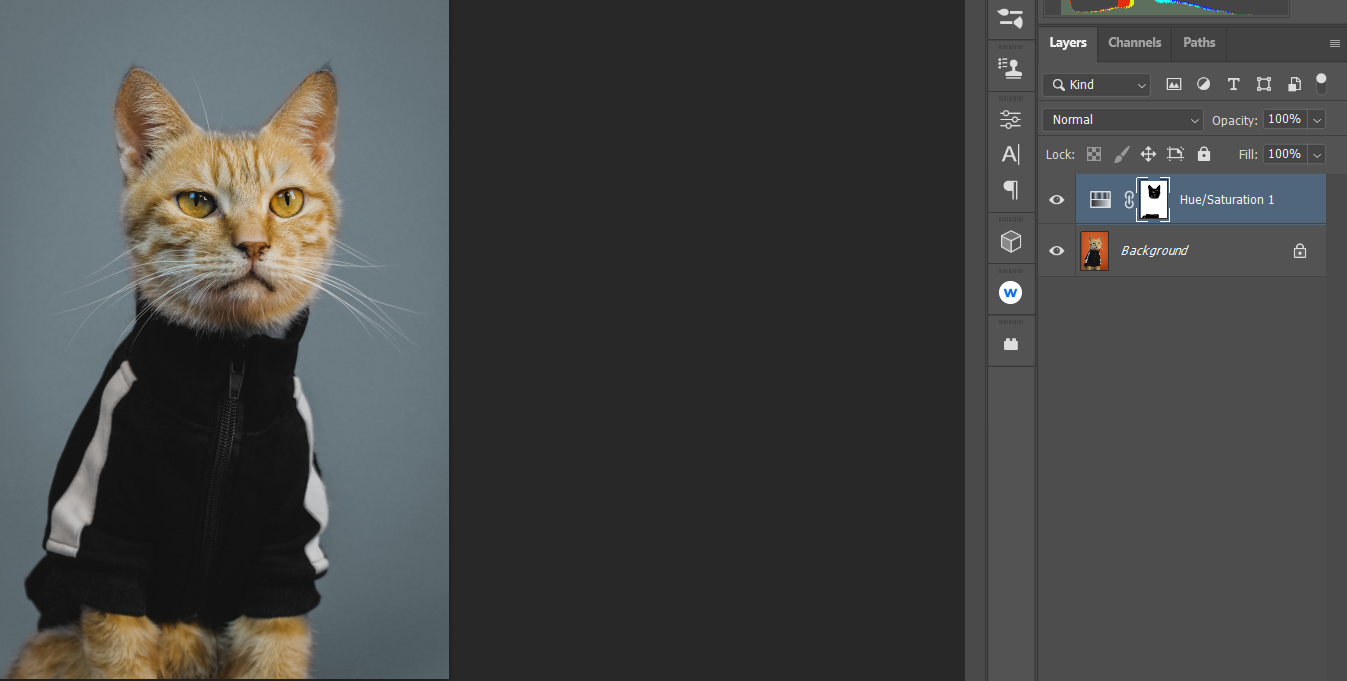


The trick is to take your time and be sure that you don’t paint where you don’t want your colors to be. While using your Brush, you can toggle the X key to change the Foreground color to Black or White to make corrections.
Using Saturation Masks for More Realistic Results
If you have experience using Hue/Saturation, you’ve probably noticed that it’s easy to take effects too far, especially with the Saturation slider.
With a Saturation Mask, you can push all three sliders to the extremes to get better results without introducing as many distortions.
-
With the Background layer selected, click Ctrl + J to duplicate the layer.
-
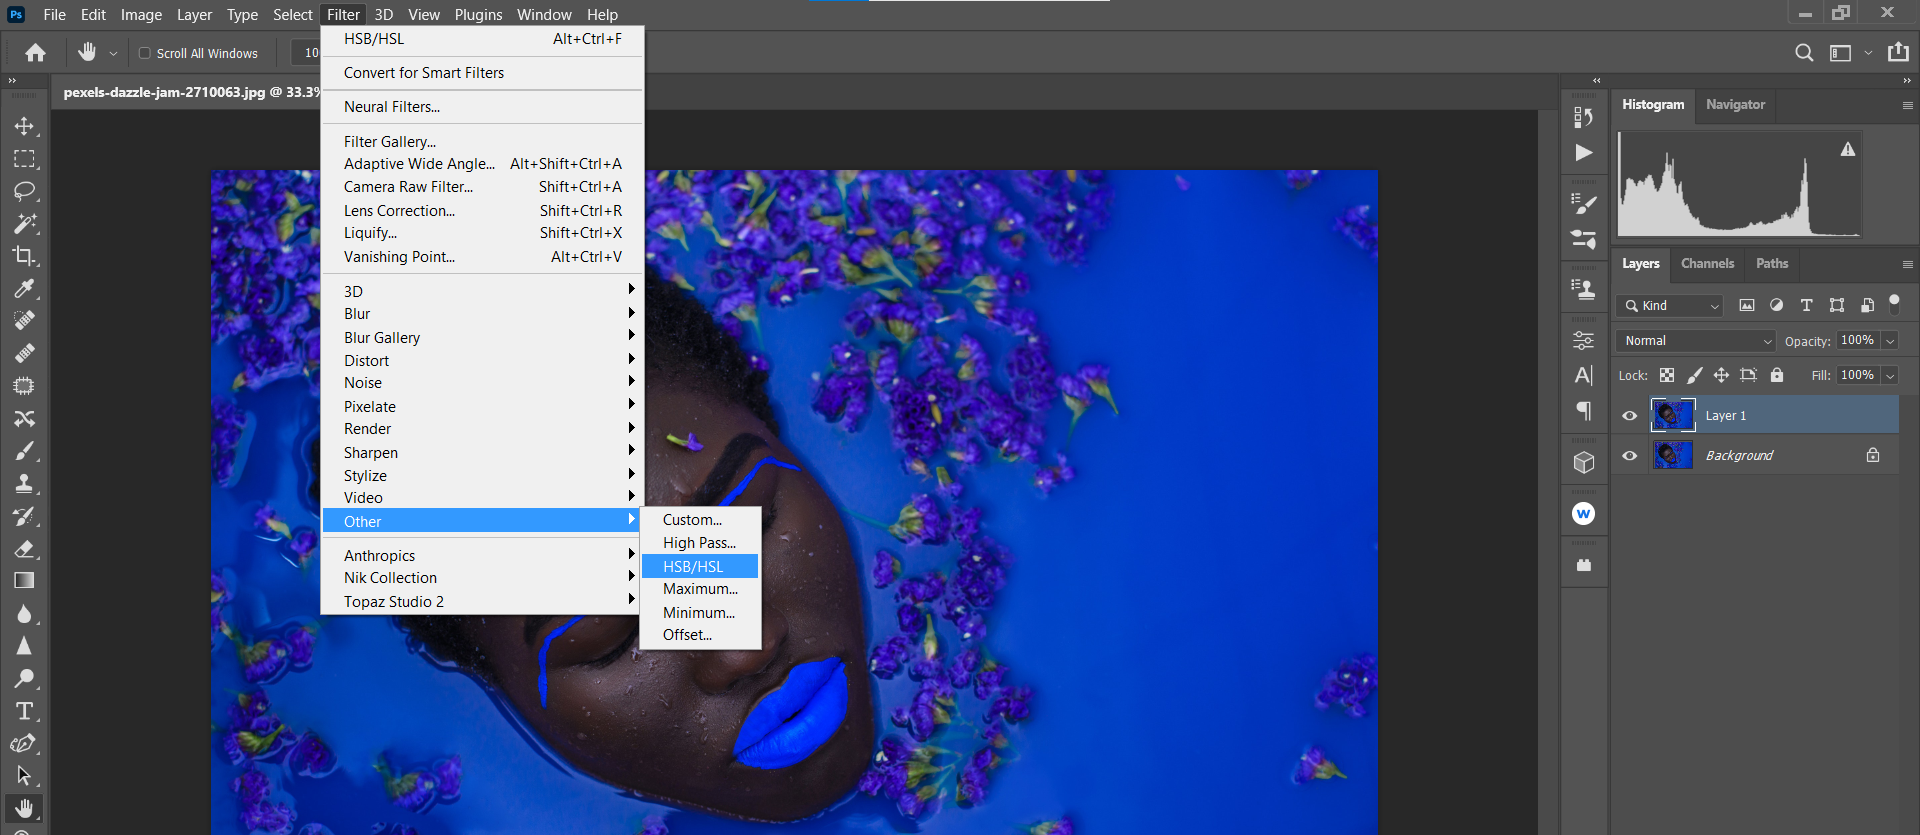
Go to Filter > Other> HSB/HSL.
-
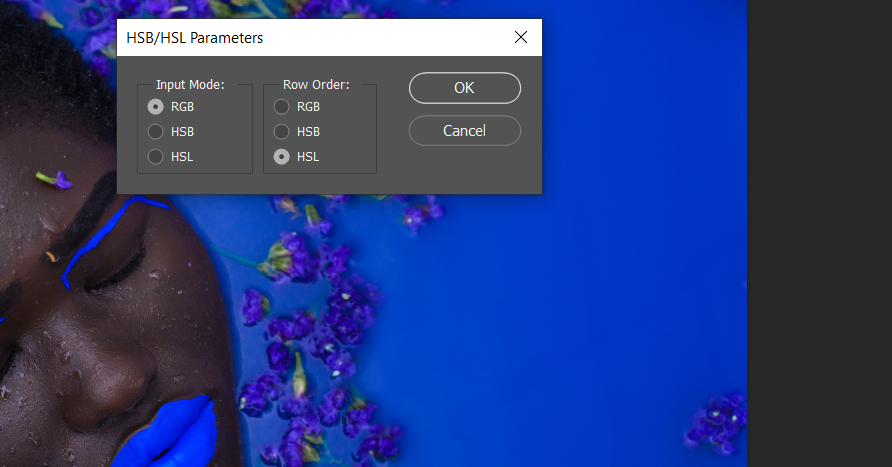
In the popup dialogue box, make sure RGB is selected under Input Mode. Under Row Order, select HSL, and then click OK.
-
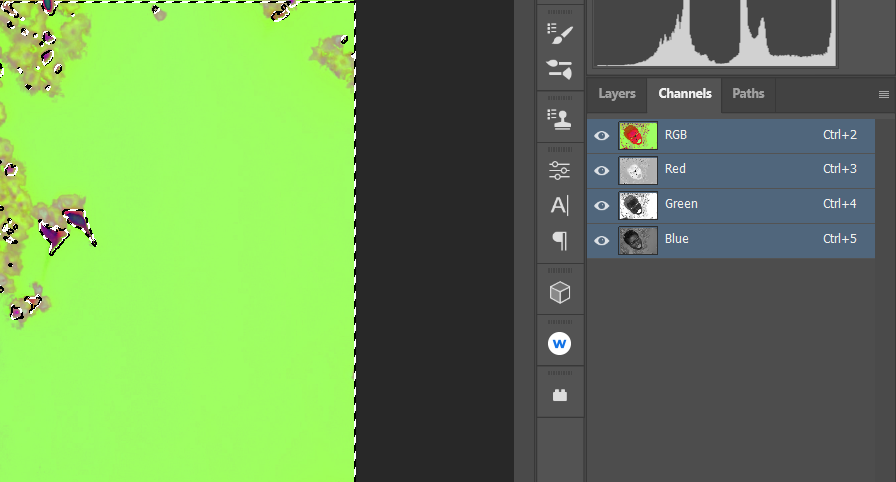
Go to Channels. Select RGB + Ctrl.
-
Go back to the Layers tab. Delete the duplicate layer by dragging it down to the Trash icon.

-
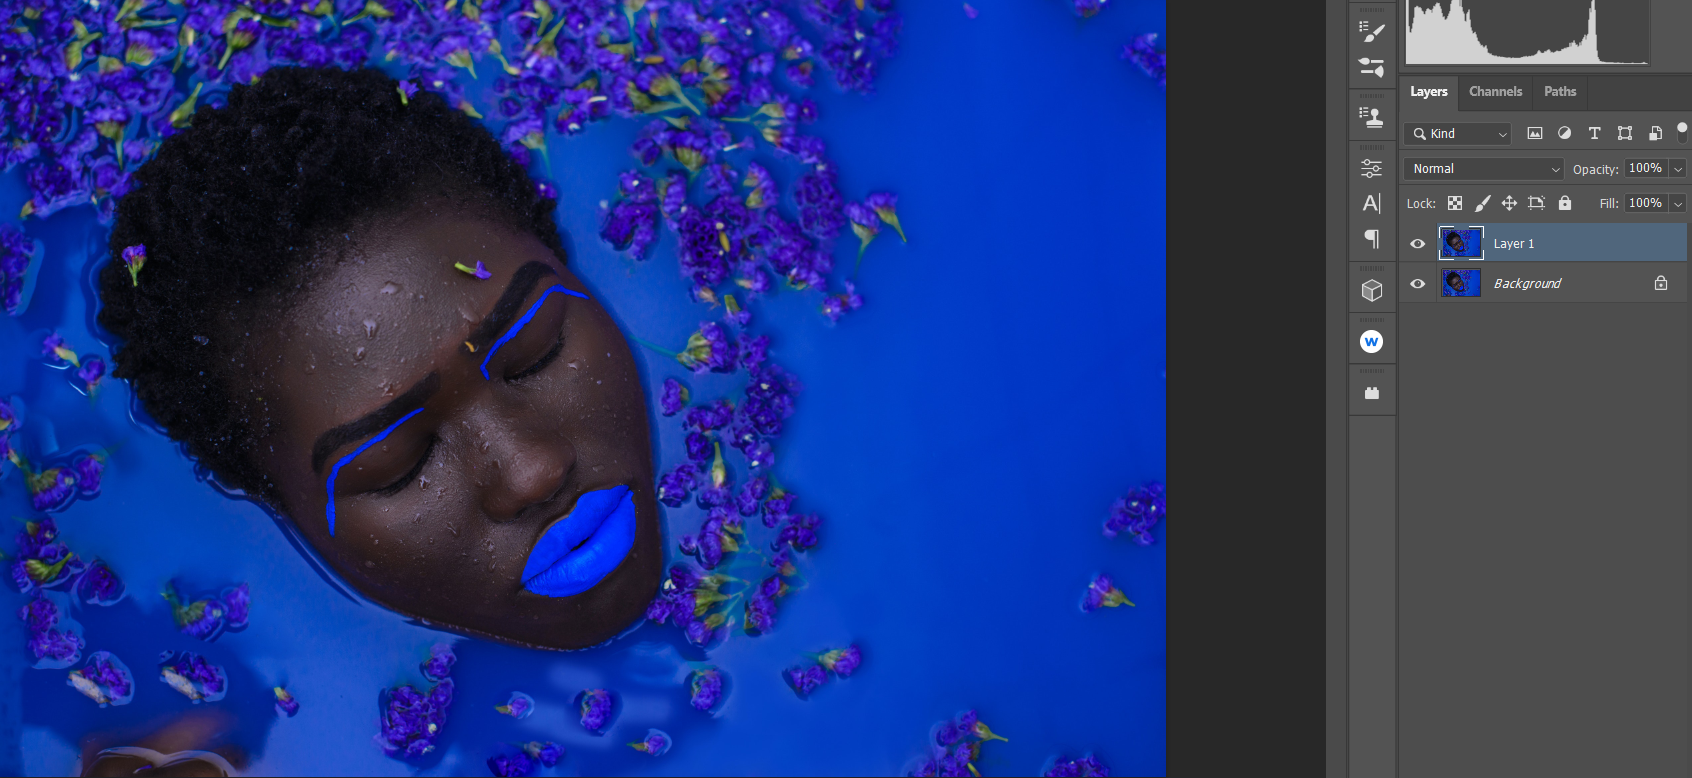
With the Background layer selected, create a Hue/Saturation layer.
-
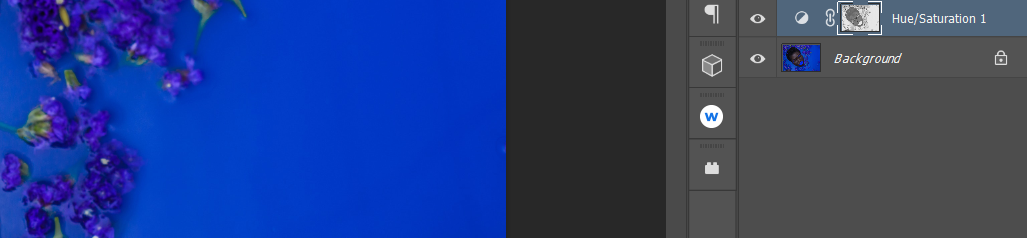
A Saturation Mask will be created above the Background layer.
-
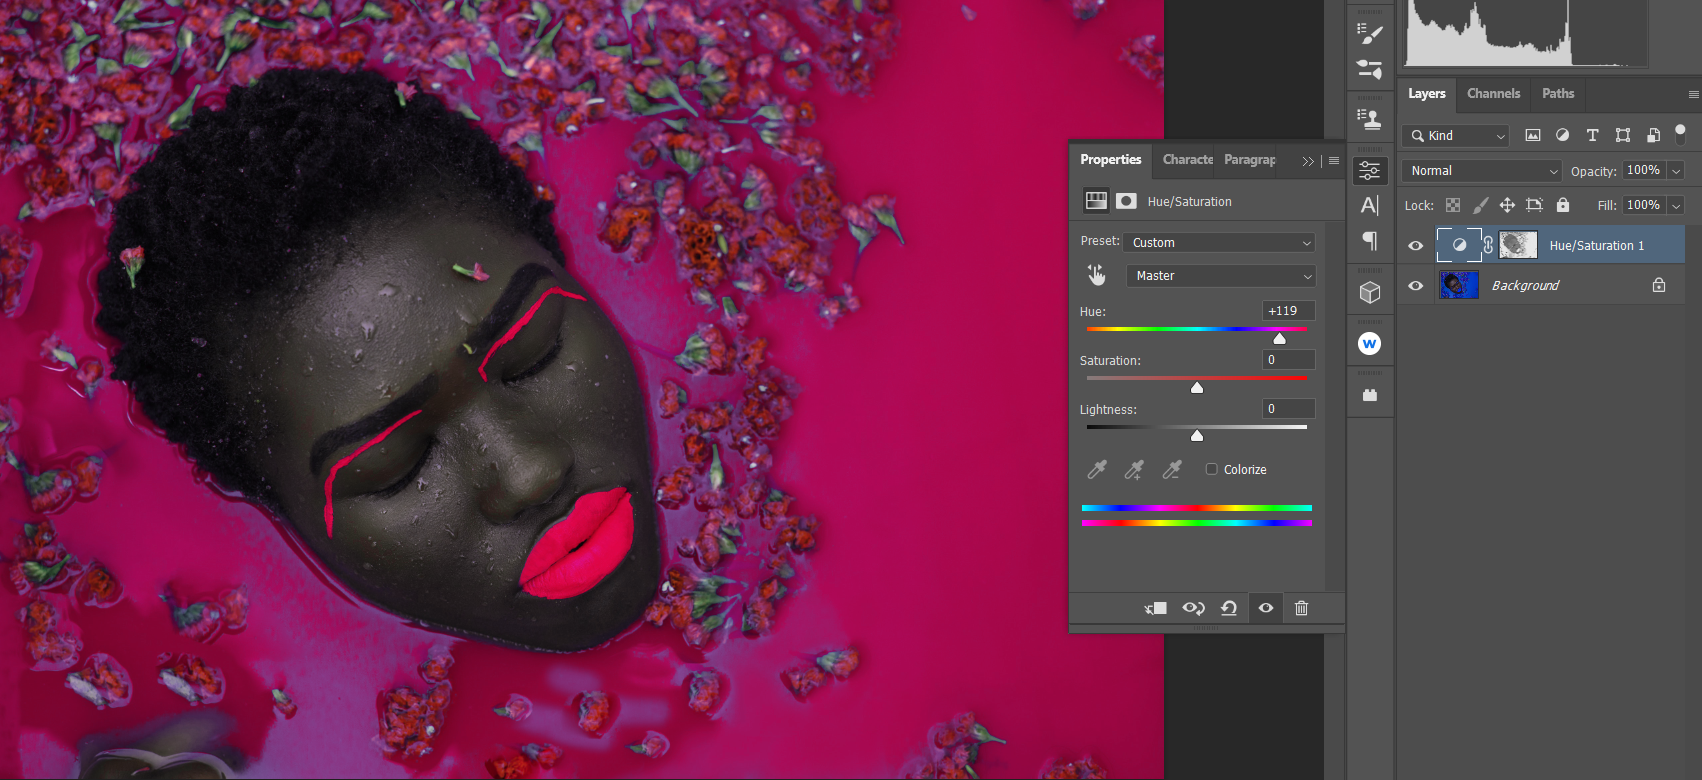
Just for fun, let's change the hue of the image. Double-click the Layer Icon, and adjust the Hue slider to +119. The result will be a color shift to pink.
-
Now, let's reset the Hue back to 0. Next, adjust the Saturation slider all the way to the left to -100. Then, adjust the Lightness slider all the way to the right to +100. This gives you a completely different result!
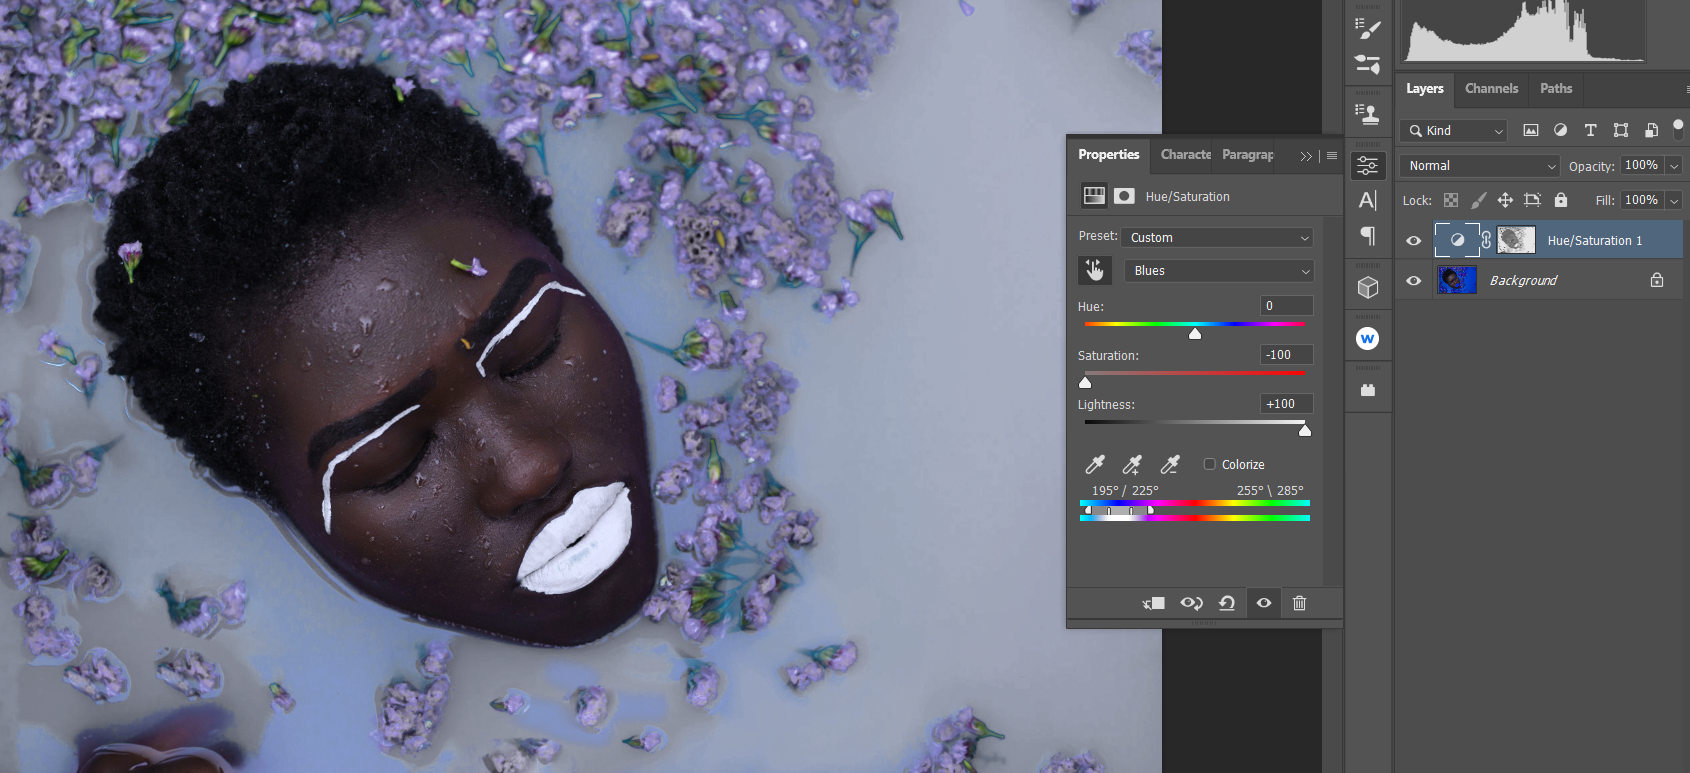


You can’t get these kinds of transformations using the Hue/Saturation sliders independently. Saturation Masks open up a world of possibilities.
For portraits, using plugins like PortraitPro also serves to enhance background elements.
Using Targeted Adjustments for Specific Colors
You can make Targeted Adjustments to specific colors in an image by making use of the Hand tool in the Hue/Saturation adjustment menu.
Here’s how you do it.
-
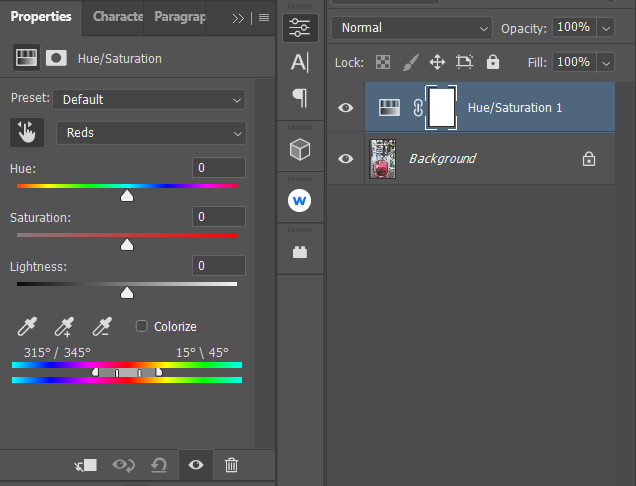
Create a Hue/Saturation adjustment layer by clicking on the Adjustments icon at the bottom-right of the screen. Click on Hue/Saturation.
-
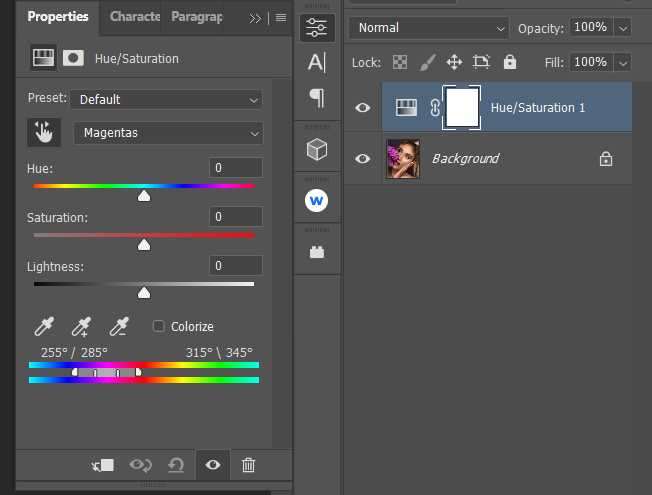
Click on the Hand tool (to the left of Master) to activate the Targeted Adjustment mode.
-
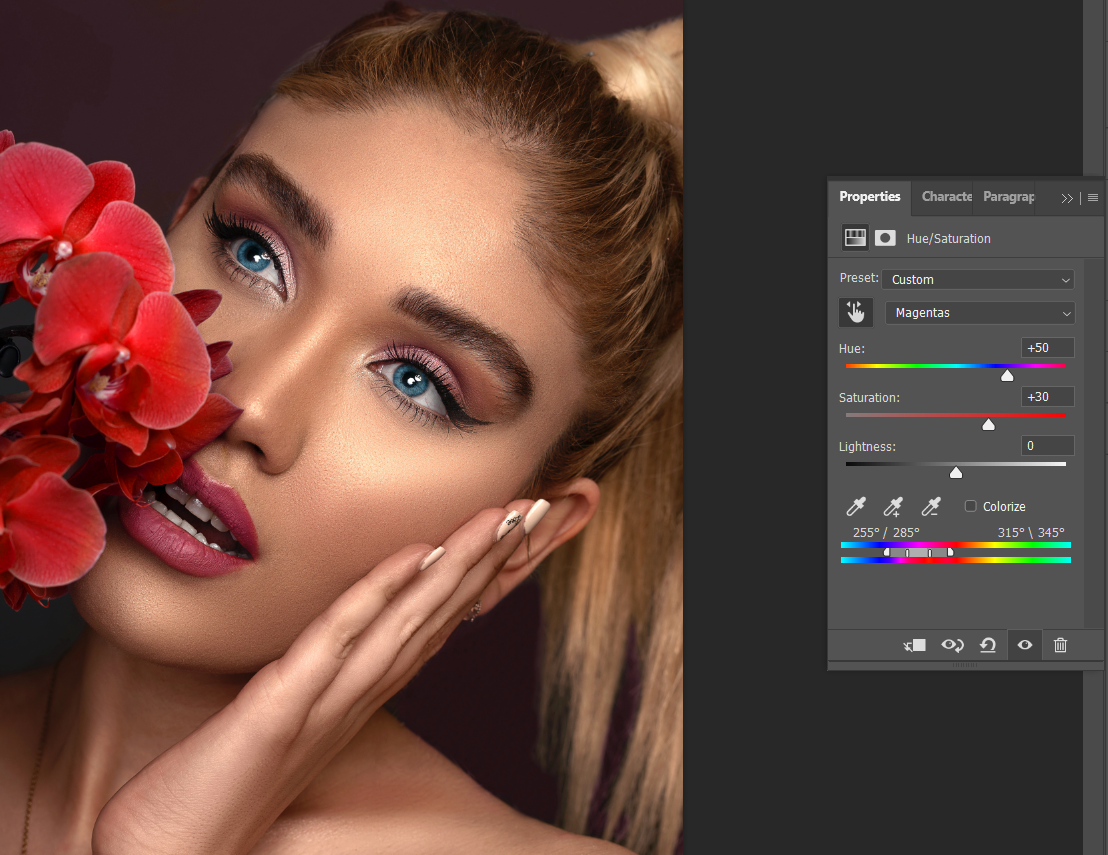
Scroll your mouse to the flowers. You will see that your cursor has changed to the Eyedropper tool. Click on the subject you want to target, in this case, the flowers. Magentas are now showing in the color channel box to the right of the Hand tool.
-
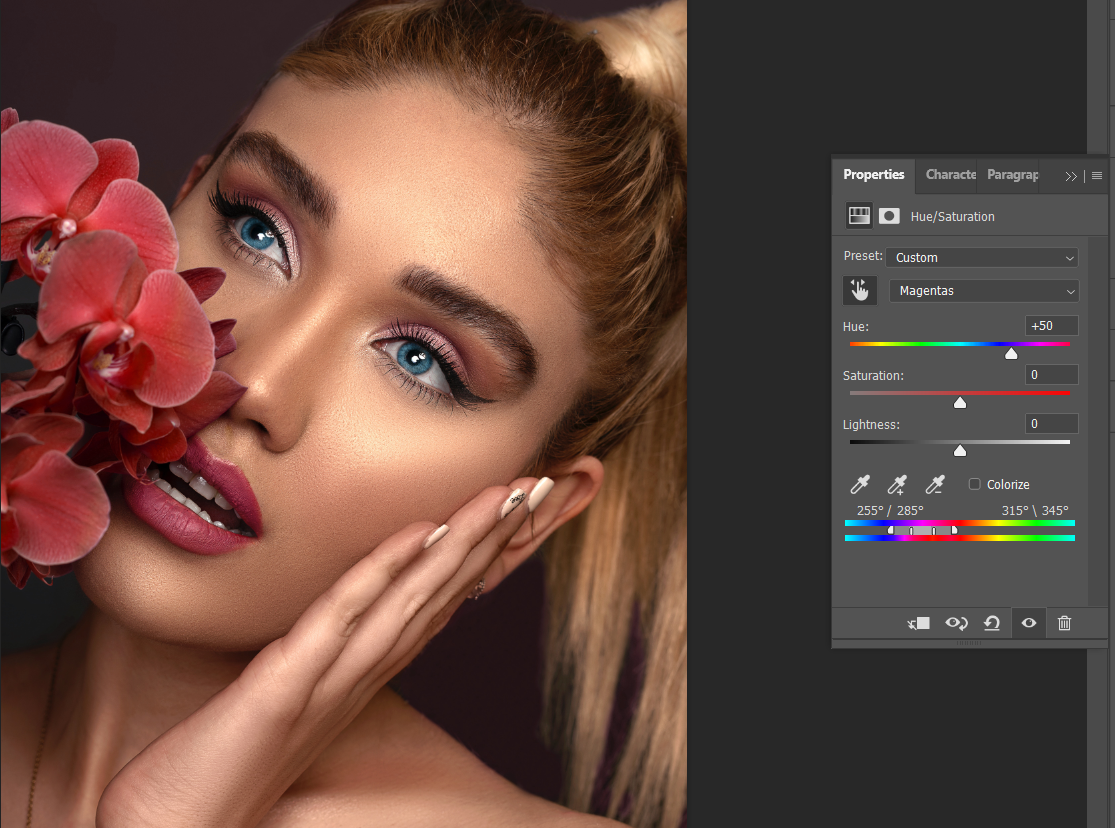
There are two ways to access the Hue slider. The easiest way is to just move the Hue slider manually to the color you want (after the color is selected with the Hand tool). The second way can be used without even touching the sliders. For this example, simply click Ctrl, and then drag your mouse to +50 to change the color to Red.
-
Next, simply Left-Click (activates the Saturation slider) and drag your mouse to +30 to increase the red saturation.
-
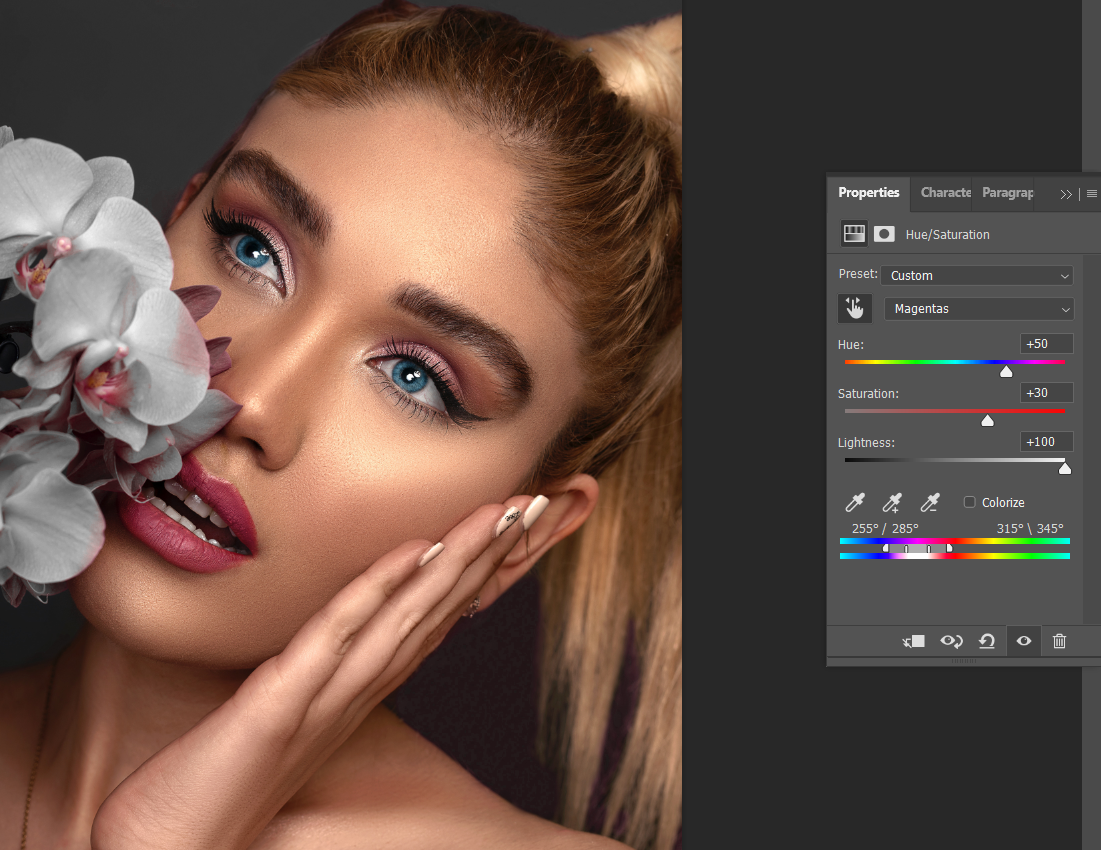
Optionally, If you wanted to use the Lightness slider to increase or decrease the brightness of the red, simply move the slider manually. In this instance, we increased the brightness all the way to +100 to achieve an off-white result.


Targeted Adjustments is another quick and easy method to edit your images more professionally.
Advanced Targeted Adjustments
You can use advanced Targeted Adjustments to edit hues that are tucked in among other similarly-colored regions of an image.
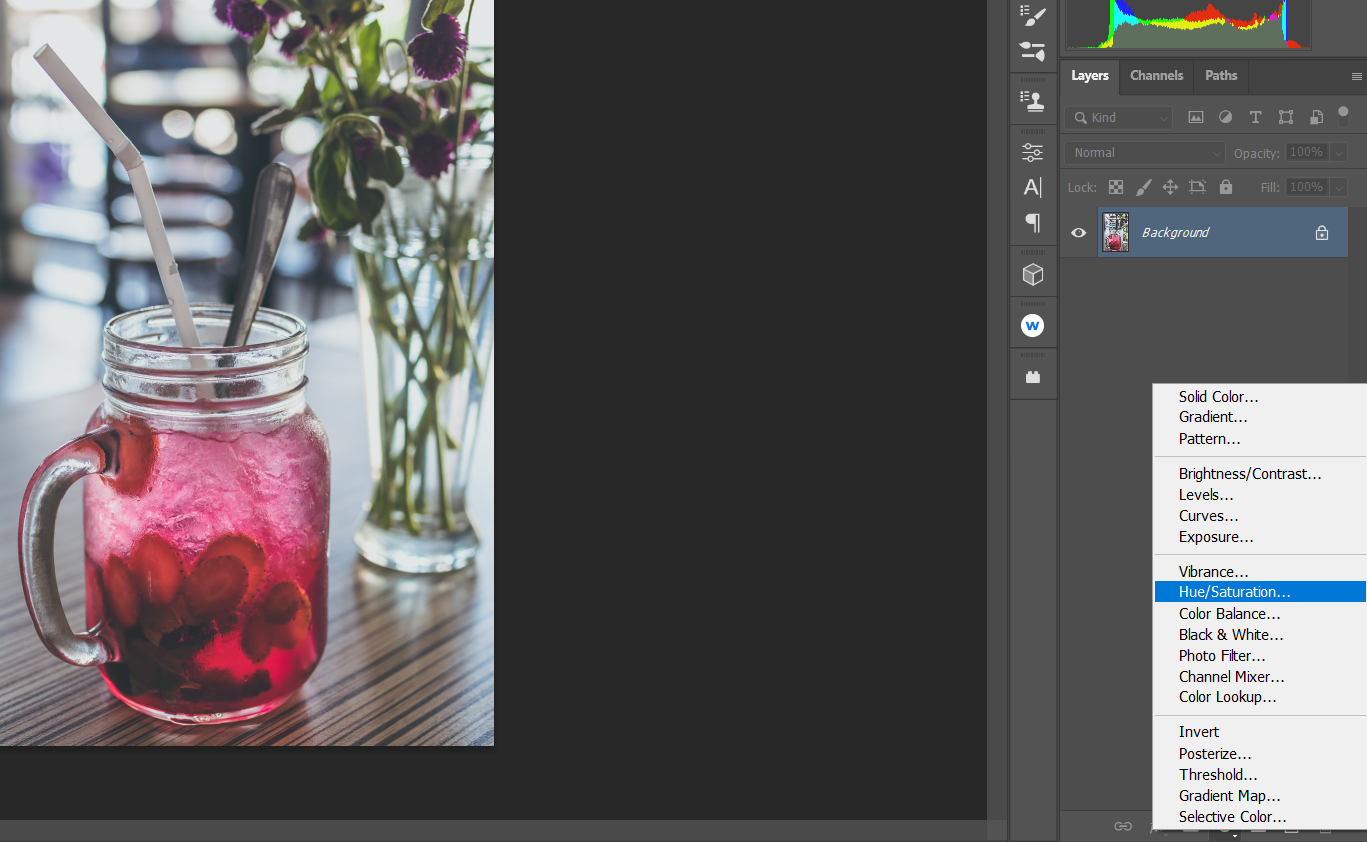
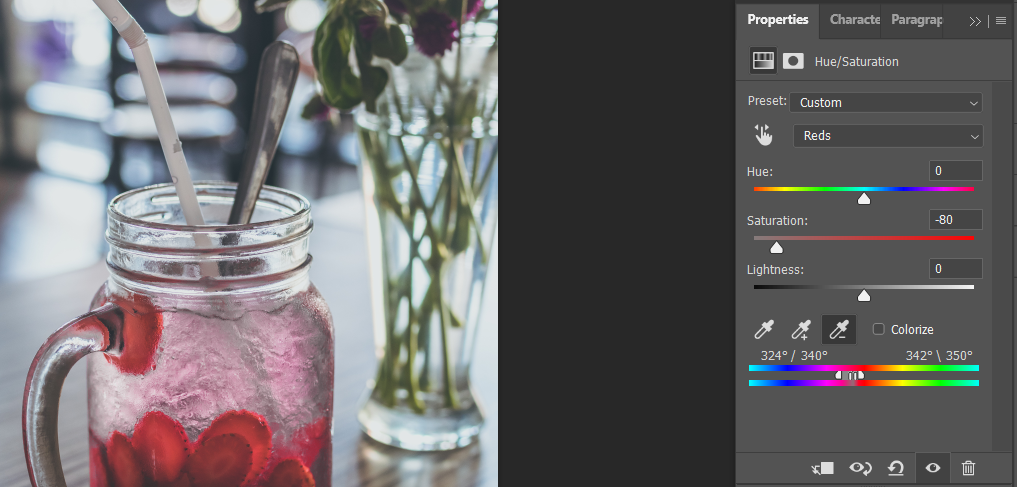
For example, say you want to remove most of the color in the drink pictured below so that the strawberries will pop. Advanced Targeted Adjustments will allow you to do that without affecting the other reds in the image.
-
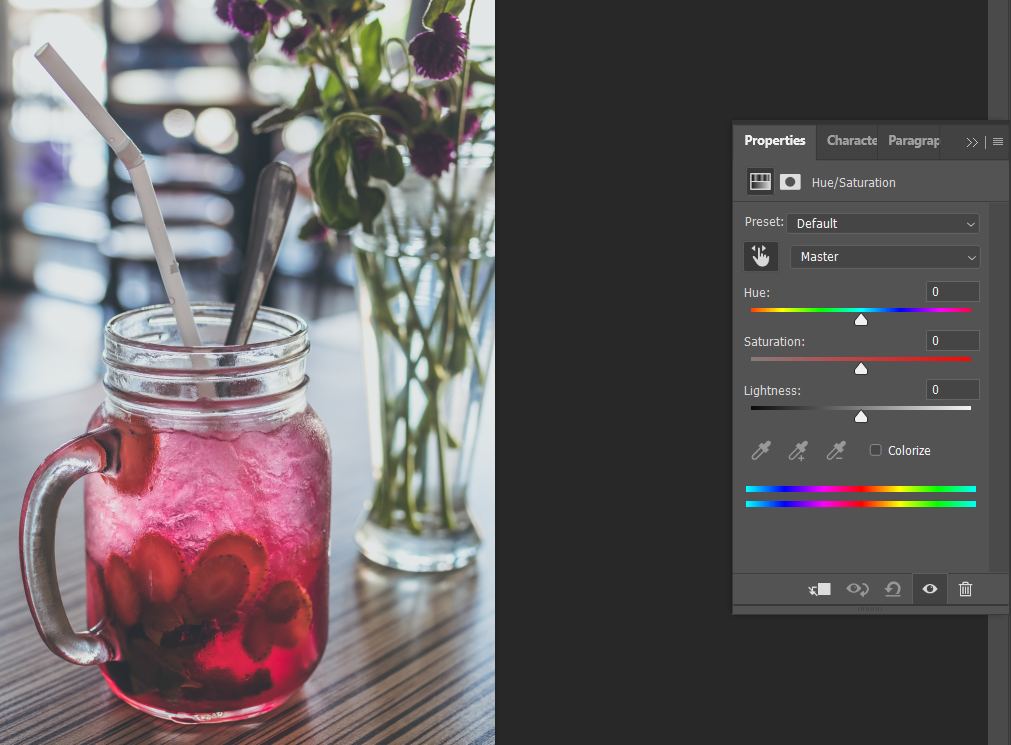
Create a Hue/Saturation adjustment layer by clicking on the Adjustments icon at the bottom-right of the screen. Click on Hue/Saturation.
-
Click on the Hand tool (to the left of Master) to activate the Targeted Adjustment mode.
-
Scroll your mouse to the light reds near the top of the drink. You will see that your cursor has changed to the Eyedropper tool. Click on the subject you want to target, in this case, the light reds in the ice. Reds are now showing in the color channel box to the right of the Hand tool.
-
For this advanced targeted adjustment technique, we will be using the (-)Eyedropper tool at the bottom of the Hue/Saturation menu. This subtracts all the darker colors toward the bottom of the drink. To do so, click the (-)Eyedropper tool, and start clicking on the darker shades of red in the glass, including the strawberries. This will ensure that we only change the lighter red color in the next step.

-
Next, lower the Saturation slider until the lighter reds in the liquid start to lighten. We ended up at -80 after moving the right-side Color Bar slider to the left to include the darker reds.
-
You'll notice that the liquid at the top of the drink is now lighter but not completely de-saturated. To reduce the color in the targeted selection even further, move the Lightness slider to the right. We settled on +70 to clear up most of the red hue.
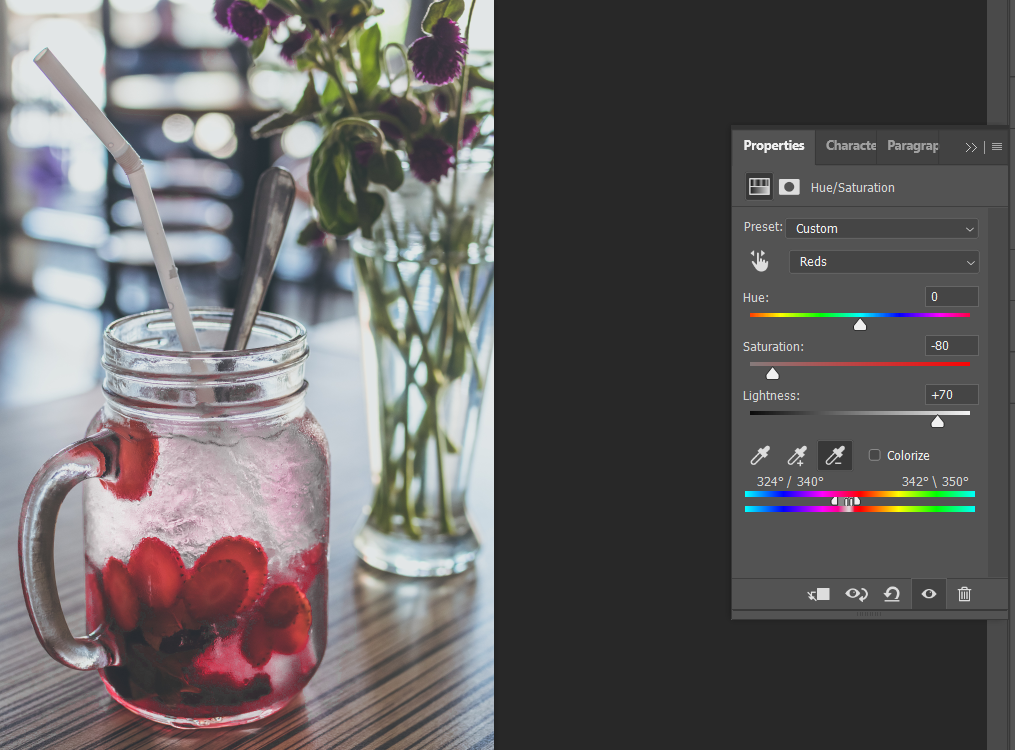


This technique may require many tweaks in more complex images to get your desired results. The plus and minus eyedroppers will help to make quick selections to include or exclude certain colors.
The color sliders below the eyedropper tools will help target your color more precisely. The outsider sliders set the borders, while the inside sliders determine how smooth the transition between colors in your selection will be.
How to Smartly Colorize an Image
There’s another option in the Hue/Saturation menu to colorize your images. To activate this mode, simply click in the Colorize box, and use the three sliders to change the colors of an entire image.
However, if you want to smartly colorize your image, it’s best to make a selection of the region you want to colorize.
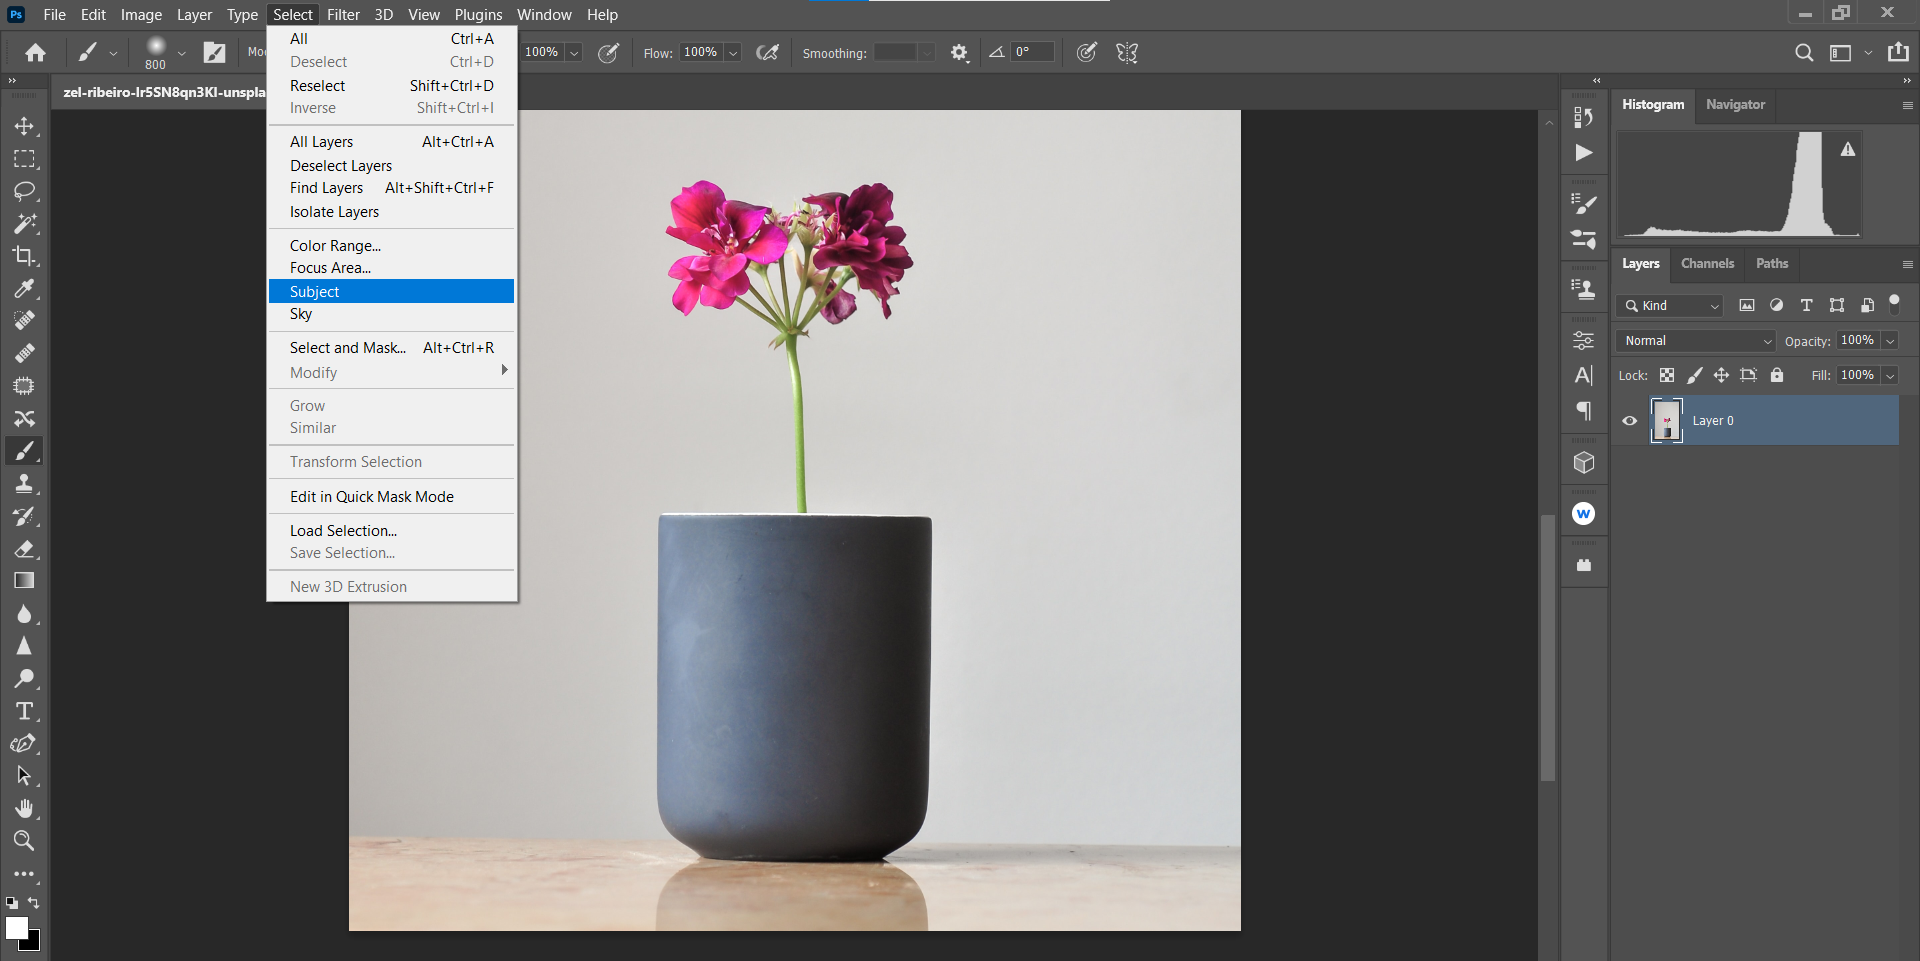
Say, for instance, we want to color the pot green and leave the rest of the image as-is. Here’s how to do this using the Subject Selection tool along with the Colorize feature.
-
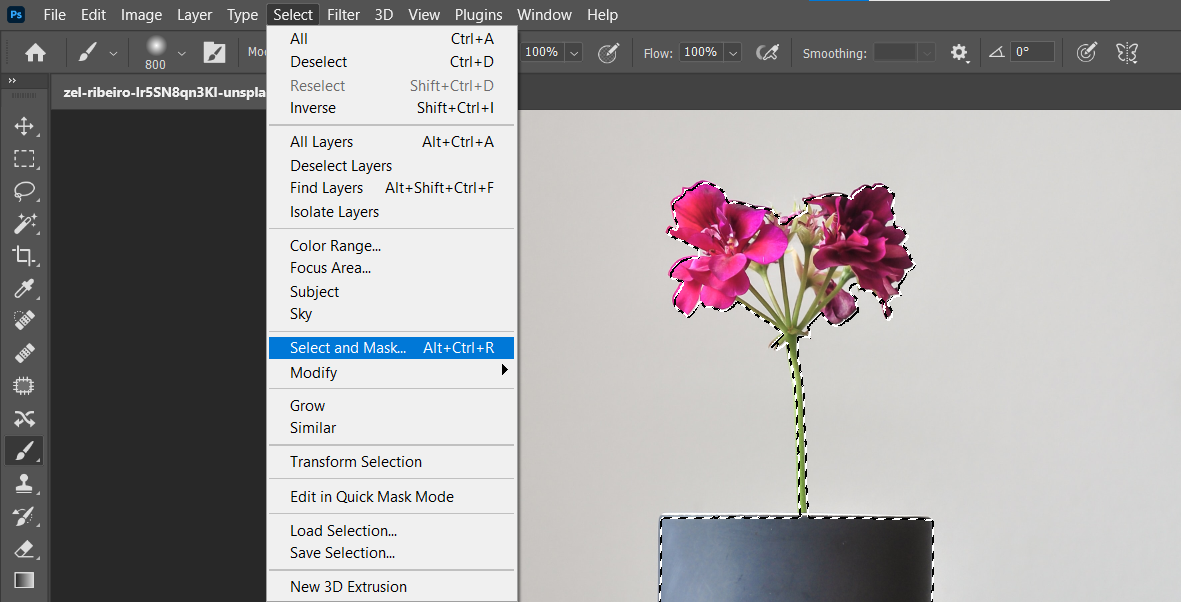
To make a selection of the flower pot, go to Select > Subject.
-
Go to Select > Select and Mask.
-
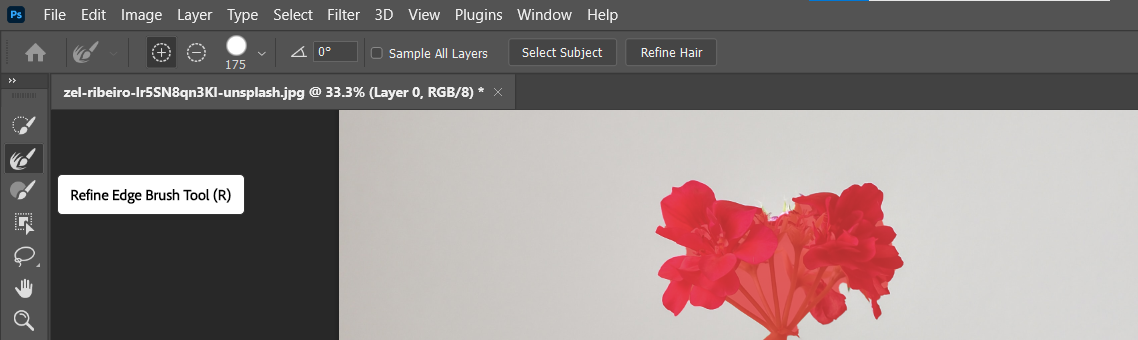
Click on the Refine Edge Tool Brush.
-
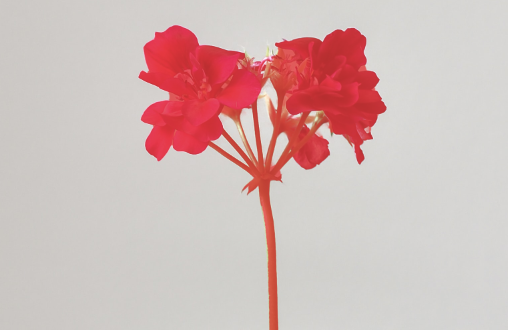
Paint over the areas to reveal the background in the flowers.
-
Change Output to to New Layer with Layer Mask, and then click OK.

-
Click the bottom layer (Layer 0) visibility box. This will return the image to the normal view prior to making the selection.

-
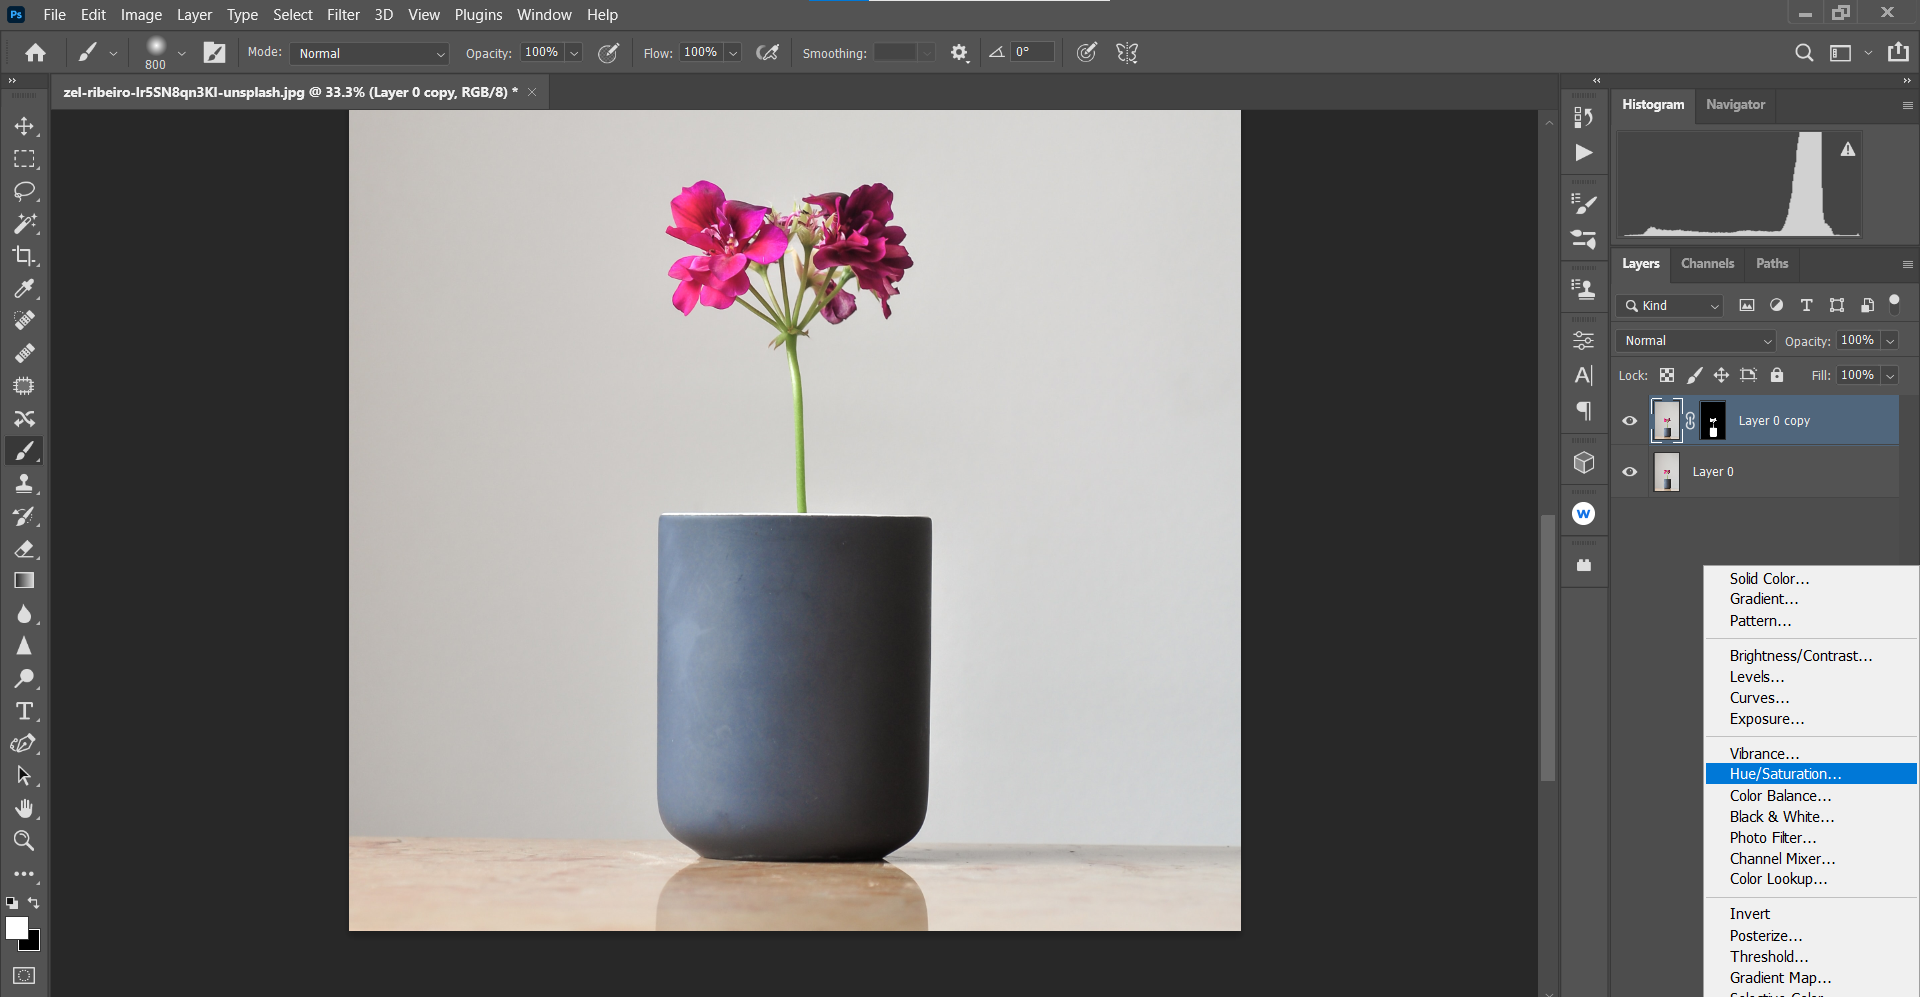
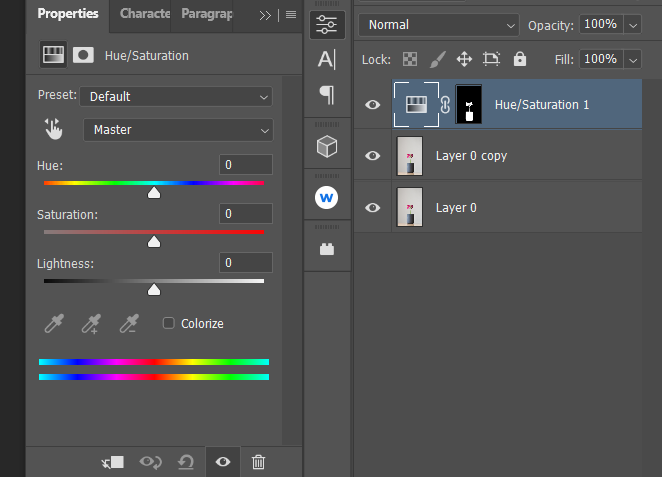
Click on the Layer 0 Copy, then create a Hue/Saturation layer as before.
-
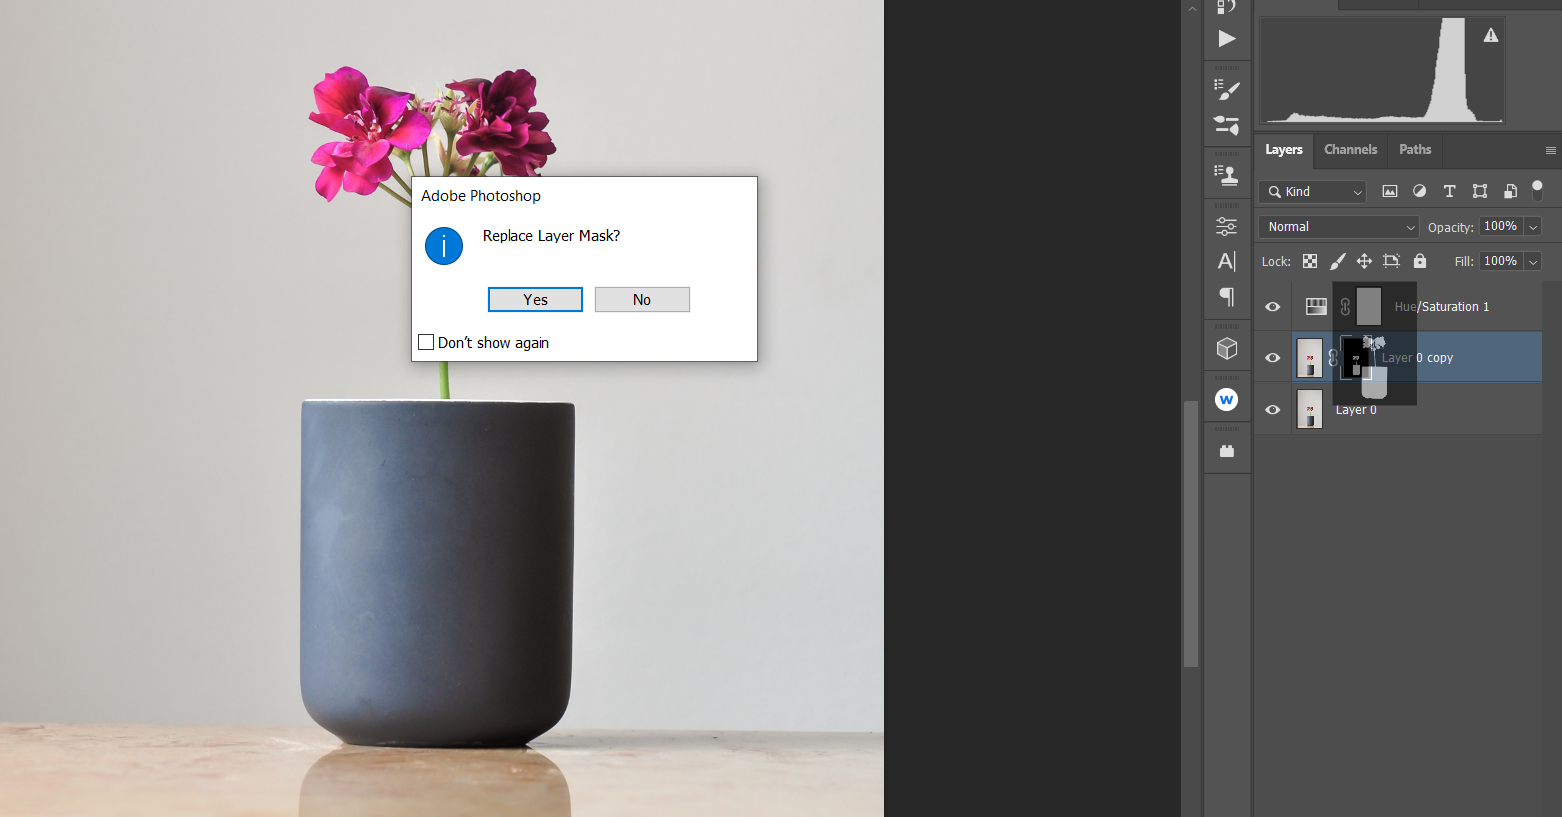
Click and drag the Layer 0 Copy layer mask to the Hue/Saturation layer, and click Yes.
-
Double-click on the Hue/Saturation Layer thumbnail to access the menu.
-
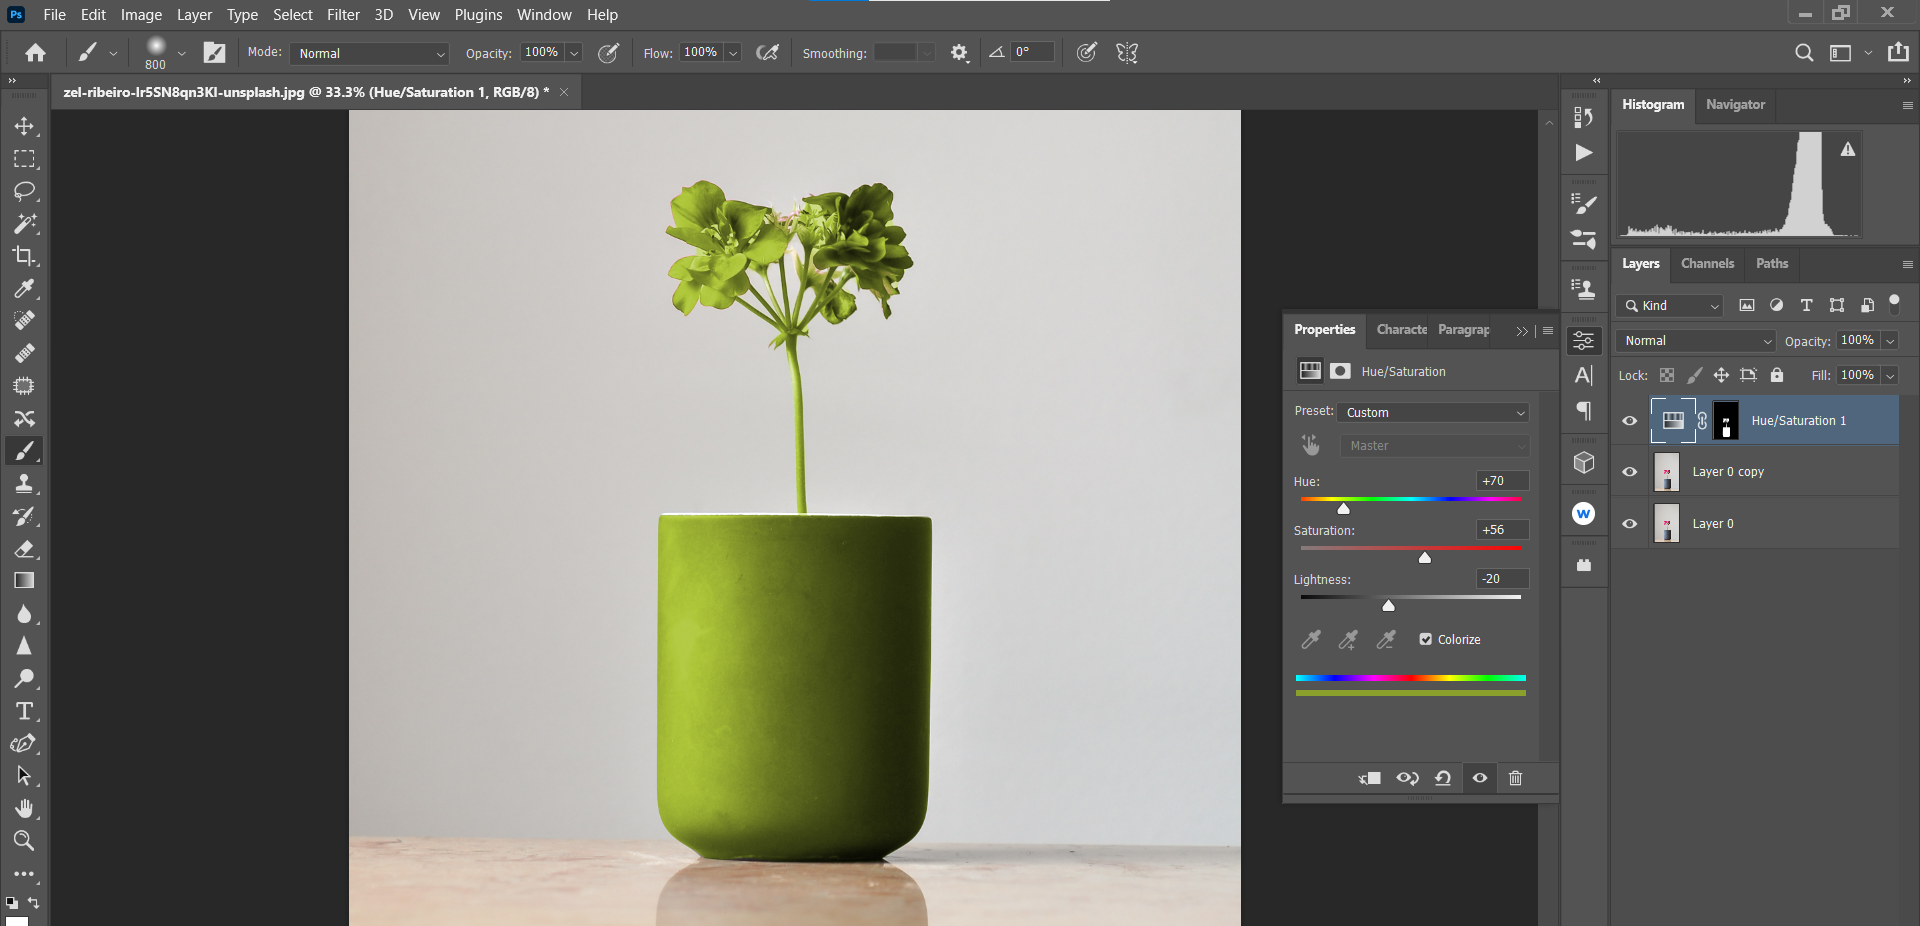
Click on the Colorize box. Then, adjust the Hue, Saturation, and Lightness sliders to the following values to make green: Hue +70, Saturation +56, Lightness -20.
-
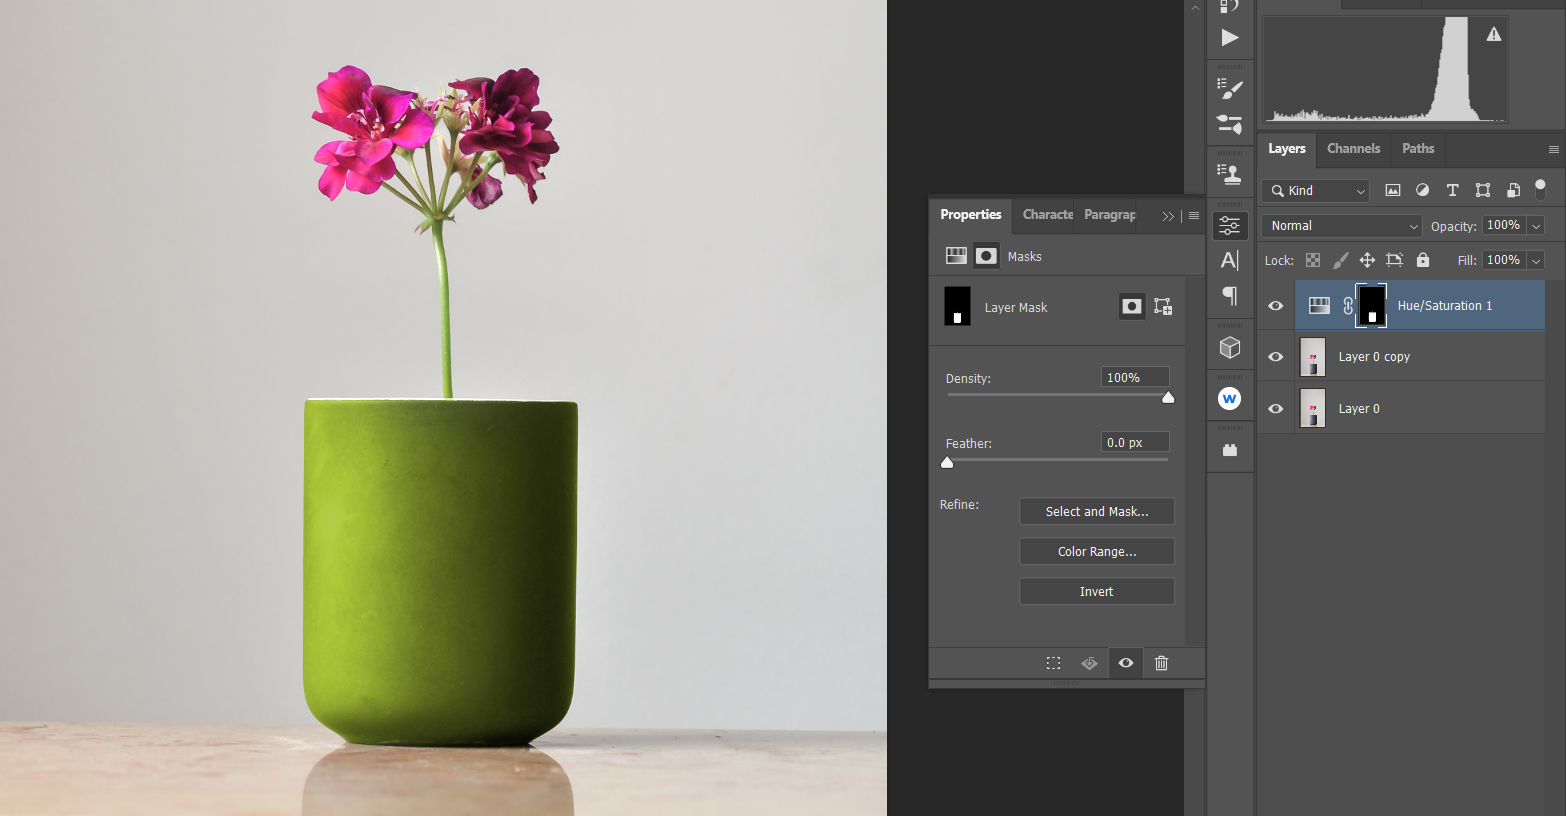
Mask out the green from the flower by selecting the Hue/Saturation layer mask. Then, click B for the Brush tool. With the Foreground set to Black, paint the selection away from the flower and stem, restoring its original colors.


The Hue/Saturation tool can be even more powerful when combined with other editing tools in Photoshop. The trick is to determine what method of selection is best to get the job done.
Advancing Your Photo Editing Skills
The great thing about many Photoshop tools, like the Hue/Saturation adjustment feature, is that they serve as both finishing touches and starting points for advanced image enhancement. Mastering all of the powerful tools in Photoshop can help bring your image edits to the next level.
Image Credit: Maxim Potkin/Unsplash