When you start video editing, there are some basics you need to know—using green screen video overlays is one of them.
To digitally create a green screen video, the background behind a moving subject is removed and replaced by a solid green color. You can then place the clip over any other video, and remove the green background. This makes the subject appear as if it's part of the video.
We're going to show you how to achieve this using green screen overlays on the Video Star editing app for iPhone.
Getting Started
Before getting started, you'll need to download the Video Star app. You'll be prompted to purchase one or more packs to gain access to the Multi-Layer and Masking features. The Pro subscription gives you access to all the Video Star effects and features.
Download: Video Star (Free, in-app purchases available)
Using overlays isn't exclusive to green screens. As long as the color of the screen isn't the same (or similar to the colors of the subject), it can be any solid color and will be masked out (removed) with ease.
1. Prepare the Overlay
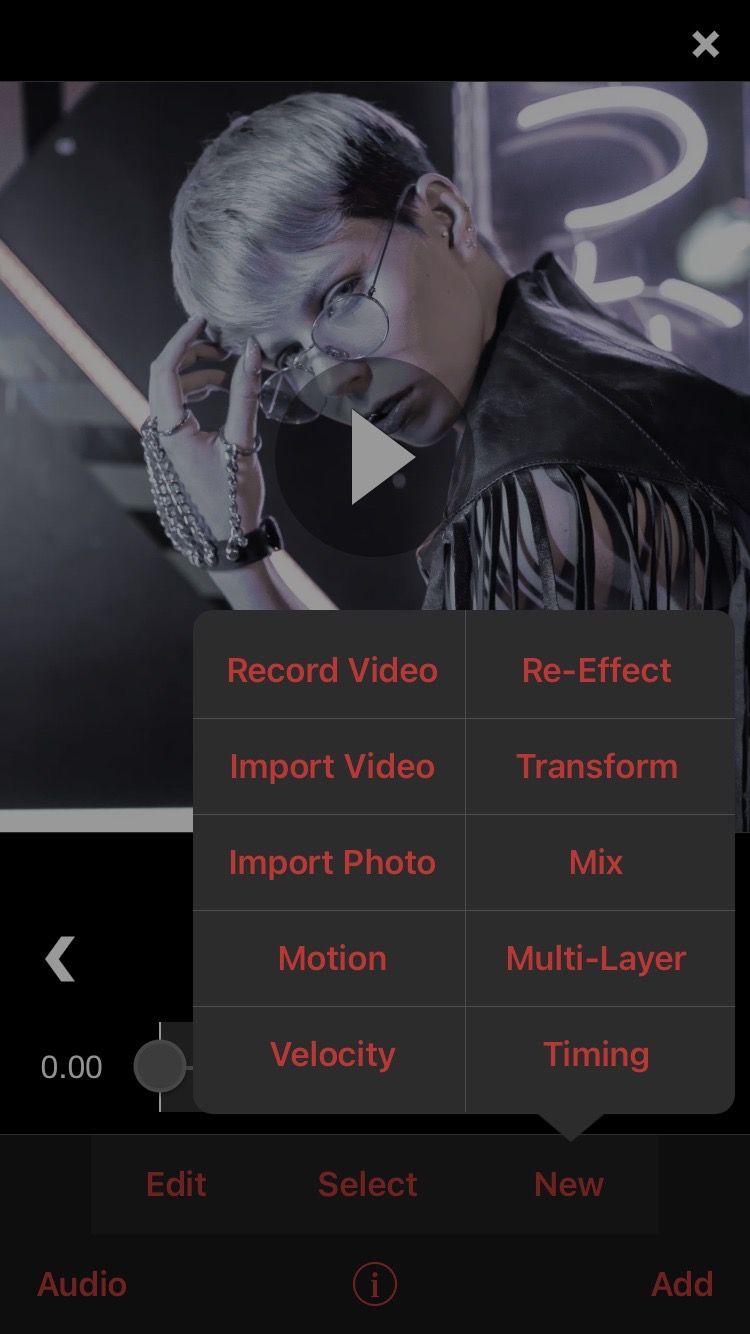
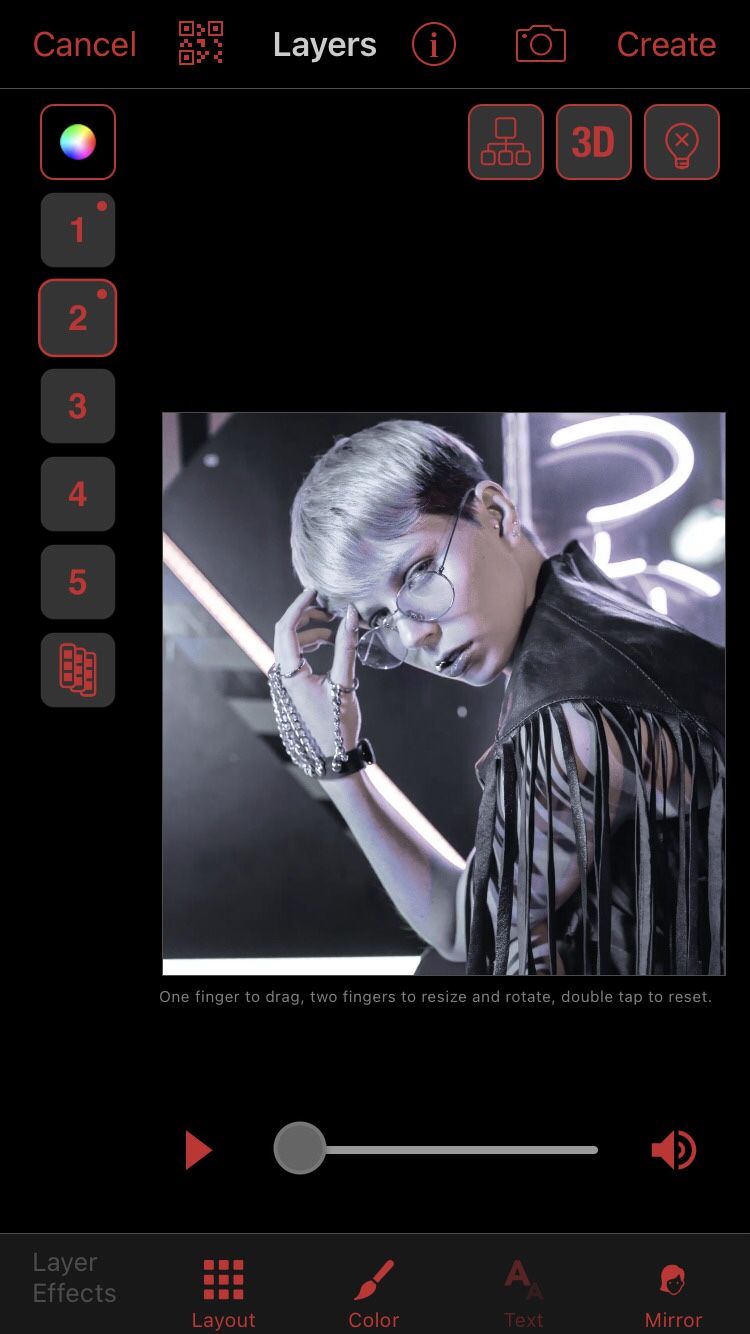
To get started, locate the clip you want to add the overlay to in the main window. Tap New > Multi-Layer, and then import the clip to Layer 1. If you're using multiple layers for video clips, just ensure that they're all "underneath" the overlay (the overlay should be the last layer on top).
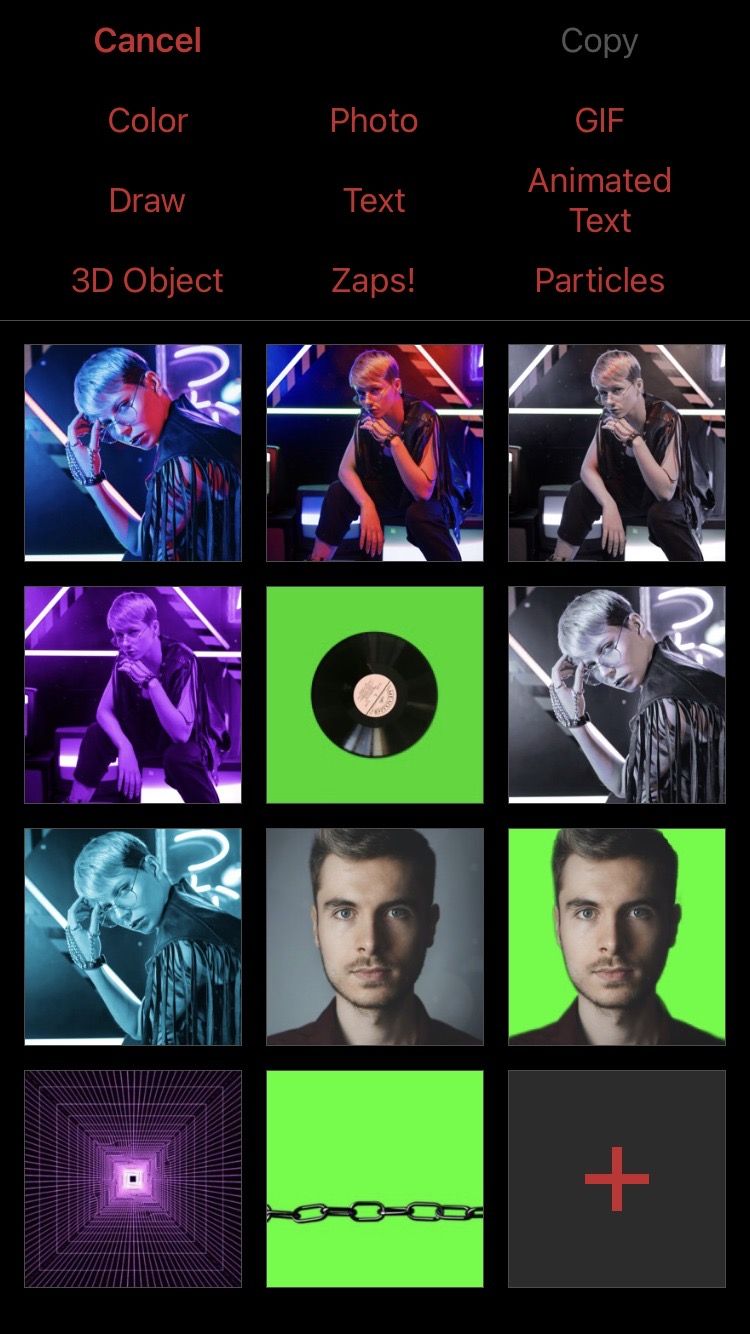
If you haven't already imported the overlay in the main window, you can do it in Multi-Layer. Simply tap the next open layer, hit the Plus (+) icon, and select the overlay from your camera roll.
2. Mask the Background From the Overlay
There are two different methods to mask the background from an overlay in Video Star, and we'll go over each one here. The one you choose will largely depend on the type of overlay you're using.
Method One: Custom Color Masking
Before automatic tools were introduced in Video Star, the Custom color masking feature was the only way to use colored screen overlays. And it's still one of the best methods to get precise color removal from an overlay—plus, you can remove any color with it.
Tap the layer you've imported the overlay to, and select Add Mask. In the Edit Mask window, select Color from the tabs at the top. Tap the three stripes and set it to Custom
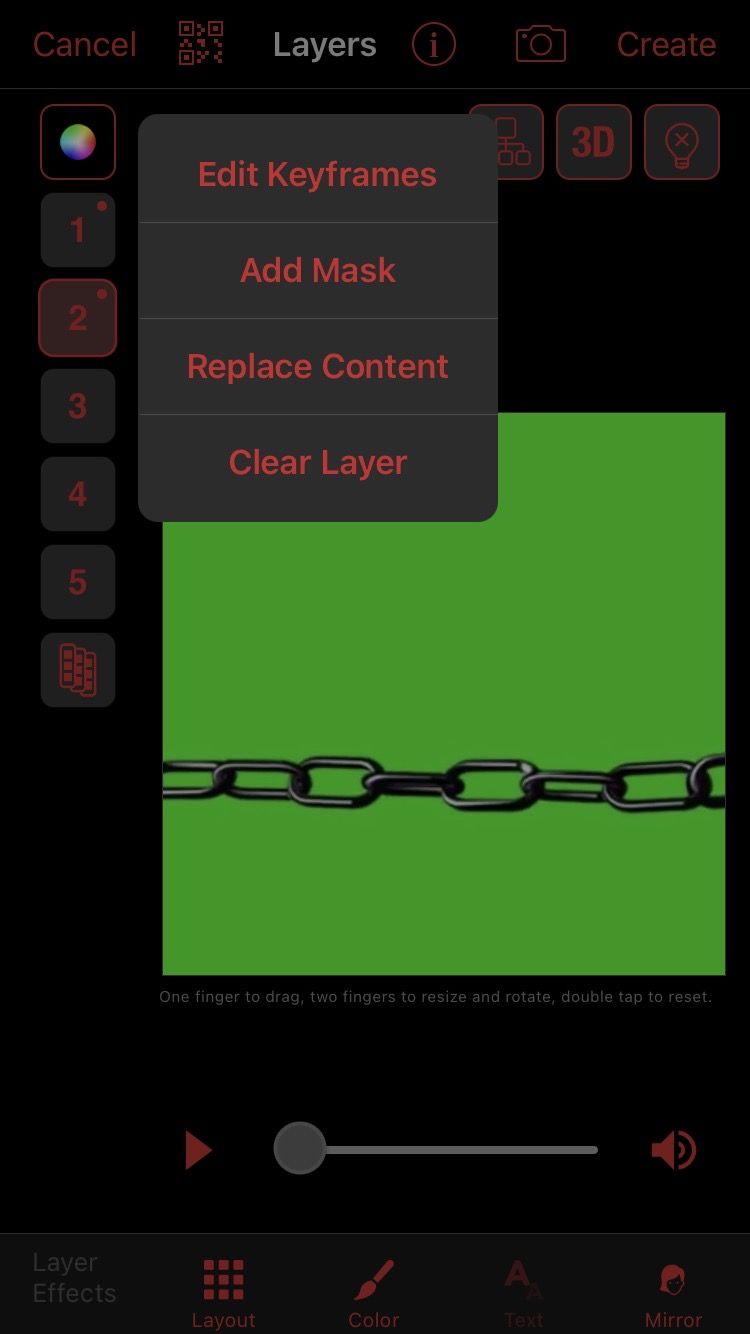
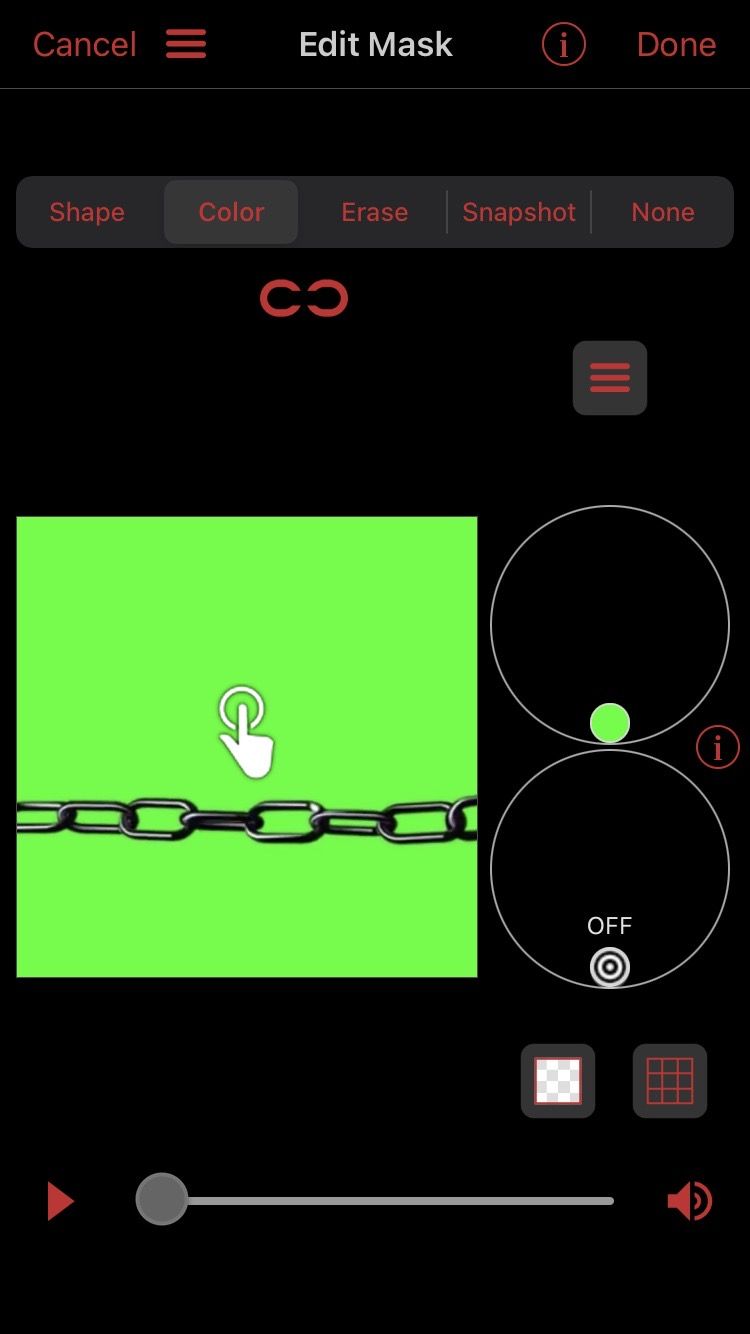
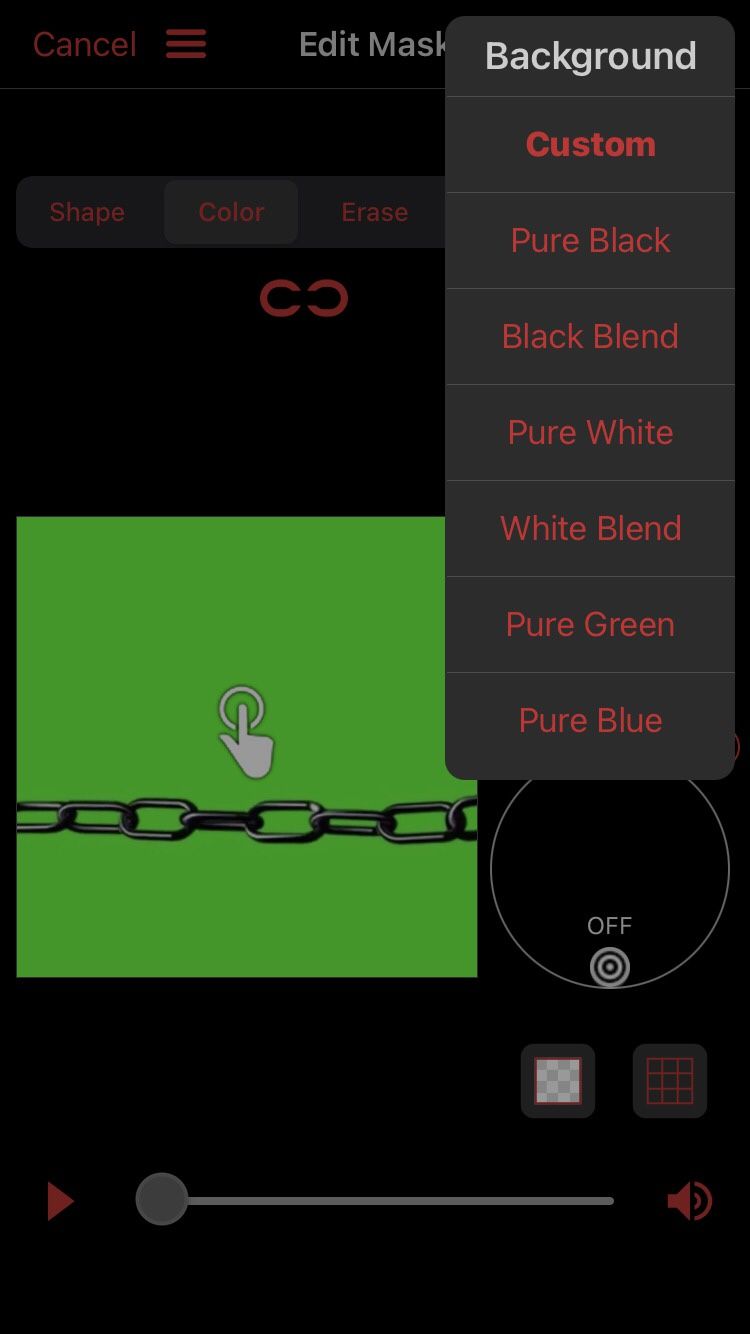
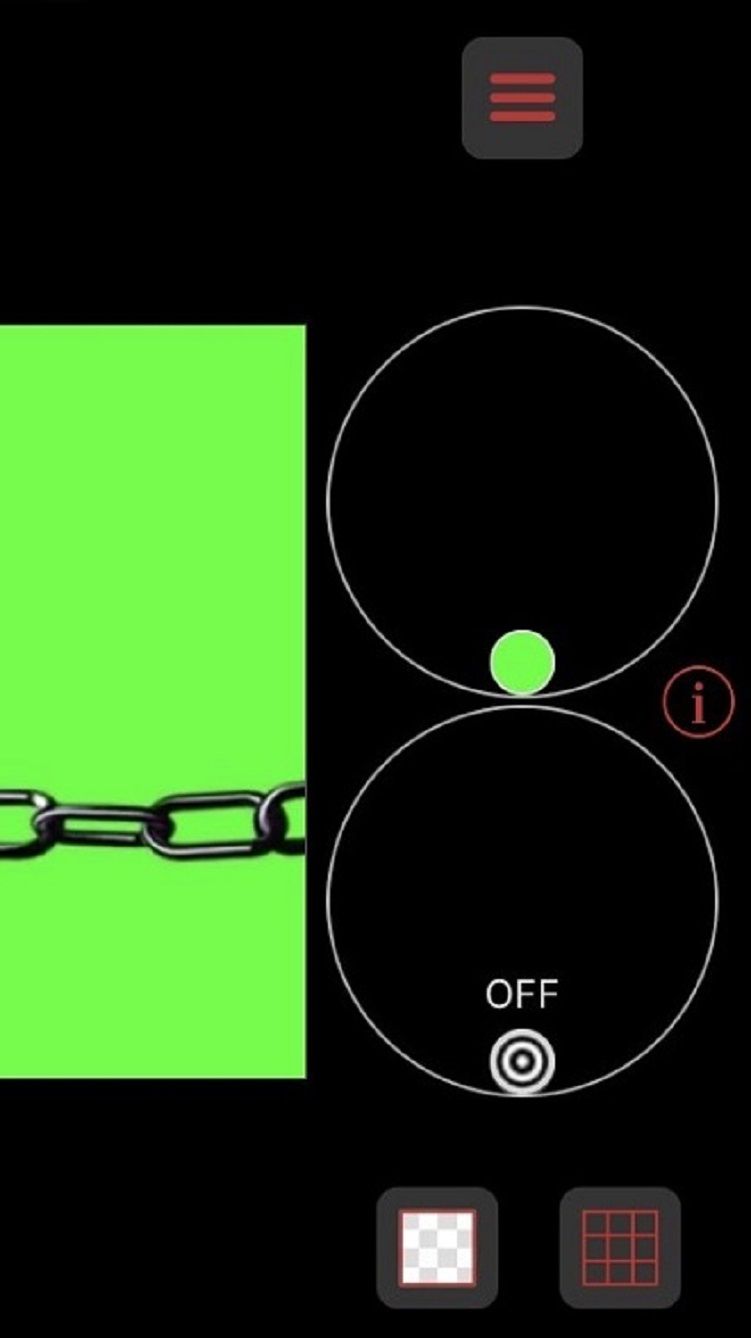
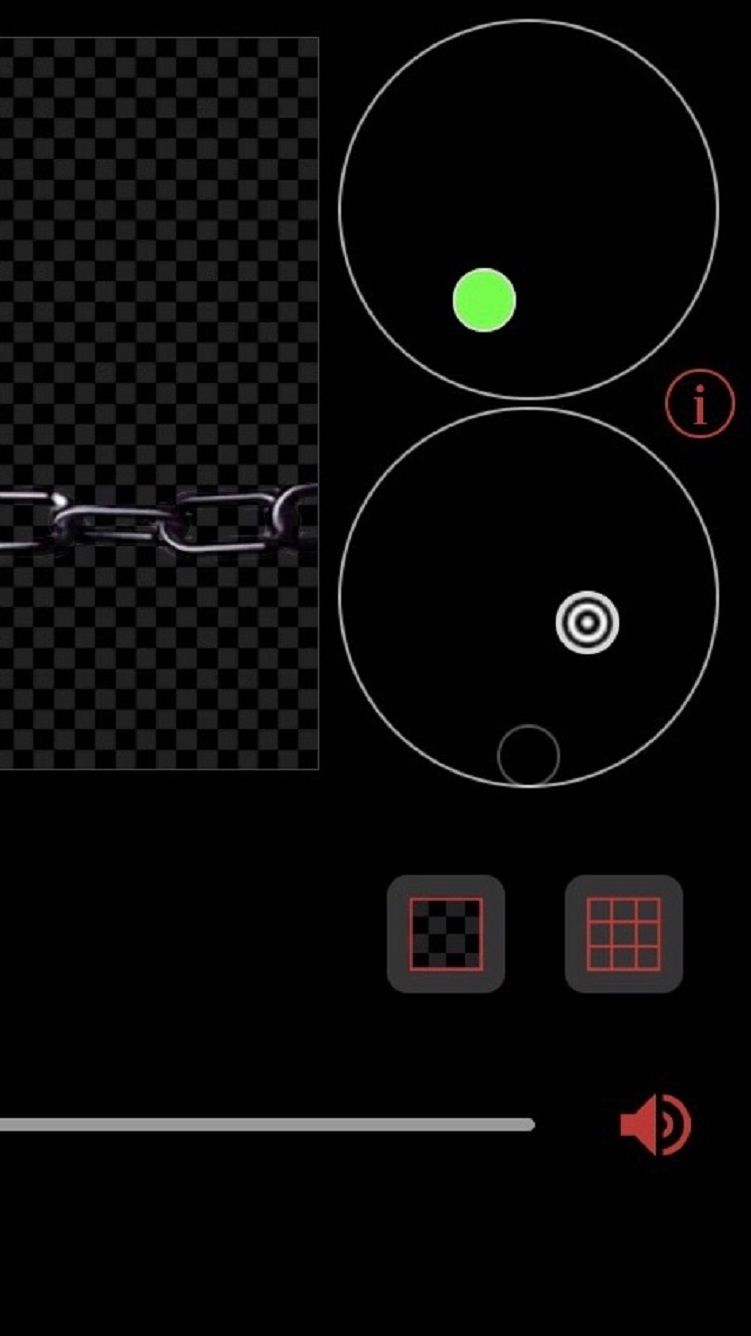
At this stage, you should see the overlay in the main frame and two big circles next to it. The circle on top is Match, and the one below it is Blend.
Move your finger over the frame with the overlay to select a color. There will be a small circle indicating which color is selected. Keep swiping until you've selected the colored screen that you want to remove. Once you let go, the app will know which color to mask. This is represented by a little dot in the Match circle.
Now, move the dot in the Match circle to erase the selected color—keep moving it until the majority of the color is erased from the overlay in the main frame. You might notice that there's some color remaining around the edges of the subject. To remove that, start moving the dot in the Blend circle.
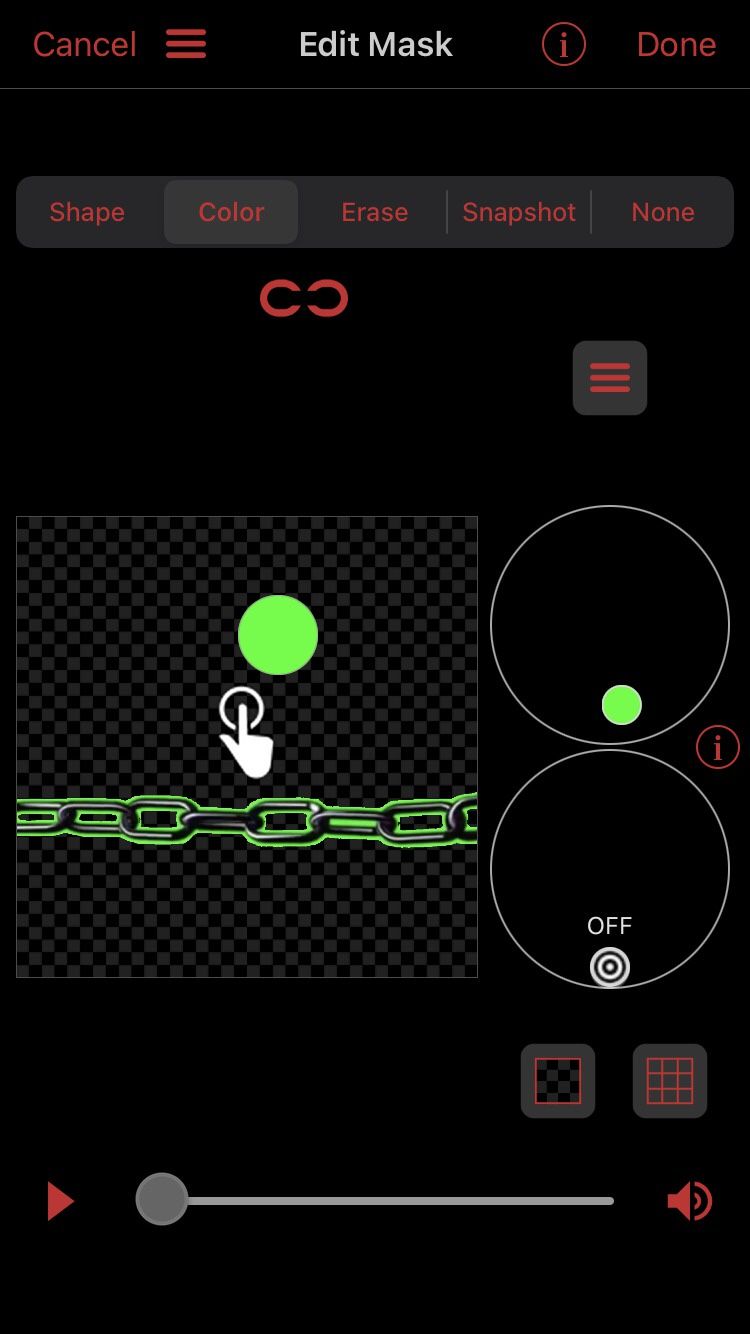
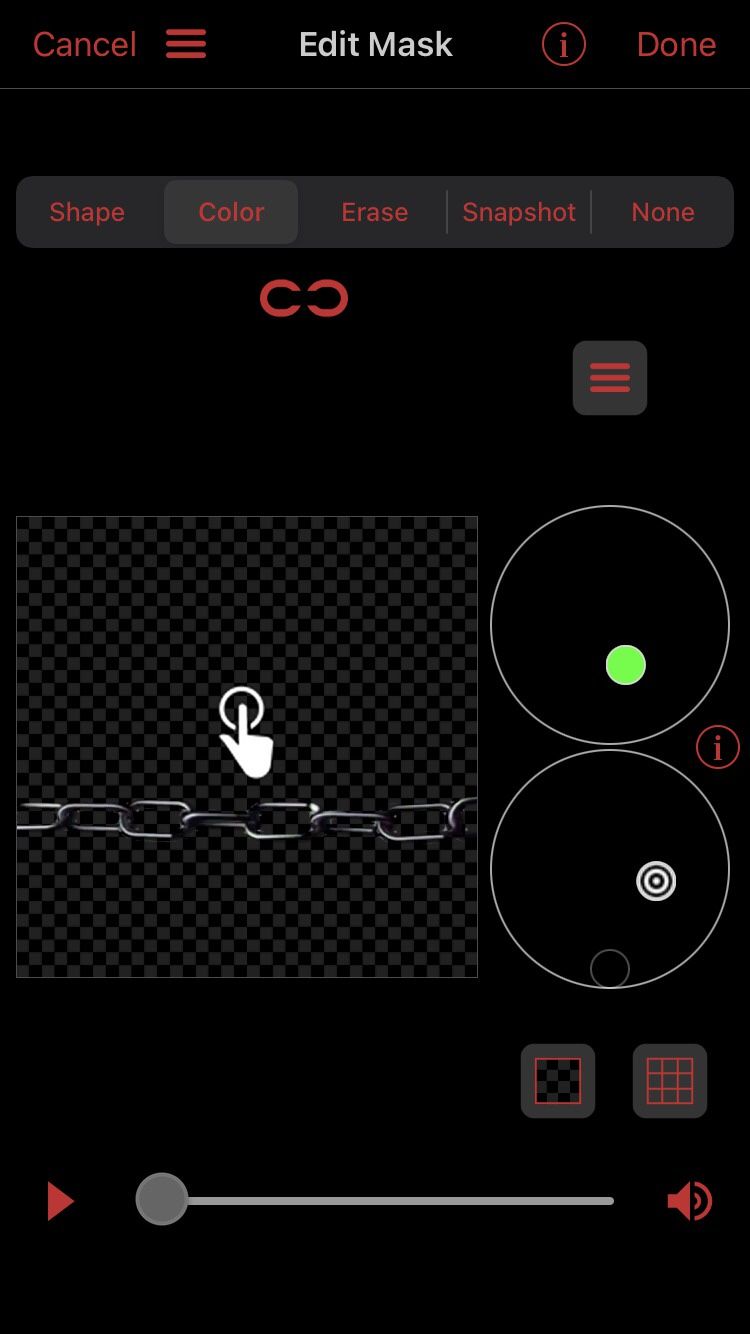
The Blend circle allows you to create a blending effect between the background and the subject, making the edges smoother. If you don't adjust Blend, the edges of the subject will be surrounded by pixelated parts of the colored screen.
Method Two: Auto Background Color Masking
Video Star also has automatic background color removal options. This makes removing a colored screen quick and convenient. The downside to this method is that there are only a select number of colors you can remove.
Just as with Custom Color Masking, tap the layer you've imported the overlay to, and select Add Mask. In the Edit Mask window, select Color from the tabs at the top. Tap the three stripes, and you'll see a popup with several masking options.
These masking options combine the effects you'll get from using the Match and Blend circles in the Custom setting discussed above. Pure means the entirety of that color will be removed from the overlay, but it might leave some pixelated edges around the subject. Blend will help smooth out those edges.
Select an option from the list, and adjust the masking strength with the slider. If you've selected a Pure color, it might be difficult to get a non-pixelated masked subject. We recommend sticking to Blend colors for the auto method or using the Custom method instead. This is because the sliders are linear, while the circles from Custom are all-encompassing.
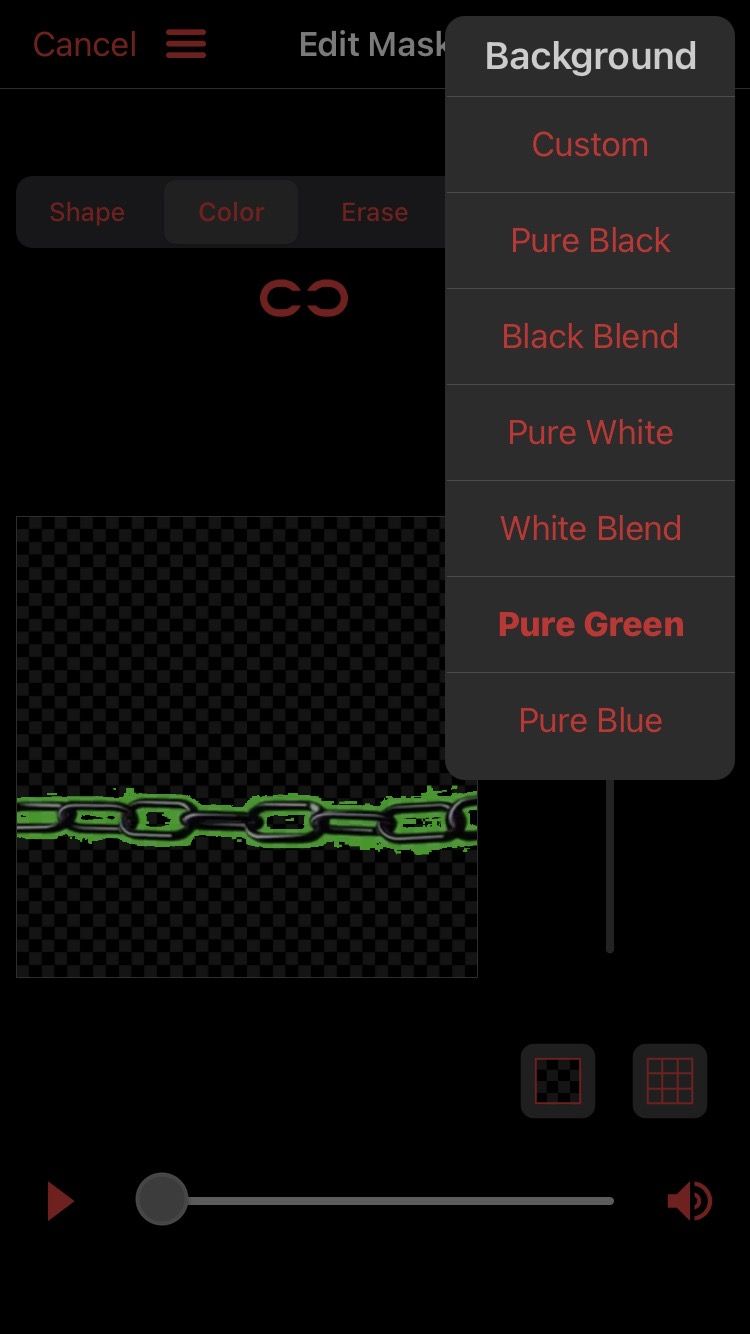
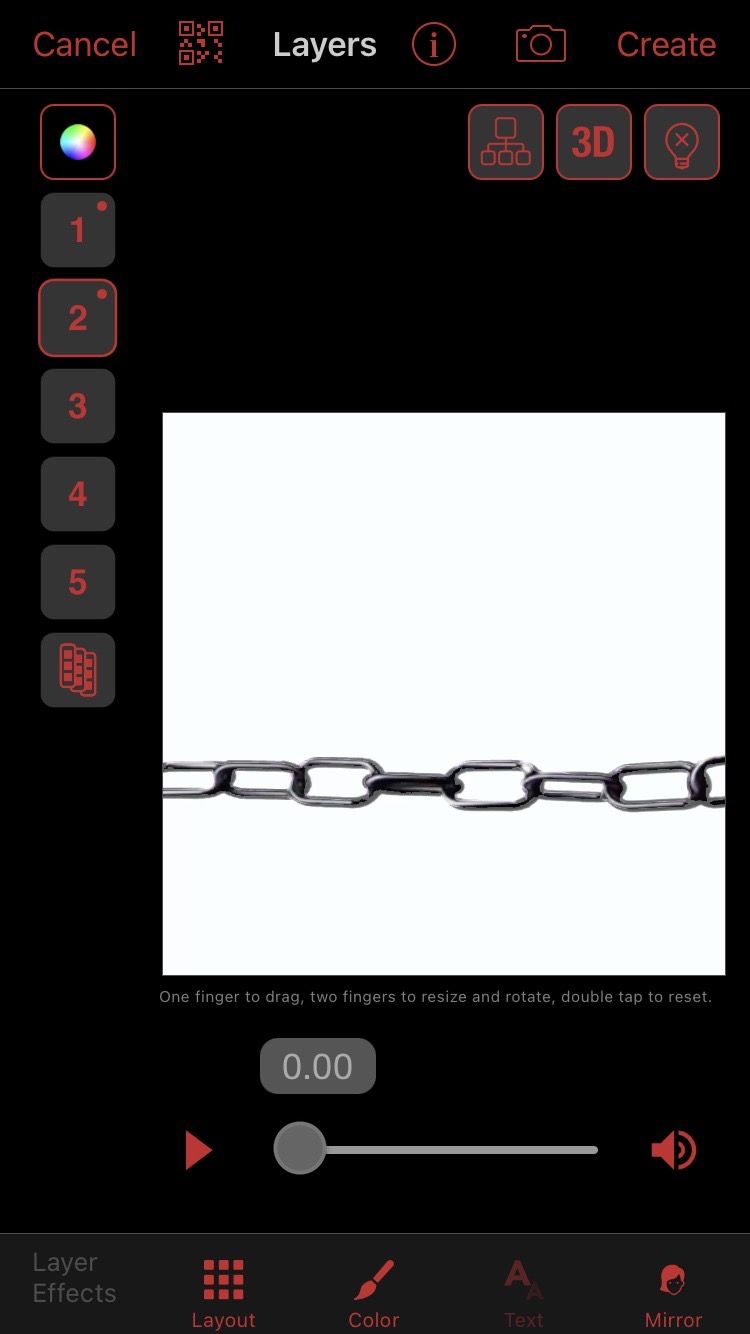
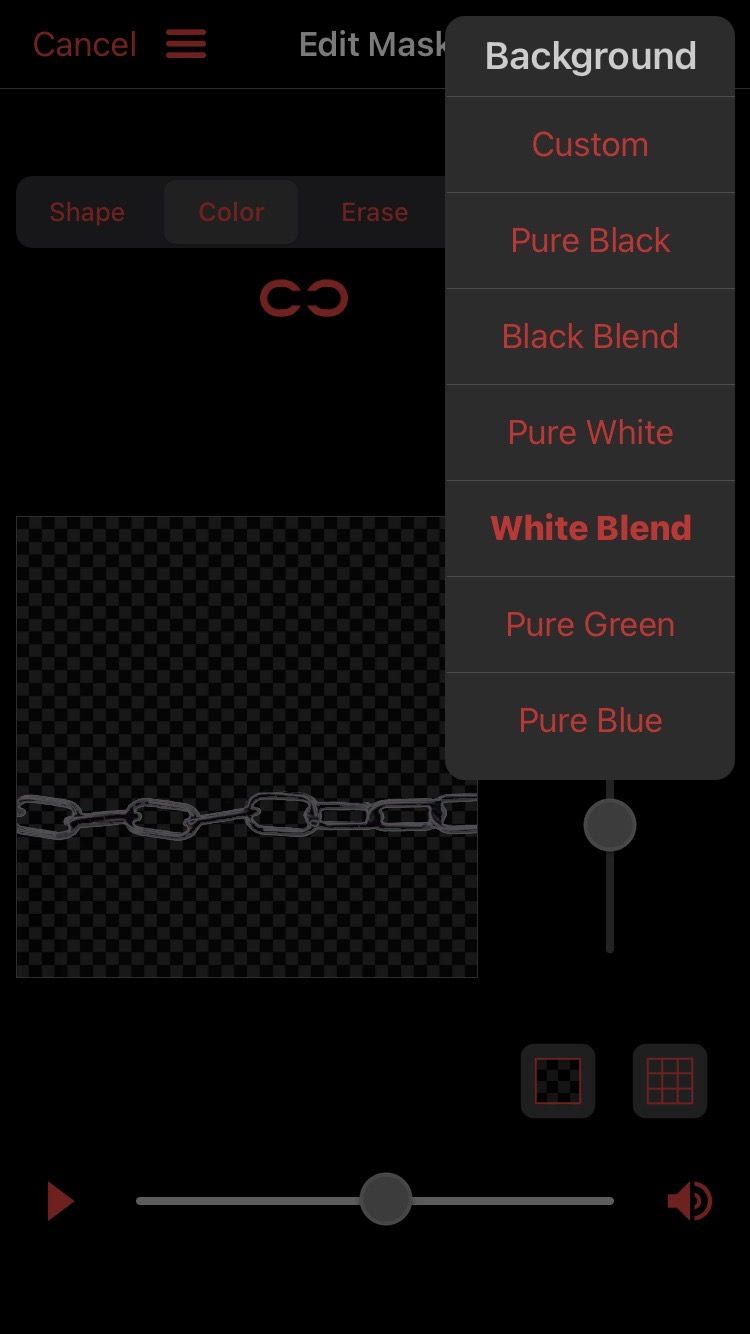
The auto method is ideal for black and white overlays since they have a Blend option. Blue and green screen removal in the auto method will only work well with high-definition overlays where the subject is outlined clearly.
3. Simplifying the Process
If you're having a hard time seeing whether the color is properly removed, there are two things that can help.
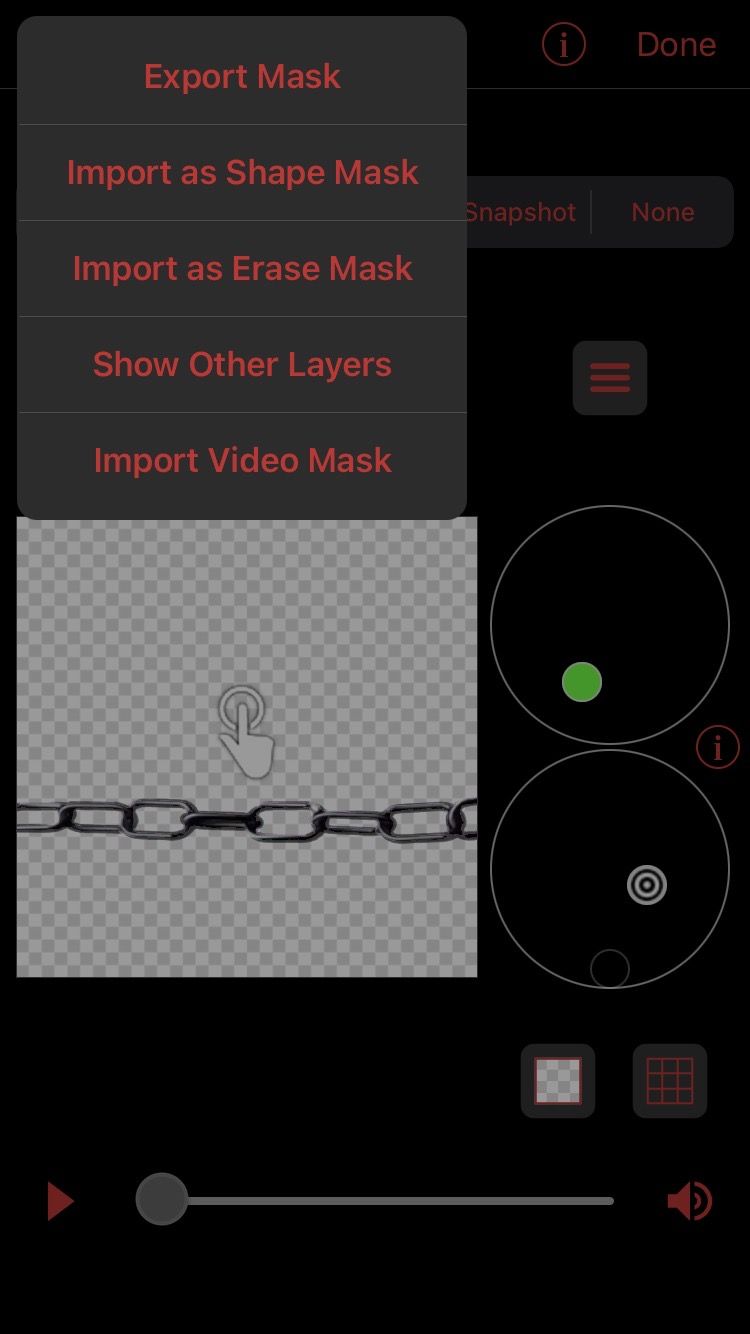
Locate the translucent icon below the circles (there are two; it's the one on the left), and toggle it between black and white. Seeing the masked subject against two different opacities will help you spot anything you might have missed while removing the color.
You can also replace the translucent background with a layer. Open the Edit Mask menu at the top (represented by three stripes), select Show Other Layers, and choose the layer that you've imported your video clip to. This will give you an exact visual of what the masked subject of the overlay will look like against the video.
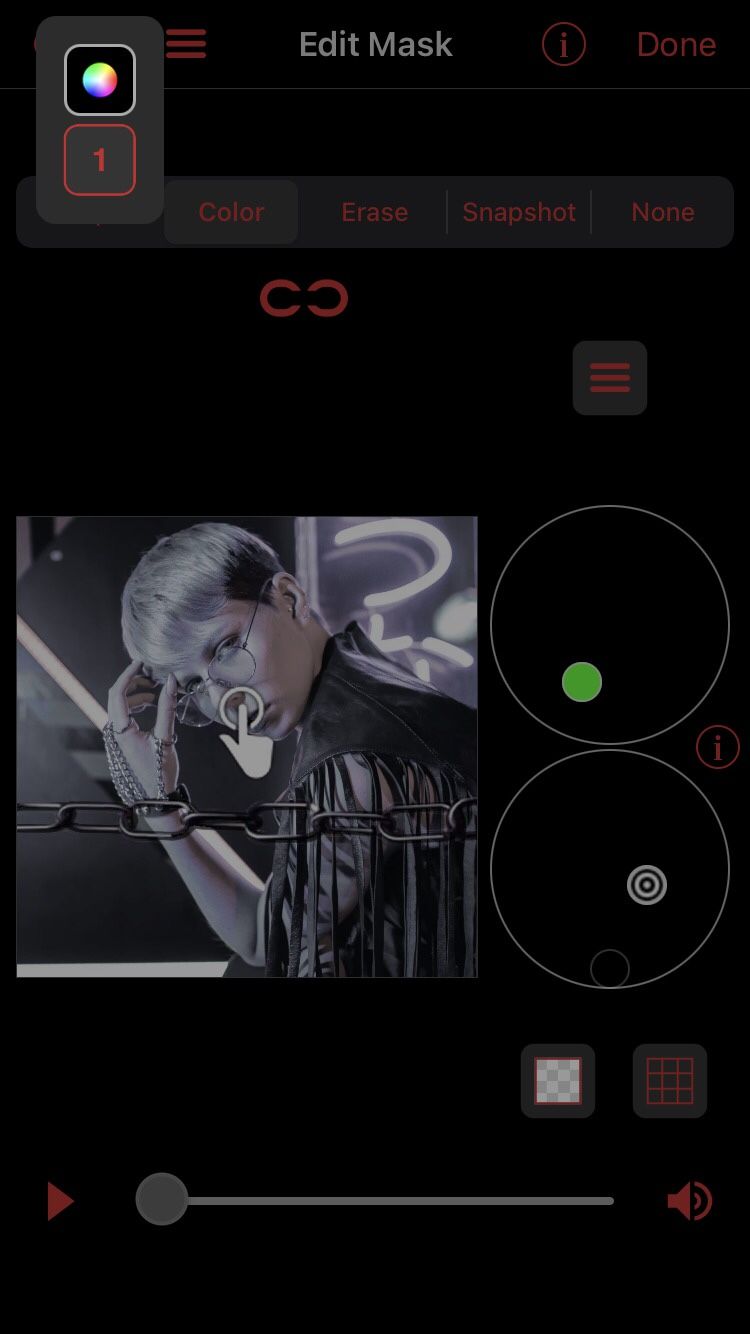
Remember to always play the clip as you're editing—the playback button is located at the bottom of the Edit Mask window. This way, you'll ensure that every part of the overlay video is masked properly.
Once you're satisfied with the result, hit Done at the top right and you'll be directed back to the Multi-Layer window. From there, you can add effects and make keyframe changes to the masked subject of the overlay.
Easily Use Green Screen Overlays in Video Star
Video Star is a powerhouse editor with numerous options for using green screen overlays. If you stick to this guide for green screen removal, you can create edits with just about any type of colored screen overlay.

