Everyone seems to be using green screens in their video edits lately. If you scroll for long enough on social media, you'll eventually come across some of these edits. It might be a meme placed in a selfie video, advanced effects created with moving subjects, or banners in a YouTube video.
If you want to jump on board with this green screen trend, we've got you covered. This article is going to show you how to use green screen overlays in CapCut. It's easy, quick, and completely free.
How to Use Green Screen Overlays in CapCut
Before we dive into the tutorial, download the CapCut mobile app.
Download: CapCut for iOS | Android (Free)
The CapCut Chroma feature makes using green screen overlays a breeze, but there is a bit of preparation that goes into using green screen videos in your edits. Let's get started.
1. Obtain the Green Screen Overlay
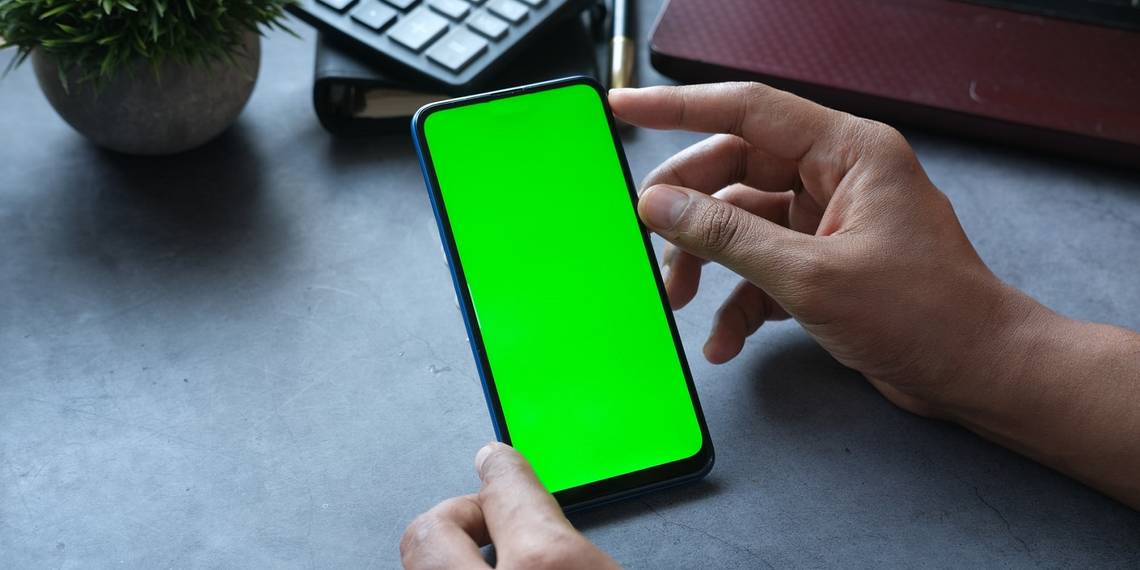
To use a green screen video, you need to obtain one first and have it ready in your camera roll.
You can find green screen videos, conduct a YouTube search for "popular green screens" or anything more specific that you're looking for. There are also tons of Instagram accounts that exist solely for sharing green screen videos.
To get these videos on your device, have a look at our articles on how you can download YouTube videos, as well as how you can download Instagram videos. The alternative is screen-recording them.


Don't be alarmed when you come across videos that might have a blue or pink-colored screen. When the subject contains a color that's the same or too similar to green, the editor will use a different color instead. This is fine as long as it's a solid, high-opacity color that isn't pixelated.
Keep in mind that if you're going to use green screen videos in your edits that you didn't create, you need to credit those creators/editors when you post the final result.
You can always create your own green screen video too. Obtain the video that you want to transform into a green screen, and use a mobile video editor with features that can remove the background of a moving subject, and then replace it with a green screen. In CapCut, the Remove Background feature can do this.
2. Prepare Your Video
You might've already completed a video edit without the green screen elsewhere, but perhaps you want to use the green screen on an unedited video. Either way, ensure the video is exported to your camera roll. If you've produced the entire video edit in CapCut, then that's even better because it's already imported.
Here's how to import your video to CapCut:
- Open the CapCut app and tap New Project from the home screen.
- Select Video, locate the video in your camera roll, and select it. From there, tap Add. You'll be directed to the main editing window.
3. Prepare the Green Screen
Now it's time to import the overlay and align it. Here's how to do that:
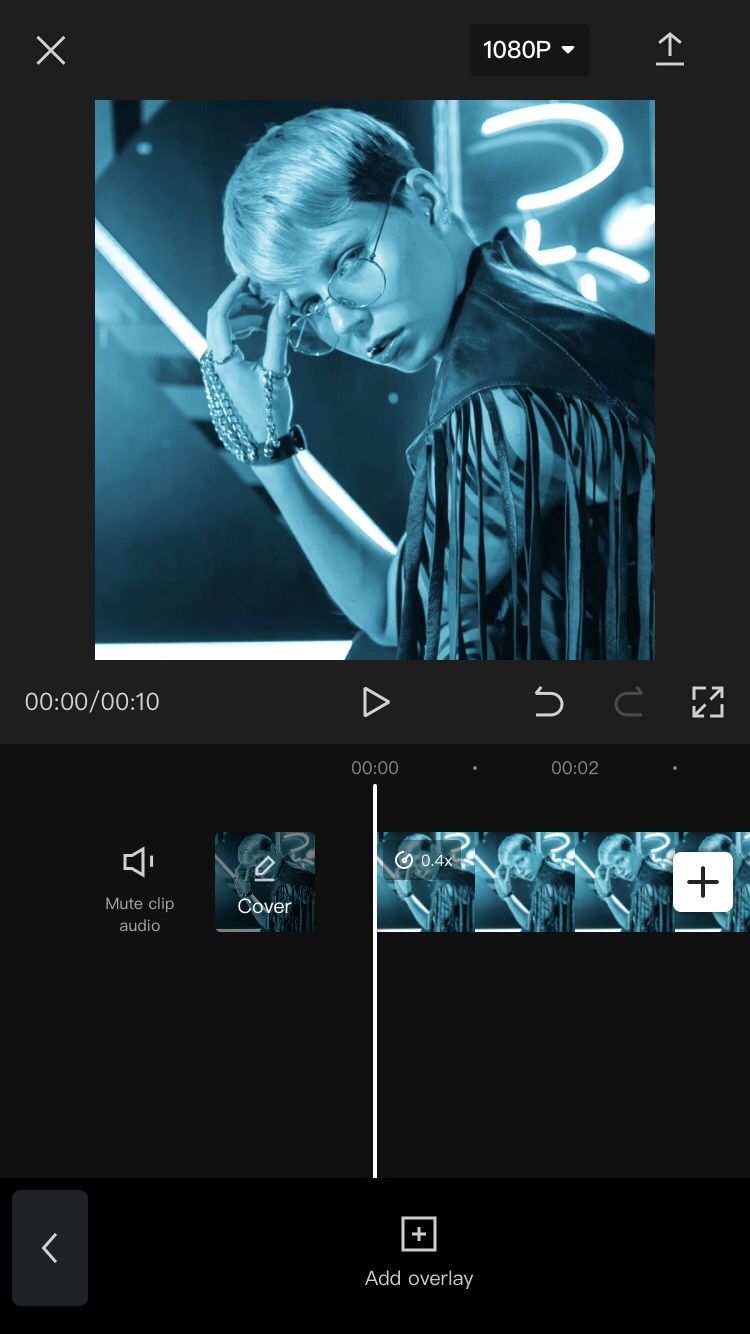
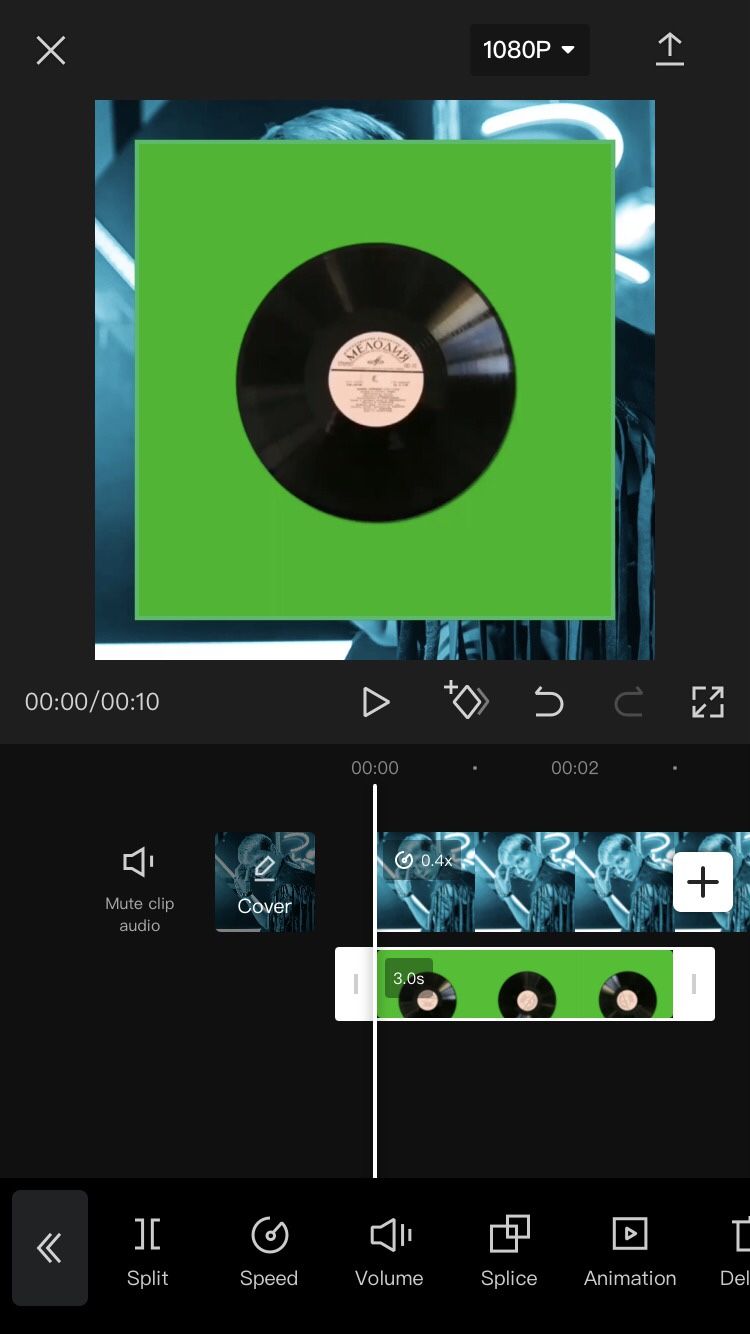
- Tap away from any clips you might have selected. Scroll through the menu at the bottom, and select Overlay > Add overlay.
- Locate the green screen overlay in your camera roll, select it, and tap Add. It will get imported as a separate clip in the main editing window.
- Tap on the clip with the overlay to select it. Now, drag it in the playback frame to position it where you want it. Pinch with two fingers to change the size.
-
While the overlay is still selected, locate the clip's trim tools at the beginning and end (represented by white bars), and trim its playback length if needed.


4. Remove the Background
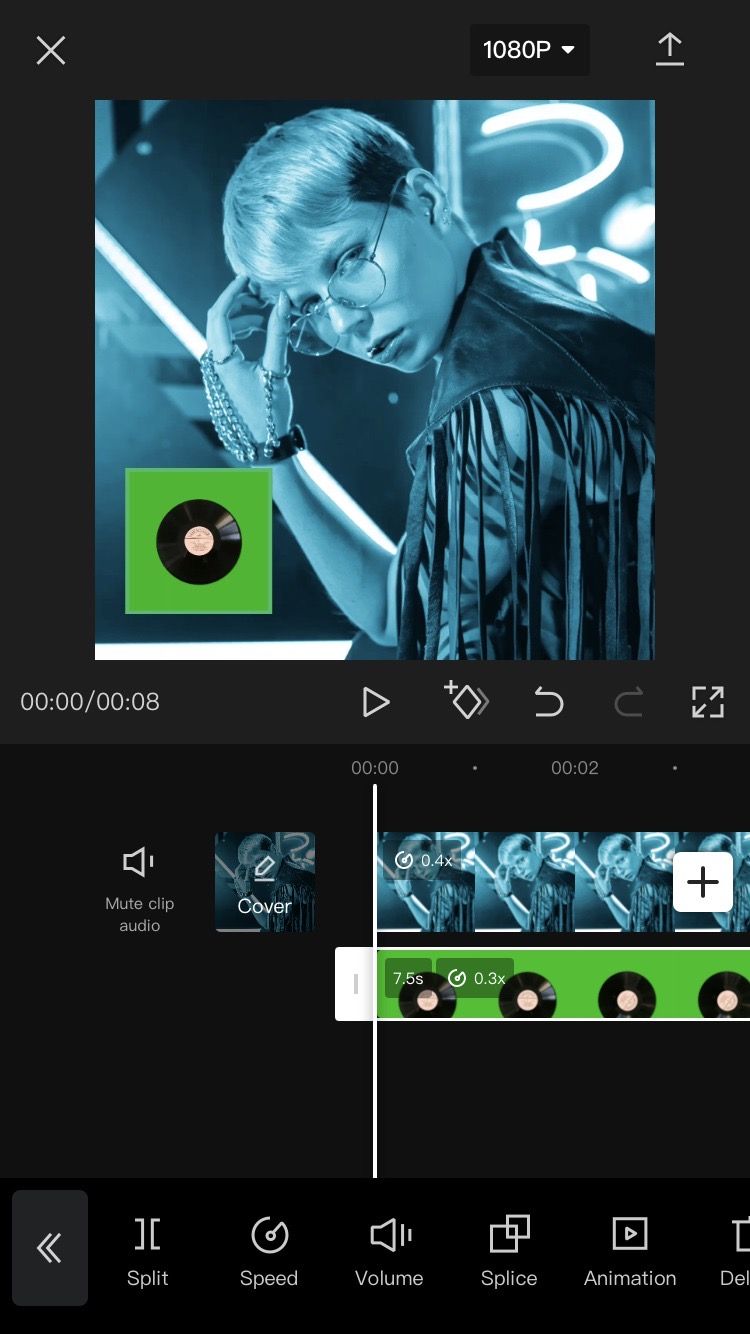
At this point, you should see the green screen overlay covering part or all of the video you've first imported. We're going to remove the green part and isolate the subject with the Chroma feature.
Follow these steps to remove the green screen:
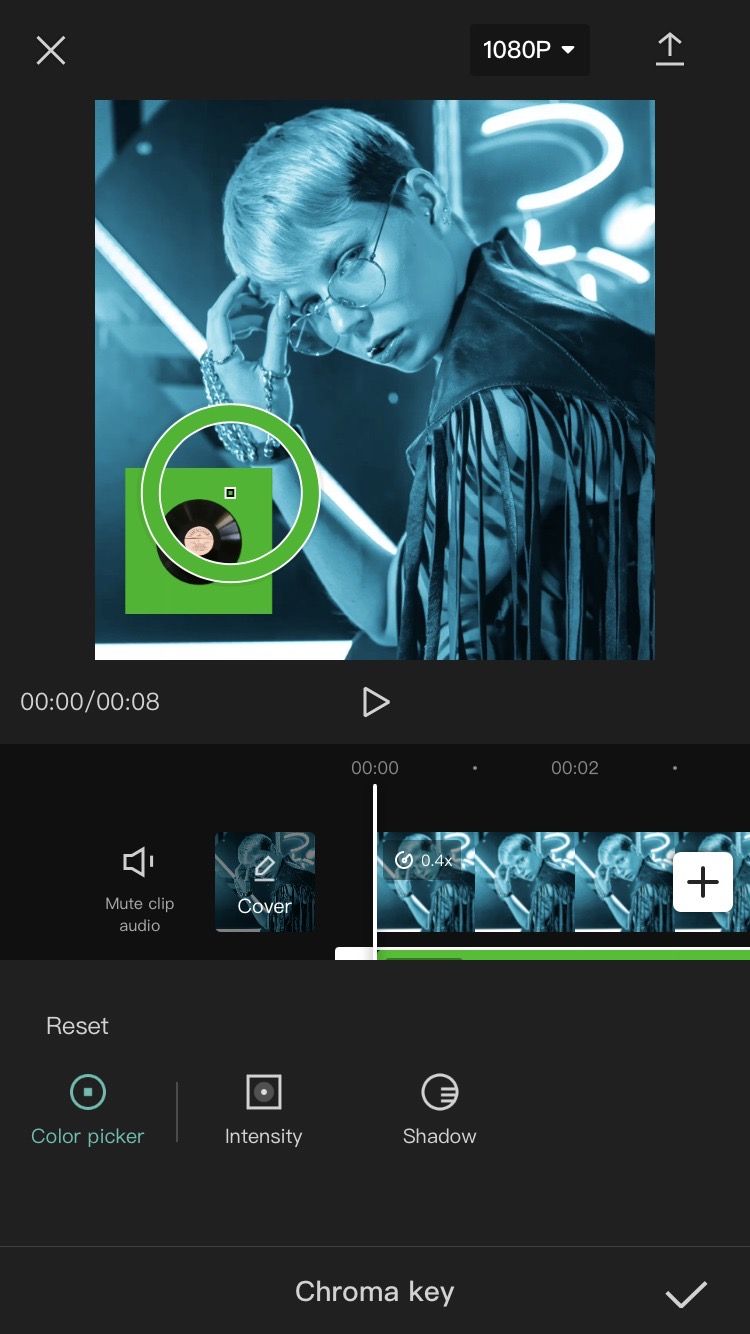
- Tap on the overlay clip to select it. Scroll in the bottom menu until you find Chroma key, and then select it.
- Select Color picker. You'll see a colored circle appear on the playback window. Drag it until the middle point hovers over the color you want to remove—you'll see the circle change to whichever color is selected.
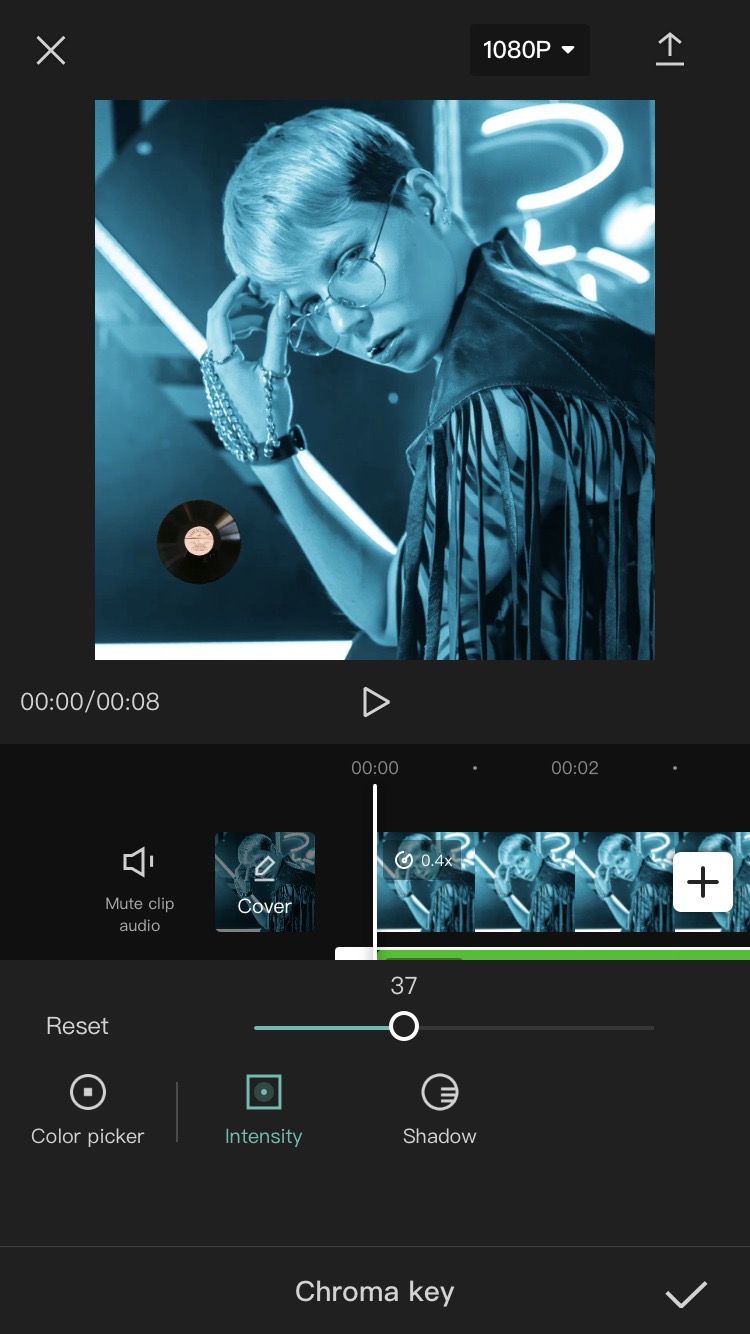
- From the Chroma key settings, select Intensity. Drag the slider until the entirety of the colored screen is removed. Ensure not to drag it to a point where the subject starts to disappear as well.
-
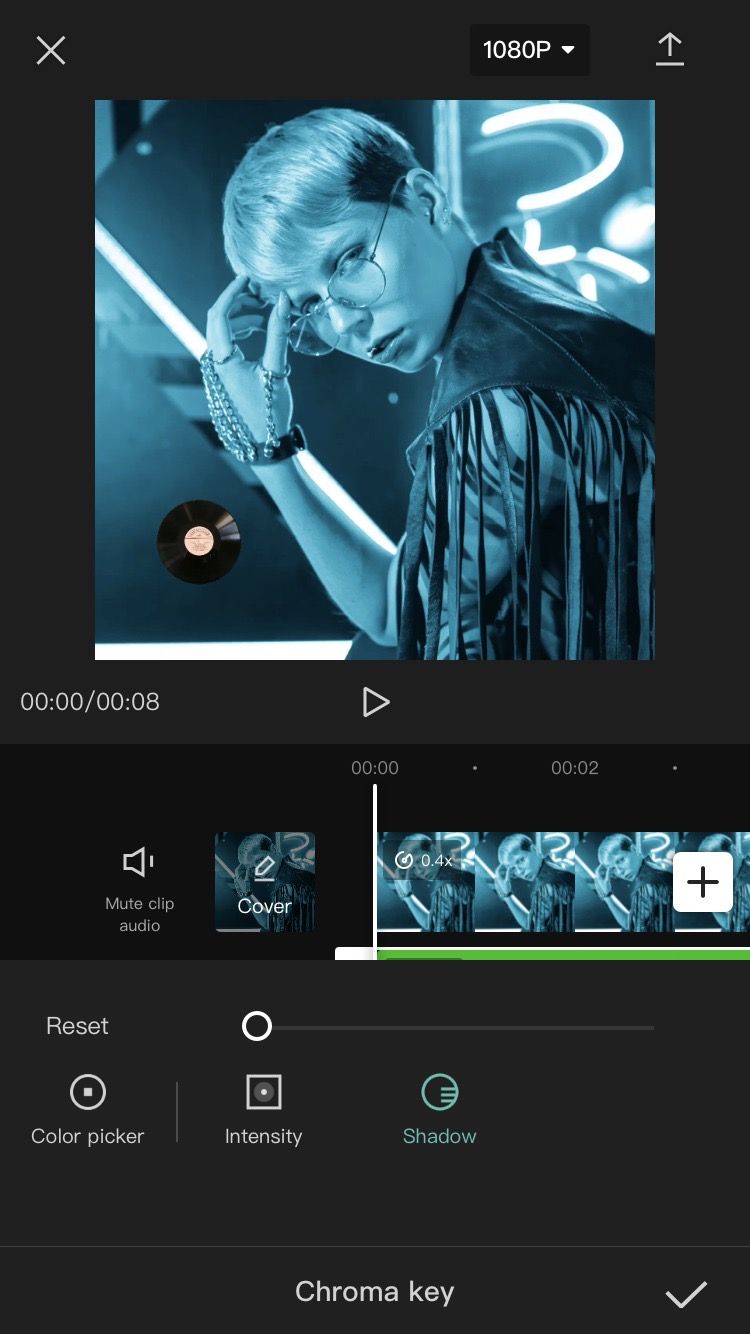
Select Shadow from the Chroma key settings and turn the slider down to zero.


And you're all set! Now that the background is removed, you might want to reposition the subject of the overlay again. Simply tap the overlay clip to select it, and drag it with your finger on the playback frame.
Get the Hang of Green Screen Overlays in CapCut
If you've hoarded a bunch of green screen overlays and have been eager to use them, now is your chance to get started. Follow this quick and simple guide to do it for free on the CapCut mobile editing app.