Most people choose to use a single ecosystem to store all of their files online. Those who have chosen to go with Google Photos rather than iCloud on their iPhone might be wondering how to set their phone to automatically upload their pictures to Google Photos.
Whether you're expanding your use of Google's platform or you're a complete newbie, here's a complete guide on how to replace iCloud with Google Photos on your iPhone.
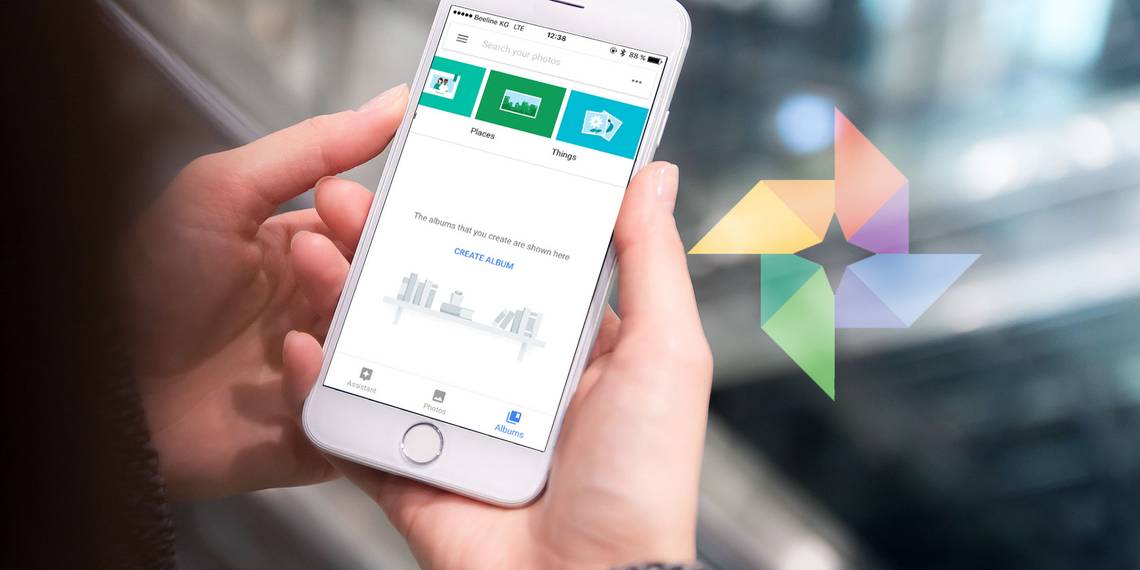
What Is Google Photos?
Google Photos is Google's photo storage solution. On the platform, you can store photos in your Google account in the cloud. These photos can sync across all of your devices through the Google Photos app.
Offering 15GB of free storage, Google allows you to store your photos in either the original quality or a compressed high-quality alternative. While it doesn't sound like much, you can store a fair few photos over multiple years before needing to upgrade and pay for more storage.
Google brings some fantastic features to the table as well. With the likes of face and pet recognition, advanced search, easy sharing, editing, and Google Lens, you're guaranteed a fantastic and feature-packed experience on the platform.
If you're still not convinced of the benefits of Google Photos, check out a few more reasons to use Google Photos on your iPhone.
How to Set Up The Google Photos App on iPhone
First things first, you'll need to install the Google Photos app on your iPhone. You can download Google Photos for free from the App Store.
Download: Google Photos (Free)
Once downloaded, the app will ask you for access to your photos. While you can choose which photos you give it access to with the iOS privacy features, it's best to allow access to all of your photos to get the most out of the app.
You'll need to either sign in with a Google account or create a new one. If you need to create one, you can do so easily from within the app. If you've already signed in to your Google Account on your iPhone before, you'll be able to sign in without needing to enter your login information again.


You've now set up the Google Photos app to function on your device! You'll be able to use the app as a replacement to the Photos app if you wish, as well as using it to back up your photos to your Google account.
Move Photos From iCloud to Google Photos
Once you've set up Google Photos, you're likely going to want to migrate your photos over from iCloud. This will mean all of your photos are in the same place, and it will let you keep access to photos you've already backed up when you switch off iCloud Photos.
There are a few ways to do this. If the photos are still on your iPhone, you can just back them up directly through the Google Photos app. If they're no longer on any of your devices, you'll need to use the Google Photos tool on your computer or Apple's privacy website.

We've got a detailed article on how to migrate your photos from iCloud to Google Photos if you need more of a tutorial on how to do this.
How to Turn Off iCloud Photos
Now that you're all set up in Google Photos, you're going to want to turn off iCloud Photos to stop your photos from being backed up to iCloud as well. You don't have to follow this step if you'd like a backup of your photos in iCloud as well as Google Photos.
This is easy to do and will stop your future photos from being backed up. It can also help save you some space in your iCloud account, which is handy for device backups.
Note: Doing this will also delete any photos saved in iCloud, so make sure you've already migrated them to Google Photos.
Head to Settings on your iPhone. Tap on your name at the top of the app, to access iCloud Settings. Once in this menu, tap on iCloud.


You'll now see a list of toggles for the different apps using iCloud. At the top of the list, you'll see Photos. This will open a new menu rather than a toggle, so tap on it.

In this menu, you'll see toggles for iCloud Photos. You'll want to disable iCloud Photos and My Photo Stream. You can leave Shared Albums turned on if you wish, to maintain access to any albums shared with you through iCloud.

You've now successfully turned off iCloud Photos. Your photos will no longer be backed up to iCloud, so you're ready to fully rely on Google Photos.
How to Upload Photos Automatically From Your iPhone
Google Photos has a handy feature that will let you automatically upload your photos from your iPhone to the platform. You won't need to manually back up your photos by selecting each one, which is a lot more convenient.
Note: When you first turn this feature on, the app will ask you if you want to back up via cellular data when there is no Wi-Fi. It's recommended that you only back up your photos via Wi-Fi to ensure you don't exceed your data limit.
Firstly, open the Google Photos app on your iPhone. Tap on your profile icon in the top-right corner. Then tap on Photos Settings from the dropdown menu.


In the settings menu, you'll need to select the top option of Backup & Sync to view those settings. Once in this section, make sure that the toggle is switched on. This will make sure that your photos are backed up automatically every time you open the app.


With your photos now automatically backing up to Google Photos, you don't need to keep the copies on your device either. You can delete the device copies to free up space. You can now access all of these photos from the platform on any device.
Your Photos on Google Photos
Now that you've completely set up Google Photos on your iPhone, you don't need to worry about them backing up to iCloud anymore. All your photos will be stored in this one place. You can access these photos on any device through the Google Photos app or the website.
Why not continue to take advantage of Google Photos and upload all of your old photos as well? You can upload any photos on your computer or from an external drive to keep those stored in Google Photos as well.