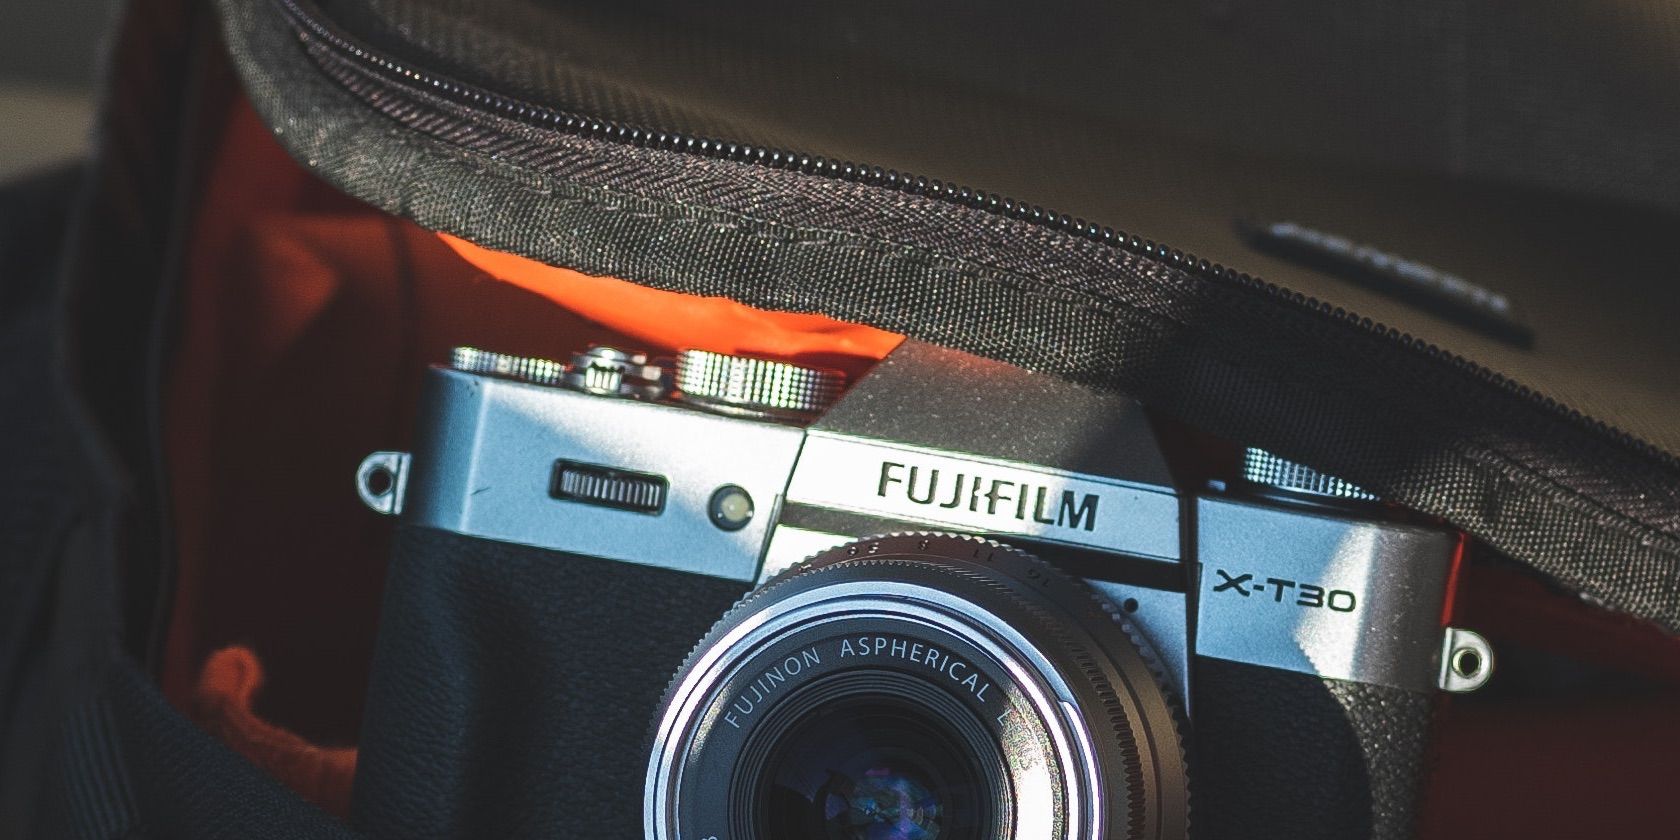
When you buy a Fujifilm camera, getting the Camera Remote app is a good idea if you plan to regularly share images on your smartphone or tablet. It’s also handy for downloading important firmware updates onto your camera, and you can even control your device from further away.
Although Fujifilm Camera Remote is quite easy to use, knowing the different functions in advance will help reduce any learning curve. And in this guide, you will find out how to use the app’s various features.
1. Download the Fujifilm Camera Remote App
Before you use any of the Fujifilm Camera Remote app’s features, you’ll first need to download the app. It’s available on both iOS and Android for free.
In addition to your Android smartphone or iPhone, you can use the app on your iPad or tablet that supports Android software.
Download: Fujifilm Camera Remote for iOS | Android (Free)
2. Download Firmware for Your Camera
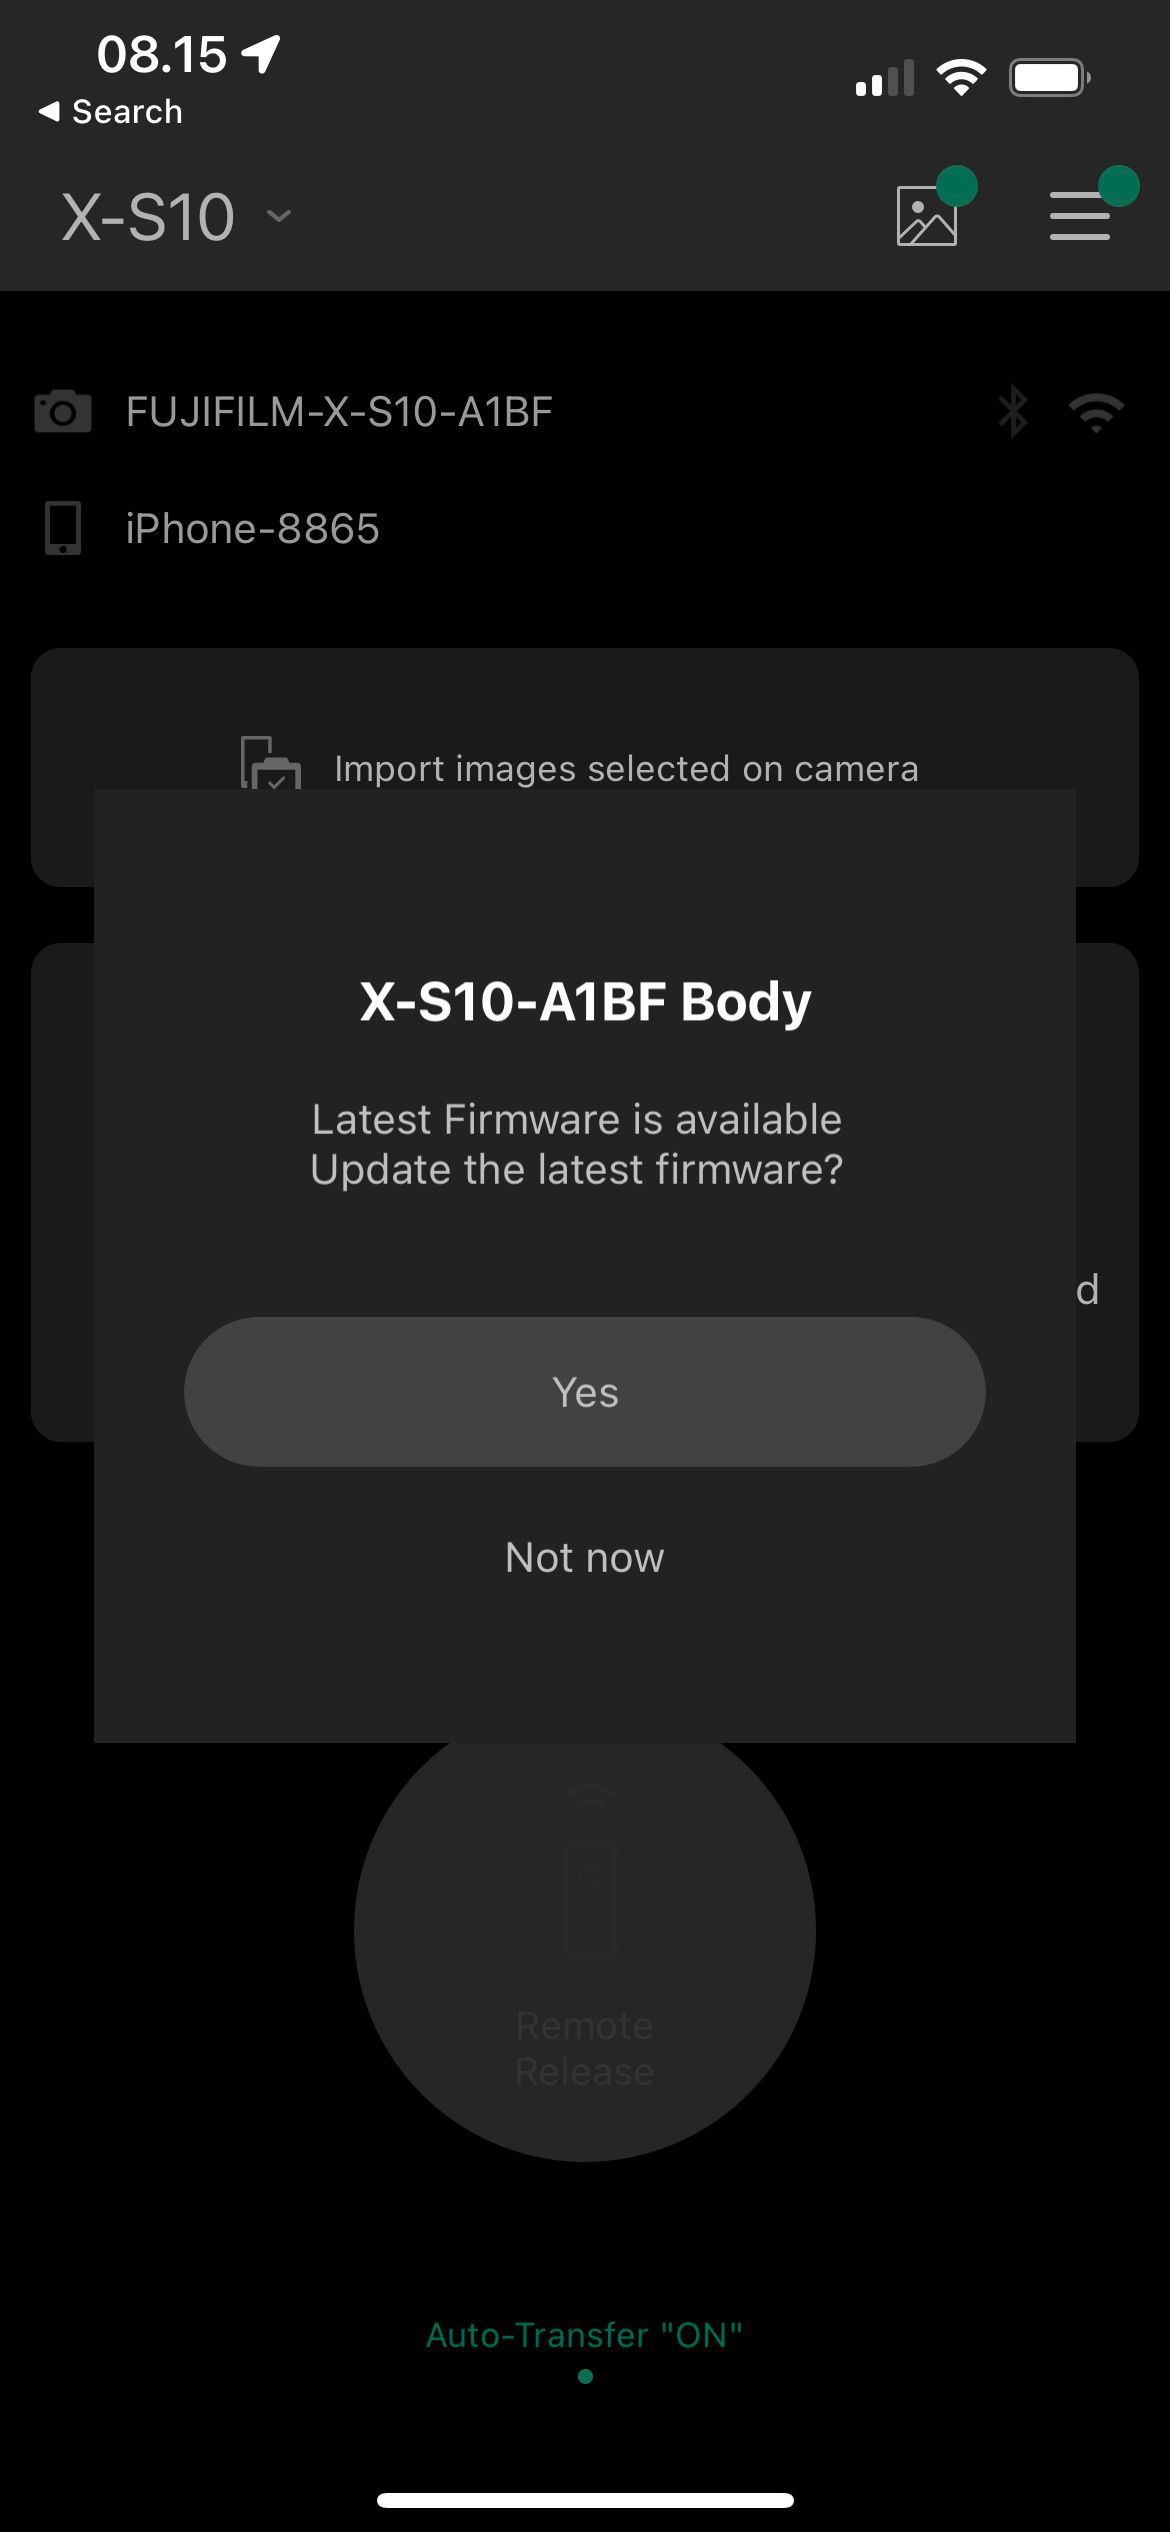
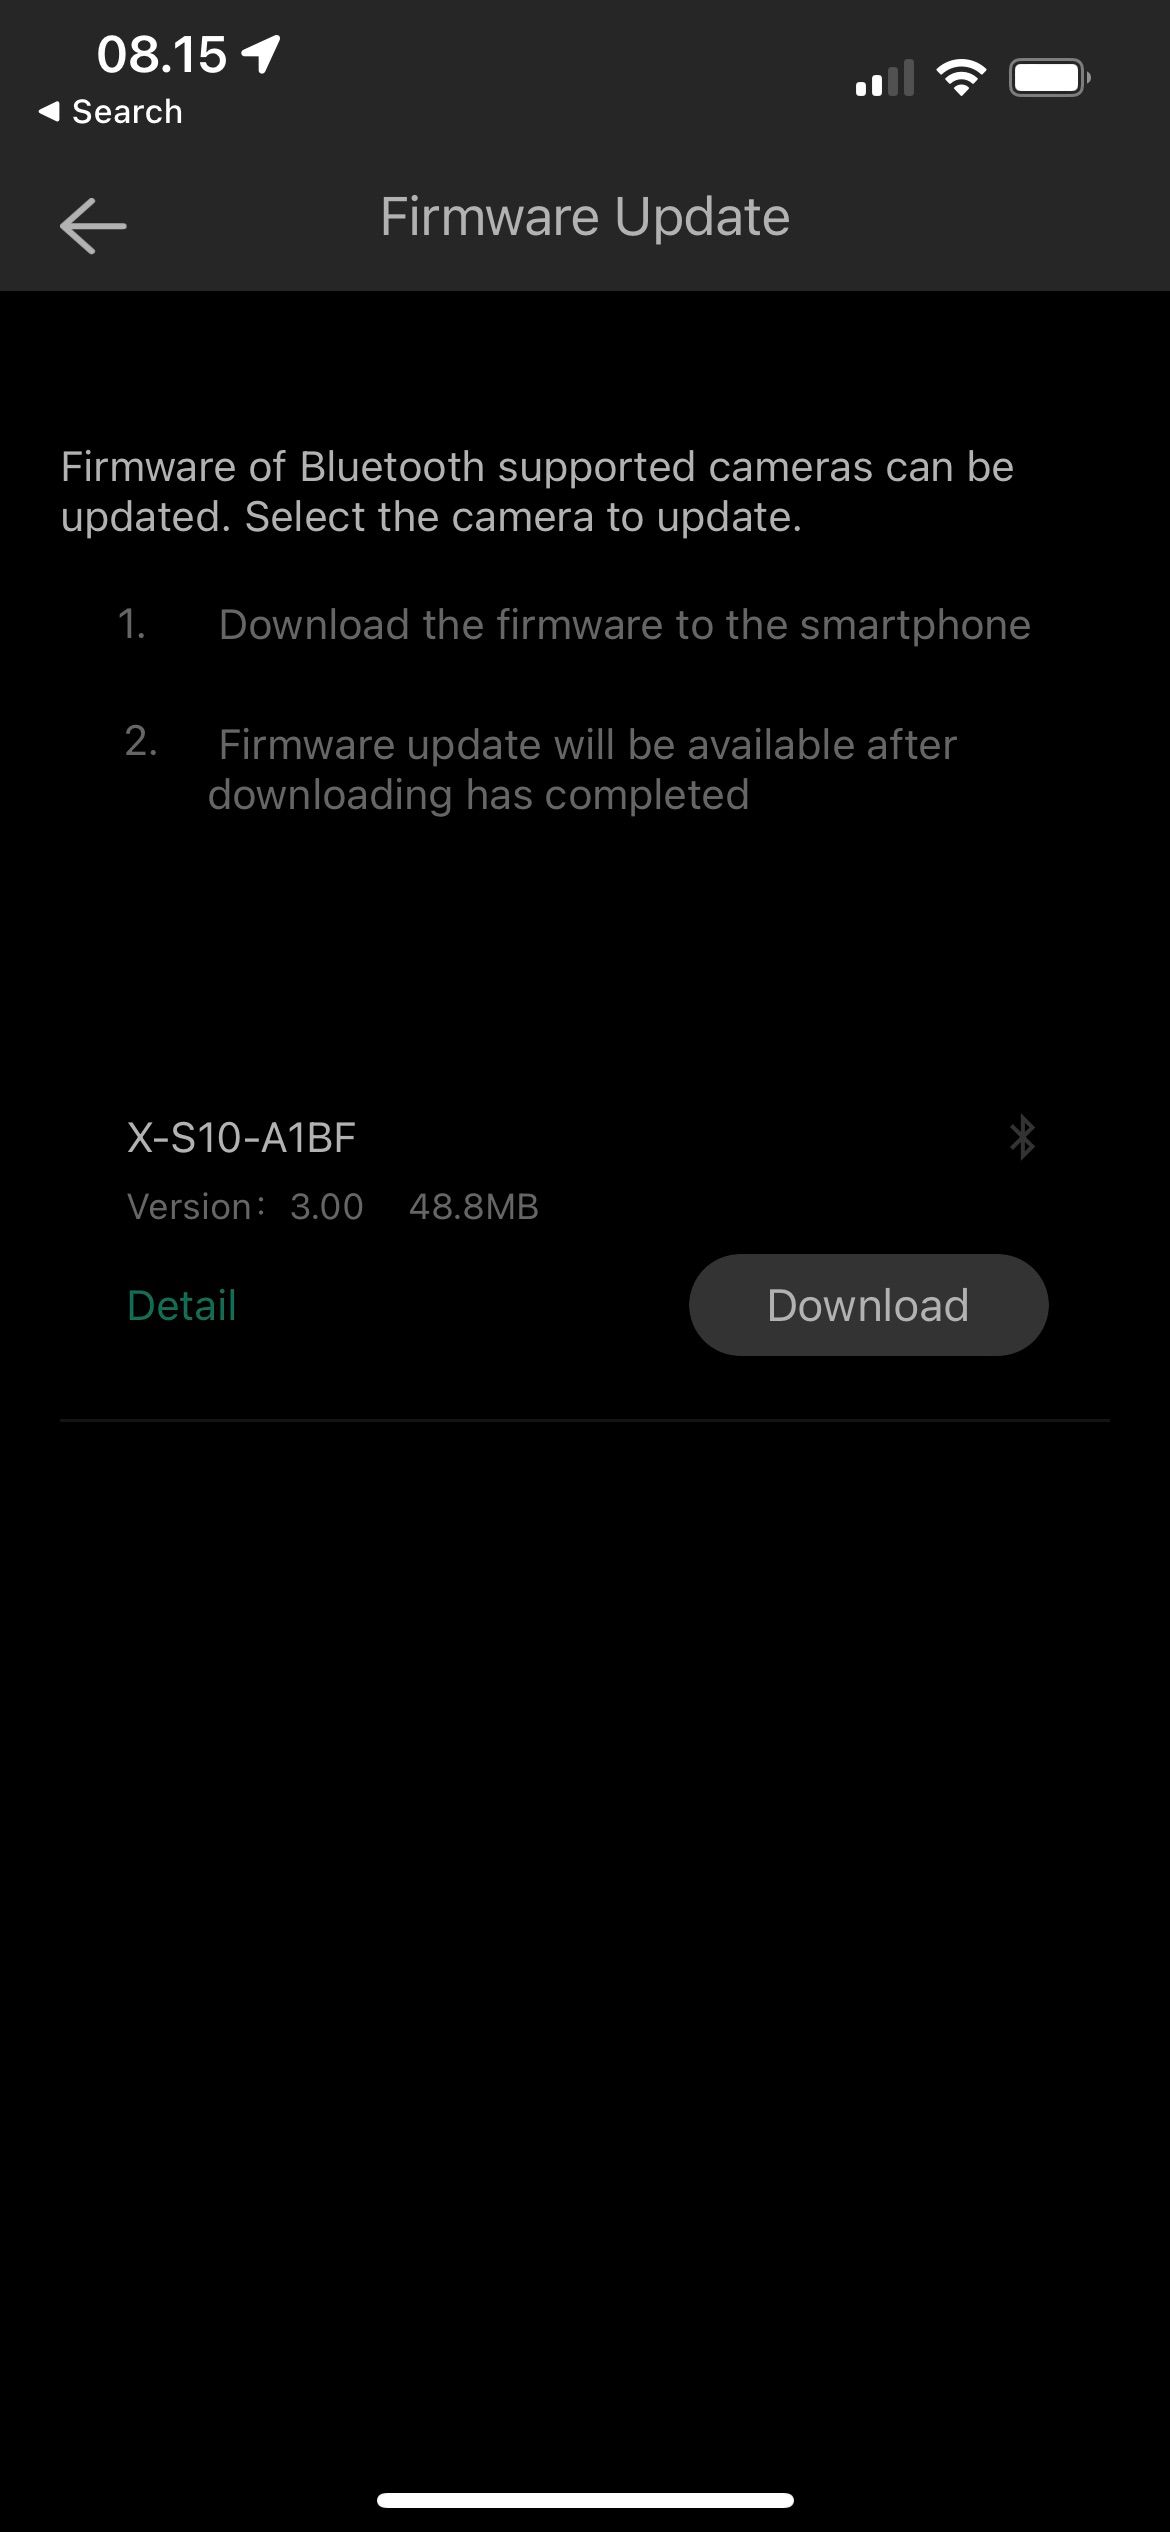
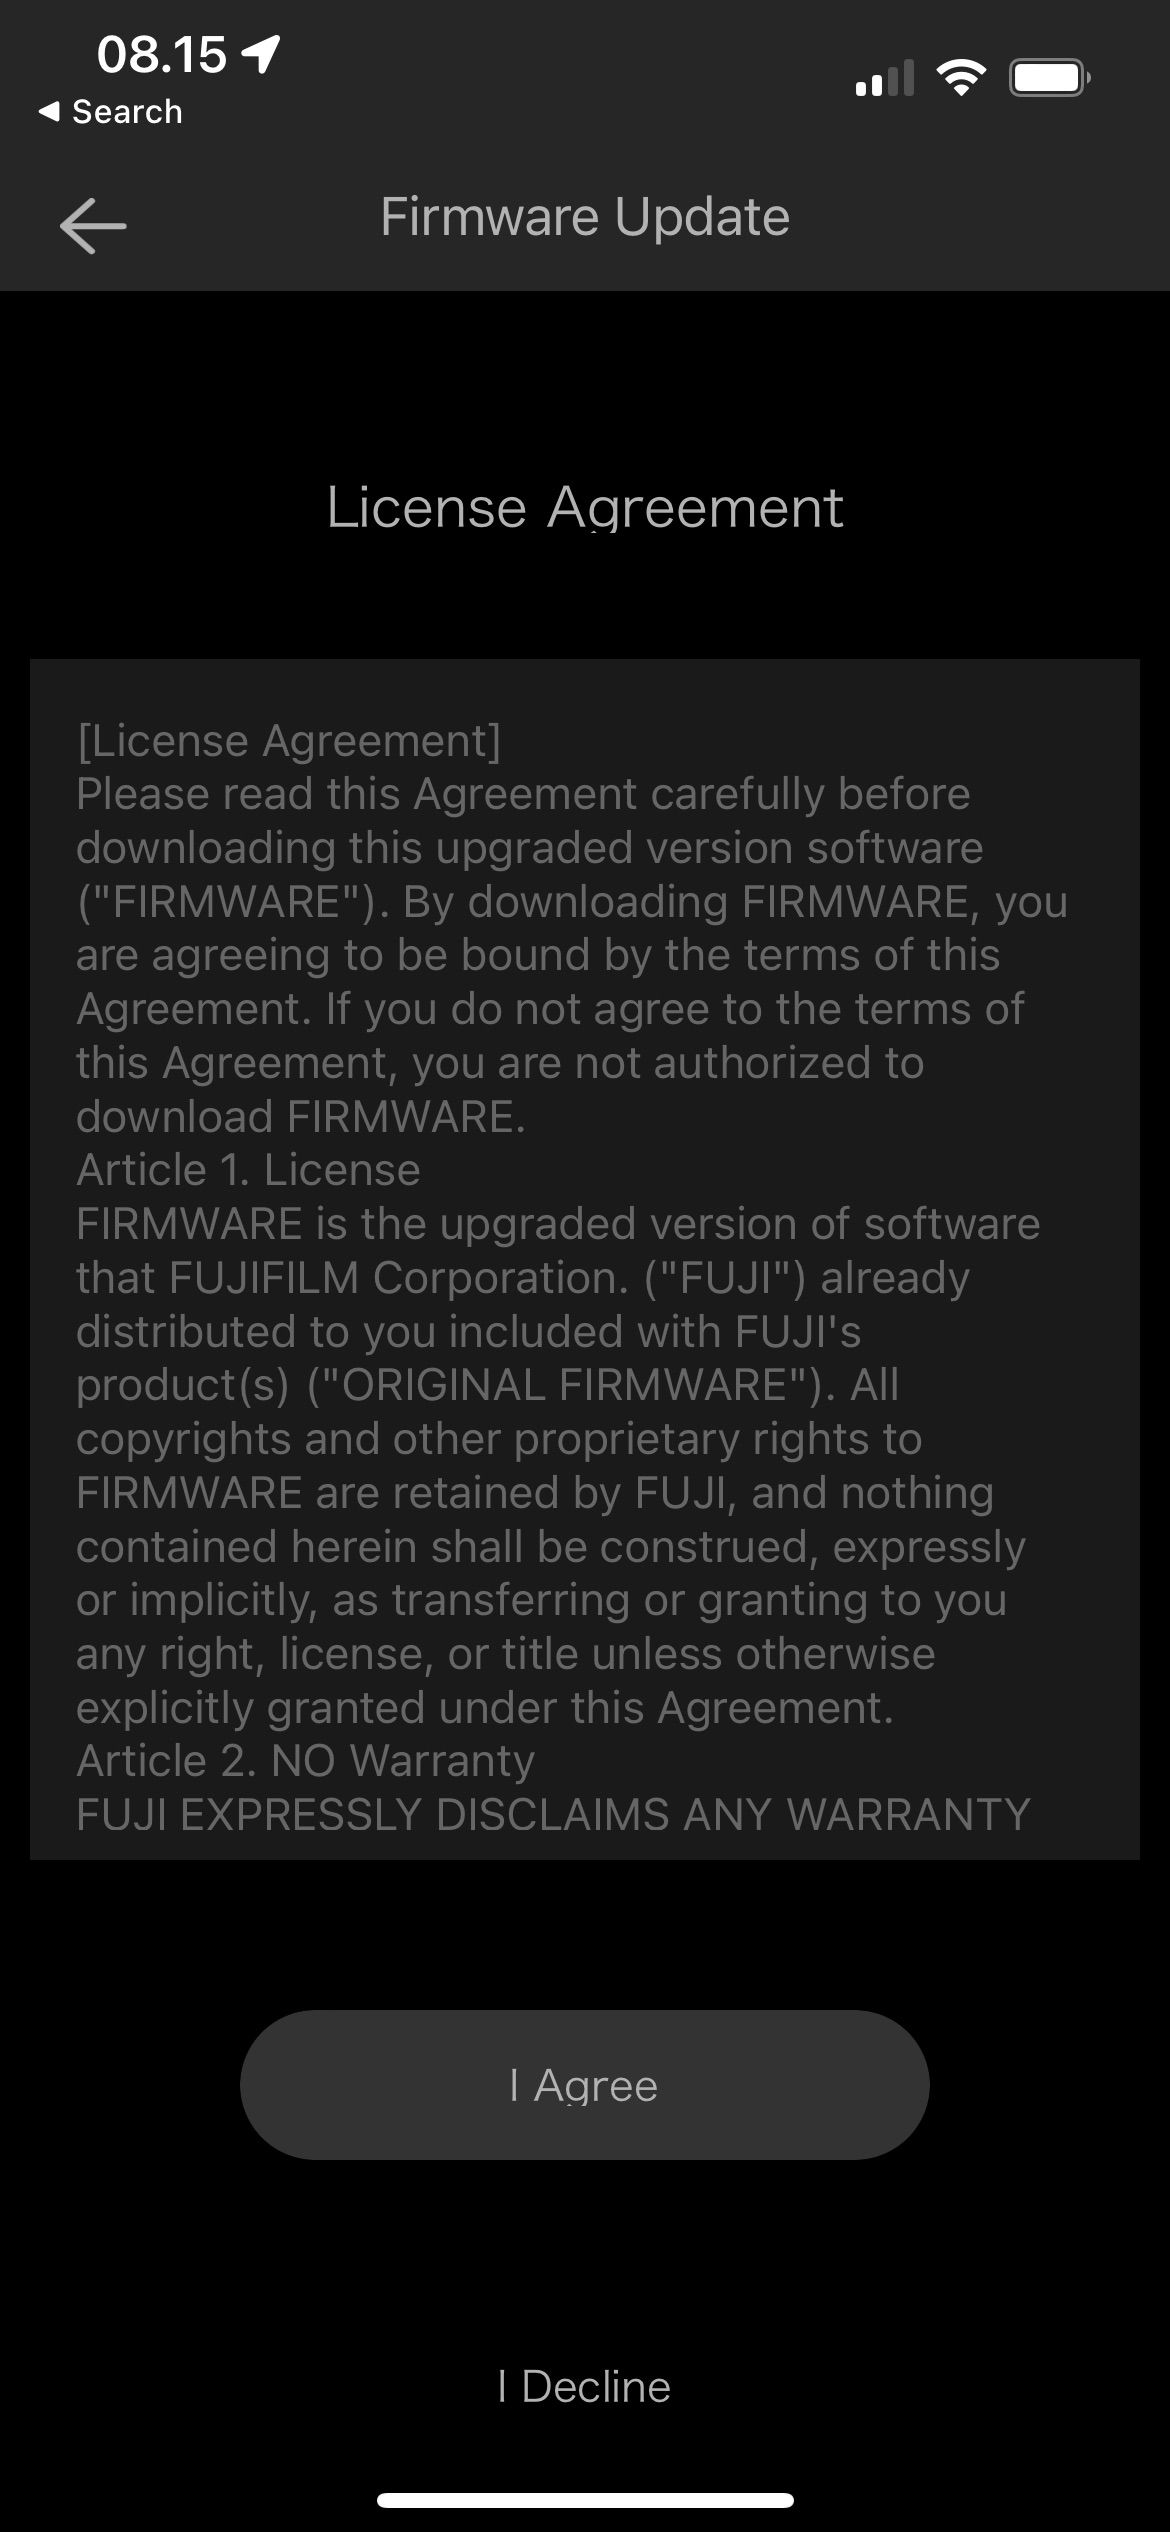
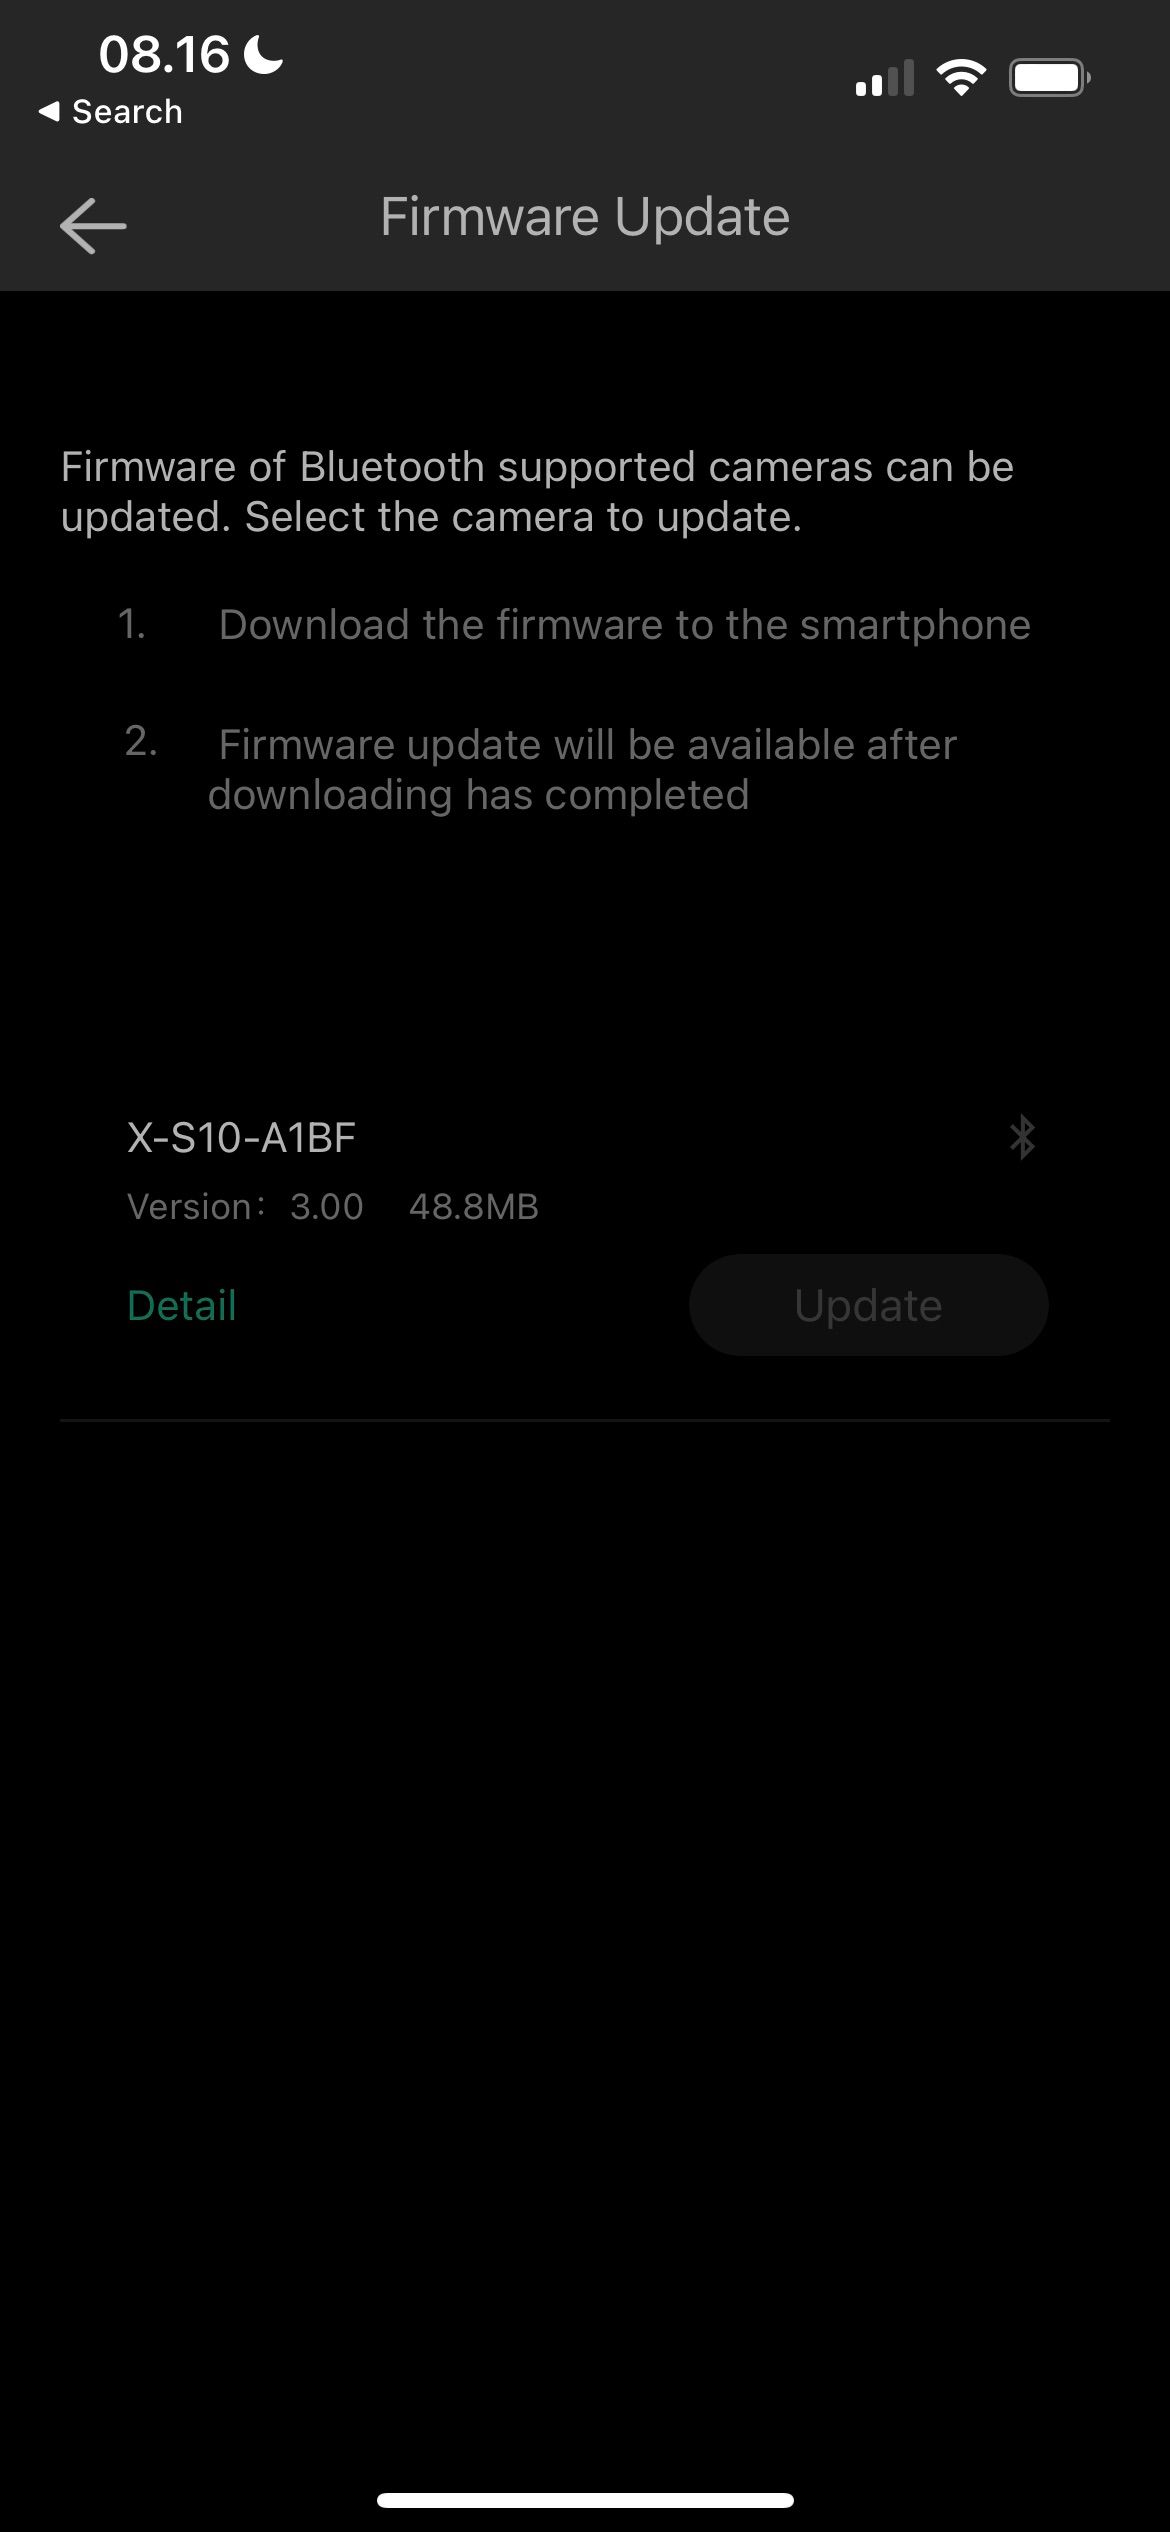
Downloading firmware updates will allow your camera to continue performing at an optimal level throughout your time using it. Fujifilm doesn’t release a huge number of updates, but you’ll receive each of them directly through the Camera Remote app. To download them, you must have Bluetooth enabled on your smartphone or tablet—along with doing the same on your camera.
Follow these instructions to download the new firmware for your camera:
- If you have firmware to update, you’ll see a pop-up appear on your screen. Select Yes to commence with the downloading process.
- Choose the camera you want to download your firmware for and hit Download. Then, select I Agree when the licensing agreement appears.
- Click on Update. On your camera, you’ll need to confirm that you want to download your firmware by tapping the OK button.
- Wait for your firmware to transfer to your camera after allowing it to join your network. Then, download it from your camera.
- Turn your camera off and on again after the firmware download has been completed.
If you own an iPhone and want to use Bluetooth on your device, see our beginner's guide to using Bluetooth on your iPhone.
3. Pair Your Camera With Your Device
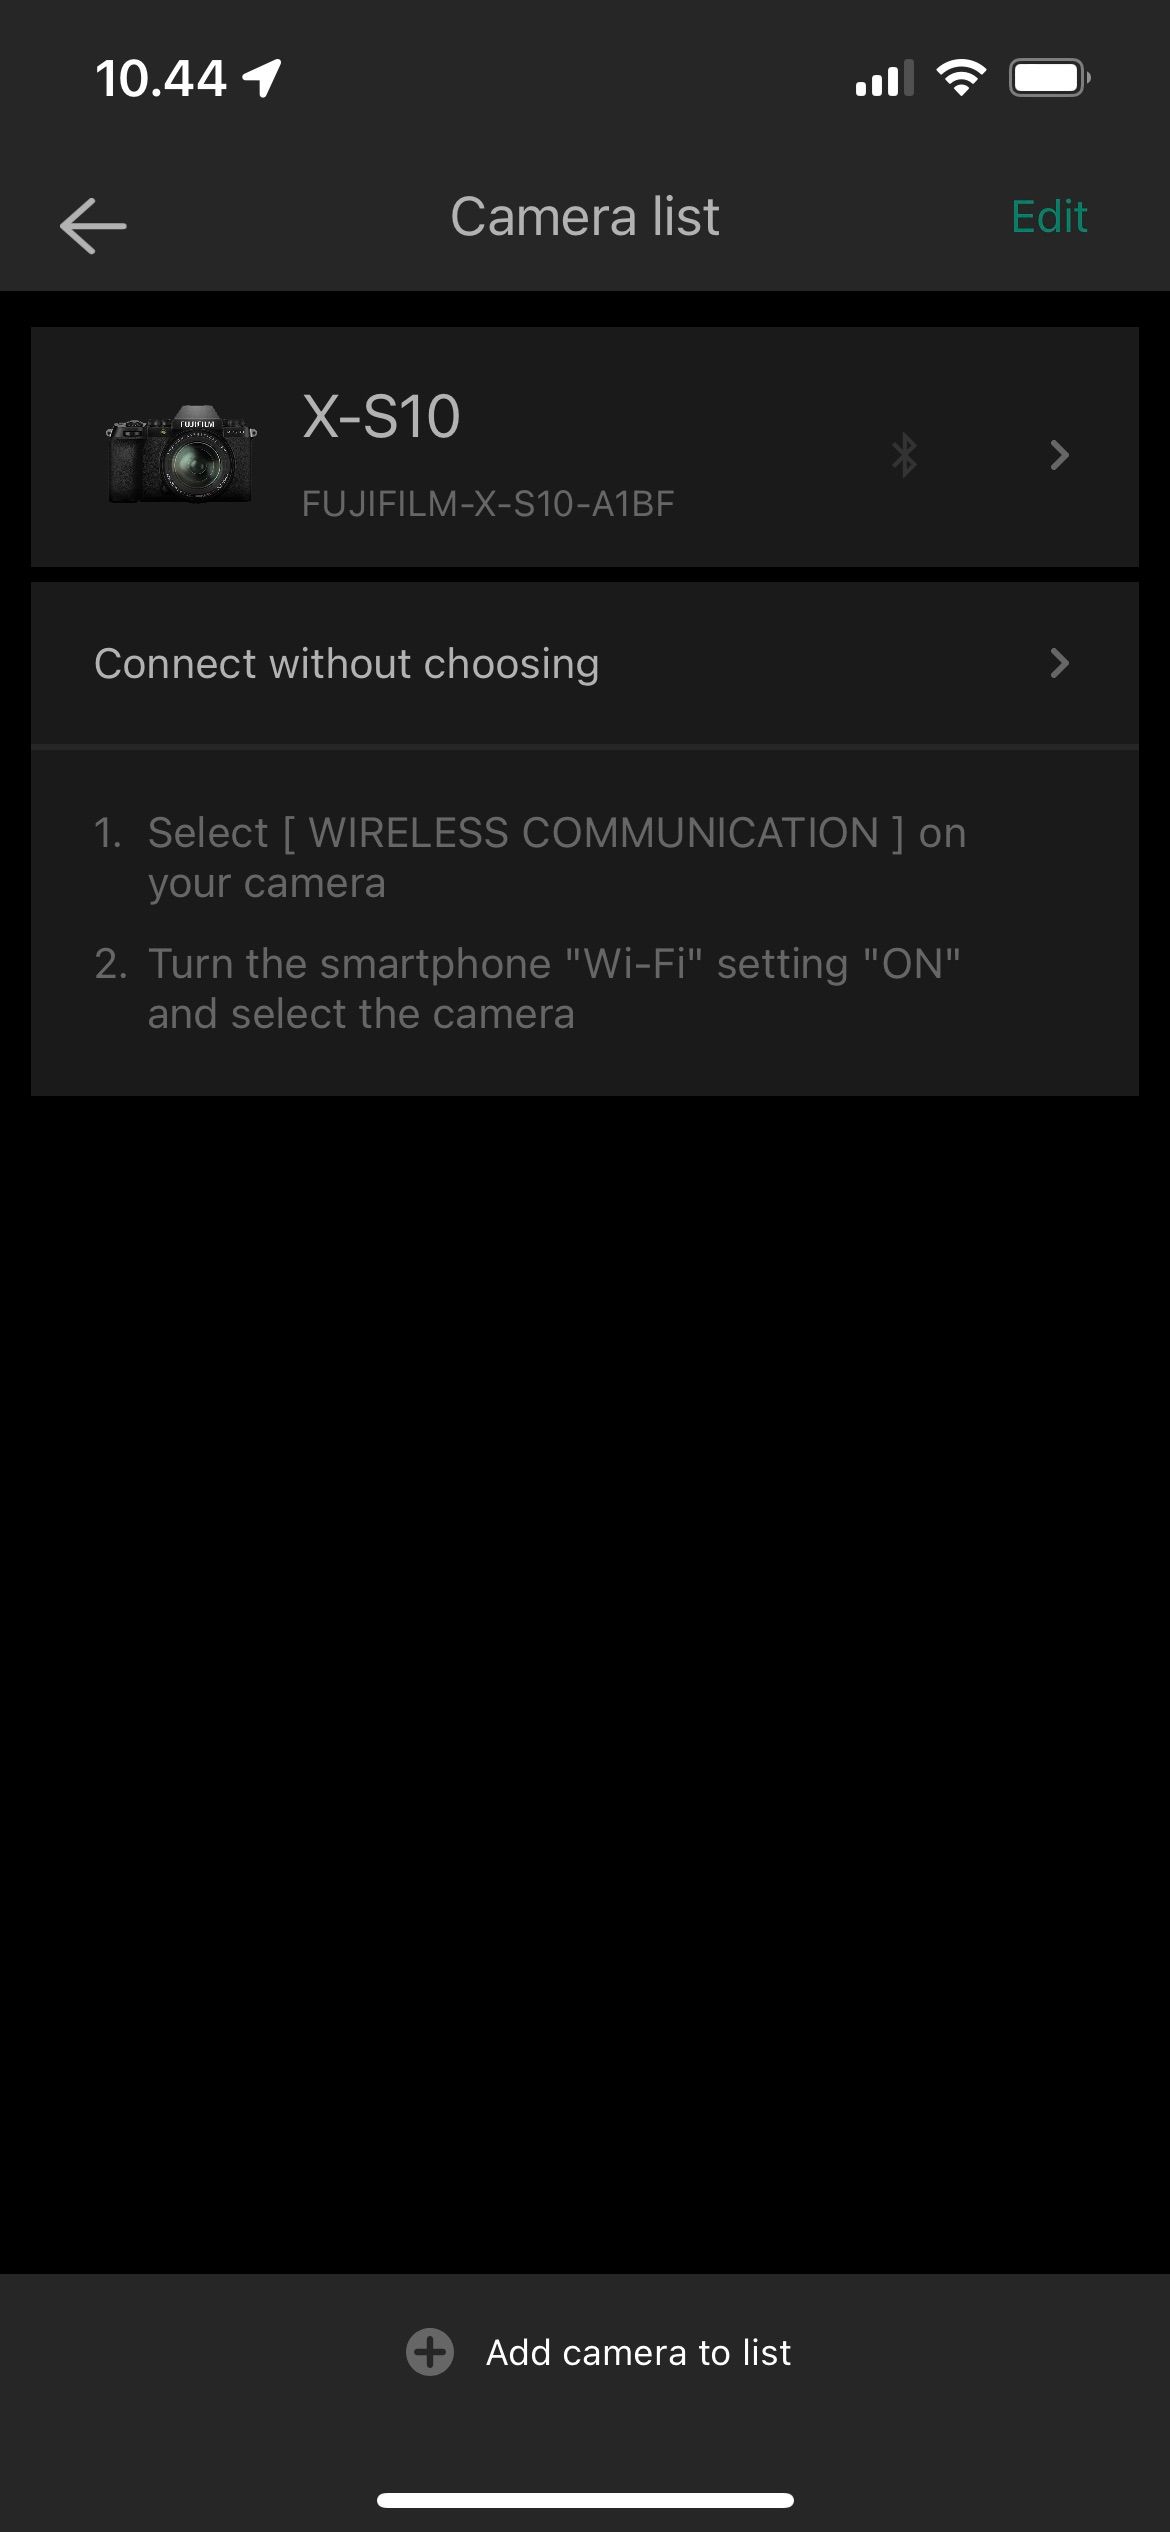
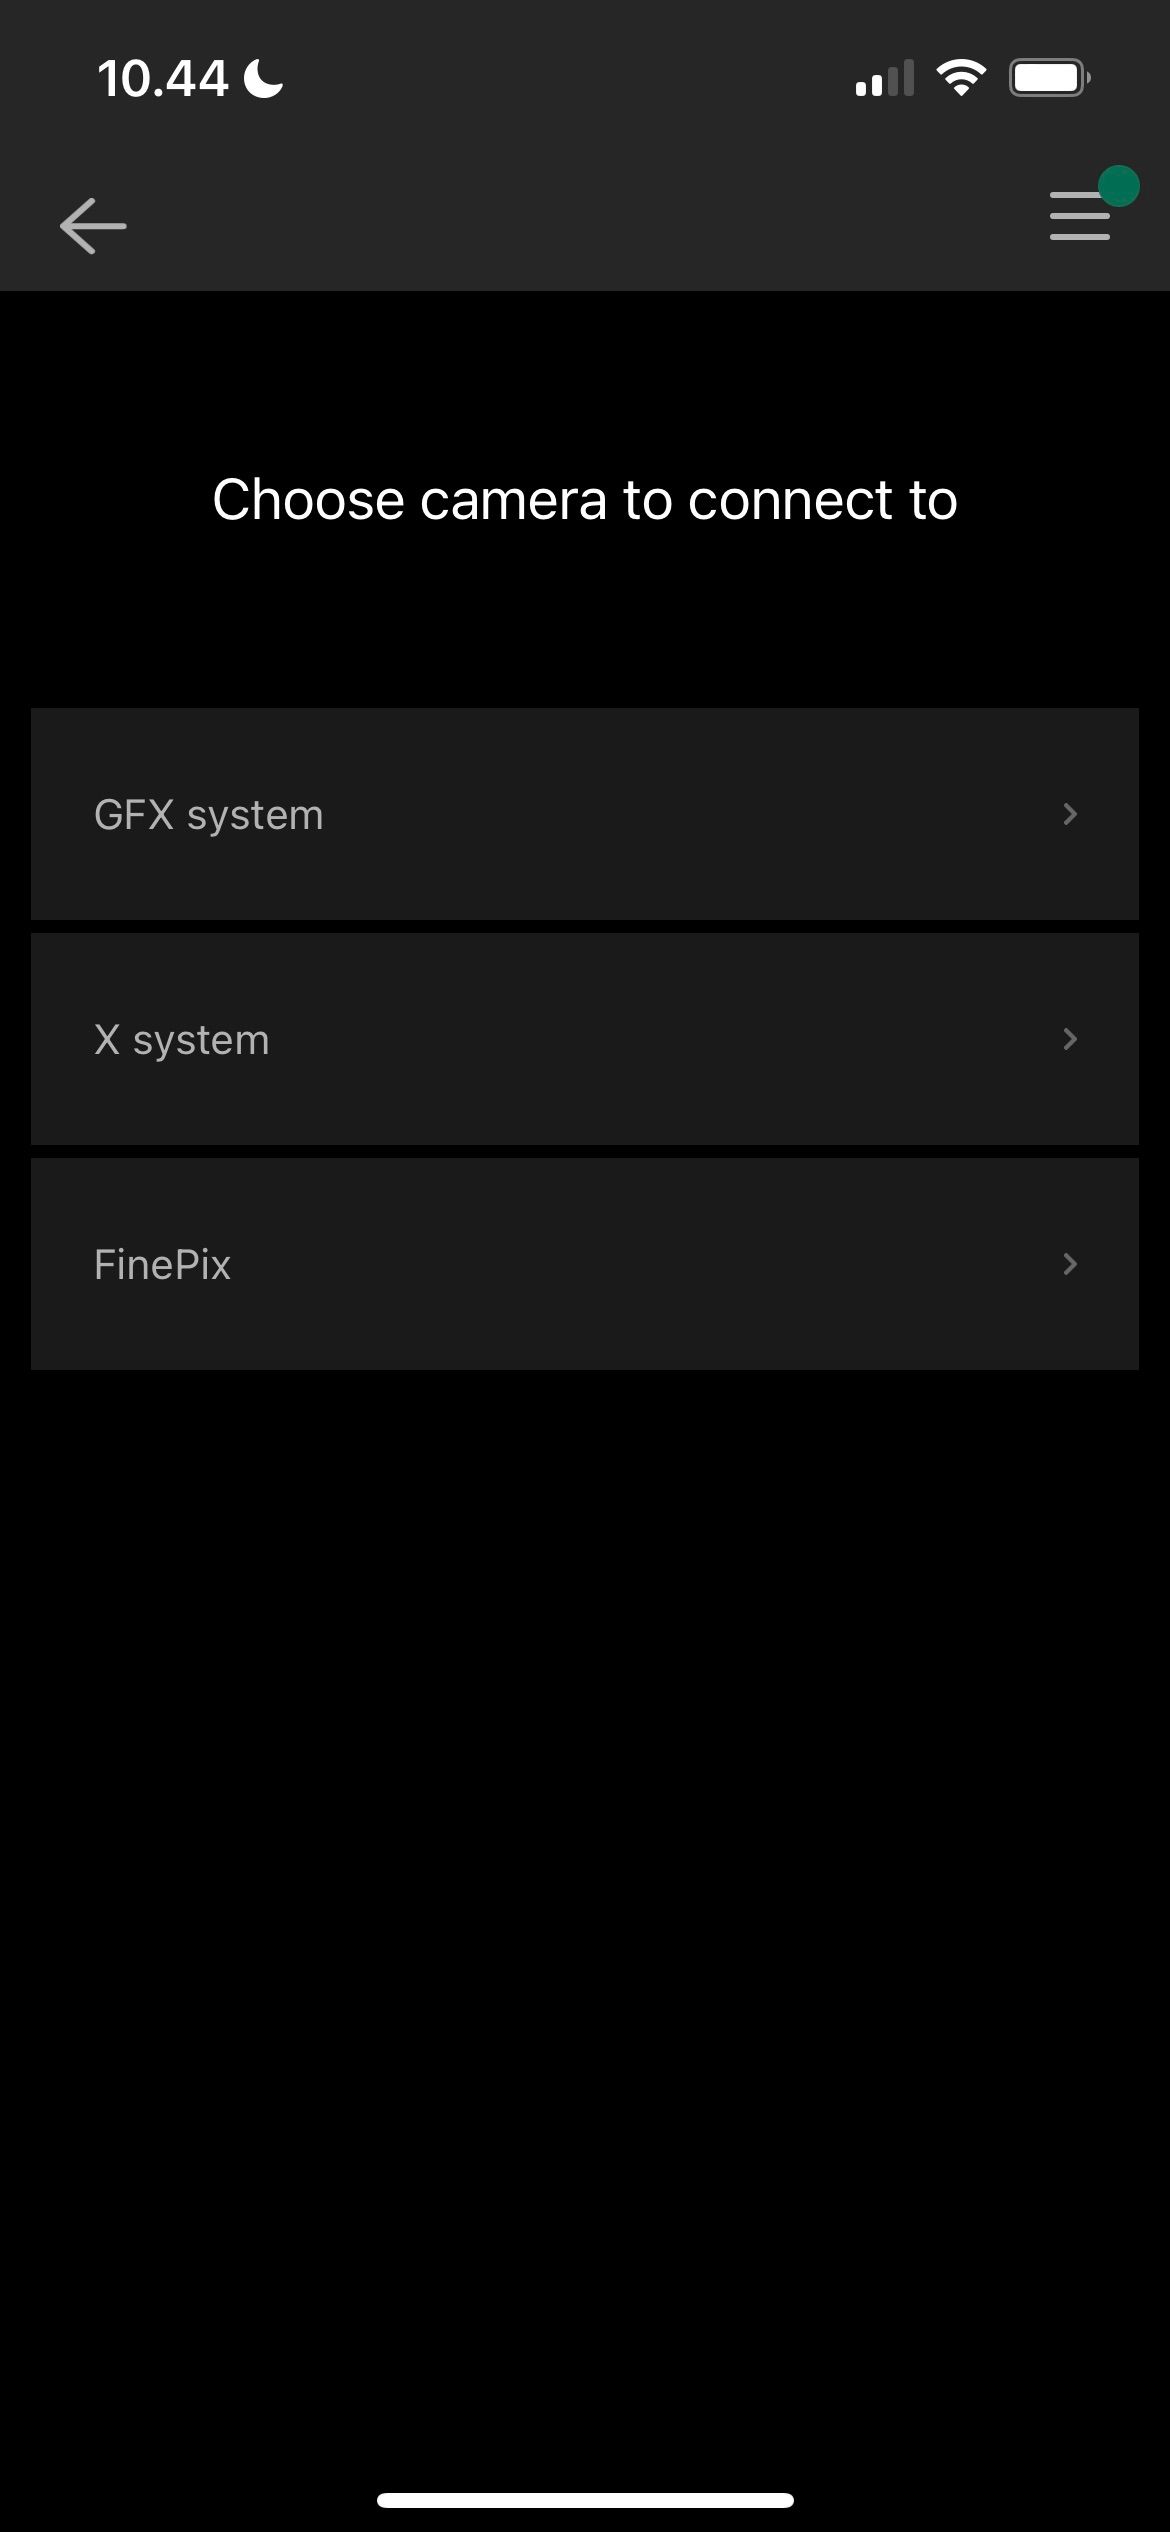
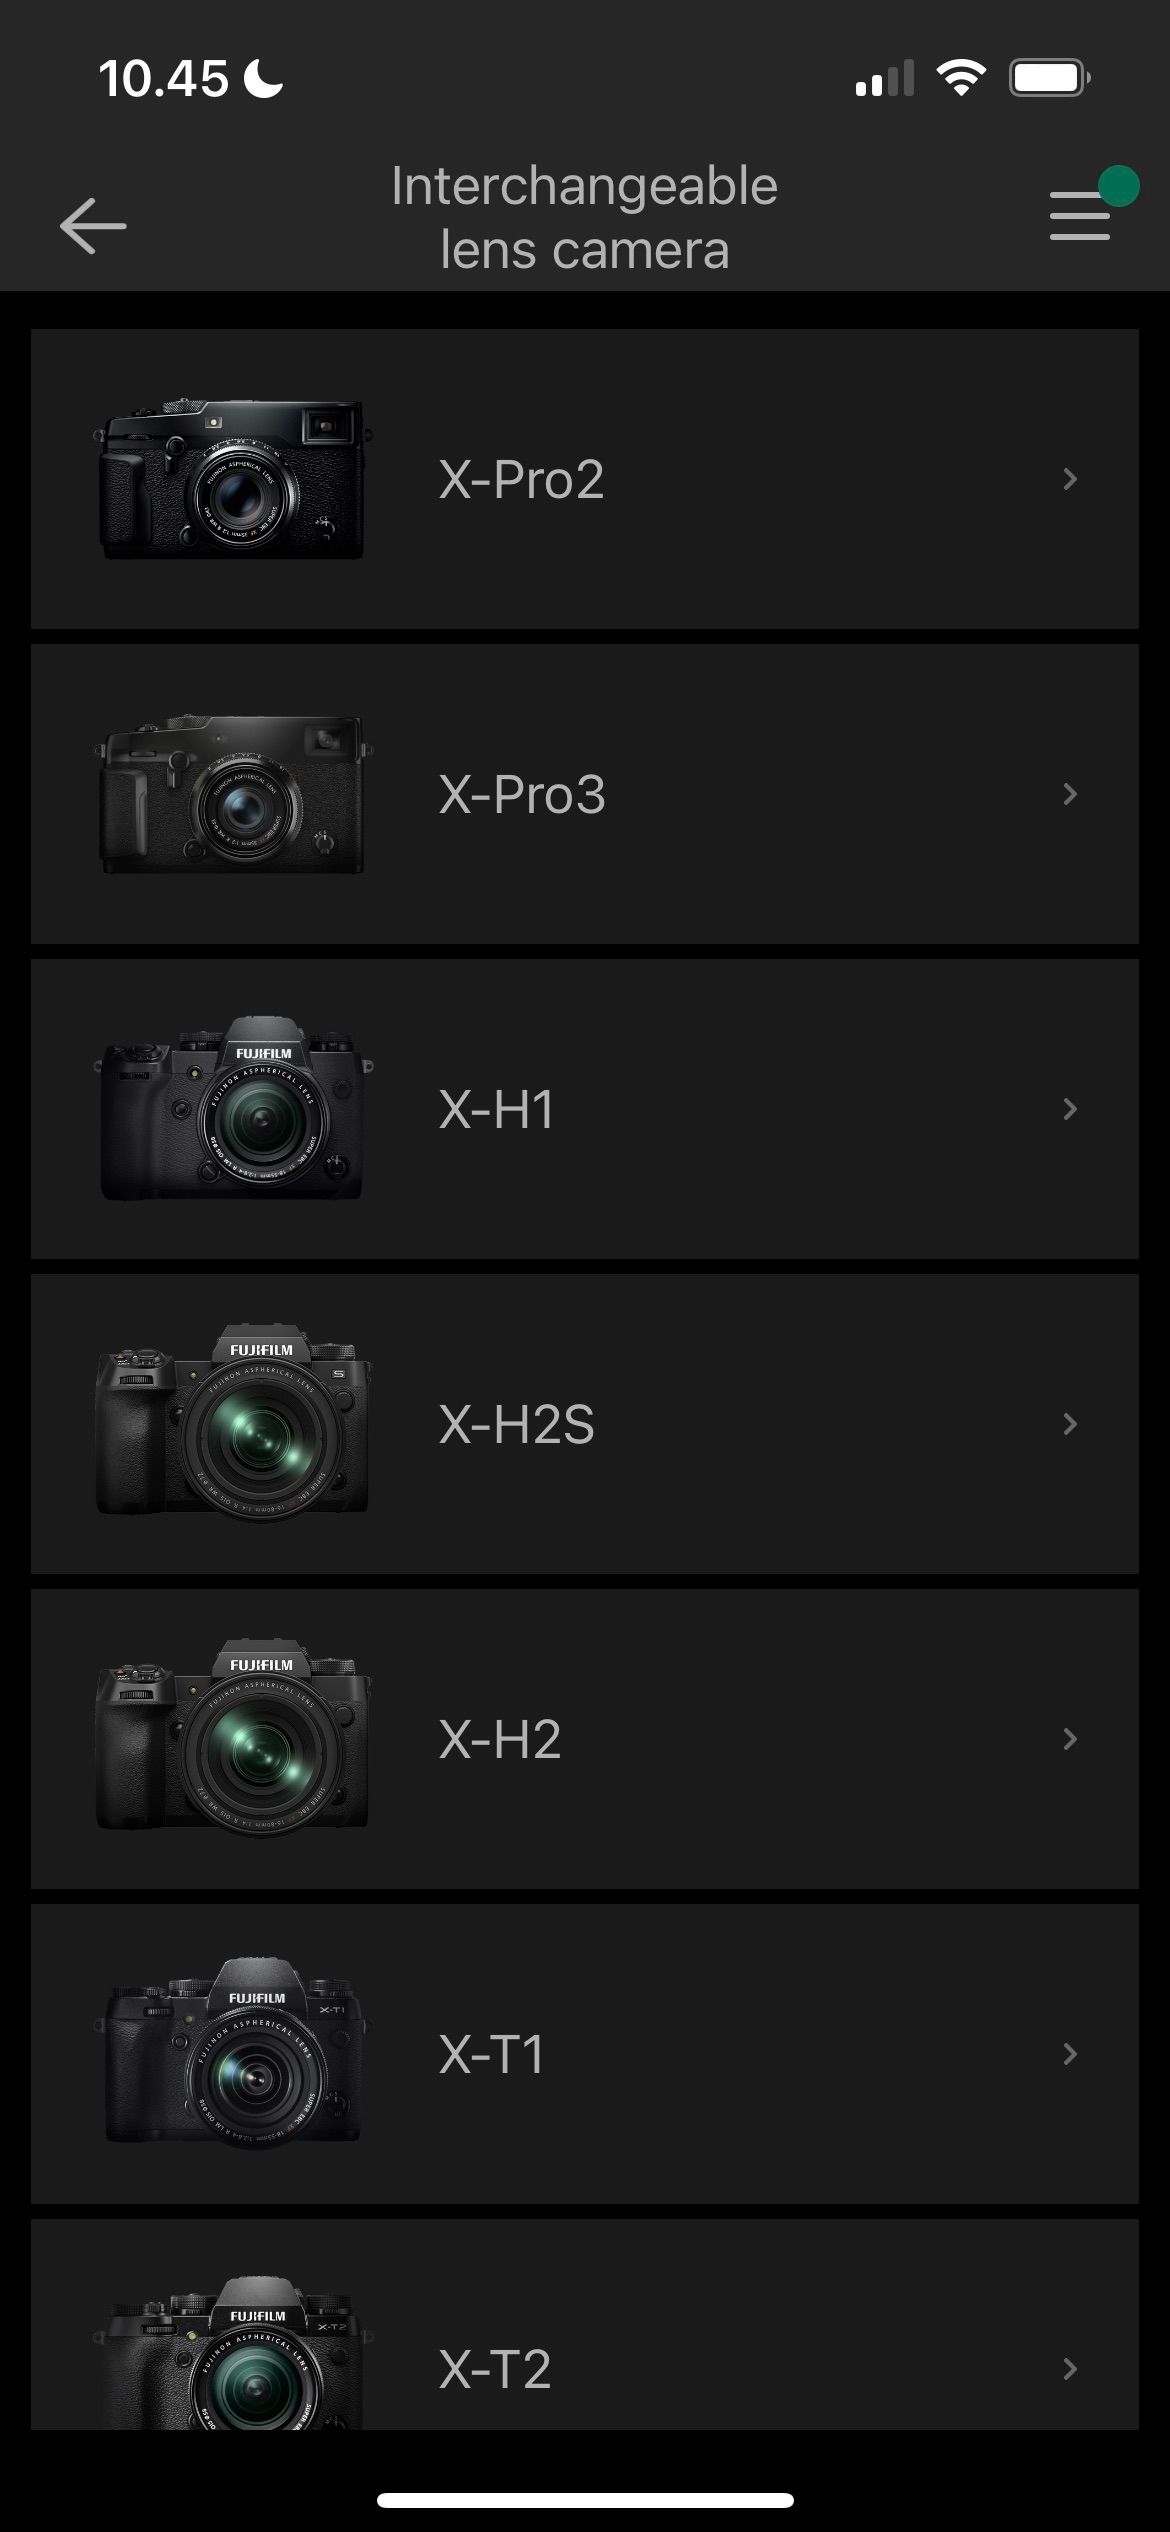

Before you can even download firmware on your camera, you’ll need to pair it with your smartphone or tablet. To do this, open the Camera Remote app and follow these steps:
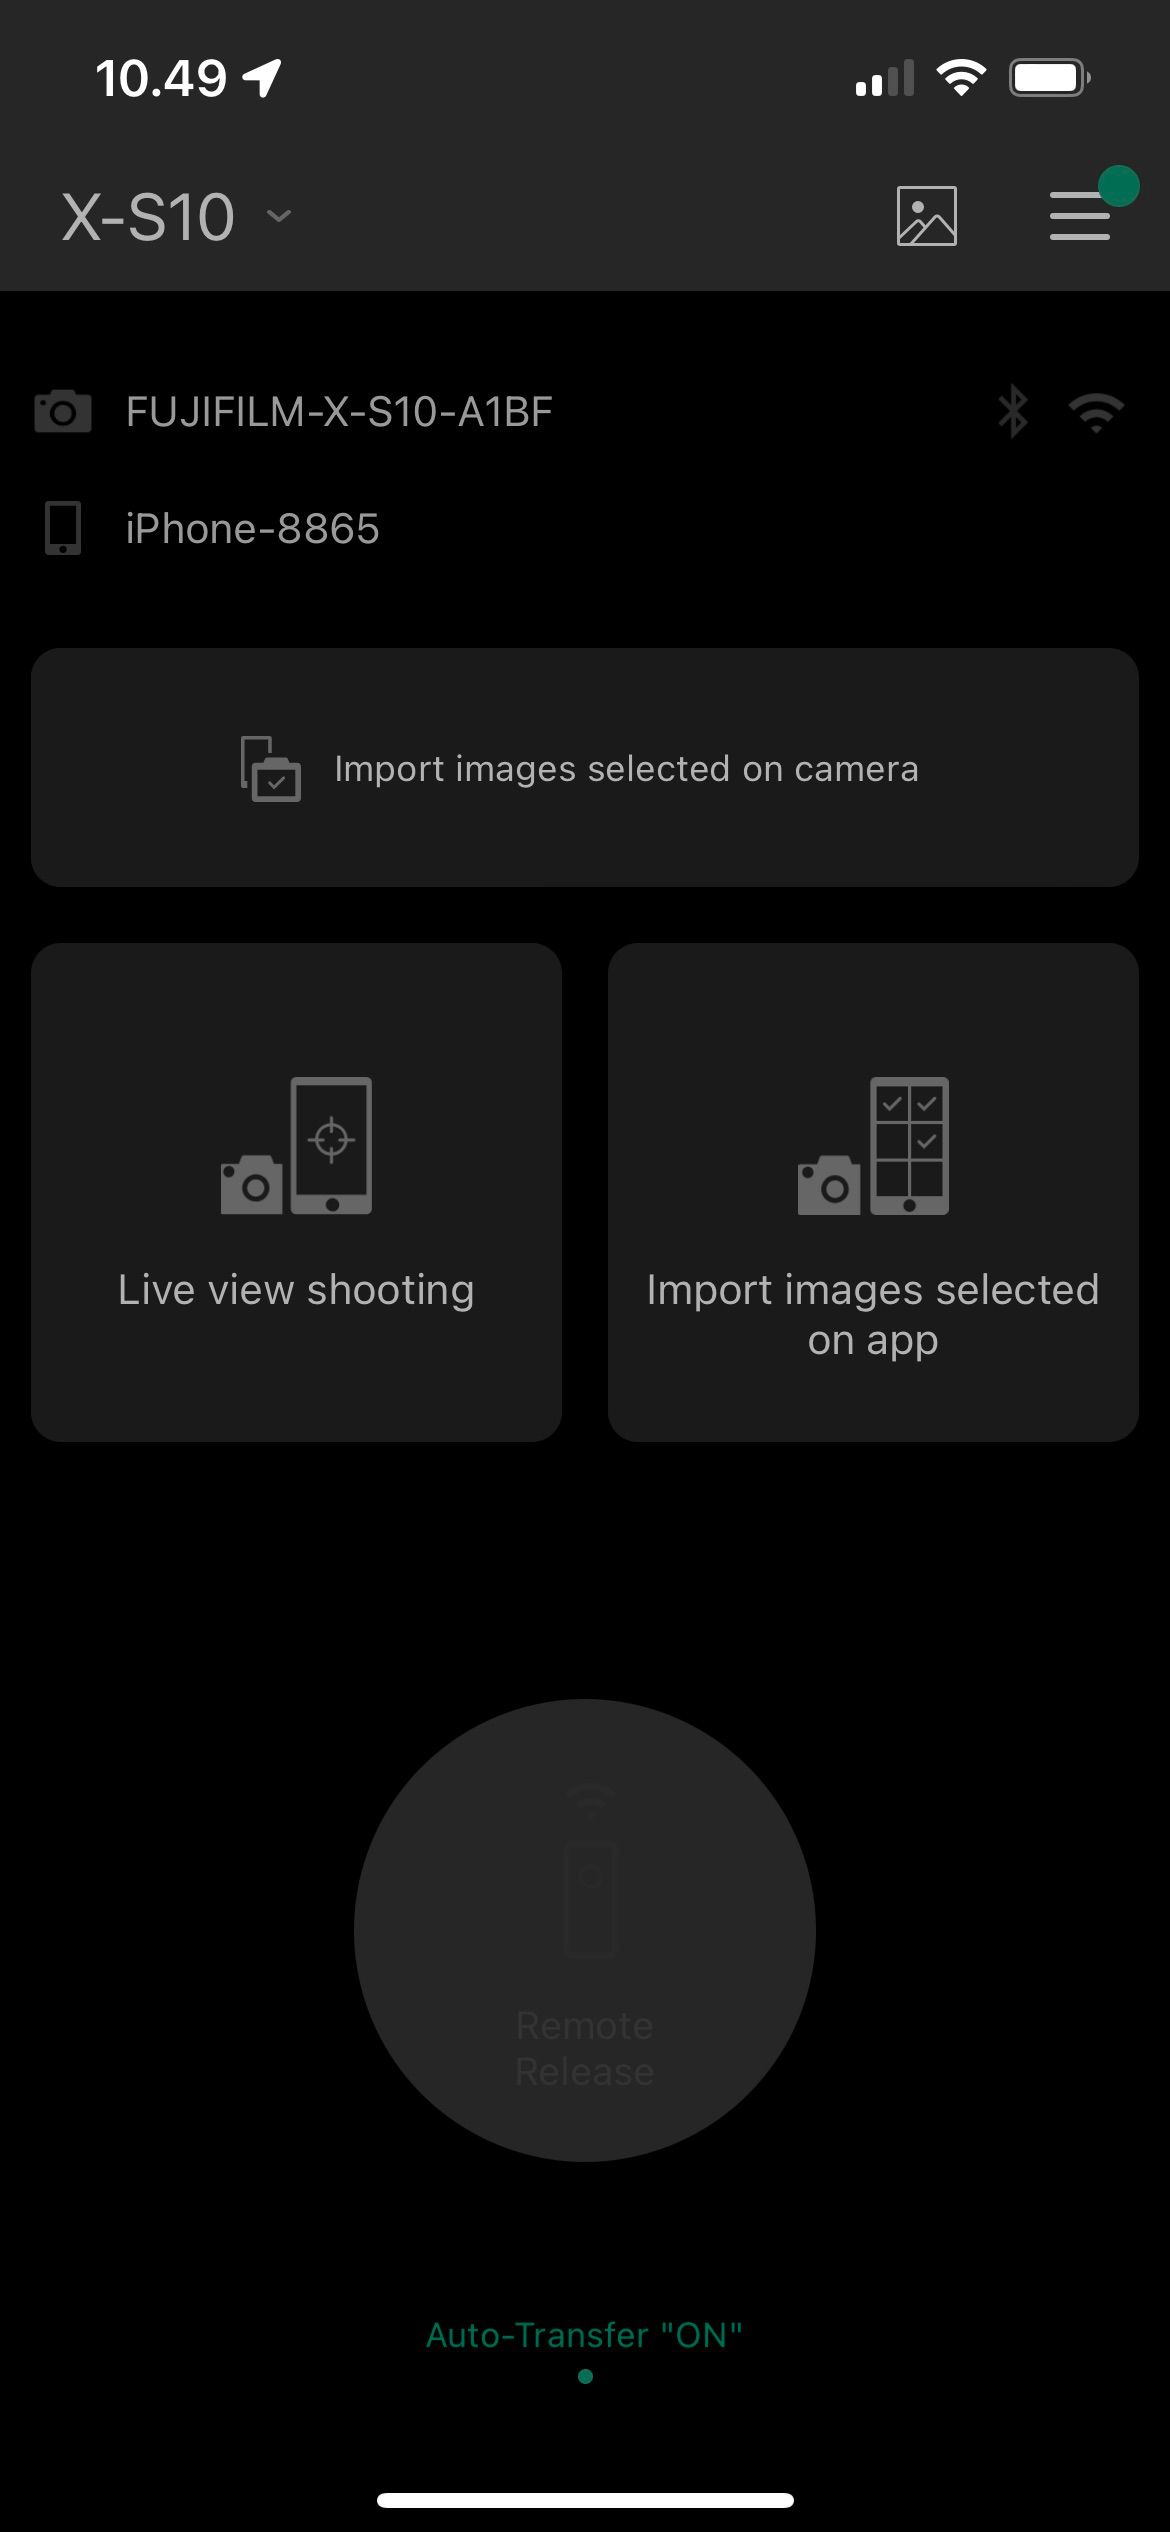
- Click on the dropdown menu in the top left-hand corner of the home screen.
- Go to Add camera to list, which you’ll see at the bottom of the next window.
- Choose your camera system and whether you have a camera body with an interchangeable or fixed lens. Then, hit Add.
- Make sure that Bluetooth is switched on for your camera, and follow the instructions on your camera menu. Then, select Proceed.
- Select your camera when it appears and pair your two devices together.
- Hit Start once the pairing has been completed.
You can remove cameras from your device later by selecting Edit and the - button.
4. Live View Shooting
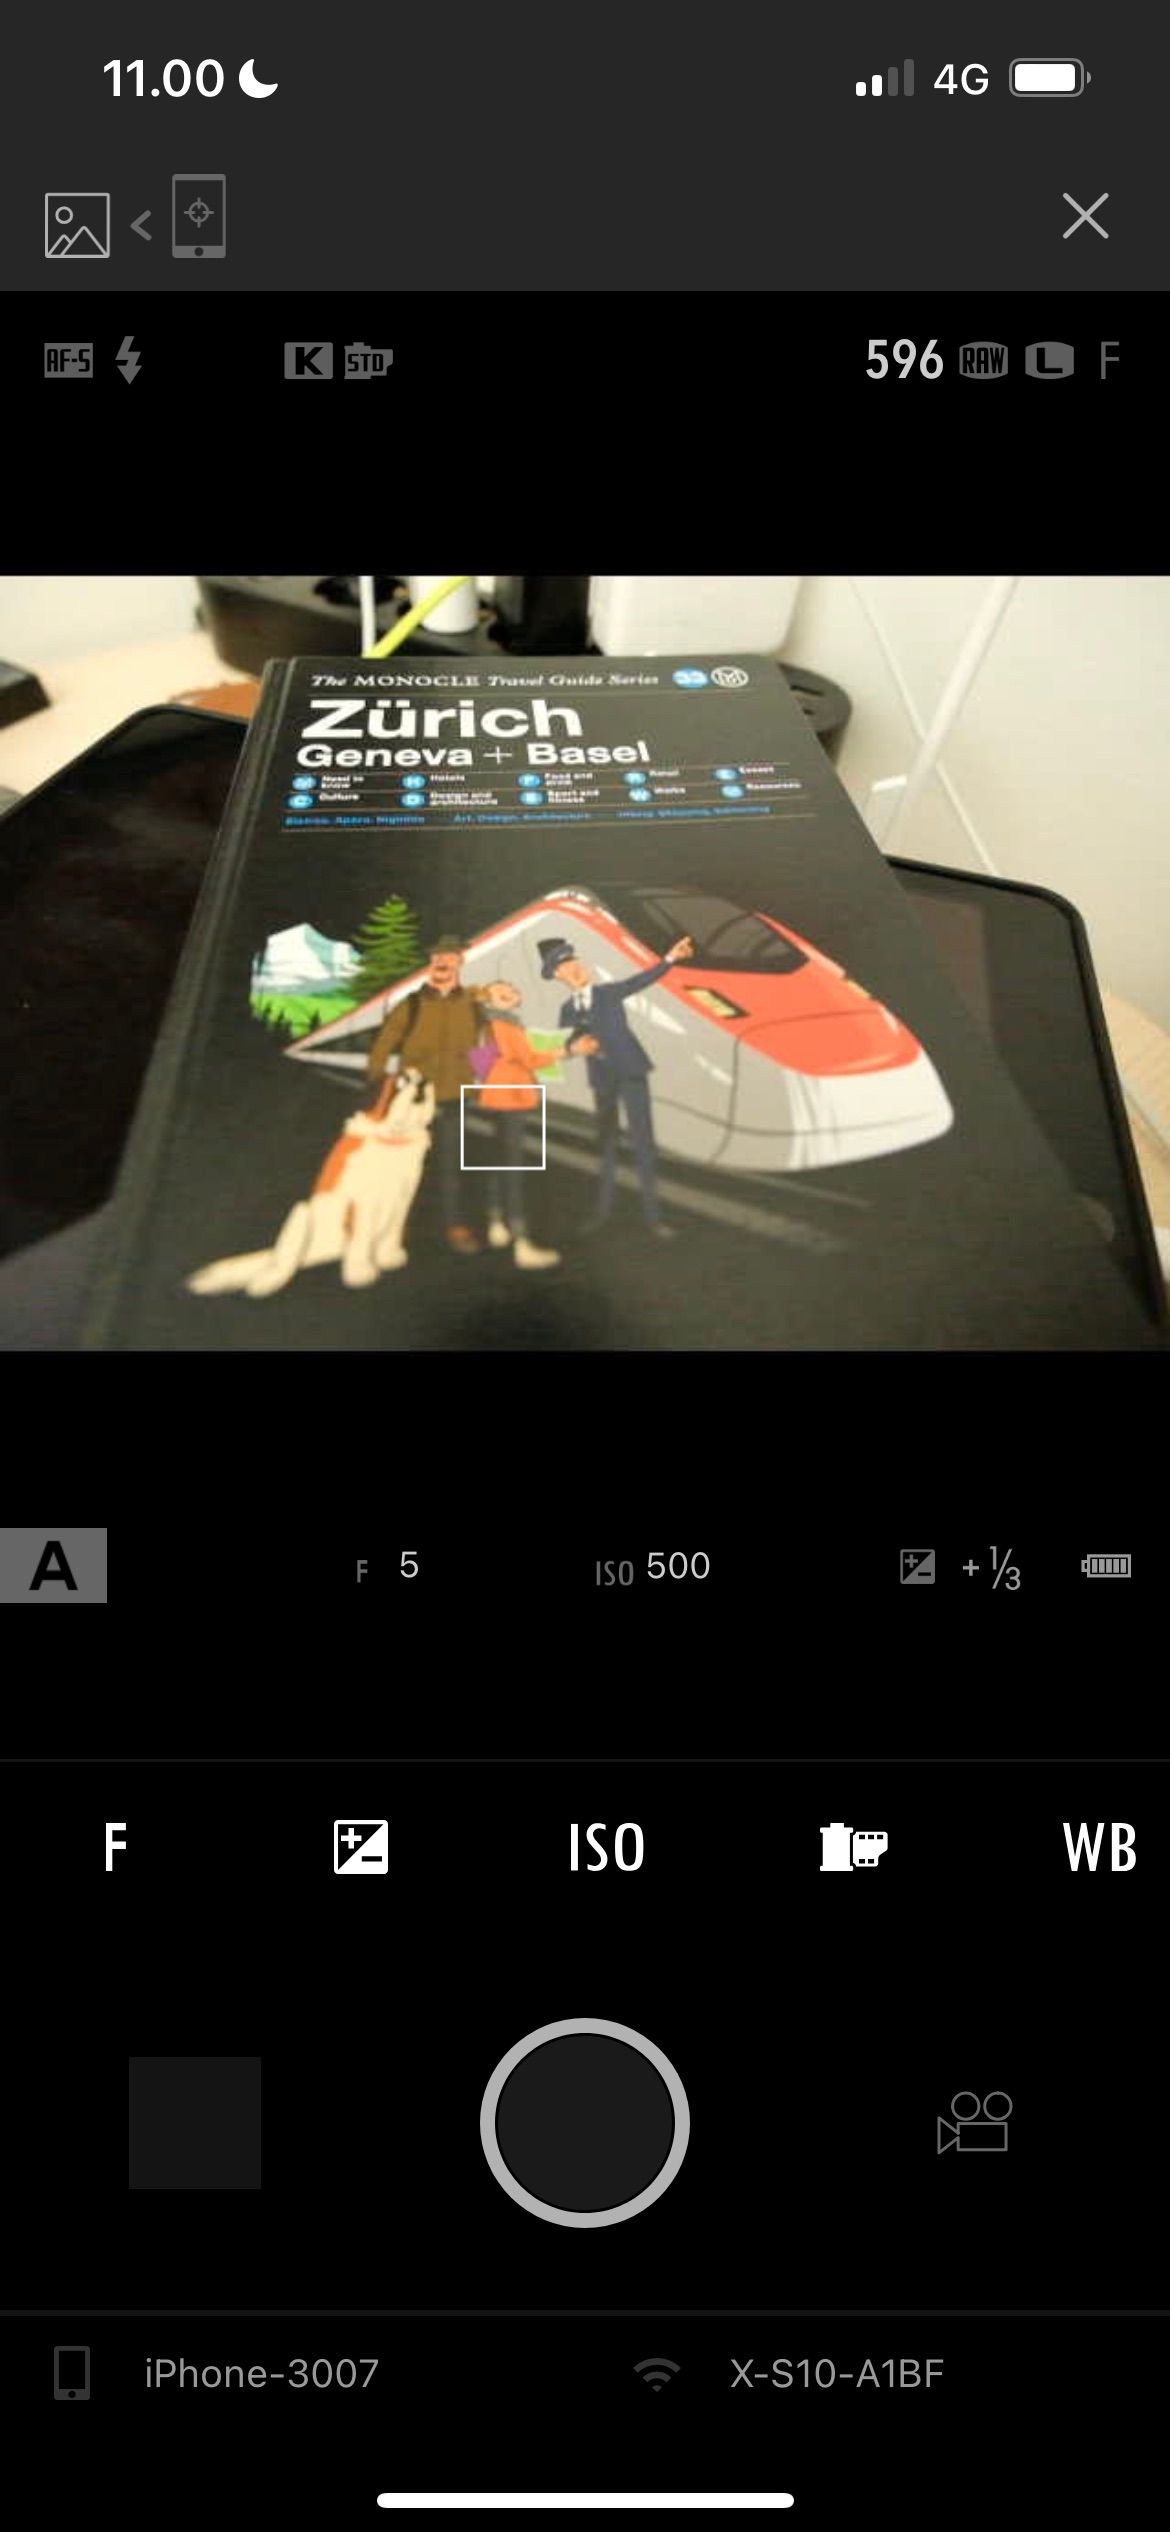
Live View Shooting mode lets you take pictures away from your camera, which you might find especially handy if you’re trying to capture better self-portraits.
Here’s how you can use this mode on your device:
- Switch your camera on and tap the Play button.
- In the Camera Remote app, go to Live view shooting.
- Confirm that you want to join the camera Wi-Fi network by hitting Join.
You can exit Live View Shooting mode by selecting the x button.
5. Import Selected Images on the App
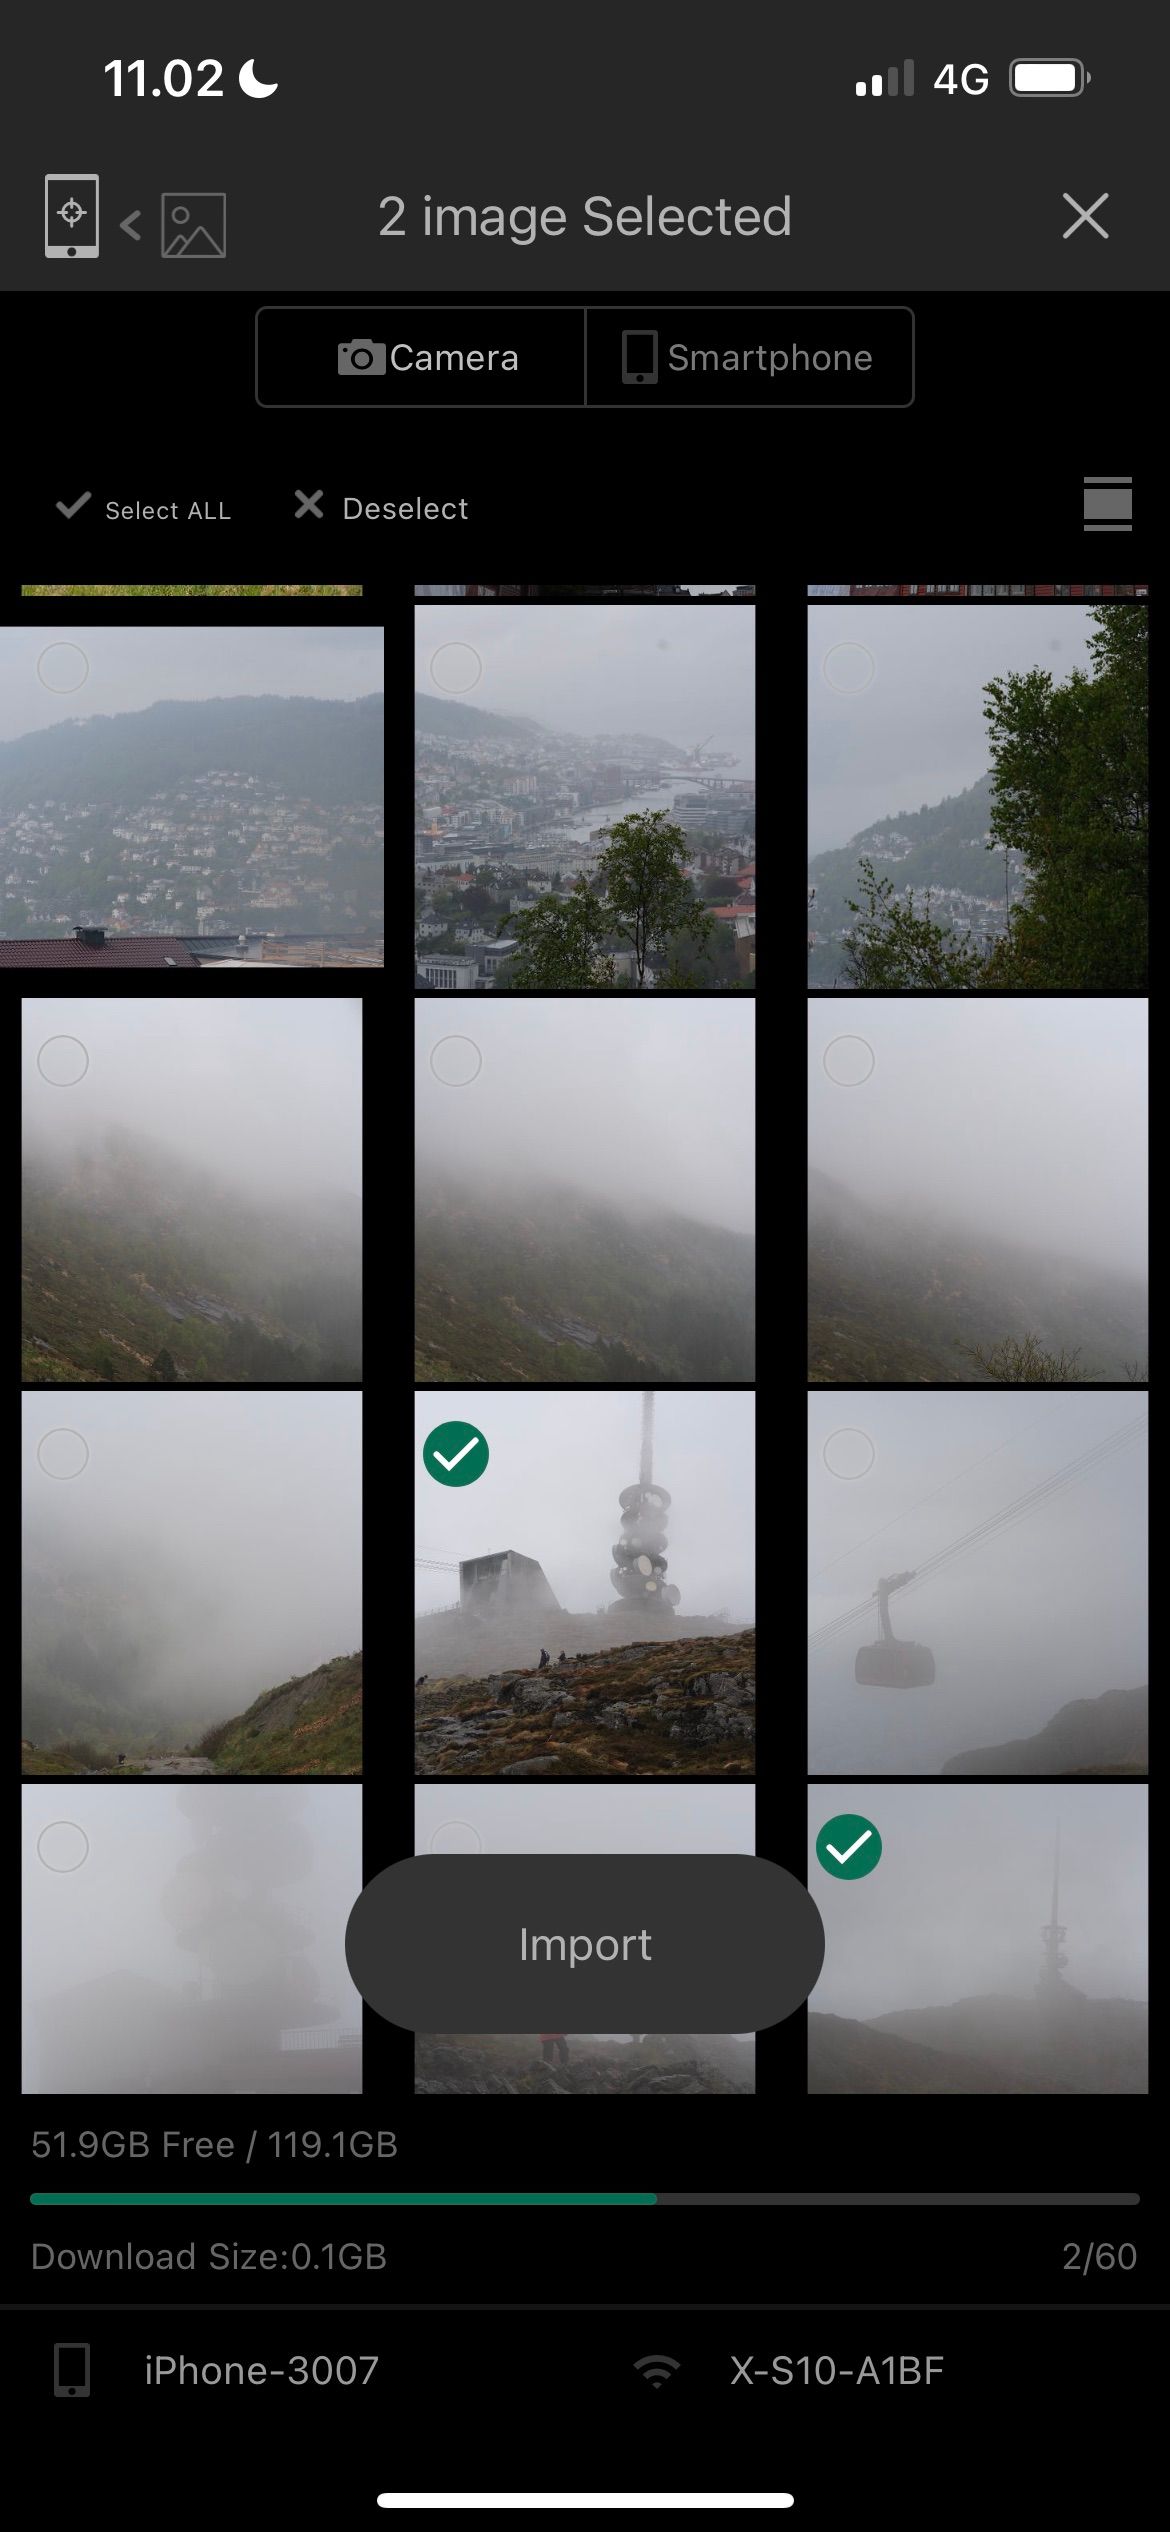
When using photography to create your own Instagram aesthetic or sharing your images on social media, you’ll want to be able to quickly transfer images to your smartphone or tablet. You can either do this by selecting pictures within the app or doing the same on your camera.
We’ll show you how to do both, starting with how to import selected images on the Camera Remote app.
- Click on Import images selected on app once you’ve hit the Play button on your camera.
- Join the camera’s Wi-Fi network and wait for your device to connect.
- In the Camera Remote app, select the pictures you want to import. Then, click on the Import button at the bottom of your screen.
6. Import Selected Photos From Your Camera
Importing pictures from your camera is just as easy:
- Select Import images selected on camera in the Camera Remote app and connect to your camera’s Wi-Fi network.
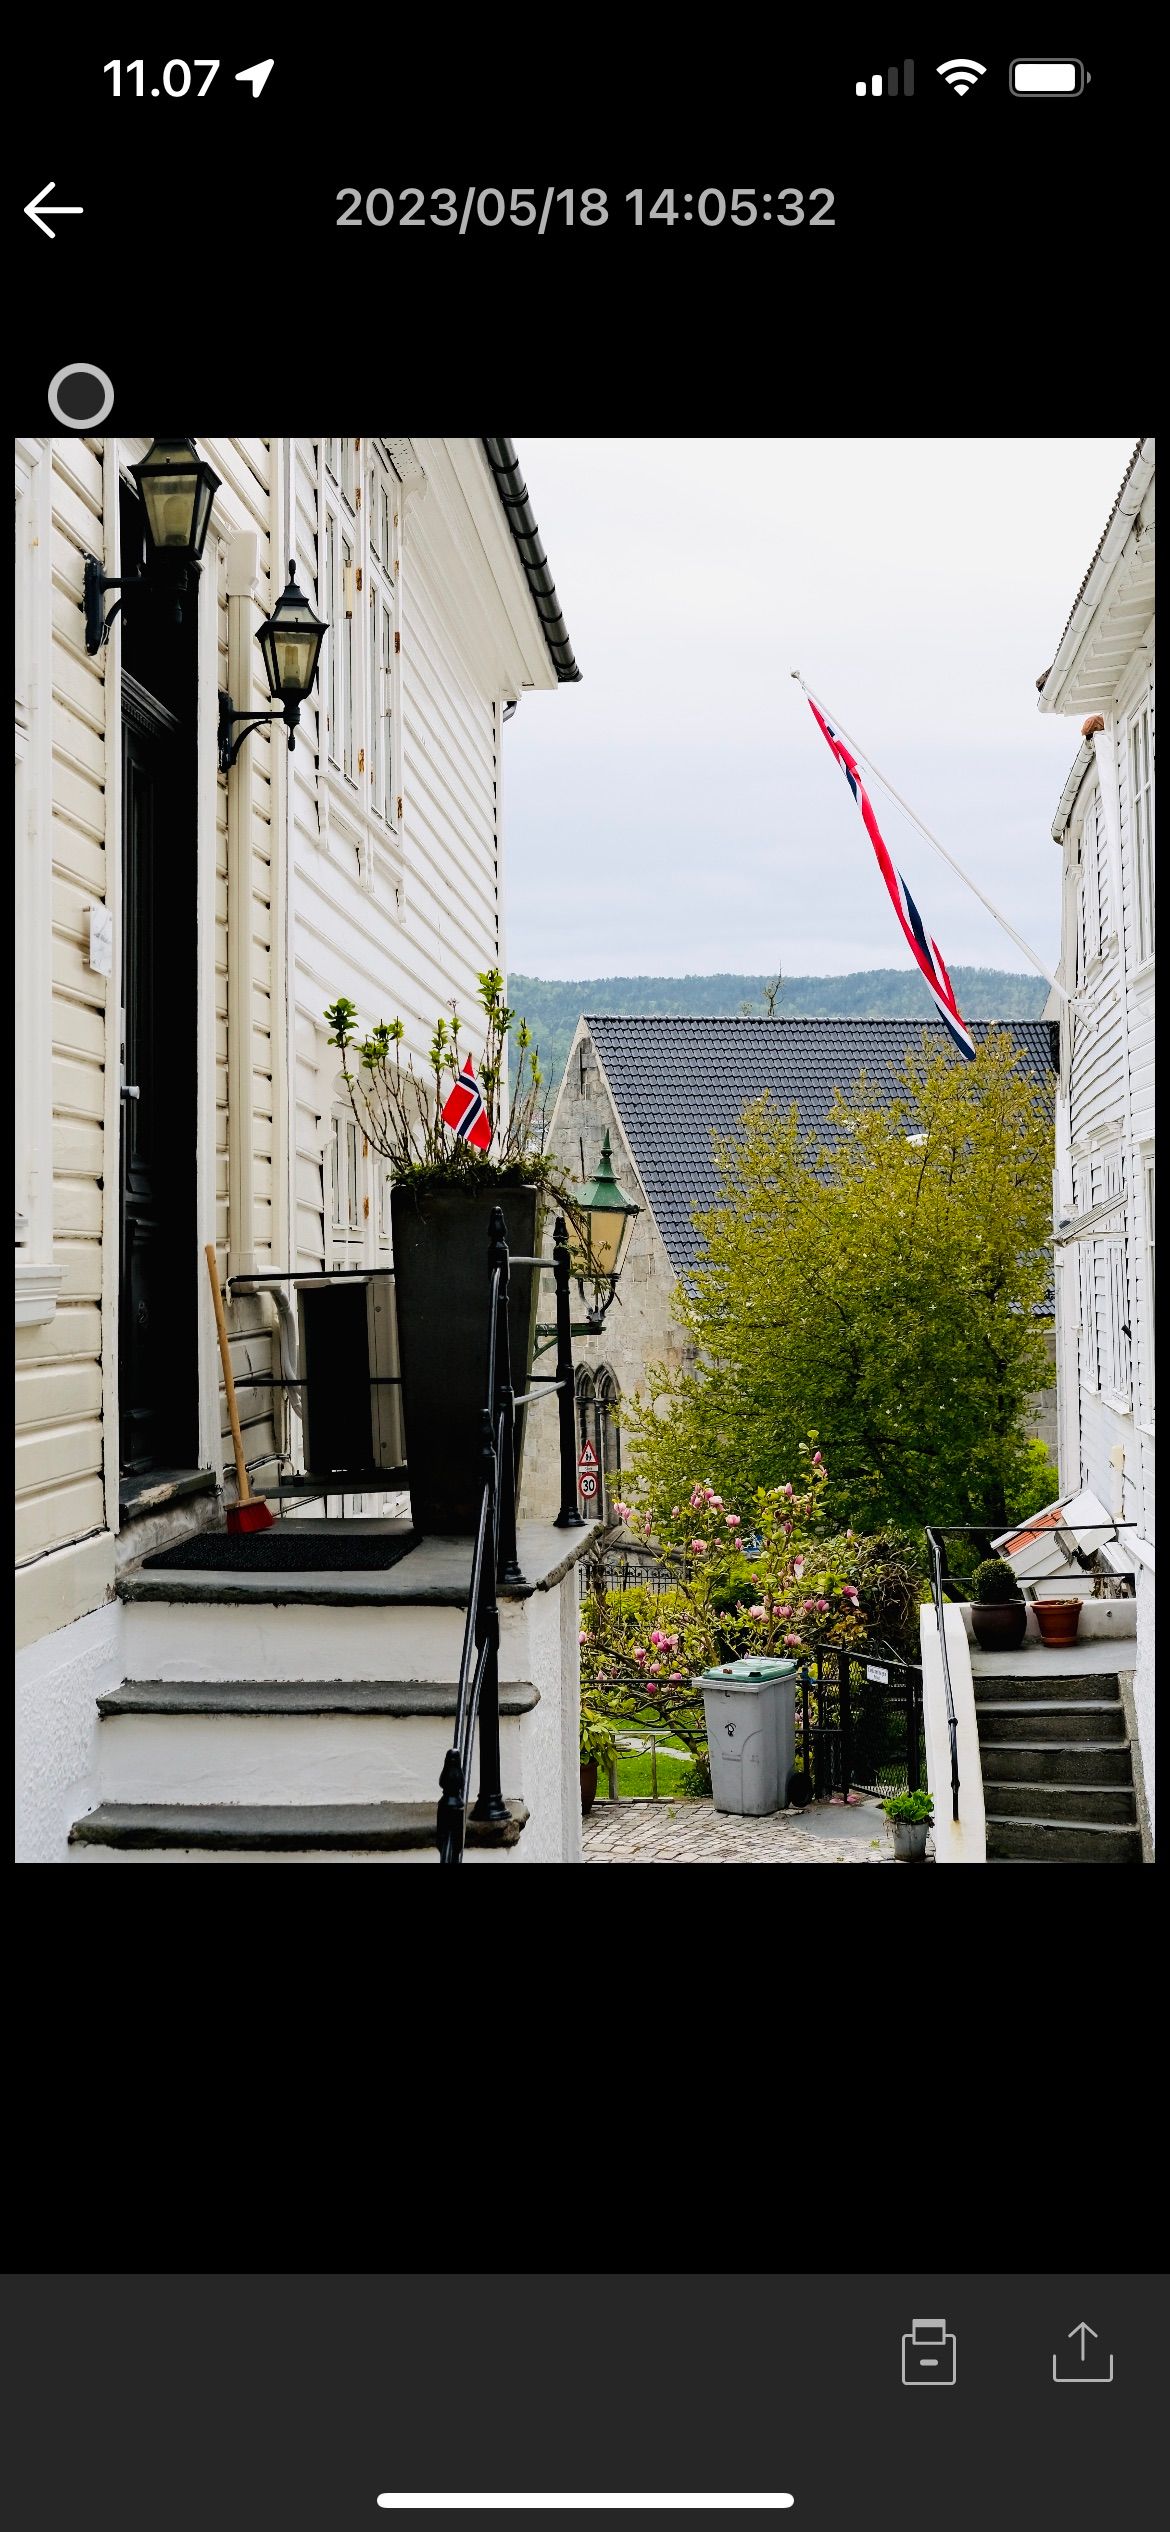
- On your camera, scroll through the pictures you want to import. When you see one you like, press the OK button. You will see a preview of your picture in the Camera Remote app after transferring.
- Tap Exit when you’ve imported all the pictures you want. Then, confirm your choice.
Your images will save automatically to your smartphone or tablet’s camera roll. From there, you can edit them in Lightroom or Photoshop Express.
7. View Images That You’ve Previously Imported
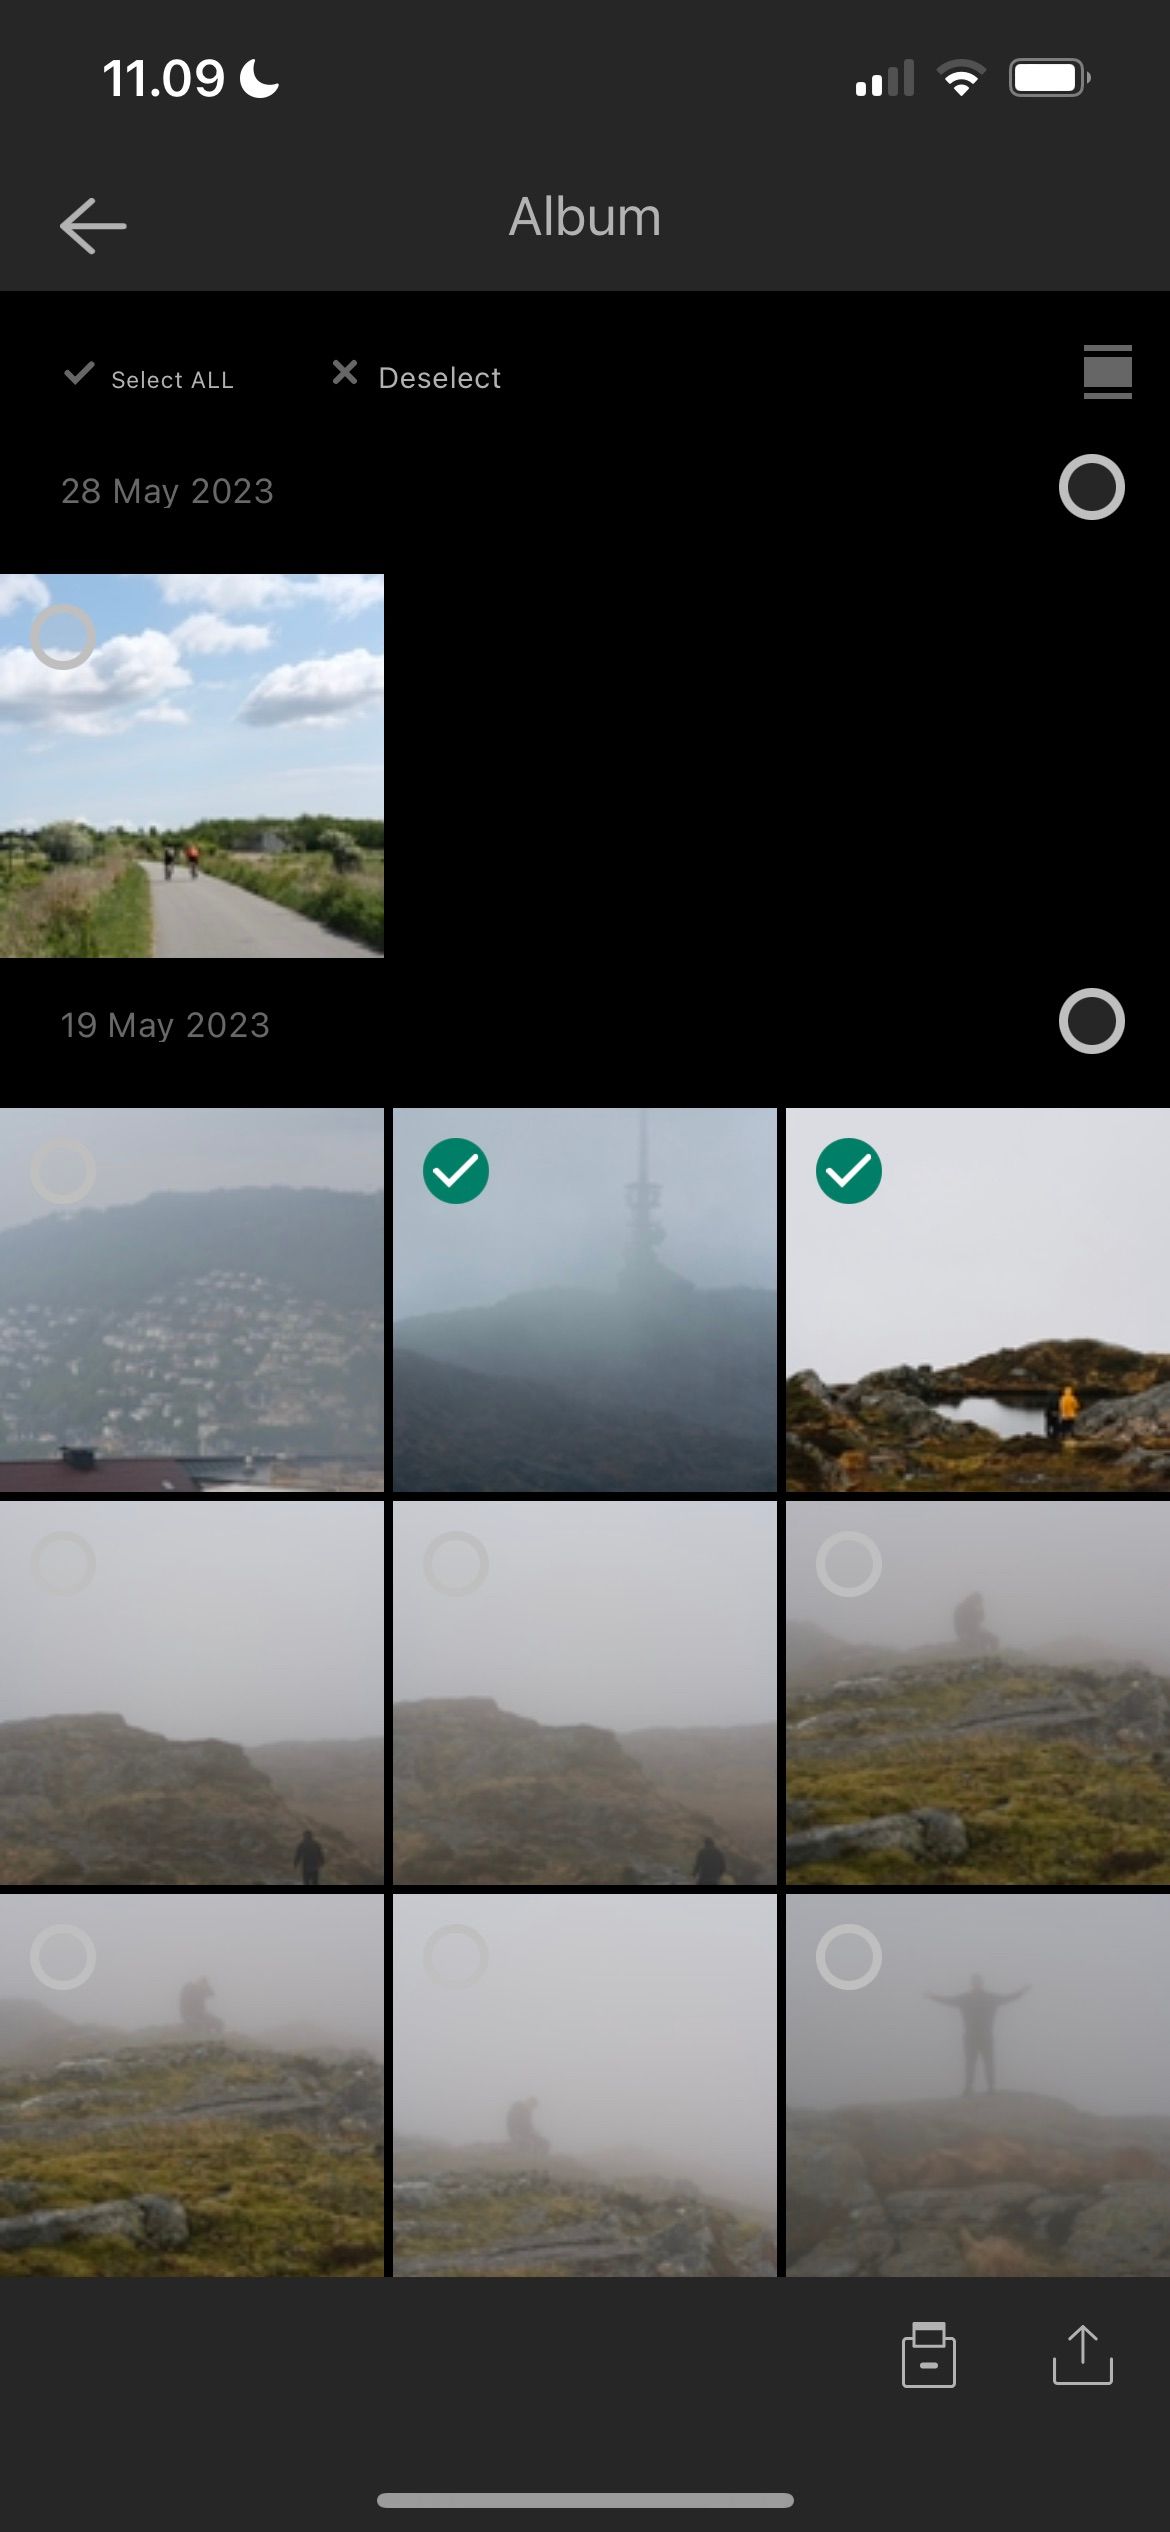
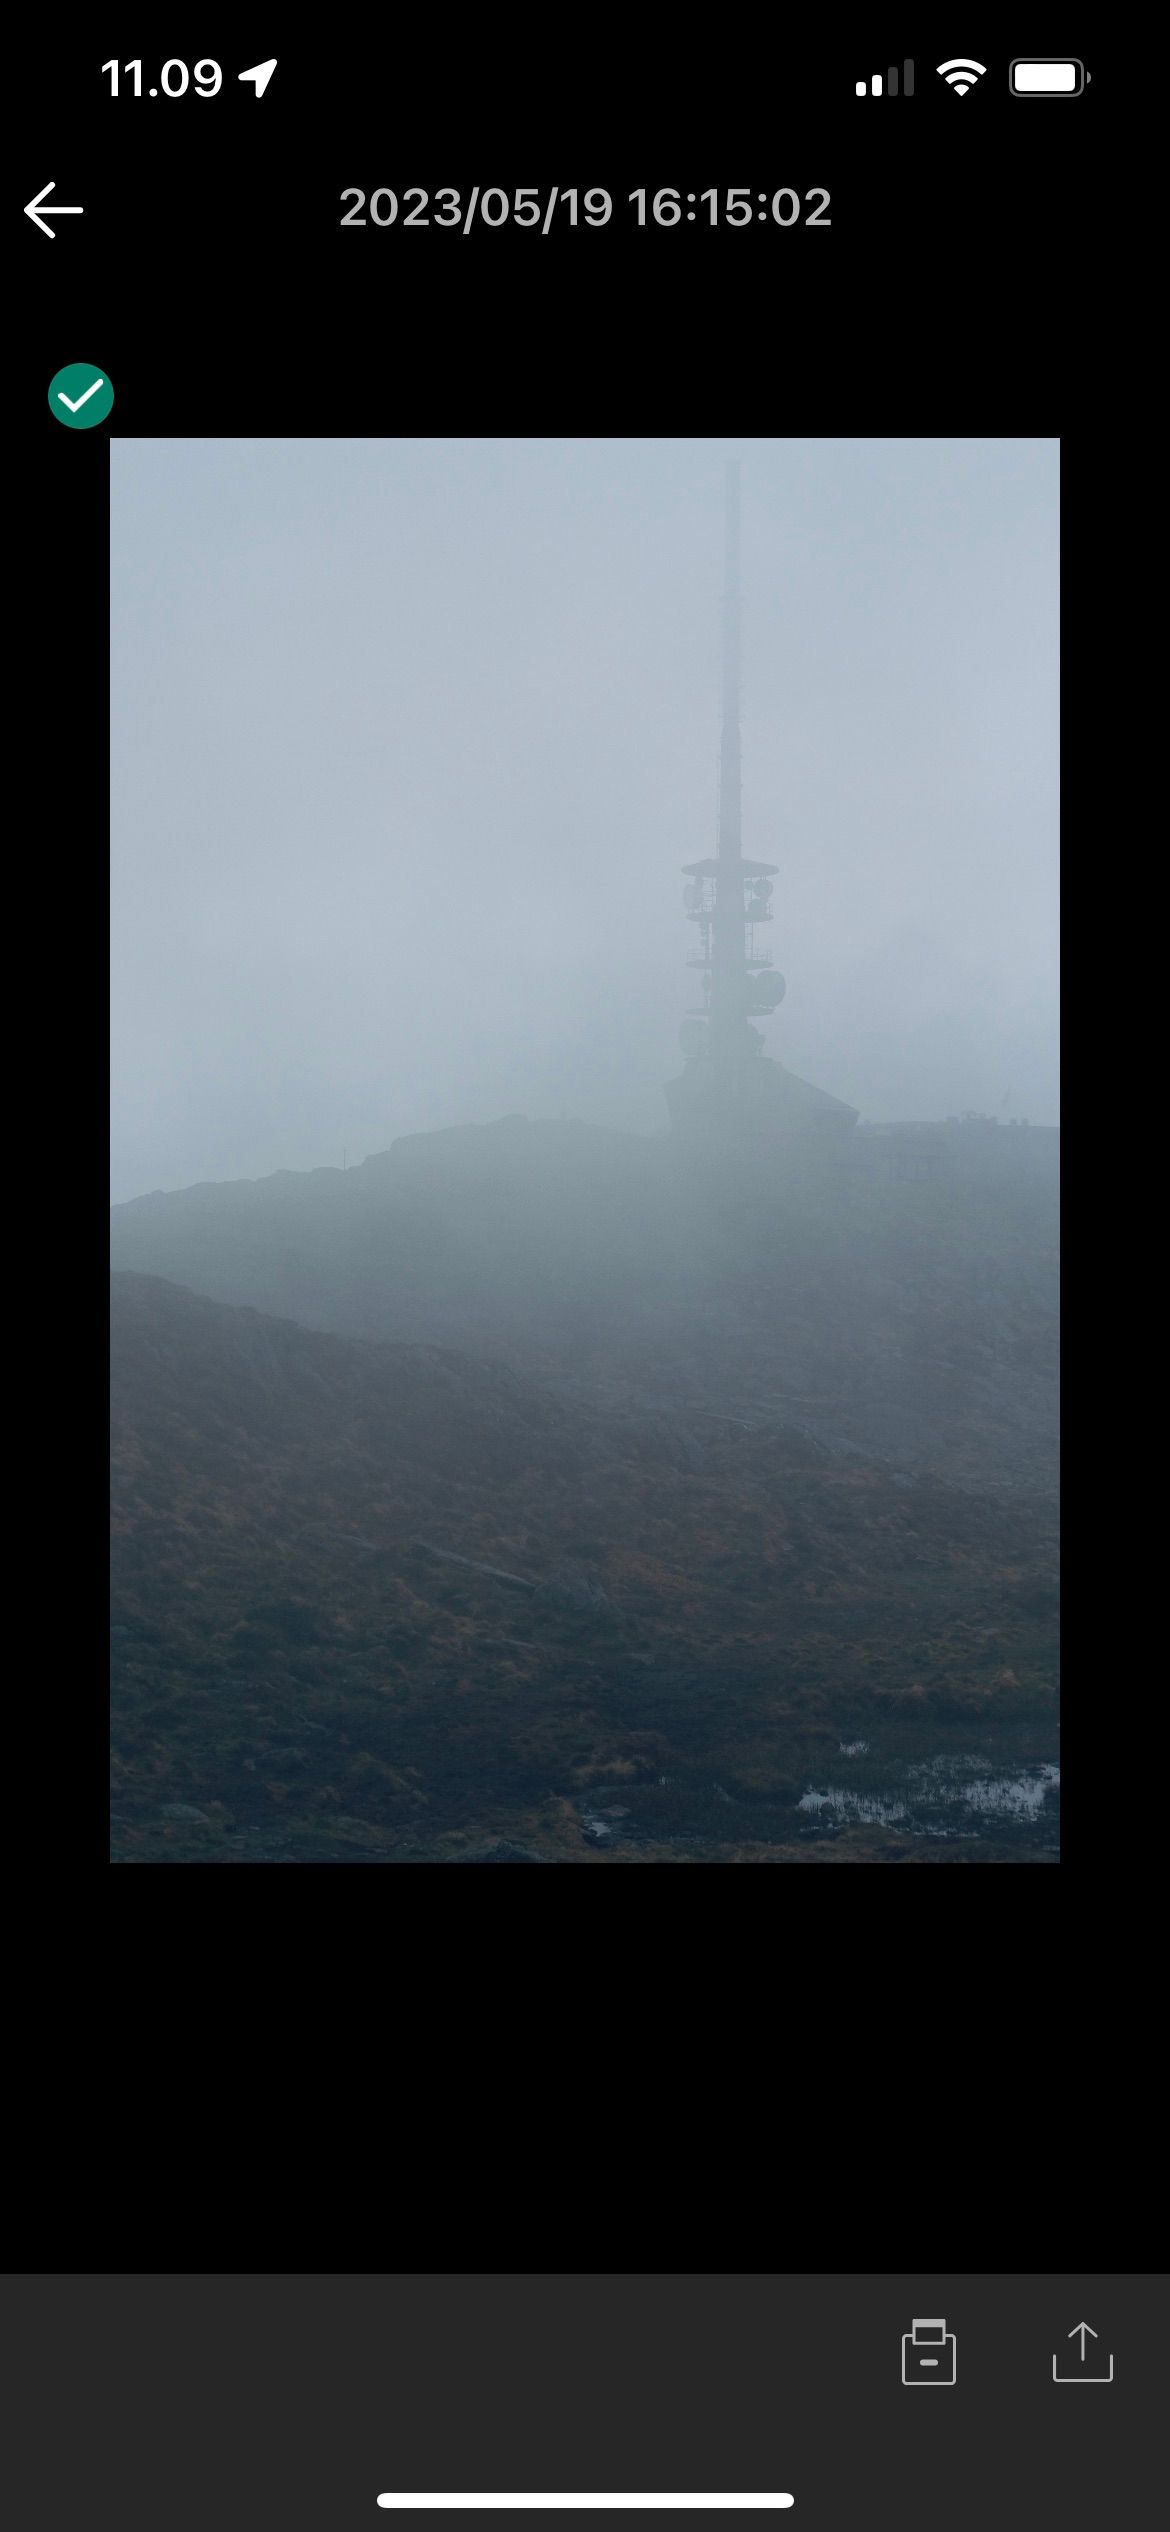
In addition to importing new pictures that you’ve taken, you might also want to check out the images you’ve previously added to your app. Doing so is simple:
- Click on the photo icon in the top right-hand corner.
- To preview your pictures, tap on the image. If you want to share with others or save them on your camera roll, hit the Save icon instead.
- Choose whether you want to save or share the photos you’ve picked on the next screen.
8. Toggle Auto-Transfer On and Off

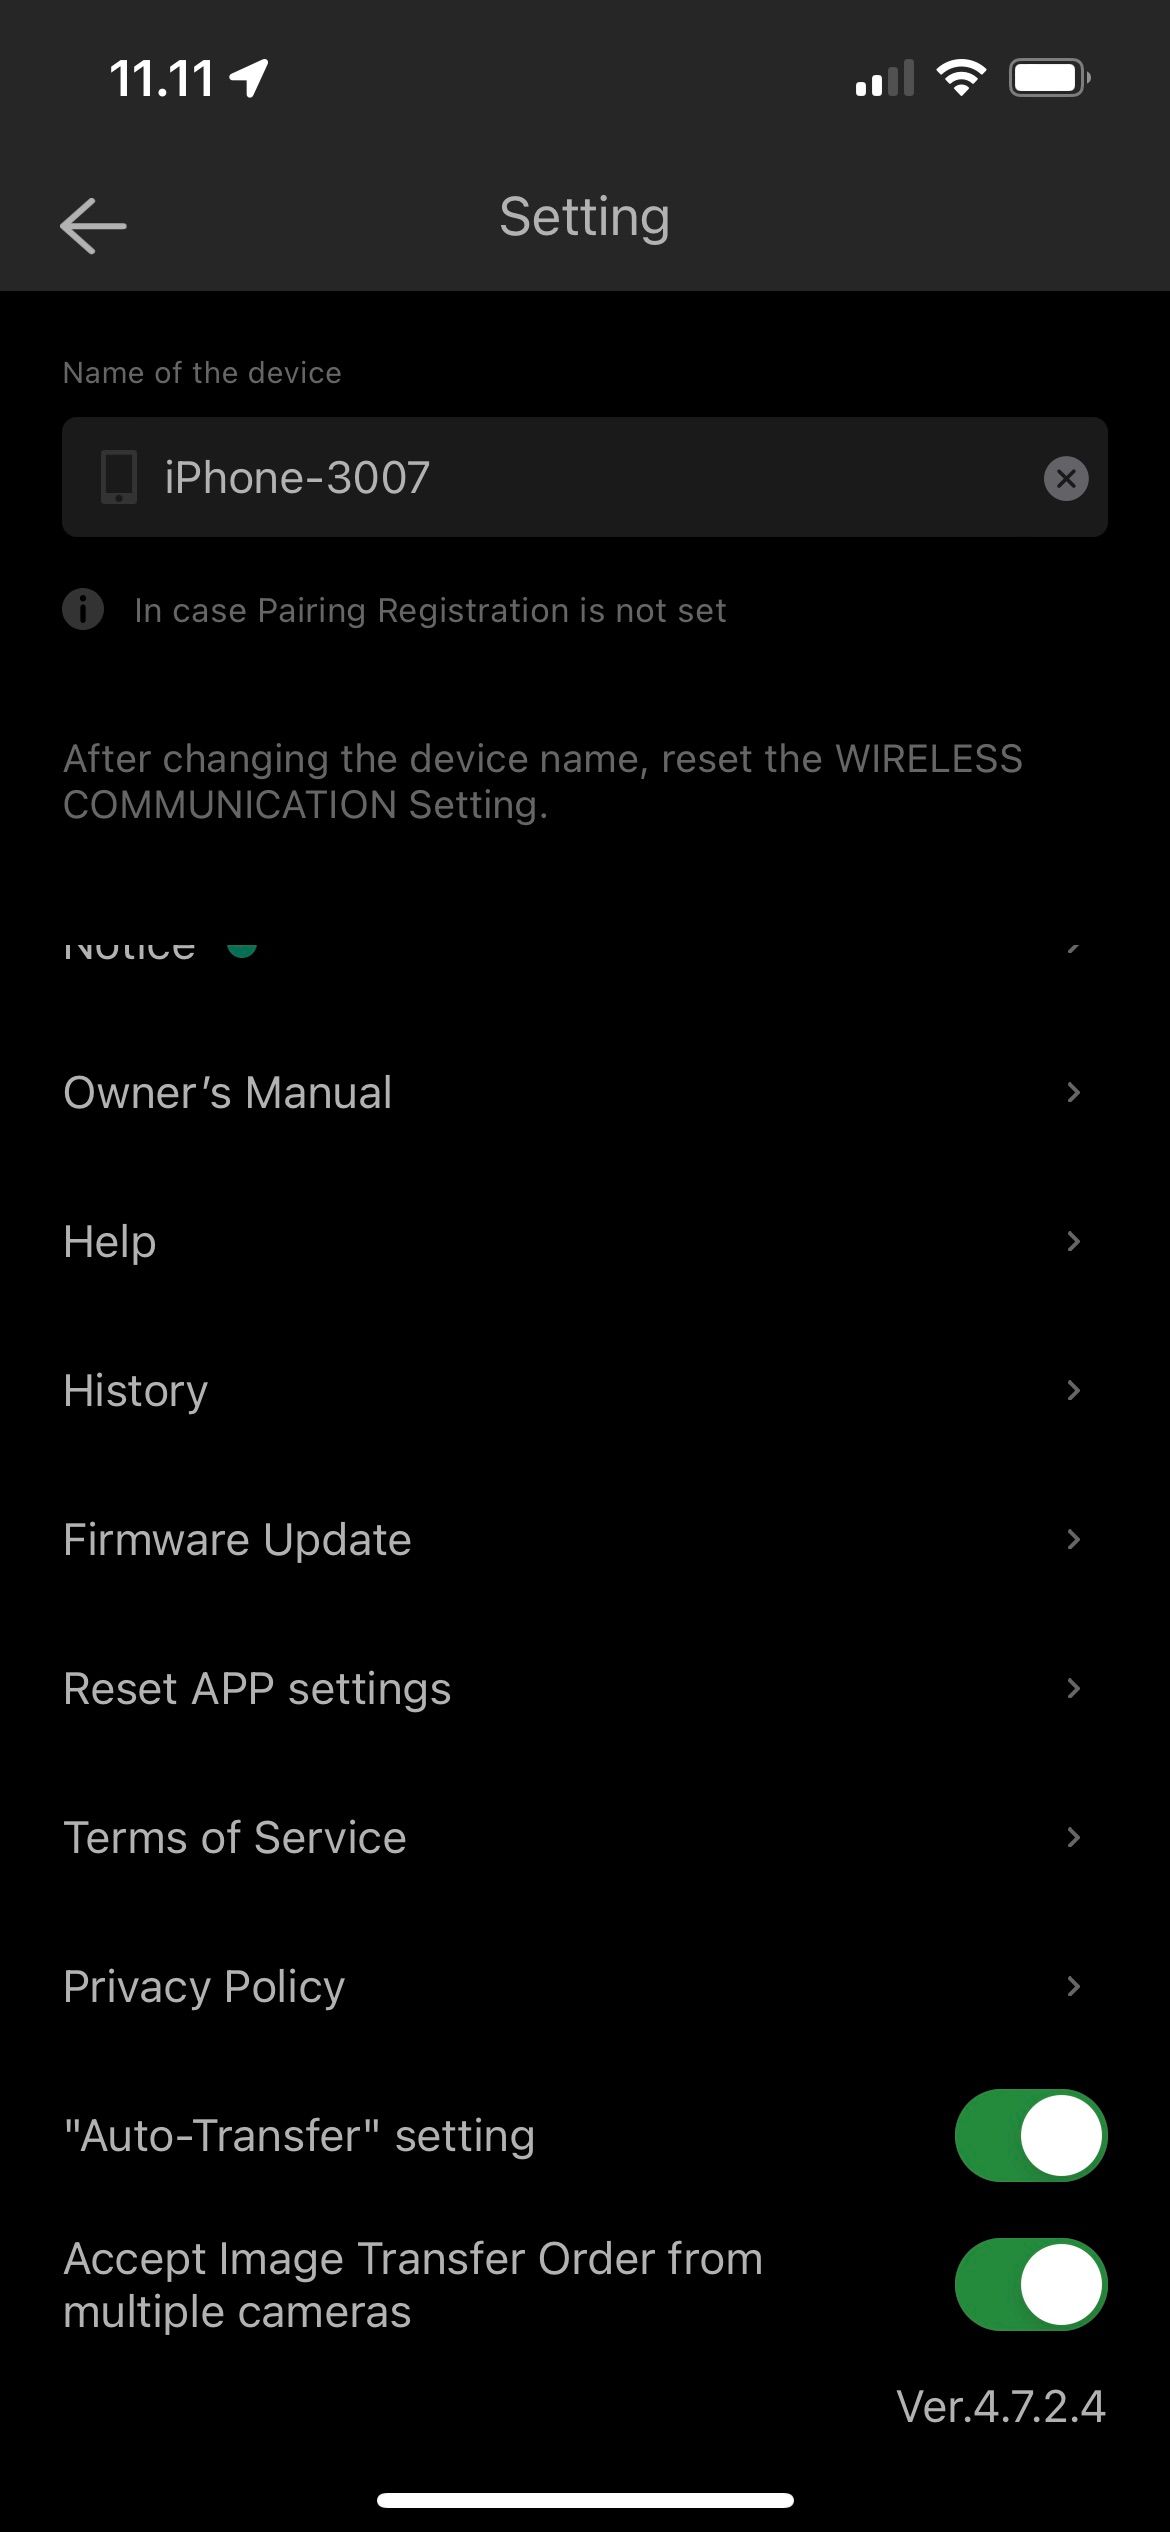
Auto-Transfer allows you to share pictures from your camera to your device more seamlessly. If you want to use Auto-Transfer or turn it off, adjusting your settings won’t take too long. First, go into the Camera Remote app. Then, follow these instructions:
- Tap the hamburger icon in the top right-hand corner.
- Scroll to the bottom of the next window. Here, you’ll see a toggle called “Auto-Transfer” setting.
- Turn the toggle on or off, depending on your preferences.
Everything You Need to Know About Using the Fujifilm Camera Remote App
Fujifilm’s Camera Remote app is a must-download for all Fujifilm users. You can connect cameras with interchangeable lenses, along with those that only have one lens. Once you’ve paired your devices, you’ll be able to easily download the latest firmware for your camera.
Transferring photos is also much easier once you’ve downloaded the Camera Remote app, though you should still connect your SD card to your computer if you want to edit RAW files instead. You’ll also be able to control what your camera shoots from your smartphone or tablet.

