If you’re looking for an innovative and fun way to have team meetings and do virtual activities, try FigJam.
FigJam is the digital whiteboard of Figma that enables you to ideate and brainstorm online. It gives team members a feeling of in-person meetings during online collaborative research, stand-ups, Q&As, and feedback sharing.
This article will discuss how to use several features of FigJam such as inviting coworkers, using templates, and creating plans using the FigJam board.
Getting Started With FigJam
Signing up for FigJam is easy. Moreover, the tool is now available for free. Here is how you can get started with FigJam:
- Visit the FigJam page and click on the Try FigJam button in the top right corner.
- On the signup screen, enter your email and choose a password for your account. Alternatively, you can sign up using your Gmail.
- On the next screen, type in your name and the kind of work you do, and you’re ready to use FigJam.
Inviting Team Members for Collaboration
There are two ways you can invite someone to work with you for brainstorming on the FigJam whiteboard.
1. Share a Board Link
You can share a link to your discussion board with the participant’s email. Just follow these steps:
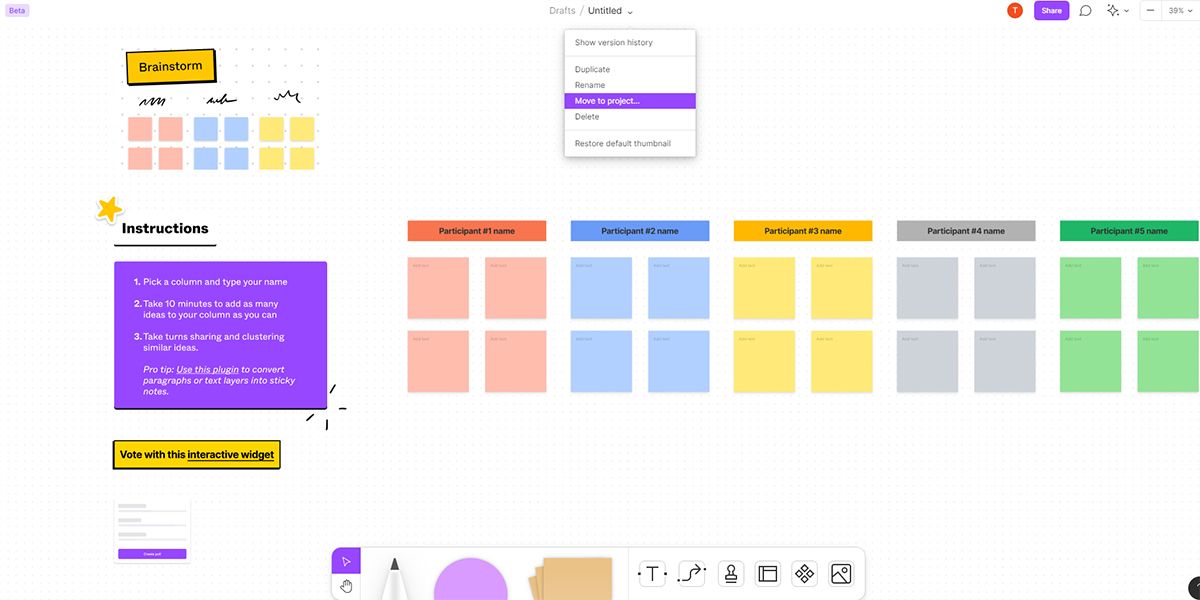
- After creating a FigJam board, click on the drop-down menu on top of the board.
-
Now, click select the Move to project option.
-
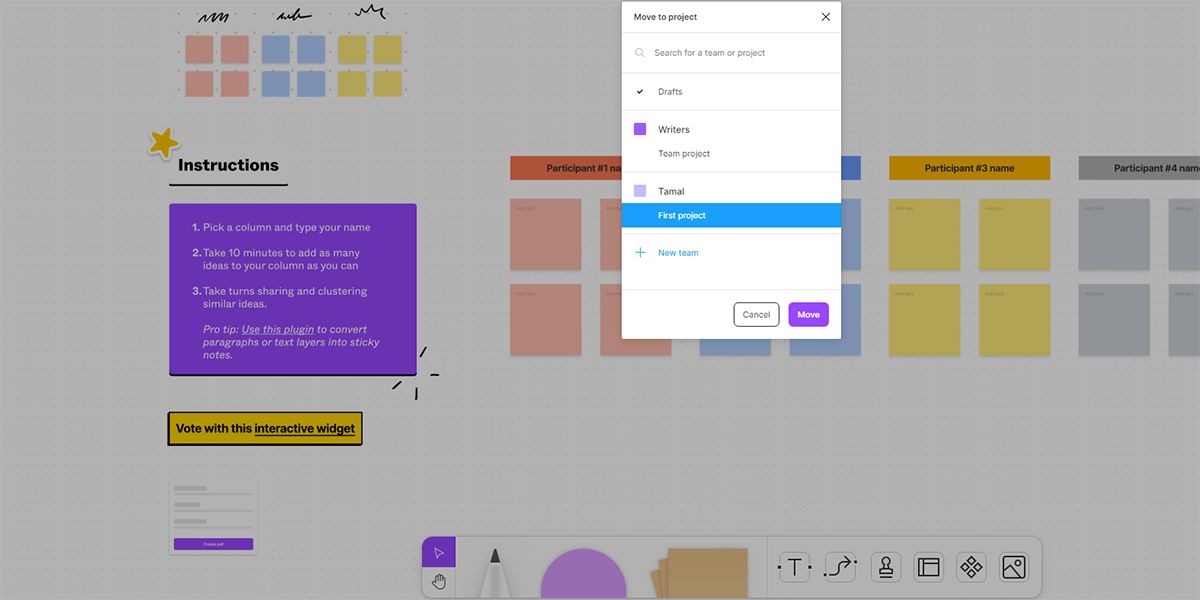
On the next screen, choose a project and click on Move.
- Click on Share on the top right corner of the board.
- Type in the emails of the participants and separate them with a comma.
-
When entering the emails, decide whether you want to give them edit access or view access. Click on Send Invite.

- If you’re creating a board with unrestricted access, select Anyone with the link.
- Now, click on the Copy link and paste the link on your social media post or newsletter.


2. Create a Team
If you’ve got team members from different departments, you can create multiple teams. All members will get instant access to any board that you create within that team’s space. To do this, follow these steps:
-
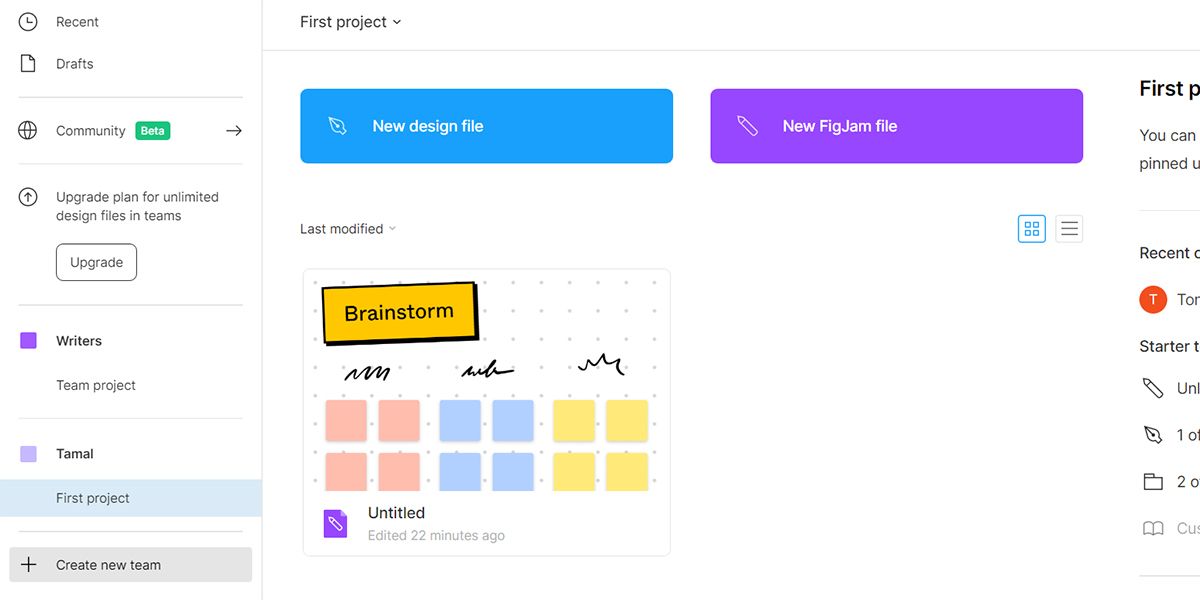
From the FigJam files screen, click on Create new team.
- Type in a name for the team and click on Create team.
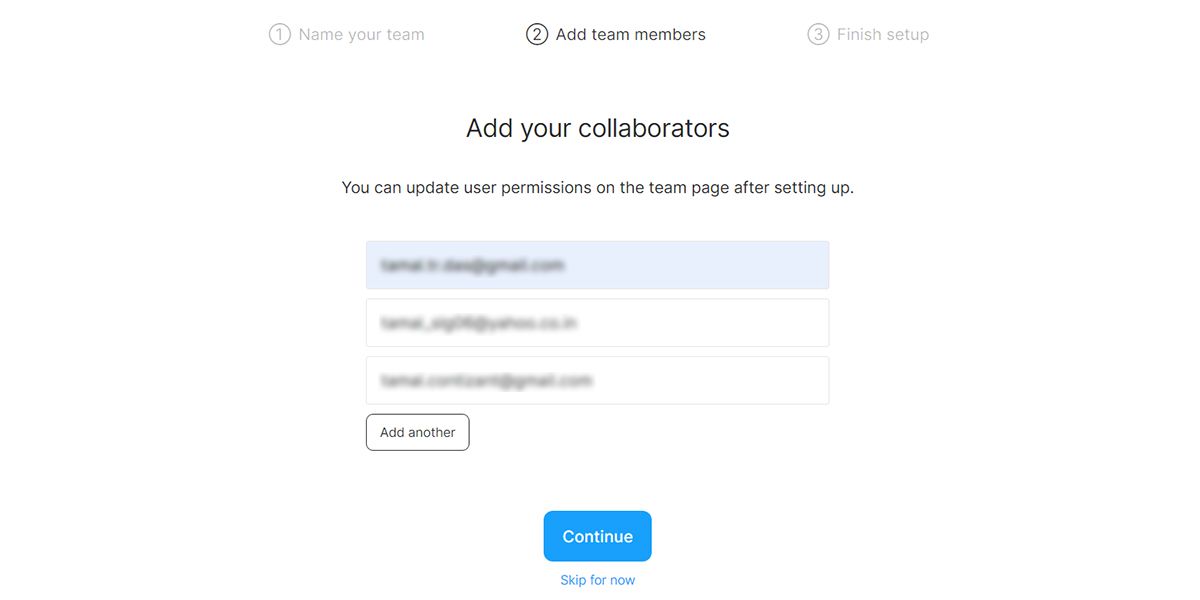
-
Click on Continue after adding the emails of your team members.
- On the Finish setup screen, click on Choose Starter to finalize team setup.
- From the Members tab, you can edit access rights to the FigJam files.


From now on, any board that you create from the Team project section will show up on your team member’s FigJam files screen.
Exploring and Using FigJam Templates

You can access easy-to-use templates for collaborative ideation or project planning on FigJam. You’ll find four templates on the FigJam files screen; namely Brainstorm, Retrospective, Team standup, and Crazy 8s.
Alternatively, you can create a new FigJam file, then click on the Templates icon on the toolbar to find a long list of FigJam templates.
Using the FigJam Board
Using FigJam's digital whiteboard doesn’t require any extensive training. You can master FigJam by going through the following features and functionalities.
1. Pan and Zoom
FigJam is an infinite whiteboard. Therefore, it’s easy to manage the entire project plan or design ideas in one file. You can activate the hand tool by pressing the Space bar. While clicking the left mouse button, move the mouse to navigate on the whiteboard.
Press the Ctrl key and scroll the mouse wheel to zoom in or out. Alternatively, you can click the Plus (+) or Minus (-) sign on FigJam's zoom tool.
2. Speed Up the Process With Quick Create
You can speed up the brainstorming process by using a set of shortcuts. There will be a Plus (+) icon if you select any shape on the board. Use this icon to create a similar shape or connect the shapes that represent the workflow sections.
3. Engage With Cursor Chat

You don’t need to interrupt the diagramming session on the online whiteboard to discuss designs or workflows. Type live messages and comments on your cursor by right-clicking and then choosing Cursor chat. Your text will show up for a while and automatically disappear.
4. Time Your Sessions
You can track the time it takes for a brainstorming session on FigJam. It’s highly beneficial for productivity whether you’re collaborating or working solo. To activate it, click on the Collaborate icon on the top right corner of the board and select Timer.
The timer tool comes with features like Pause, Mute, Add time, and Stop.
5. Import and Export Files
FigJam makes your designs and workflows more shareable than ever. You can import almost any file to your FigJam board. Similarly, you can export your FigJam sessions as several file types.
You'll be able to perform the following:
- Import JPG, PNG, and TIFF image files.
- Insert CSV data as a sticky note.
- Export FigJam file portions as image files.
- Export data of sticky notes as CSV files.
6. Visualize the Data Using Shapes and Markers

From the FigJam toolbar, you can access Marker, Shapes, and Sticky note. Access the marker menu by clicking on the Marker icon on the FigJam toolbar. From there, you can customize the marker color and size.
Shapes might come in handy for brainstorming and project planning. FigJam gives you eight types of shapes. Click on the Shape icon to expand the shapes menu, and add texts by double-clicking on them.
7. Group Objects

Organizing components on the FigJam board can be time-consuming. Therefore, FigJam allows you to group objects so that you can move them in one go. This is useful for when you’ve got different sections in your brainstorming or mind-mapping file.
Select a couple of shapes and press Ctrl + G to activate a group. You can also right-click on the selection and then select Group selection from the menu.
To ungroup objects, right-click on a group of objects and choose Ungroup. Alternatively, press Ctrl + Shift + G after selecting the objects that you want to ungroup.
8. Express Your Feelings With Emotes and Stamps

During multiplayer experiences in FigJam, you and your team members can insert Emotes to express different feelings about the session. These temporary yet energetic expressions can turn any meeting into a lively session.
Stamps, on the other hand, are permanent elements of FigJam boards. You can use these to show support or other impressions. Access the Emote and Stamp menu by clicking on the Collaborate menu in the top right corner of the board.
Make Brainstorming and Collaborating Fun With FigJam
The right tools are key to having successful project brainstorming sessions. FigJam's extensive list of tools will simplify your workflow and make collaborating with coworkers fun. Use the above-mentioned tips to get you and your team started.