The world of graphic design software is huge and has a lot of competition. Figma is one design tool that’s racing to the top spot for UX/UI designers around the globe. But what do you know about this intuitive tool?
While it is simple, there’s also a learning curve if you’re used to other design tools. Let’s look at Figma and how to use it. Welcome to Figma 101.
What Is Figma?
If you’ve worked as a graphic designer or web designer in the past several years, you’ve likely heard of Figma. You might have even used it.
Figma is a design tool and it's steadily become a favorite for digital designers, soaring over options like Adobe XD, Adobe Photoshop, and Sketch, for web design and more. However, since Adobe acquired Figma in 2022, there may be some changes that will reshuffle the leaderboard.
There are many uses for Figma. It's primarily used for digital design, and you cannot design in CMYK for print. Some of the main uses of Figma include:
- Prototyping
- UX/UI design
- App design
- Web design
- Presentation design
You can use Figma mockup plugins to help show off your designs, convert real webpages to Figma designs using plugins, and even create master templates for Figma designs to save you time in repetitive design types.
How Much Does Figma Cost?
You can create a Figma account for free on the Figma site or by downloading the Figma app. A free account provides functionality for all design aspects of the app. You can design with Figma and FigJam—Figma’s collaboration tool.
If you are using Figma as a hobbyist or as a sole freelancer, the Free Forever version is almost perfect. You still have access to all the plugins, can invite unlimited collaborators, use unlimited personal files, and use Figma from all platforms.
While the free version of Figma offers more than enough for any standard designer, a Figma Professional subscription allows you to invite teammates, work from team libraries, have access to unlimited Figma files and version history, and more, for $12 per month per editor. If you’re a student or educator, you can get Figma Professional for free.
How to Use Figma: The Basics
Whether you use the Figma app or the browser version, you can easily follow along.
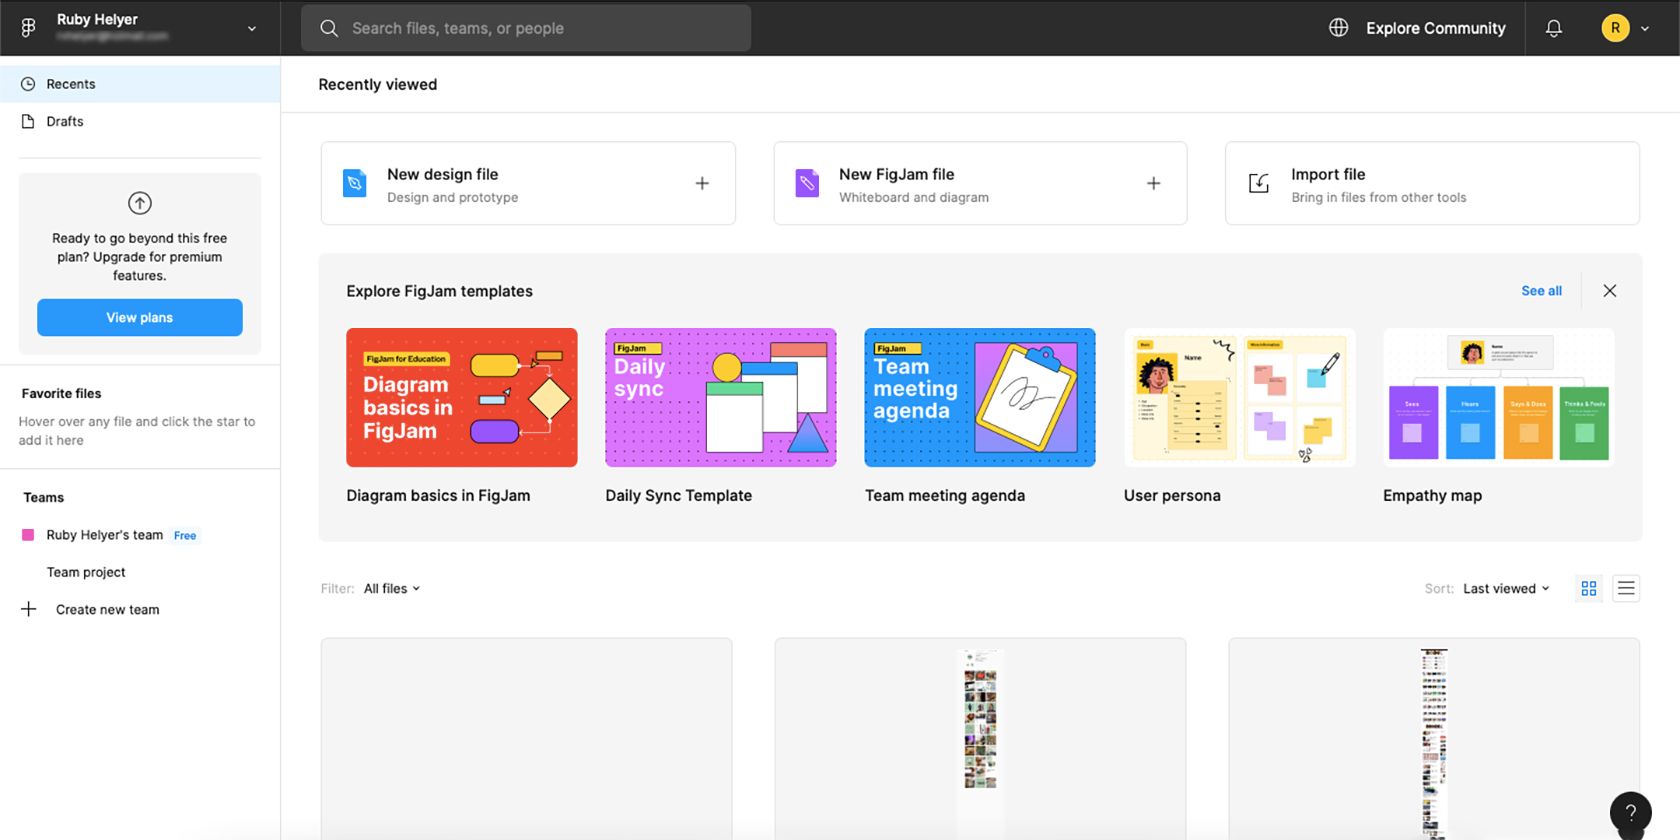
When you open Figma, you’ll be presented with options to start a new Figma file, a new FigJam file, or import a file made in another program, like Sketch or Adobe XD. If you’ve used Figma before, you’ll also see your previous Figma projects that you can open and work on.
Navigating the Figma Workspace
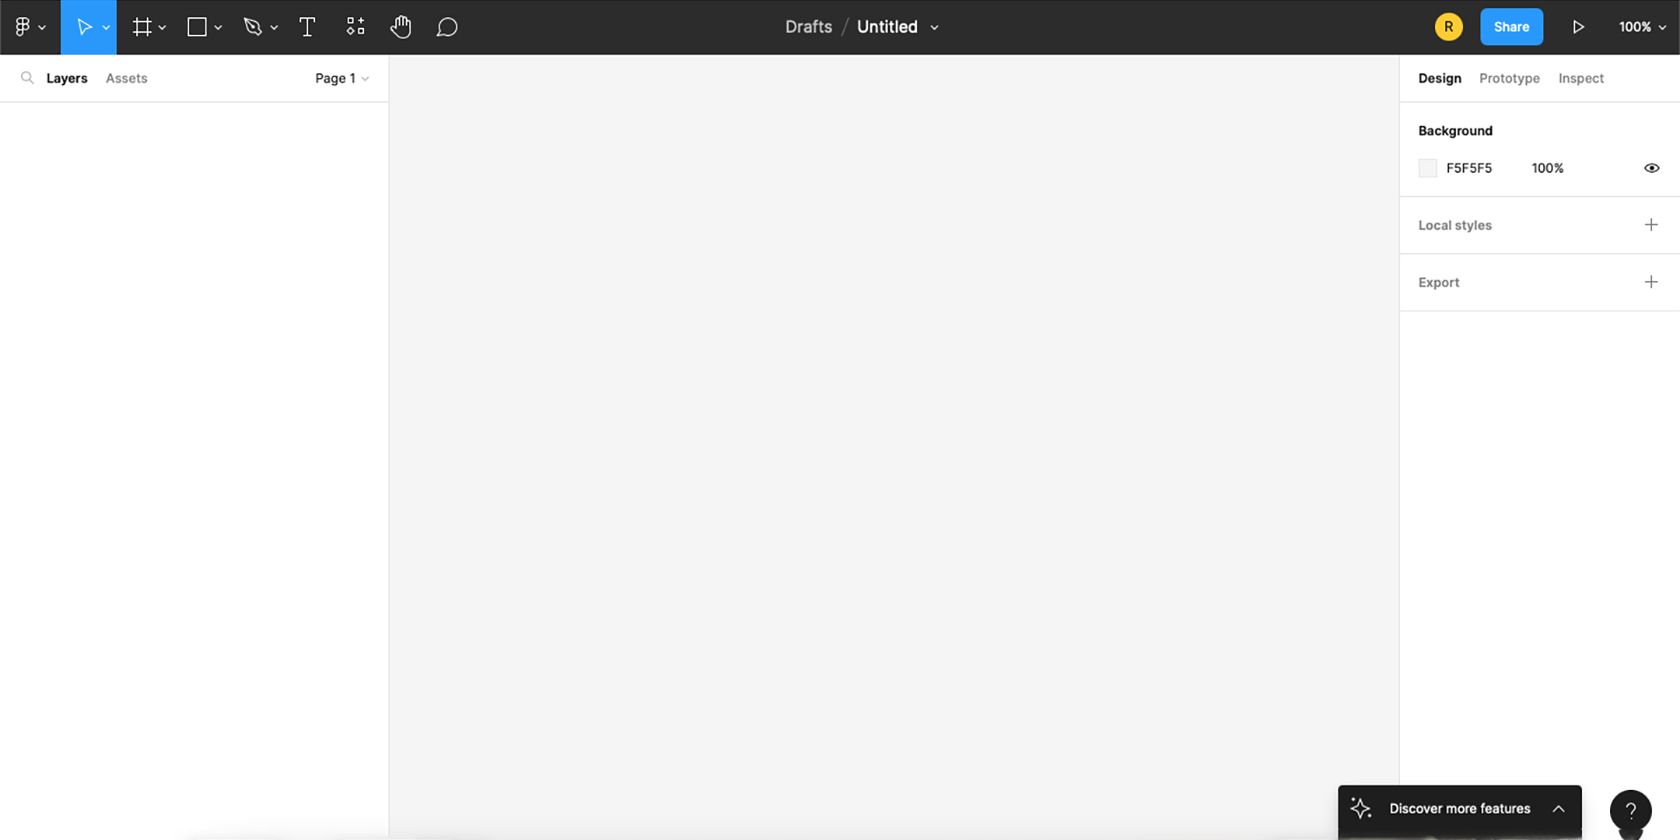
Opening a new file initially looks uninspiring. Unlike many other design programs, you don’t start with your artboard or canvas, but a totally blank design page. But with a mind full of inspiration, it won't stay an empty space for long.
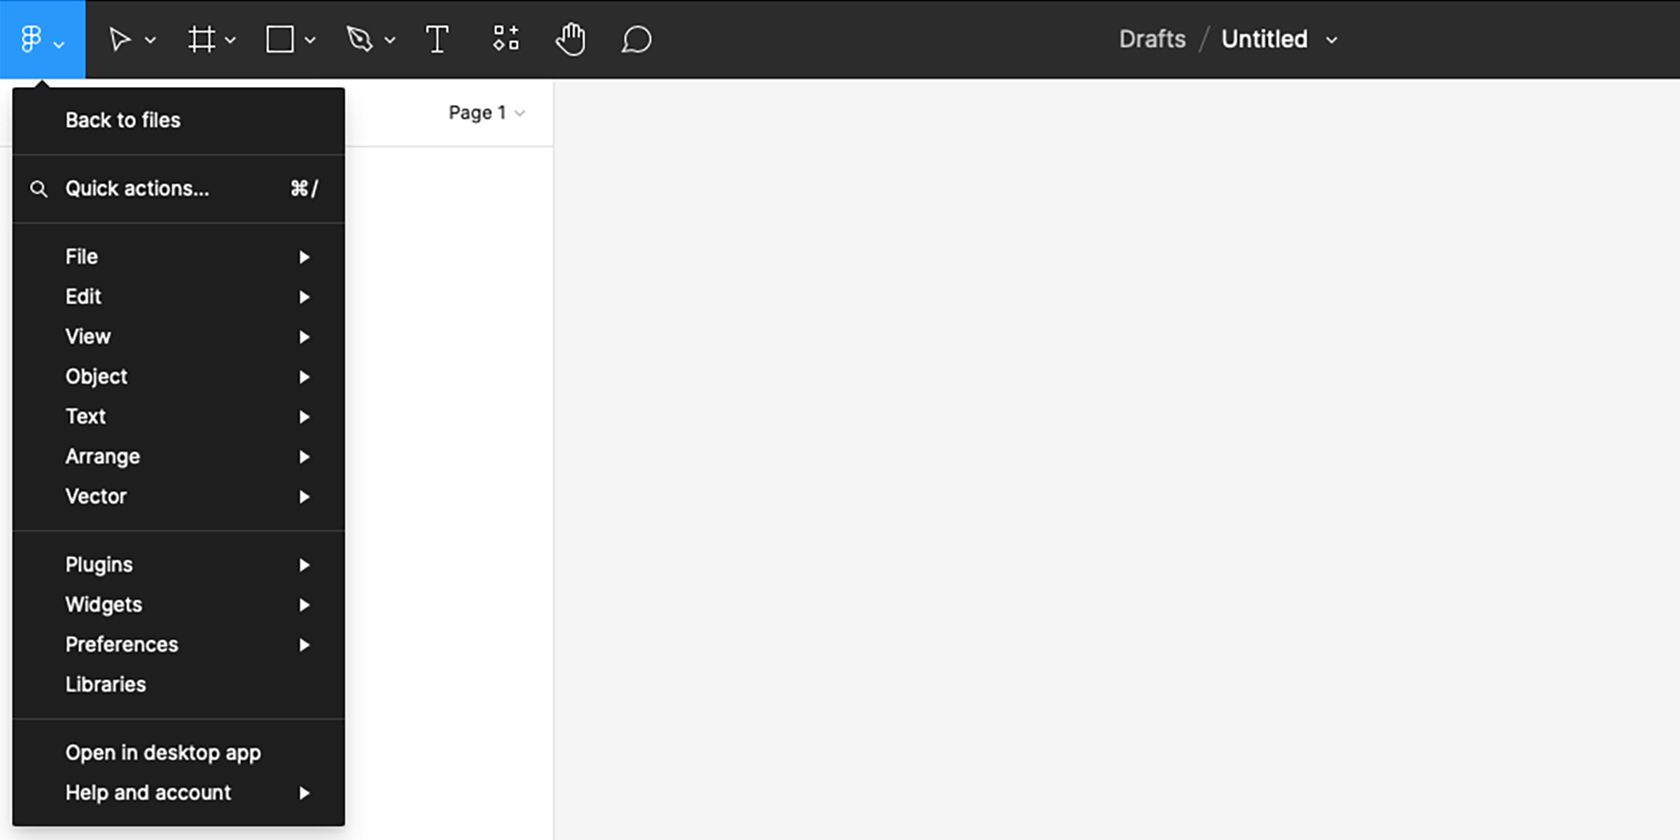
The top left horizontal menu starts with the Main Menu icon—the Figma logo. Selecting the Main Menu, you can navigate to your other files, Figma quick actions, typical file options, and access to plugins, widgets, and libraries.
Next, you’ll find the Move tool (V), with the Scale tool (K) nestled under it. These tools are for moving elements or scaling parts of your design up or down. And to the right of these tools, you’ll see the Region tools, Frame (F), Section, and Slice, nestled together.
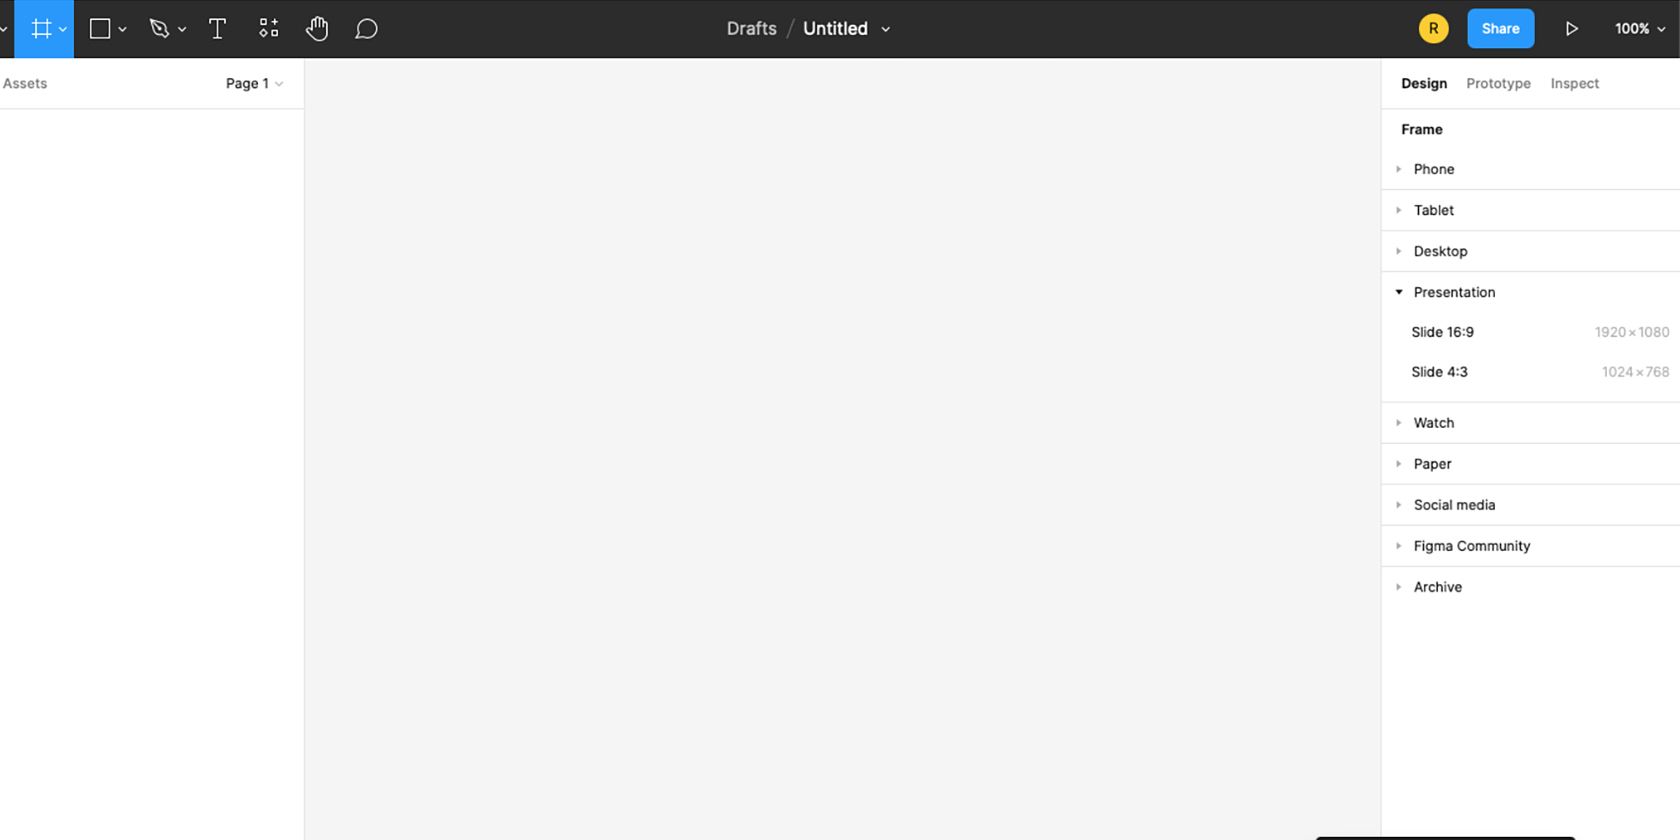
In Figma, a frame is what other programs may call an artboard or canvas. Select Frame to draw your custom-sized canvas. When selected, the right-hand menu will present premade frame options for common device sizes: smartphones, tablets, desktops, smartwatches, presentations, and social media options. You can also click and drag your frame directly to make it any custom size.
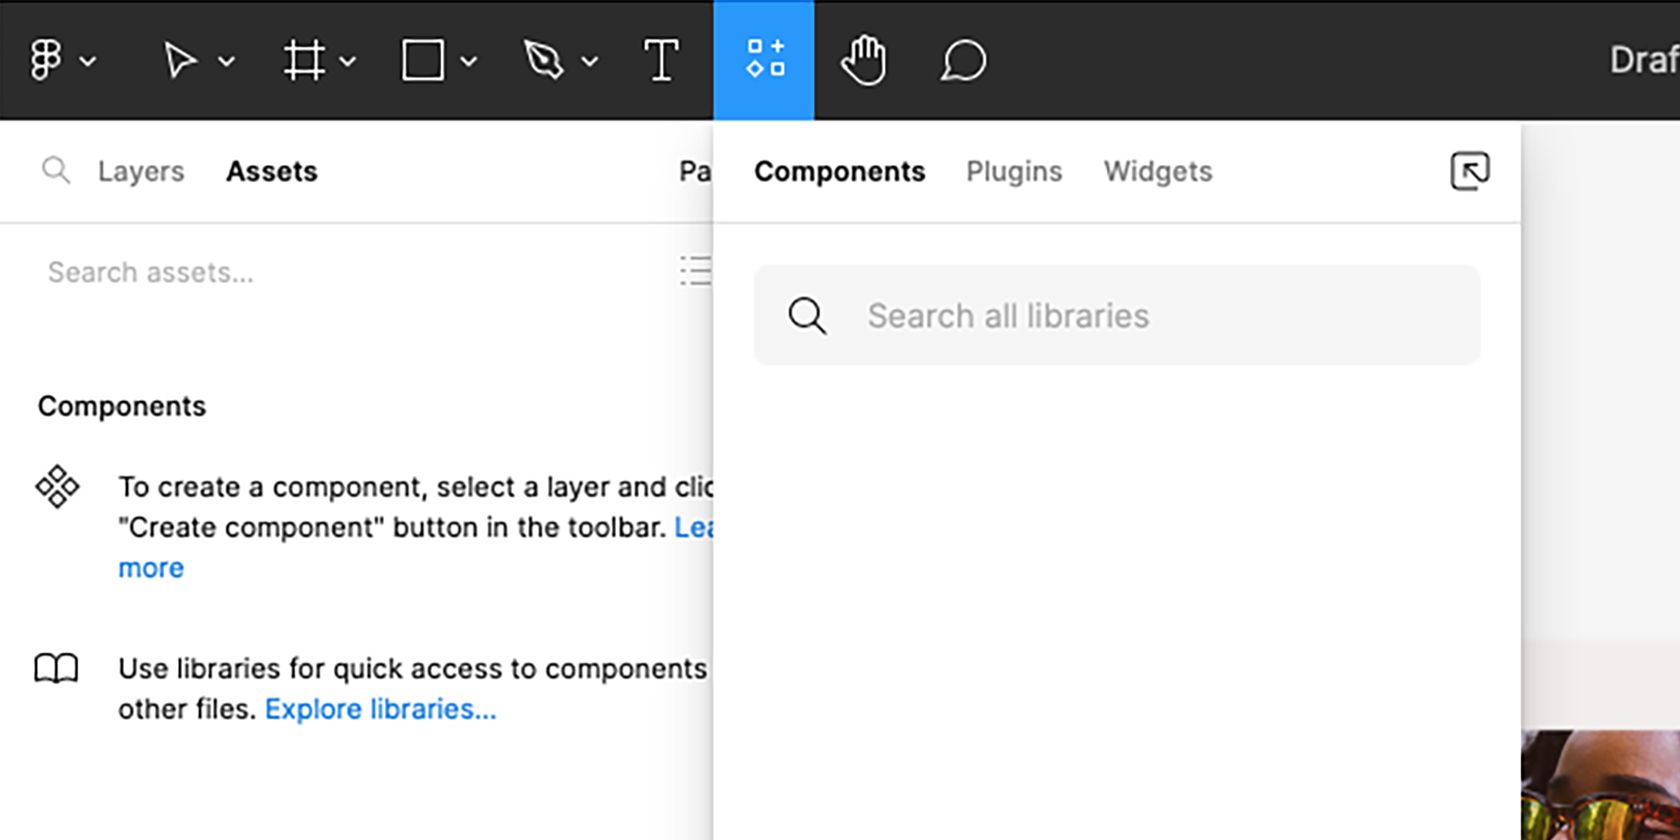
Back to the top left menu, to the right of the Region tools are the Shape tools, Pen tools, and the Text tool. Followed, then, by Resources—Components, Plugins, and Widgets—and the Hand tool for moving around your file. And finally, the Comments tool which is great for making notes and collaborating with teammates.
The Figma Design Menu
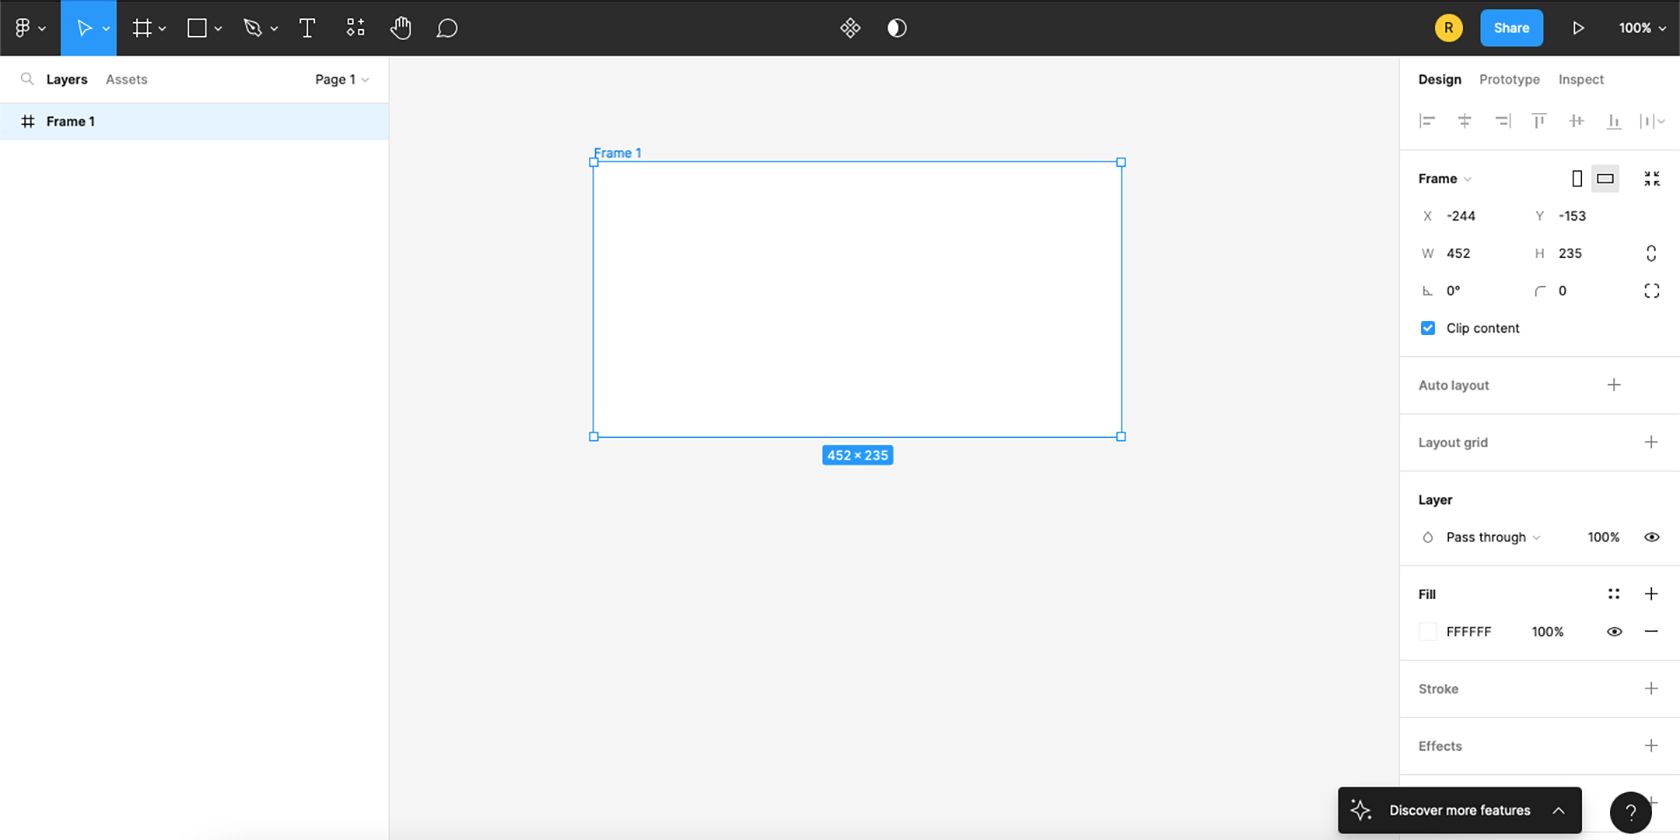
With a frame drawn up, selecting its title activates the frame, ready for design. The right-hand menu shows titles for Design, Prototype, and Inspect. As the name suggests, the Design option is the menu you’ll use to design the elements on your frame.
While the initial Design menu is somewhat simplistic, as you add more elements to your design, the menu options evolve. At first, the menu runs top to bottom with alignment tools, sizing tools, Auto layout, Layout grid, Layer, Fill, Stroke, Effects, and Export. Some of these are minimized by default but by clicking the + sign, you can open any menu or hit – to minimize it.
Once you've drawn your main frame for the project, you can use Shape tools or Pen tools to draw shapes or add image placeholders, and you can add text using the Text tool in ways you've probably done in other software.
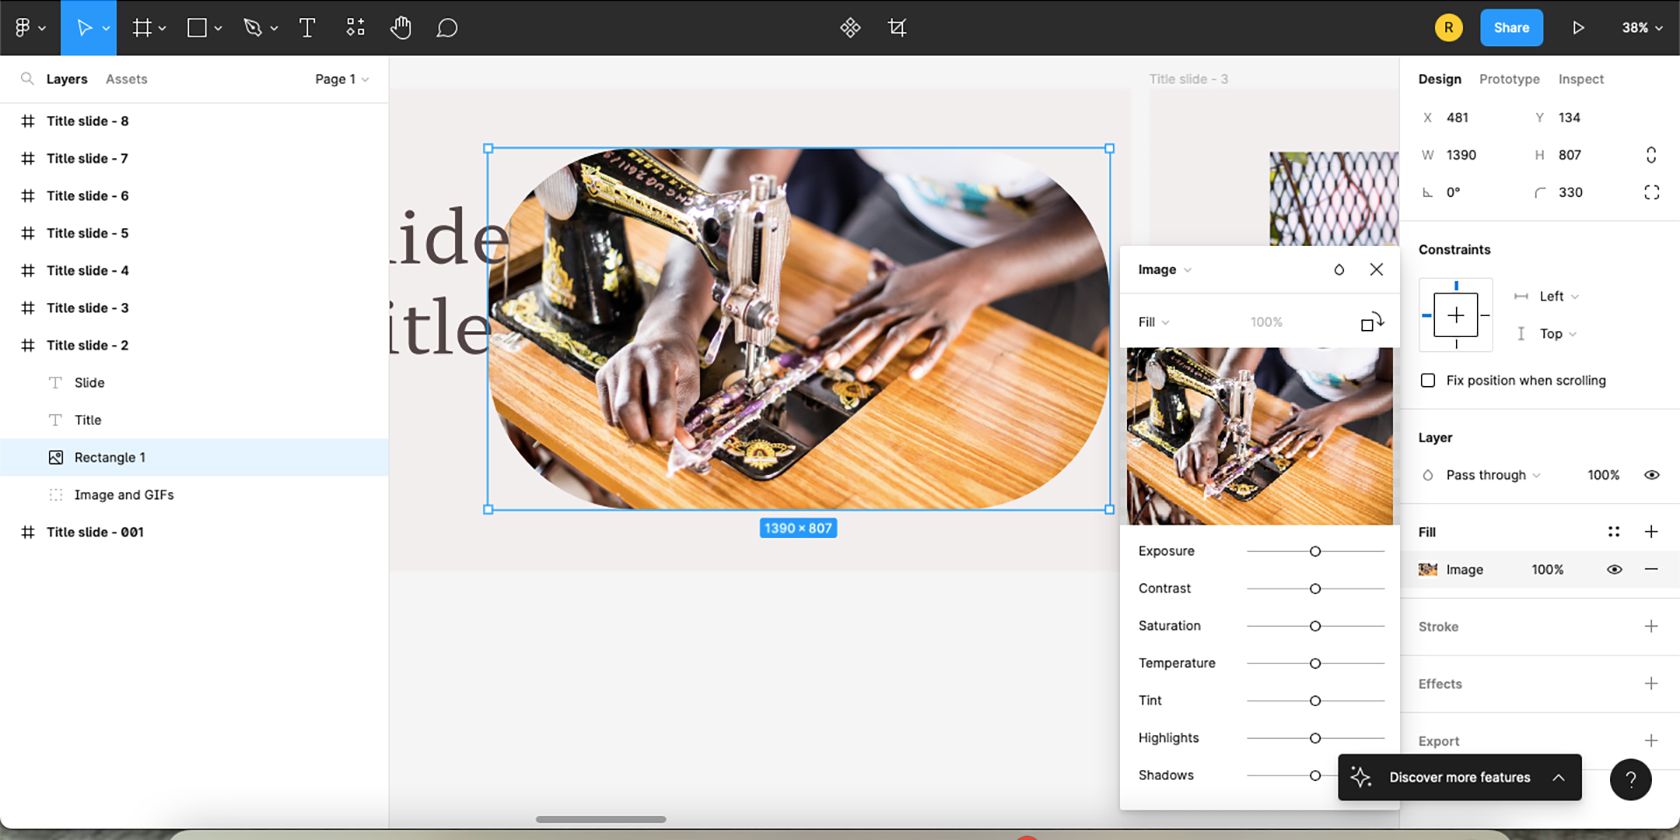
Once you have shapes or text on the Frame, use the various right-hand menu options to edit and design those elements. The Layer menu offers opacity and blend modes; with Fill you can add color or insert images with some edit features like Exposure, Contrast, Temperature, and more.
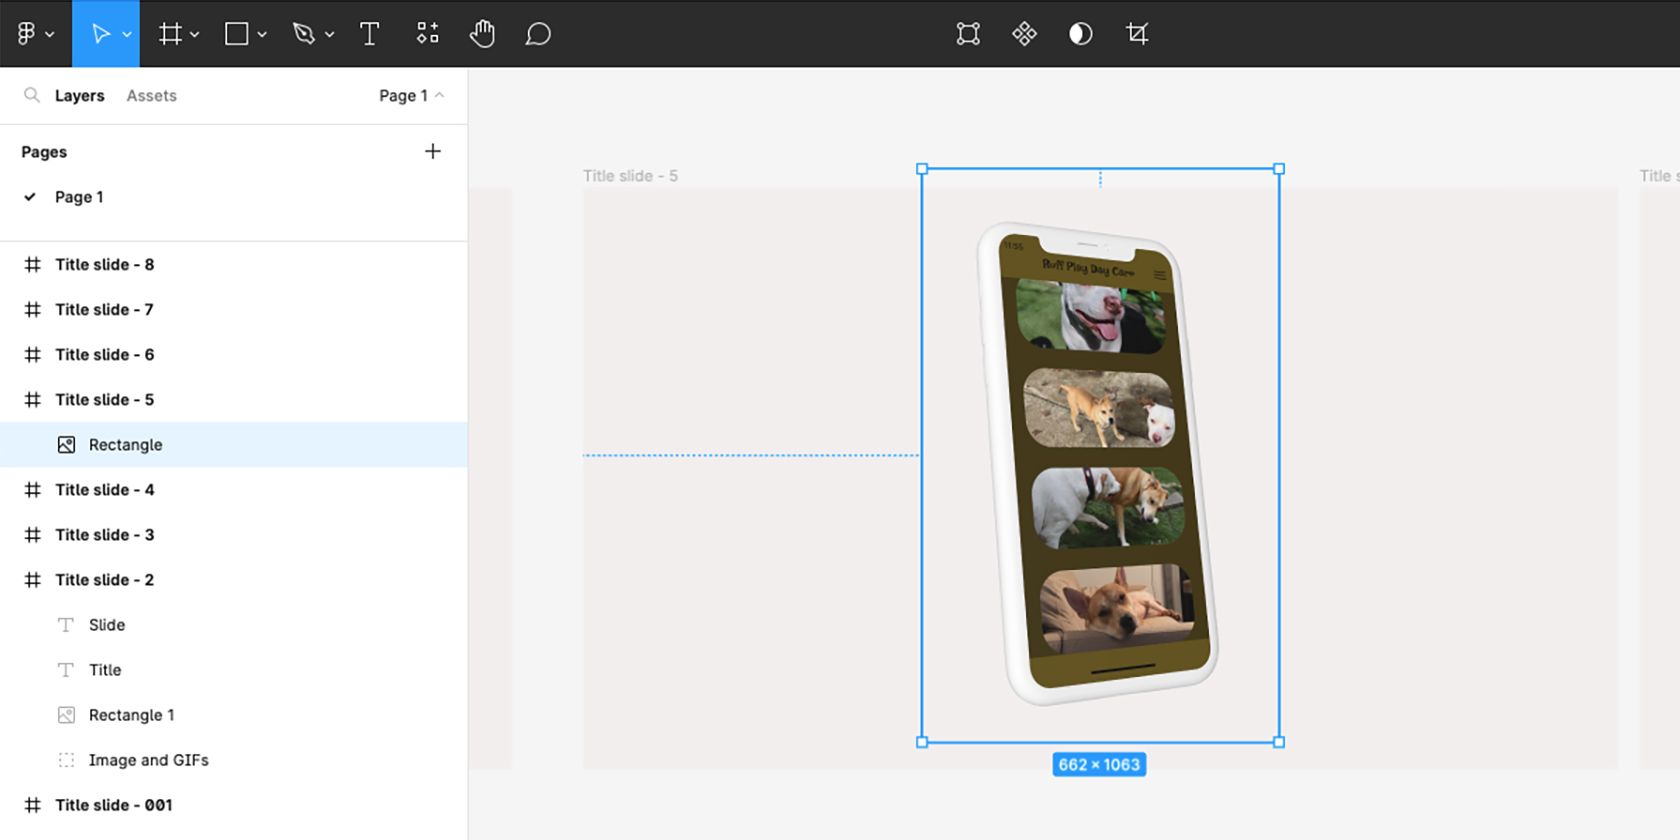
As you build up more elements in your project, the layers will form on the left-hand Layers menu next to the Assets tab. You can double-click a layer title to find the element, and vice versa; you can double-click a design element to find the highlighted layer. Double-clicking titles allows you to rename them for optimal organization.
The Figma Prototype Menu
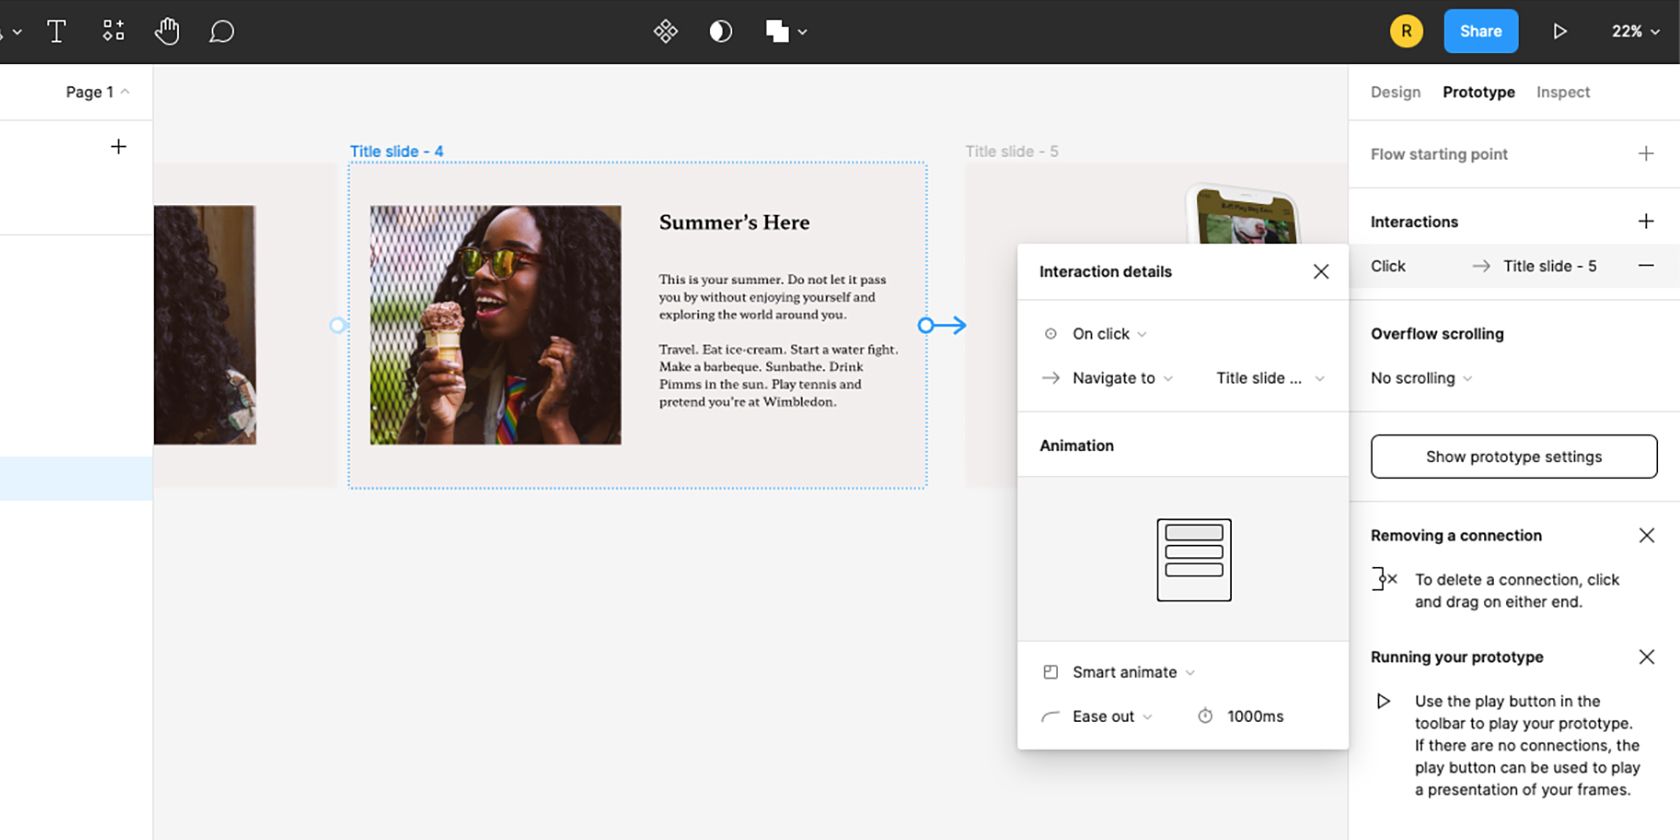
To the right of the Design menu option is the Prototype menu. Once you’ve finalized the visual aspects of your design and set image boxes and text where they should go, you can use the prototype tools to add animations and transitions to your designs.
The Prototype menu allows you to connect frames or components together as transitions. You can choose which order and how each frame transitions to another.
This works great if you’re making a Figma presentation that animates from one slide to the next, but the tool also expertly allows you to visualize animations for buttons or menus for app and web design. You can add multiple transitions per page for all different things, so you can see how users would engage with your website when it's live.
While using Figma to design a website isn't the same as creating a live website, you can hand off your Figma design to your dev team who can recreate your prototype interactions as real-life animation designs for your website. This means you can transition from page to page from clicks, time, or other interactions.
Getting Started With Figma Is Easy
Now you know how to navigate the Figma layout and how the basic design and prototype tools work. Since Figma is so easily accessible, it’s time to go and tinker with this design tool and see what you can create.

