One of the most valuable skills you can add to your ensemble of audio-editing tools is the effective use of equalizers (EQs). Most, if not all, digital audio workstations (DAWs) and many video-editing programs offer stock EQ plugins you will want to make the most of.
Given the widespread usage of EQs, you can easily fall into common pitfalls of EQ misusage and overuse. We'll go over the basics of EQs, how and when to use them, and some mistakes to avoid.
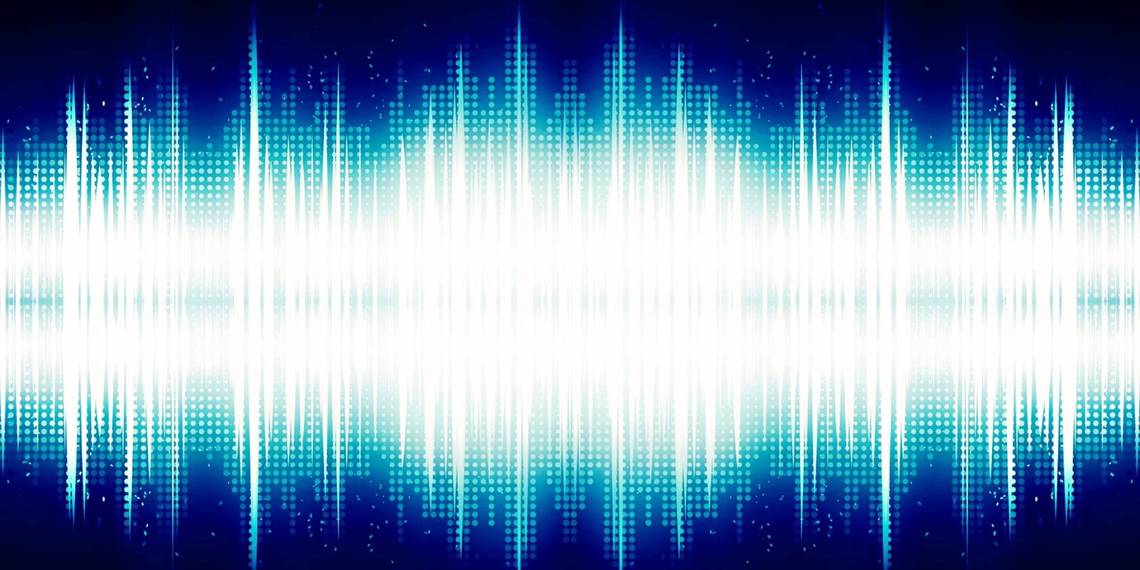
The Frequency Spectrum

To better understand how to use EQs effectively, let's look into the context in which EQs operate—the frequency spectrum.
All audio and music is created via the vibration of sound waves at specific frequencies. While the sounds produced by certain instruments share similar frequency ranges, each instrument is largely unique in the tonal and harmonic content it produces.
Frequencies are measured in hertz (Hz) and kilohertz (kHz) and each note of the modern western scale has an associated Hz value—middle C is 256 Hz, and A4 is 440 Hz (according to the international standardized tuning pitch).
The frequency spectrum can be split into several bands or groups of frequency ranges. They are often referred to in the following manner:
- Sub-bass (20–60Hz)
- Bass (60–250Hz)
- Low-midrange (250–500Hz)
- Midrange (500Hz–2kHz)
- High-midrange (2–4kHz)
- Presence (4–6kHz)
- Highs or brilliance (6–20kHz)
These frequency ranges are approximate estimates and are sometimes referred to with different terms (e.g. "noise" or "air" to describe 6–20kHz).
EQs become a vital tool when certain instruments or entire mixes are too weak, strong, or undefined in certain frequency areas. Now, we'll look into the tools EQ plugins provide to let you boost and cut frequencies effectively.
EQ Parameters

Most modern EQ plugins provide a visual representation of the frequency spectrum and sound waves produced by a given track. The vertical axis demonstrates the amplitude of the sound waves and their volume in decibels (dB) while the horizontal axis portrays the frequency spectrum.
The shape with which you boost or cut certain frequencies depends on EQ parameters and filter types. The parameters are as follows:
- Frequency: Determines where on the horizontal axis your frequency alterations will take place.
- Gain/Slope: Determines how many dB you boost or cut a certain frequency by.
- Q (Quality Factor): Determines how wide or narrow a boost or cut will be around the center frequency.
EQ Filters

When you decide to change a frequency area, EQ plugins typically provide three filter types:
- Low-cut and high-cut filters (high-pass and low-pass filters)
- Bell filters
- Low shelf and high shelf filters
Low-Cut and High-Cut Filters
Once you set a cutoff frequency point, a low-cut filter will cut the frequencies below that point, and a high-cut filter will cut the frequencies above that point. Alter the Q to change the steepness of the cutoff slope.
Bear in mind that low-cut filters are frequently referred to as high-pass filters, and high-cut filters are referred to as low-pass filters. One way to avoid confusion is to remember that low-pass filters let only the low frequencies pass through, and vice versa.

The effective use of low-cut filters can help you avoid a buildup of low-end frequencies from instruments that are not intended to provide the bass of a track. While a viola or guitar tends not to produce sounds below 80 Hz, they may still do so. An accumulation of such unnecessary low-end sounds can cause a mix to sound "muddy"—a term used to describe a lack of low-end clarity.
Similarly, use high-cut filters to attenuate (cut) the brightness of a given track, reduce the buildup of unnecessary high frequencies, and lessen the overall hiss of a track.
If you're struggling with the diverse terms used in music production, see our guide explaining music production terminology to clear things up
Bell Filters
Bell filters are also referred to as parametric or peak filters. They allow you to boost or cut frequencies in diverse manners and are also the best tool for corrective EQ'ing.
Corrective EQ edits primarily deal with fixing jarring sounds and resonances that any digital instrument or live recording can generate.

To identify the unwanted frequency, apply a boost of roughly 15dB at any frequency and a narrow triangular bandwidth—a Q value between 3–6, for example. Then, move the set frequency horizontally from one end to the other (also called EQ sweeping). This filter shape works like magnifying glass to pick out unwanted sounds.
Once you've picked out the sound you don't like, invert the triangular shape so that you cut the dB of the frequency in question until it no longer sticks out.
EQ sweeping is an example of the utility of a higher Q value to cut or boost a narrow range of frequencies. Conversely, use lower Q values to affect a broader range of frequencies.
Low Shelf and High Shelf Filters
Low shelf and high shelf filters either boost or cut low-end or high-end frequencies, respectively. Shelf filters vary from the other filter types as they form a plateau on one side when boosting or cutting.

Low shelf filters can serve to decrease or increase the strength of sub-bass and percussion instruments, for example, that generate excessive rumbling sounds or altogether lack low-end character.
High shelf filters can help you add presence and brightness to a track when you boost it by a few dBs. Conversely, you can make a track sound more spatially distant and lessen its noise by cutting with this filter.
When to Use EQs (and When Not To)
You may find that your multi-instrumental projects at times suffer from a lack of clarity between instruments. A percussion part may clash with a bass synth that suddenly makes the latter disappear in the mix. This is called frequency masking.

EQ plugins, in this case, may be your best tool to fix this problem. To fix it, you need to carve out a space in the frequency spectrum so that each instrument has its own area. A small boost in the bass synth and a small cut in the percussion at the same point may be enough to do this.
However, EQ usage should be one of the final tools in your mixing process. What this means is that you should first focus on using the volume faders and optimal stereo placement (via panning) to find a space for each of your instruments in your mix. Only when you have exhausted these two elements should you delve into frequency masking EQ fixes.
Also, remember to apply EQ changes in the context of your mix. If you solo a track to better hear its strengths and flaws, don't finish up edits without listening to how it fits with all your other tracks (or at least a handful; especially those that could clash). If not, your tracks may sound great in isolation but completely fall short when played with everything else.
Creative EQ Sound Design
While heavy EQ editing can be a sign of a bad recording or instrument selection, it can also be a useful creative tool. If you are struggling with your recording quality, look into ways to improve your home recording studio.
Experiment with broad EQ changes, such as a band-pass filter (both a low- and high-cut filter), and you can produce a radio effect on vocals, for example, and much more.

Don't forget that you can also apply and alter EQ filters in real-time via automation. This can create great distorted audio, drop buildups, or wub-wub effects typical of various electronic music genres.
If you're a fan of sound design, check out how to reverse your audio in Logic Pro to add further creative possibilities to your toolset.
Master the Frequency Spectrum With EQs
EQ plugins are tools that highlight the importance of viewing your audio or music via the lens of the frequency spectrum. They allow you to boost and cut certain frequencies of a selected track through a variety of parameters and filters.
Use EQ edits to fix harsh sounds, and carve out a place for each of your instruments within the frequency spectrum. Then, experiment to create EQ sound effects, and apply real-time EQ changes to your track via automation to add dynamism to your audio.