Panning and scanning is a term that refers to the basic practice of swooping across a clip or a static image on-screen. History channel documentaries, local news segments, and some types of commercial videography all utilize pan and scan to meet a number of needs.
It's actually effortless to pan and zoom with DaVinci Resolve, one of the most popular free video editing software available. Today, we'll learn how to pan and zoom in Resolve in two simple and convenient ways.
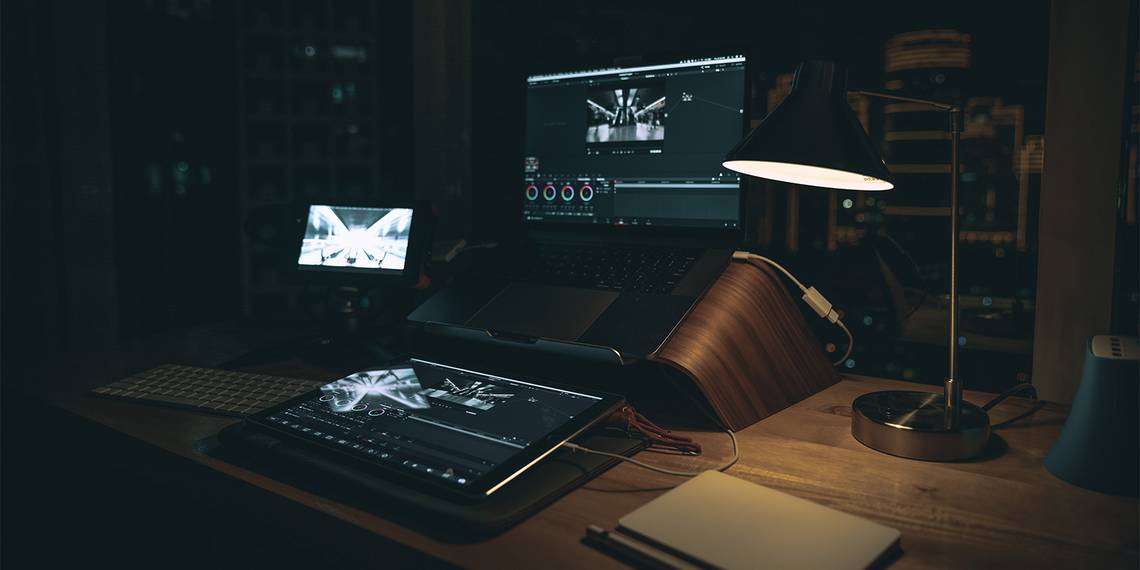
Panning and Scanning in Resolve
Before anything else, click into the Media tab and import a clip. Add it to your main timeline in the Cut workspace, just beside it at the bottom. For this first approach, we'll be panning and scanning right from home in the Color workspace.
How to Pan and Scan in DaVinci Resolve: Tutorial and Best Practices

Once you've got your project set up, take a peek below the preview image in the viewport panel. Just above your Curves, you'll see a bunch of different tools:
- Curves
- Color Warper
- Qualifier
- Window
- Tracker
- Blur
- Key
- Sizing (the option that we're going to use shortly)
- 3D (although this option will be unavailable in the free version of Resolve)
Right before 3D will be Sizing, select this panel tab to begin.

Where the Curves panel once was, you'll now see all of your different parameters for Sizing—Pan, Tilt, Zoom, Rotate, Width, Height, Pitch, Yaw, and even two Flip commands (Blanking is an OpenFX exclusive; you'll only have access to this feature with a DaVinci Resolve Studio subscription).
To the right of this menu of sliders, you'll see your keyframe timeline, ready to be populated with keyframes.

Right-click into the layer labeled Sizing, right on the first keyframe of the shot, and select Add Dynamic Keyframe. Adjust your parameter controls so that you've got your desired starting position up on the monitor.

Add a second Dynamic Keyframe later on in the keyframe timeline, modifying this second round of Sizing and bringing your zooming effect to its dramatic conclusion.

Hit Play to take a look at what you've done. You can continue to refine this zoom effect, tweaking these two keyframes or adding more if desired.

If this method doesn't suit you, fret not. There is another option in Resolve for those in need of some epic action: Dynamic Zoom in DaVinci Resolve.
This alternative approach will be found in the Cut workspace. It also spills out into the Edit workspace, just in case you need to make any changes as your project advances and evolves.
How to Use Dynamic Zoom in DaVinci Resolve
Once your clip has been loaded in and is visible in the main viewport, you're ready to begin, just like before.

Underneath the Program monitor, you'll see a little icon that looks like a few parameter sliders. This is the Tools button.

Click on this button to reveal an expanded palette of handy tool options:
- Transform
- Crop
- Dynamic Zoom (this will be the option that we're interested in right now)
- Composite
- Speed
- Stabilization
- Lens Correction
- Color
- Audio
Clicking on any option here opens up a corresponding toolbar beneath the viewport. To the left of any of these toolbars, you'll see a cute little toggle; it's used to enable the effect.

So: how does all of this work, exactly?
First, ensure that Dynamic Zoom is the toolbar button you have selected. You should see a green frame on top of the uncropped image in the viewport; this is one of the windows you'll be directing to achieve your pan and scan effect. Navigate to the first frame of the clip in the timeline.

In the viewport, click and drag the green window so that it's in your desired starting position, wherever you would like the shot to begin. You can scale it down with any of the handles at each corner.
Click the toggle to flip it to red; any moves you make will be written into the sequence as keyframed animation. Drag the playhead so that it's not behind the end of the clip but on the very last frame.
From here, you'll be able to adjust a second window, the one red pictured below. This will be your final pan and scan position.

Hit Play, and you should see your pan and zoom animation in all of its glory in the viewport. If it's feeling a little robotic, you can always employ any of the easing options below the Program monitor: Ease In, Ease In and Out, and Ease Out, alongside the Linear default.

The double arrow icon to the left of the easing options lets you Swap the beginning of your zoom with the end and vice-versa, auditioning the effect forward and backward. The left-most button, a plus symbol surrounded by an arrow, resets all pan and zoom parameters to their baseline values.

Along with these options, you'll also find several helpful pan and zoom presets. The first one, next to the record toggle, is called Zoom Preset. It's a simple zoom that can be modified to suit whatever you need for your footage.

Pan Preset offers something similar—a basic pan across the screen.

Angle Preset shoots across the field on a diagonal path, essentially the same as Pan, only from corner to corner.

No matter which way you decide to take the effect, this will not be your last opportunity for finesse. As you make your way down the line, you'll find that the effect follows without being baked in. You can continue to modify it later on elsewhere if you choose.
How to Pan and Zoom in DaVinci Resolve's Edit Workspace
The two keyframed windows can still be seen and changed in the Edit workspace. They're still fully rigged and ready to be adjusted.

You could certainly try your luck starting the process here, but this way of working doesn't really give any additional options not found in the Cut workspace. It's still good to know, however.
Nothing that you do in DaVinci Resolve is ever set in stone, which makes it such a versatile and celebrated free video editor and color program. You're able to keep your project flexible, even when you need to take things right down to the wire.
Dynamic Zoom in Resolve: A Rollercoaster of a Good Time
A pan or zoom effect is often an elegant solution to several technical and creative challenges. It can add interest to a static shot and even be used to hide simple mistakes, such as a boom mic dipping into the frame.
Pan and scan? Dynamic Zoom? Call it whatever you want—the only thing that we know for sure is that learning how to add a zoom in DaVinci Resolve is one of the most useful basic skills that every burgeoning video editor should have under their belt.