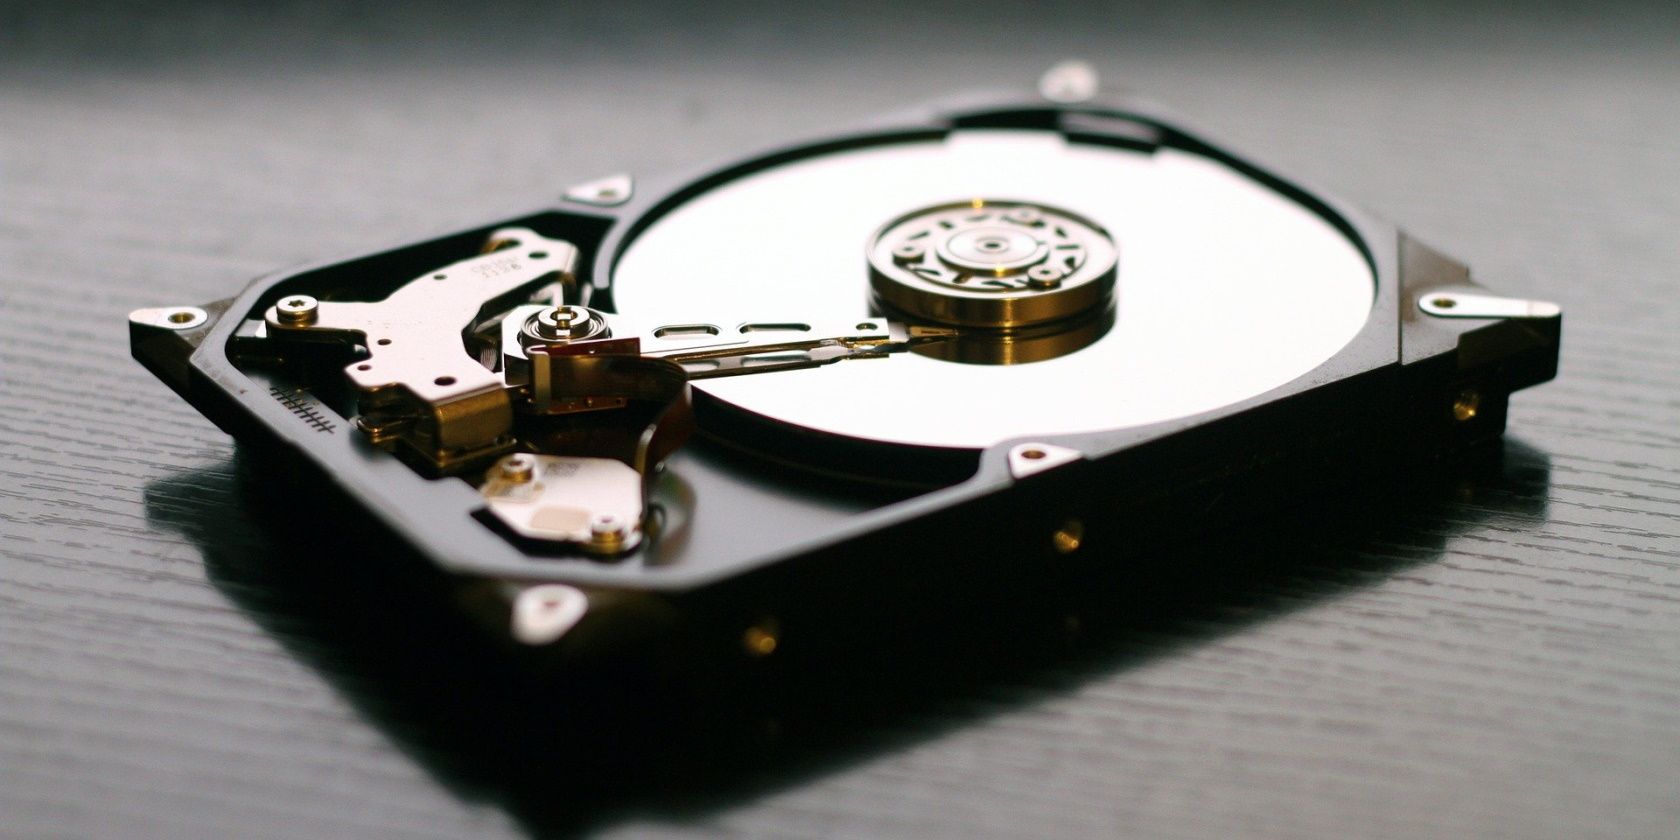
Most hard drives and storage devices come pre-partitioned. This allows the user to connect the device and start using it. But there are times when you need to partition your hard drive before you can use it.
For instance, when installing Windows for the first time, you may need to partition the drive to separate the OS from the rest of your files.
Here's how to use the integrated Windows 10 utility, DiskPart, to partition your hard drive.
How to Partition a Hard Drive Using DiskPart
Before you start partitioning the drive, make sure that it is properly connected to the computer. If the drive fails to show up in DiskPart, you can be certain that there is no issue with the connection.
Next, in the Start menu search bar, input DiskPart. Right-click the Best Match and select Run as administrator to open the DiskPart utility.
Once DiskPart is up and running, make sure your computer recognizes the hard drive you’ve connected. To do this, type list disk and press Enter. If everything is connected and working properly, the hard drive will show up on the list.
Otherwise, you might need to try other fixes for a hard drive that fails to show up.
To identify the un-partitioned hard drive, take a look at the Free column in the list. Drives that aren’t partitioned have all of their storage space displayed under the Free column. Using this characteristic, identify the drive and note its number.
Next up, select the hard drive by typing select disk X, replacing X with the number of the drive that you just noted. Press Enter, and you’ll see a confirmation message.
Now, type create part pri and press Enter to allocate all the drive's free storage into one primary partition.
Type list disk and press enter to confirm all the storage has been allocated. In other words, see if there is anything under the Free column. If the Free column displays zero, then the partition has been created. Alternatively, use list partition to see a list of partitions on the selected disk.
After partitioning, you need to format and assign a letter to your hard drive before you can start using it. You don’t need to use another program because you can format a drive using DiskPart.
Creating Multiple Partitions Using DiskPart
If your drive is sufficiently large, creating multiple partitions can result in increased performance and data preservation.
To create more than one partition, you need free, unallocated storage. Remember that you’ve just partitioned all of the available storage under one partition. So, to make multiple partitions, you need to free up some storage to work with.
Type shrink [SIZE] and press Enter, replacing SIZE with the amount of storage in Megabytes (MB) that you want to free. Please note that you have to use size in megabytes while using DiskPart. So, if you want to resize by 1 Gigabyte, you would input shrink 1000, while 10 Gigabytes would be shrink 10000.
Type list disk, press enter, and you’ll see the free storage under the Free column.
To use this free storage, type create part pri and press enter. This will allocate the free storage under a new partition.
To confirm that you have created a new partition, type list volume, and press Enter. You’ll see a new volume with an asterisk (*) in front of it. This volume represents the new partition that you’ve just created.
Now, format this volume with a filesystem, assign it a letter, and the drive will become usable.
Partitioning a Hard Drive Comes With Pros and Cons
If you have a sufficiently large hard drive, partitioning can increase the drive's performance and protect your data in case of a virus or malware attack.
That said, partitioning can reduce the total amount of storage space that you can use. So, only partition a drive if you can spare the storage.


