You may already be familiar with many of Photoshop's selection tools, like the Lasso tool or the Quick Selection tool. But there is another method for making selections that you might not know about.
In this article, we show you how to use channels to make difficult selections in Photoshop.
What Are Channels in Photoshop?

Photoshop channels are made up of RGB grayscale images. They're comprised of the main RGS channel at the top, followed by the Red, Green, and Blue channels respectively. Each channel contains pixels that belong to their main color, represented as white on grayscale and the complementary color represented as black on the grayscale.

Channels are located between the Layers and Paths tab. From there, they may be duplicated and edited in order to make selections of precise regions of the image based on your channel of choice.
Any selection that is saved will be stored in channels. This includes selections made with the Lasso, Quick Selection, and Marquee tools. This makes channels a valuable tool for making selections as well as a storage space for saved selections.
In short, this means that selections and masks are essentially channels.
How to Use Channels for an Easy Selection
In the example below, we've duplicated the Green channel in order to make a selection.

To do this, click and drag the channel down to the plus (+ ) icon in the bottom-right corner. Now, a selection can be made directly in the channel itself using any of the selection tools or brushes.
To finalize a selection, press Ctrl and click on the copied channel. The selected area will be represented by "marching ants".

With the stripe selected, right-click inside of the selection and choose Fill. Make sure that one of the selection tools is active in order to see this option.

The selection color will always be white for the final selection, while black will have to be painted on for the rest of the image that is not part of the selection.
Since we already have the white filled in for our selection, the only thing we need to do is right-click inside the selection and choose Select Inverse. Then right-click within the selection once more and select Fill and then Foreground Color. The result should be a black and white image as shown below.

Press Ctrl + D to deselect and the marching ants will vanish. Then, press Ctrl and left-click on the Green Copy. Next, click on the Layers panel. Choose the Mask icon at the bottom of the screen.

What we're left with are the red stripe and transparent background. This selection will be saved in the Channels panel for future use if needed.
How to Determine Which Channel to Use
Since we're working with RGB in channels, it's worth emphasizing that there are two colors represented in each.
For example, the Red channel will represent the color red as white, but it will also represent cyan in black, and all the variations between as different shades of gray. Likewise, in the Green channel, green will be represented as white and magenta as black. In the Blue channel, blue will be white, and yellow will be black.
So how do you determine which channel to use to make the best selection?
It comes down to finding the channel that has the most contrast between the subject and the background. This doesn't necessarily mean that the subject itself must be represented as white. But it does mean that both white and black should be strongly represented in the selection.

Let's say that we want to select the yellow balloons in the above image. First, we'd want to click on each RGB channel to see which one would provide the most contrast.

In this example, you'd want to use the Blue channel to make the selection simply because there is more contrast between the yellow balloons and the surrounding colors.
How to Make a Difficult Selection Using Channels
The reason we like using channels is mainly for making difficult selections.
In the Adobe Photoshop CC paid subscription model, the selection tools are becoming more advanced each year and automatic selections are perfectly capable of isolating difficult subjects, albeit with some refinements. But using channels might still be better for masking hair, fur, and other complicated subjects.
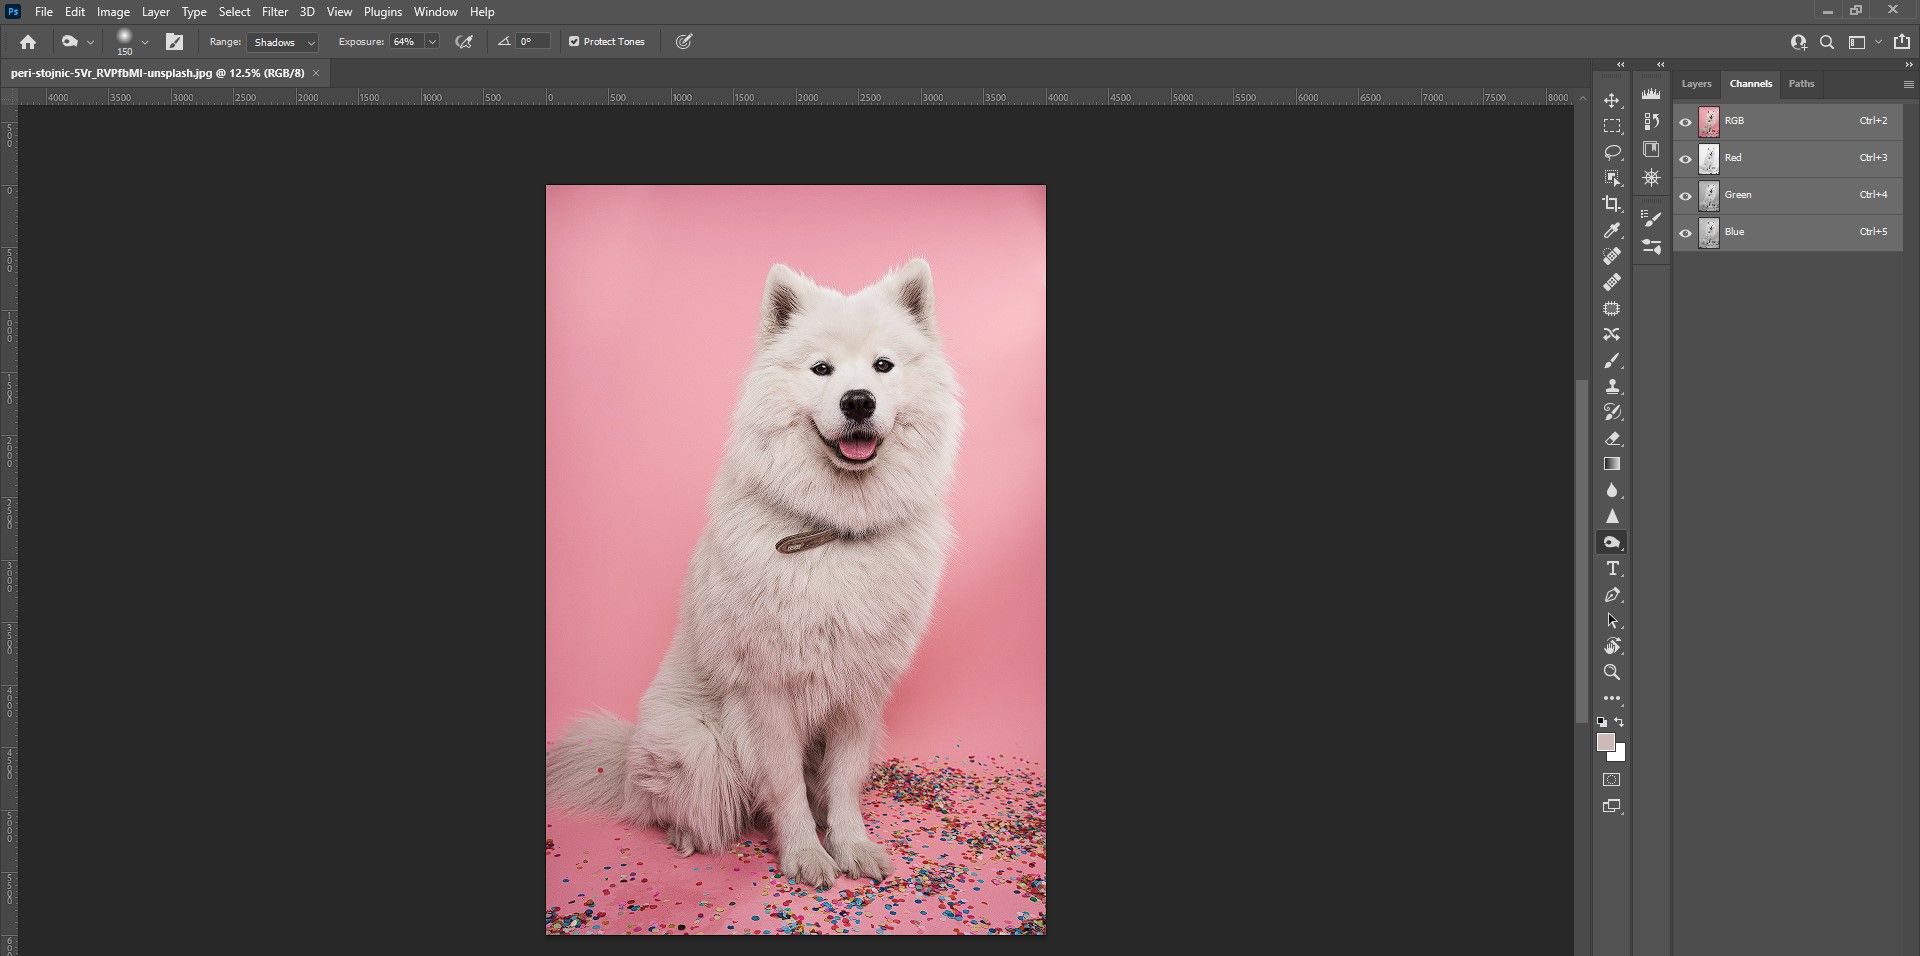
In this example, we show you how to use channels to create a selection of the dog. You can download this image from Unsplash if you'd like to follow along. Let's get started...
-
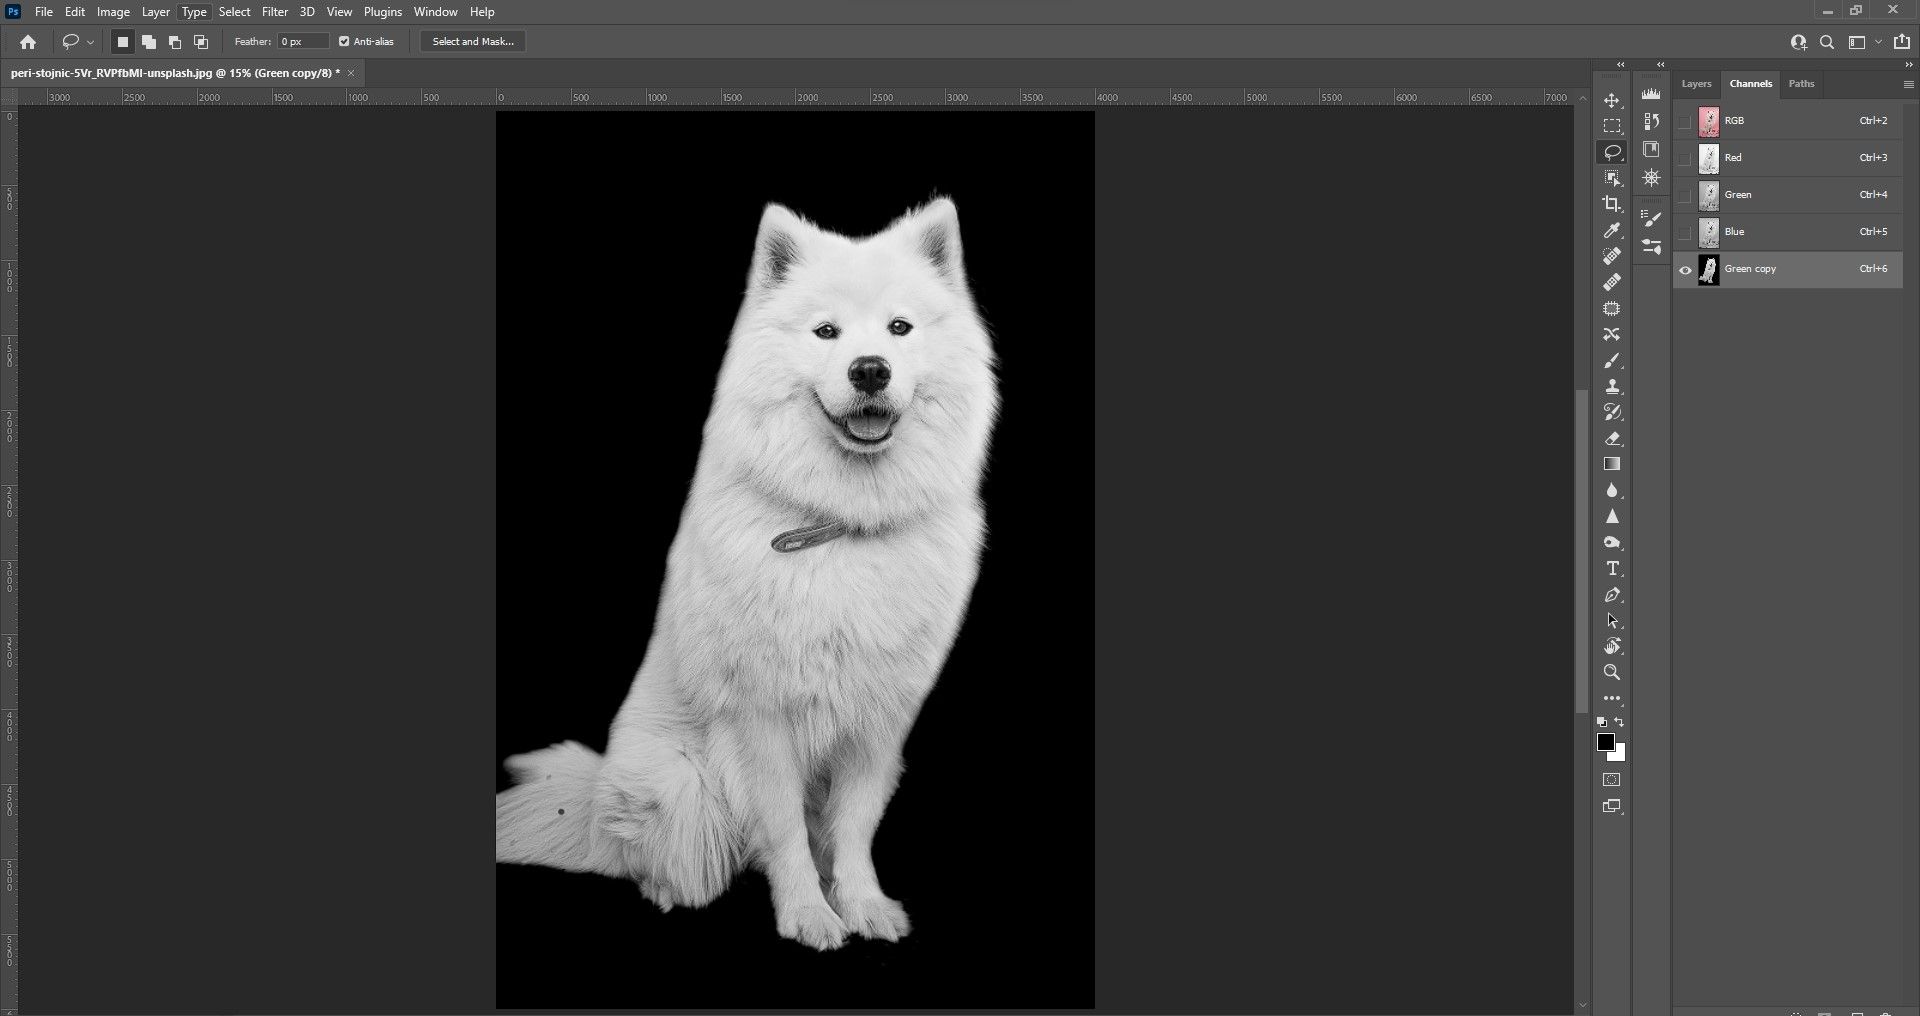
Load the image into Photoshop and select the Channels menu.
-
Determine which channel has the most contrast. For this image, select the Green channel.

-
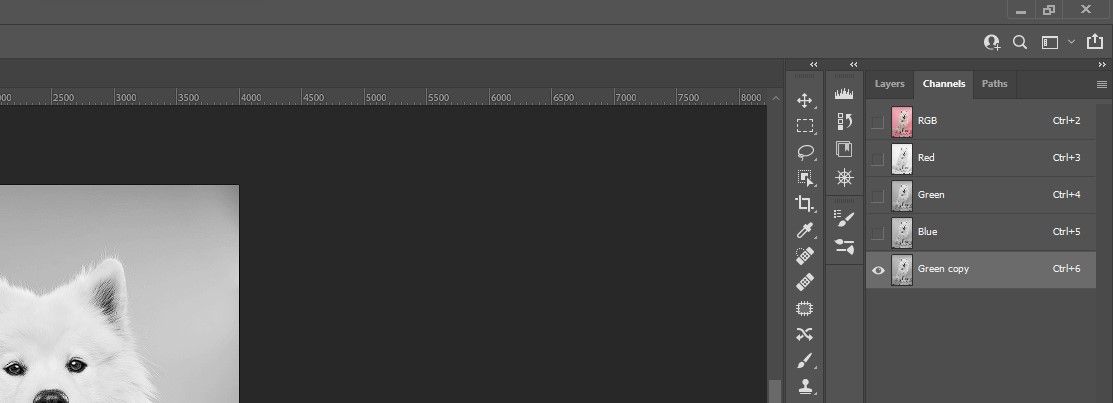
Duplicate the Green channel by dragging it down to the Create New Channel icon (+) at the bottom-right of Photoshop.
-
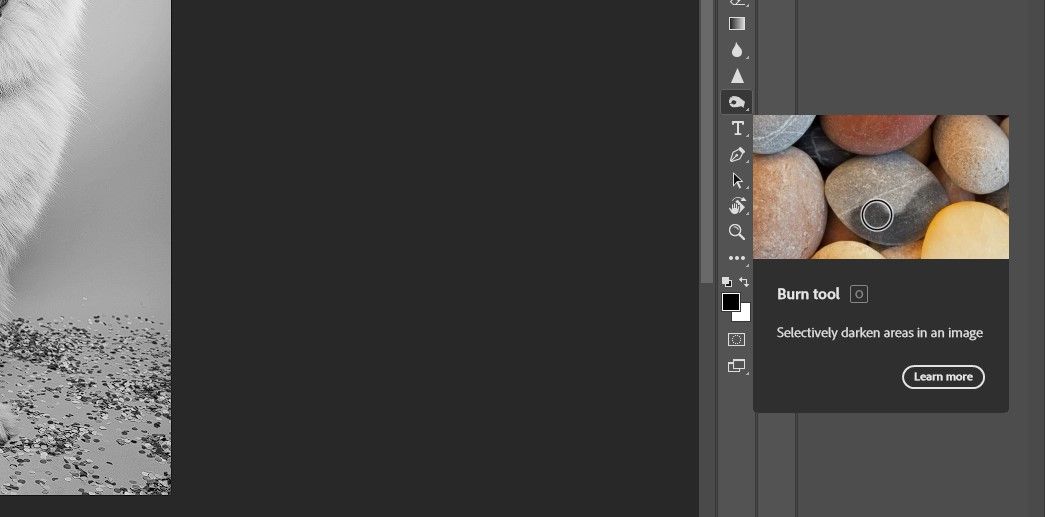
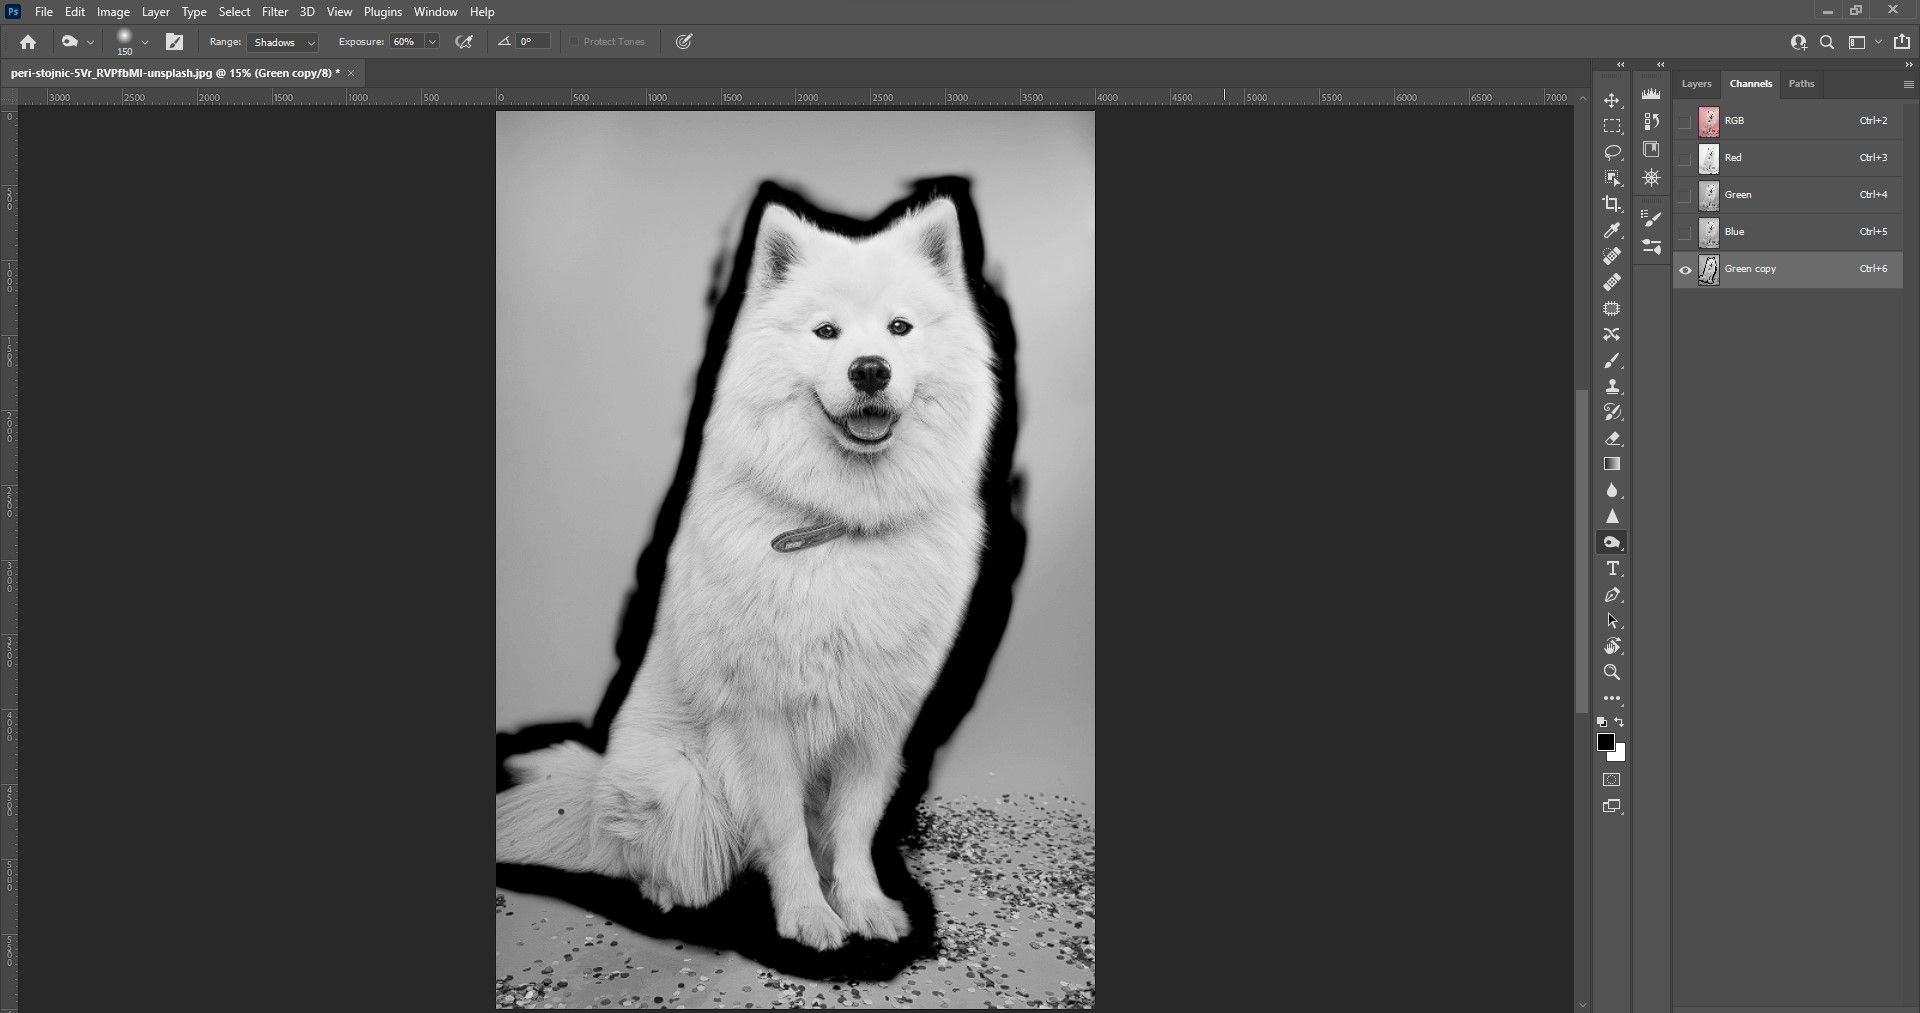
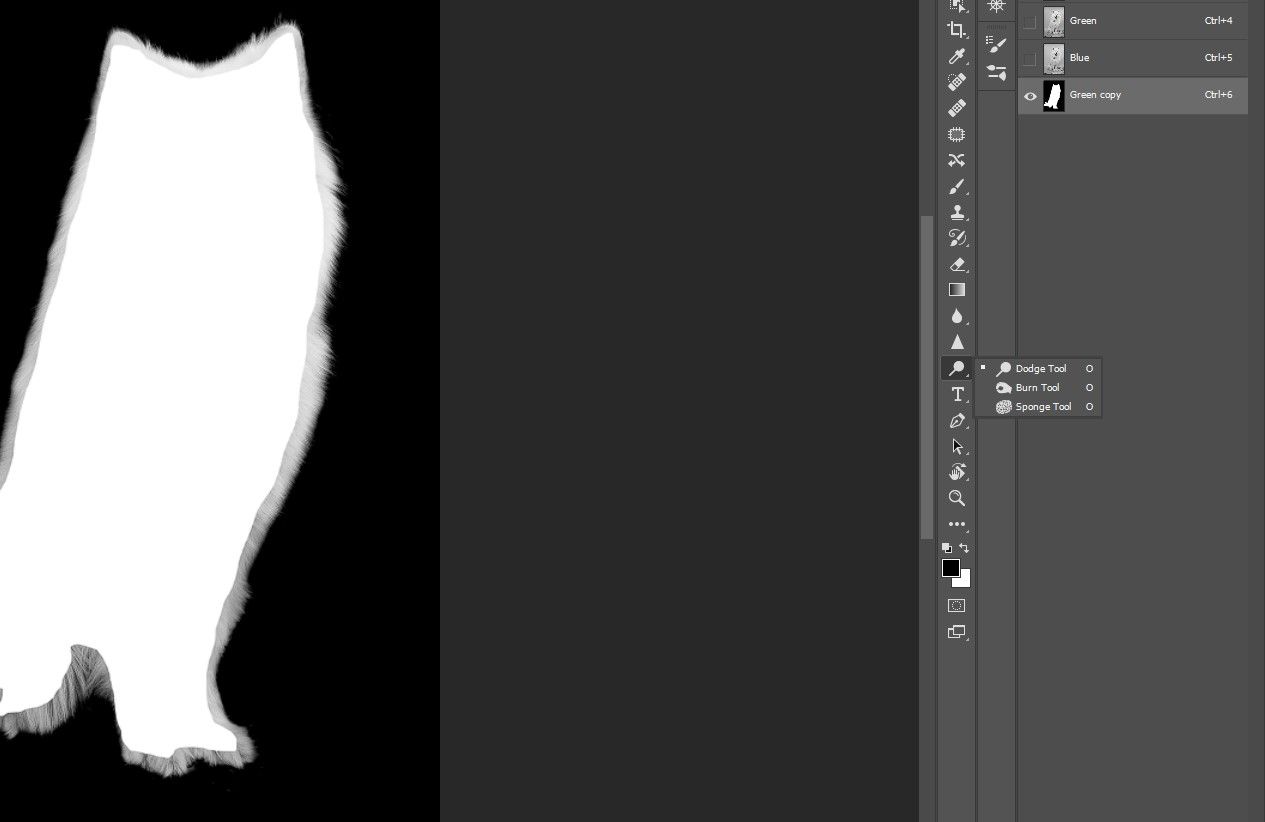
Select the Burn tool from the menu bar or press the O shortcut for the Dodge and Burn tools.
- From the toolbar menu at the top, change the Range to Shadows and set the Exposure to 60.
-
Paint around the dog with the Burn tool. You may have to make several passes to make the selection black as shown here. Use the [ and ] brackets shortcut to increase and decrease the brush size as necessary.
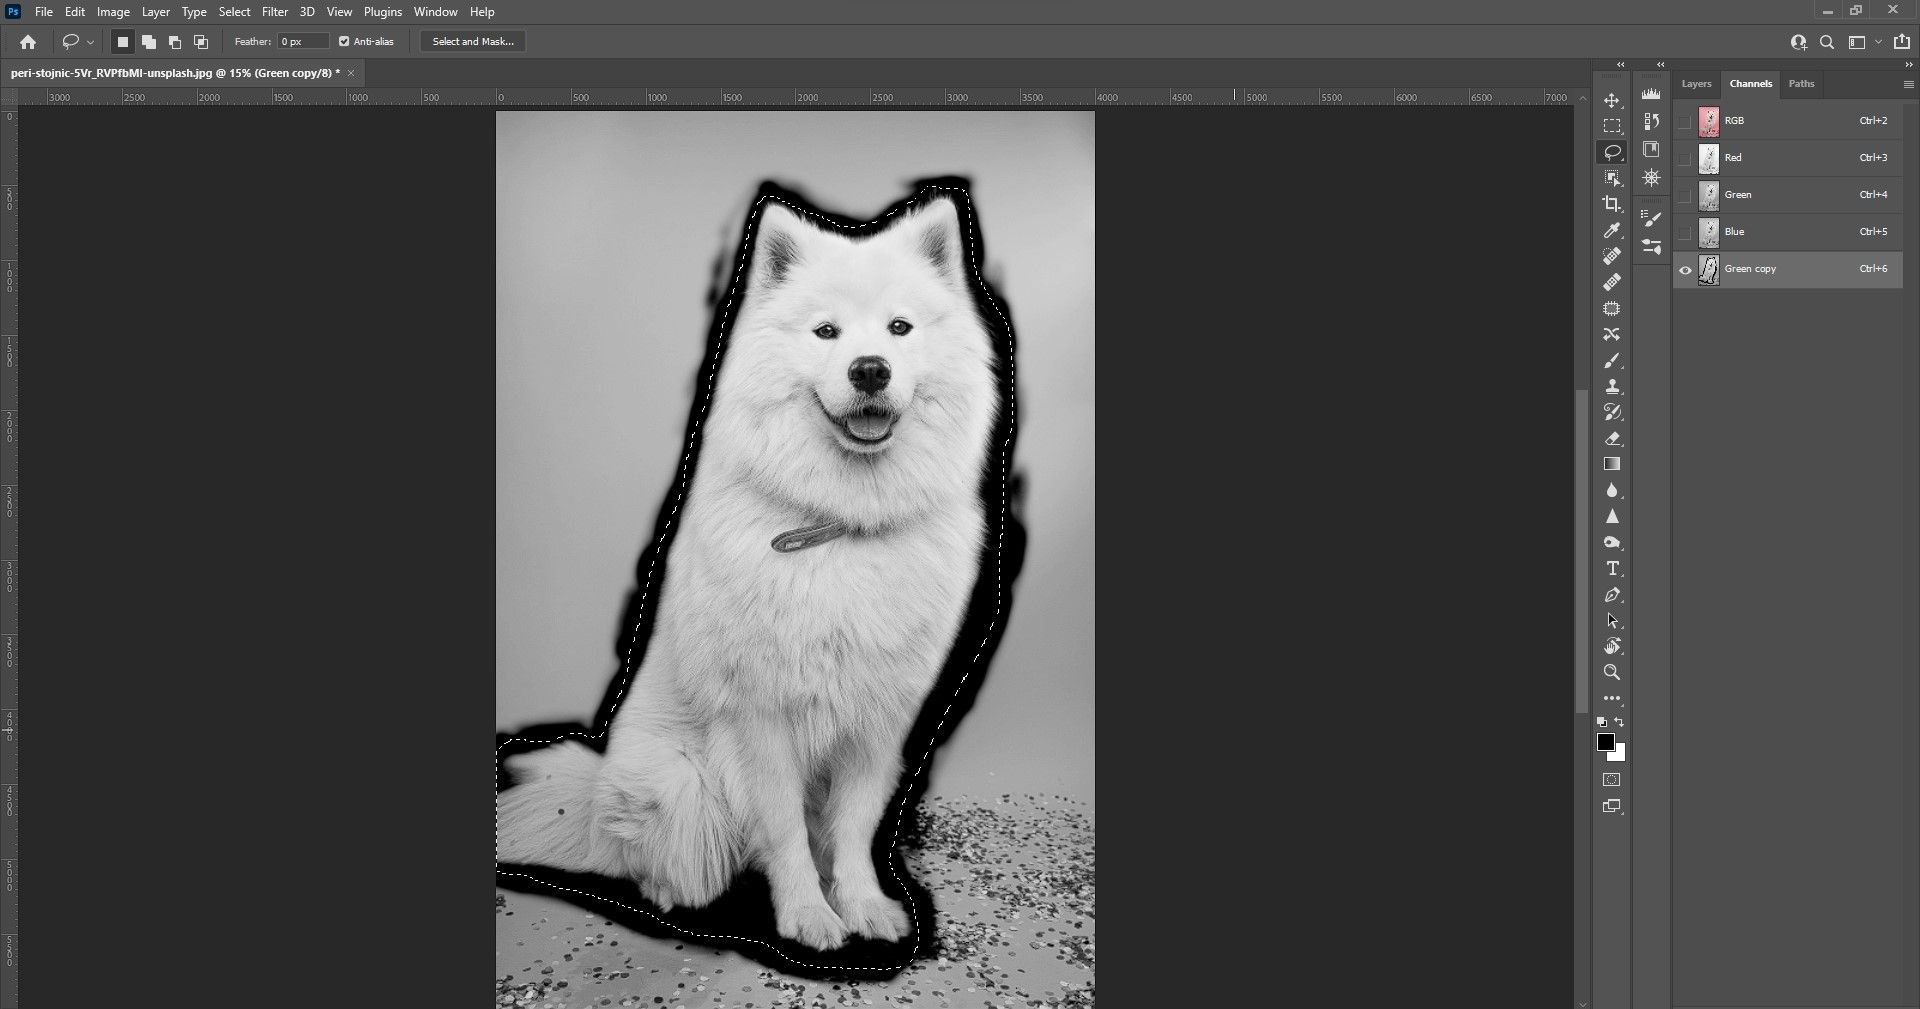
-
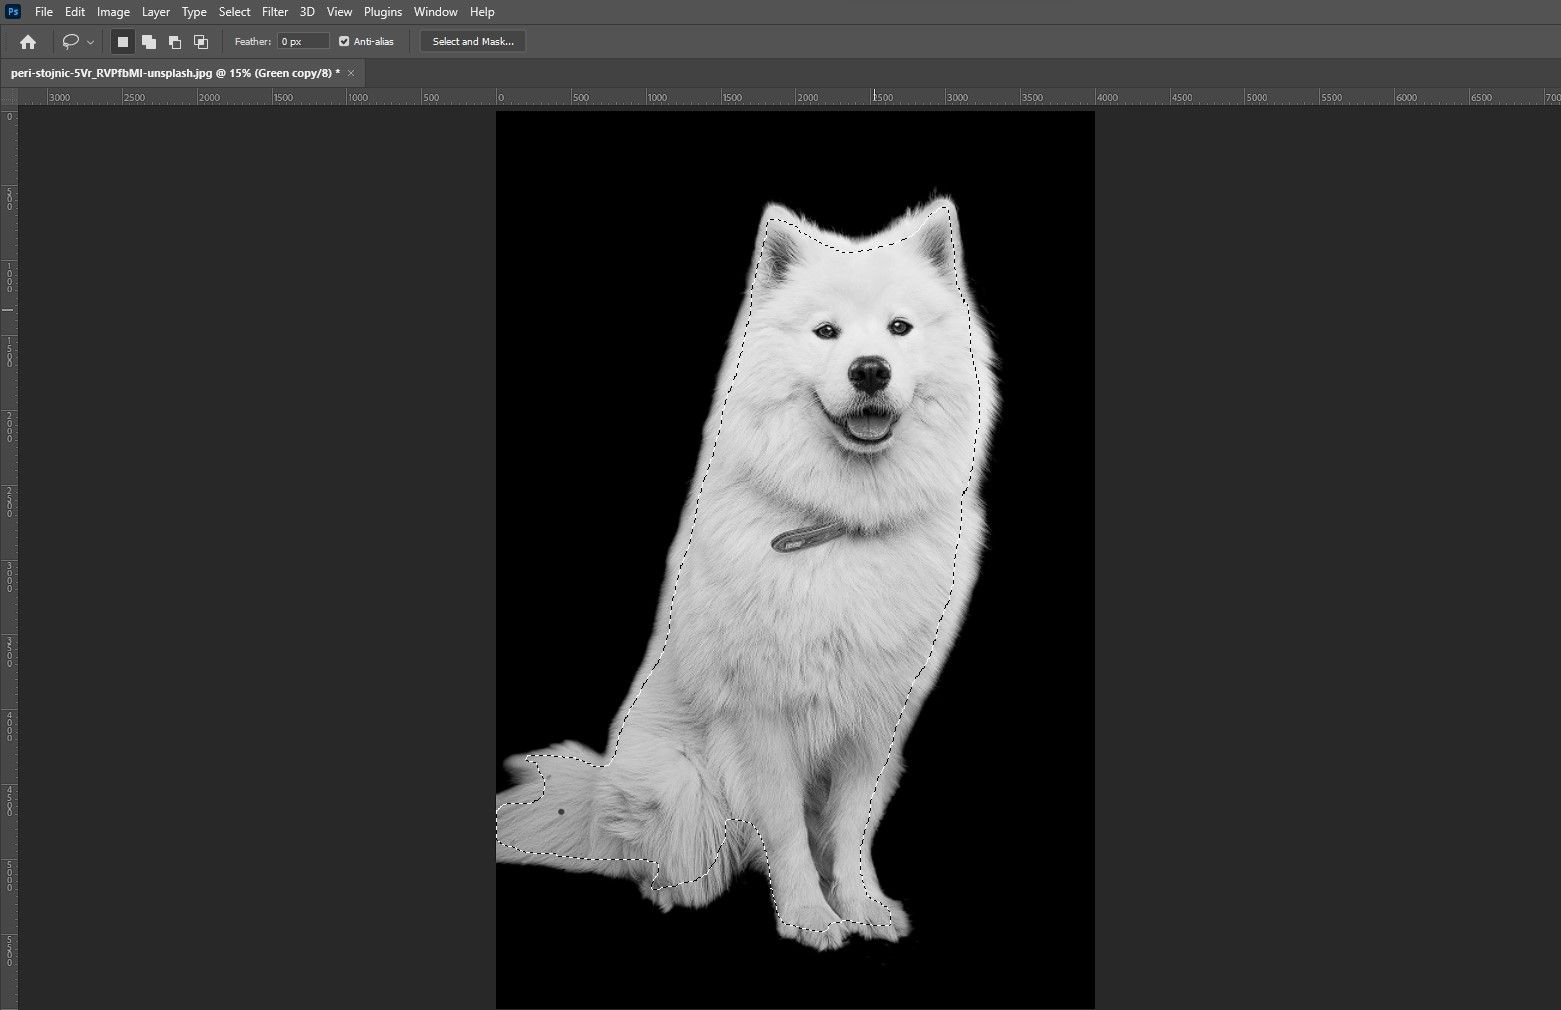
Press L for the Lasso tool. Trace around the dog from within the black border as shown here. Be careful not to include any of the dog's fur.
-
Right-click within the selection and choose Select Inverse.
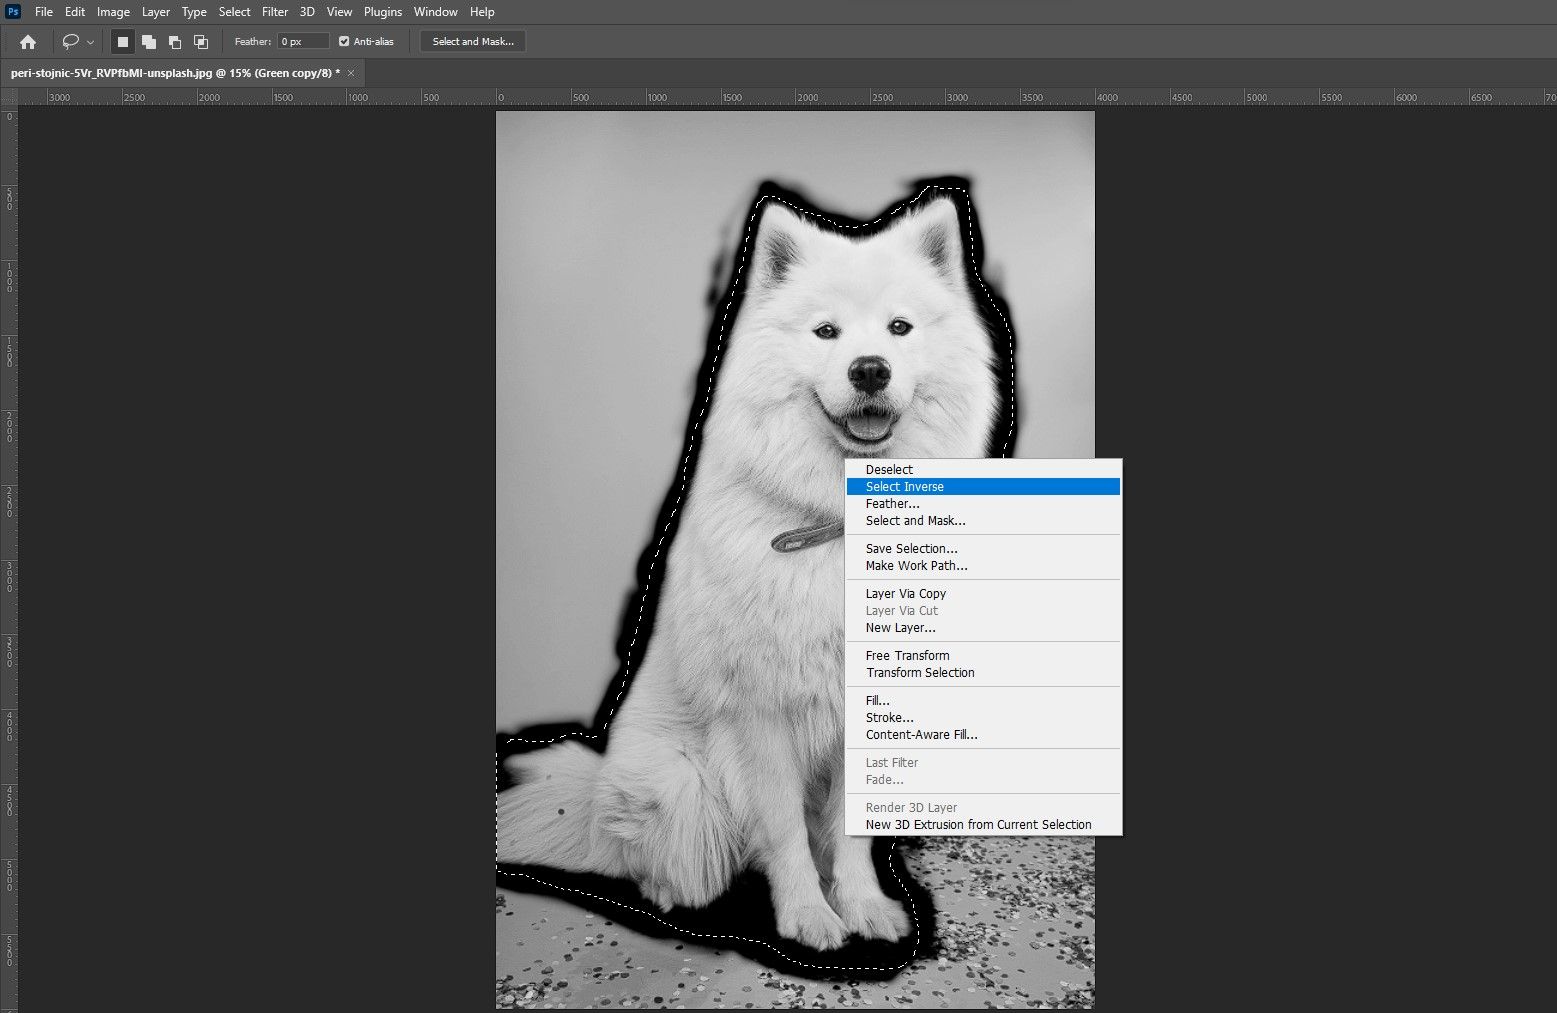
-
With the Foreground color set to black, press Shift + Backspace to fill the selection with black. Press Ctrl + Z to undo any mistakes in Photoshop.
-
Press Ctrl + D to deselect the selection. The marching ants border should vanish.
-
Use the Lasso tool to make a selection within the dog as shown here. Be careful not to include any of the black mask.
-
Press Ctrl + Backspace to fill the selection with white. Then press Ctrl + D to deselect.
-
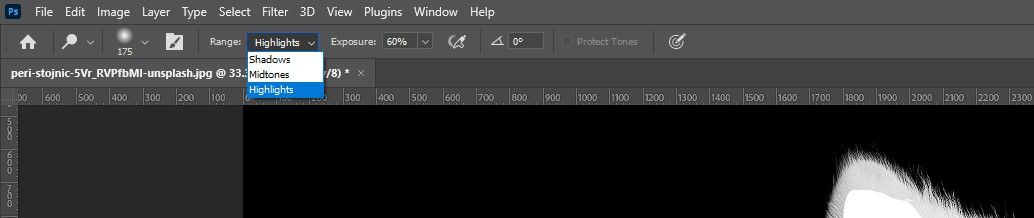
Press O and then choose the Dodge tool.
-
From the toolbar menu at the top, change the Range to Highlights and set the Exposure to 60.
-
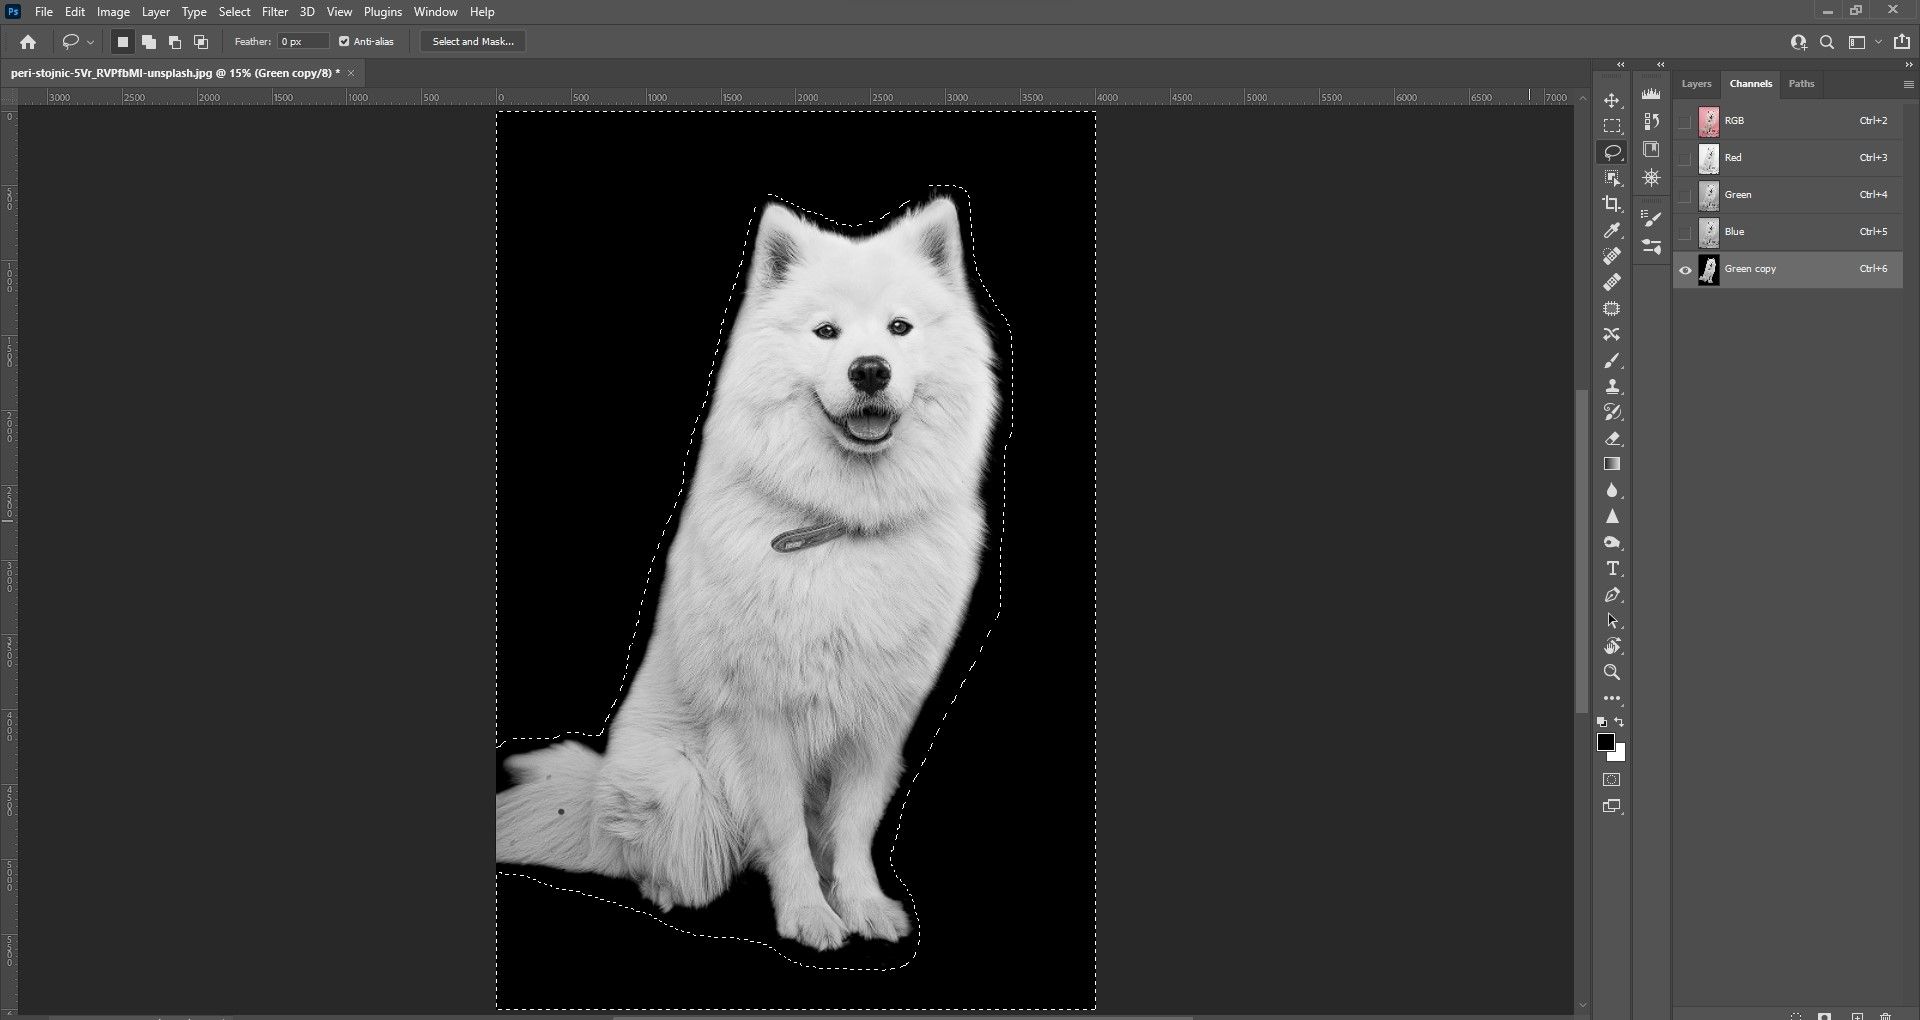
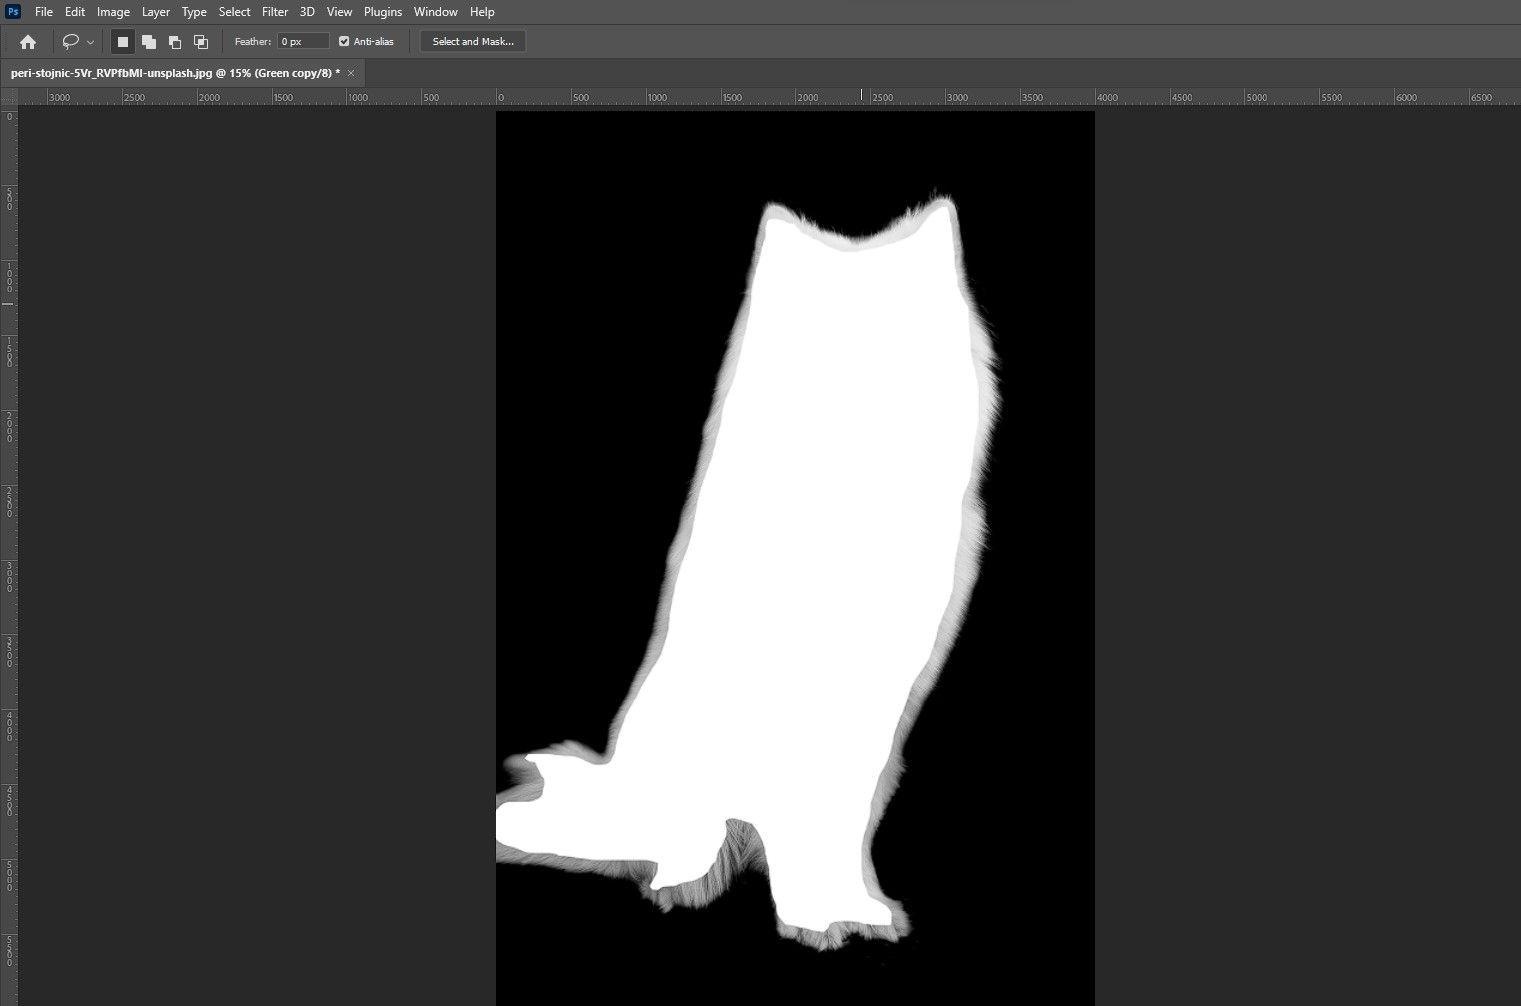
With the Dodge tool, paint around the edges of the image until the entire dog is white as shown below.

-
Press Ctrl and left-click inside the Green Copy layer. The dog will be selected with the marching ants.
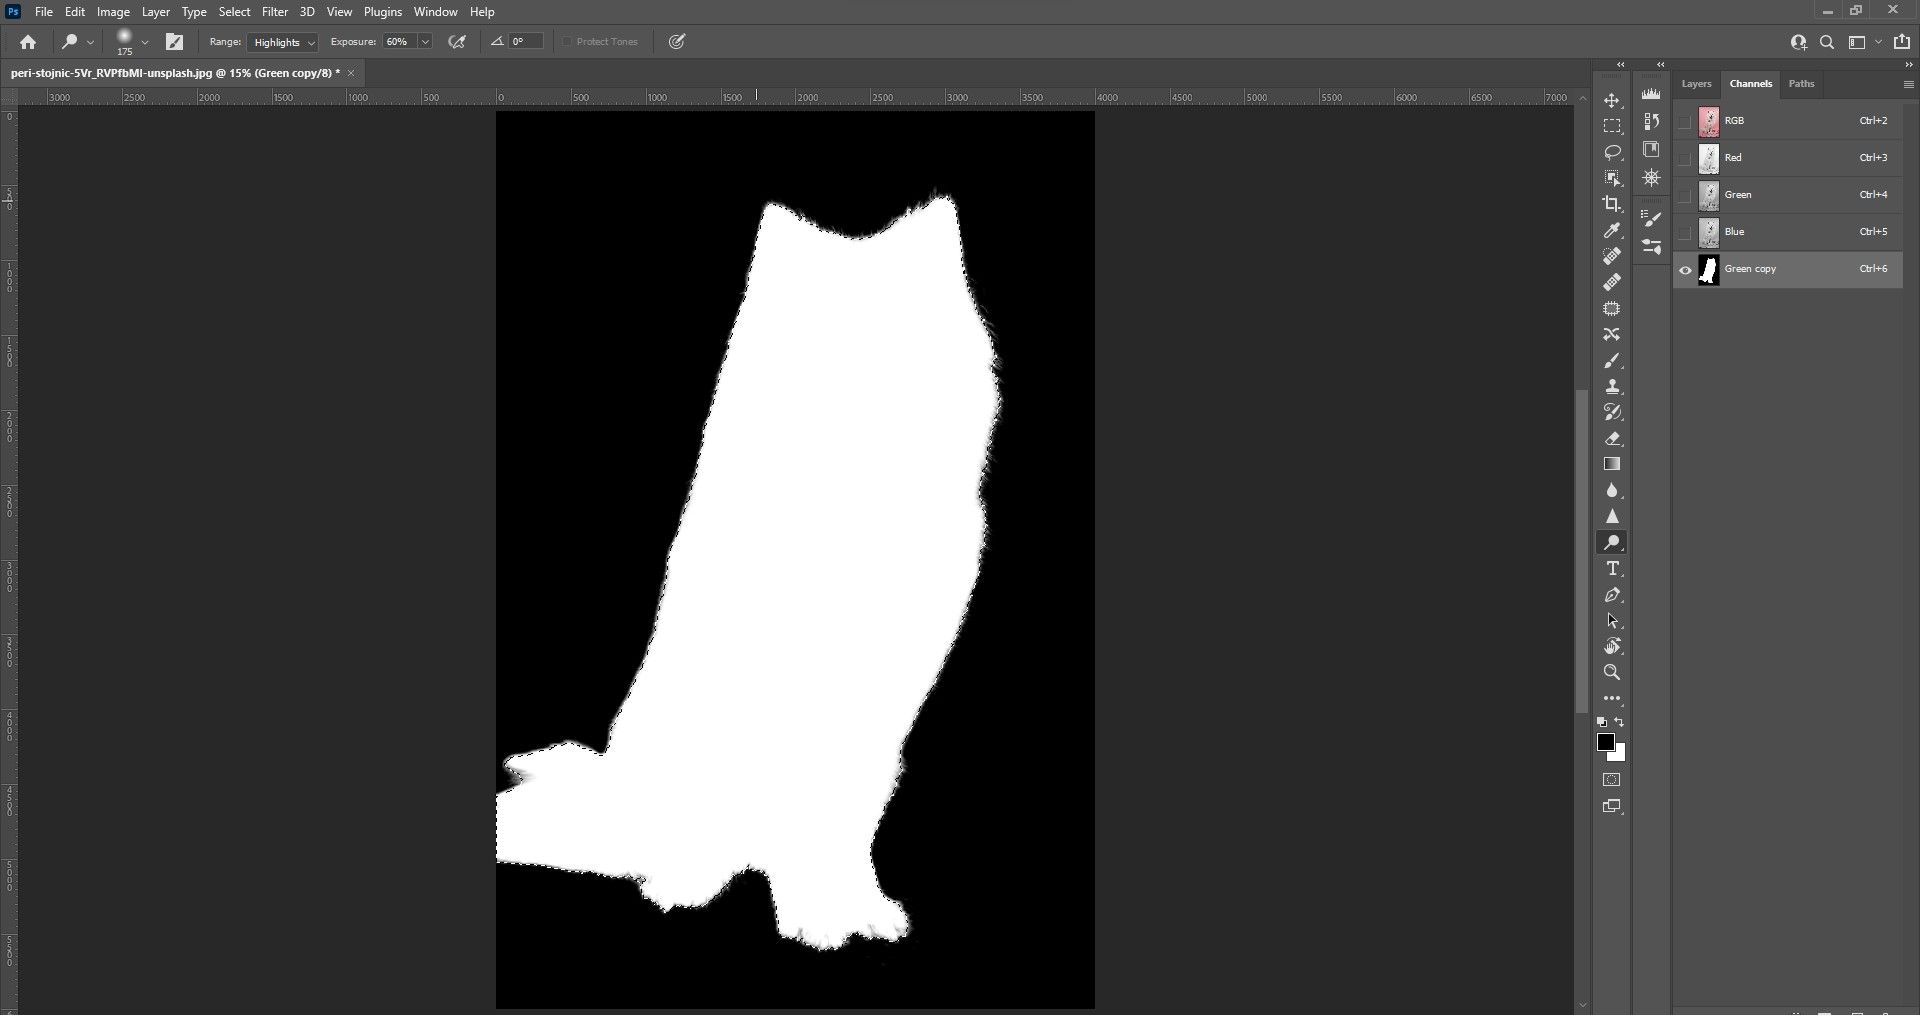


What we're left with is a selection of the dog using only a copy of the Green channel.
Cleaning Up the Selection
We're ready for making refinements, so we're going back to the Layers panel to fine-tune the selection of the dog. At the end of this process, the dog will be on a transparent background and ready to be used in a project. Let's get started...
-
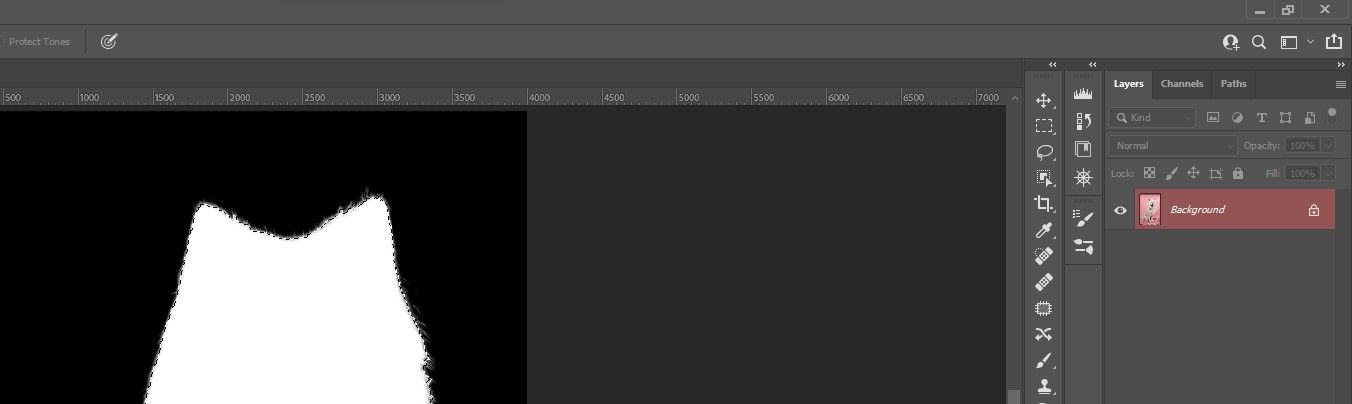
Go to the Layers panel in the upper-right corner of Photoshop.
-
Click on the Layer Mask icon at the bottom-right corner of Photoshop (rectangle with the circle).

-
Create a Solid Color adjustment layer (half-circle icon) from the menu at the bottom.

-
Choose any gray color from the Color Picker menu and click OK.

-
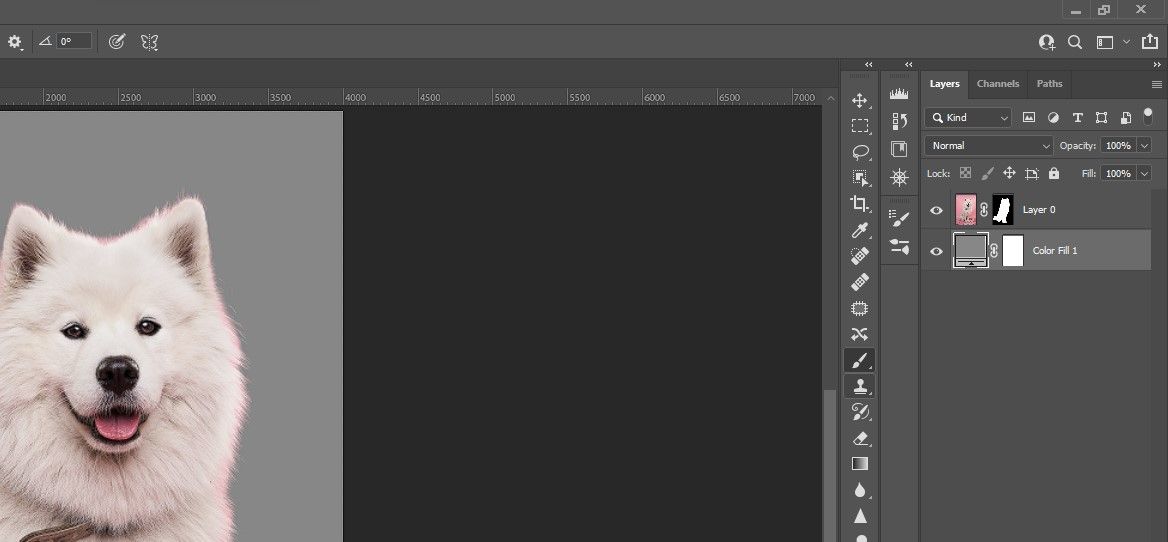
Click and drag the Color Fill 1 layer beneath Layer 0 as shown below.
-
Select Layer 0. Click on the Create New Layer icon (+) at the bottom-right of Photoshop.
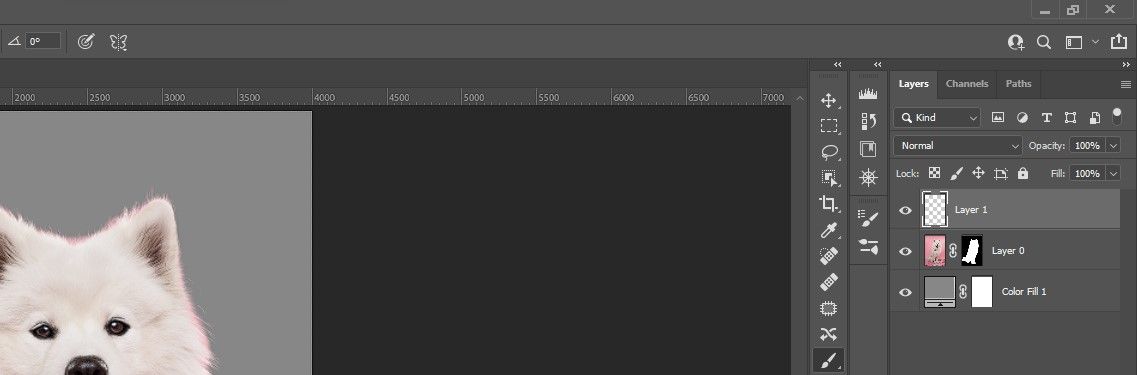
-
Hover above Layer 1 and press Alt and left-click to create a Clipping Mask. Layer 1 will now show an arrow pointing down to Layer 0.

-
Change the Blend Mode to Color.
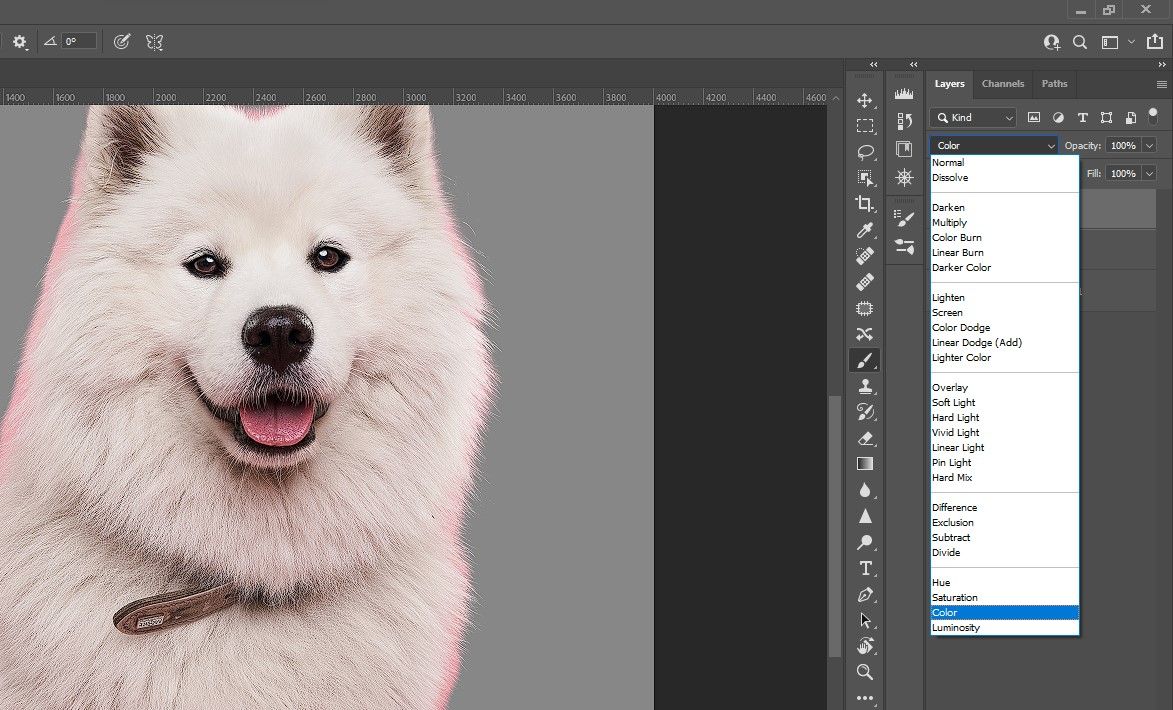
-
Press B for the Brush tool. Sample the color of the dog's fur by pressing Alt and left-click. Start painting the pink off of the dog. Continue to sample the colors of the dog's fur as you paint for a more realistic look.
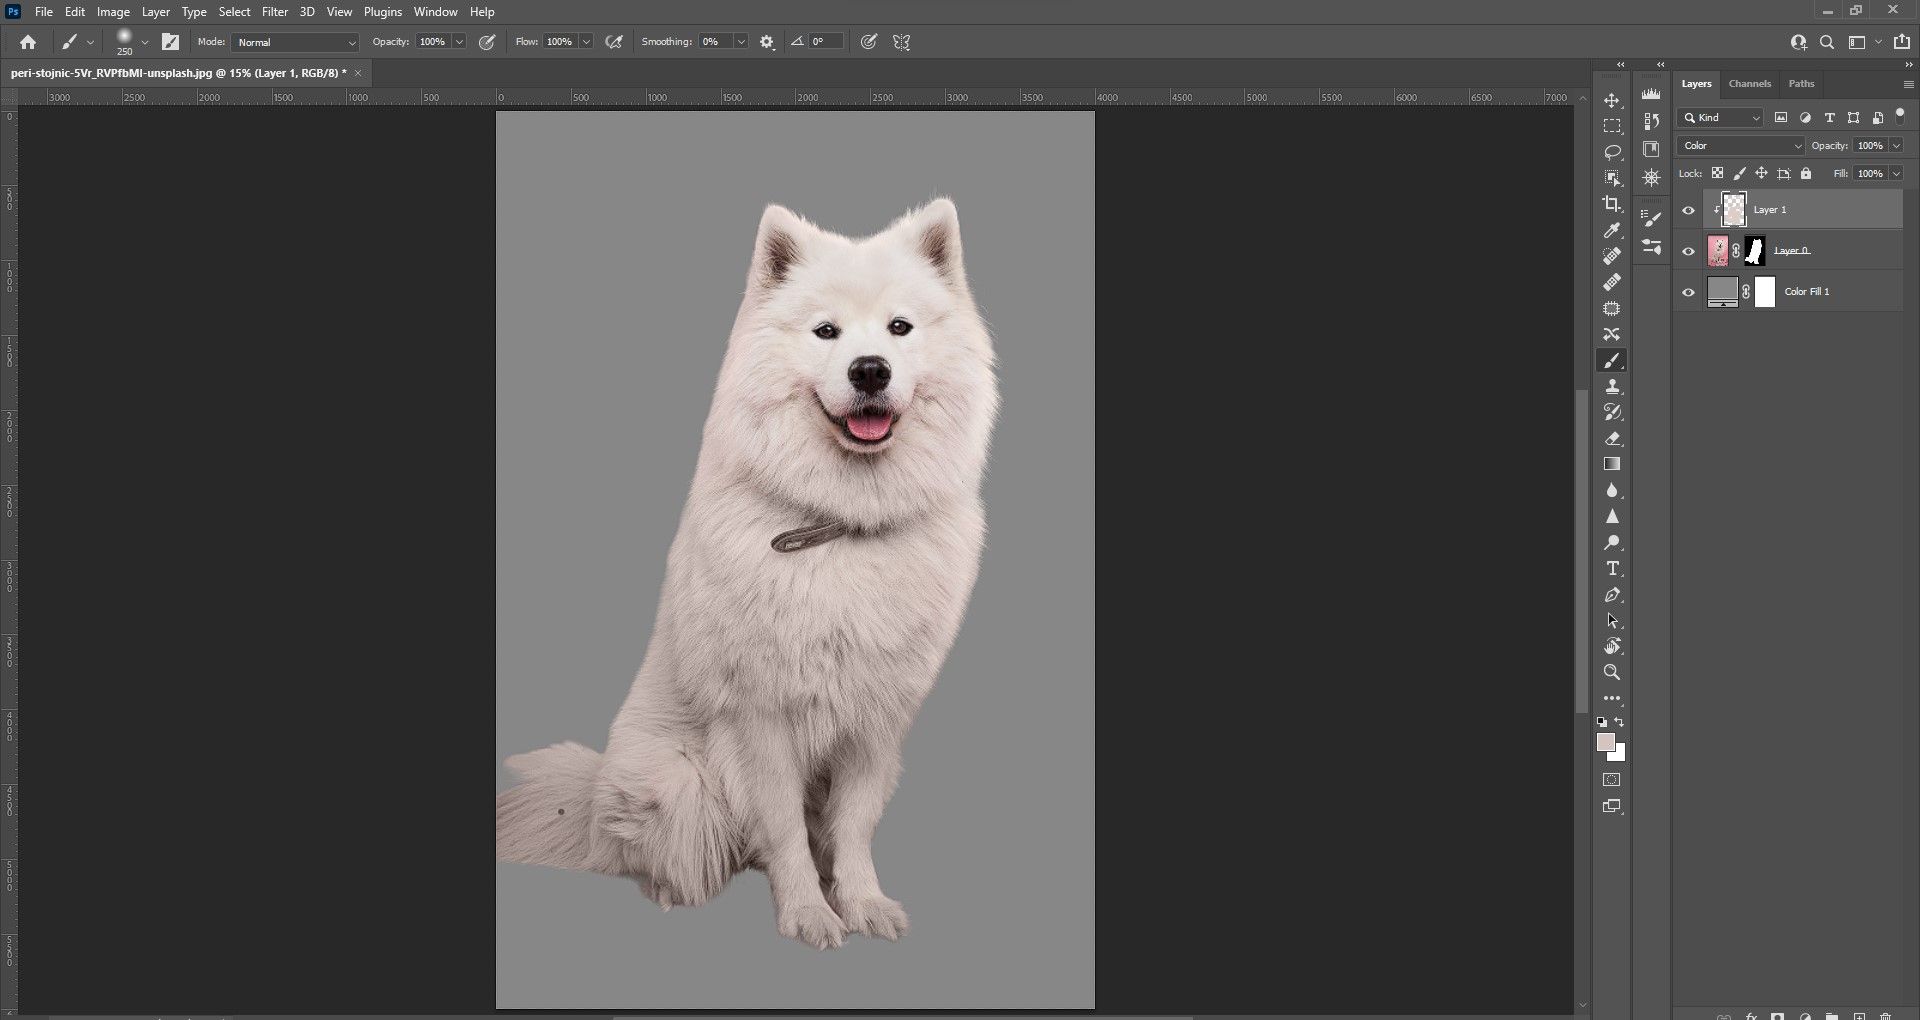


Note that you will have to paint off some of the pinks from the dog's body as well.
You can make even further refinements, but as it stands, the image will hold up when placed against most backgrounds, especially complex ones.
Photoshop Channels are Still Relevant
We've just covered one of the more traditional ways of making difficult selections in Photoshop. While automated Photoshop selection tools are getting more advanced as we speak, channels will continue to be a vital tool for making difficult selections.