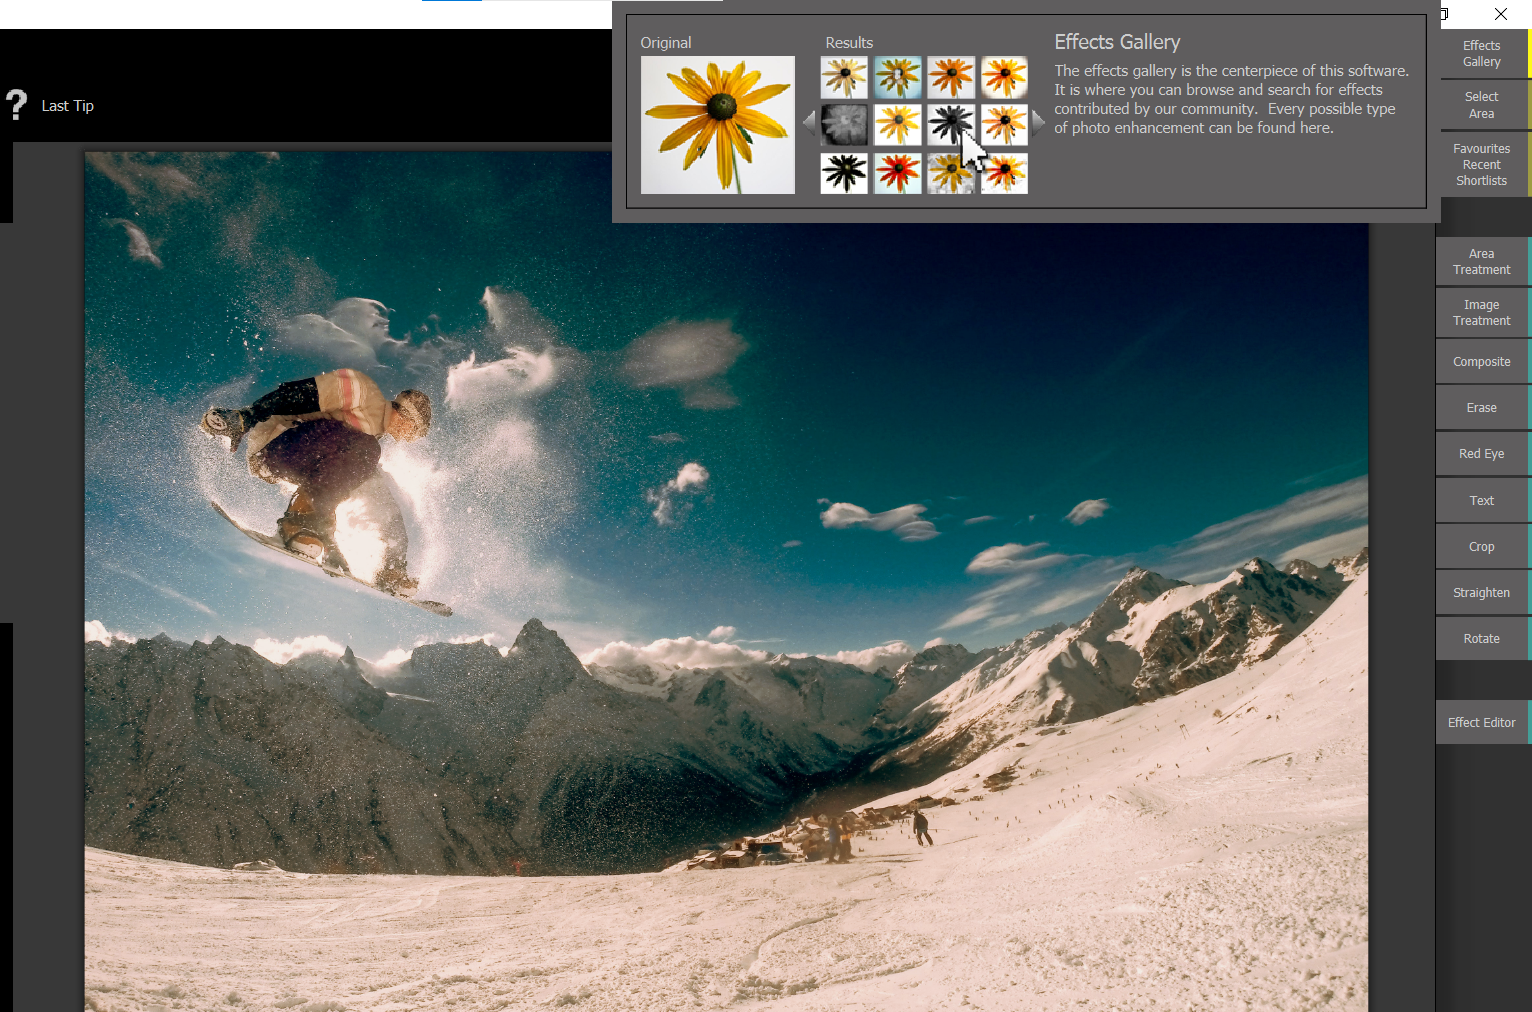
There are hundreds of special effects available in Effects Gallery within Anthropics Smart Photo Editor. These vary from background textures and creative lighting to coloring and styling controls.
In this tutorial, we are going to show you how to spice up your images using Anthropics Smart Photo Editor as a plugin in Photoshop.
What Is Anthropics and What Does It Offer?

The photo editing company, Anthropics, is known as a leader in AI technology and offers a host of desktop applications and plugins. It is perhaps best known for its PortraitPro retouching software.
It may come as a surprise that it does offer a general photo editing suite, called Smart Photo Editor. This software isn’t necessarily meant to replace your favorite editing program. Instead, it acts as a gateway to more creative editing possibilities, while offering some of the basics to save you from having to switch between programs.
What Is the Anthropics Effects Gallery?

It’s by no accident that the Effects Gallery menu is listed at the top of the Smart Photo Editor’s panel. It’s probably one of the primary reasons for the program’s popularity. Why?
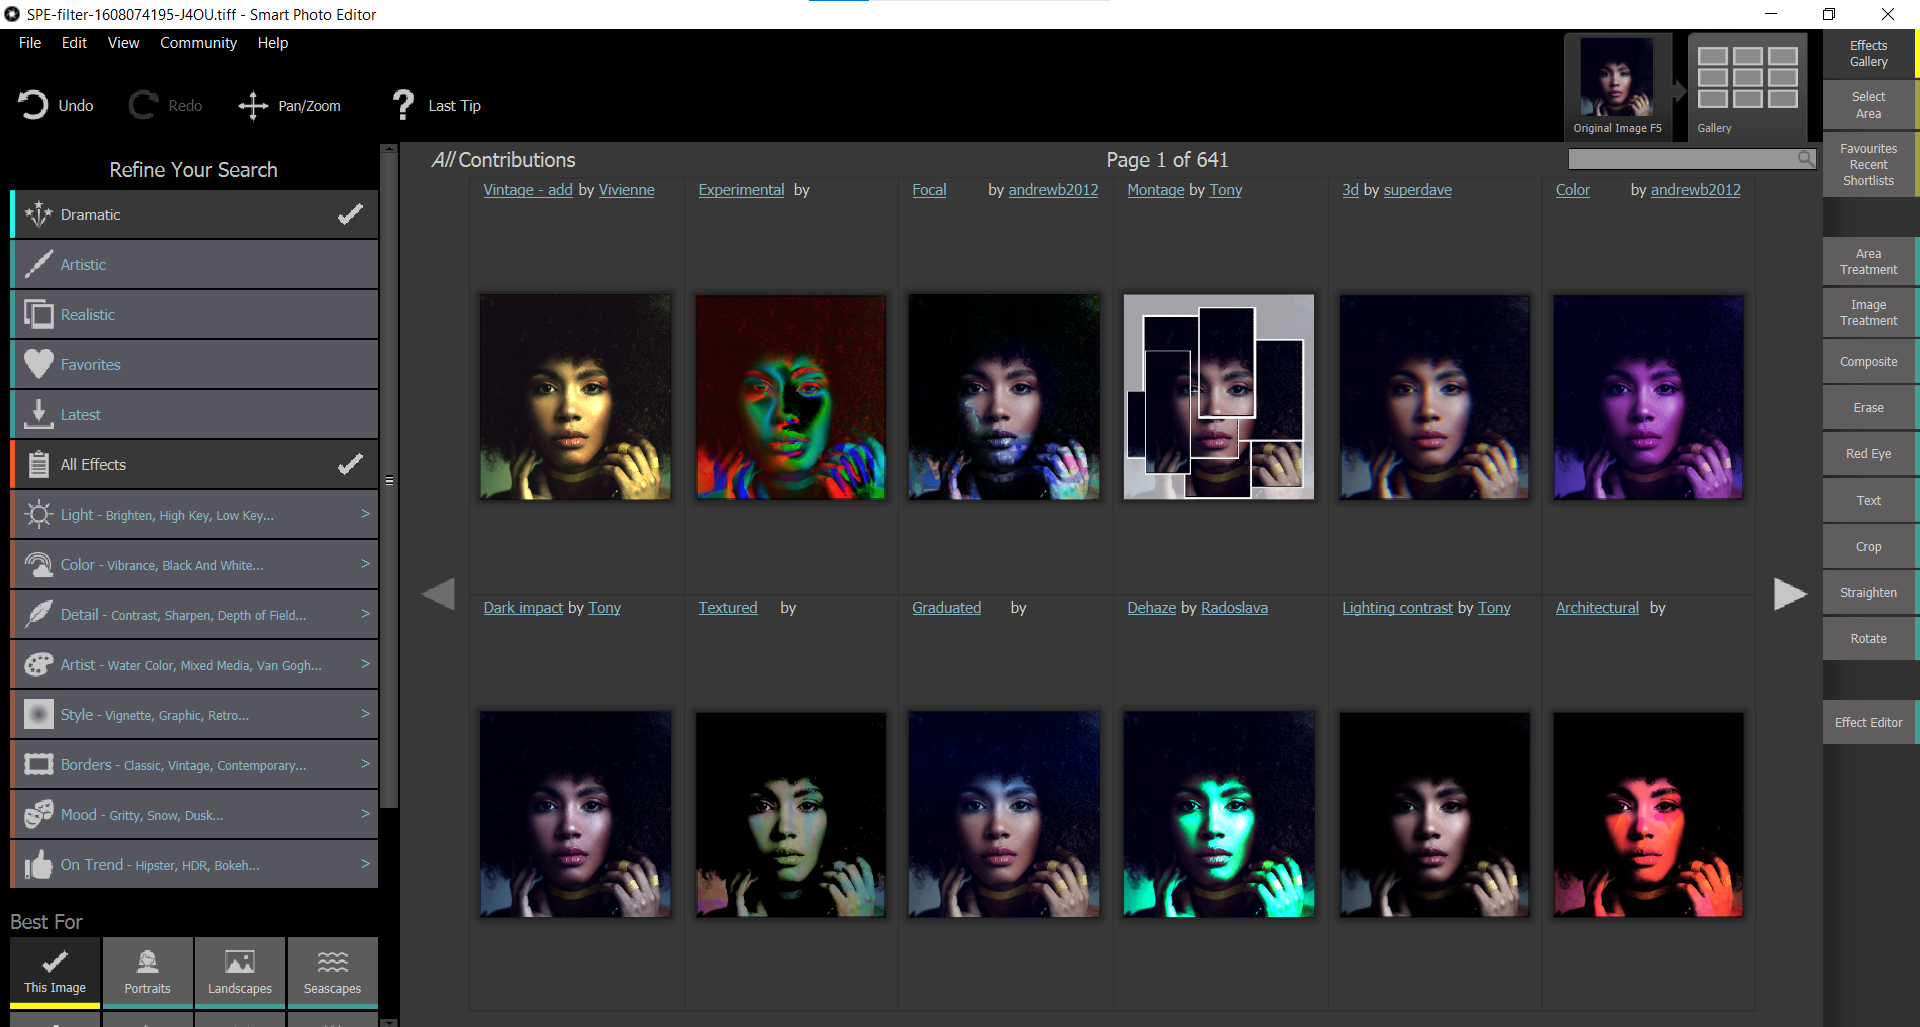
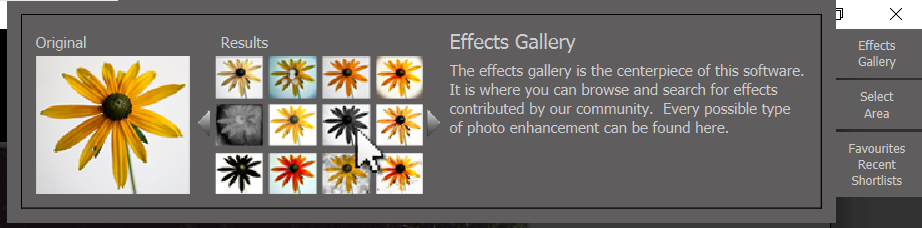
The Effects Gallery is a community-based initiative that offers its users the opportunity to choose from hundreds of effects that have been created specifically for Smart Photo Editor users. Thanks to the Smart Photo Editor community, there is a wide variety of special effects to choose from for specific photo editing needs.
Anthropics offers a free trial of the Smart Photo Editor if you would like to try it out before purchasing. To buy the program, you'll have to pay $59.90.
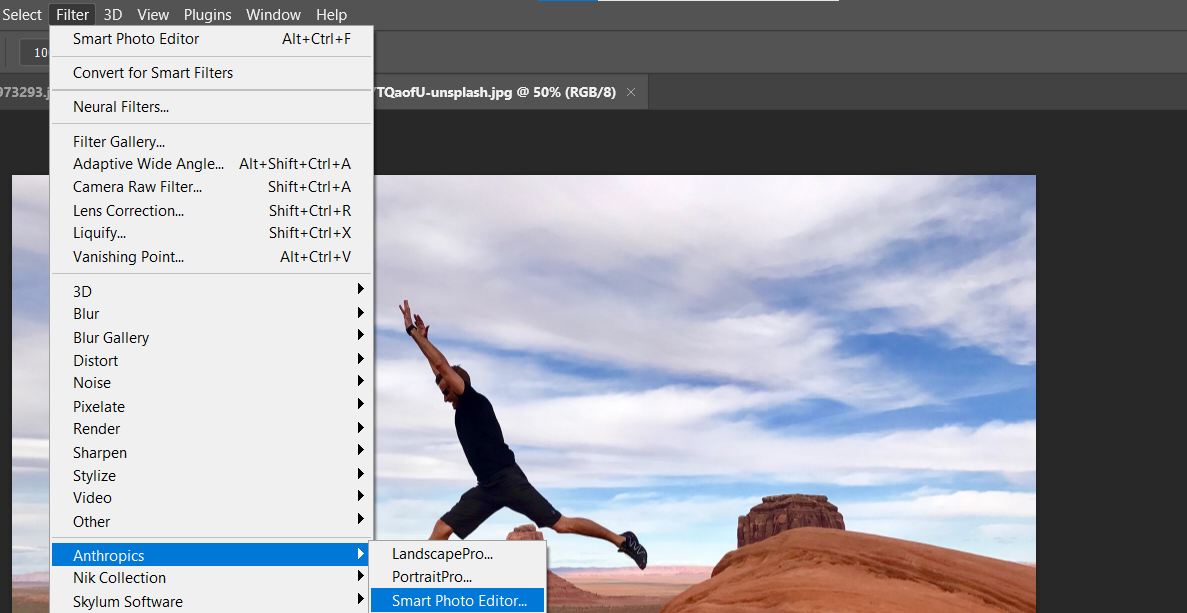
How to Access the Smart Photo Editor From Photoshop
Once you download the Smart Photo Editor, you can easily access the editor and its Effects Gallery from Photoshop. Here's how to do it:
-
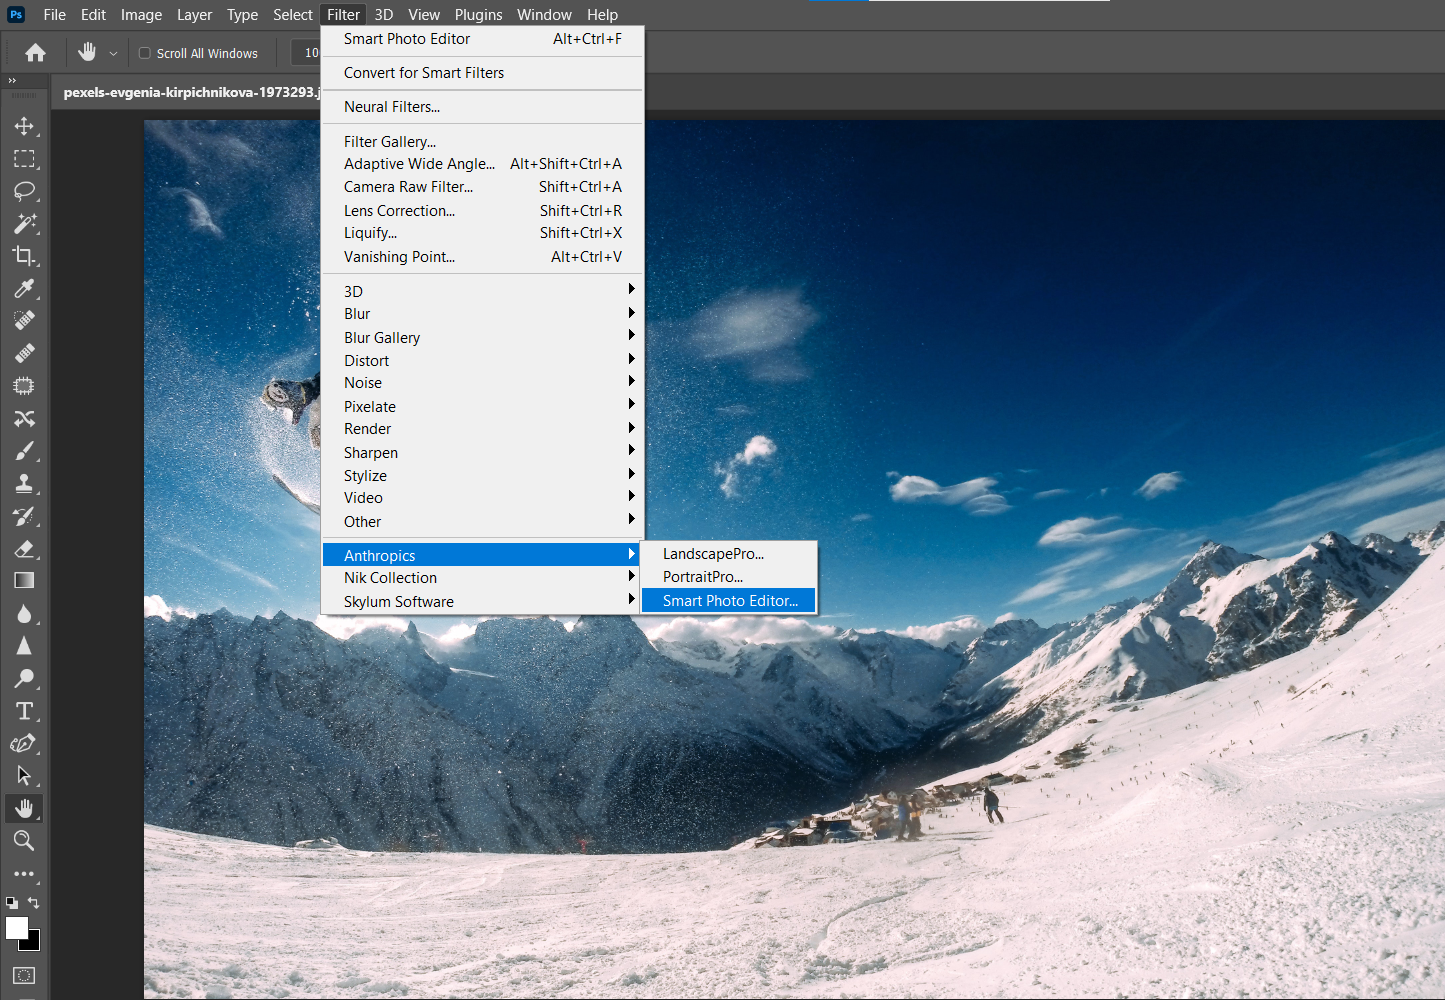
In Photoshop, go to Filter > Anthropics > Smart Photo Editor.
-
Select the Effects Gallery at the top-right of the menu.
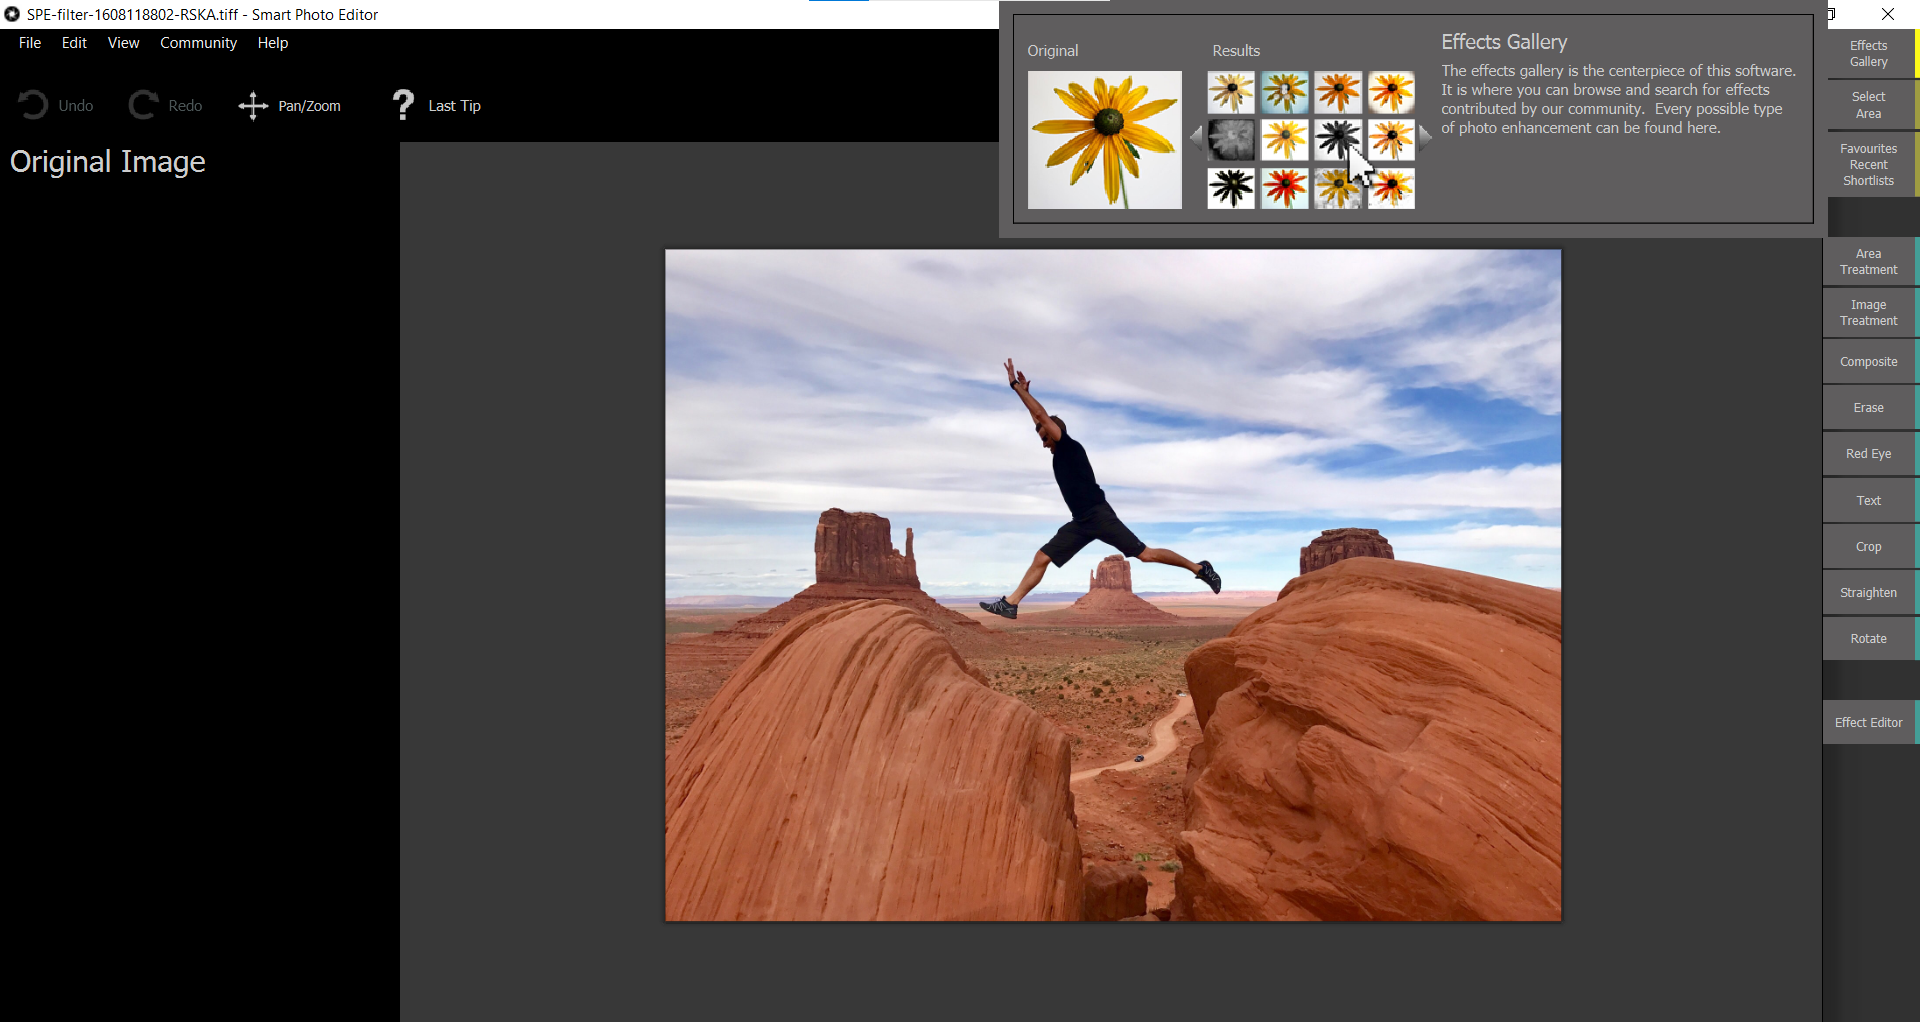


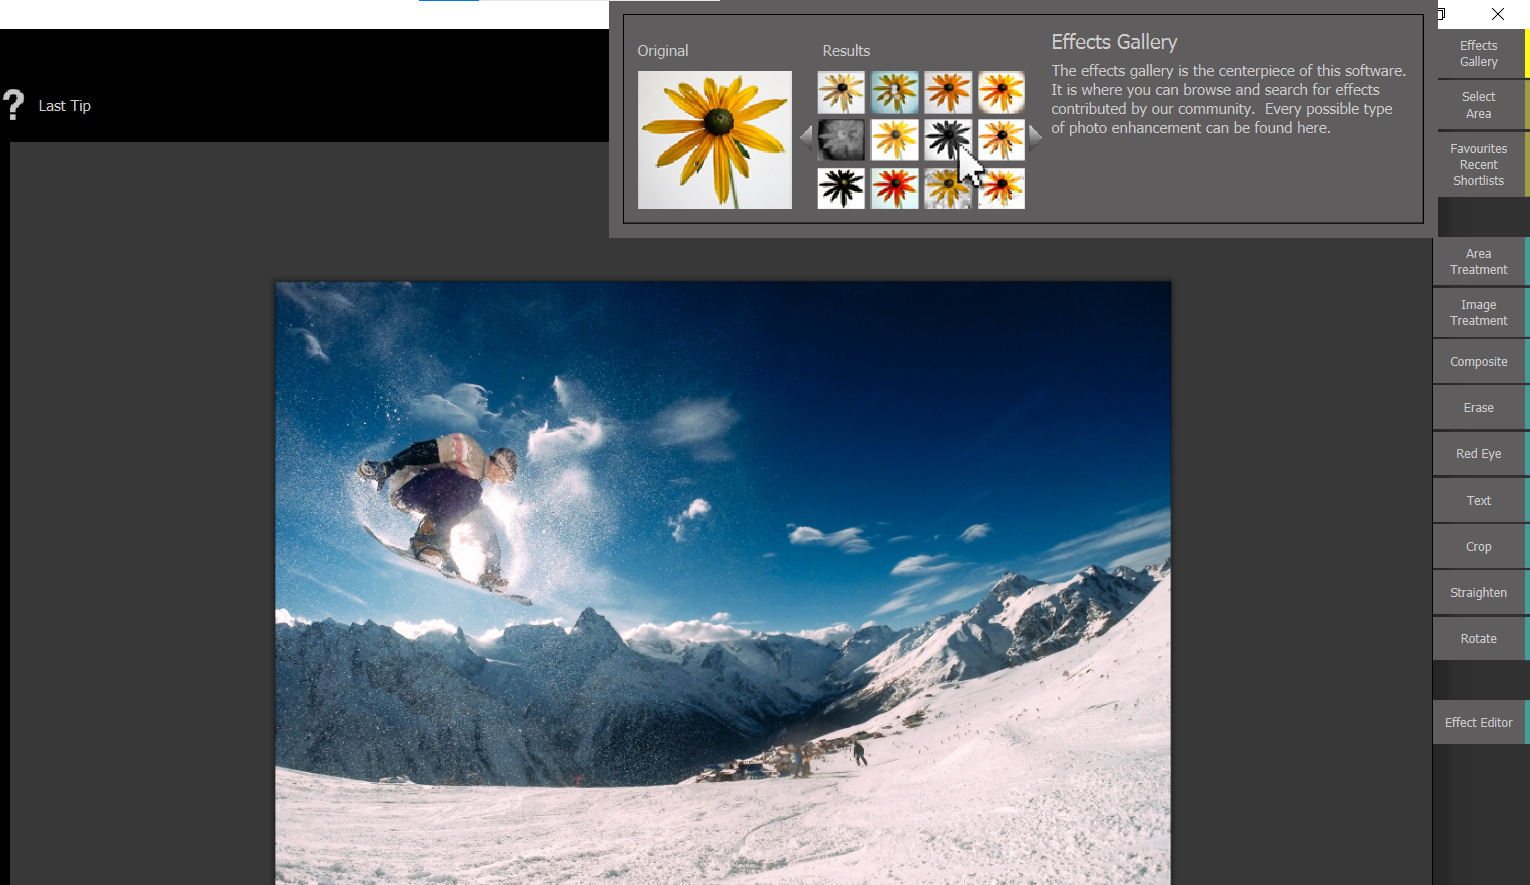
Once you’re in, there are many options to choose from in the menus on the left—far too many to cover here. But what we will do is show you around the menu system, and try out some of the effects that users have contributed.
How to Use the Effects Gallery
In our examples, we will take you step-by-step through a few of the menus, and explore many of the user-contributed special effects.

We will be adding three different effects to our original images. Note that the Smart Photo Editor’s AI will choose the best starting settings based on each image's characteristics.
For the sake of demonstration, we will keep the recommended settings. We'll also add additional effects to show you what’s possible when you stack multiple special effects together. Feel free to adjust the sliders to your liking.
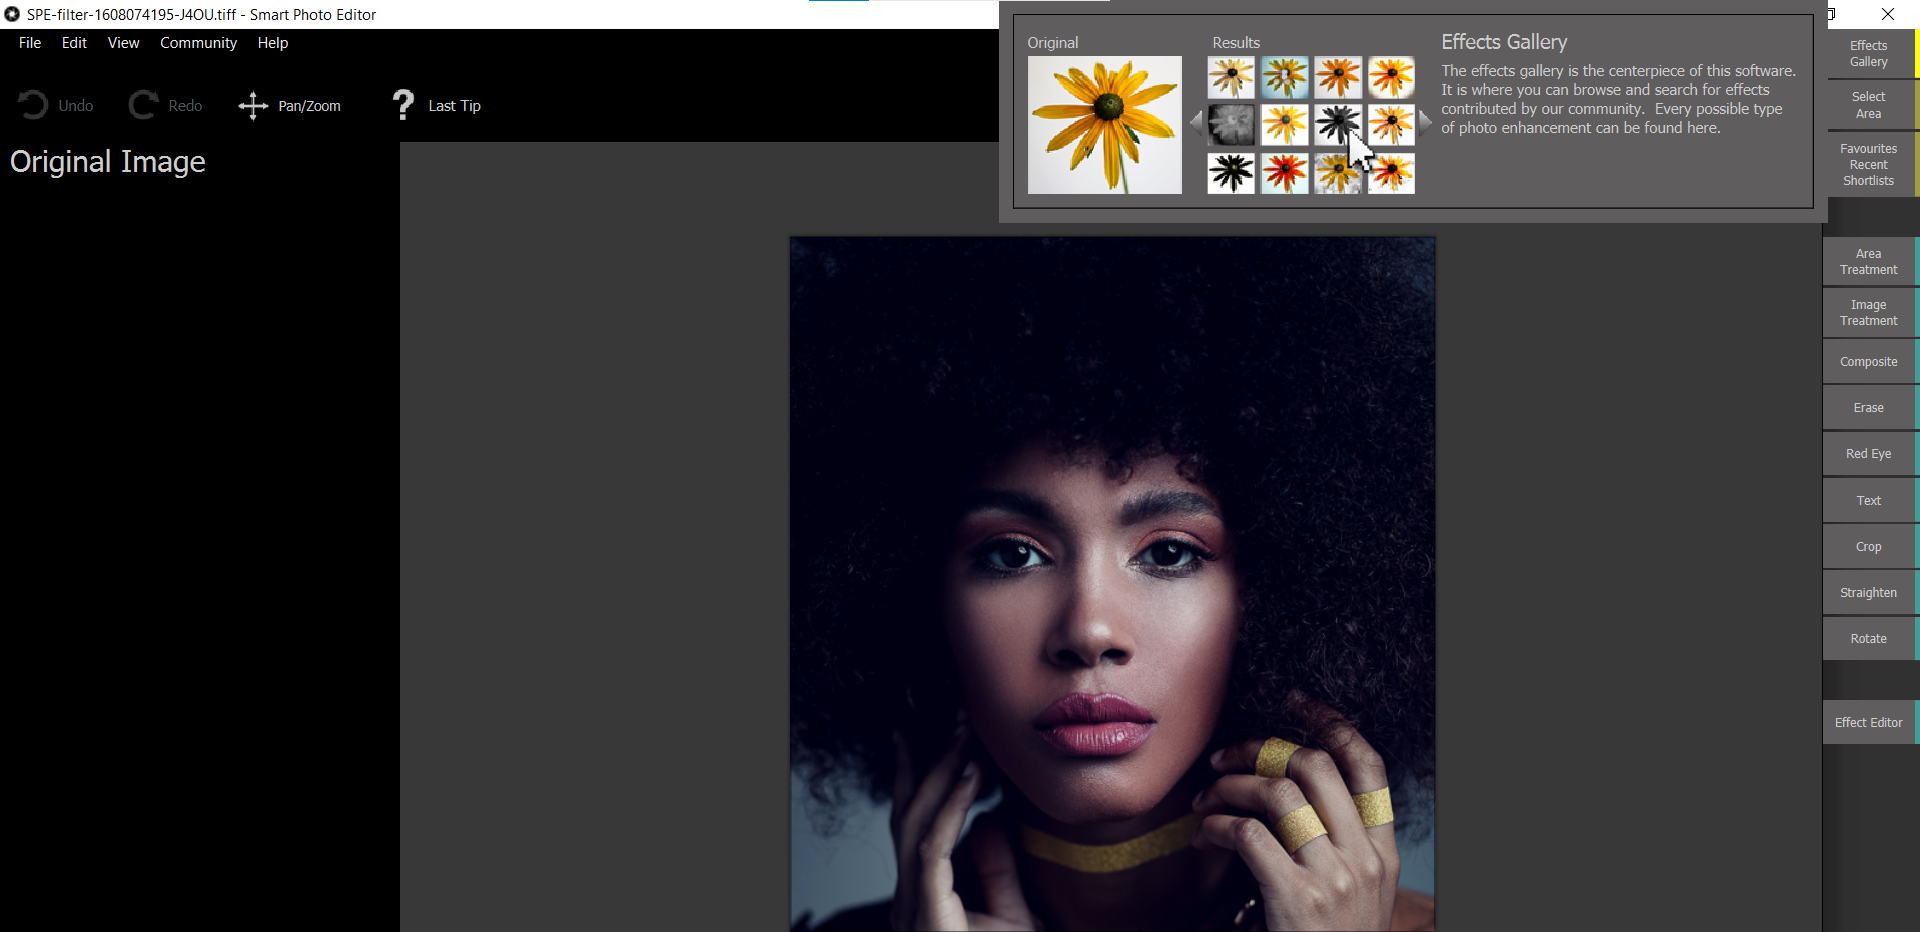
Adding Special Effects to a Portrait
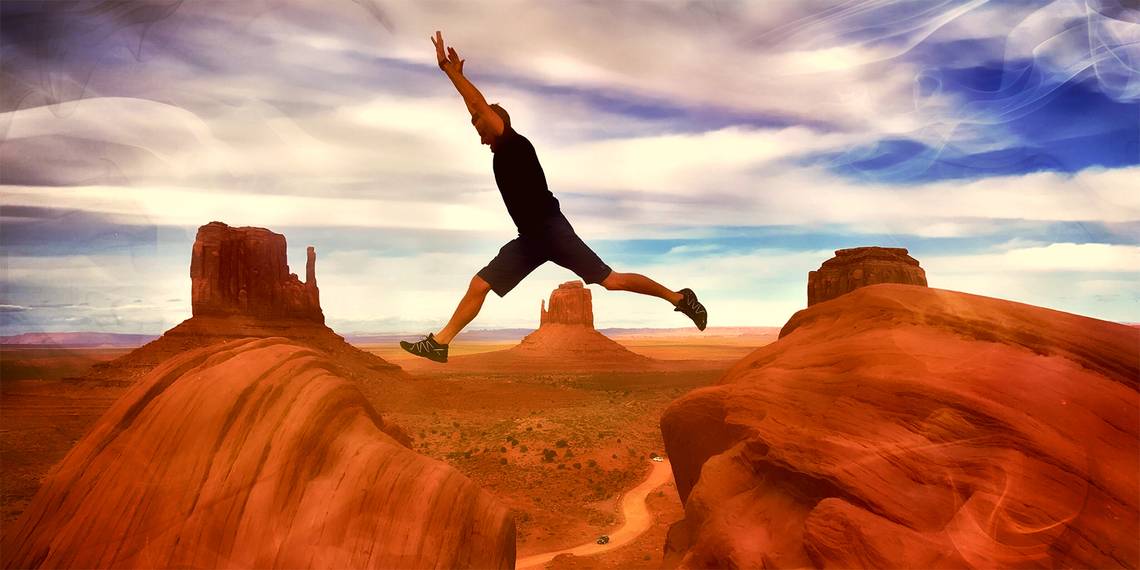
If you’re on the Smart Photo Editor trial or already own the software, you can follow along by downloading the image we’re using from Pexels. We will start with a portrait and add multiple effects in order to completely transform our original image.
Let's get started!
-
Go to Filter > Anthropics > Smart Photo Editor.

-
Select the Effects Gallery at the top-right of the menu.
-
Select Dramatic and All Effects.
-
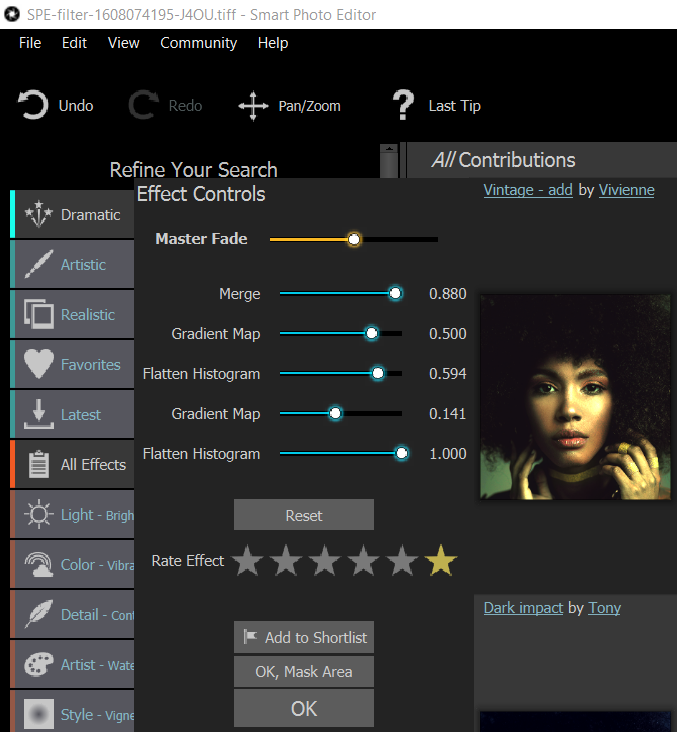
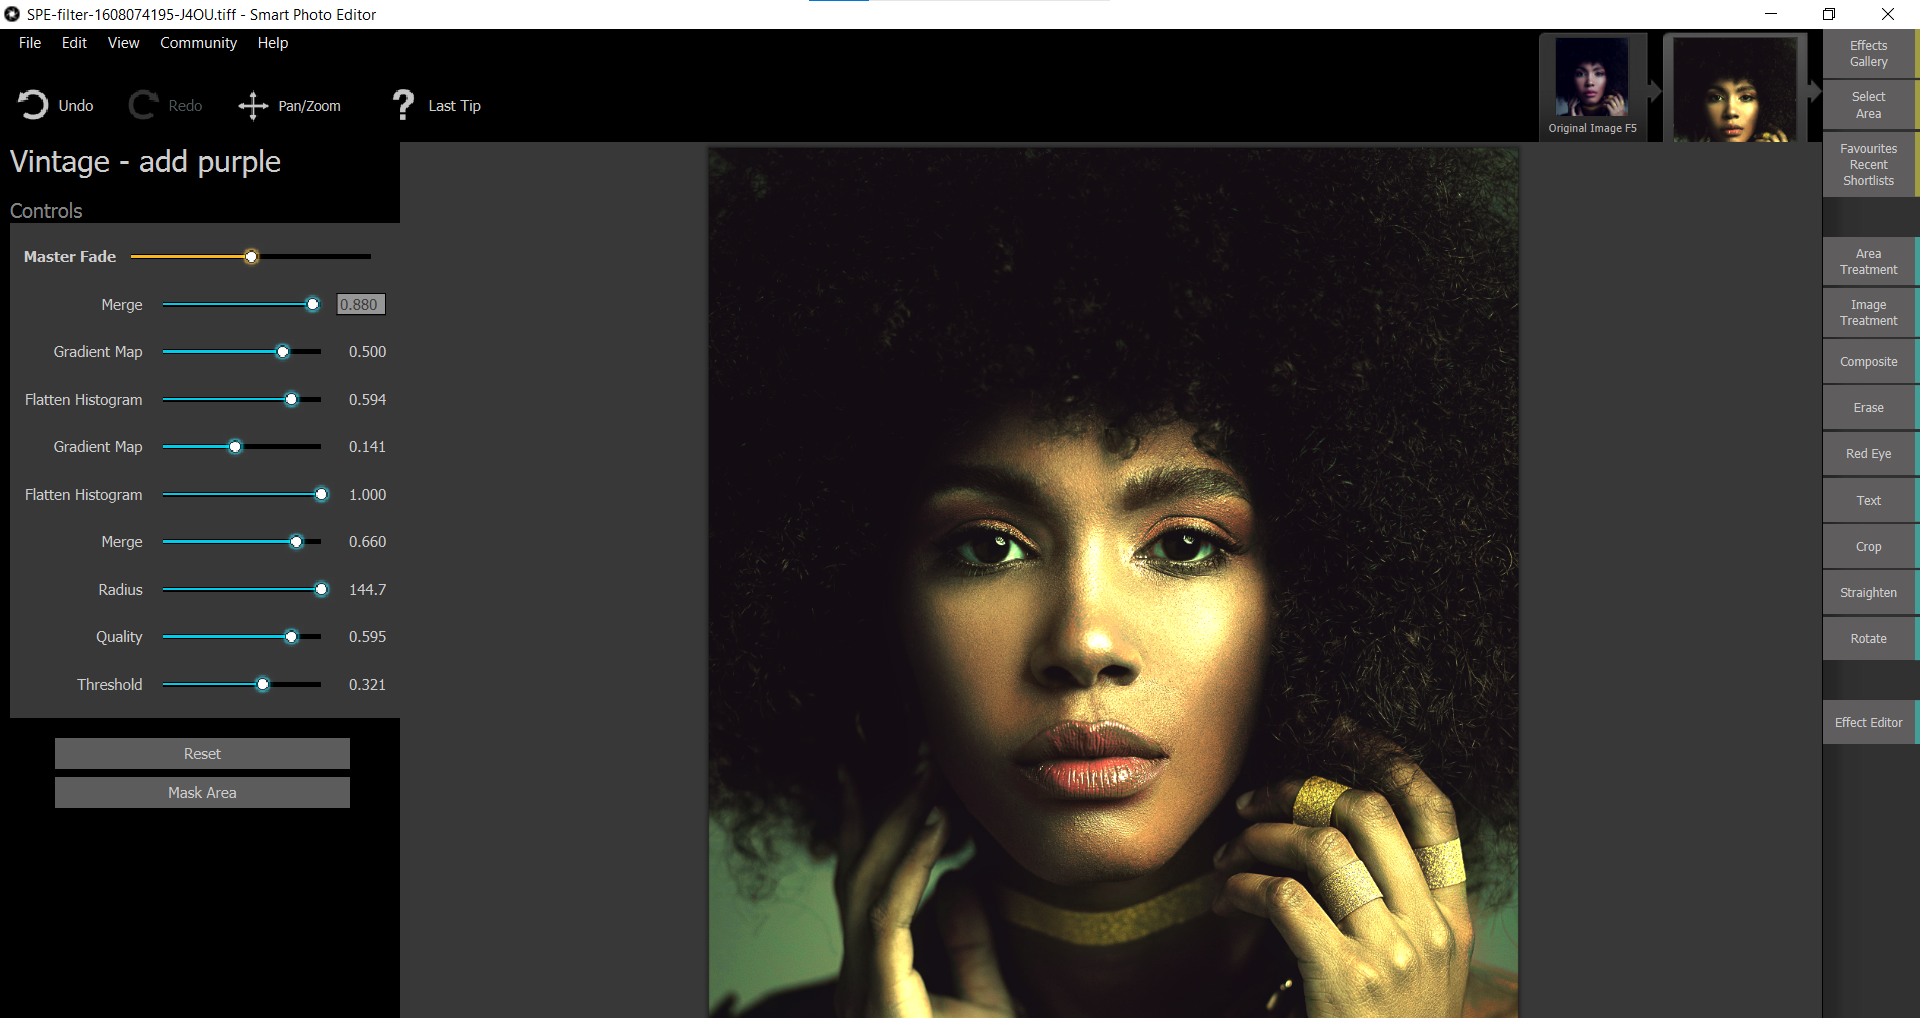
Hover your mouse over Vintage-Add and press Ok.
-
Use the sliders to make adjustments in the Controls menu on the left. We left the recommended settings as-is.
-
Then, select Effects Gallery to move onto more options.
- Click on the Right Arrow to browse through the special effects.
-
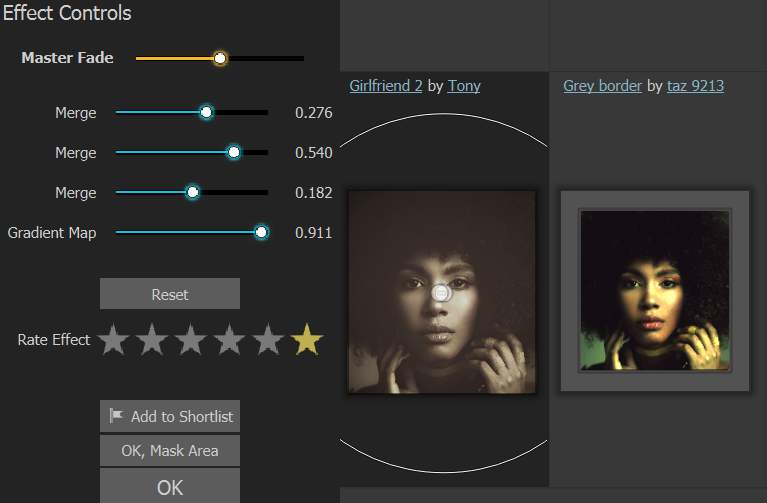
Hover your mouse over Girlfriend 2 and press Ok.
-
Once again, select Effects Gallery at the top-right of the menu.
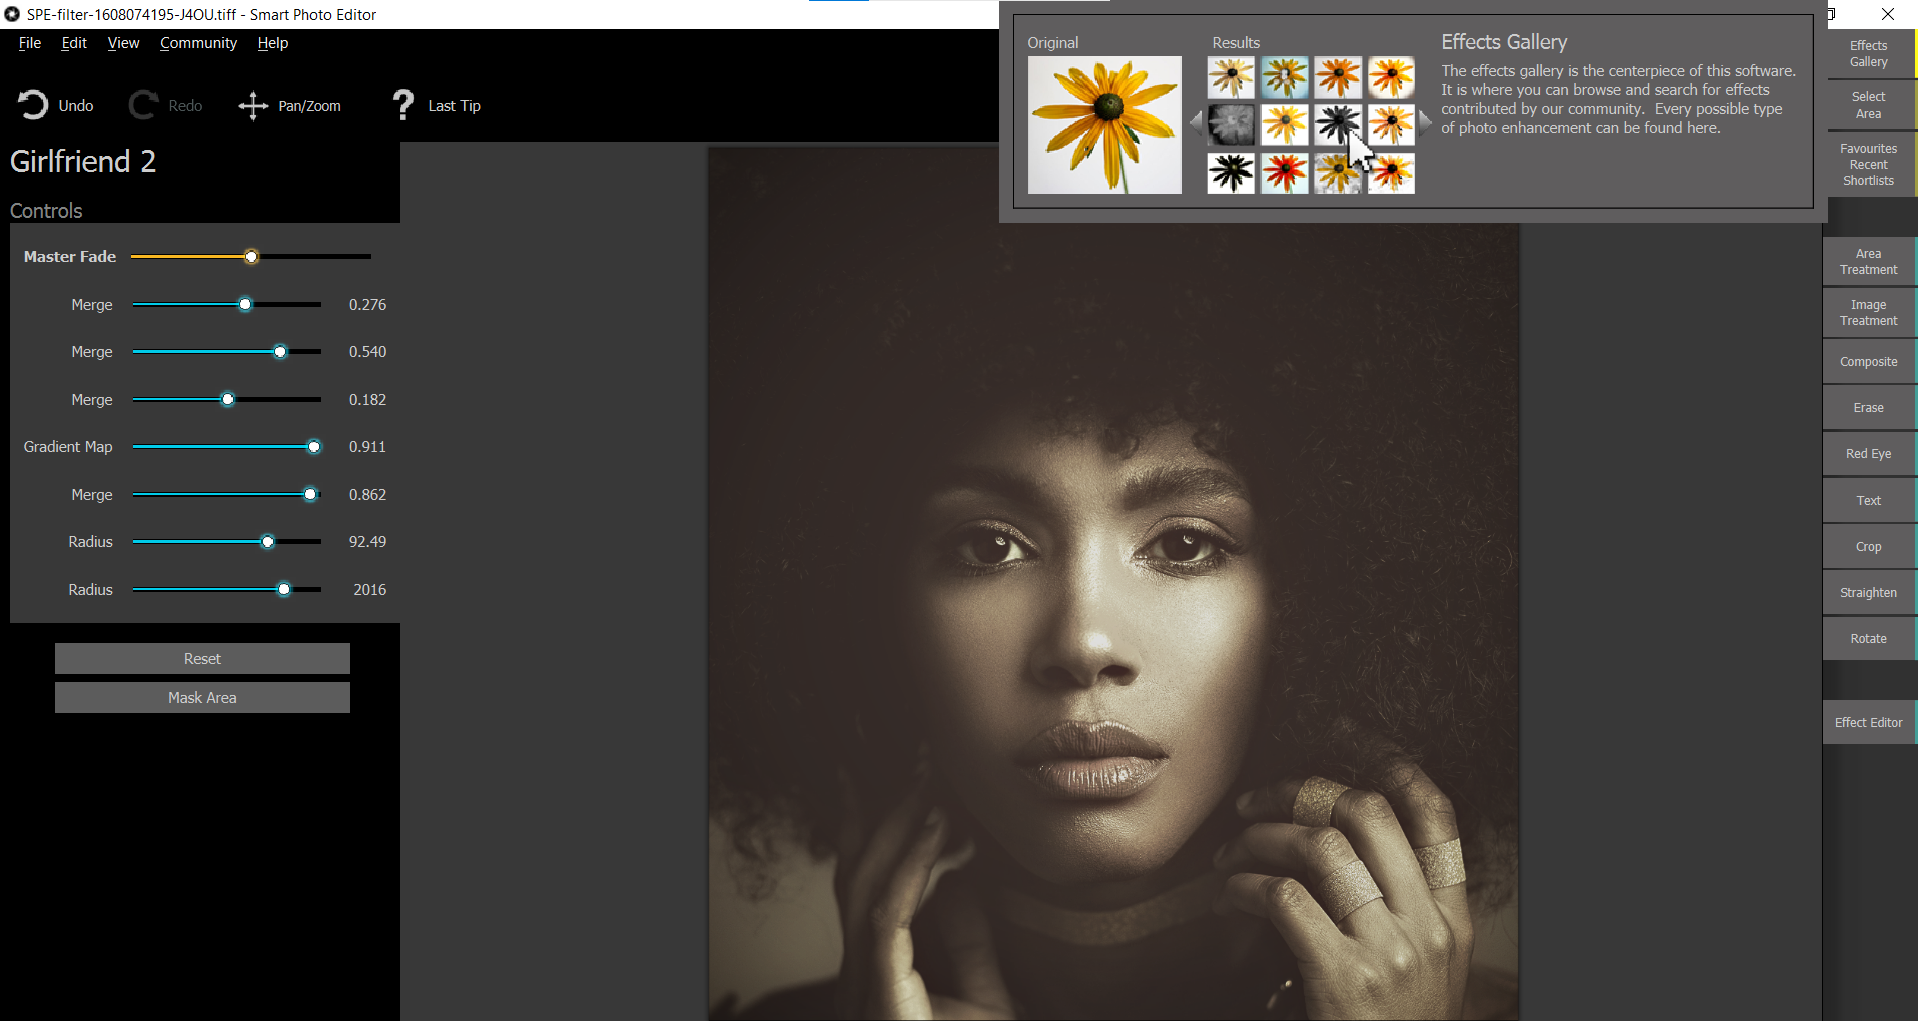
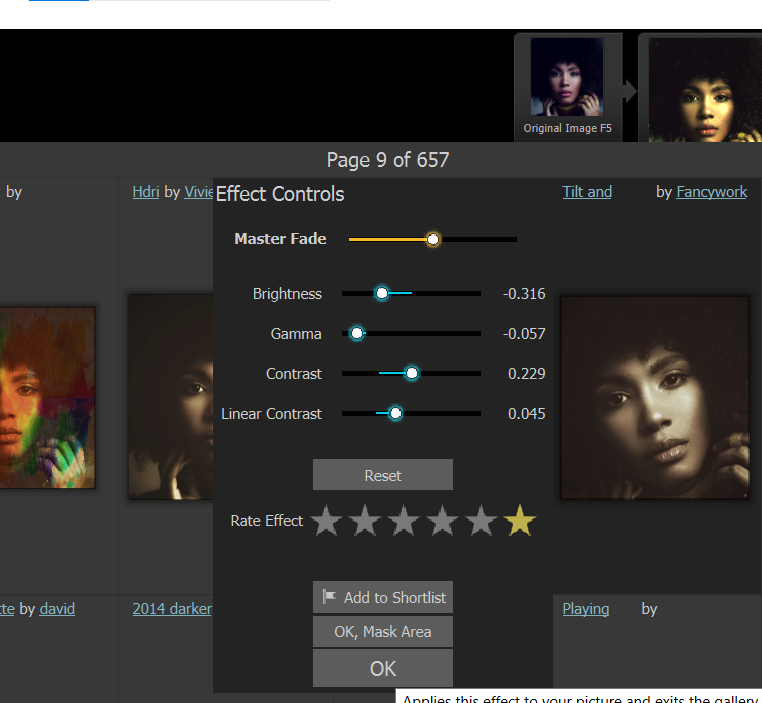
- Click on the Right Arrow to navigate to page nine.
-
Hover your mouse over Tilt and, and press Ok.
-
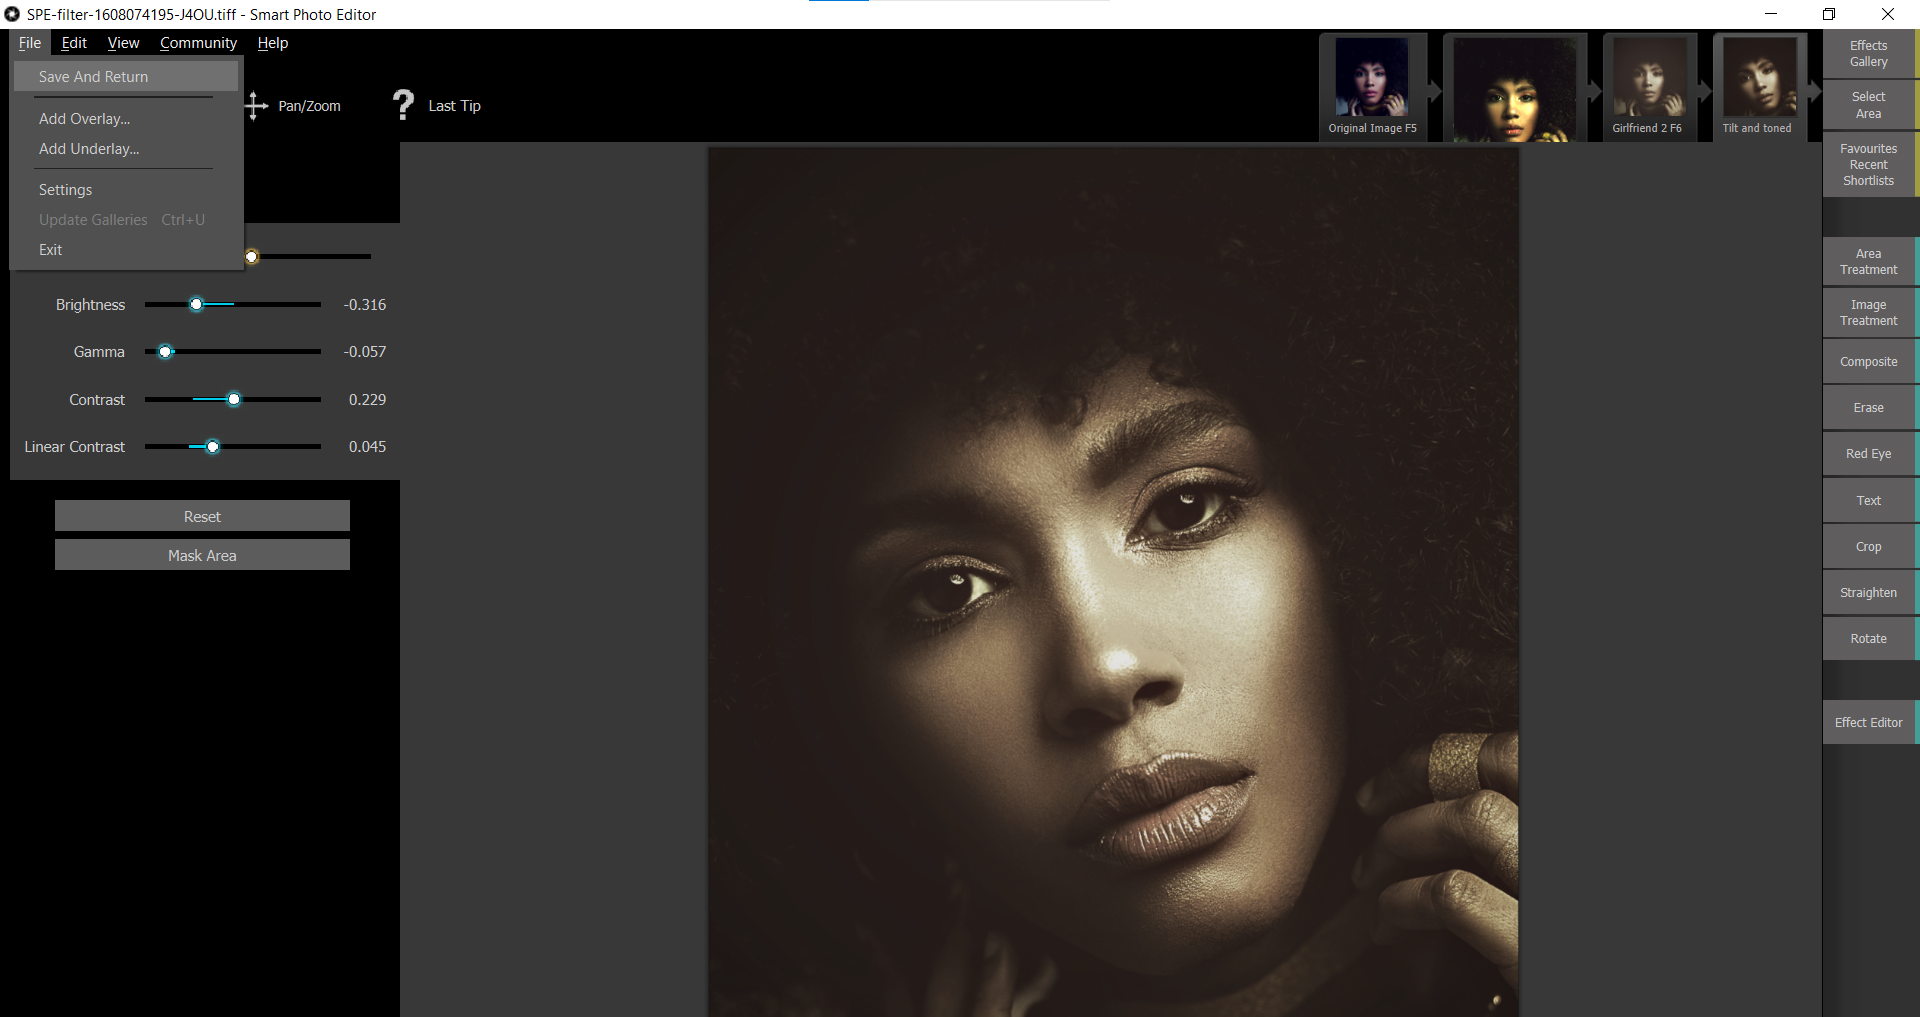
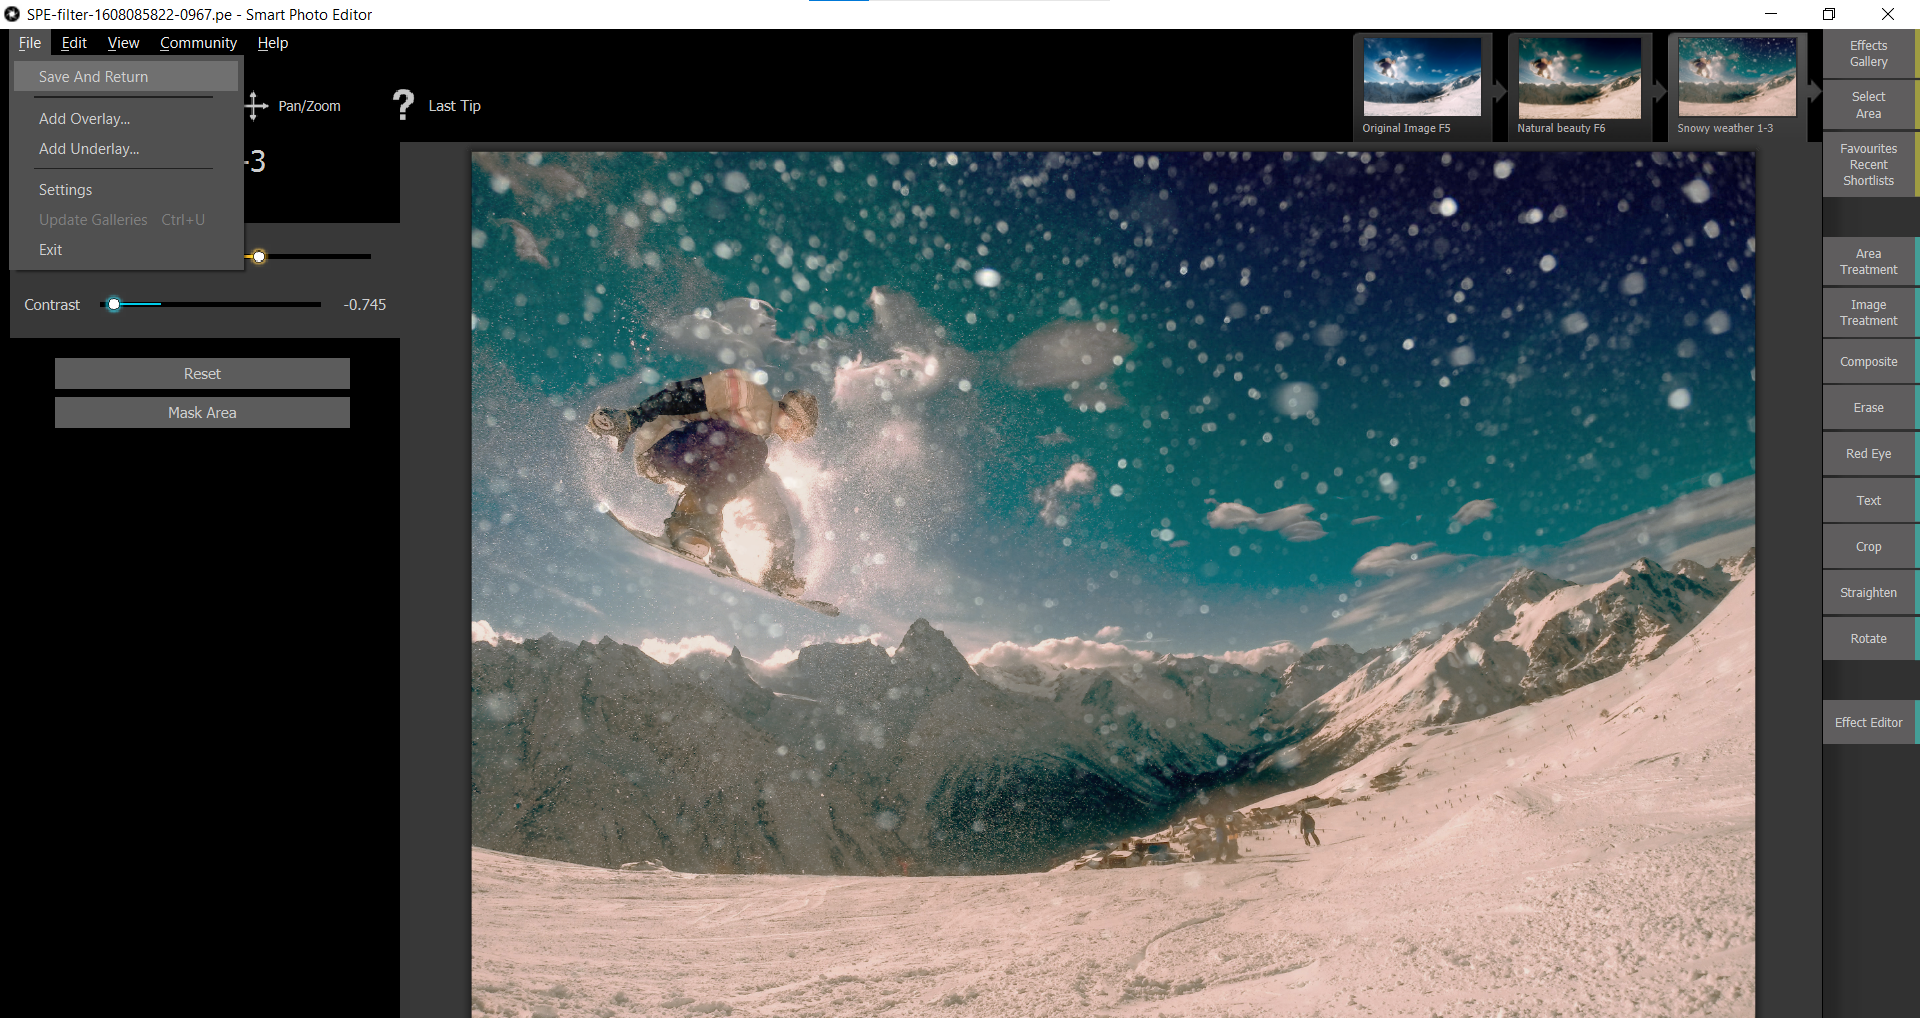
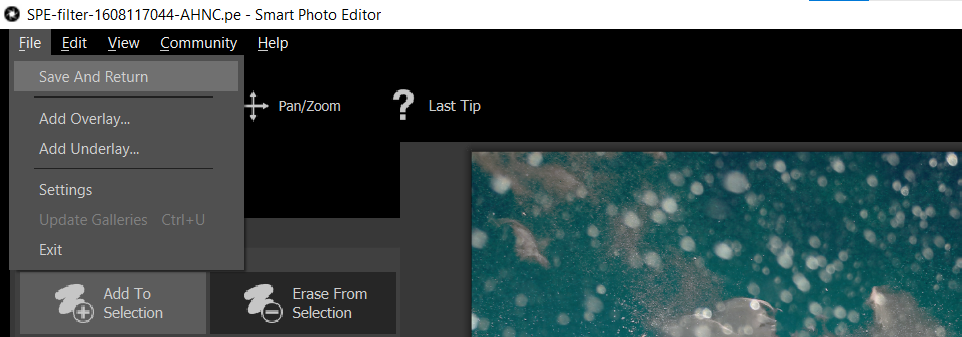
To save and return to Photoshop, go to File > Save and Return.


For many of the effects, you can simply click on the preview to get a full-page view. To exit, simply click on the image again if you don’t want to commit to it.
Adding Special Effects to an Action Photo
In this example, we will show you how to access specific effects, like snow. Once more, we will stack multiple effects to achieve a unique look.
If you’d like to follow along, you may download the same image we’re using from Pexels.
-
Go to Filter > Anthropics > Smart Photo Editor.
-
Select the Effects Gallery at the top-right of the menu.
-
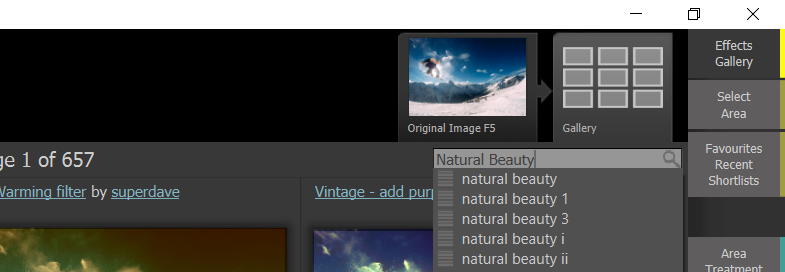
Go to the Search box, type "Natural Beauty," and press Enter.
-
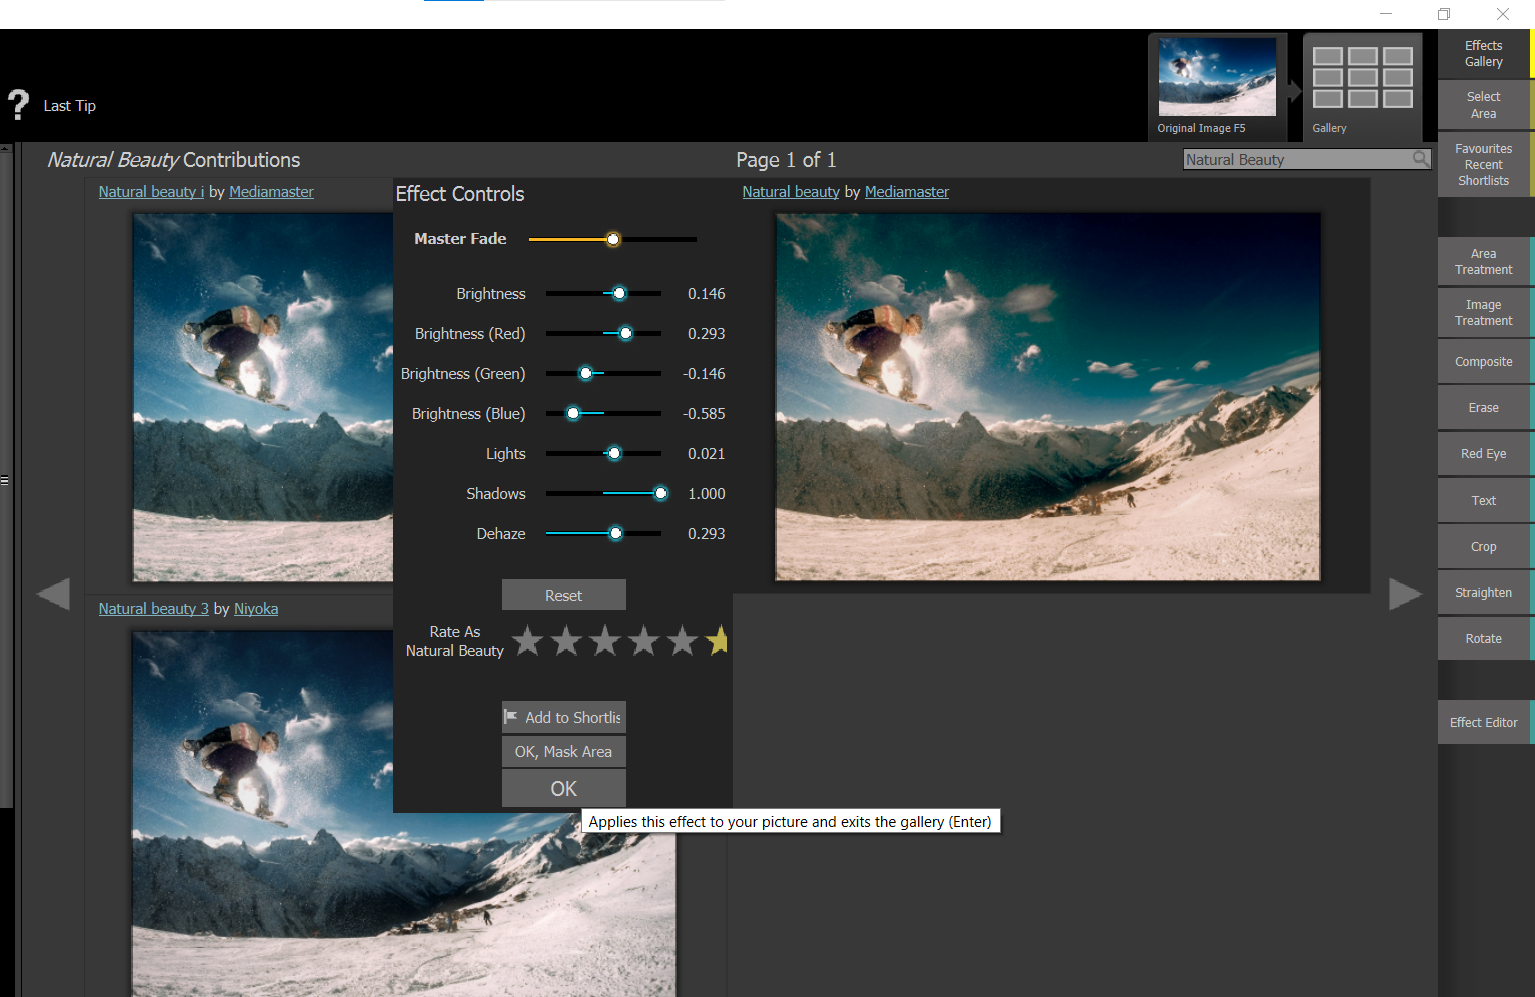
Hover your mouse over the effect you want and press Ok.
-
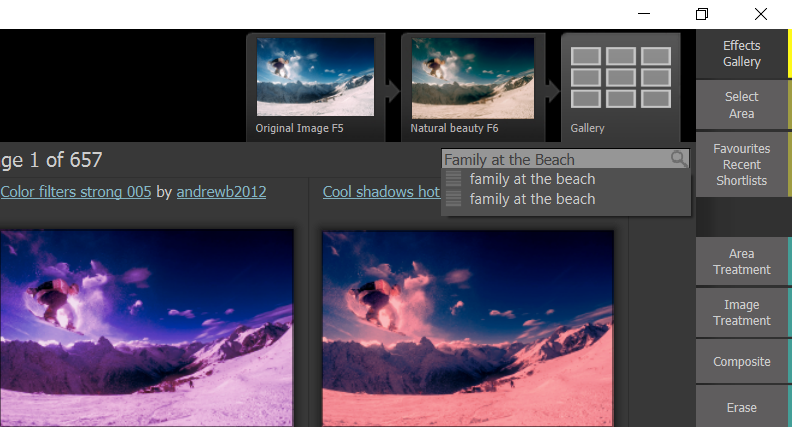
Select the Effects Gallery at the top-right of the menu.
-
Go to the Search box, type “Family at the Beach,” and press Enter.
-
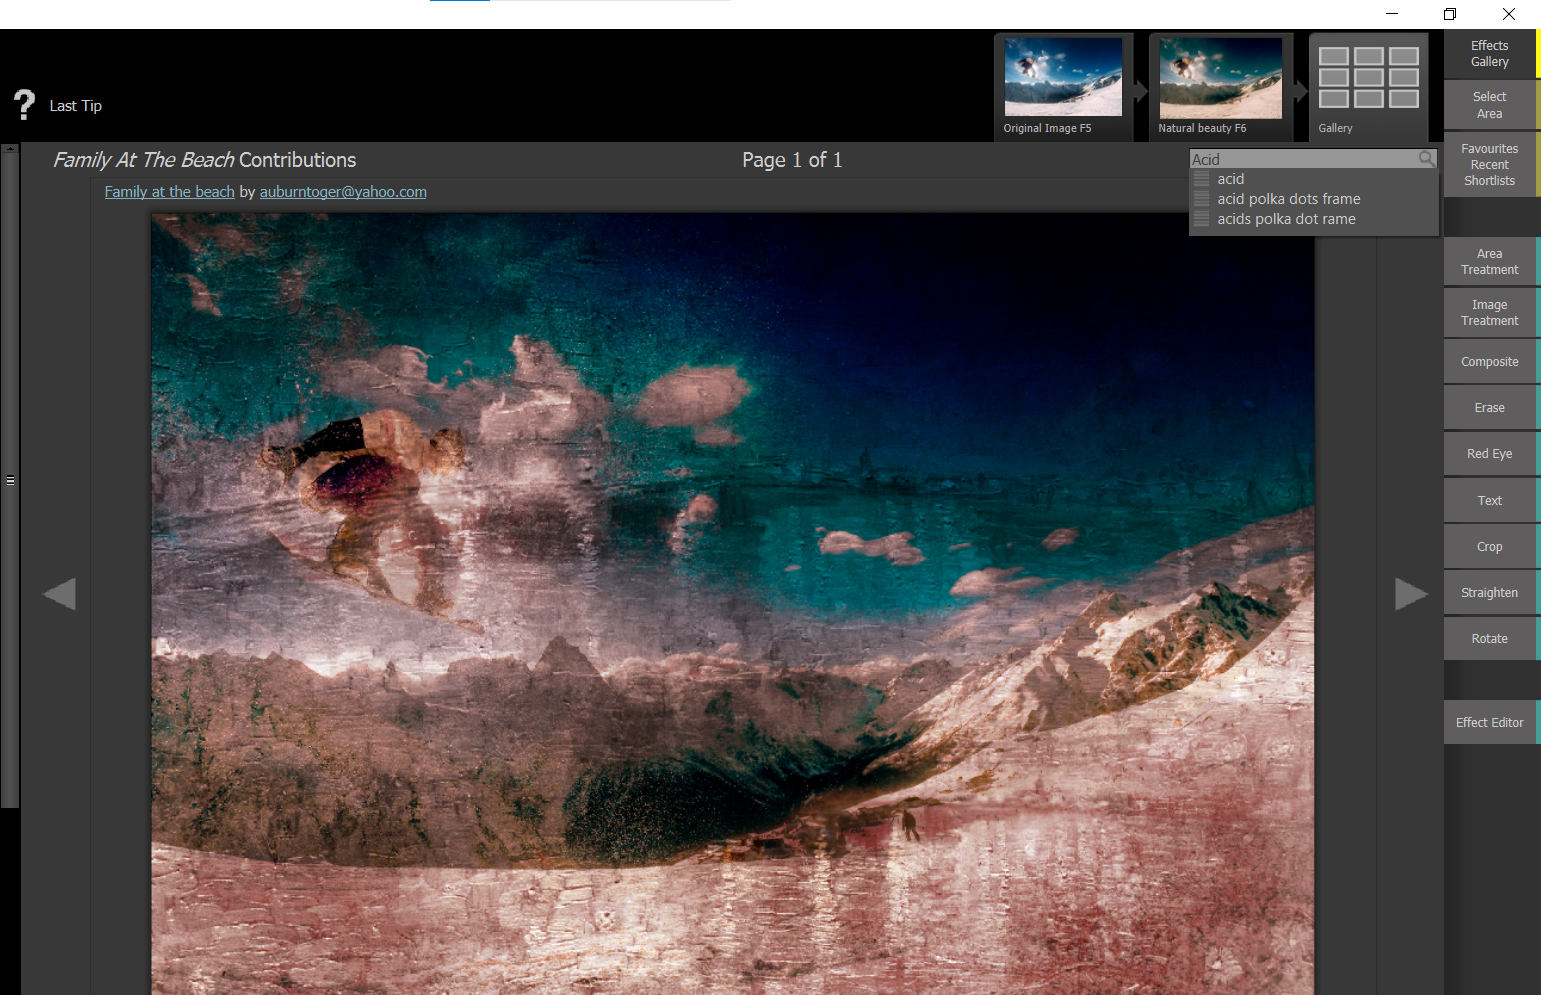
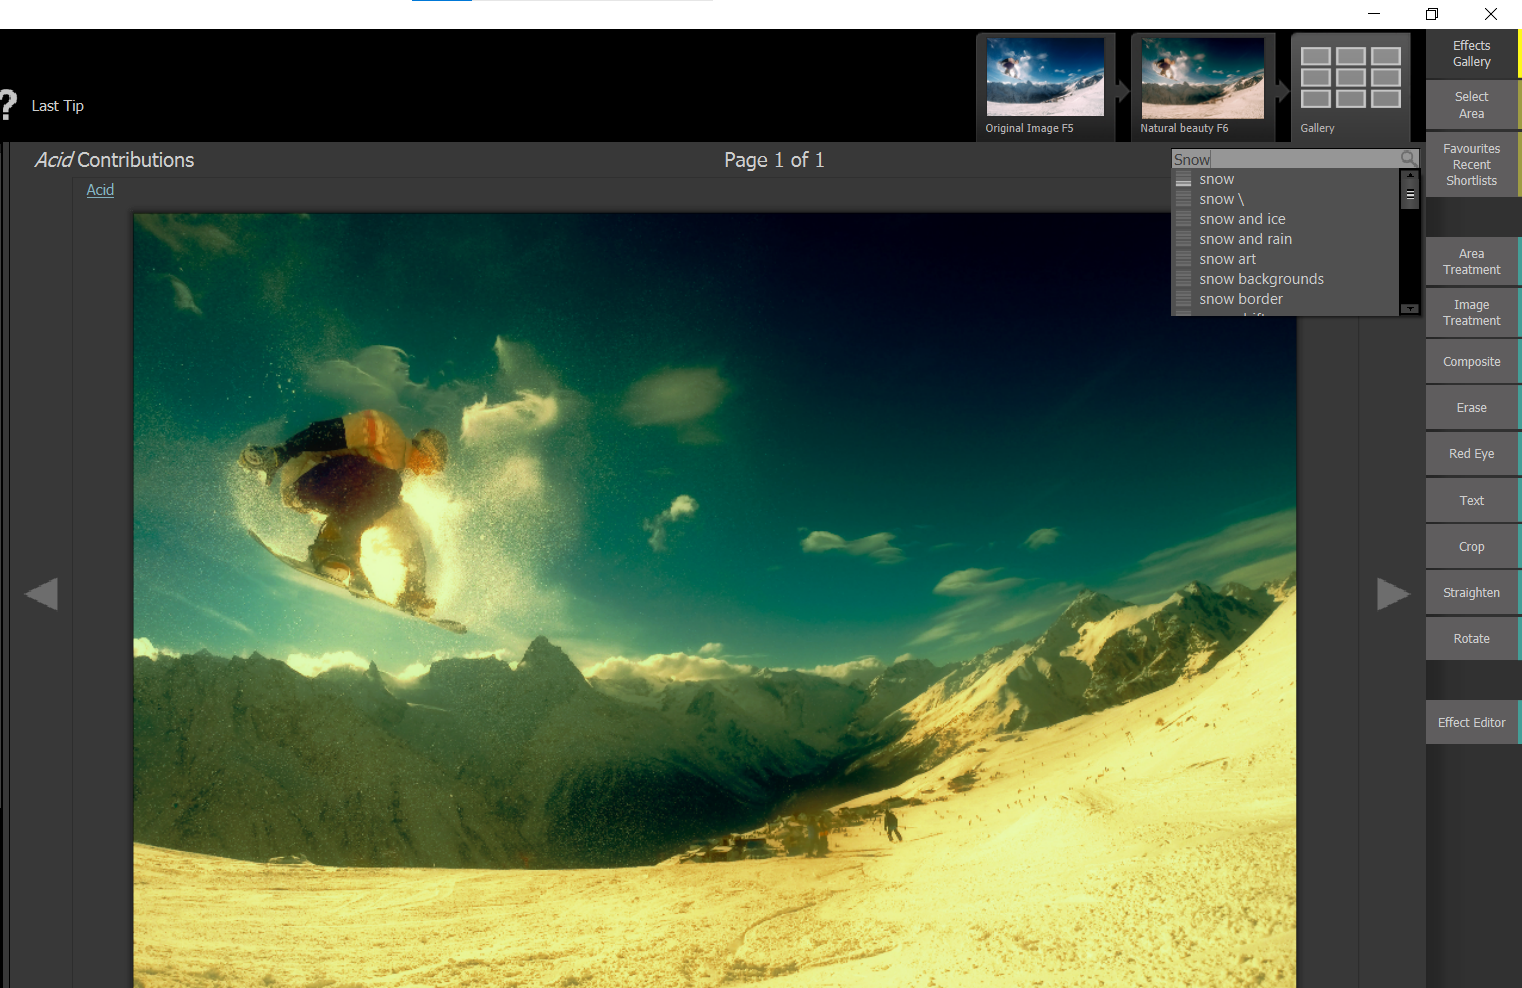
Go to the Search box, type “Acid,” and press Enter.
-
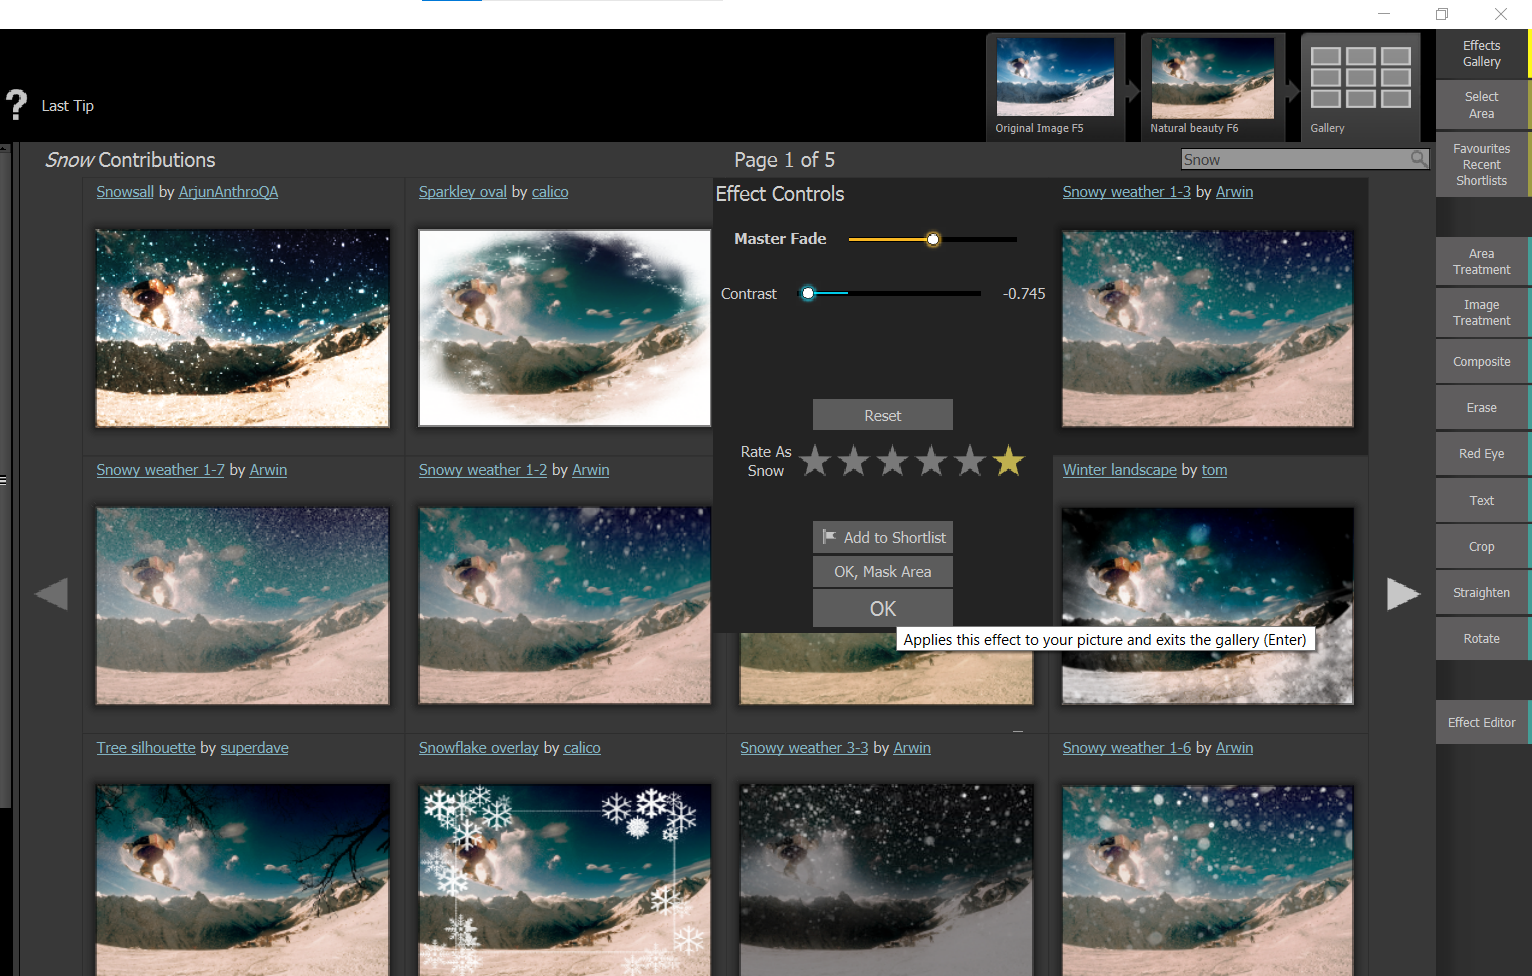
Go to the Search box, type "Snow," and press Enter.
-
Hover your mouse over the effect you want and press Ok.
-
To save and return to Photoshop, go to File > Save and Return.


You likely noticed that there were fewer steps when you search for the effects that you want to apply. That’s because there may only be one effect under a search term, which will save you the time of clicking on the Effects Gallery and choosing from multiple options.
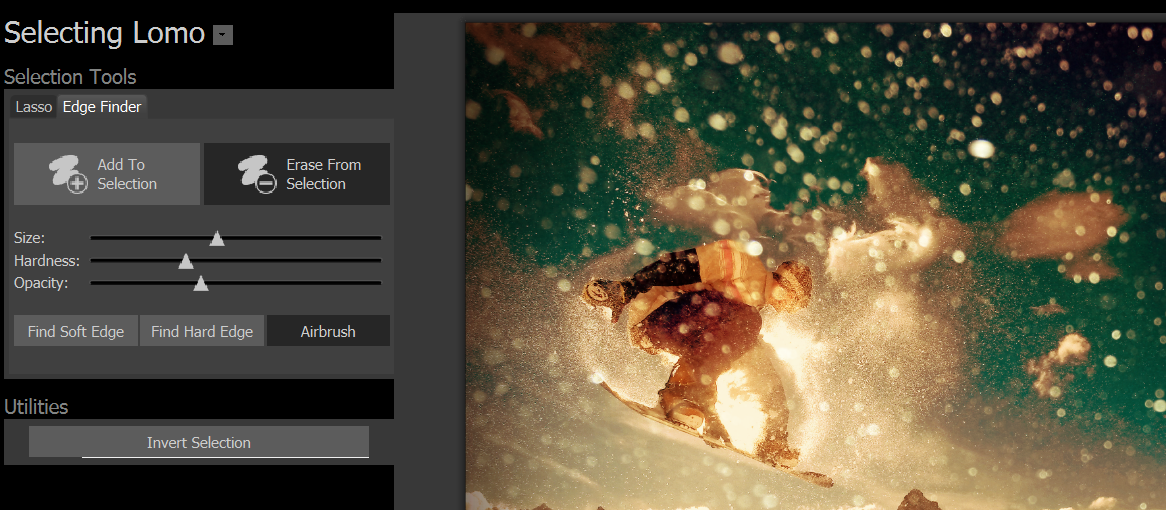
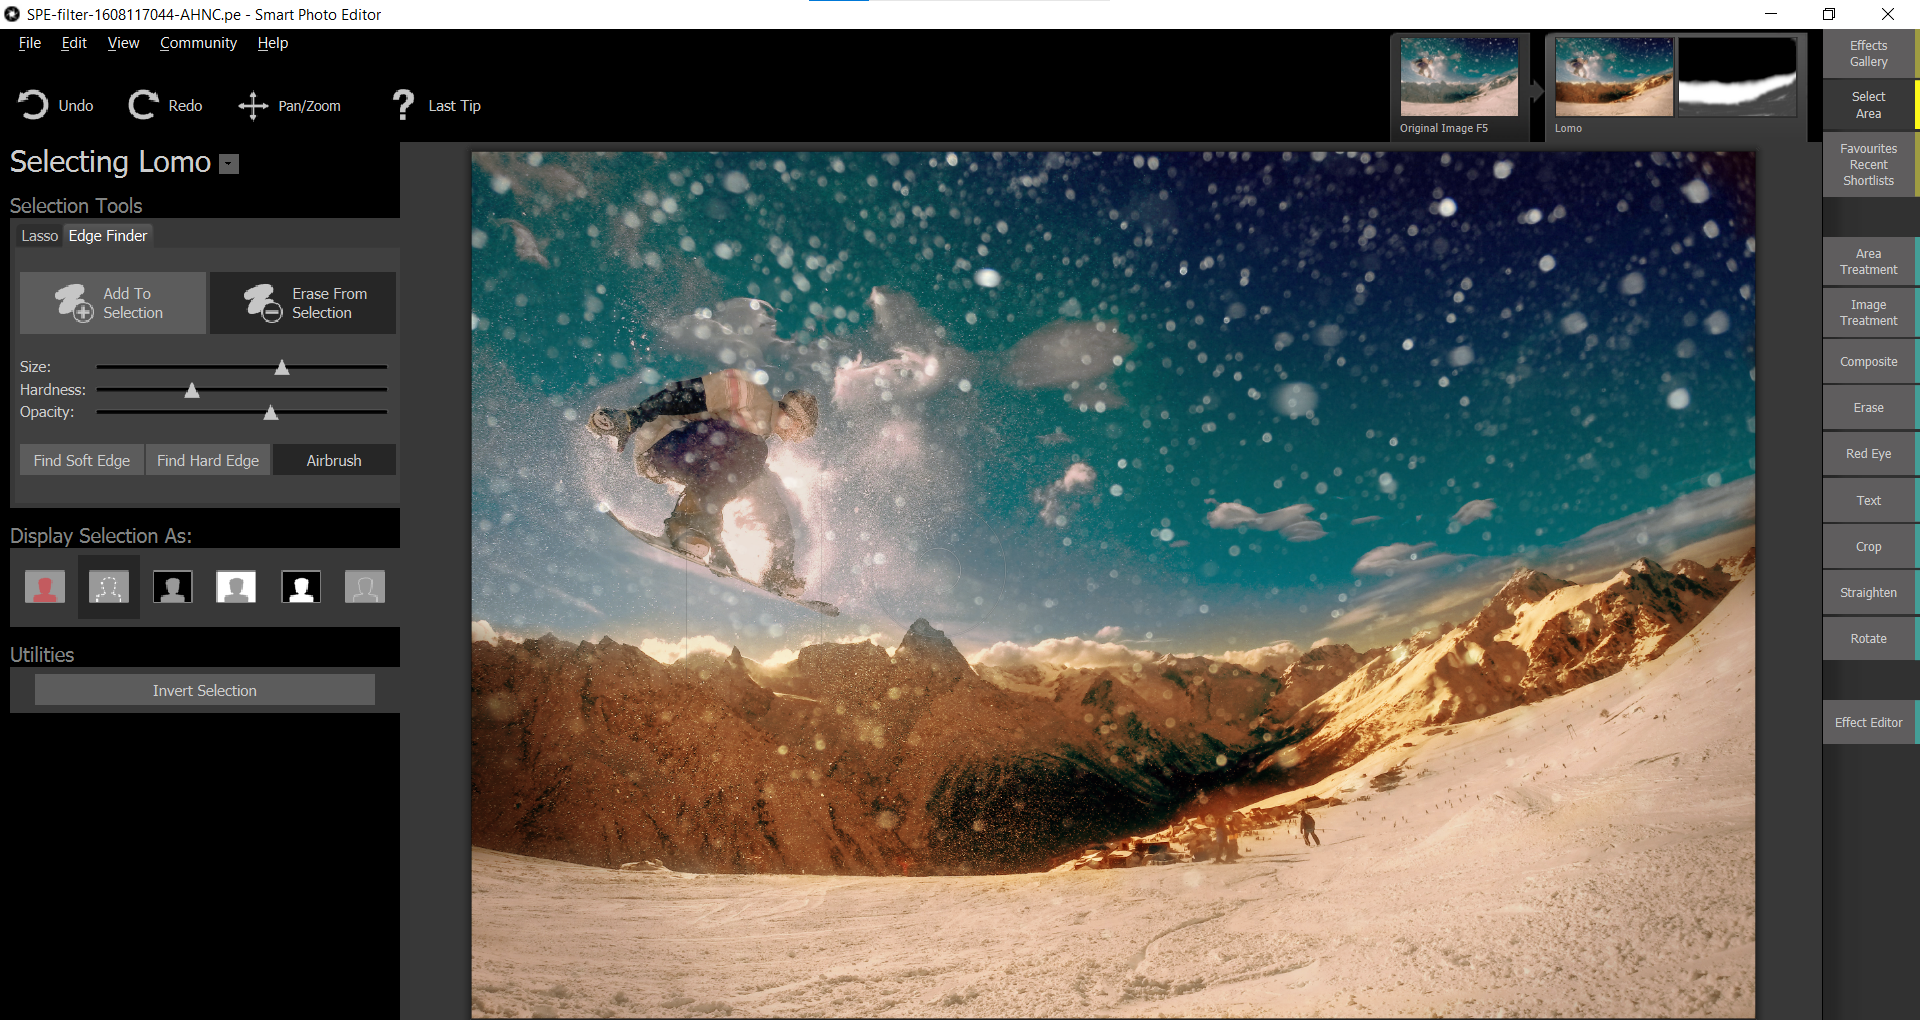
Using Masking to Localize an Effect
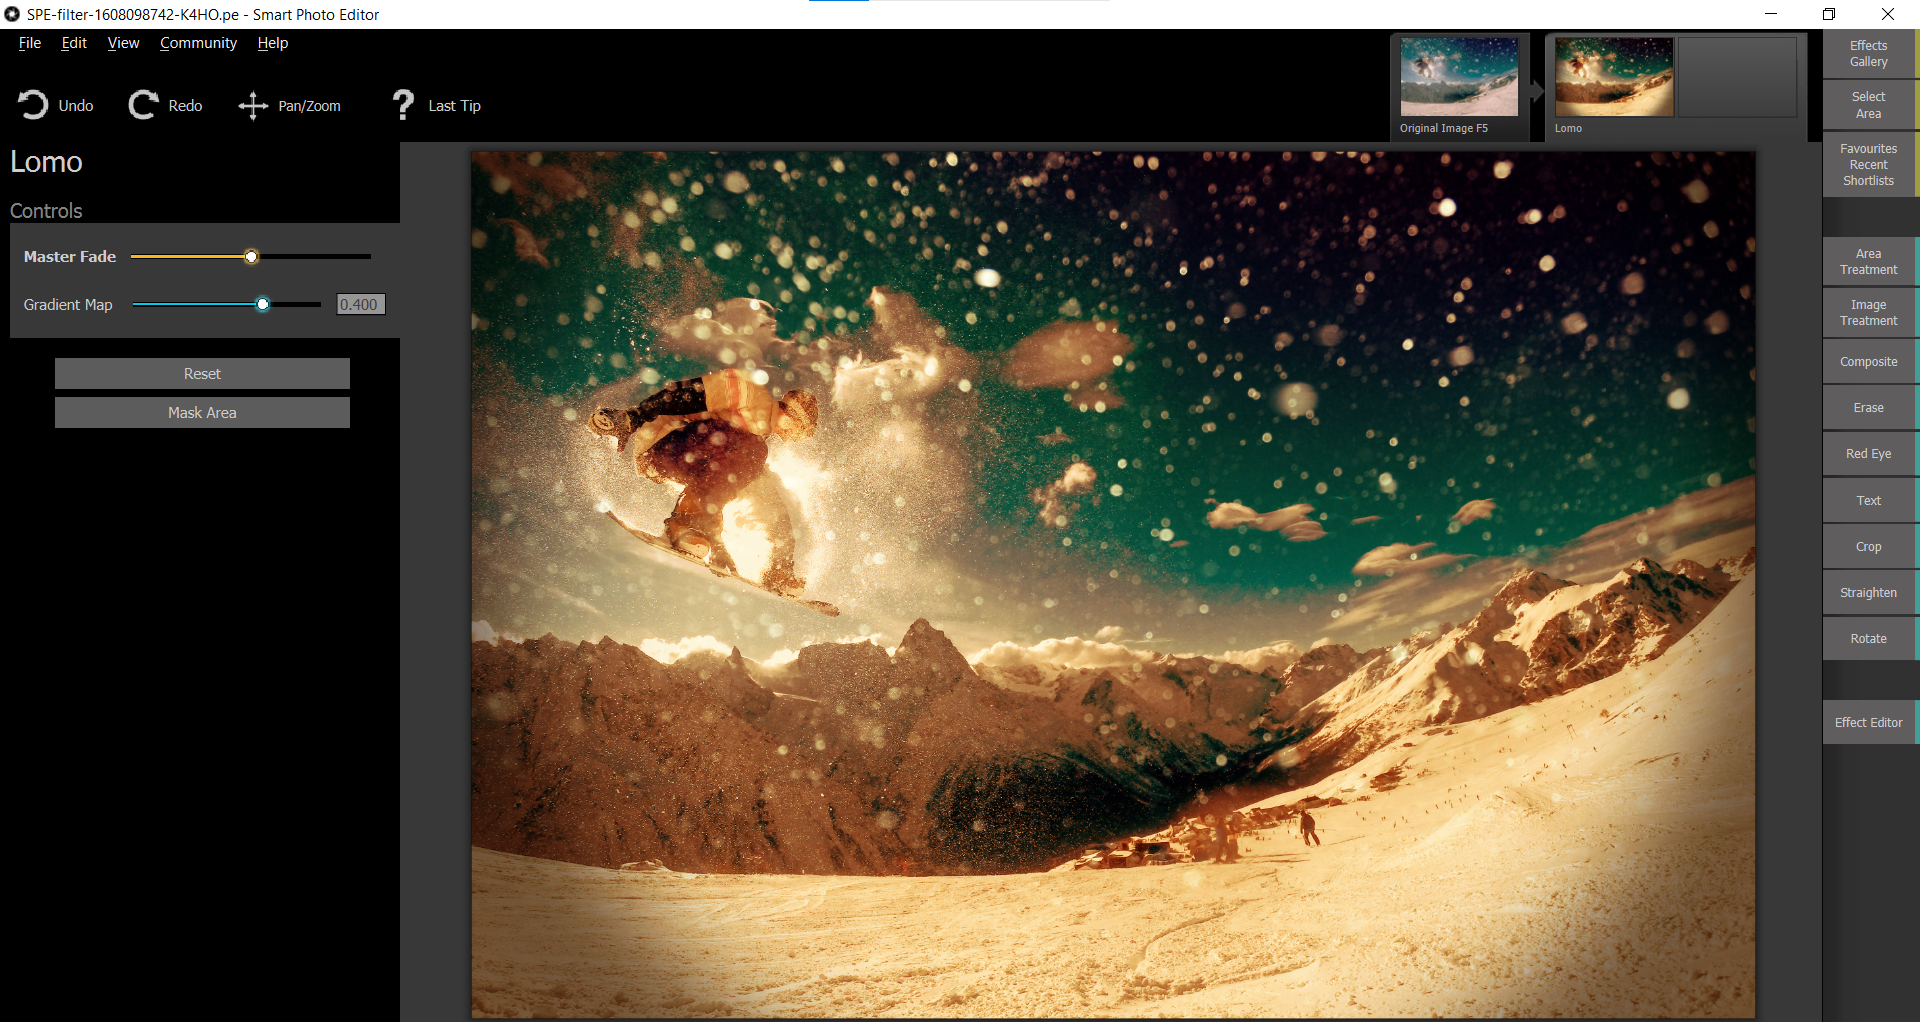
There will be times when you’ll want to mask out certain areas of an effect. Making use of the same image as before, we will add a Lomo effect to the image, and then mask it out from the sky and part of the foreground. This will give the image a more creative look while maintaining a sense of realism.
We will start off with the Lomo effect already loaded into Smart Photo Editor.
-
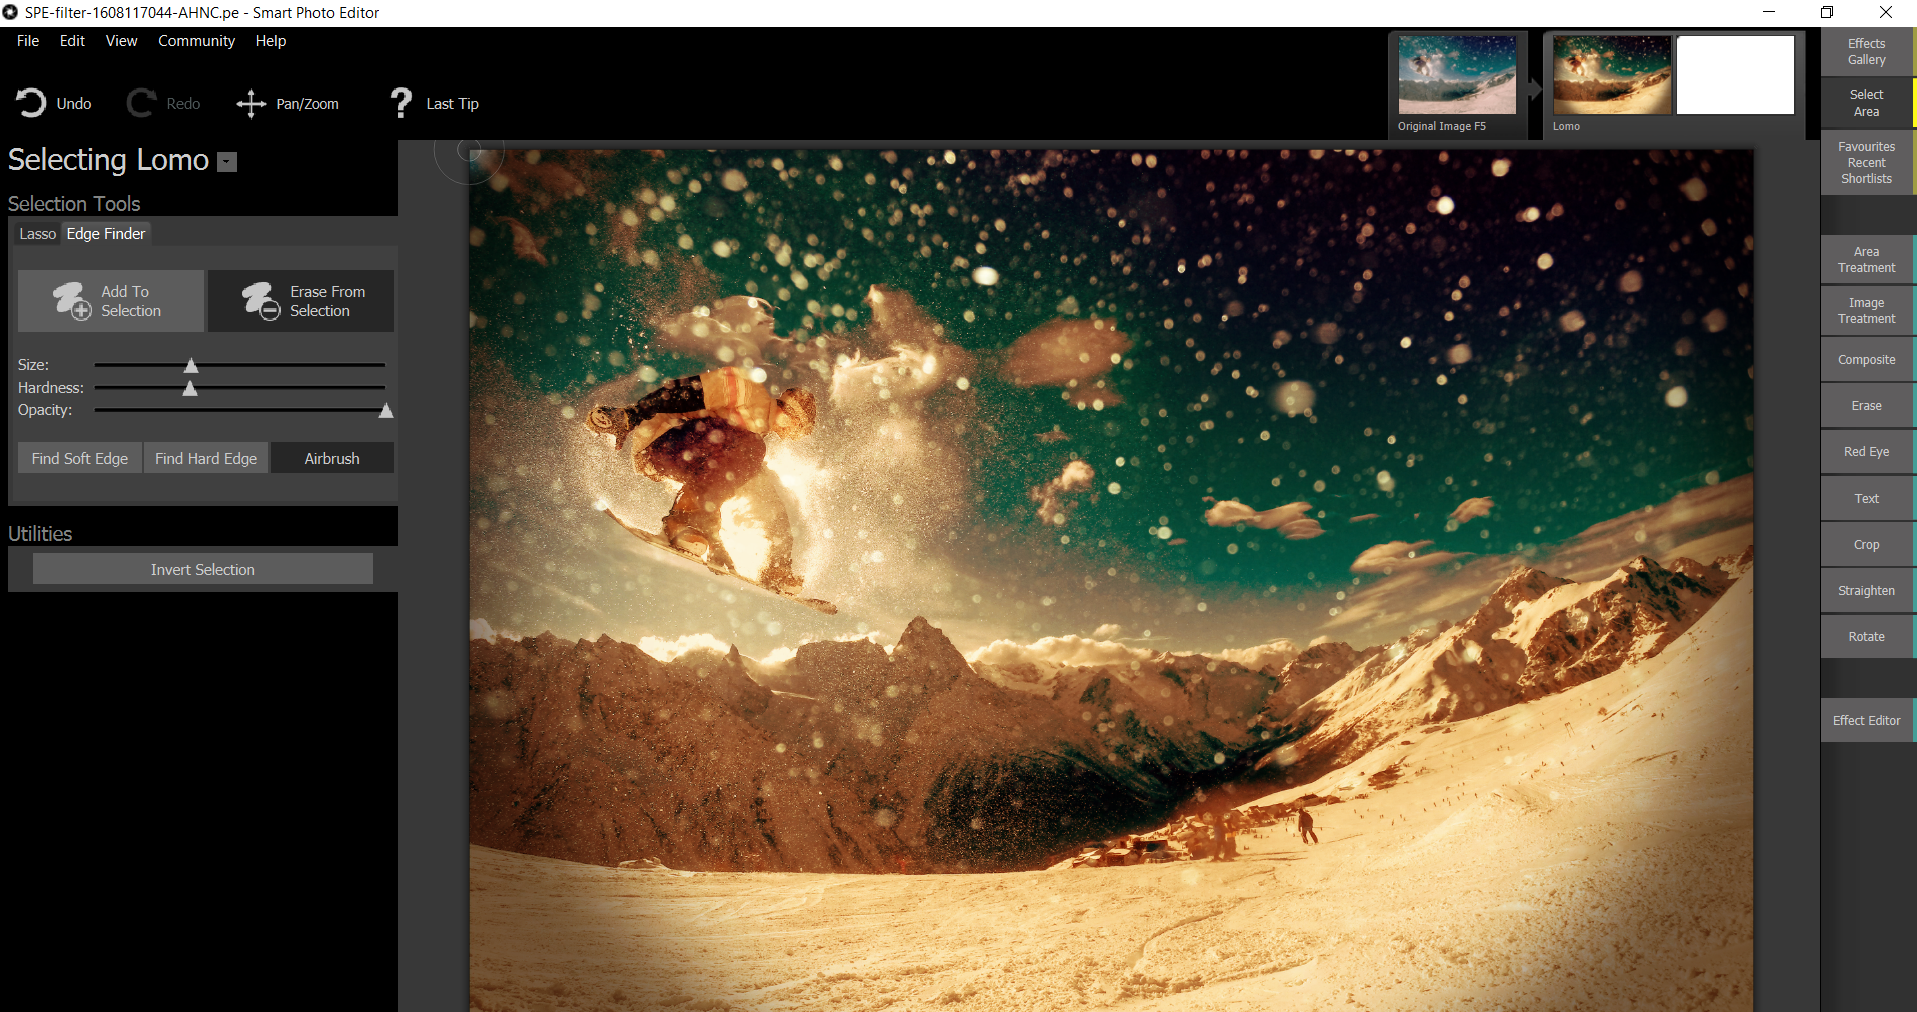
Click on Mask Area in the left-hand menu.
-
Make sure Erase From Selection is selected, and then click on Airbrush.
-
Make adjustments to the Size, Hardness, and Opacity sliders. For this example, we adjusted the Size to be slightly smaller than the vignette in the bottom corners of the image. We dialed down the Opacity to 50 percent to make for a smoother transition for our mask.
-
Paint away the Lomo effect from the snow and sky using your mouse. Increase and decrease the Size and Opacity sliders as needed to get the task done more efficiently.
-
Once finished, go to File > Save and Return. The image will be exported back into Photoshop.


If you make a mistake in masking or during any action, remember to press Ctrl + Z to undo. Once back in Photoshop, your image can be saved or you may choose to continue editing.
There are other plugins that can be used now, or you may elect to use Photoshop tools, like the Camera Raw Filter, to enhance your image further.
It’s All About Stacking Effects and Selective Masking
Using Photoshop plugins, like Anthropics Smart Photo Editor, is a great way to add creative touches to your images. You can use one or multiple effects alongside selective masking to fine-tune your images just the way you like.
Image Credit: Walker Fenton/Unsplash