
In March 2021, Adobe launched Adobe Camera Raw v13.2, which added a host of new features. The headline feature being Super Resolution, a new tool that can scale images up without compromising on quality.
In this article, we'll explain what Super Resolution is, how it works, and how to use it to upscale your images.
What Is Super Resolution for Adobe Camera Raw?
Adobe Super Resolution is an extension of a previous Camera Raw addition: Enhance Details, now going by Raw Details.
Super Resolution is a tool used to scale images up without compromising on clarity or quality, resulting in a final canvas that is twice the length and height of the original. Not only does this tool sharpen detail---it also increases the resolution of the photo objectively.
Possible applications include preparing images for print, restoring otherwise irrecoverable archival material to its former glory, giving the documentarian greater freedom to perform Ken Burns-style pans and scans in a video context, as well as plain old fixing-it-in-post sorts of tasks, such as when one needs to remove motion blur or off-putting lens artifacts.
How to Use Super Resolution to Upscale Images
Ready to try this feature out? Here's how to use Super Resolution in Adobe Camera Raw:
-
Pull your RAW CR2 files into Photoshop and allow Adobe Camera Raw to launch in-program.
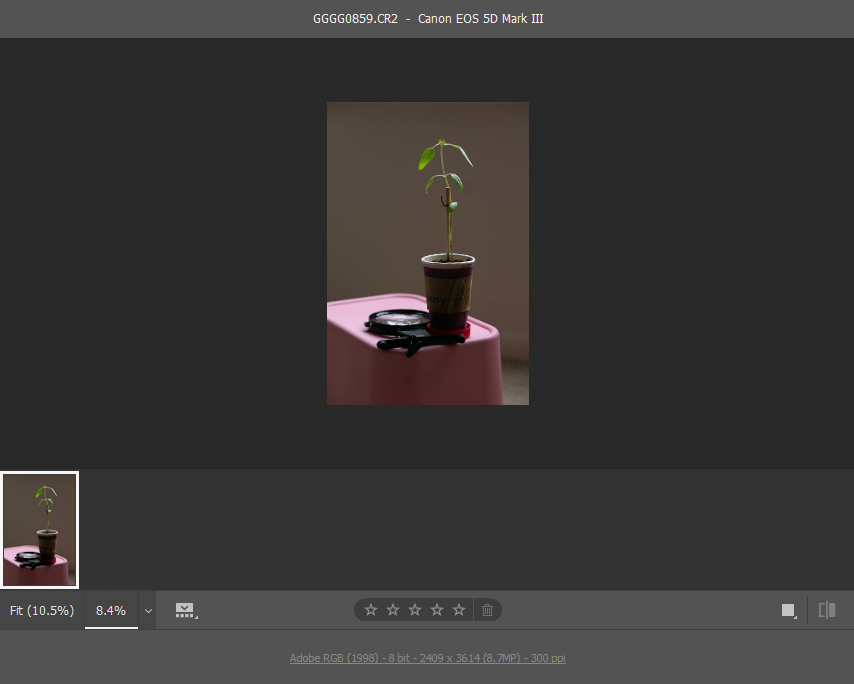
-
Right-click on your image of choice and select Enhance from the context menu.
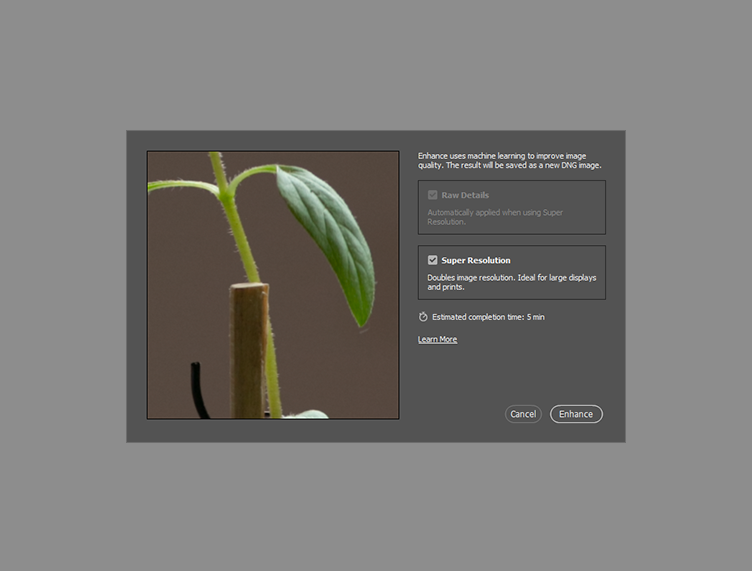
No attribution required - Personal photo/Screenshot - In the Enhance Preview dialog box, check the box labeled Super Resolution.
- Seal the deal by hitting the Enhance button at the bottom of the window. Out pops a DNG of your original photo, overblown to titanic new proportions.


A few things to take note of: this process can only be applied to the original .CR2, meaning that a photo previously Super Resolved cannot undergo the same process again; if you wish to adjust what has been done, you will need to start at square one and enhance its progenitor, just like before.
You can apply previously-selected settings quickly by holding down the Option button on a Mac or the Alt key on a PC when you click Enhance in the context menu. Selecting multiple photos at once will convert all of them in one fell swoop.
How Does ACR's Super Resolution Feature Work?
The sensor of the camera consists of a matrix of photosensitive "pixels" that take on value when exposed to light. After the "click," what results is a "mosaic" of red, green, and blue values in varying ratios; this is called a Bayer pattern.

Expressing these values outright as your final photo would result in a very harsh and unnatural-looking scene.
Translating the Image
Demosaicing, or deBayering, is the protocol that translates these acquired values into a digital image to behold.
Those already in the game should recall the way that a JPEG comes into being from a PSD file; the layers are "baked in" together, the color profile alchemizes, and the alpha channels are converted to flat white, locking the image and preventing inter-layer activity therein.

RAW camera files, .CR2s and the like, are much like PSD documents in this way. They come with metadata that allows you to delve more deeply into the dynamic range of what was captured without hitting the bottom or the top of your color gamut.
Bridging the Divide
A sophisticated demosaicing algorithm is what separates your run-of-the-mill DSLR from something truly top-of-the-line.
When the time comes for the aforementioned to be decoded by the deBayering program, these discrete points make an attempt to adjust themselves according to the values of their neighbors with varying degrees of subtlety, per manufacturer or brand.
This "mixes things up" in a way, creating variety and intrigue without directly muddling the luminant values of the image.
Putting It All Together Again
Where Adobe Super Resolution goes above and beyond is in the upscaling, seemingly pulling megapixels out of thin air. But how?
Adobe Super Resolution expands the image uniformly at the Bayer level, while still bound by Adobe Camera Raw, converting the Bayer file to what Adobe has dubbed an "X-Trans" RAW file. These two documents are analogous: the Bayer "map" of the captured image is expanded proportionally by a factor of 2.25.
When the time comes for the image to be constructed for use after being ingested into the program, the resolution increases according to our now much-larger X-Trans "Bayer" array. Any lapses in detail (such as the moire artifacts from a striped shirt or a computer screen, for example) will now be given more "room" to be deciphered comfortably for the human eye.
Is Adobe's Super Resolution Worth Using?

When all is said and done, is Super Resolution worth it? We have to admit, we kind of love everything about it.
One may ask, why not simply use a sharpener, plain and simple? When resolution is not a concern (for example, when the image is already large enough), a sharpener will certainly get the job done. When the need for more real estate on-screen is too urgent to ignore, however, Super Resolution has got your back like no other feature. It truly is the first of its kind.
Super Resolution appears to do its best work when enhancing photos with things like digital type or other minute, crisp details---all made clearer after being processed.
Large images stand to benefit when the overall clarity must accommodate for both dominant and small details simultaneously, smoothing harshness while also strengthening the integrity of areas that are blurry and less-than-distinct.
Super Resolution: A Must-Have for Photographers
If you have a large image that you plan on cropping down, this will be an invaluable safety net, freeing you to use any part that you need. The same goes for high-speed photographers, who need never lose a moment in the chase again with a disappointing shot of the big moment.