
When your video is ready for encoding, you've probably already decided where you want to share it—perhaps on your website or social media channels.
Having to open a social media platform to upload your video isn’t a hard step, but it can be bypassed using the publishing options in Adobe Media Encoder.
Here's how to use Adobe Media Encoder to easily upload your videos to some of the most popular social media platforms.
How to Upload Your Videos to Facebook
Facebook is a great platform to share your video projects with friends and the world. It is important to note Adobe Media Encoder direct publishing only works for Facebook Pages, and will not work for your personal account.
To set up automatic uploading to Facebook in Adobe Media Encoder, you will need your project file and Facebook credentials, as you will need to authorize Media Encoder to access your account. Once you have your project ready for encoding, follow these easy steps:
- Load your project into the Media Encoder queue.
-
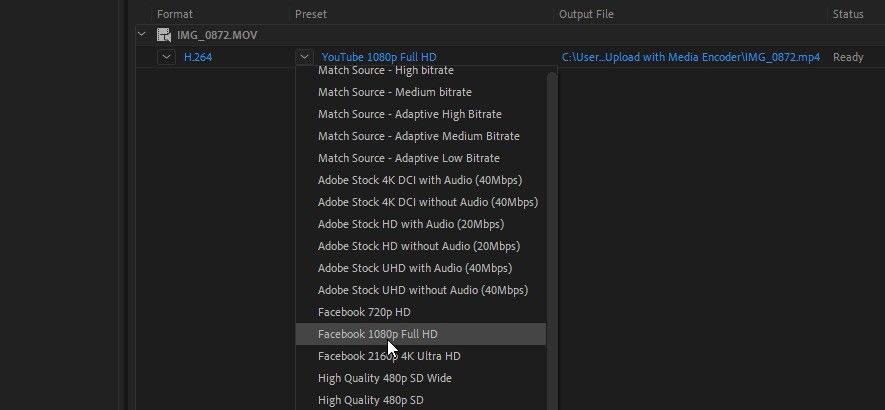
Select a Facebook Preset from the Preset dropdown list.
- Click the blue format name, and select the Publish tab.
-
Select the Facebook checkbox.
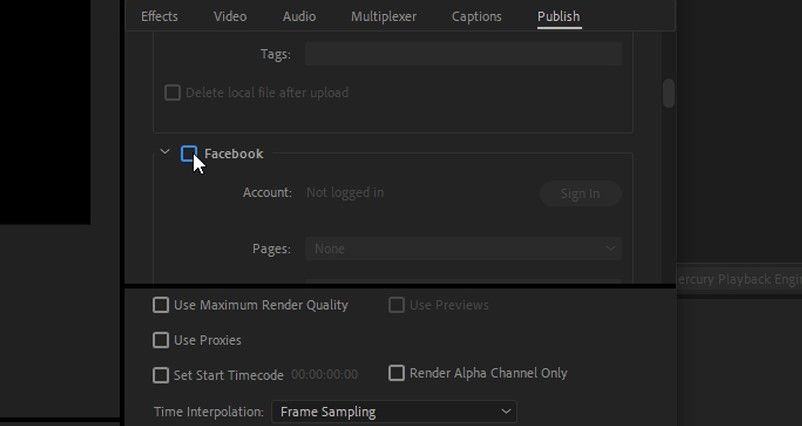
- You will now need to give Media Encoder permission to access your Facebook account by clicking the Sign In button.
-
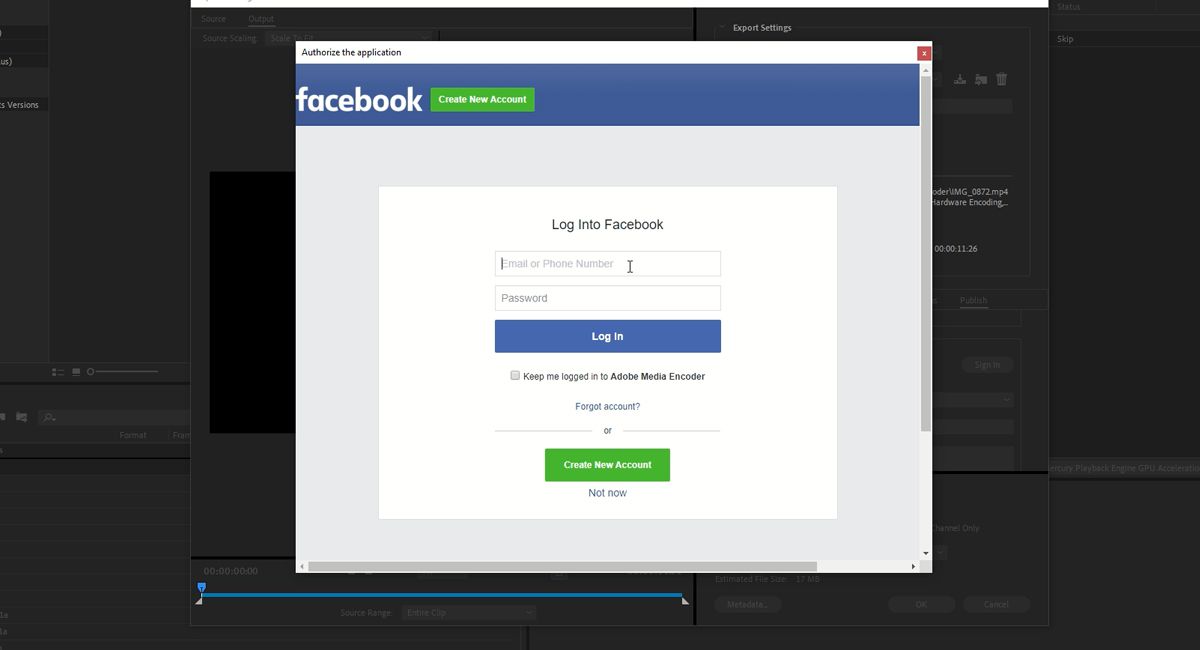
Sign in with your Facebook account in the next window.
- If you have two-factor authentication set up on your Facebook account, you will be prompted to enter a six-digit login code.
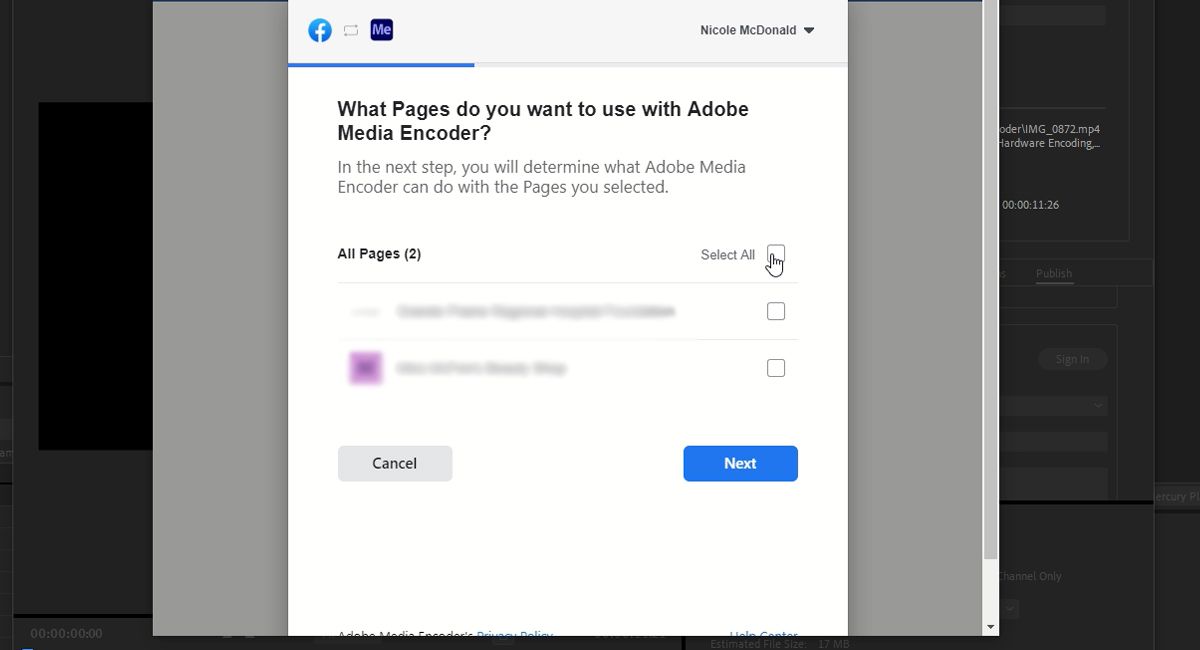
- Once authorized, select which account (if you have multiple accounts) you wish to connect to Adobe Media Encoder.
-
If you have several Facebook pages you manage, you can select the page you want Media Encoder to upload to.
-
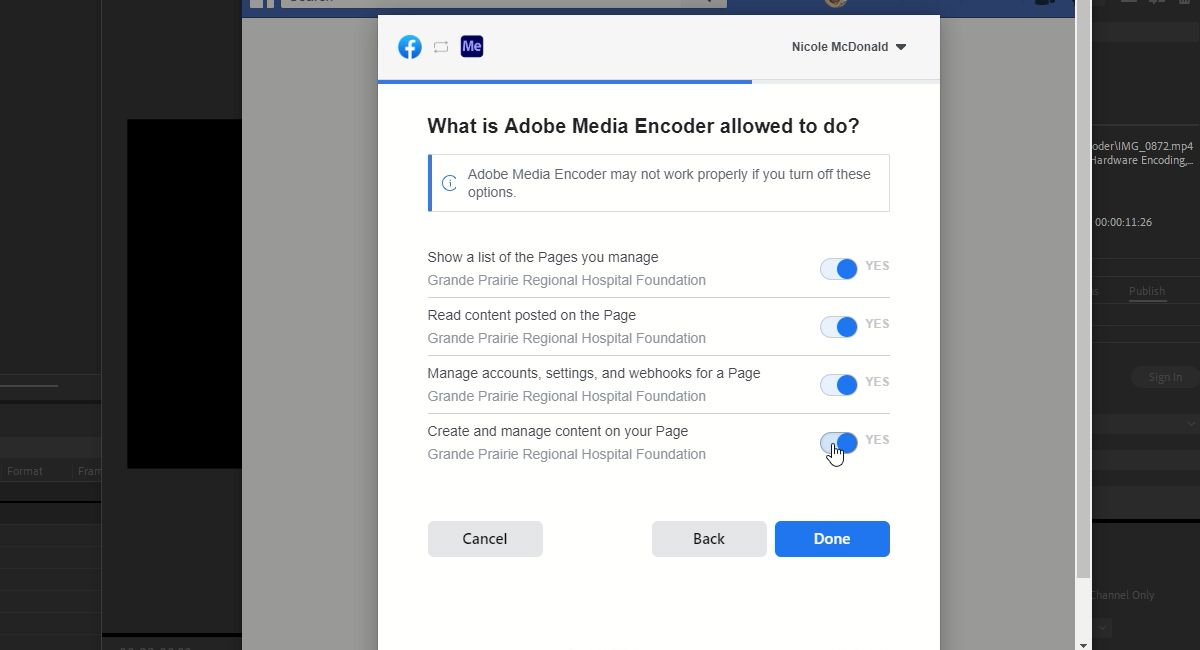
Select Next, and choose the Create and manage content on your Page option. Select Done.
-
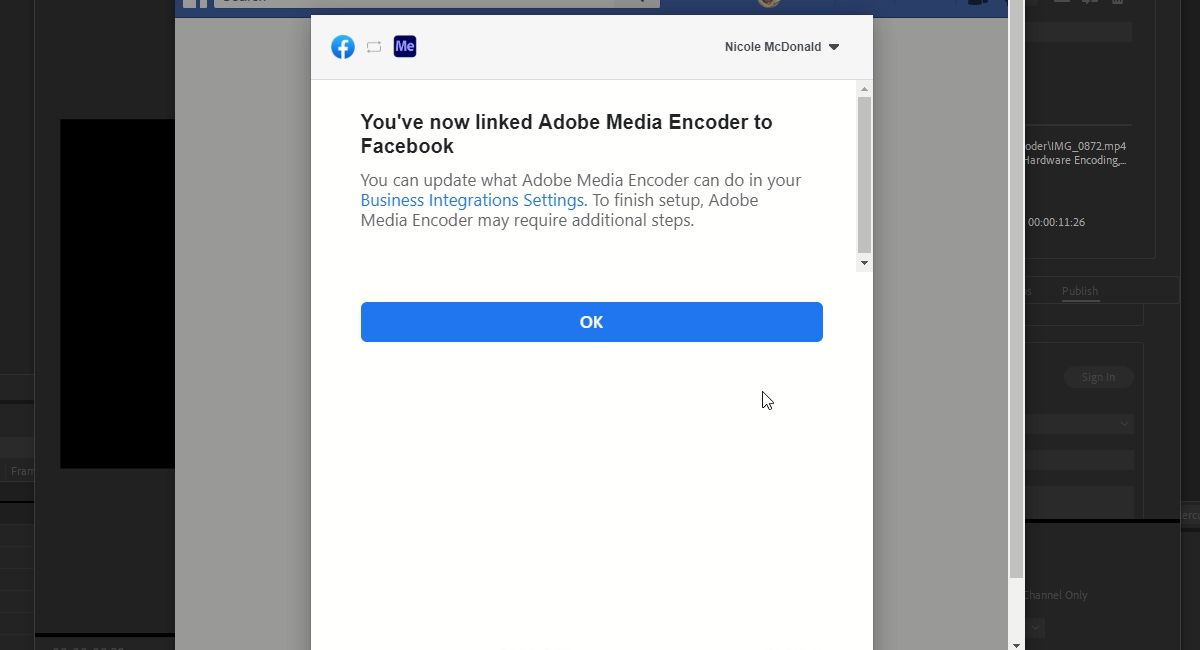
You will receive a popup notification once your Facebook account is linked to Adobe Media Encoder. Select OK.
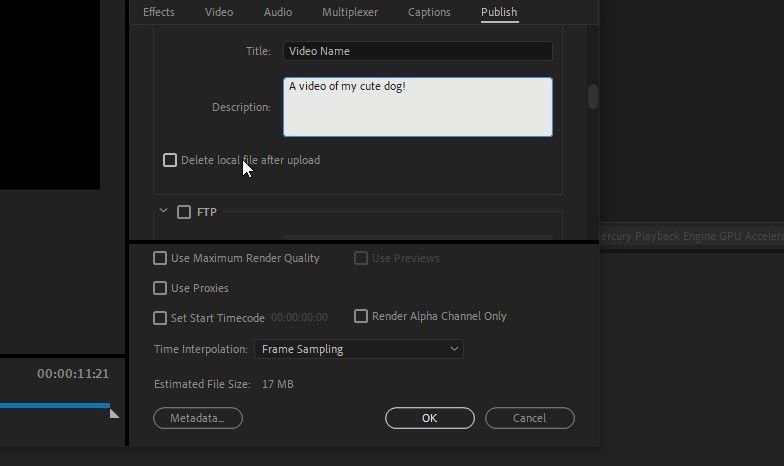
- In the Media Encoder Export Settings window, enter your project's title and description as you wish it to appear on Facebook.
- Should you wish to save room on your hard drive, you can select Delete local file after upload.
-
Select OK to save your export settings.
- When ready, you can select the green Export button to encode and upload your project.


How to Upload Your Videos to Twitter
If you want to start a real-time conversation with your video, Twitter is a great platform to use. Setting up automatic uploading to Twitter in Adobe Media Encoder will save you a few extra steps in your project.
For this setup, you will need your project file and Twitter credentials, as you will need to authorize Media Encoder to access your Twitter account. Once you are ready to share your video project with the world, just follow these steps to get your message out there:
- Load your project into the Media Encoder queue.
-
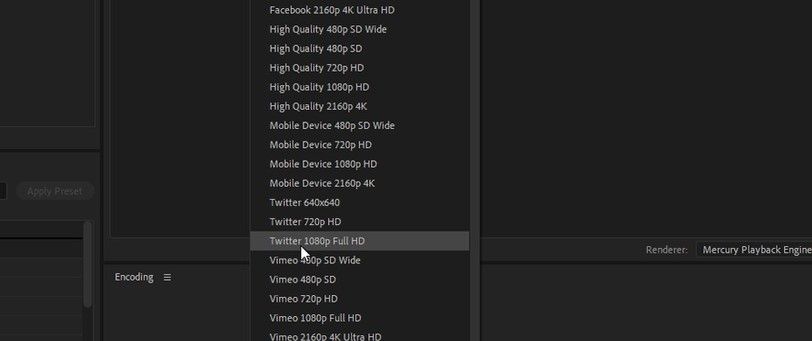
Select a Twitter Preset from the Preset dropdown list.
- Click the blue format name.
-
Click the Publish tab, and select the Twitter checkbox.
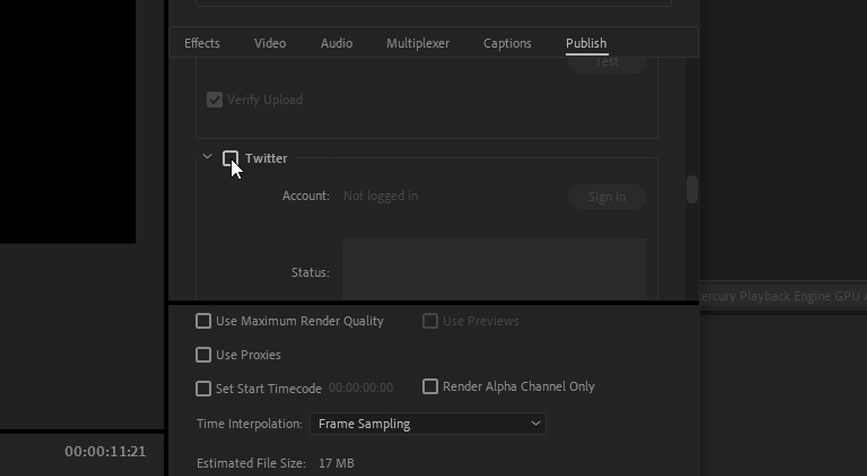
- You will now need to give Media Encoder permission to access your Twitter account by clicking the Sign In button.
-
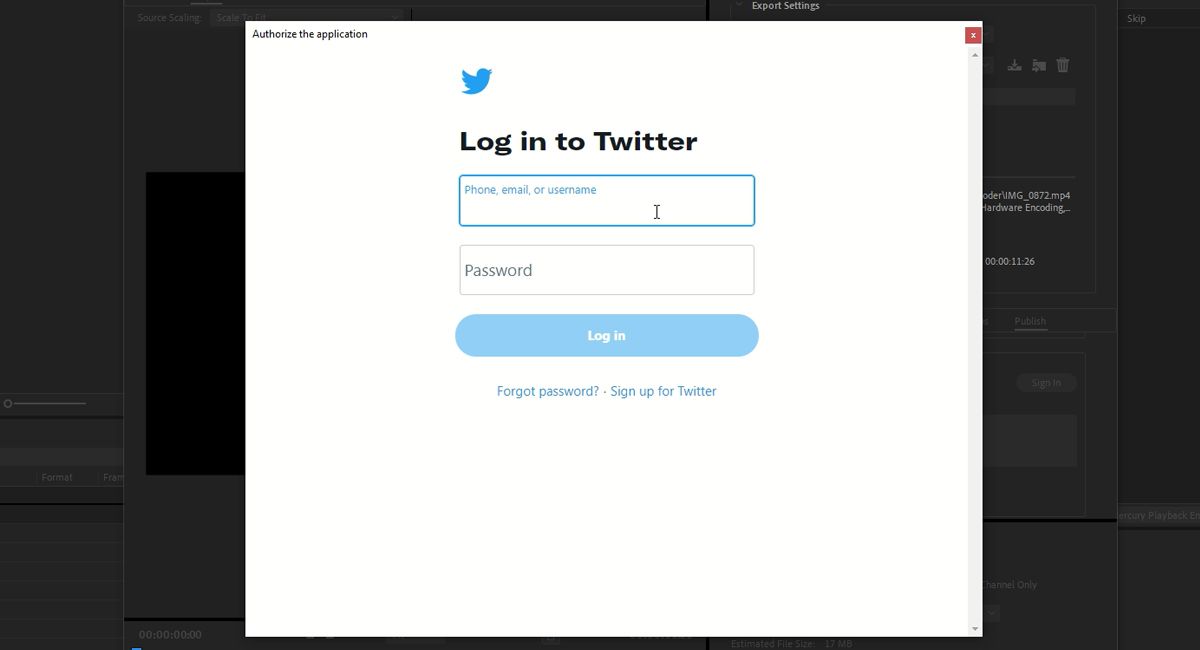
Sign in with your Twitter account in the next window.
-
Select Authorize app in the following popup window to give Media Encoder access to your account.
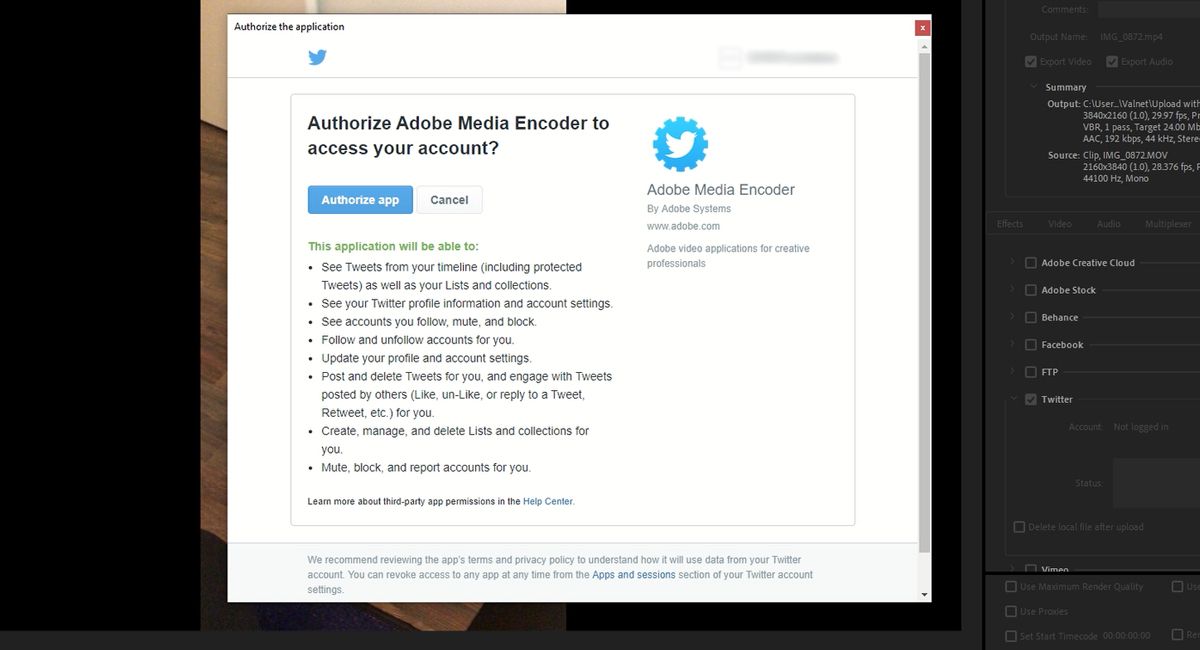
- Select Done.
-
In the Media Encoder Export Settings window, enter the status you wish to post your video with.
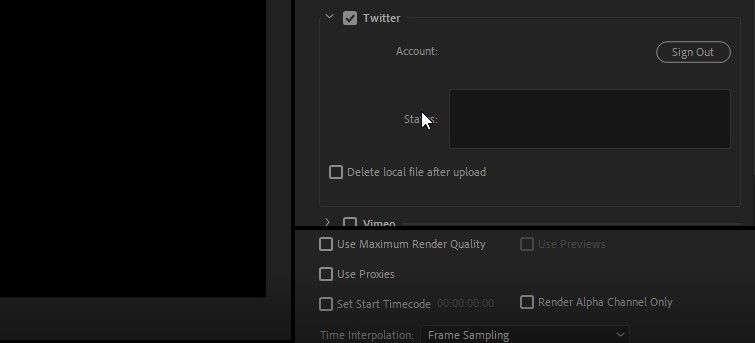
- Should you wish to save room on your hard drive, you can select Delete local file after upload.
- Select OK to save your export settings.
- When ready, you can select the green Export button to encode and upload your project.


How to Upload Your Videos to YouTube
With YouTube’s large audience and impressive usage statistics, it’s a great platform to share your videos. It is easy to set Media Encoder to automatically upload your projects by following these steps:
- Load your project into the Media Encoder queue.
-
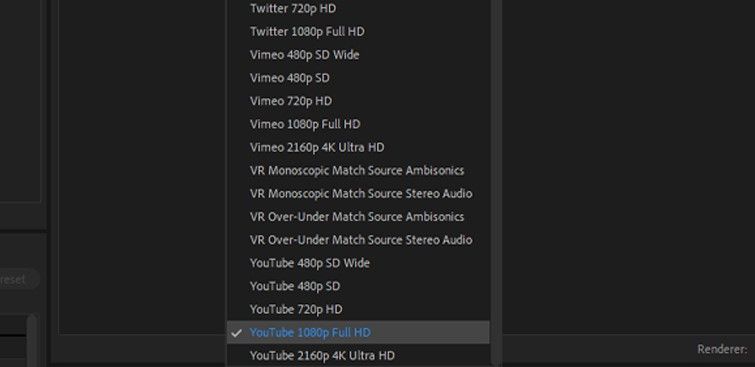
Select a YouTube Preset from the Preset dropdown list.
- Click the blue format name.
-
Select the Publish tab, and choose the YouTube checkbox.
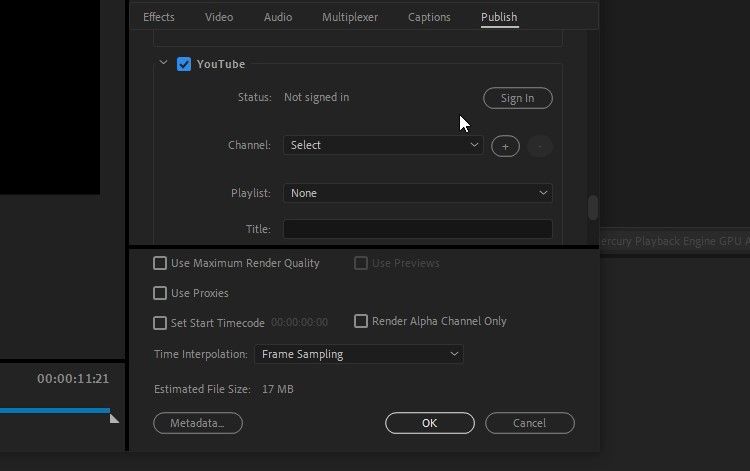
- You will now need to give Media Encoder permission to access your YouTube account by clicking the Sign In button.
-
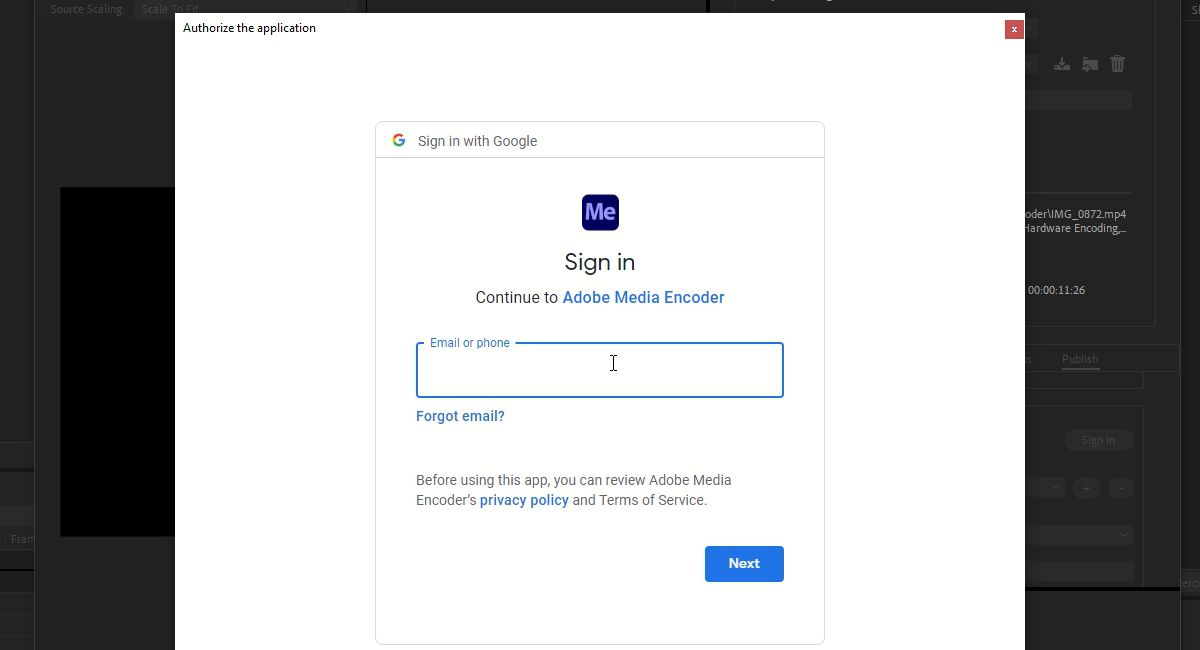
Sign in with your YouTube account in the next window.
- Select Done.
-
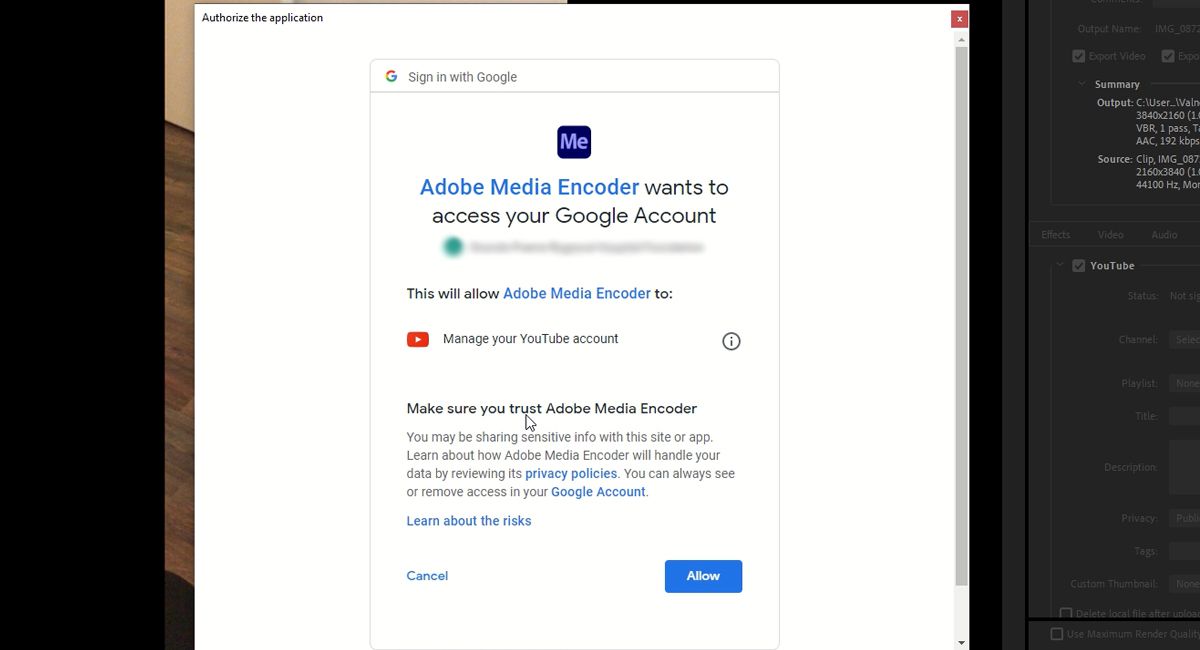
Select Allow in the following permissions window.
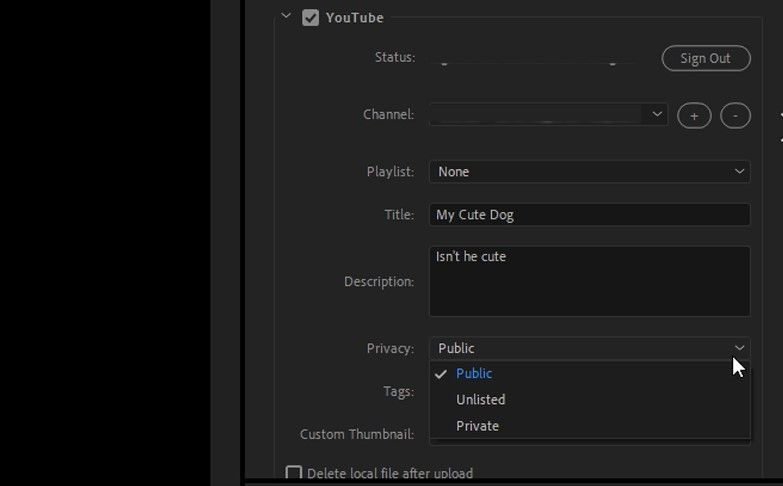
- In the Media Encoder Export Settings window, select which of your YouTube channels and playlists you wish to upload your video to.
- Enter the title and description for your video.
-
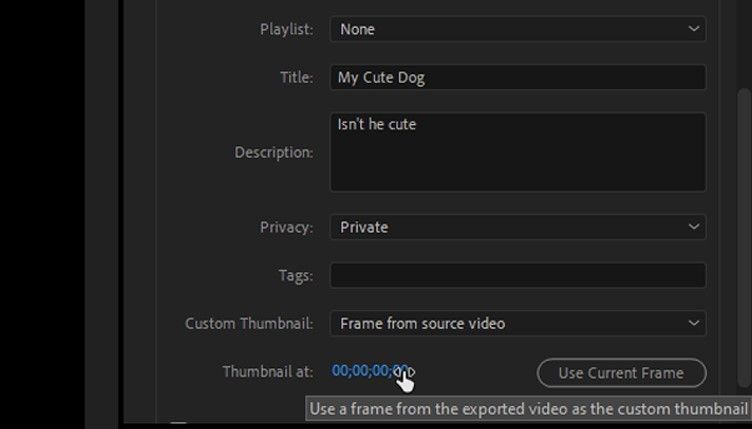
Select the Privacy level you wish to set, and enter any Tags you wish to use.
-
Select a Custom Thumbnail from the source video, or you can upload one you've already created.
- To save room on your hard drive, you can select Delete local file after upload.
- Select OK to save your export settings.
- When ready, you can select the green Export button to encode and upload your project.


How to Upload Your Videos to Vimeo
Although YouTube is the top platform for video hosting and sharing, Vimeo does offer some advantages for video producers, including better encoding and video quality. To upload your projects directly to Vimeo, follow these simple steps:
- Load your project into the Media Encoder queue.
-
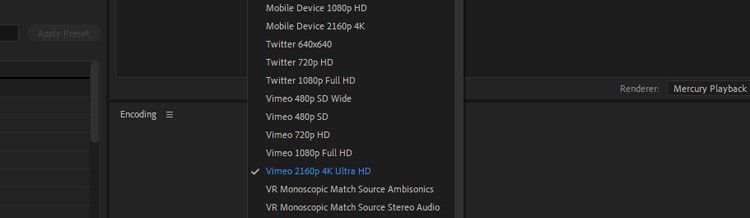
Select a Vimeo Preset from the Preset dropdown list.
- Click the blue format name.
-
Select the Publish tab, and choose the Vimeo checkbox.
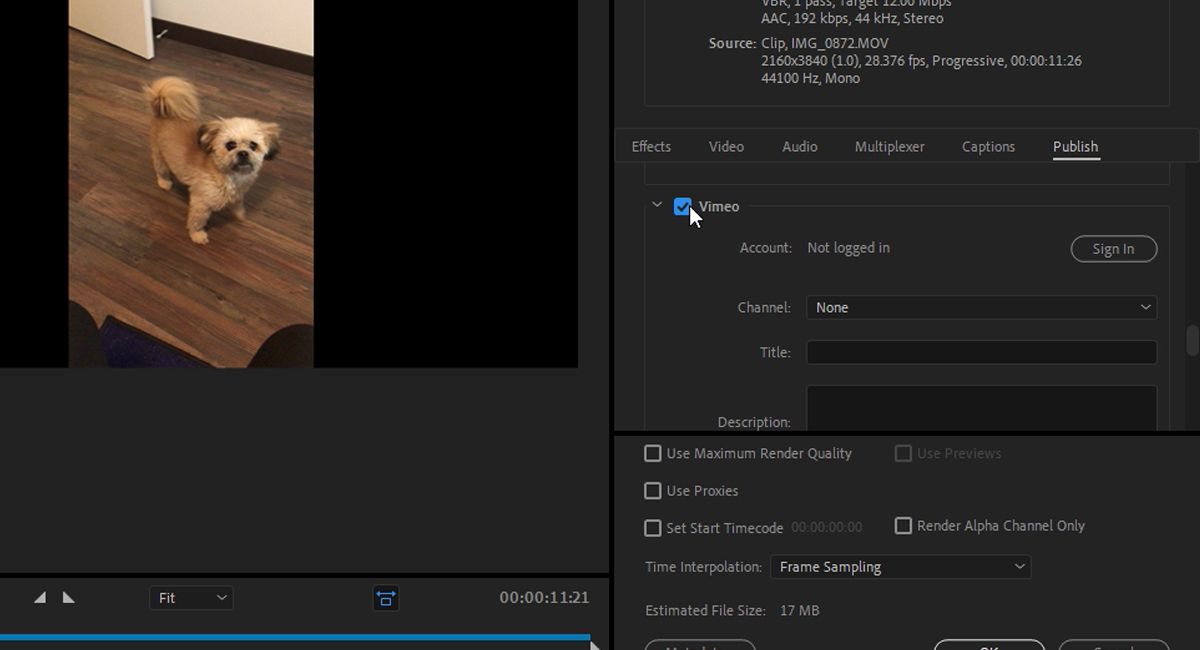
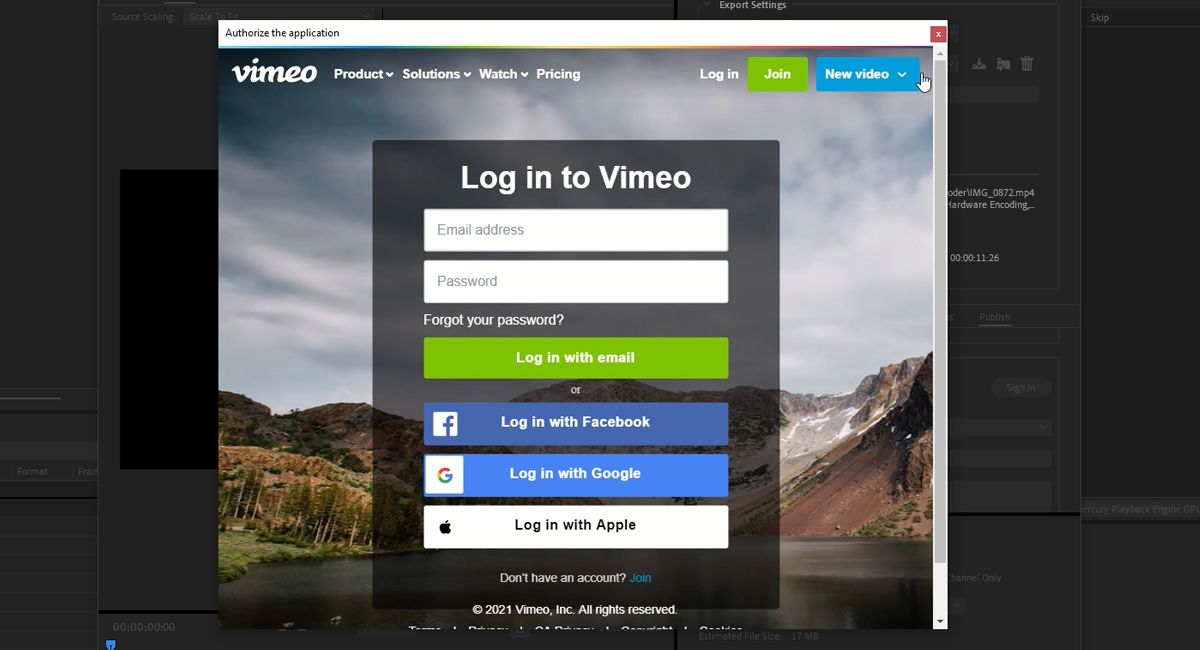
- You will now need to give Media Encoder permission to access your Vimeo account by clicking the Sign In button.
-
Sign in with your Vimeo account in the next window.
- Select Done.
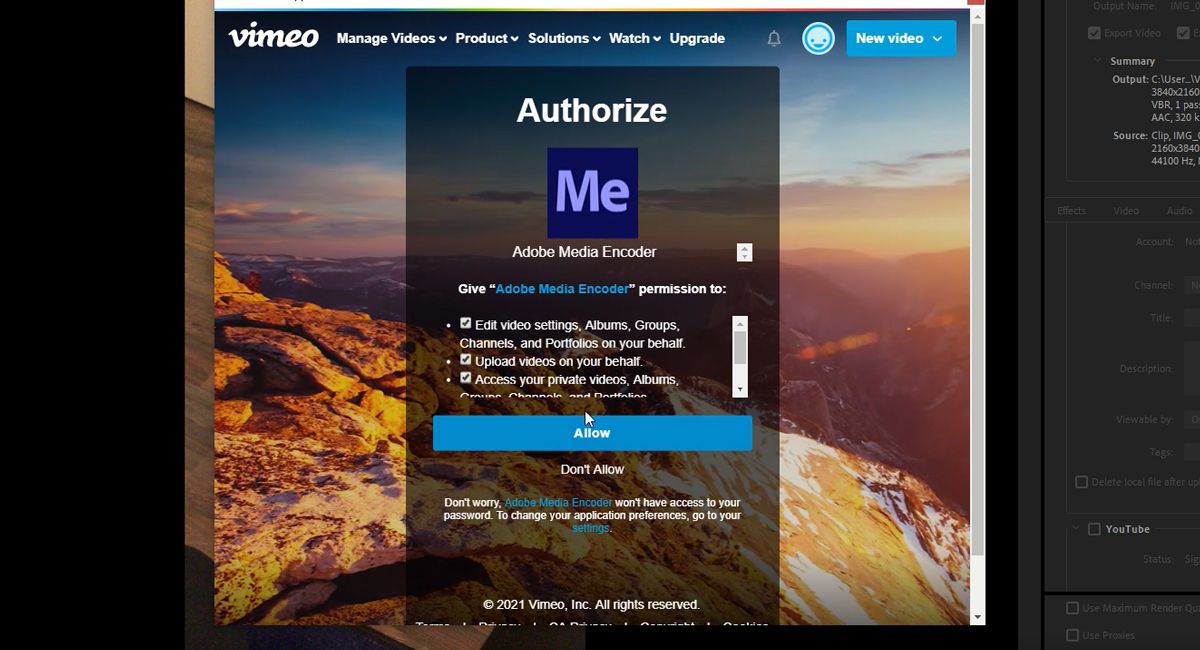
-
Select your preferred permission levels in the following popup window.
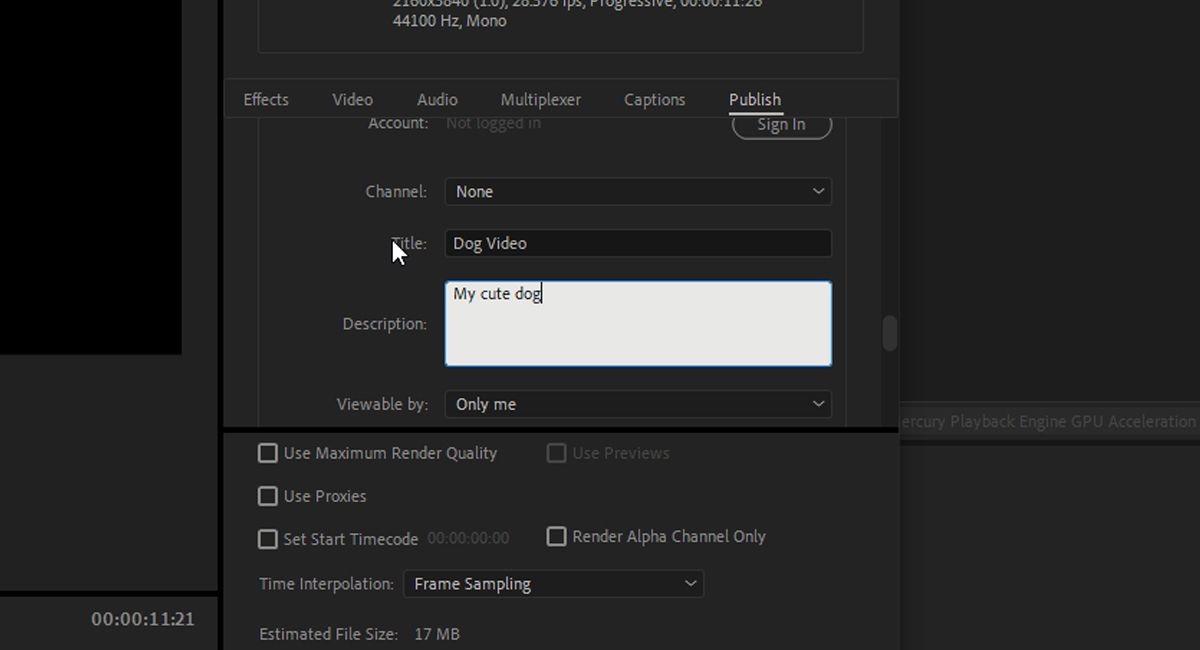
- In the Media Encoder Export Settings window, select which of your Vimeo channels you wish to upload your video to.
- Enter your video's title and description.
-
Select who your project will be Viewable by, and enter any Tags you wish to use.
- To save room on your hard drive, you can select Delete local file after upload.
- Select OK to save your export settings.
- When ready, you can select the green Export button to encode and upload your project.


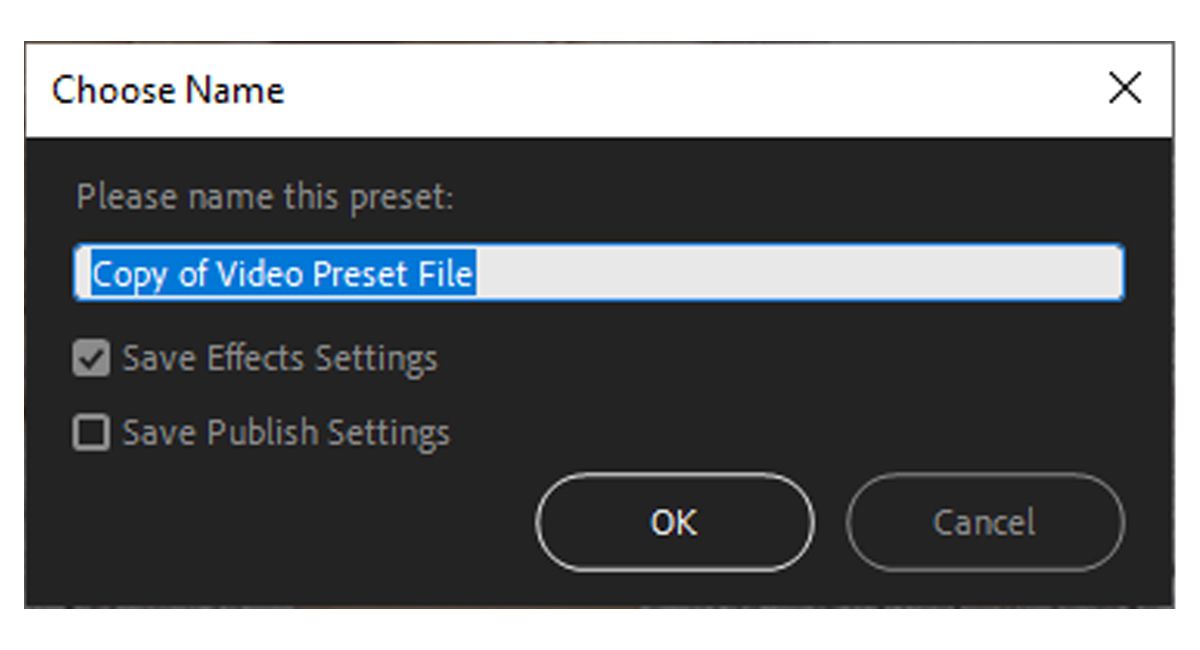
How to Save Your Preset
If these settings are ones you want to use over and over again, you can easily save them as a Preset using the following steps:
-
Select the Save Preset icon found next to the Preset dropdown list.
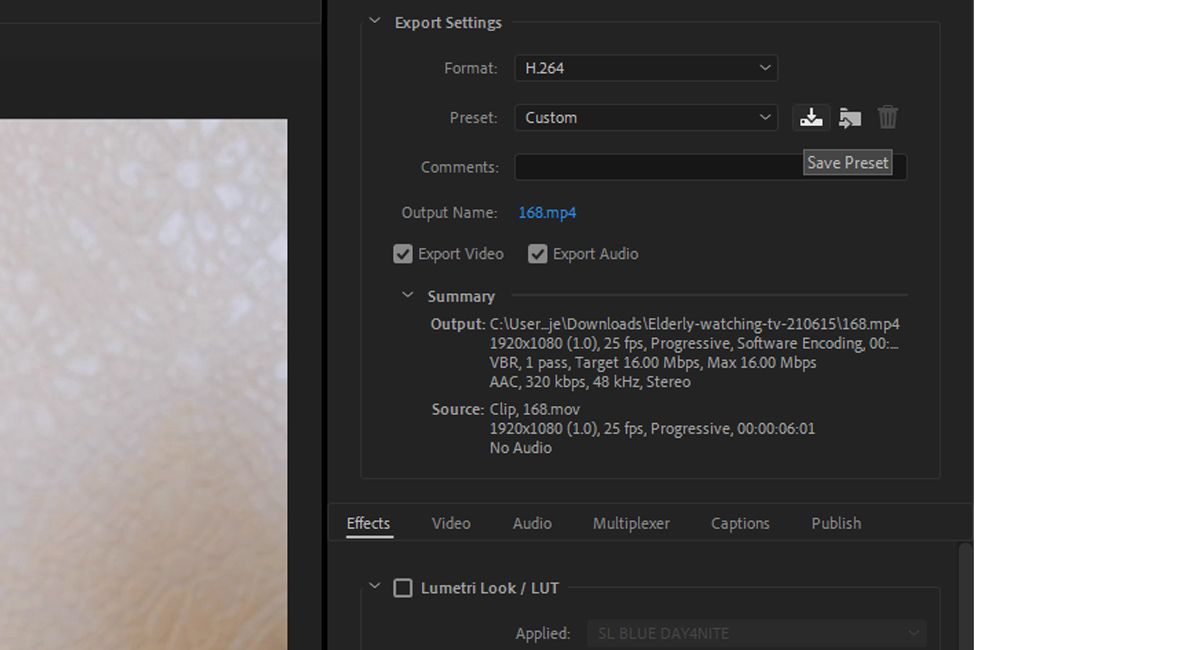
- Name your preset.
-
Ensure the Save Effects Settings checkbox is selected. Select OK when finished.


Getting Your Project Encoded and Uploaded
Adobe Creative Suite is built so that all the apps in the suite integrate and work well together. Media Encoder is one of the best examples of Adobe’s app integration working seamlessly with apps like Premier Pro and After Effects.
Taking full advantage of these integrations is something to learn more about, particularly if you are looking to save time in your production process.