Pet owners know how difficult it can be to control all the elements of an image when taking pictures of their pets. On one hand, pets can be moody and unpredictable, and responding to their spontaneous poses and playtime antics can often require us to photograph them quickly and in less-than-ideal situations.
In this tutorial, we will work around the idea of subject isolation. Because it’s often impossible to dictate what’s in the backgrounds of our pet photos, we will take this out of the equation right from the start.
We'll focus on removing backgrounds, and then make additional edits to turn our pet photos into works of art in Photoshop. Let’s get started!
How to Create a PNG File of Your Pet
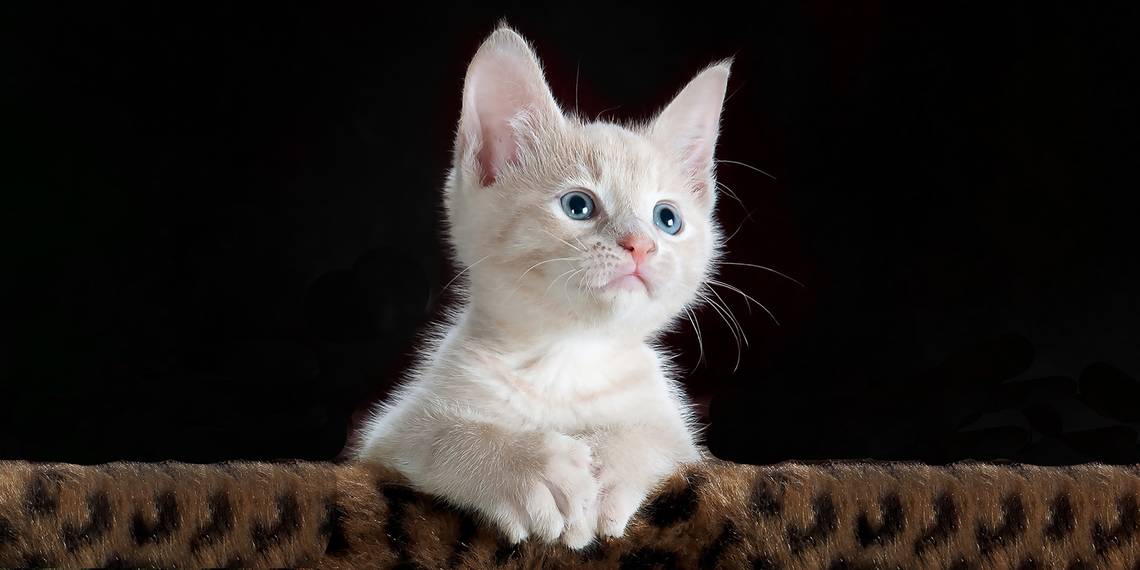
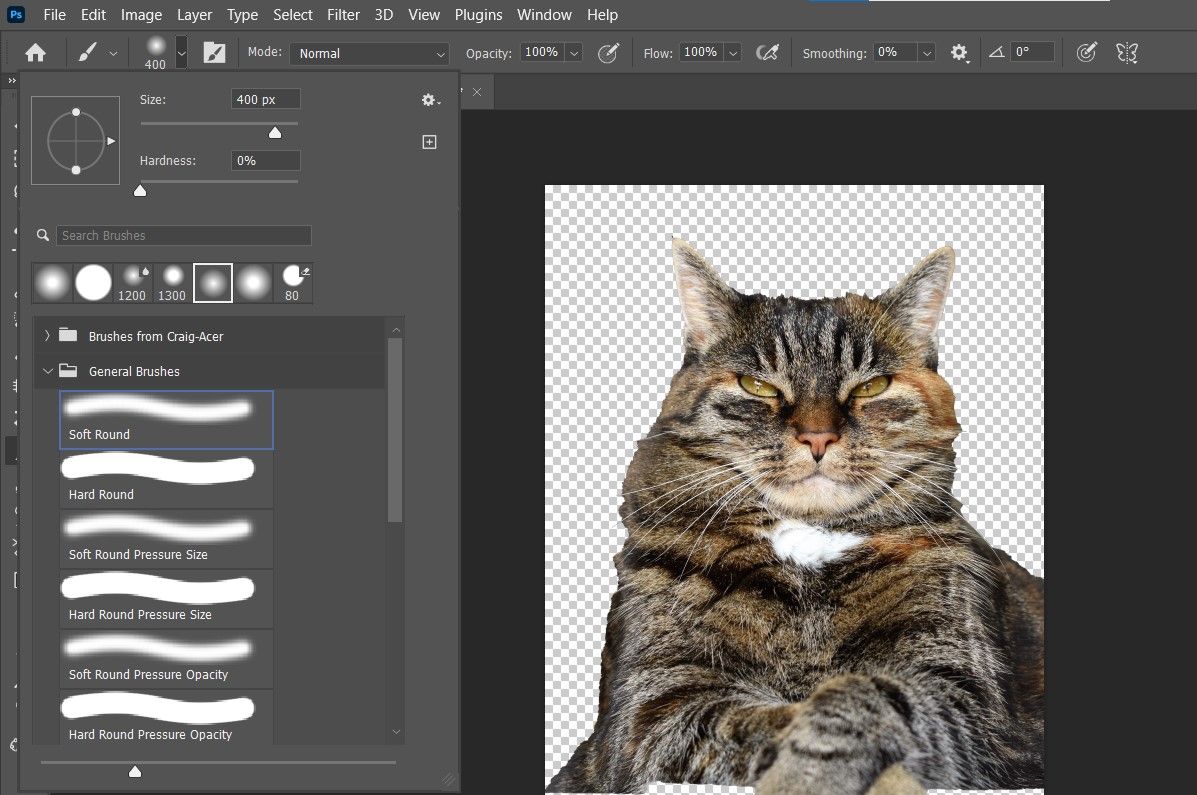
The purpose of a PNG file is to create a transparency of an image that you can use for a variety of purposes (website, social media, photo composites, etc.). For our first tutorial, we will remove the background and create a PNG file of this cat.
While creating a PNG file isn’t always the end goal, removing the background from your images to create artistic renditions of your pet is a basic skill to master. Plus, it will serve as a starting point for many other editing possibilities in Photoshop. We will use several of the following techniques in the proceeding examples.
You can download this image from Pexels to follow along.
-
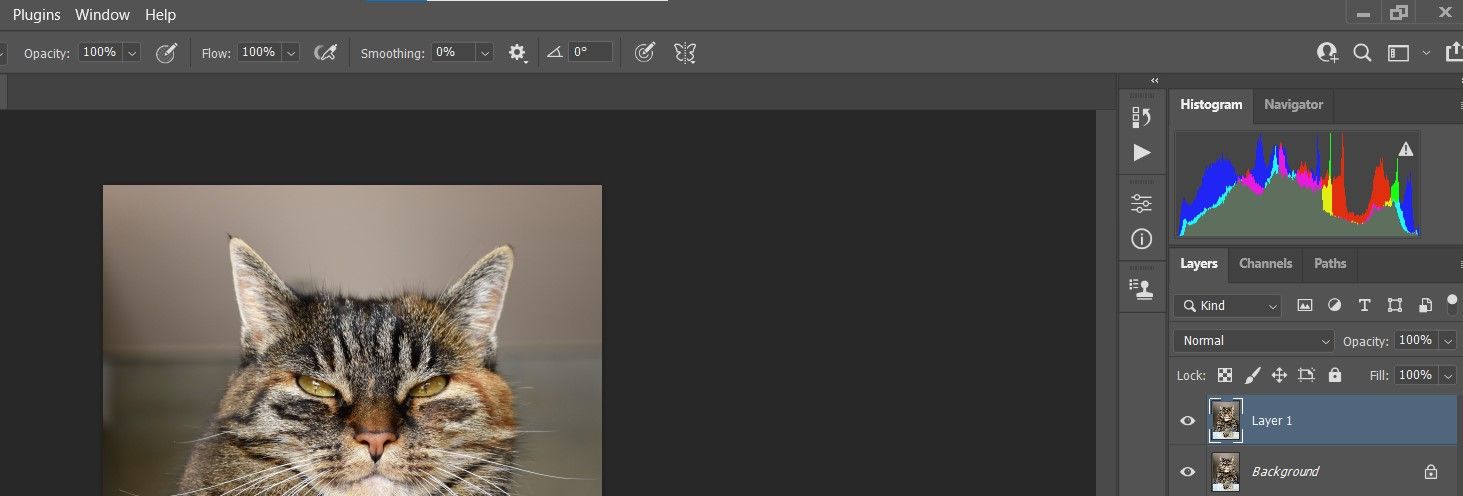
Press Ctrl + J to duplicate the layer.
-
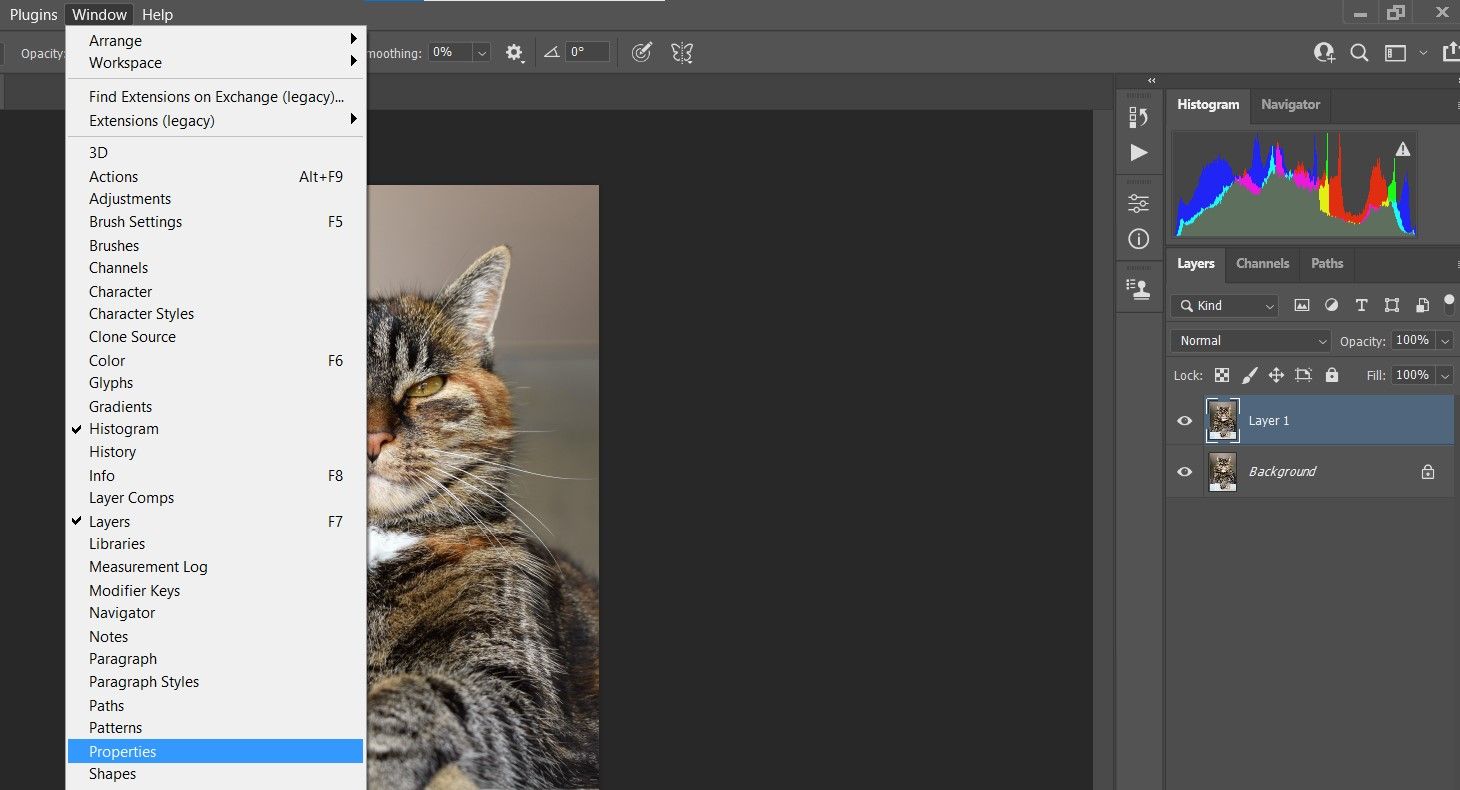
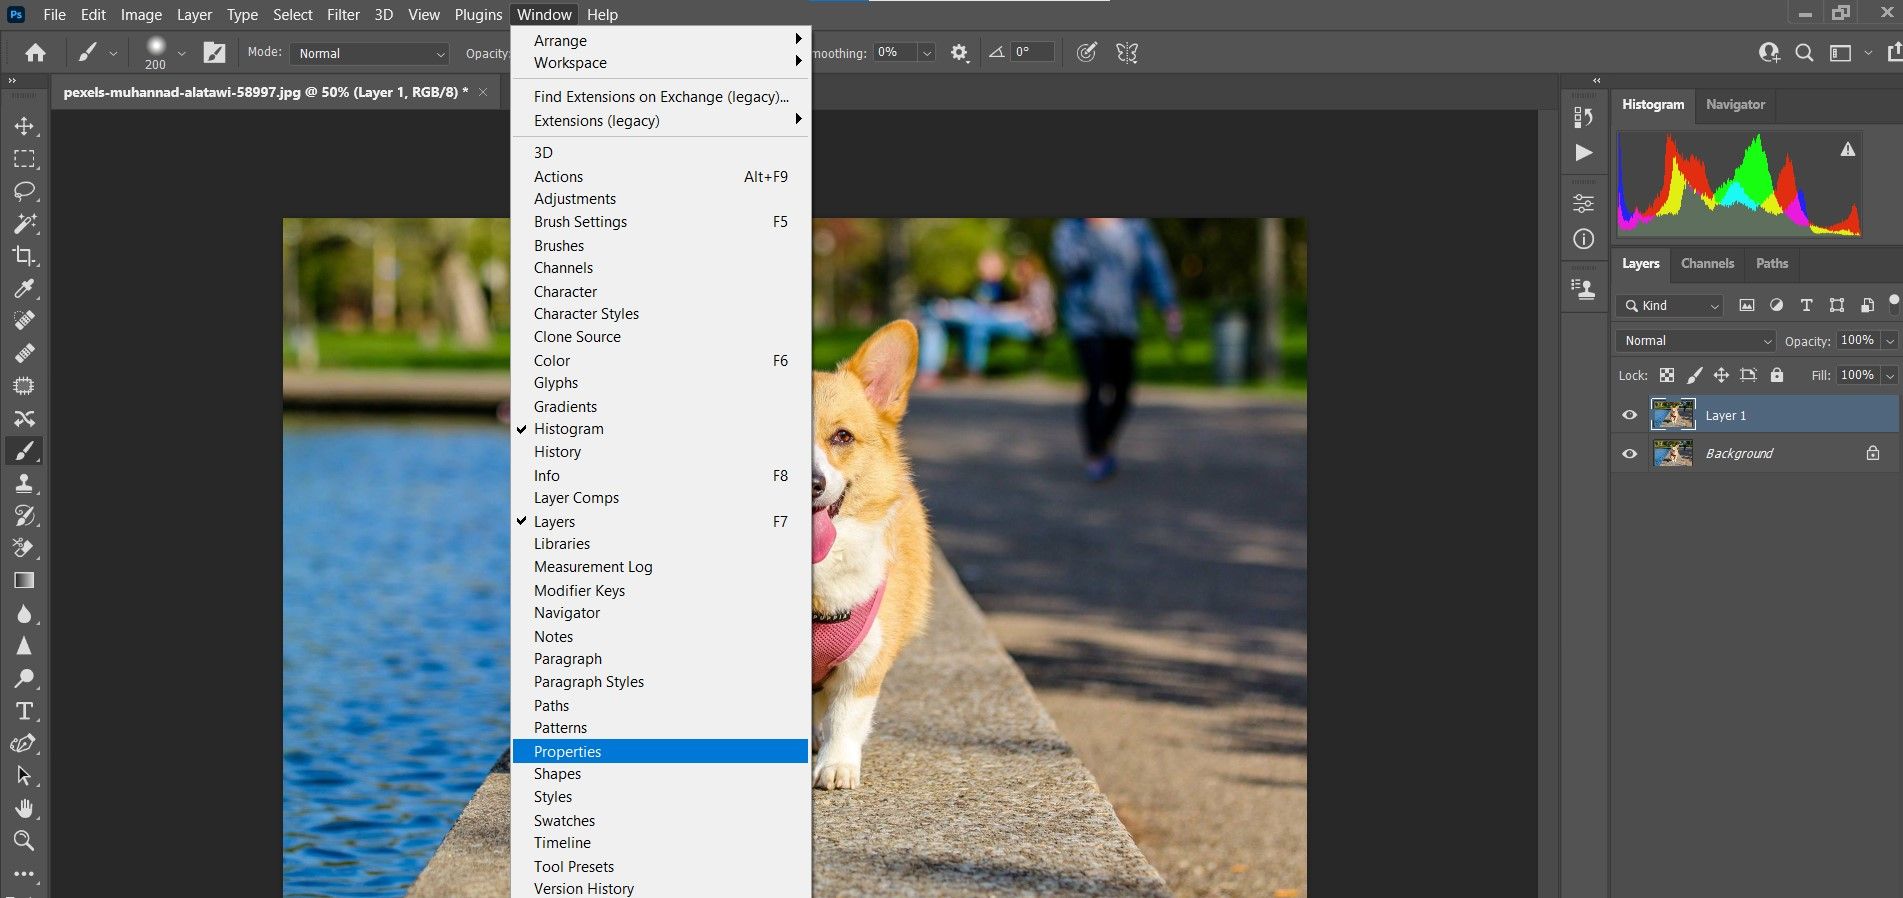
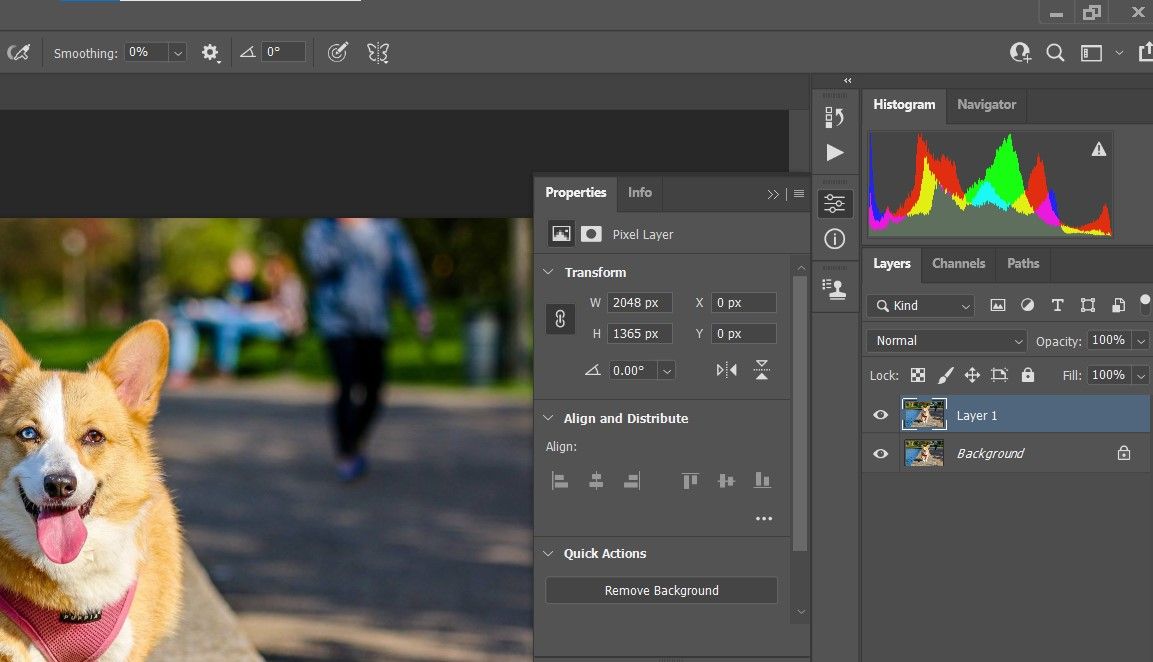
Go to Window > Properties.
-
In the Properties menu, choose Remove Background.

-
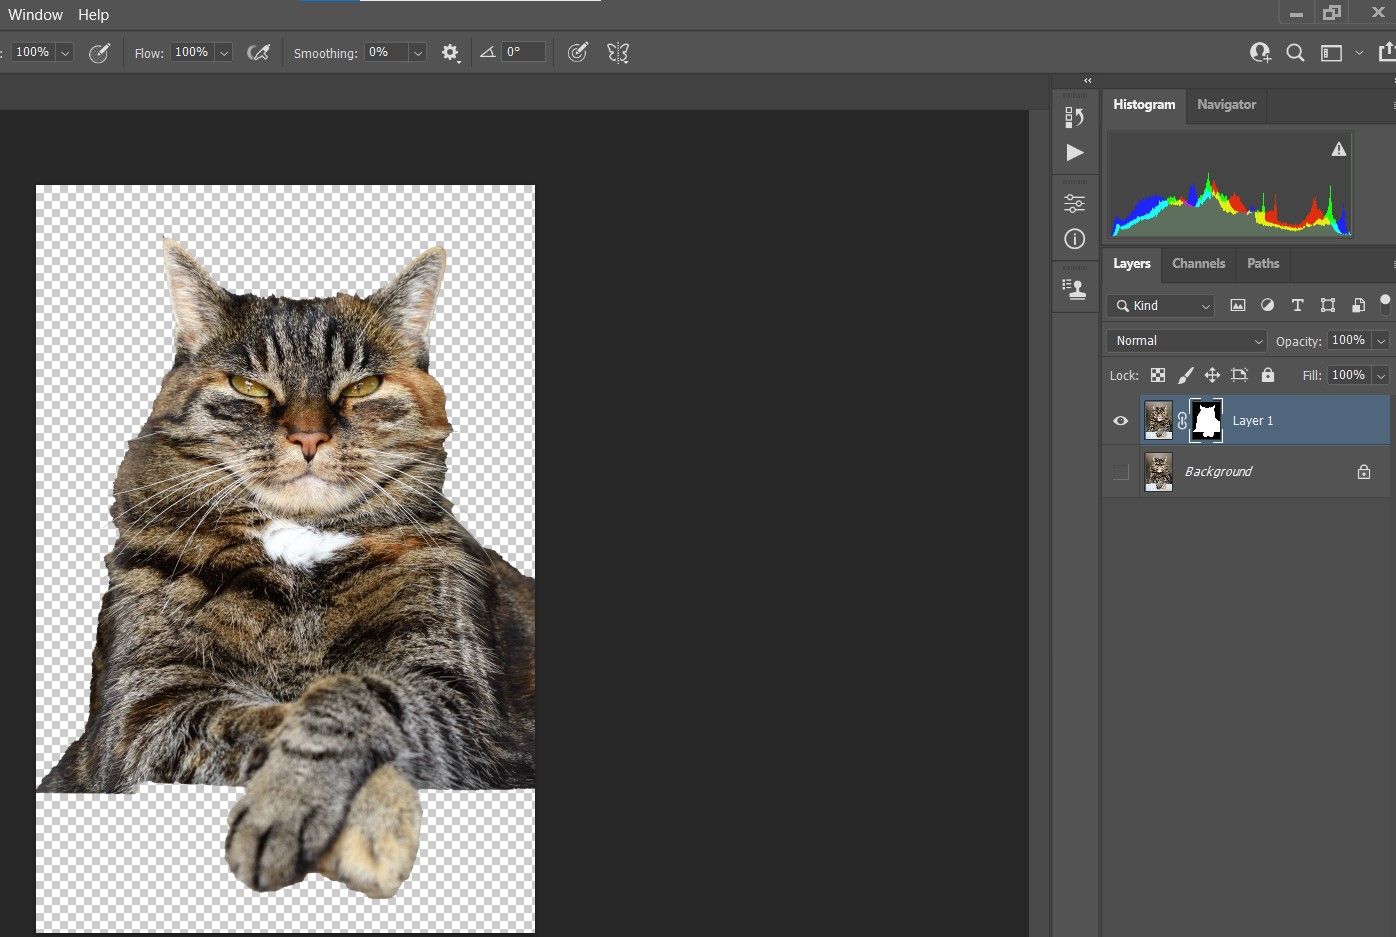
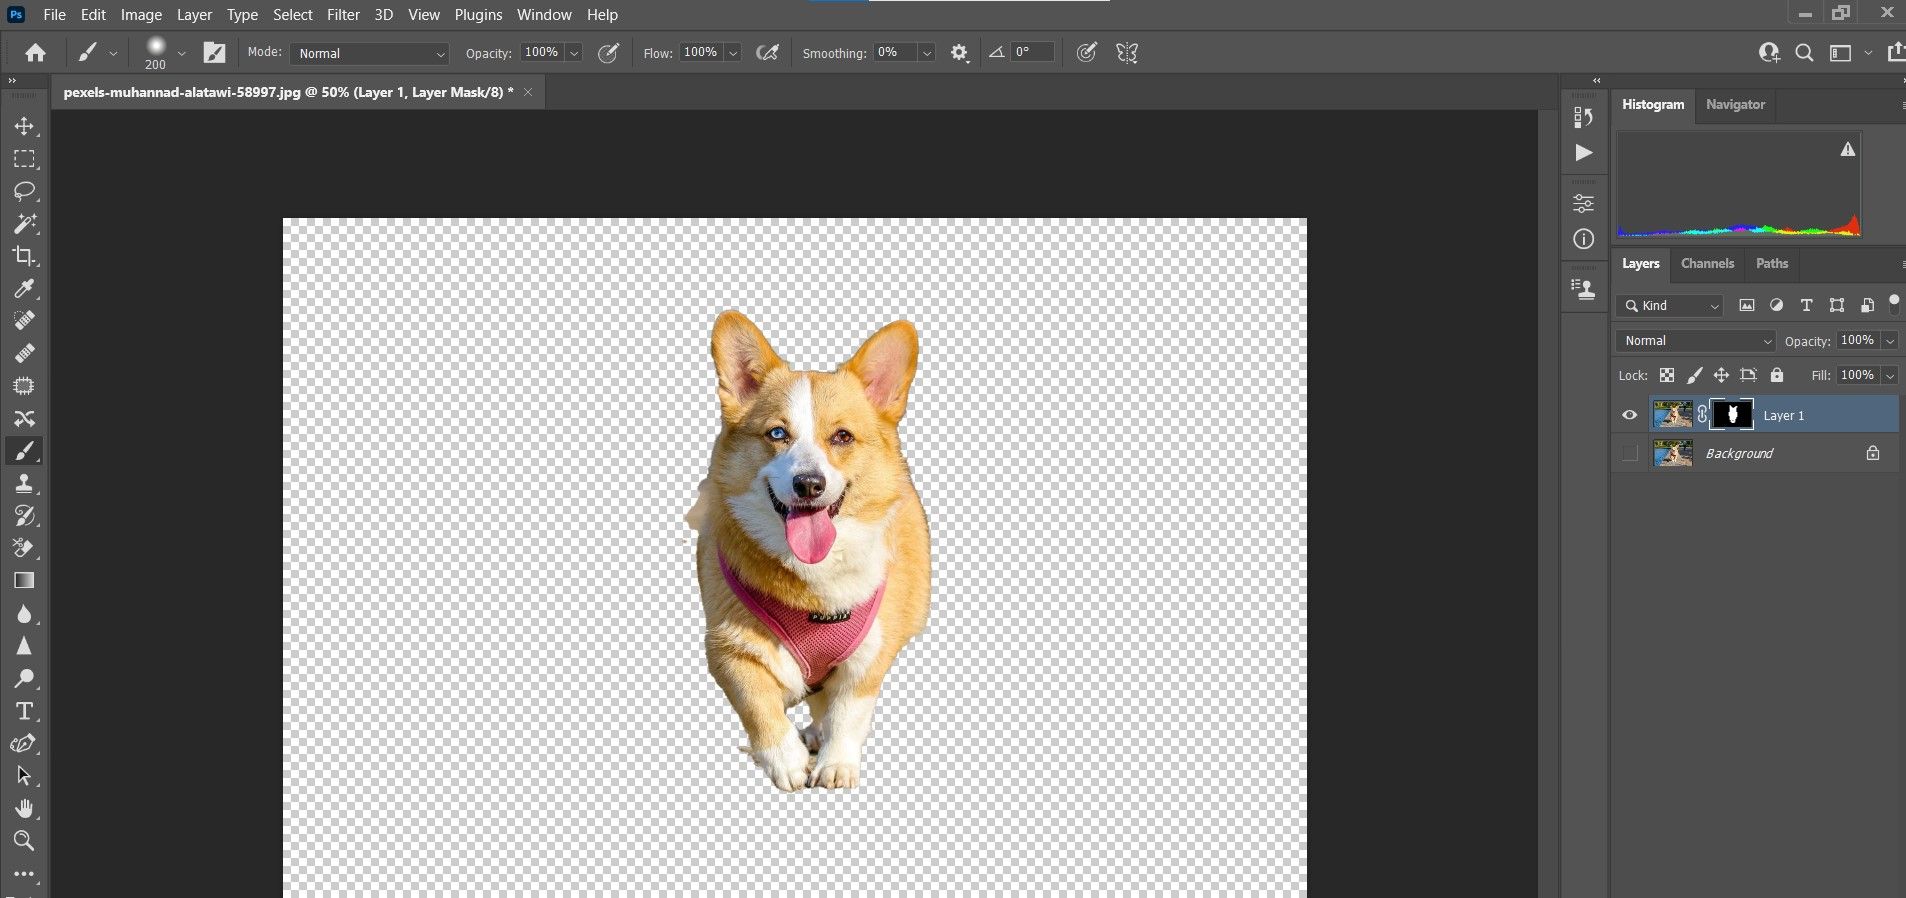
Turn off Layer Visibility on the Background layer by clicking the Eye icon in the layer stack.
-
Toggle the X key until the foreground color is Black.

-
Press B for the Brush tool. Select the Soft Round Brush from the above menu.
-
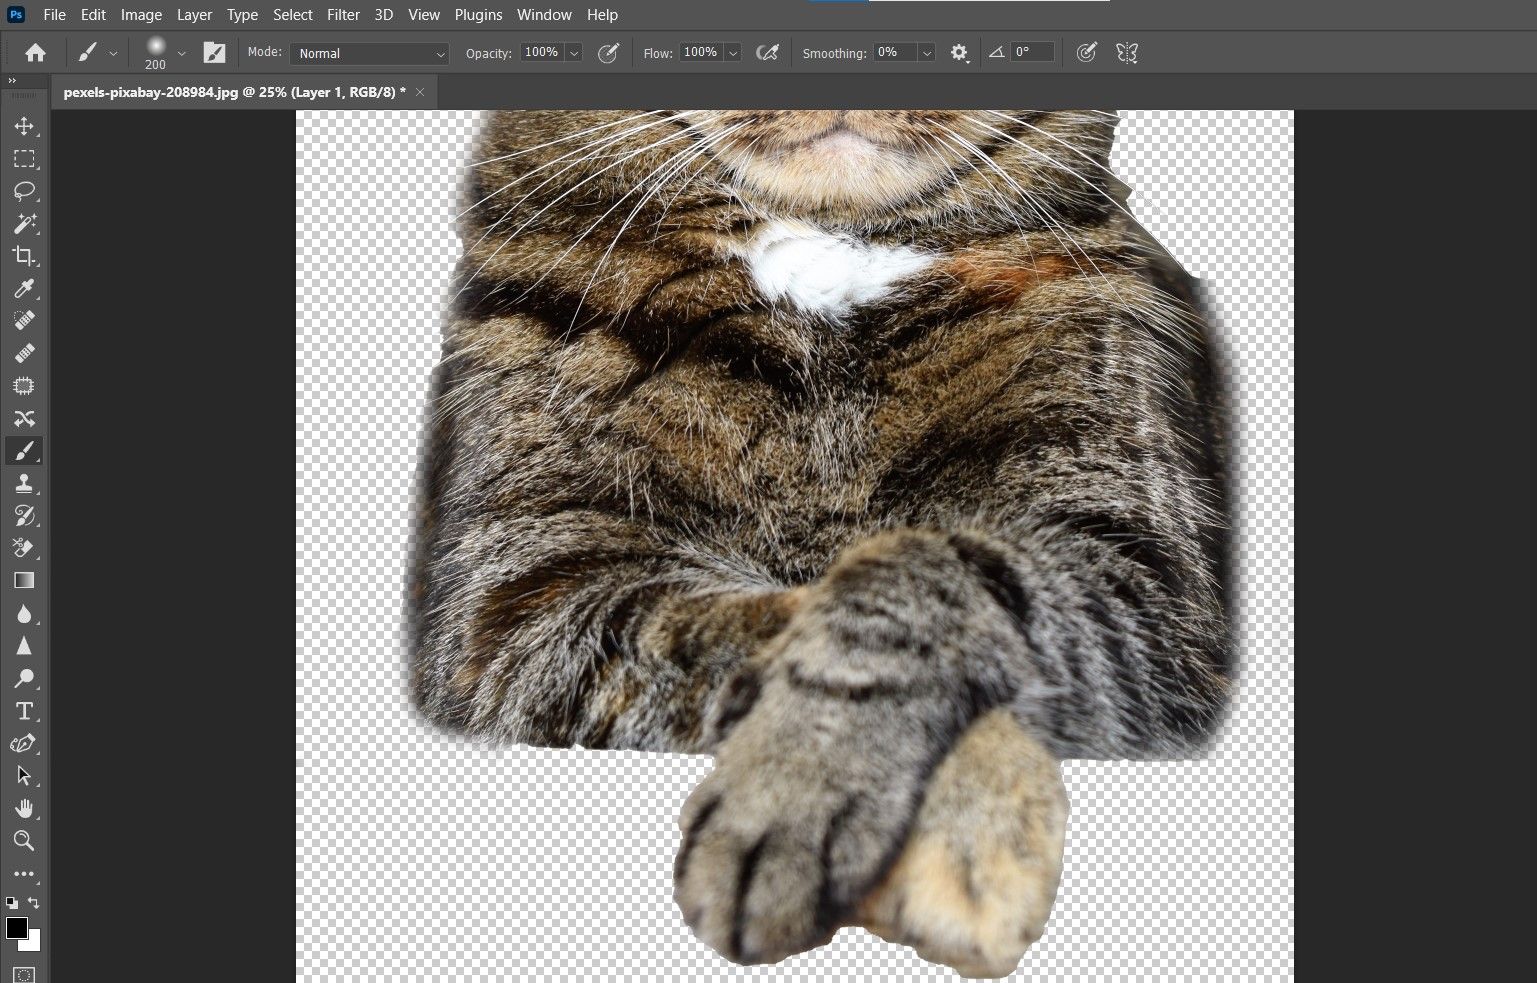
Paint any unwanted pixels away to select the cat. Use the bracket keys [ and ] to change the size of the brush. Use Ctrl + and Ctrl - to zoom in and out.
-
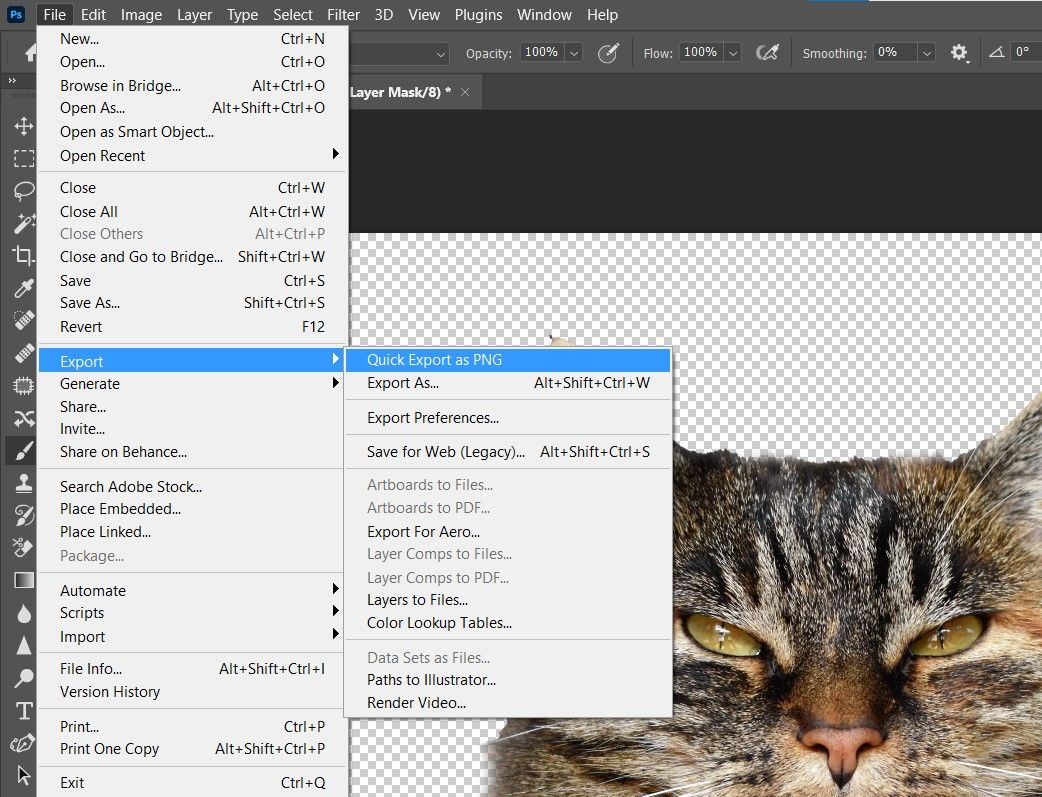
Go to File > Export > Quick Export as PNG.


Here's what your photo should look like:
Before:

After:

How to Create a Dark Background for Your Pet Image
There may come times when you photograph your pet in a natural environment and you capture a nice pose, like in our image below. However, you may want to remove it from the background and make a traditional portrait out of it.
In this tutorial, we will remove the background and replace it with a solid, dark one. We’ll also blend in the edges of the dog to make it look more natural.
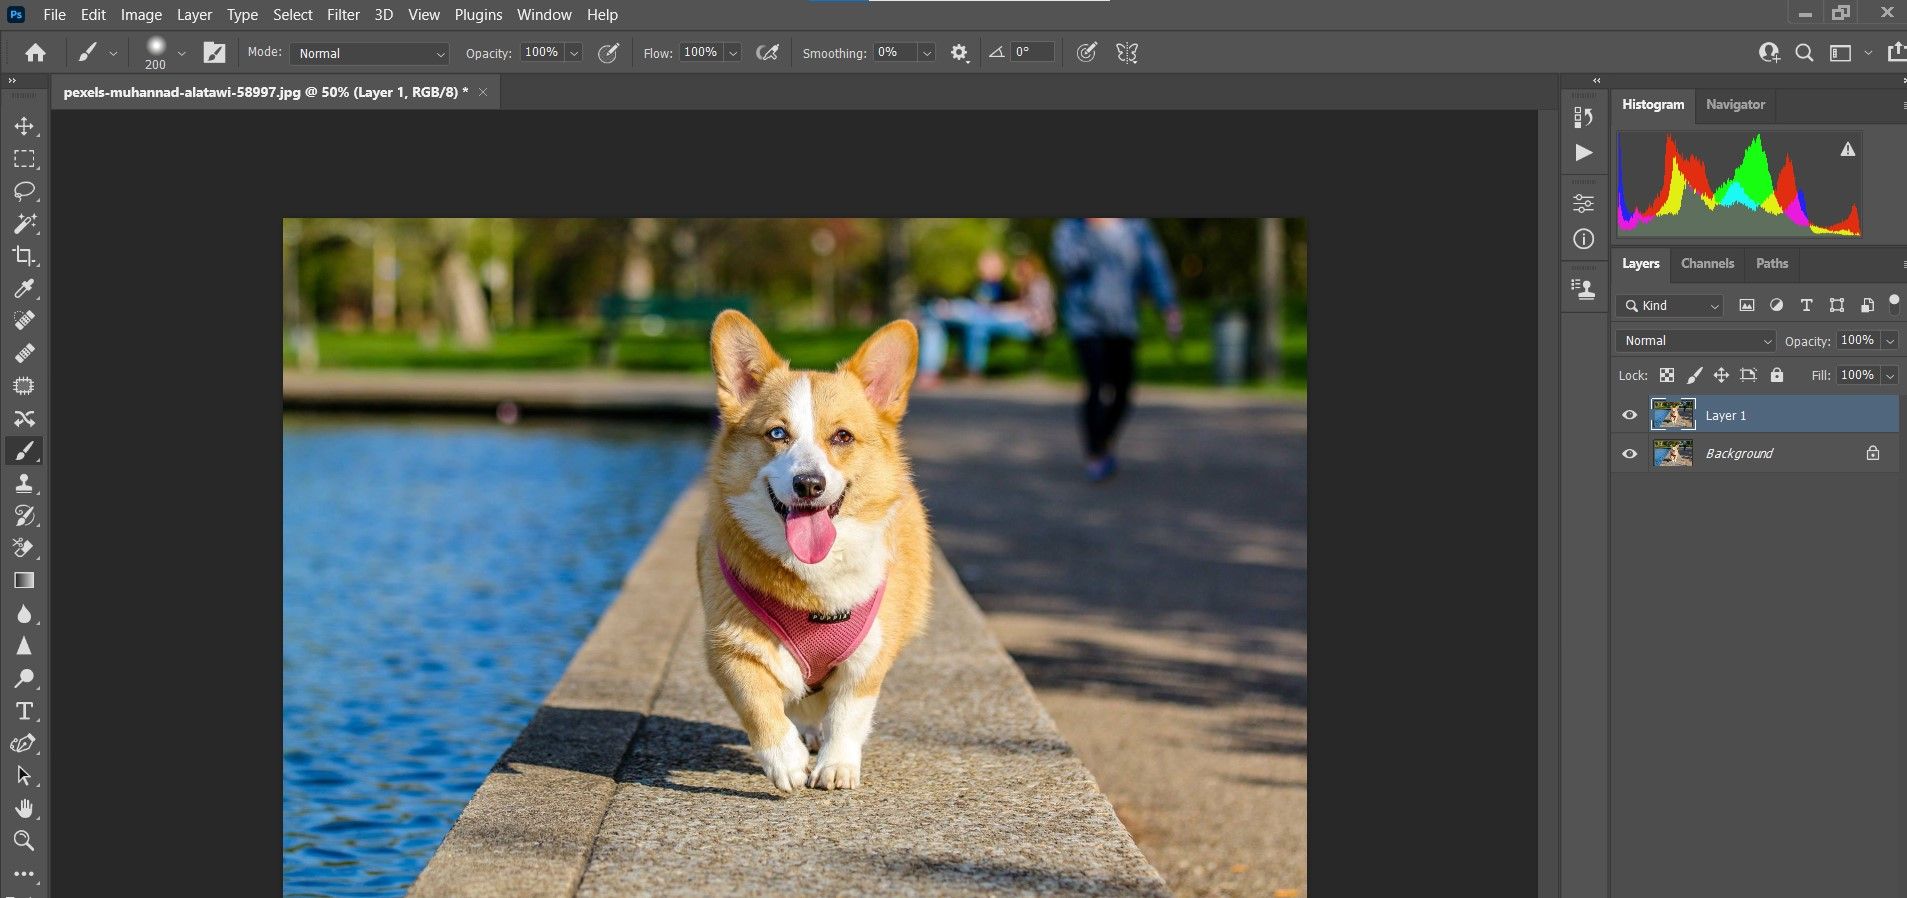
You can download this image from Pexels to follow along.
-
Press Ctrl + J to duplicate the layer.
-
Go to Window > Properties.
-
Under Quick Actions, select Remove Background.
-
Turn off Layer Visibility on the Background layer by clicking the Eye icon in the layer stack.
-
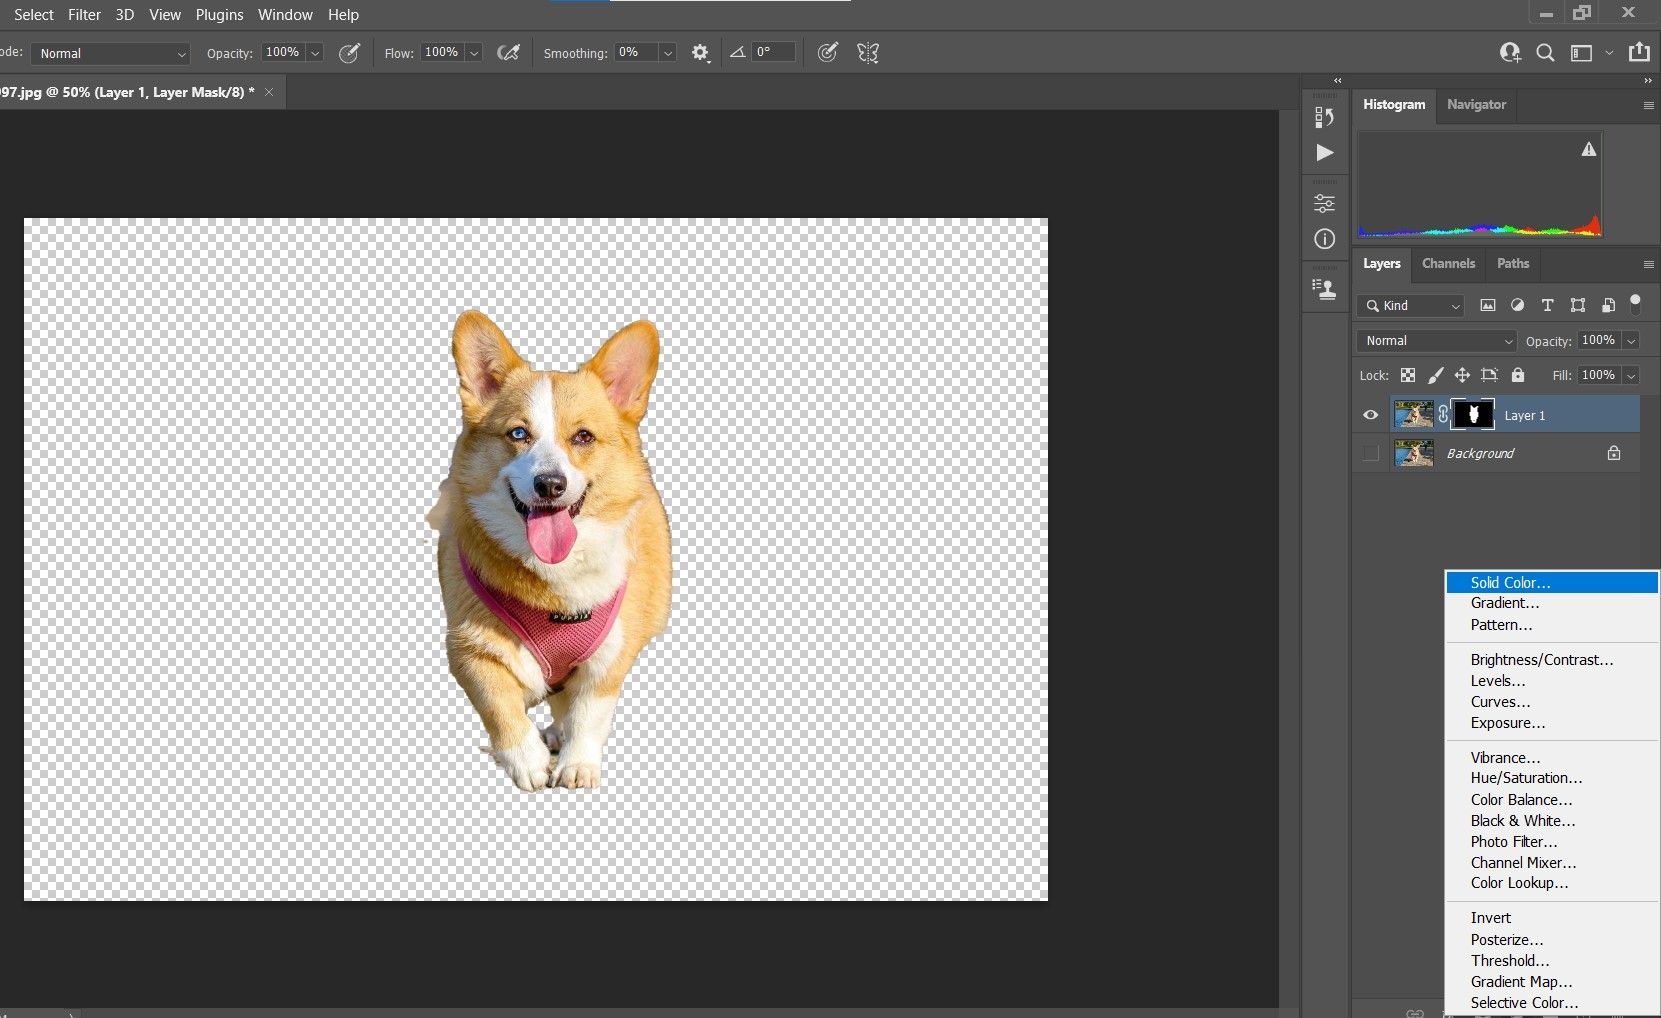
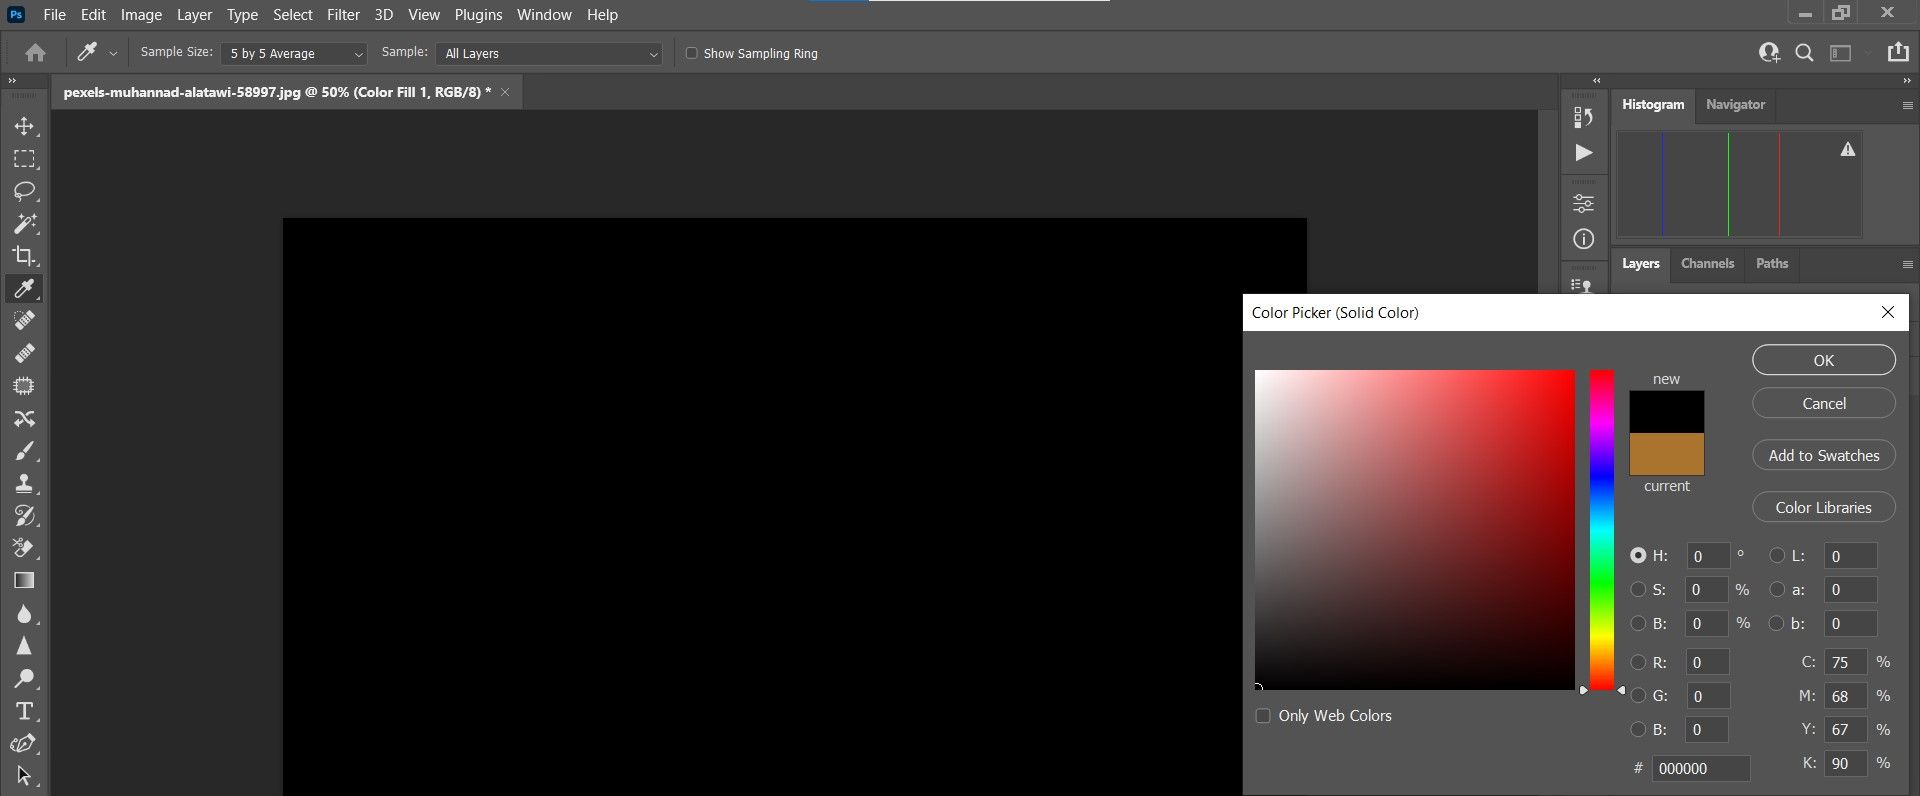
Go to the New Fill or Adjustment Layer icon at the bottom-right corner of Photoshop, and choose Solid Color.
-
In the Color Picker menu, click on a pure black color (make sure all the values are 0, as shown). Click OK.
-
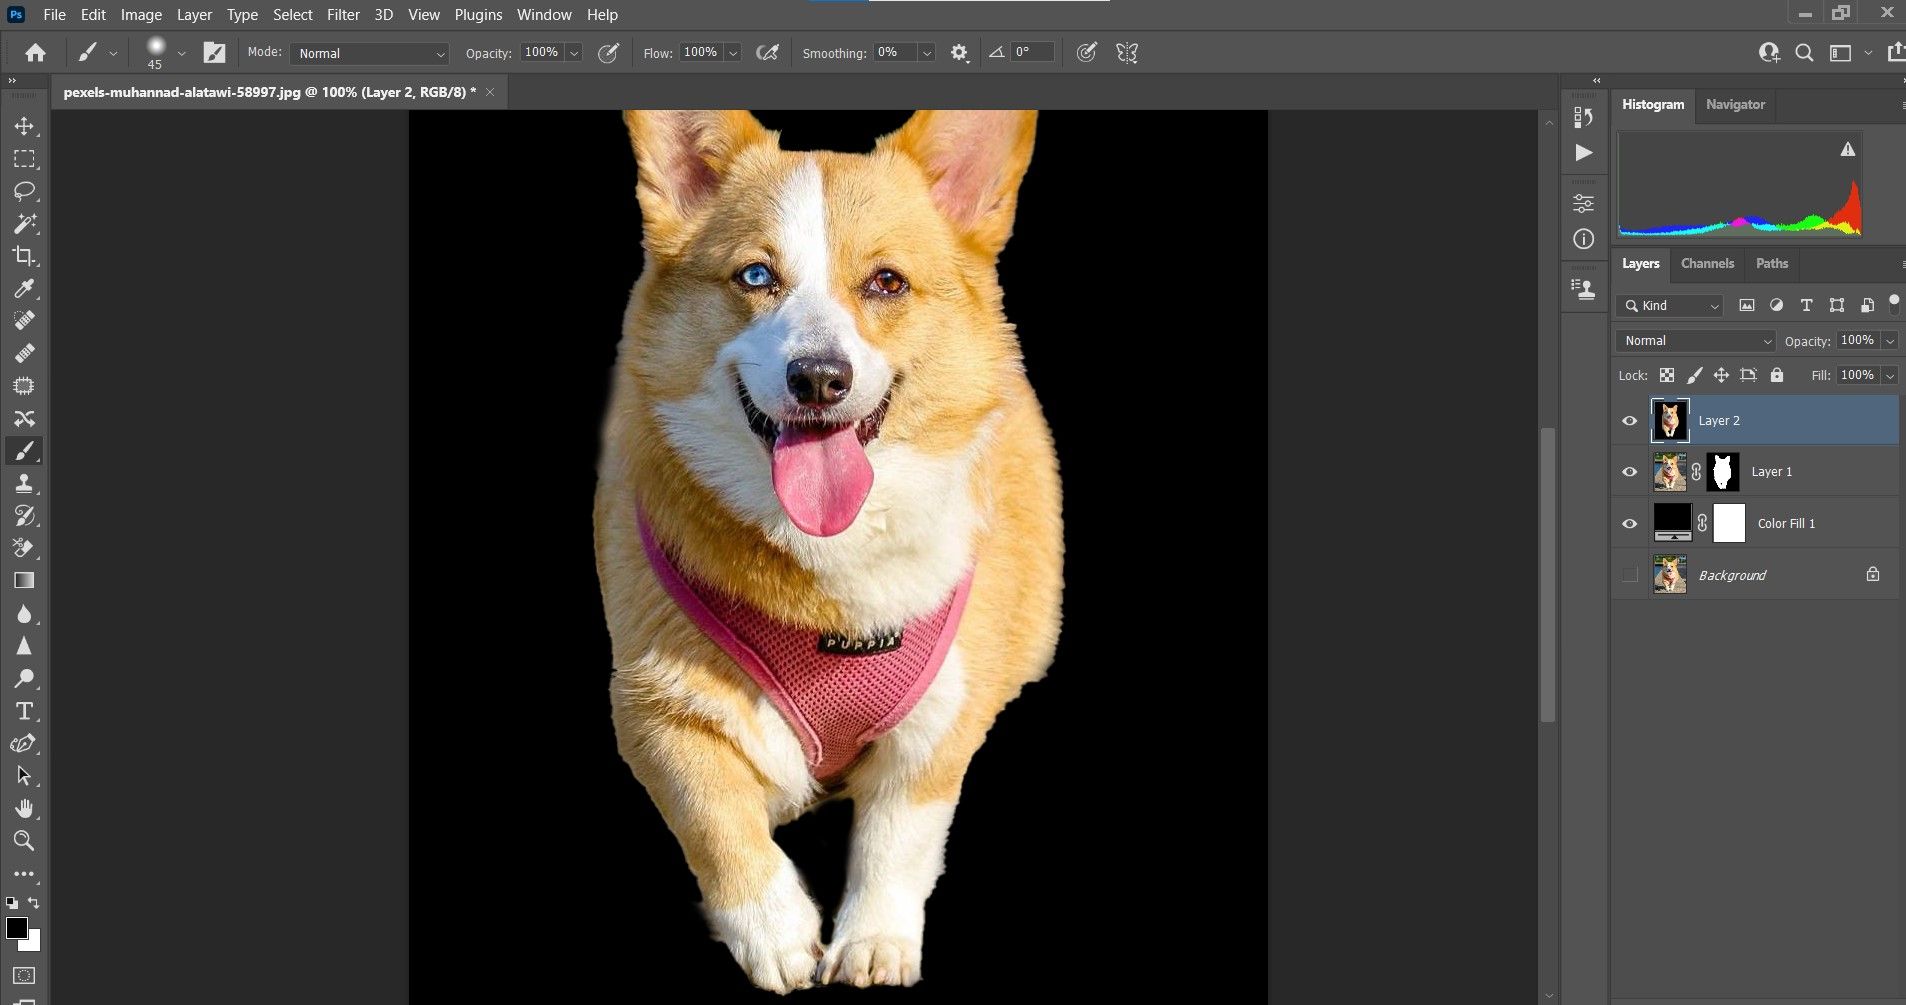
Select the Color Fill layer, and drag it beneath the middle layer (Layer 1).
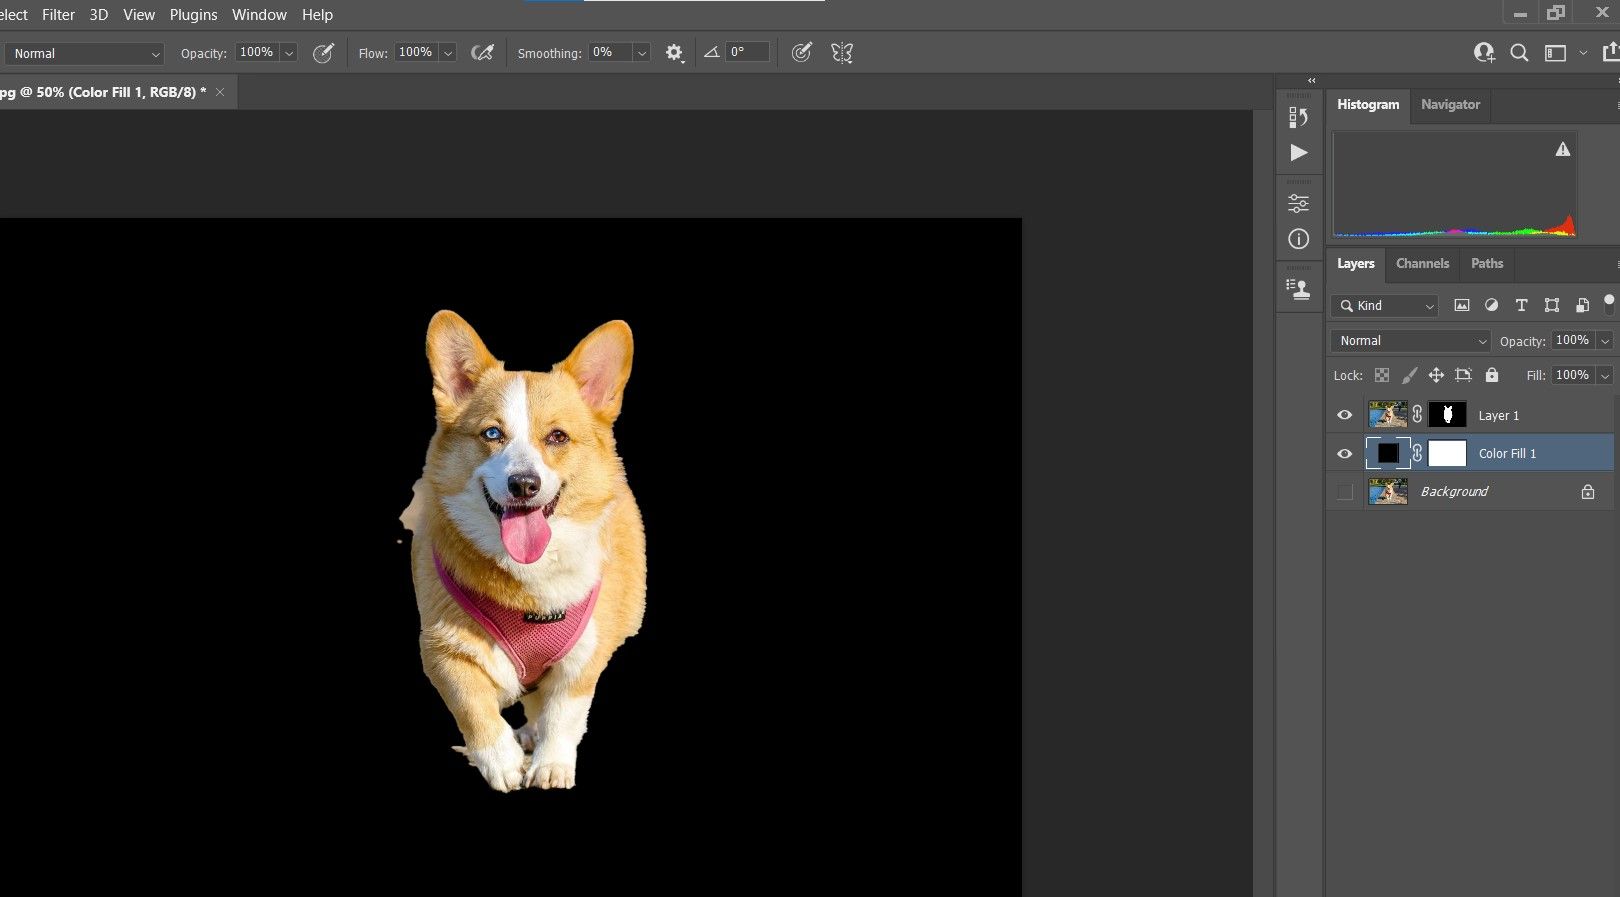
-
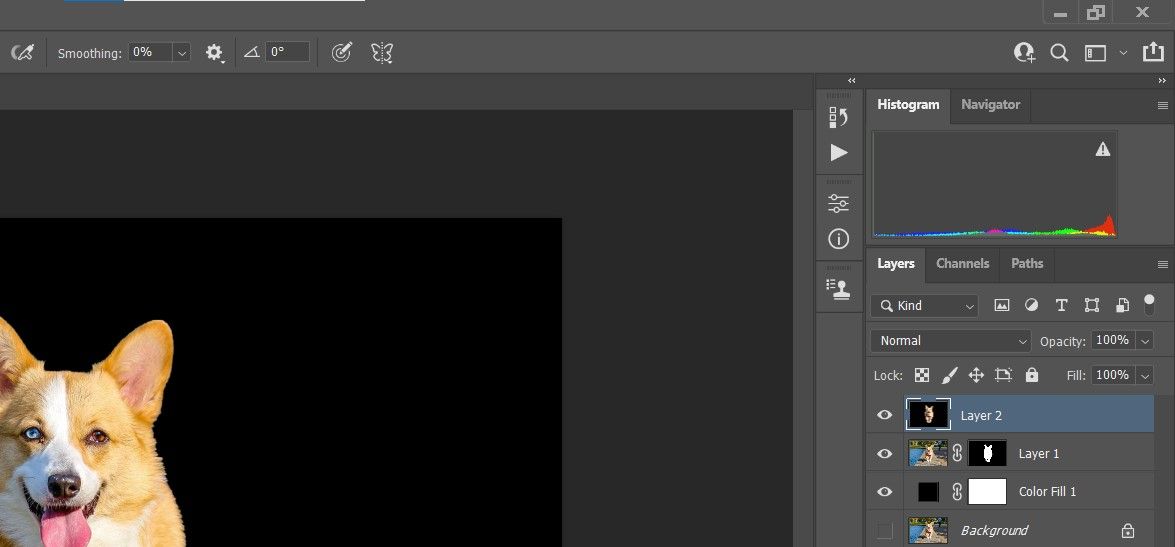
Select the top layer, then press Shift + Ctrl + Alt + E to create a stamp visible layer at the top.
-
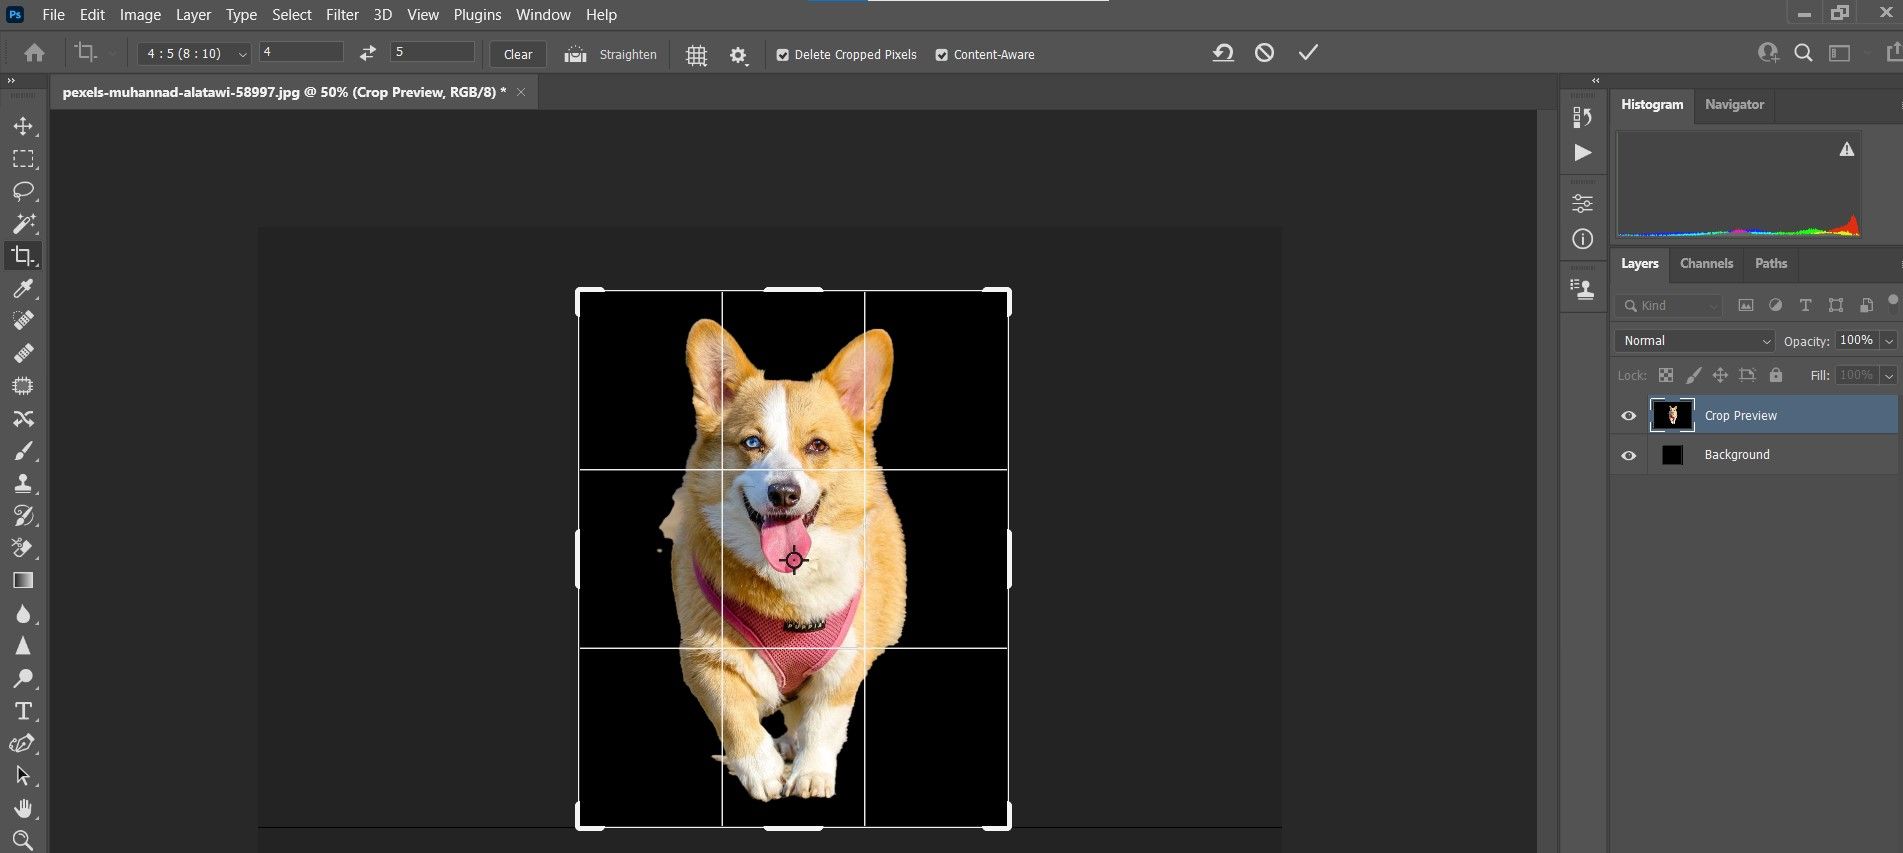
Press C for the Crop tool, and choose 4:5 (8:10) from the dropdown menu.
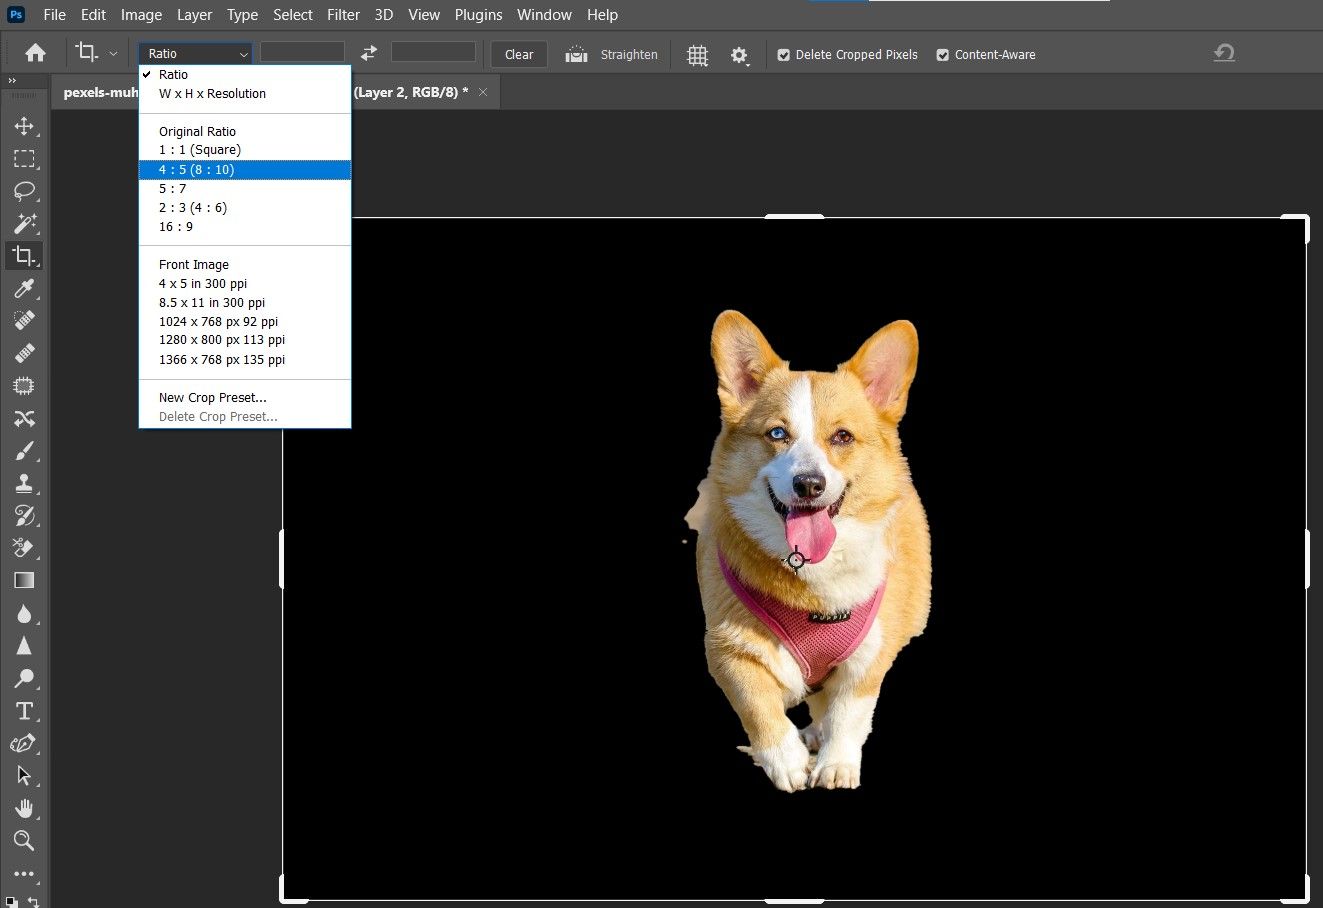
-
Move the handles to get a snug fit around the dog. The 4x5 ratio will make it Instagram-ready with no need to crop further. Press Enter or click on the Check Mark.
-
Press D to reset the background/foreground colors.

-
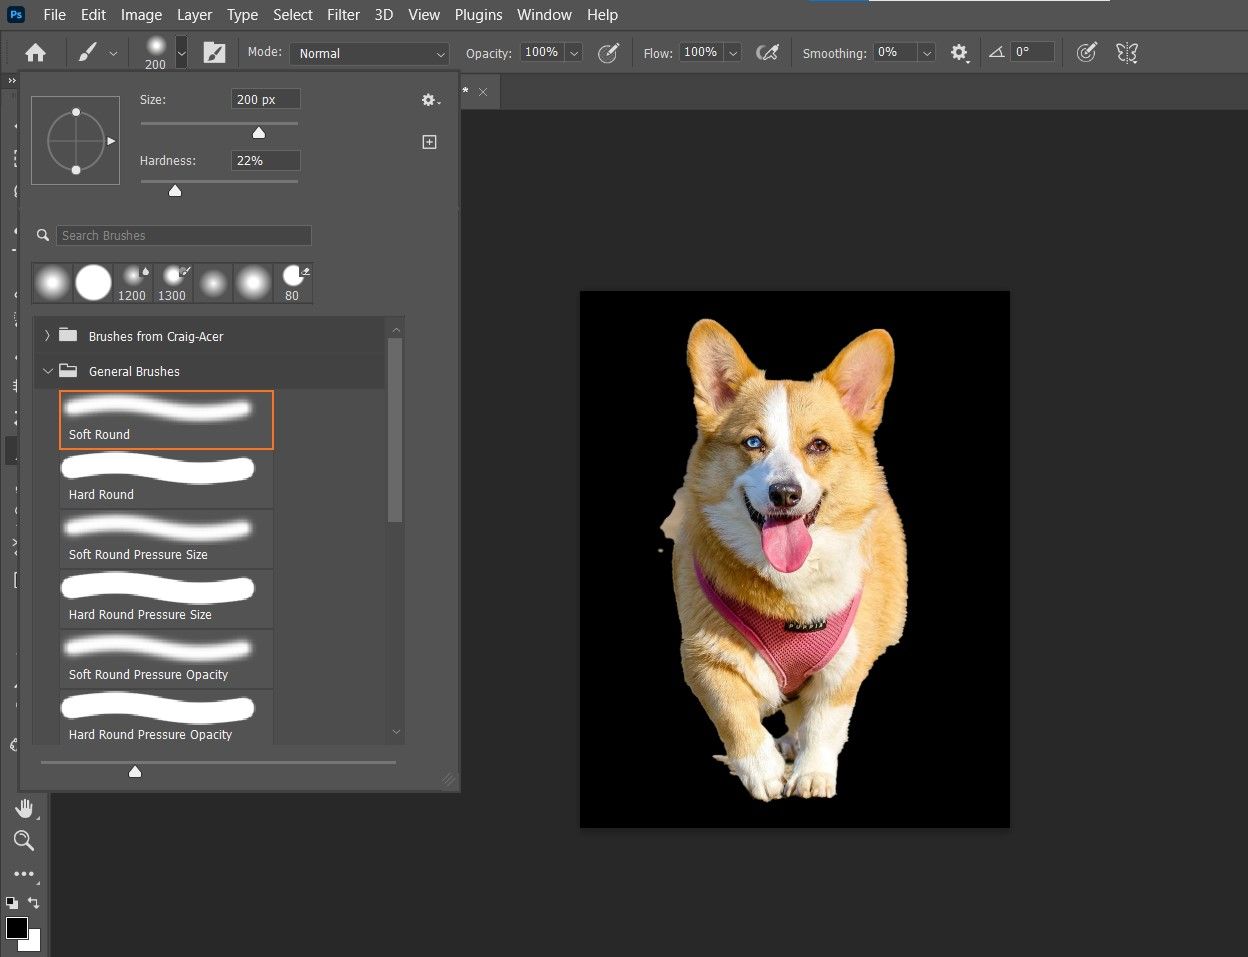
Press B for the Brush tool. Select Soft Round Brush from the above menu.
-
Paint around the dog, erasing all the pixels missed in the initial selection. Also, it helps to lightly trace around the dog to darken the edges slightly.
-
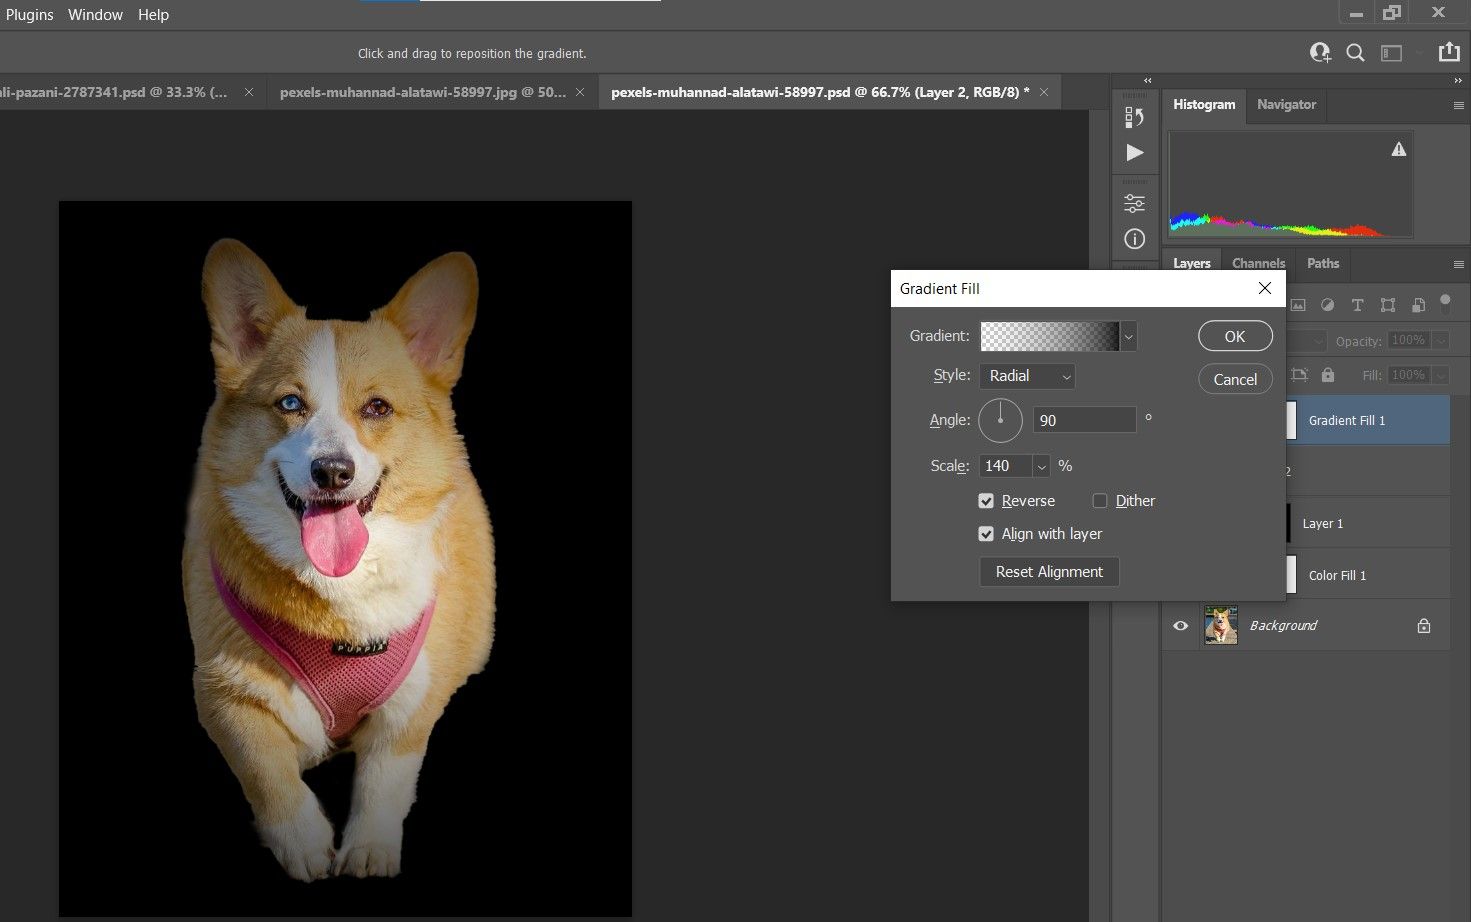
Go to the New Fill or Adjustment Layer icon at the bottom-right corner of Photoshop and choose Gradient.
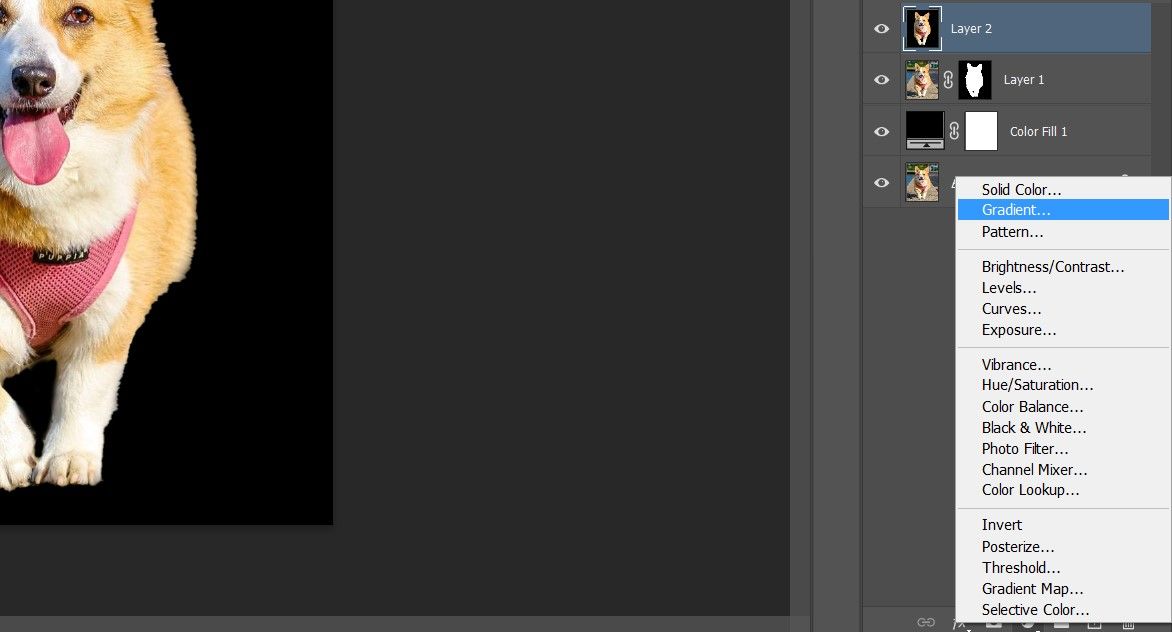
- The Gradient Fill popup menu will then appear. In Gradient, double-click and go to the Basics folder. Choose Foreground to Transparent, and click OK.
-
For Style, choose Radial, and for Scale, enter 140. Then, check the Reverse box, and click OK.
-
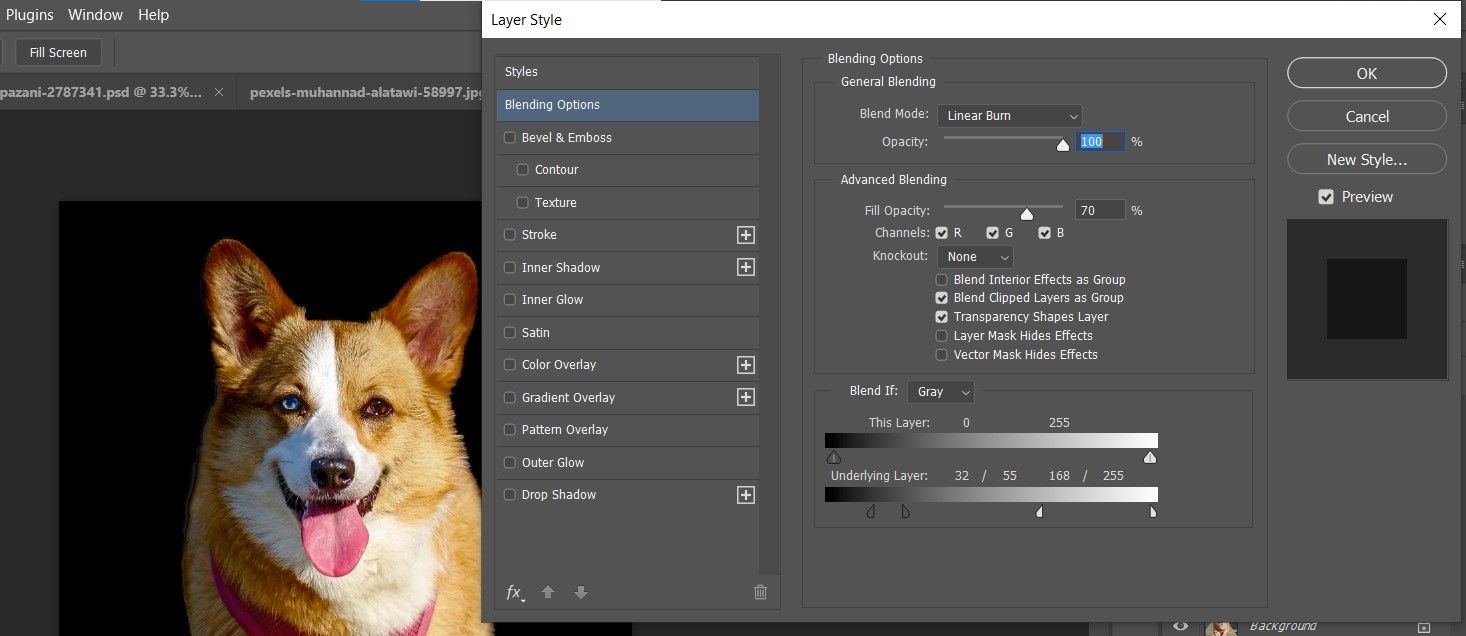
Double-click on the Gradient Fill layer (on the far right side) to open Blend If options.
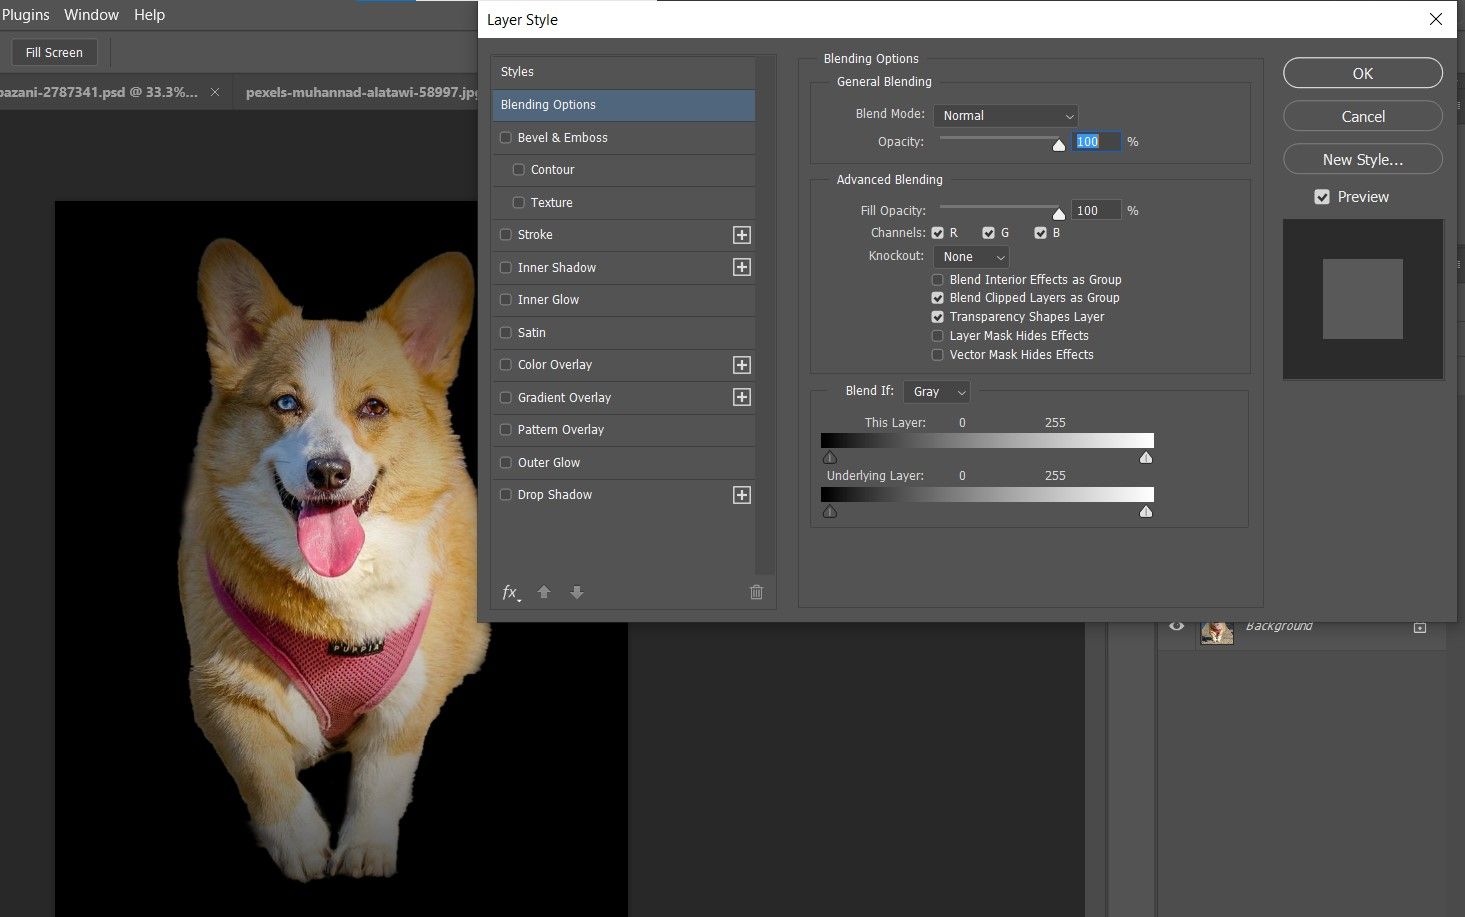
- Enter these values in the Layer Style menu: Blend Mode: Linear Burn; Fill Opacity: 70 percent.
-
For the Underlining Layer, press Alt + Click and move the White split slider to the value of 168. Then, Alt + Click and move the Black split sliders to 32 and 55 respectively as shown. Click OK.
-
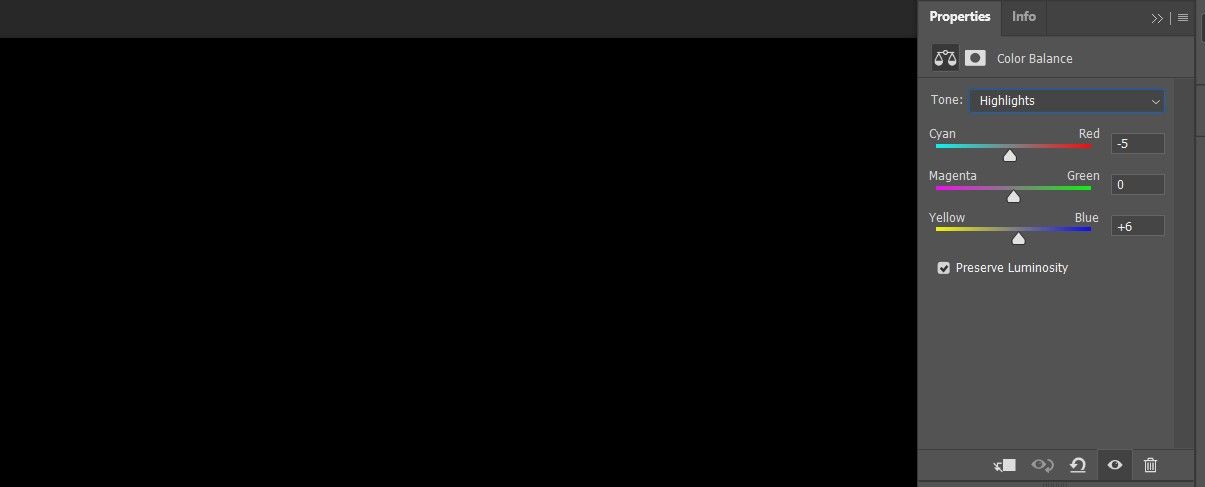
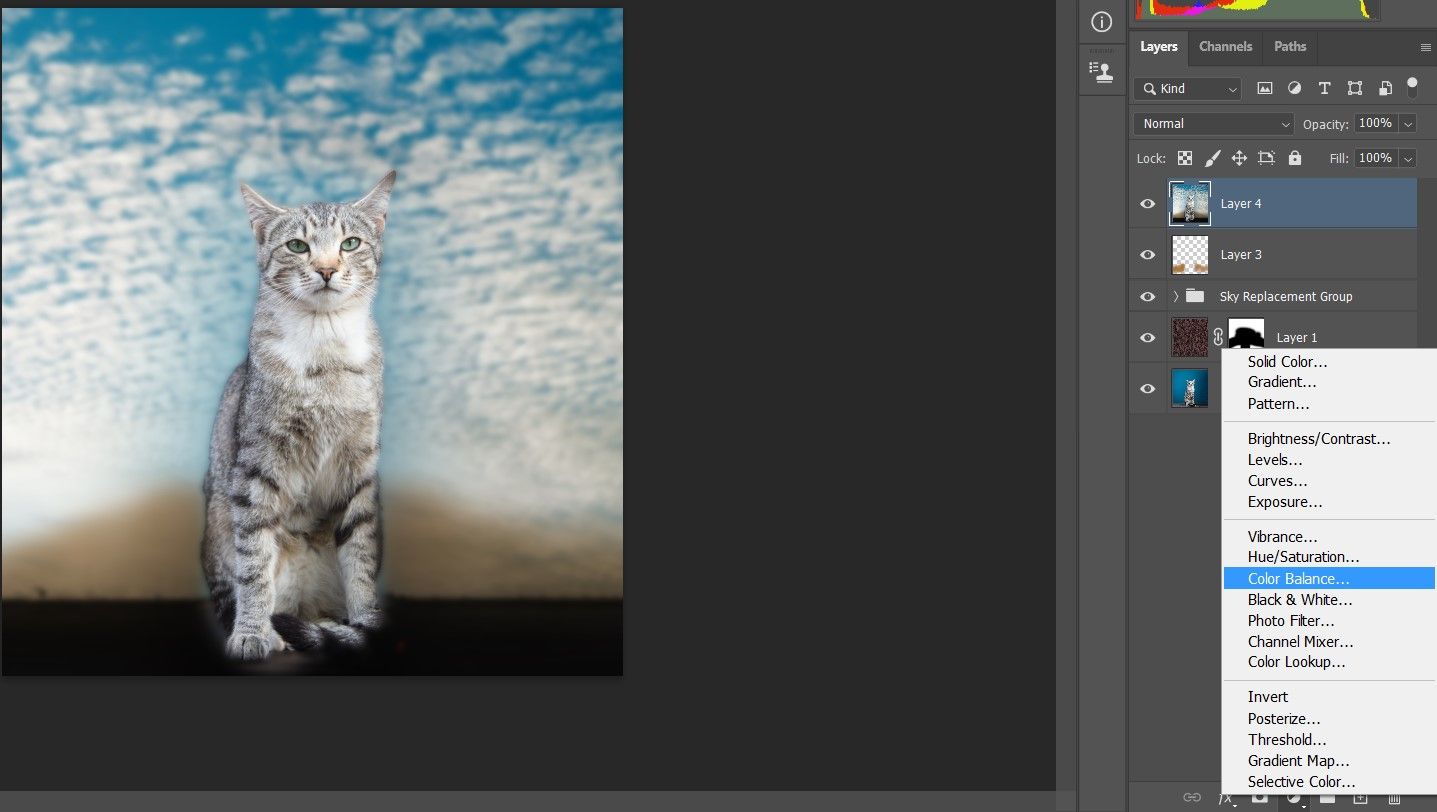
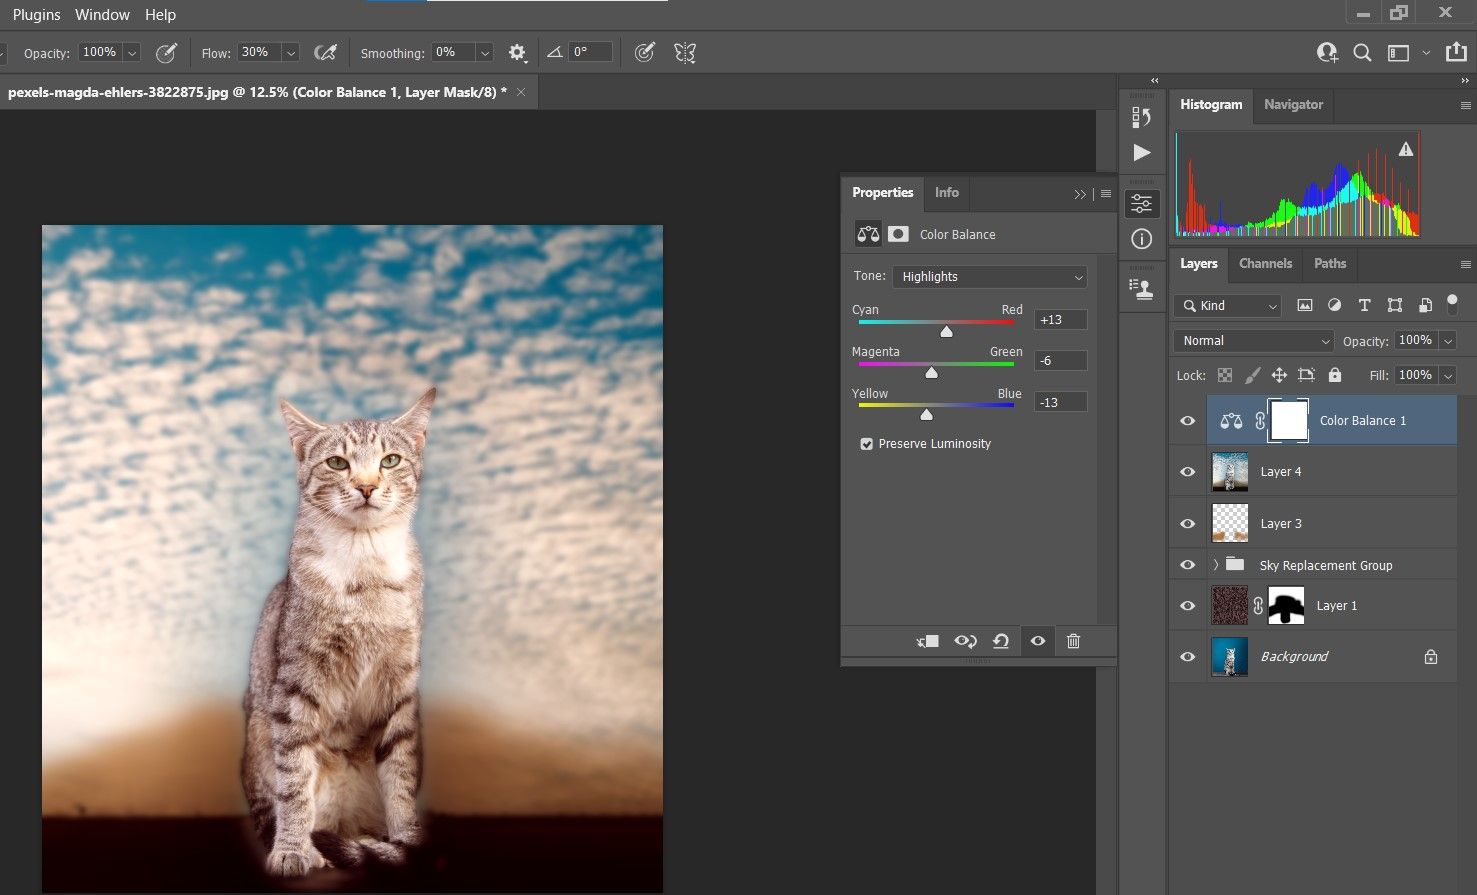
Go to the New Fill or Adjustment Layer icon at the bottom-right corner of Photoshop and choose Color Balance.
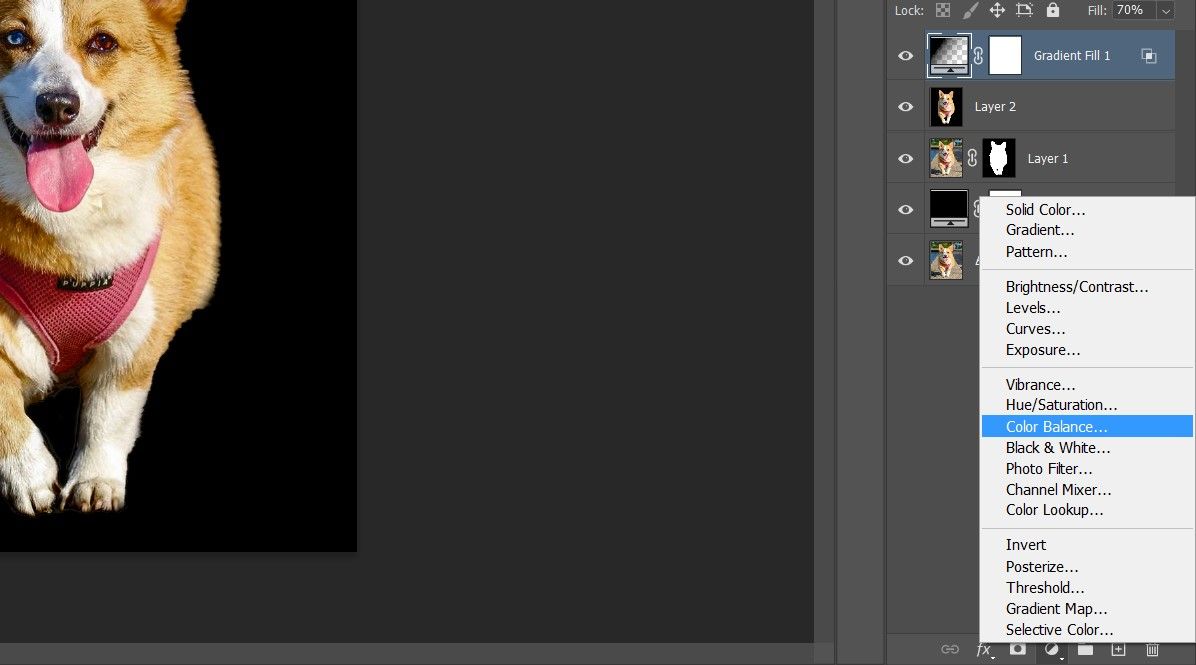
-
In the Tone dropdown menu, enter these values (from top to bottom): Midtones: +19, -2, +10; Shadows: -19, -13, +6; Highlights: -5, 0, +6.


Let's see how our image turned out.
Before:

After:

There are other selection methods in Photoshop that allow you to select all of the same color. Depending on the color of your pet, these methods could also be useful in making works of art from your pet photos.
How to Transform Your Pet Into a Landscape Painting
For images of your pets taken against a solid, plain background, it’s easy to literally transform them into a landscape painting.
In this image, we’re going to have to center the subject, as well as add a sky and background mountains. All of the tools to do this are found in Photoshop.
You can download this image from Pexels and follow along.
-
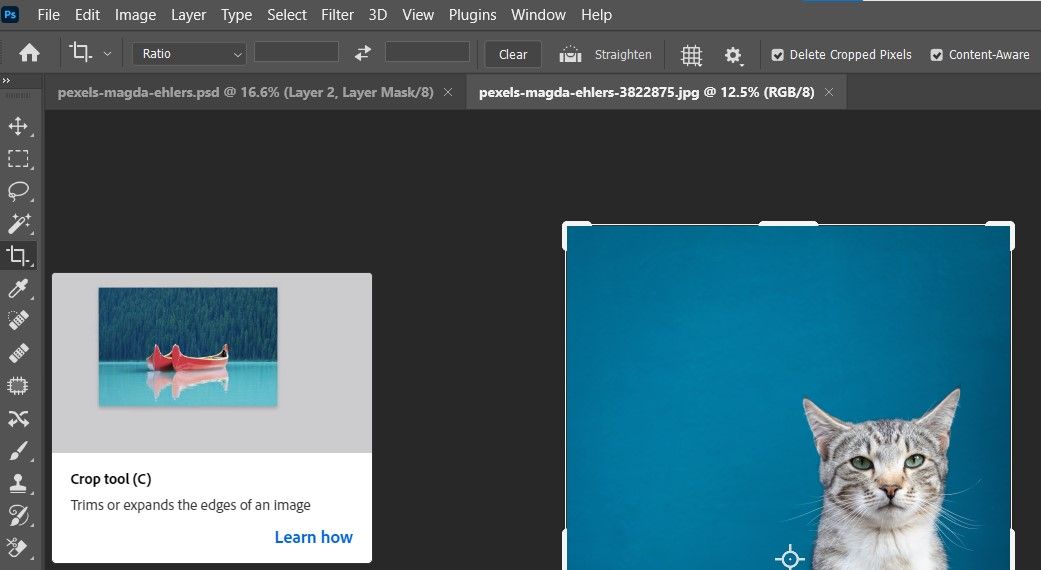
Click on the Crop tool, and tick the Content-Aware box in the crop tools menu.
-
Using the handles, drag the image until the cat is centered in the image. Then, press Enter or click on the Check Mark.

-
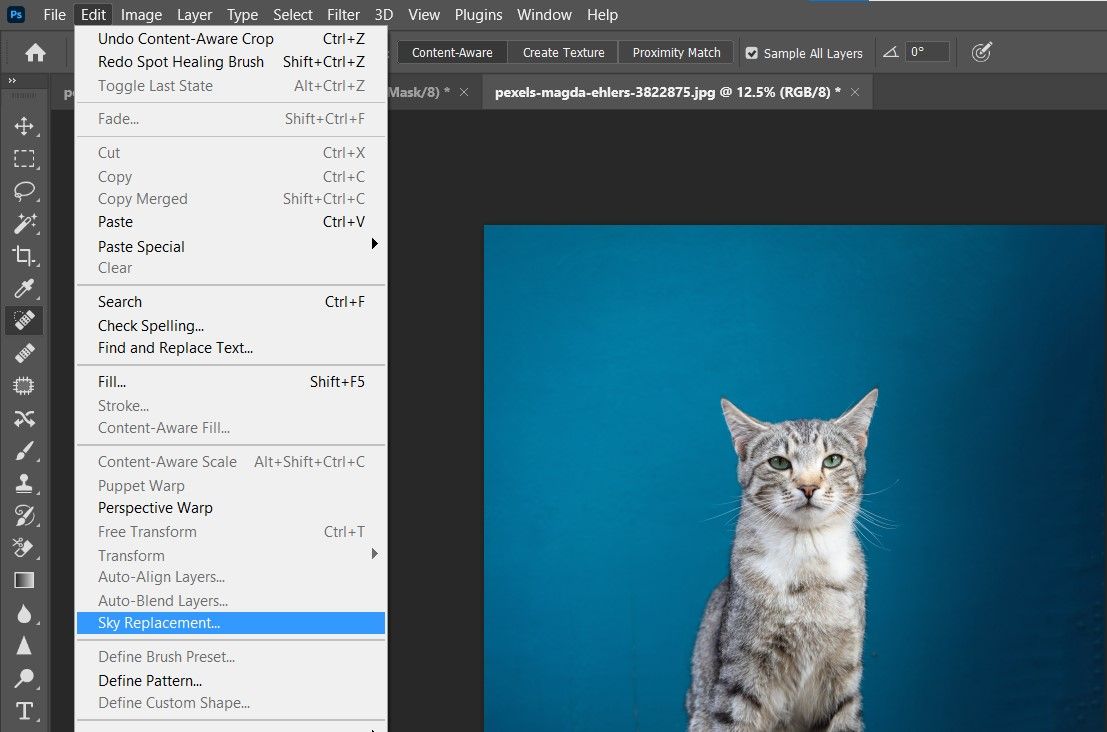
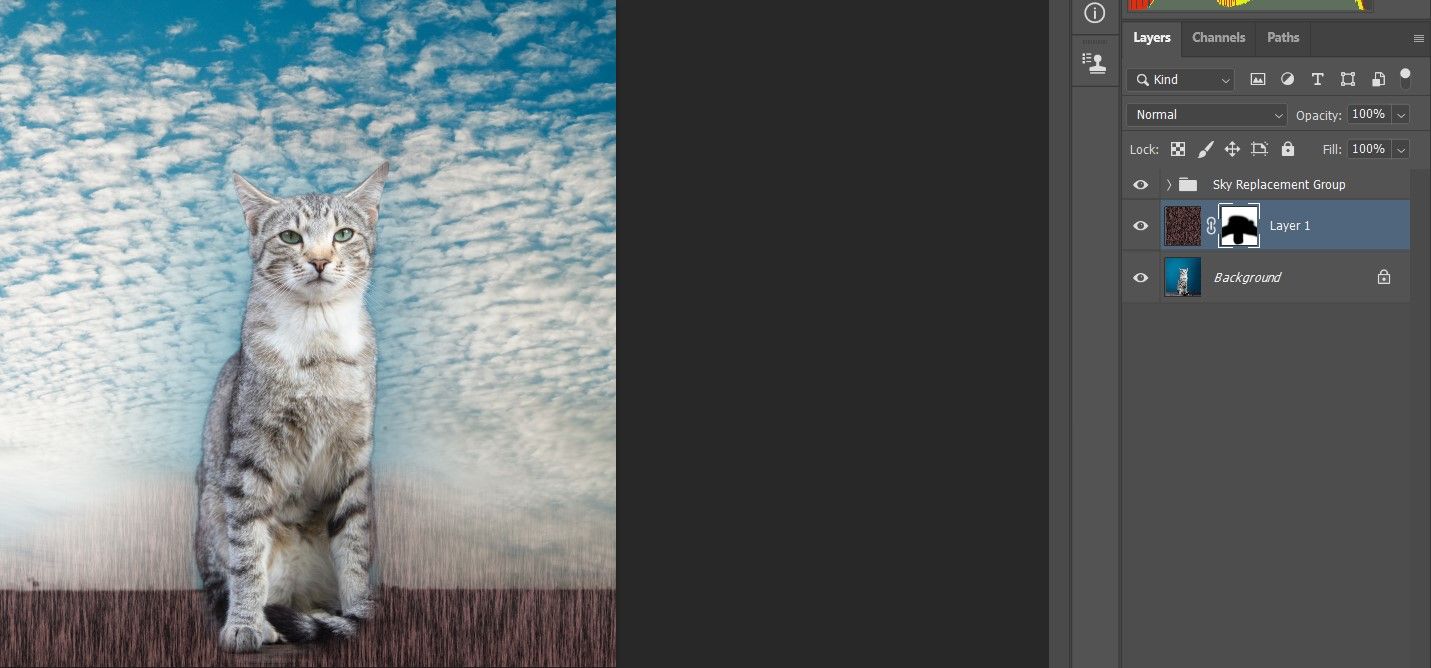
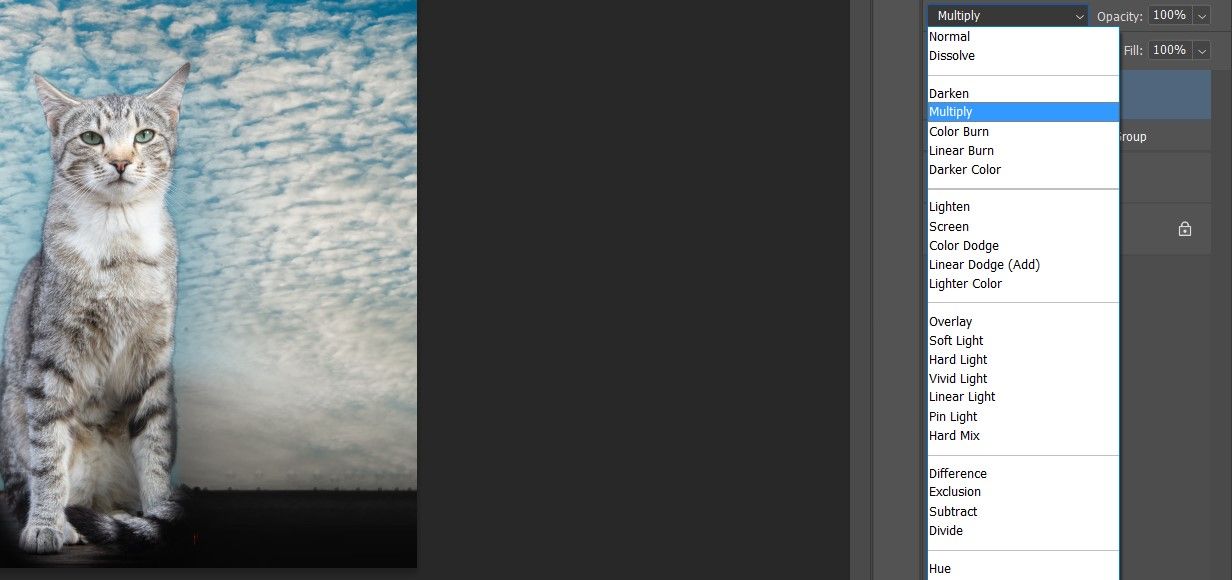
Go to Edit > Sky Replacement.
-
In the Sky dropdown menu, select the sky as shown.
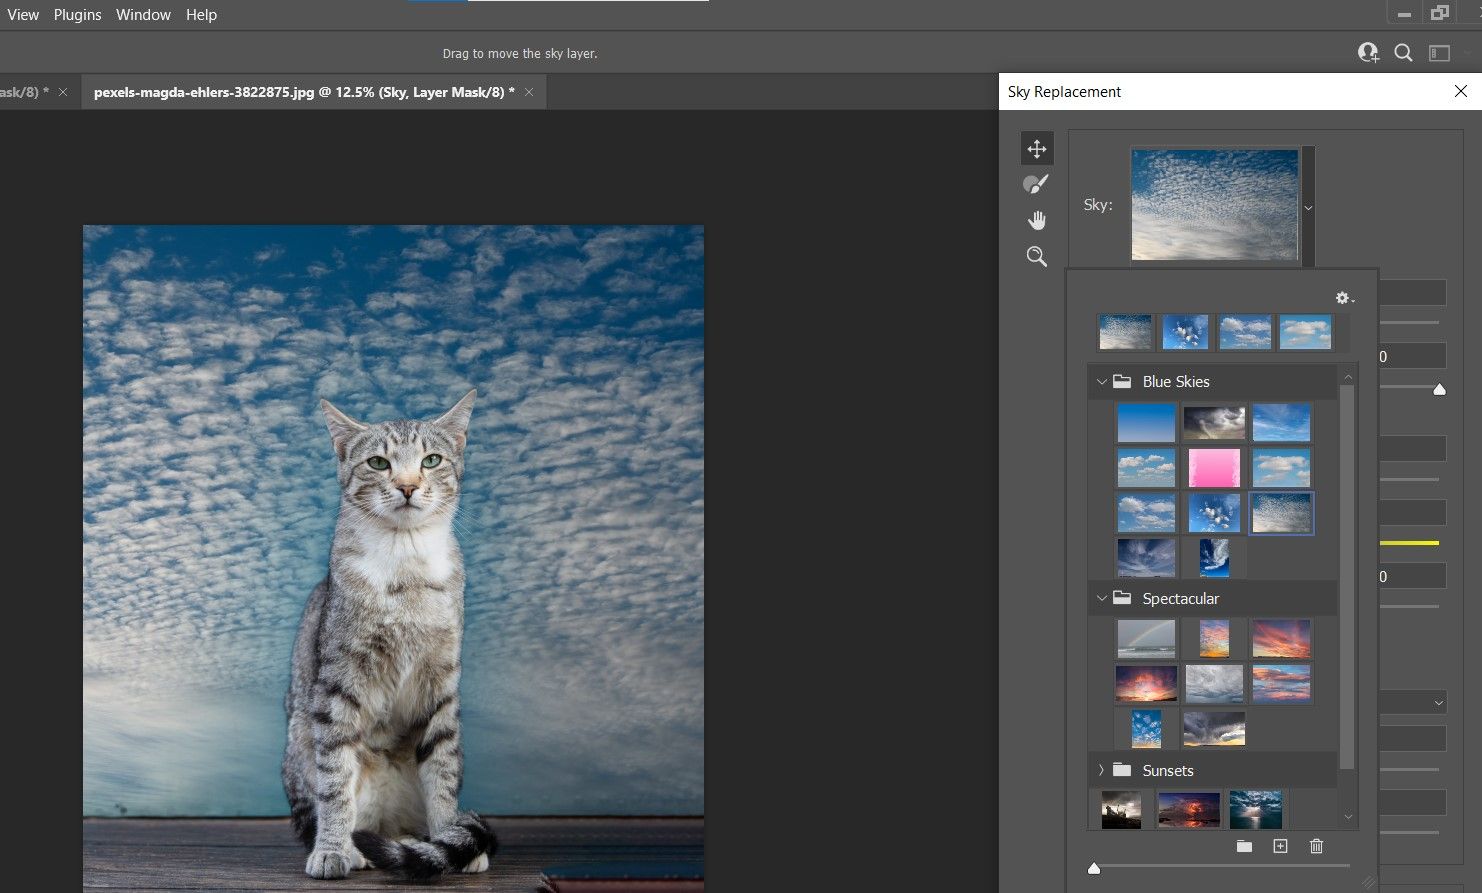
- Enter the following slider values. In Sky Adjustments, choose Brightness: 80 and Temperature: 40.
- In Foreground Adjustments, choose Lighting Mode: Screen; Lighting Adjustment: 22; Color Adjustment: 35.
-
In the Output to dropdown menu, select New Layers. Click OK.

-
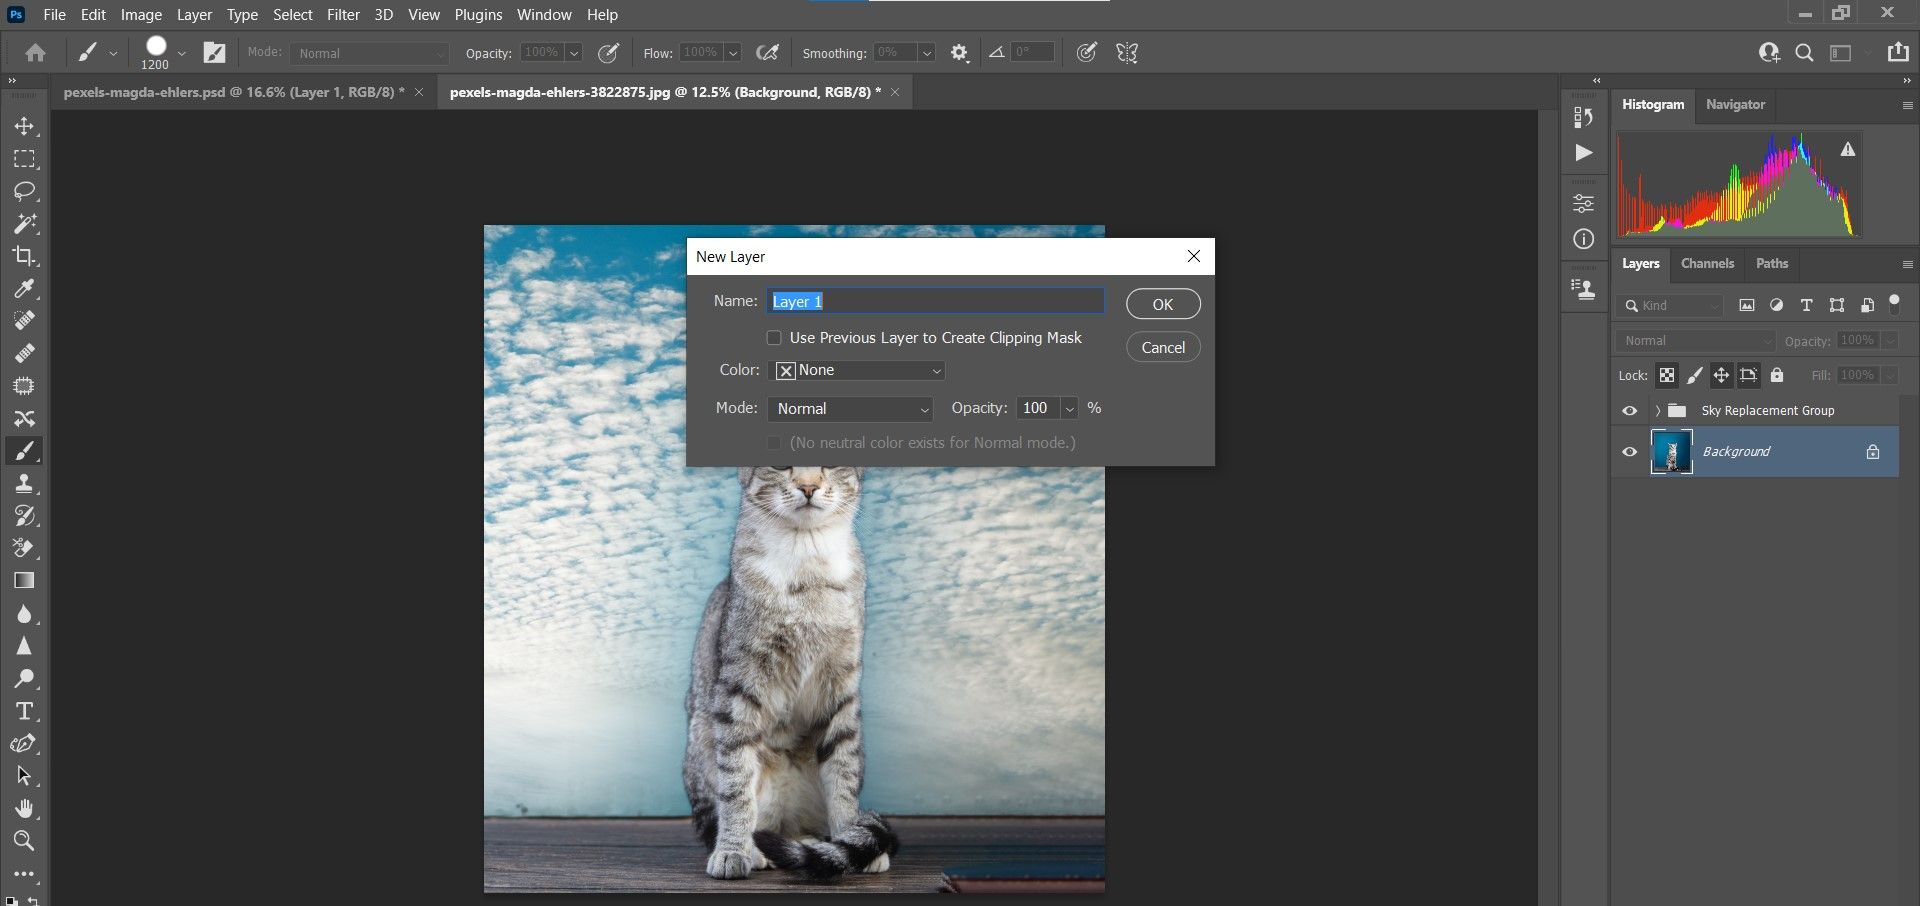
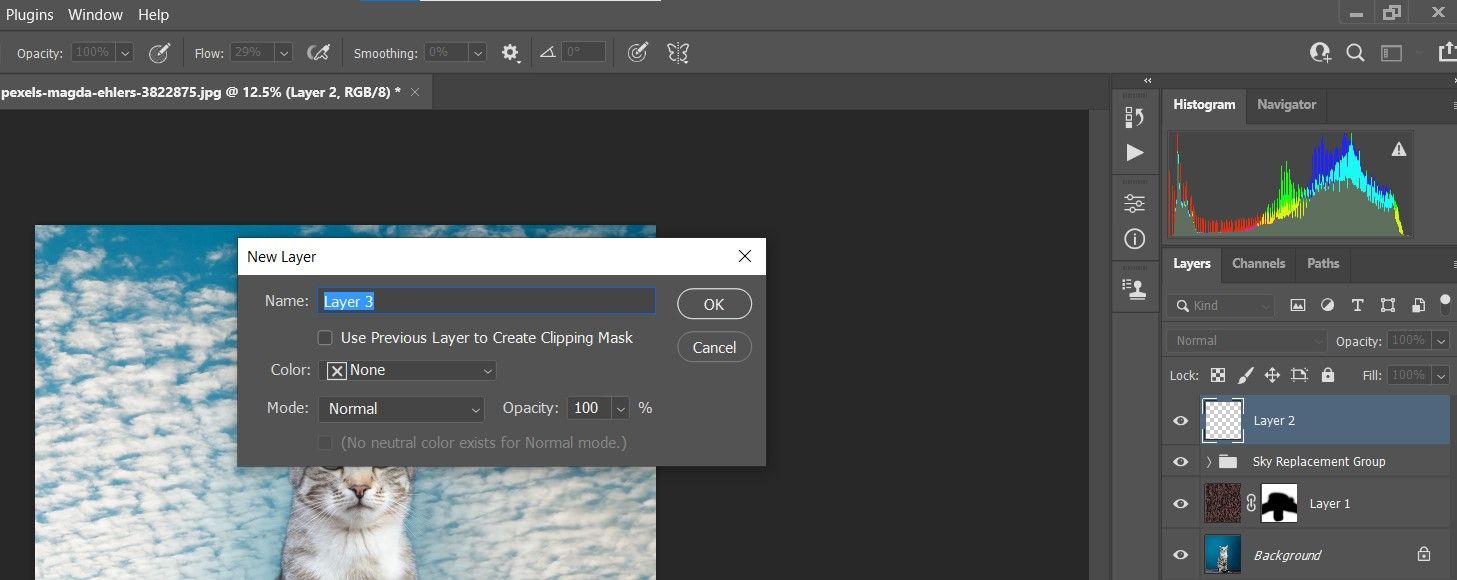
Create a new blank layer by holding Shift + Ctrl + N. Then, click OK.
-
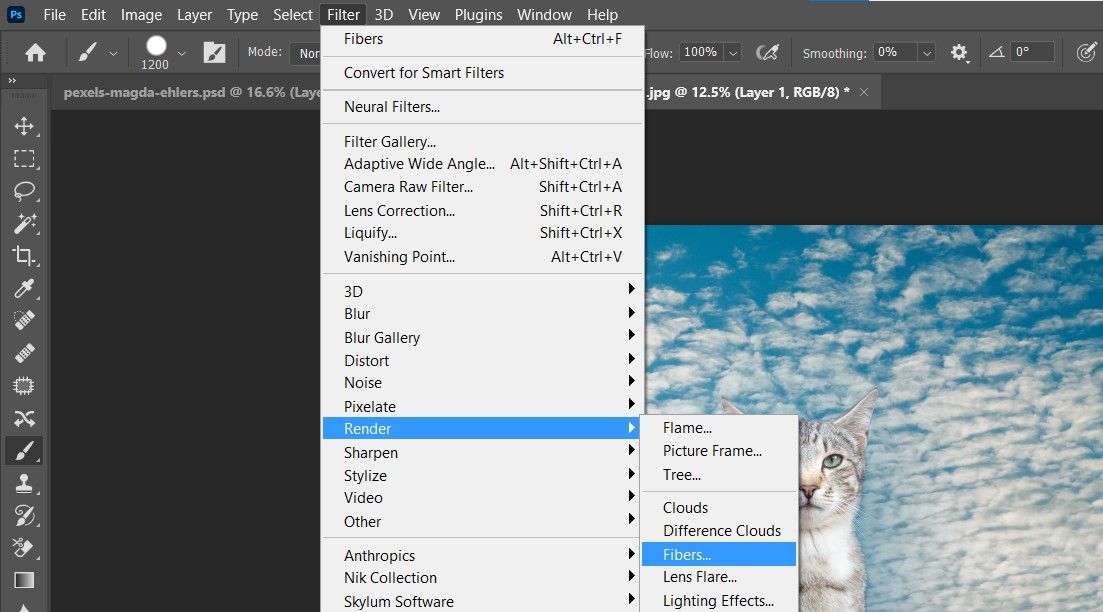
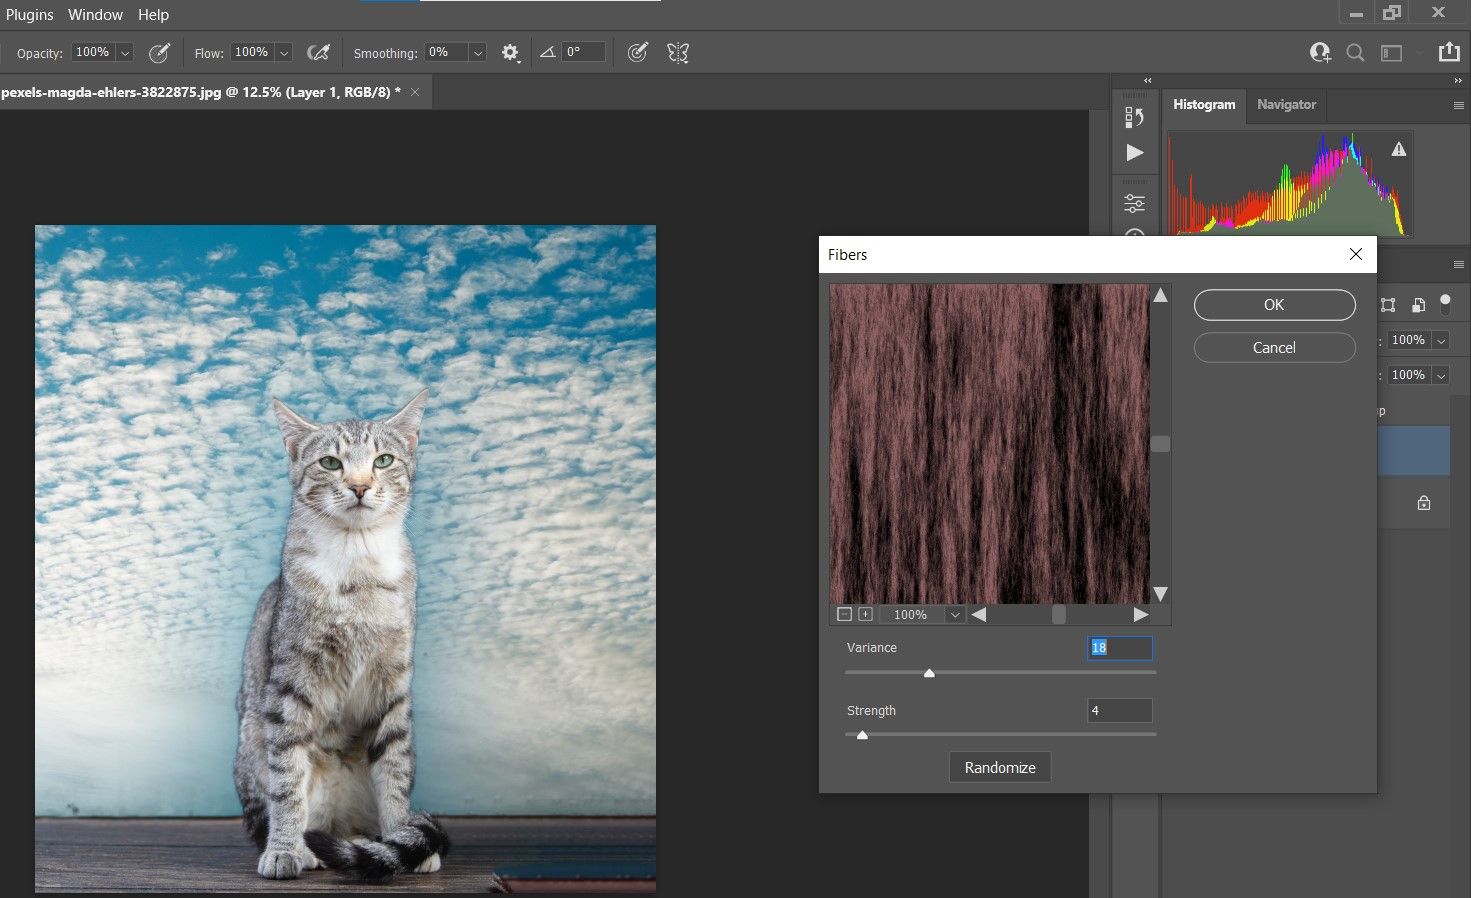
Go to Filter > Render > Fibers.
-
Click Randomize until you find the fibers that look best. Your selection really doesn’t matter, but keep the slider values close to these: Vibrance: 18 and Strength: 4. Then, click OK.
-
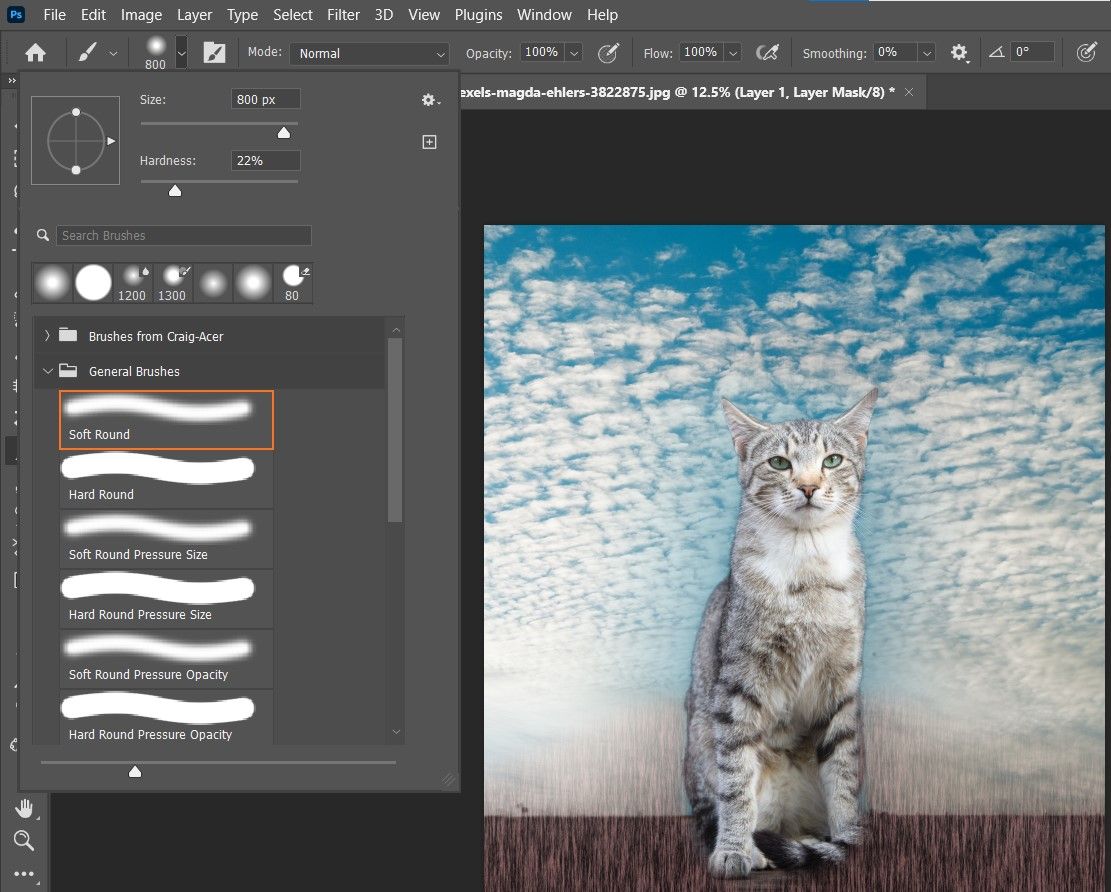
Add a Layer Mask by clicking on the Layer Mask icon at the bottom right-hand side of Photoshop.

-
Press B for the Brush tool. Select the Soft Round Brush from the Brush menu.
-
Toggle the X key until the foreground color is Black. Then, using your mouse or digital pen, paint off the effect of the fibers from the sky and the cat. Leave some of the fibers in the background, as shown (they will become mountains soon).
-
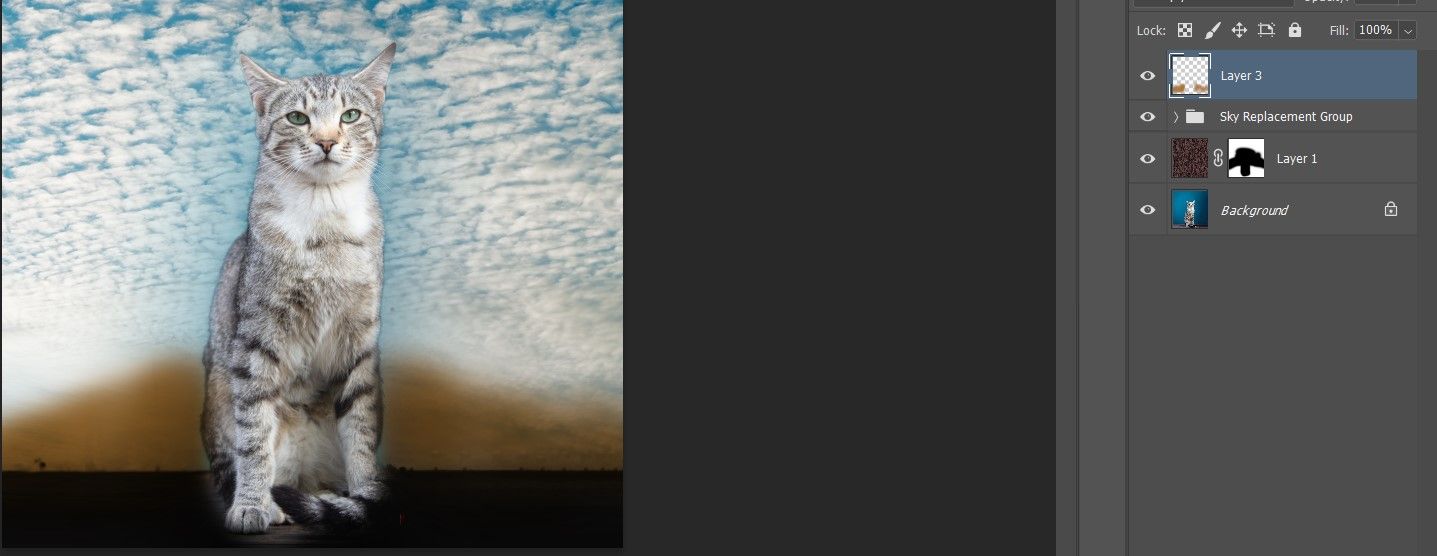
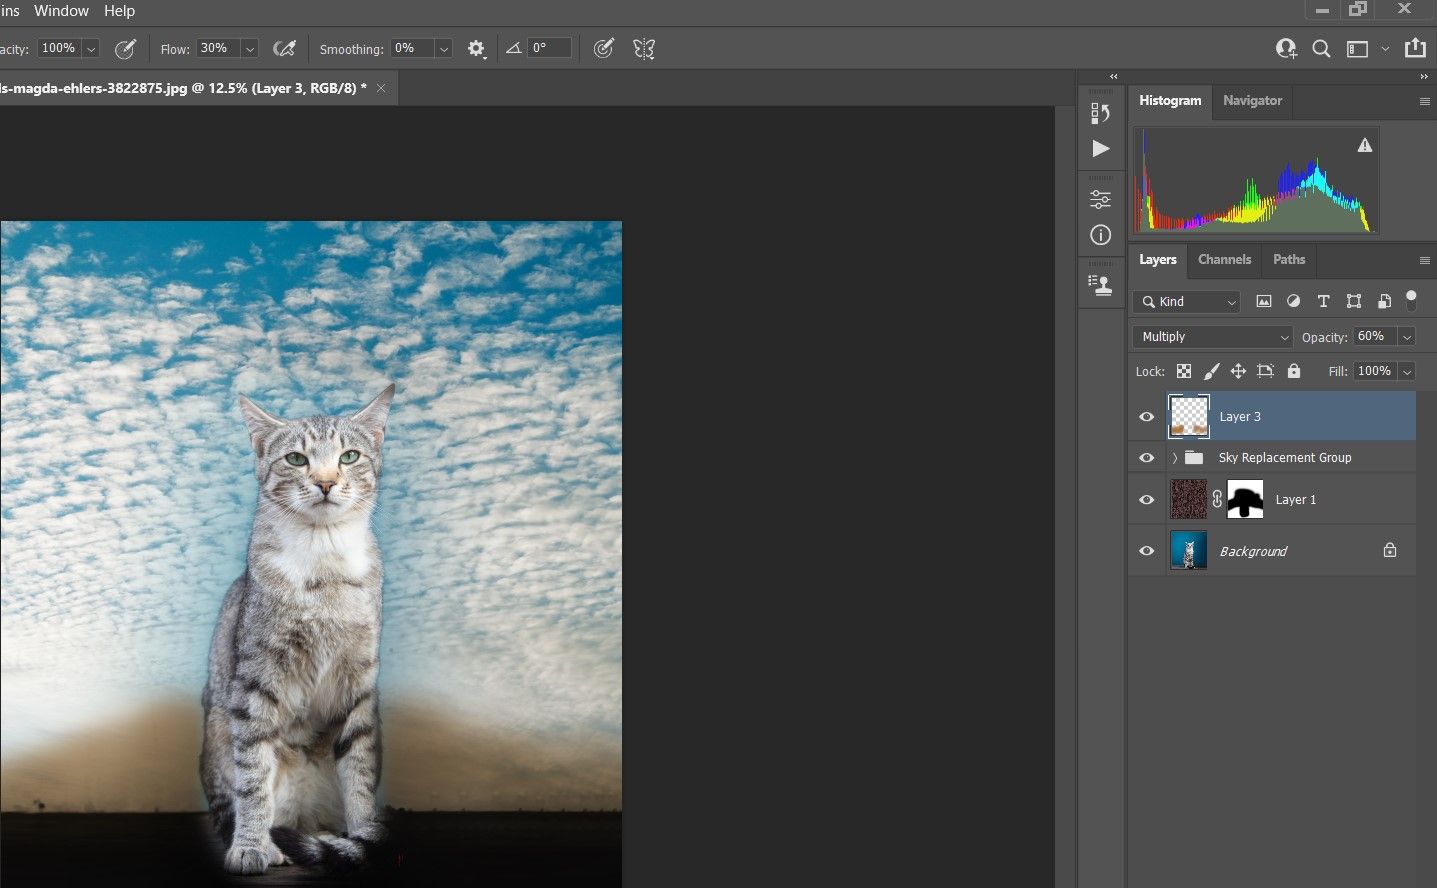
Click on the Sky Replacement Group layer. Create a new blank layer by holding Shift + Ctrl + N. Then, click OK.
-
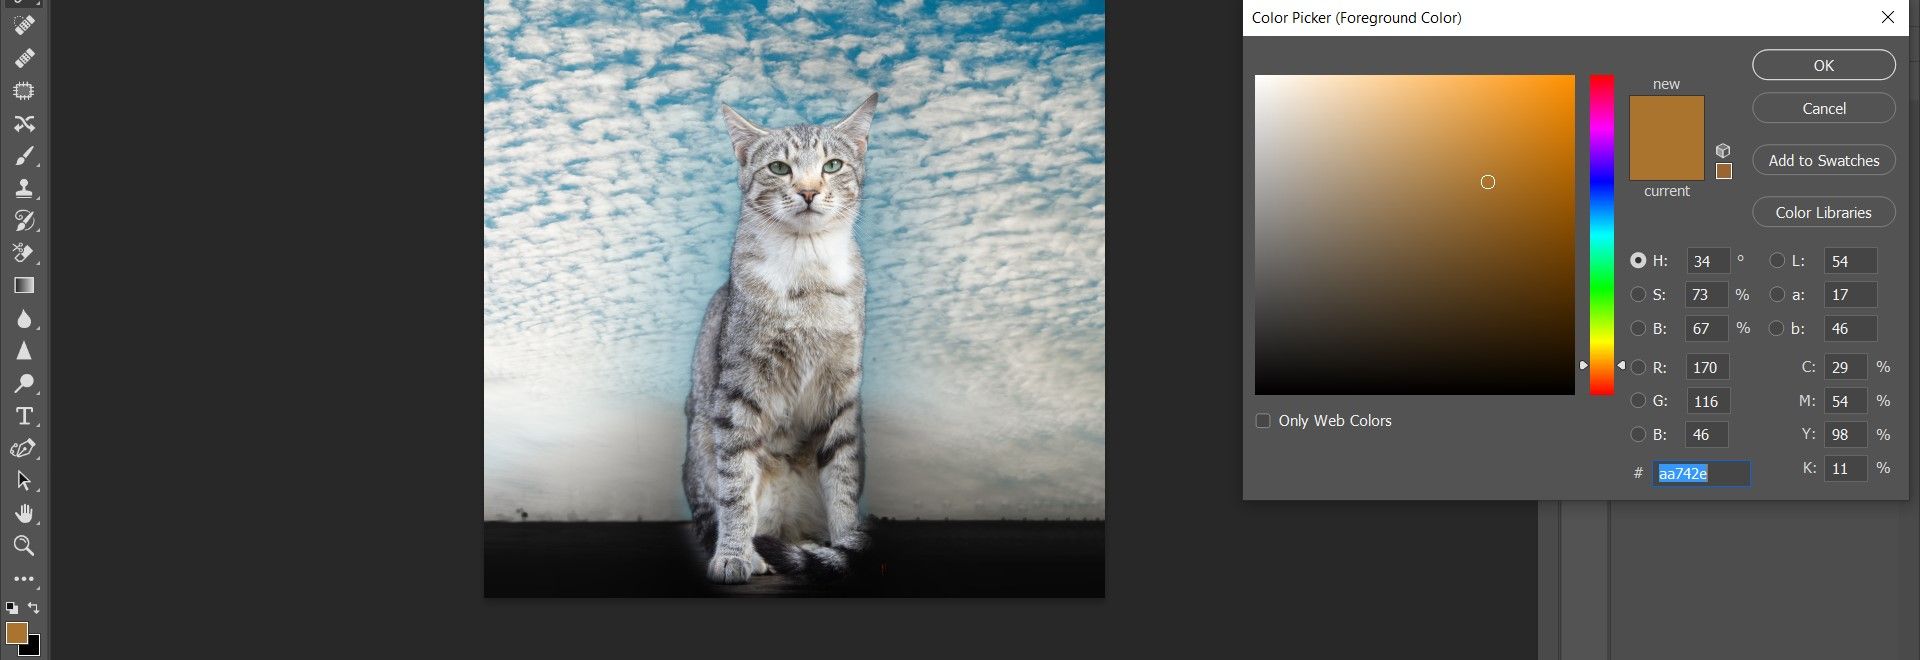
Double-click on the foreground color box. Create a brown color for the mountains. Enter these values if you prefer: H: 34; S: 73; B: 67. Then, click OK.
-
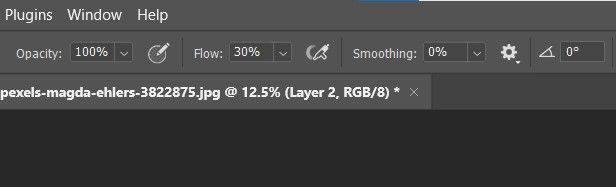
Set the brush Flow to 30 percent.
-
Change the blank layer blend mode to Multiply.
-
Press B for the Brush tool. Paint over the darker regions at the bottom of the sky where the mountains will be, as shown.
-
Change the layer Opacity to 60 percent (or to what looks good to your eyes).
-
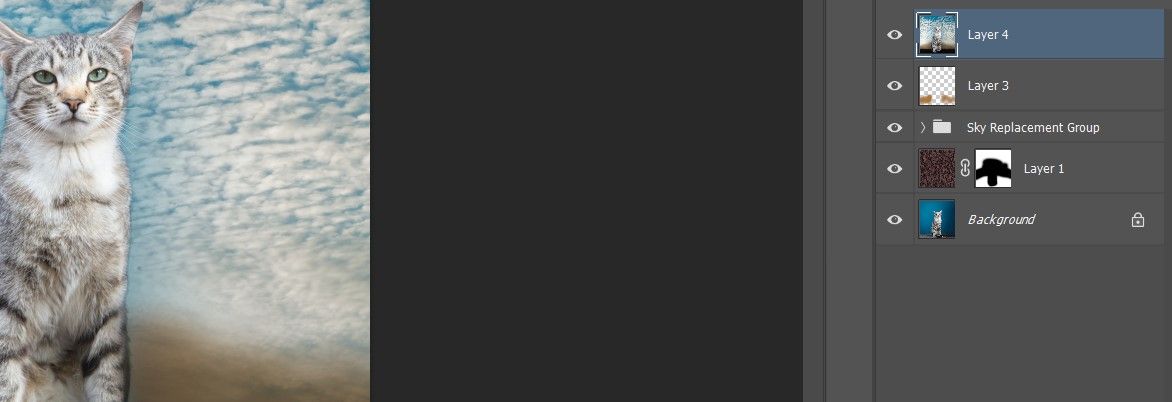
With the top layer selected, press Shift + Ctrl + Alt + E to create a stamp visible layer.
-
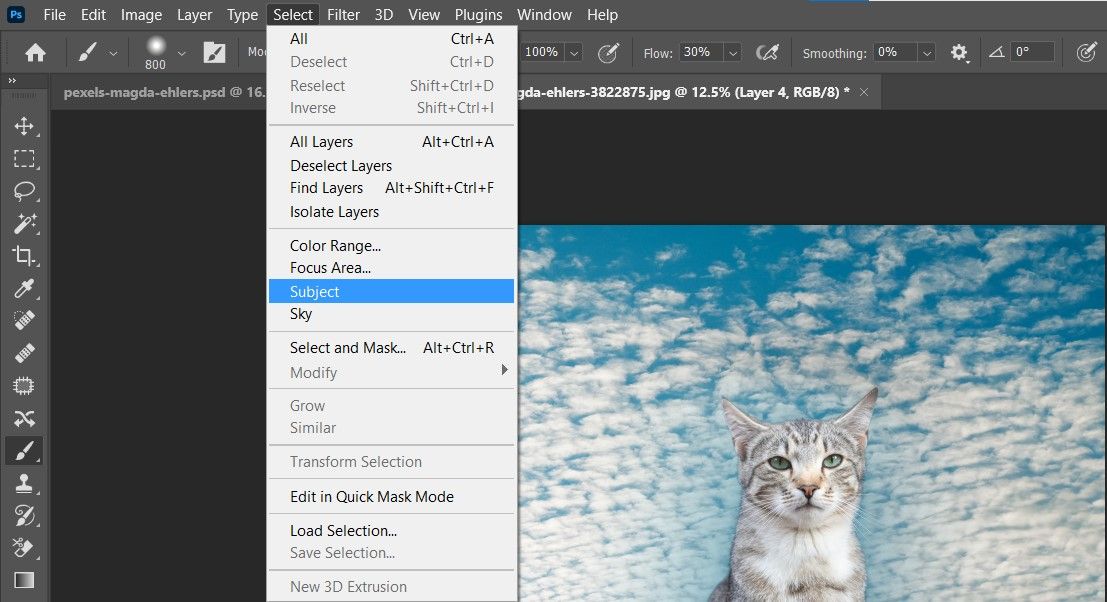
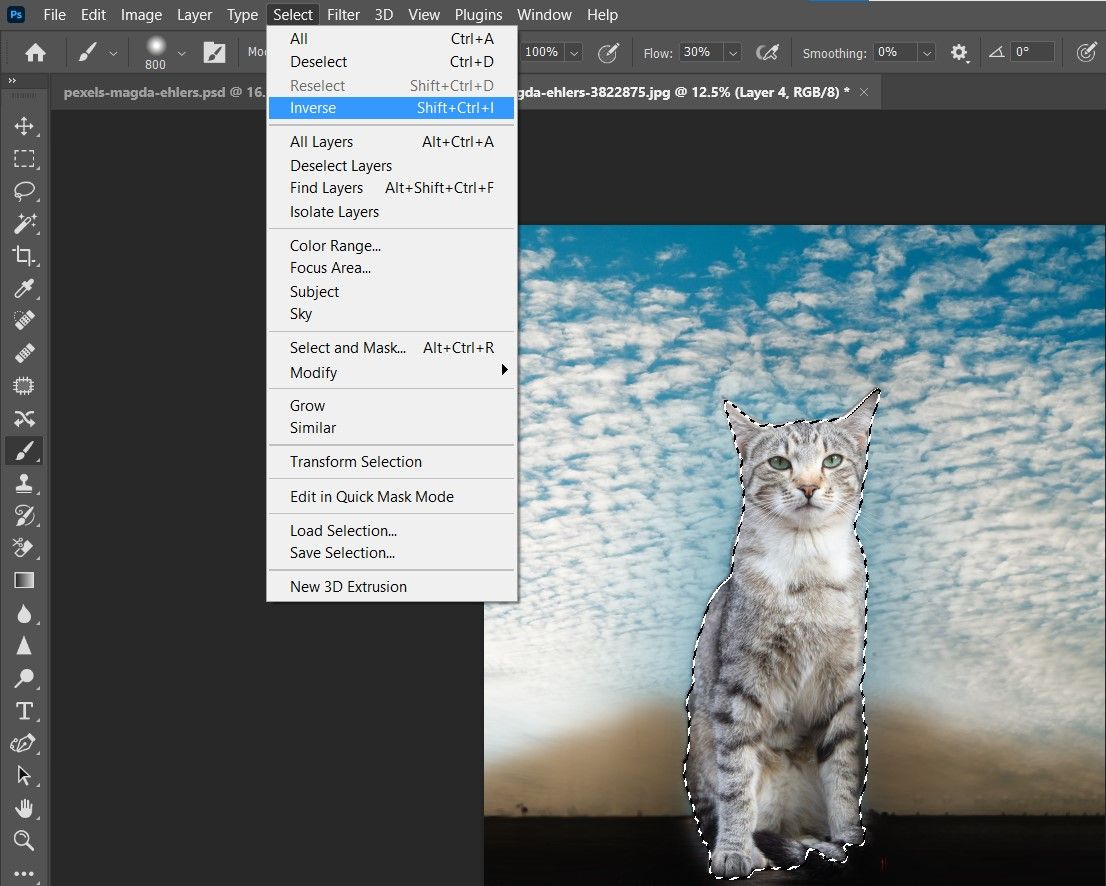
Go to Select > Subject.
-
Go to Select > Inverse to invert the selection.
-
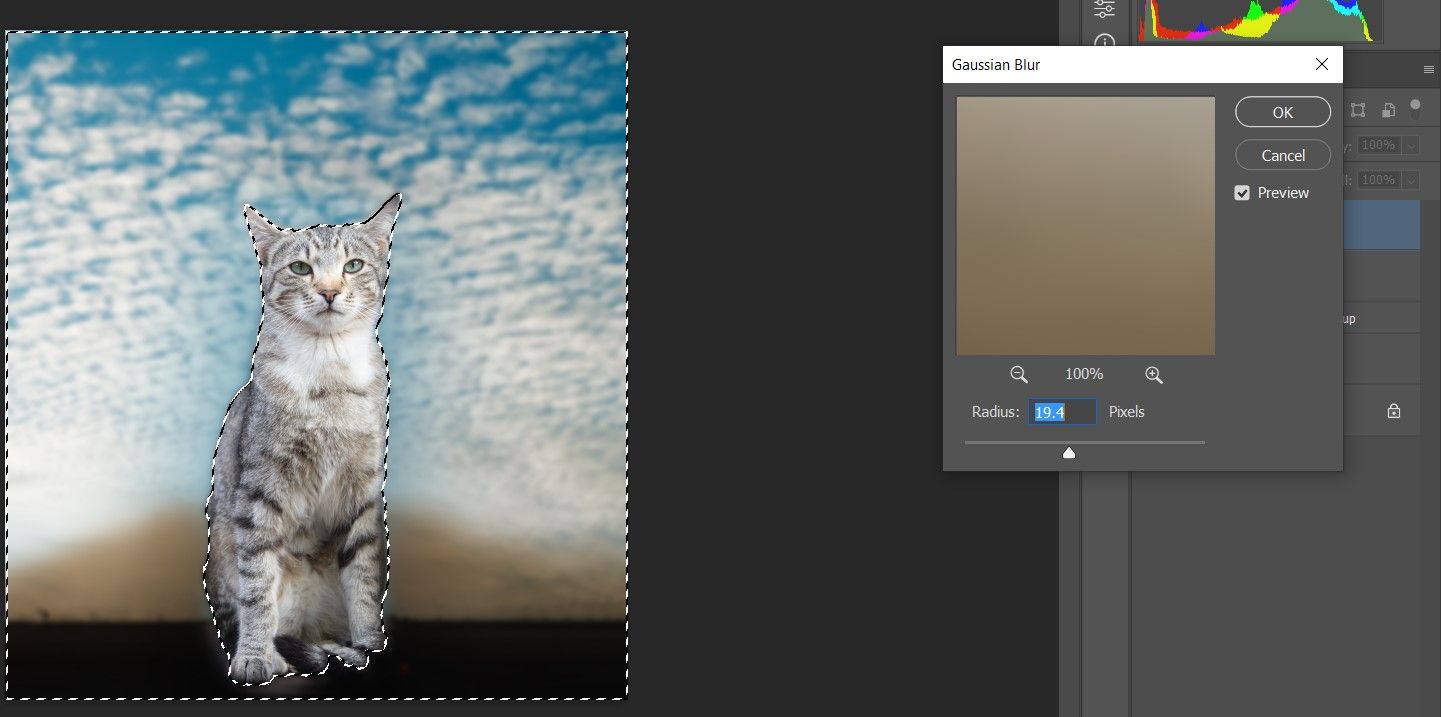
Go to Filter > Blur > Gaussian Blur.

-
Change the Radius to around 19. Click OK.
-
Press Ctrl + D to deselect and make the selection vanish from the image.
-
Click on the Create New Fill or Adjustment Layer icon at the bottom right-hand side of Photoshop and choose Color Balance.
-
In the Tone dropdown menu, enter these values (from top to bottom): Midtones: +32, +11, -6; Shadows: +18, +2, +6; Highlights: +13, -6, -13.
-
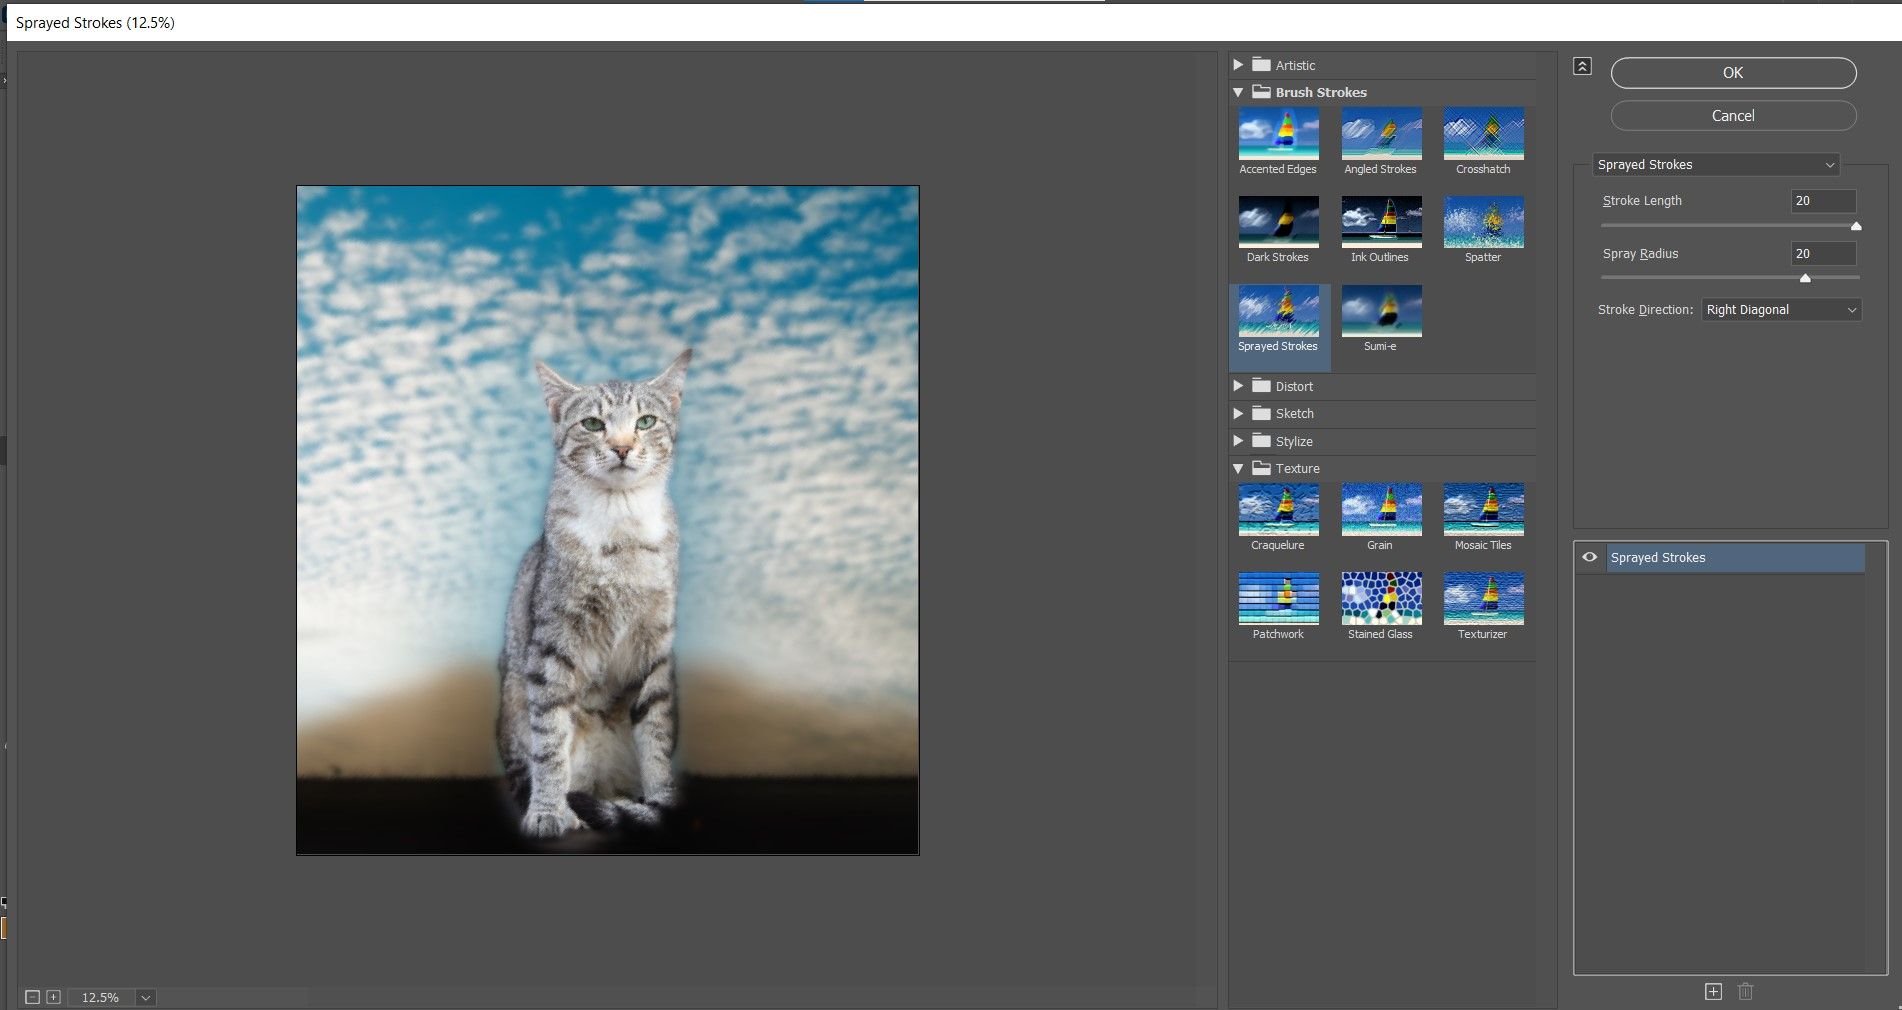
With the layer below Color Balance selected, go to Filter > Filter Gallery.

-
In the Brush Strokes menu, select Sprayed Strokes. Then, enter these values: Stroke Length: 20; Spray Radius: 20; Stroke Direction: Right Diagonal. Then, click OK.
-
Click on the Add Layer Mask icon at the bottom right-hand corner of Photoshop.
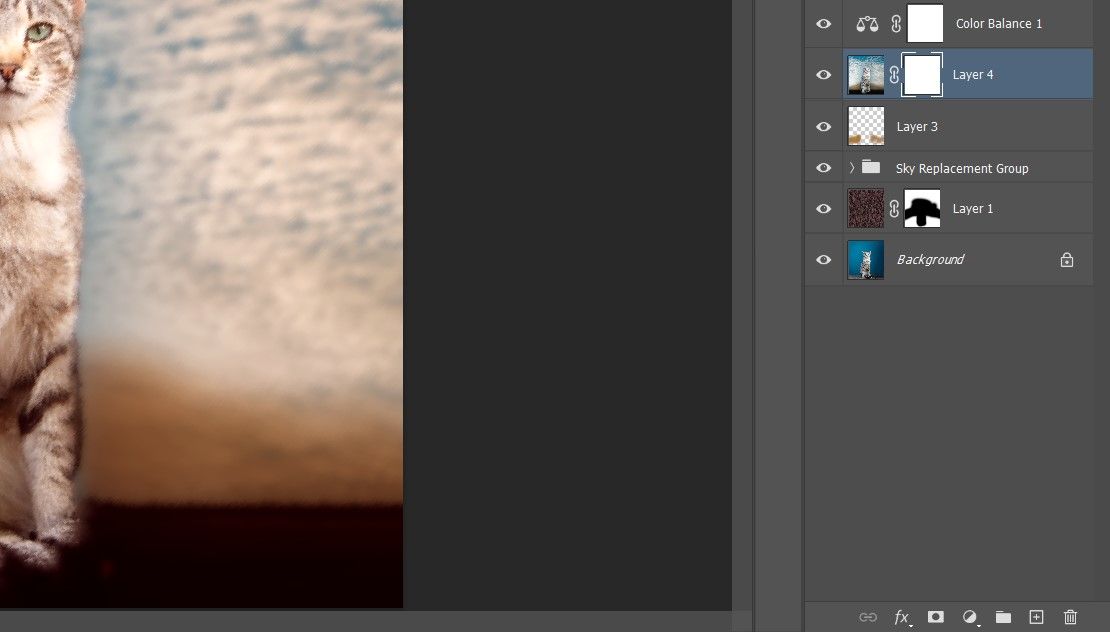
- With Flow set to 100 percent and Foreground color set to Black, carefully paint away from the Sprayed Stroke effect from inside the cat. Leave the outer edges of the cat alone so that it blends in nicely with the background.
-
Use the bracket keys [ and ] to change the size of the brush. Use Ctrl + and Ctrl - to zoom in and out.
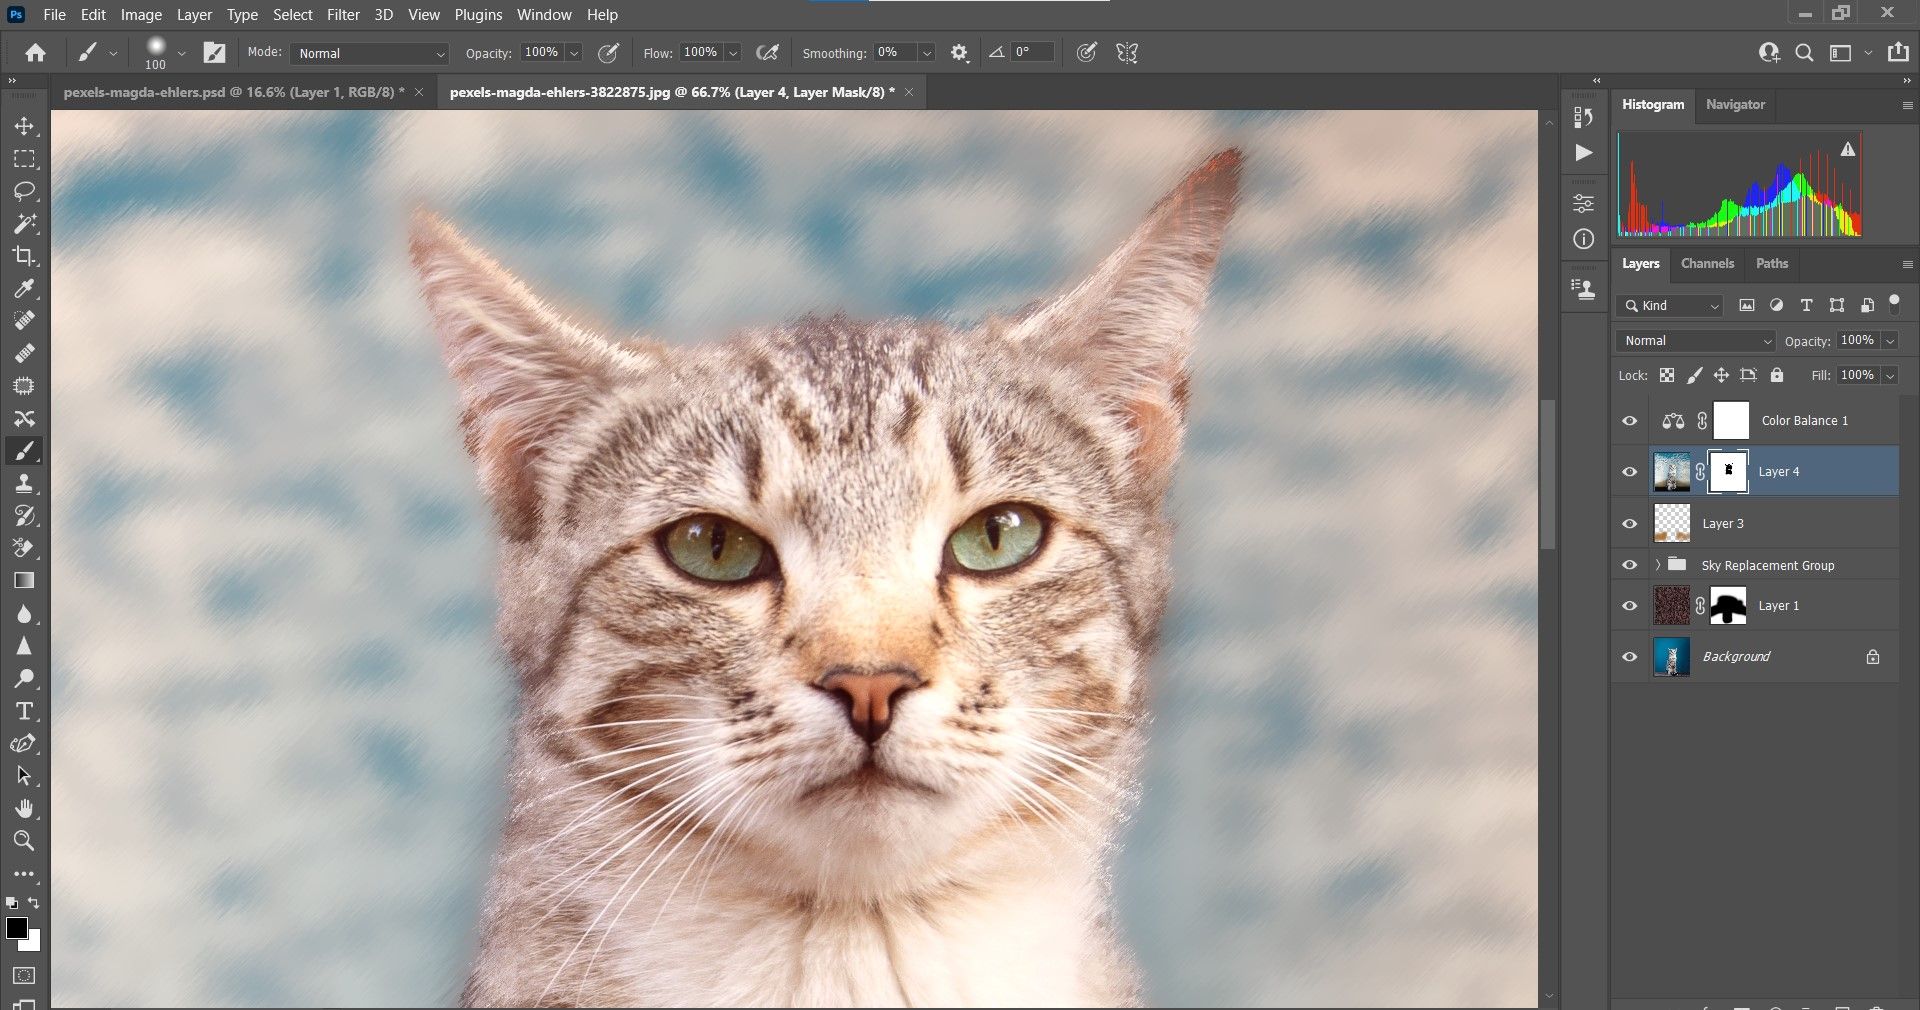


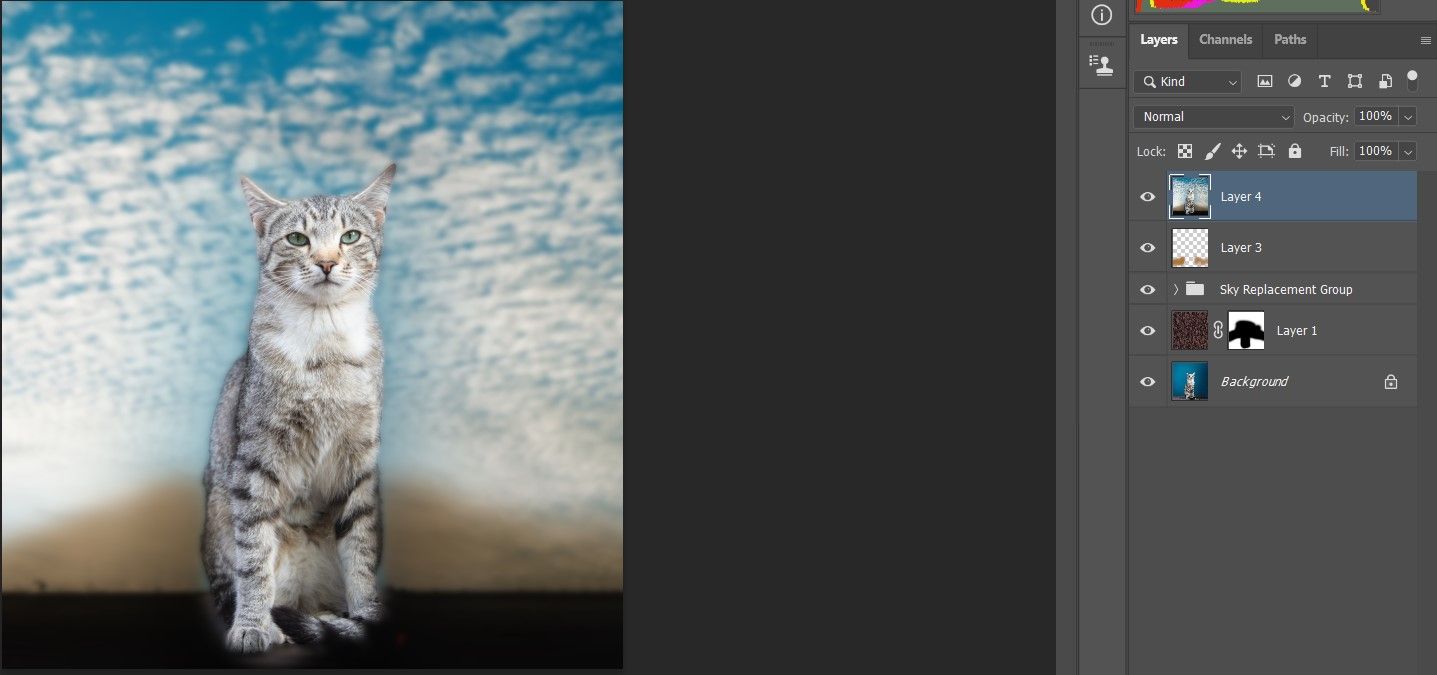
Here's how our cat portrait turned out:
Before:

After:

You probably noticed that we used an unlikely feature to change the background in this image, the Sky Replacement tool. Later editions of the Adobe Photoshop subscription model offer a set of tools to replace any sky.
Get the Perfect Shot and Then Make Use of Photoshop
The main difference between human and pet portraits is that with human subjects, we're able to more easily communicate with our subjects to make many of the important adjustments in-camera before we take the picture. But when it comes to our pets, we're often just lucky to be able to get the shot before they vanish from our frames.
That's why focusing on subject selection in our Photoshop workflow is so important. If we possess just a few basic skills in Photoshop, it's easy to remove backgrounds and to make our pets the primary focus. It's then up to our imaginations to turn our pet photos into works of art.