The old wisdom says that a picture is worth a thousand words. The underlying idea is that information conveyed through looking at something is far more effective than hearing or reading a description of it.
Screenshots are a sleek aid to have at your side, especially if you're trying to explain a complex topic. This guide will cover all the different ways to take screenshots on Ubuntu. So, without further ado, let's dive right in…
1. Take Screenshots Using Keyboard Shortcuts
Manual Ubuntu screenshots are the default, and generally, the more preferred way of screen clipping due to their simplicity. If you don't use Ubuntu for any heavy-duty stuff like photo manipulation or video editing, then this will probably be the most suitable method for you, too.
There are different ways to manually capture a screen on Ubuntu. Let's knock down all of them one by one.
Take a Screenshot of the Whole Screen
Simply press the Print Screen button on your keyboard to capture a clip of the entire screen. The screenshot will be auto-saved in the Pictures directory.
Capture a Specific Area in Ubuntu
You might find yourself in situations when you only have to capture a specific section of the entire screen---may be a dialog box, something specific on your browser, etc.
In such cases, press Shift and Print Screen together to capture the screenshot.
Take a Screenshot of the Current Window
Let's face it. If you're anything like the normal, distracted computer worker of the 21st century, you might've multiple tabs open on your browser right now.
If you only want to capture the current window open on your browser, as opposed to all the multiple tabs you've open on your screen, press Alt + Print Screen together. As with all the screenshots, Ubuntu will save the image in the Pictures directory by default.
Capture and Save Screenshots to the Clipboard
This method is useful when you want to use the screenshots in some other way---be it inside a document, or maybe in an email. Ubuntu will save the image to the clipboard and then, you can paste the screenshot wherever you want.
You can take all the different approaches to taking screenshots that we've talked about above---be it a complete screen clip of a window, a screenshot of only a specific area, or something else ---by adding just a slight tweak. Here's a quick sum-up of all the different ways:
- Screenshot the entire screen and save it to the clipboard: Ctrl + Print Screen
- Copy the screenshot of a specific region to the clipboard: Shift + Ctrl + Print Screen
- Save the screenshot of the current window to the clipboard: Ctrl + Alt + Print Screen
2. Using the Ubuntu Screenshot App
For a variety of reasons, some people just don't like to deal with keyboard shortcuts. If you are one of those folks, you can still get your work done with the default Ubuntu screenshot app called Screenshot.
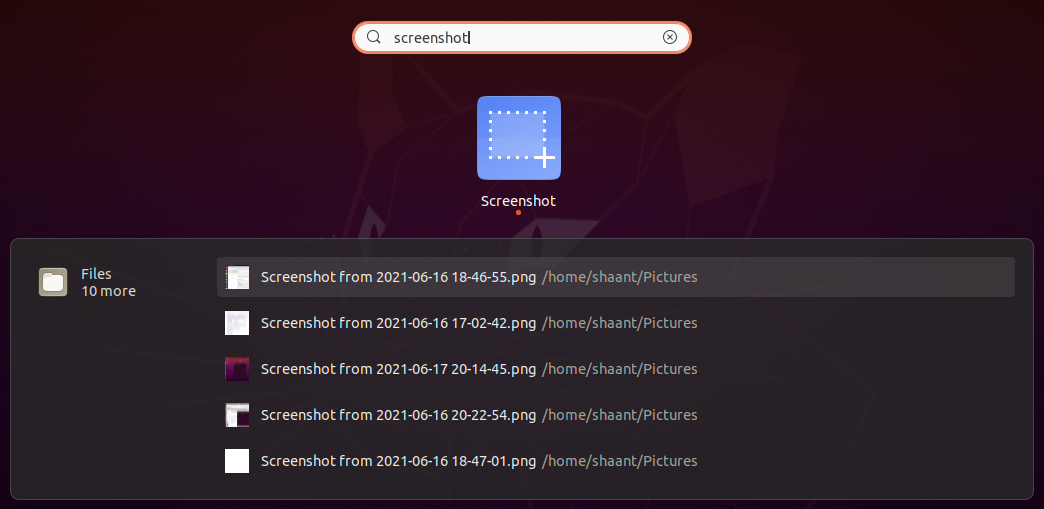
To get started, go to the Applications Menu and type screenshot in the search bar. Then, select the best match to open the Screenshot app. Select the kinds of screenshots you want and follow the instructions ahead to wrap things up.
One thing that gives this method the upper hand is that you get more control over the way you want to take a screenshot. You'll get a bunch of different features and effects that you don't normally get with keyboard shortcuts.
There's an option to delay a screenshot after you click it, an ability to include pointers, and a feature to apply different effects like drop shadow, vintage, and even borders.
3. Take Screenshots on Ubuntu Through the Terminal
We understand if you are big on the terminal. Once you've realized the power of the command line, how can you go back to the old GUI way? Open the terminal with Ctrl + Alt + T and enter the following command:
gnome-screenshot
Hit Enter and the terminal will capture the screenshot of the whole screen. However, note that this command will capture the terminal window along with the screen clip. If you don't want that, you'll have to delay the screenshot process by a few seconds, while you minimize the terminal window.
You can add a delay to the screenshot using the -d flag.
gnome-screenshot -d 3
Here, -d stands for Delay, and the numeric 3 stands for the number of seconds you want to delay the screenshot by.
But, if you're only interested in capturing the current window, use this command:
gnome-screenshot -w
For a slight variation, type the following command, and you'll have a border around your screenshot:
gnome-screenshot -w -b
4. Take Screenshots on Ubuntu With Third-Party Apps
If you've tried your hands on all the methods mentioned above and are still not impressed, then taking screen snips using third-party tools is your last resort.
Now, don't worry, you won't need to pay for anything. Thanks to the open-source culture of the Linux community, you have tons of free options to choose from.
There are a bunch of Ubuntu screenshot tools available but two apps stand out to be the best. The first one is Shutter, and the second is Gimp. Here's how you can use them.
Capturing Screenshots With Gimp
Before you go ahead, note that GIMP has many advanced features, and so, comes with a steep learning curve. So, it's only a good idea to use GIMP if you have some advanced editing needs.
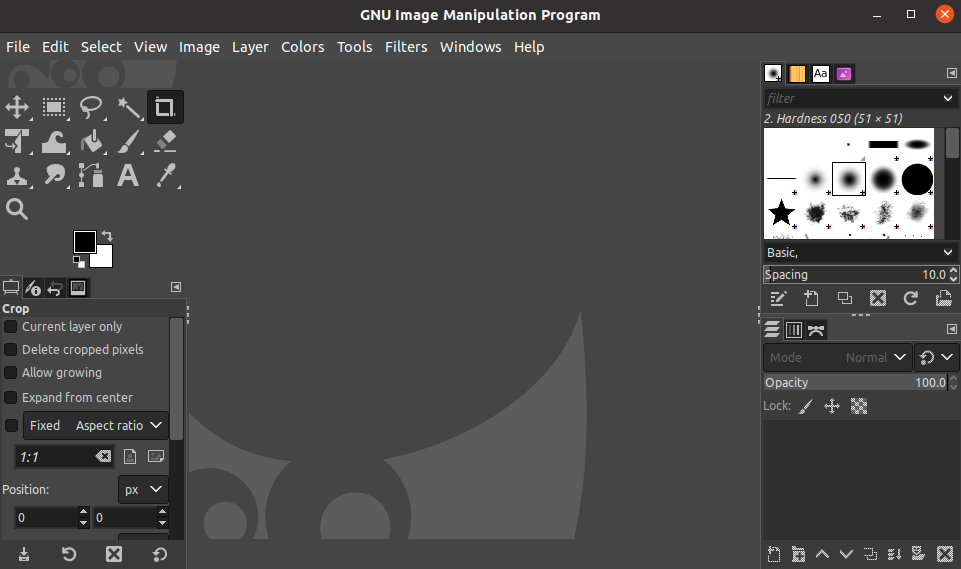
Go to Ubuntu Software, search for GIMP, and install it from there. The system will ask for your password for verification. It'll take a few seconds to install GIMP on your system.
Once done, click on the Launch option to open the application. Select File > Create > Screenshot to take the screen clip.
Using Shutter for Taking Screenshots
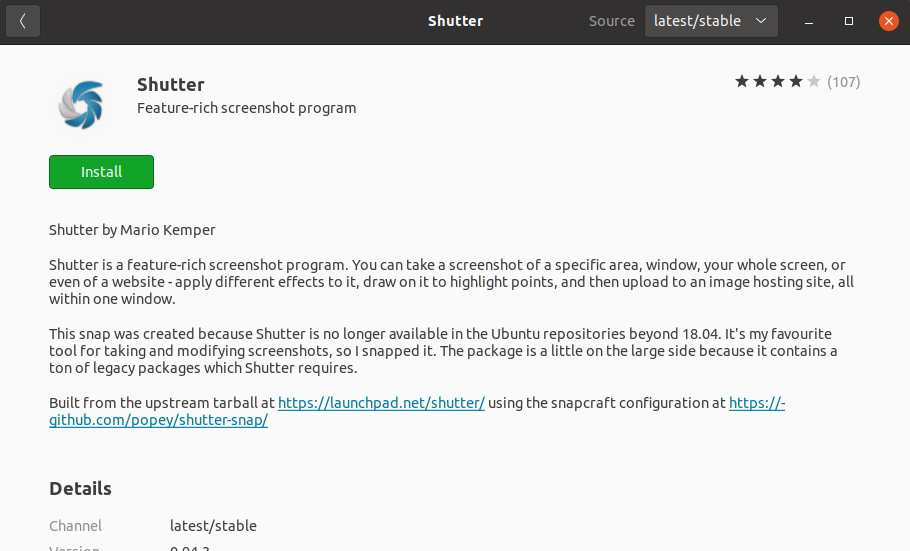
To install Shutter, go to the Ubuntu Software app, search for Shutter, and click on Install.
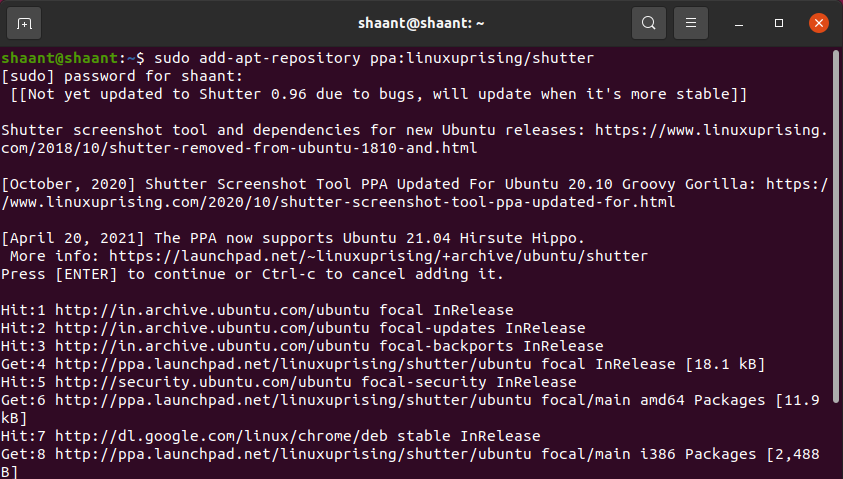
Alternatively, you can install it through the terminal. But first, you'll have to add the official Shutter PPA to your system using the add-apt-repository command:
sudo add-apt-repository ppa:linuxuprising/shutter
Now, update your system's repository list and install the Shutter app:
        sudo apt-get update
sudo apt install shutter
The system will start installing Shutter on your computer in a few seconds.
Taking High-Quality Screenshots on Ubuntu
And that's all, folks. Hopefully, one of these methods helped you take screenshots on Ubuntu and get done with your work. But don't stop now. There's a lot to learn in Ubuntu and the Linux operating system in general.


