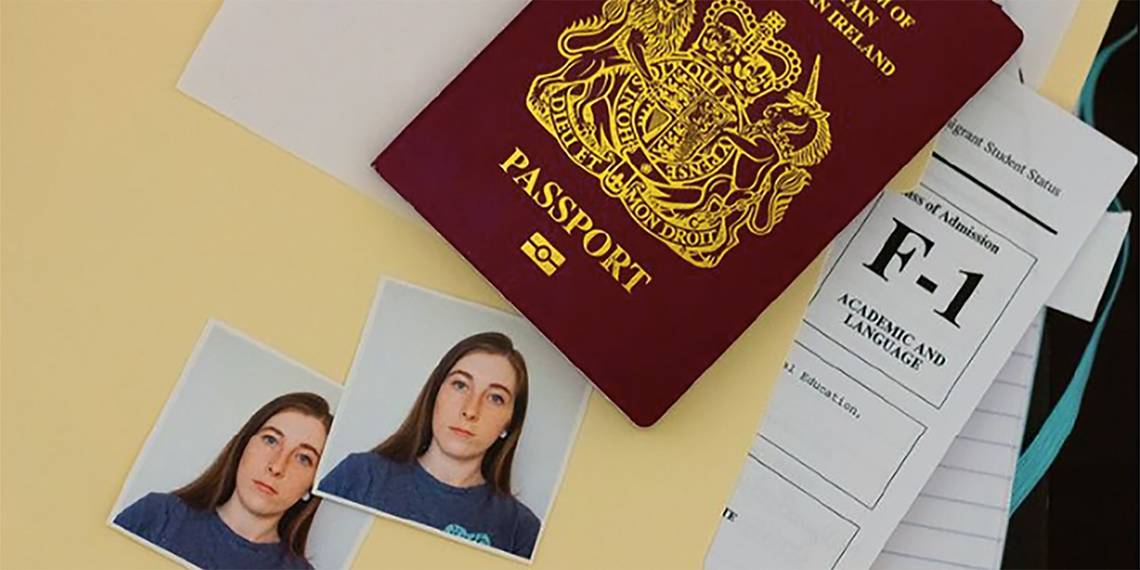
Gone are the days you had to traipse to your local Walgreens and sit in a white box to have your passport photo taken. You can create high-quality, government-accepted, passport photos using your smartphone. You likely already have all the equipment at home, so what are you waiting for?
Equipment for Taking Passport Photos With a Phone

To save you the trouble of heading to a passport photo booth, you can take your passport photo at home with just a few pieces of equipment. You shouldn’t need anything special, but if you do, it’s listed here:
- Smartphone with a high megapixel count and a big sensor size
- The best phone tripod or an assistant
- White background
- Neutral lighting
- Photo editing app
- Home printer
How to Take a Passport Photo With Your Smartphone
With the correct equipment, it doesn’t take much to create passport photos with your smartphone. Just follow these simple steps to take a great passport photo from the palm of your hand.
Step 1: Clear Your Face
As per your country’s guidelines, remove facial jewelry, temporary modifications, hats, and eyeglasses. You can keep any religious headwear or medical devices on but ensure that your face is visible.
You may wear modest or natural makeup, but do not wear extreme makeup or hairstyles. Hairstyles shouldn’t cover your face more than simple bangs and your hair should fit naturally within the frame. Check the USA’s passport photo requirements to be sure, and remember that different countries may have different requirements.
Step 2: Find a Light Background and Neutral Lighting

Stand or sit (with no visible chair) in neutral lighting with a white or off-white background. Stand a few feet away from the background to ensure there isn’t a harsh shadow behind you.
Your skin should be lit as its natural color without colored hues or dark shadows. Time your photo session with the sun to avoid harsh lighting or golden hues. While golden hour is a great time for portraits, the passport office won’t appreciate it.
Step 3: Set Up Your Phone
Use the back camera of your phone as it’s a better quality camera than the front-facing one. If you are taking your photo alone with a tripod, set a mirror behind your phone, so you can view your screen and adjust your placement. Set your phone in portrait orientation for the photos.
Using a tripod may take longer to initially set the composition, but you can ensure it won’t change once it’s set. If you have a friend taking the photo, they can easily and quickly reframe the shot whenever needed.
You shouldn’t use any filters or effects on your camera. Just use the standard camera, not zoomed in or with portrait mode switched on. Use the default camera on your phone and not any third-party apps to ensure no further effects appear.

Step 4: Compose Your Headshot
Switch on your camera grid lines and sit or stand so your head is in the middle of the frame and your shoulders are at the bottom. While the passport requirements specify certain spacing around your head, it is better to take the photo with more than enough space rather than trying to get the spacing exactly right when composing the frame.
Ensure the camera is angled straight and square onto your face, so there are no upwards, downwards, or sideways angles. Take a test shot to check the lighting, angle, and background. Review it and change whatever needs fixing. Note that you may need to move location to fix lighting issues when working with natural light.
Step 5: Take the Photo
Once your shot is composed, you can take your photo. Remember to keep a neutral expression and don’t smile. Look directly at the camera lens.
Capture multiple shots. If you are using your phone’s self-timer and a tripod, turn on Burst Mode. This ensures you have multiple shots to choose from, and you don’t just get one shot with your eyes closed. Here’s how to take, view, and share Burst Mode photos on iPhone.
If you have a friend taking your photo, they should take multiple shots before reviewing, or they can also use Burst Mode. It doesn’t matter too much if the photos are not totally straight or framed correctly; they can be cropped and straightened later.
Step 6: Review Your Photos
Before claiming to be done and packing everything away, you should check through the photos to find at least two that are appropriate. As mentioned, straightening or cropping can be done, so focus on how your face looks. Is it free of hair, jewelry, and glasses? Are your eyes open? Are you in focus?
If you find at least two photos where the answer is "yes", then move on.
Step 7: Edit Your Passport Photo

The biggest recommendation is not to edit your passport photo; however, there are small exceptions. Straightening or cropping your photo to your country’s requirements can be done easily without negative effects. This can often be done with your phone’s native editing features.
Before editing, check your country’s government website for size and other factors you’ll need to know. Not all countries are equal, and some get updated yearly. The USA currently requests photos be printed 2 x 2 inches. Your head must be between 1 and 1 3/8 inches from the bottom of the chin to the top of the head once printed.
For slightly more complex editing, you’ll probably need a photo editing app, such as Adobe Photoshop Express (which is free) or Lightroom for mobile.
If your background isn’t white enough, you could edit the white balance to achieve the correct tone. Be wary of affecting your skin color as it needs to remain natural. And if you had any minor distractions in your background, use a clone tool to remove those to ensure the background is all the same color.
Following the required measurements may be difficult from a phone app. If you have access to a computer, you can import your photo to Adobe Photoshop, GIMP, or Photopea to crop and resize it correctly.
Step 8: Print Your Passport Photo

Some countries allow for online passport renewal, in which cases, you won’t need a printed copy of your passport photo. But if you require it printed, it’s easy to do. From a home printer, you can print your passport headshot onto matte or glossy photo paper.
From your phone or computer printing settings, set the photo to 100%, so it doesn't stretch or warp to an incorrect size. If you need multiple copies—and it’s never a bad idea to have them—set your print settings to repeat. Print a test on normal copy paper to check that the sizing is correct before printing on more expensive photo paper.
Once printed, cut them out with scissors and a steady hand. You could also use a Cricut machine or a guillotine. It is often a good idea to keep one or two printed copies of your headshot, in case you need them while traveling.
Create Passport Photos From the Palm of Your Hand
With any modern smartphone, you can save time, money, and embarrassment by taking your passport photos in the comfort of your own home. It’s easy to do on your own, and probably even easier to do with a friend. You don’t need any special equipment and you’ll only need to leave the house to walk to your mailbox to post the application.