When running a project on a headless Raspberry Pi, it may not always be convenient to plug it into a monitor when you want to change something. This is where SSH (Secure Shell) comes in, enabling you to access and control the Raspberry Pi remotely from another computer or even a smartphone on the same network. We’ll first show you how to enable SSH, then how to SSH into Raspberry Pi from another device.
Enable Raspbery Pi SSH at Installation
By default, for security reasons, SSH is disabled in the standard Raspberry Pi OS (formerly known as Raspbian). So, to be able to SSH to Pi, you will first need to enable it.
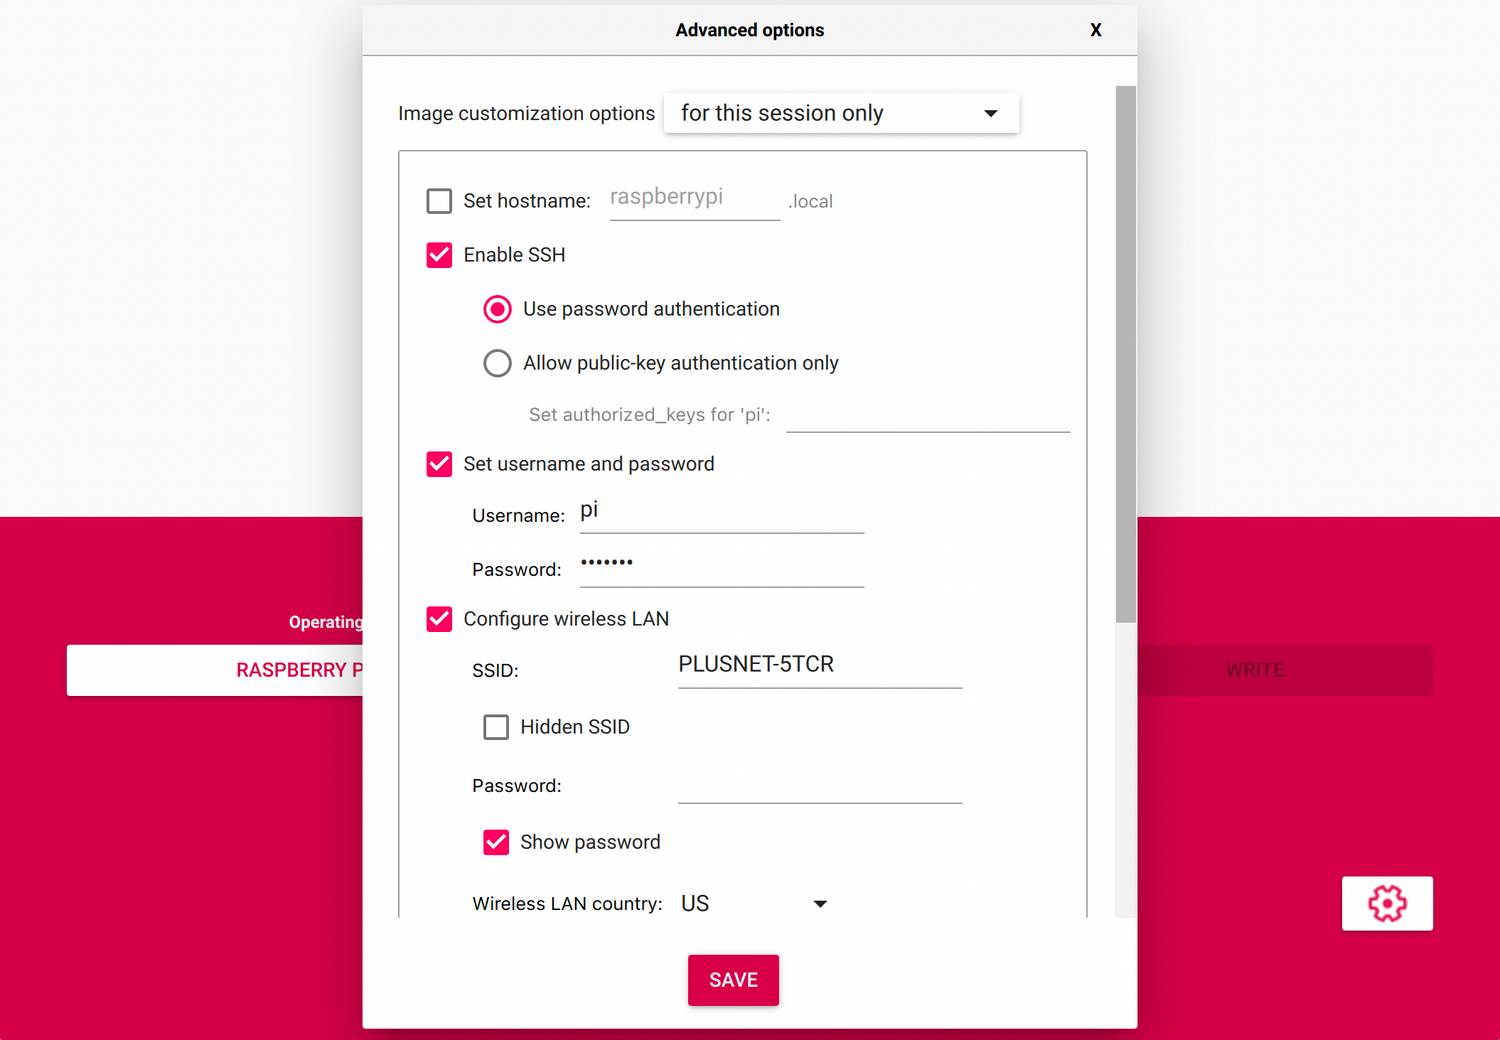
If you are installing Raspberry Pi OS from scratch onto a microSD card, you can use the Advanced Settings in the Raspberry Pi Imager tool (click the cog icon after choosing the OS) to enable SSH and set a username and password. While you’re at it, add your wireless network details so that the Raspberry Pi will automatically connect to it. Click Save to keep the settings, then write the OS to your microSD card as usual. You’ll then be able to SSH to Raspberry Pi as soon as it boots up.
Enable Raspberry Pi SSH in Existing OS
Alternatively, you can enable SSH from within an existing installation of Raspberry Pi OS. With your Raspberry Pi connected to a monitor, open the raspberry icon menu on the desktop and select Preferences > Raspberry Pi Configuration. Then click the Interfaces tab and click the Enabled radio button for SSH.
If using Raspberry Pi OS Lite (without the desktop GUI), you can enable SSH via the raspi-config utility. Enter the command:
sudo raspi-config
Then navigate to Interfacing Options > SSH and select <Yes> at the prompt, "Would you like the SSH server to be enabled?" Press Enter to confirm, then select Finish to exit raspi-config. You’ll now be able to SSH into Pi from another computer.
Find Raspberry Pi’s IP Address
WIth SSH enabled and your Raspberry Pi connected to your network, you are ready to connect to Raspberry Pi via SSH from another device. You will need to know either your Raspberry Pi’s hostname (raspberrypi.local is the default, but you can set it in Raspberry Pi Imager’s Advanced Settings) or its IP address to log in.
You can find the Raspberry Pi’s IP address by visiting your router’s homepage to see a list of connected devices. Alternatively, to find the IP address from the Raspberry Pi (connected to a monitor), enter this Terminal command:
hostname -I
So that it never changes, you may also want to set a static IP address on Raspberry Pi. Alternatively, you may be able to reserve an IP address for the Raspberry Pi in your router’s settings.
SSH Into Raspberry Pi From Windows
On a Windows 10 or 11 PC, you can use the PowerShell to SSH into Raspberry Pi. Press Ctrl + Shift + P to open the PowerShell, then enter either of these commands:
ssh [username]@[hostname].local
or
ssh [username]@[IP address]
Replace [username] and [hostname] or [IP address] with your own Pi’s details. For example, ssh pi@raspberrypi.local or ssh pi@192.168.1.151.
Alternatively, you can use the PuTTY utility, which is a more sophisticated tool and will work on any Windows PC. In the PuTTY dialog, select SSH as the connection type, enter the Raspberry Pi’s IP address or hostname in the Host Name (or IP address) box, then click Open. You can also click Save to save the connection details in PuTTY.
SSH Into Raspberry Pi From macOS
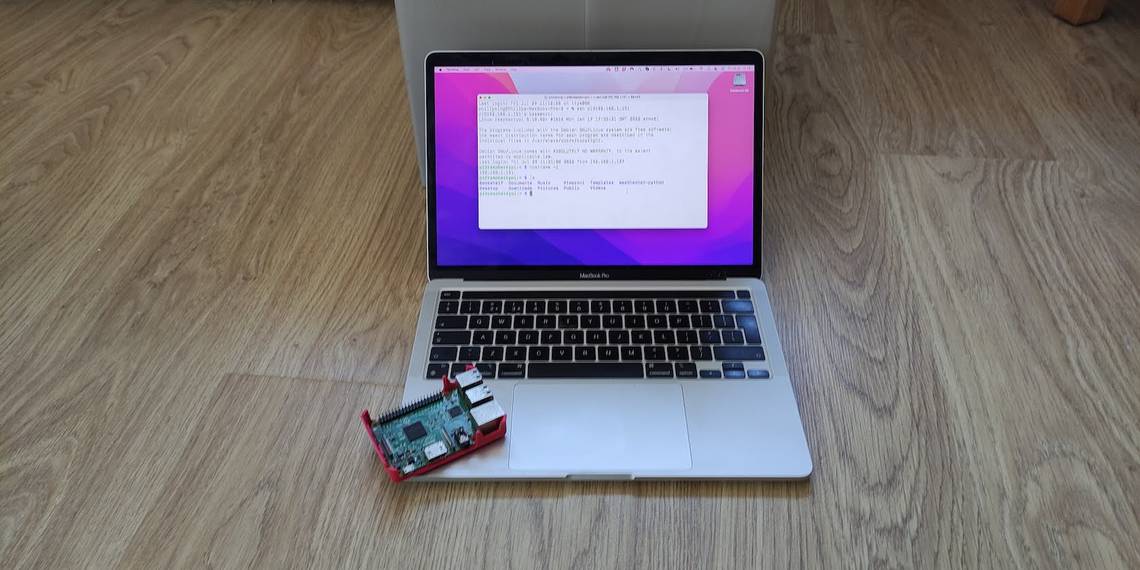
On a Mac, open the Terminal utility (in Applications > Utilities), then enter either of the following commands to connect to Raspberry Pi via SSH:
ssh [username]@[hostname].local
or
ssh [username]@[IP address]
Replace [username] and [hostname] or [IP address] with your own Pi’s details. For example, ssh pi@raspberrypi.local or ssh pi@192.168.1.151.

SSH Into Raspberry Pi From Linux
On a Linux PC (or even another Raspberry Pi), open a Terminal window by pressing Ctrl + Alt + T, then enter either of the following commands to connect to Raspberry Pi via SSH:
ssh [username]@[hostname].local
or
ssh [username]@[IP address]
Replace [username] and [hostname] or [IP address] with your own Pi’s details. For example, ssh pi@raspberrypi.local or ssh pi@192.168.1.151.
SSH Into Raspberry Pi From Android
There are several SSH remote access apps available in the Play Store, such as the free ConnectBot app. To connect to your Raspberry Pi with it, click the + (plus) symbol and enter the login details, such as pi@raspberrypi.local or ssh pi@192.168.1.151. You can also give it a nickname if you want. Click the + (plus) symbol to save the connection, then click on it from the list to connect to Raspberry Pi. Enter your password and you're in.


SSH Into Raspberry Pi: Success
You now know how to enable SSH on Raspberry Pi, find its IP address, and then SSH into Pi from another device to control it remotely using standard Linux terminal commands. This is a very useful skill when you are using a Raspberry Pi headless, without a monitor or keyboard connected.