There are several ways to "split" a mesh in Blender, although all of the tools and techniques that you have to choose from vary slightly in terms of just what exactly they're doing to your object.
The good news: it's all dictated by protocol and a relatively simple system of mathematical authority. In this example tutorial, we're going to do something super simple; separating part of the mesh at the object level, creating a new object on a separate object layer.
How to Split a Mesh in Blender
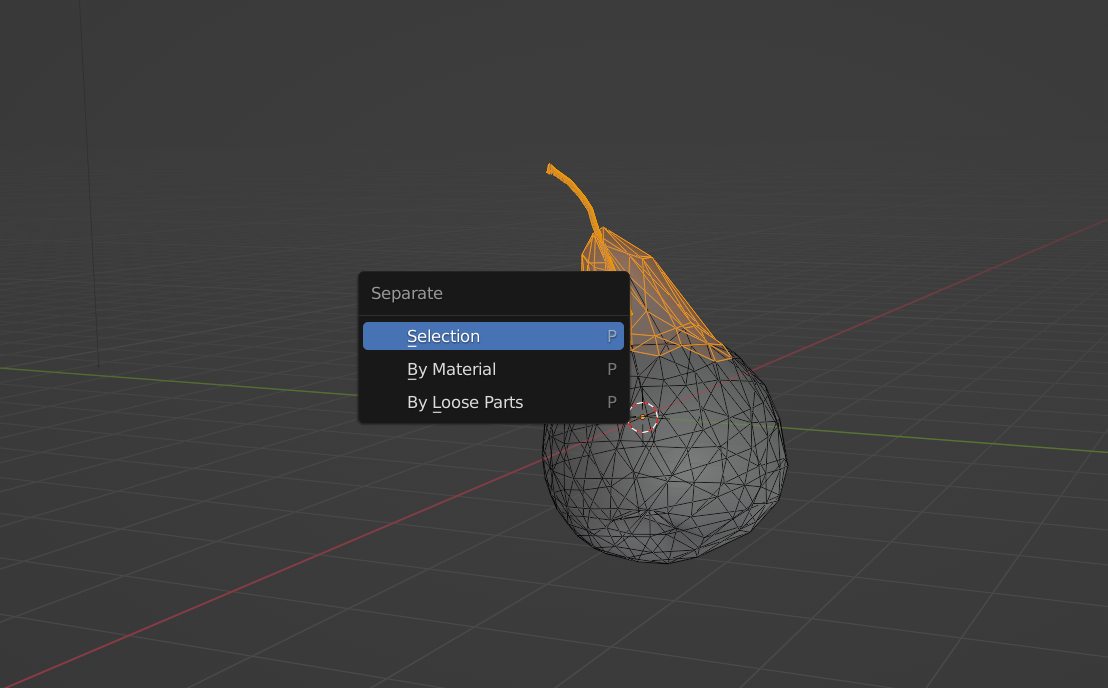
To create a new object out of part of an existing mesh in Blender, follow these simple steps:
- Ender Edit Mode.
- Select the geometry that you would like to pull away from the rest.
- Hit P.
- Choose Selection.
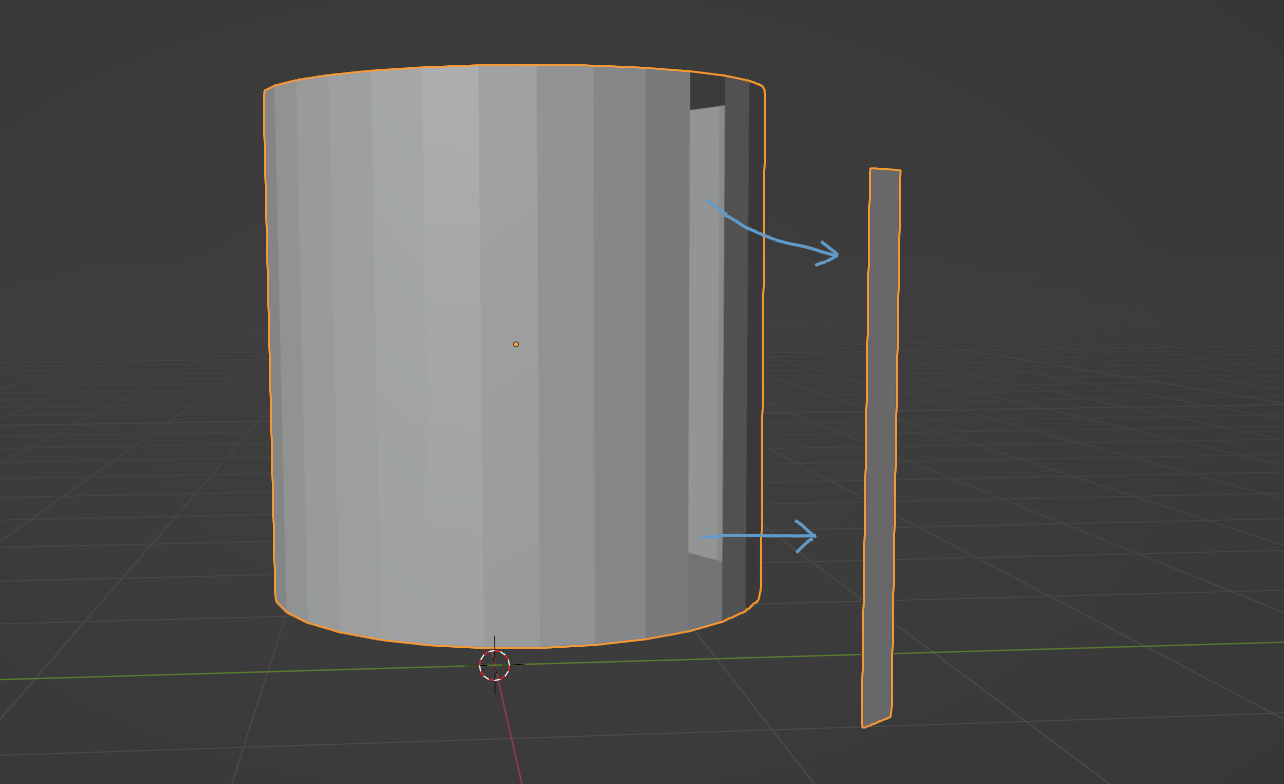
That's it—once you've done this, your selection should go solid. It should also now be outlined in red.
Tab back into Object Mode and select it. Hit G to move it; it should now be totally split from what remains of the rest.
Use Ctrl + J to Join two or more objects together. Before moving on, it's a good idea to either Fill any newly-open faces with the F hotkey, or to Recalculate Normals with Shift + N to correct the fact that both objects are now incomplete.
Other Ways to Split a Mesh in Blender
There are other ways of rendering two parts of the same object or mesh asunder. When modeling in Blender, you might just need a handle or some sort of seam with which to control the shape that you're designing.
If you don't need to separate the mesh into two different object layers, here are some alternative ways to break a primitive down:
- You can hit Y to use the actual Split tool command; it will sever the geometry binding of your selection from the rest of the mesh, allowing you to pull it away cleanly without bothering the rest of the shape.
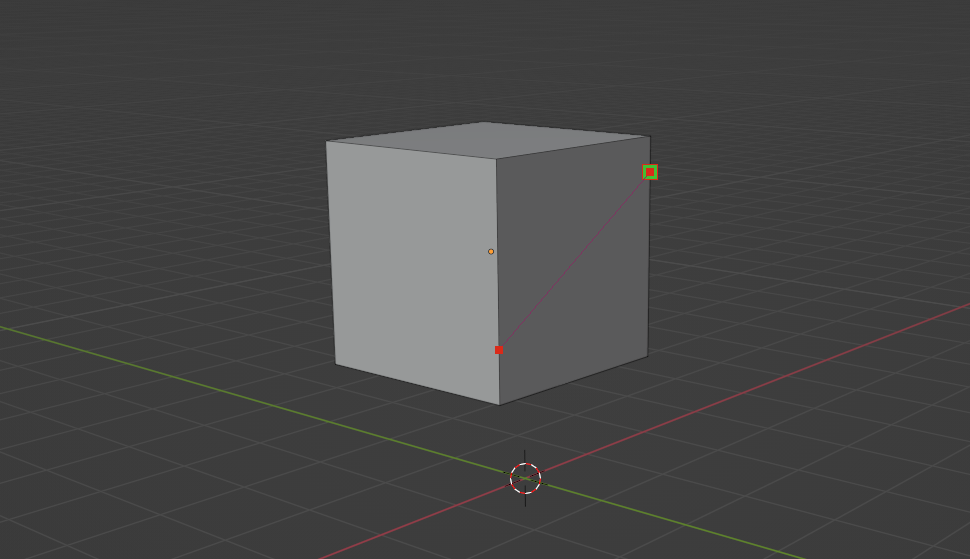
- The Rip tool is basically a scalpel that lets you slice meshes apart with great precision. You can cut something totally free from the rest.
- You can also Duplicate any part of a mesh with Shift + D.
In this last case, immediately moving the duplication away from the rest will prevent you from losing it. If you accidentally deselect it, just select one part of its geometry and hit Ctrl + L to Select Connected Mesh. You'll only grab what you've duplicated as long as all of the geometry is contiguous.
How to Add Geometry in Blender
When you're working with something like a six-sided block, you'll need to add more points, vertices, or faces to the mesh in order to bust into it like a real Blender artist.
There are many ways to do this in Edit Mode:
- You can Loop Cut subdivisions or use the Knife tool to add them arbitrarily.
- You can Add Subdivisions using Ctrl + any number above your home row.
- Adding a Bevel or Inset Faces will give you some leverage to work with when you're struggling to create something balanced and natural-feeling.
- There are modifiers that you can use to increase the amount of detail in a given mesh, such as the Subdivision Surface modifier. You can manipulate the effect to your liking, applying it to the actual mesh itself once you've zhuzhed it into place. Now, you can detach any part of the primitive bound by these new edges.
Half of the battle is giving yourself somewhere to apply the split in order to accomplish whatever it is that you're trying to do. Use good reference material—if you're struggling with a project, a real-life example is always the perfect way to place a choice detail.
Splitting Mesh in Blender
Whenever you modify an object or part of an object in Blender, you need to be cognizant of the part of its geometry that you're actually changing. Unexpected consequences may ensue if you model each mesh with abandon—these problems aren't always immediately obvious or intuitive, at least not in the beginning.
With practice, and after your fair share of hiccups, the rules of the road will only become clearer and clearer. We figure out new ways to do stuff like splitting a mesh in Blender all the time.


