If you're into photography, you may have heard about the benefits of shooting RAW images. But in the past, when smartphones were fairly new, their built-in cameras couldn't create high-quality photos, so smartphone makers didn't let you shoot RAW files in their stock camera apps.
But today, with advancing technology, the newest camera sensors in the latest smartphones can now shoot RAW quality photos that compete with the best digital cameras.
But why should you take RAW photos if you're just using a smartphone? And how do you do it on a Samsung Galaxy device? Read on and find out.
The Case for RAW

RAW images are high-quality, uncompressed images pulled direct from the camera's sensor that you need to process to turn into finished photos.
Back in the day, it didn't make sense to shoot RAW images on smartphones because the sensors on most devices weren't advanced enough to create excellent photos. They had low resolution, couldn't work well in low light, and had poor color reproduction compared to point-and-shoot devices.
However, advancements in smartphone camera technology allowed them to rival or even surpass some cameras. You can now get more detailed information from your smartphone's camera sensor today than those made over five years ago.
For this reason, smartphone manufacturers, like Samsung, added Pro modes to their stock camera apps to let you shoot in RAW. Other brands have followed suit as well, but if your particular phone model doesn't have a Pro mode, you can download apps that will let you shoot in RAW.
How to Shoot RAW Photos on Your Samsung Galaxy Phone
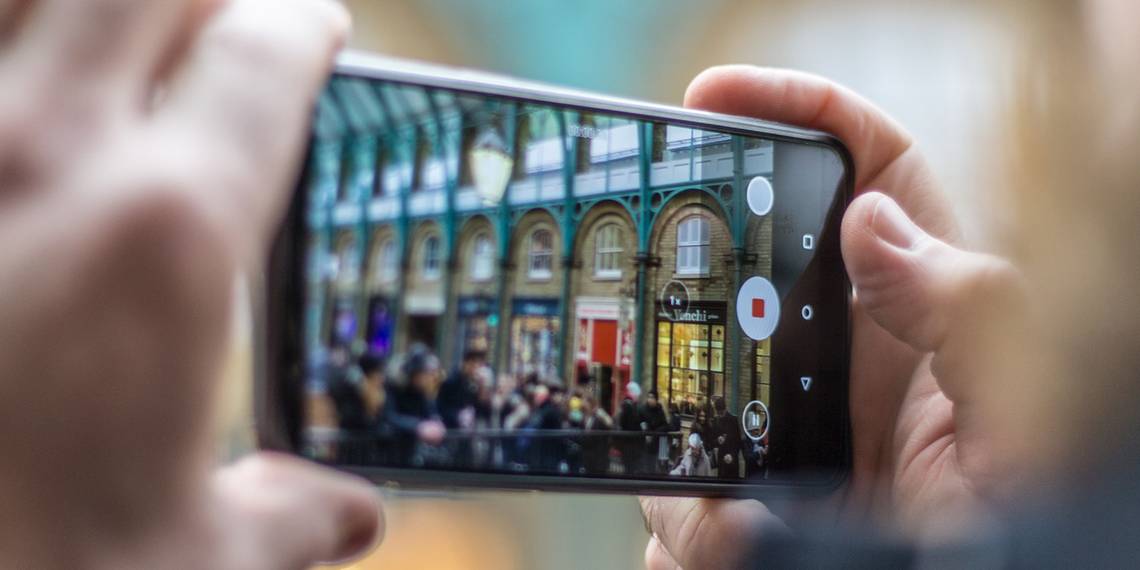
Shooting RAW images on your Samsung Galaxy smartphone is as simple as pulling up the camera app and then scrolling to Pro mode. However, you have to ensure you've activated RAW copies before doing so.
You can do so by tapping the Settings icon on the upper-right corner of the camera app (or lower-left corner if viewed in landscape). Under settings, go to Pictures and then tap on Format and advanced options. In the sub-menu, tap on the slider for RAW copies.


Once done, return to the camera app and slide across the modes until you get to MORE, then tap on the PRO icon. This mode will automatically save you a RAW copy of your images.
If you want to shoot in RAW frequently, press the + sign that appears when you're viewing all the other shooting modes, and then drag the Pro mode (as well as other modes you want to use) to your desired position.
You can then tap on Save when you've set your desired placement.


Where to Find RAW Images on a Galaxy Phone
When you're shooting in Pro mode, you might have a hard time finding the saved images on your phone, especially if you have many saved pictures. There are generally two places on Samsung Galaxy smartphones where you can find your RAW photos—on your phone's internal storage or the external memory card if you have one.
To know where your photos are saved, go to your camera app's settings, then, under Useful features, tap on Storage location. If you don't have external memory, you can only choose Internal storage. But if you have one installed, you can pick SD card instead.


But no matter where you save your photos, the best and easiest way to open them is to go to your Galaxy phone's Gallery app and then look for the Camera album. You'll then find two copies of the image you took under Pro mode: the processed Jpeg and the unprocessed RAW version.
You'll know which photo is RAW by opening it and looking for the RAW badge in the upper-right corner.
Alternatively, you can find all your photos at Internal Storage > DCIM > Camera if you save them on your phone, or SD Card > DCIM > Camera if you keep your images on an external memory card.
To know which is the RAW image, the file type at the end of its name should be .dng.


How to Edit RAW Images on a Galaxy Phone
The easiest way to edit your RAW photos on your phone is to look for the image you want to manipulate in your Gallery app, tap on the Share icon, and choose the app you want to use. Or, if you prefer Samsung's stock Photo Editor app, tap on the Edit icon at the lower section (or upper section if viewed in landscape) of your screen instead.


Bringing Out the Best From Your Photographs
Since RAW images are not processed or compressed like Jpegs you can get more data from them, thus letting you pull out minute details in the darker and lighter regions of your image.
For example, take a look at this dark image below.

Editing the Jpeg, if you max out the image brightness on Snapseed, an excellent free-to-use photo editor, you'll still get a dark image with barely any detail.

But if you edit the DNG file, you can pull out the details in even the darkest portions of the photo.

It's the same thing with bright, overexposed photos.

You cannot make the individual light sources appear on this LED lamp with a JPG image no matter what you do.

But with the RAW file, you can see all the LED bulbs that make up this LED lamp without sacrificing too much quality.

Master Your Art and Camera First
Samsung's Galaxy smartphones typically offer excellent image quality and the capability to capture RAW images. However, always keep in mind that these are just tools you can use to further your art.
You should prioritize learning, practicing, and taking to heart the concepts of art, like composition, lighting, focus, texture, pattern, and more. By knowing these things, you'll be able to create masterpieces that capture the attention of your audience.
Once you know how you should take photos, you can then focus on executing your vision. Learn the technicalities of photography, like the trinity of aperture, shutter speed, and sensitivity. Figure out how focal length affects the depth of field.
When you're familiar with both the art and science of photography, that's when you can take your work further through post-processing—and this is where those DNG files come in. Because when you're an expert photographer, you can use your RAW files to pull out detail and give more life to your photographic masterpiece.