When you see your favorite stop-motion movies and TV shows, you might think making the footage is a difficult process. Whilst this may be true for big-budget pieces, you can try some basic stop-motion videos at home. It’s fun and doesn’t require much setup.
Stop-motion video can satisfy the needs of hobbyist photographers wishing to dabble with video, YouTubers wanting interesting transitional content, or simply for something to do on a rainy day.
How can you get started with stop-motion animation? There are just three key pieces of equipment that are required. Two of which you likely have already.
An Object (Something to Take Photos Of)
What are you going to film? Even for a hobbyist, having an object to shoot is essential. Though it is a fun activity, you don’t necessarily need to write a whole story and a script.
Typically, the nature of stop-motion animation is to give an inanimate object movement and characteristics. This can be an everyday object or a fun craft.
1. A Toy
Very simple yet effective, a toy can be brought to life through stop-motion animation. Some popular examples include Lego bricks and minifigures. See the below video by YouTuber tomosteen for inspiration on the content that can be made.
The trick is to take an initial photo first. Then for every movement a foreground or background object makes, a subsequent photo is then taken.
For example, when giving a thumbs up, you would first take a picture of the fist. The next picture should be of the thumb around 2-3 millimeters raised, and so on until it is pointed upwards for the last photo.
A good way to visualize this is to slowly raise your thumb whilst blinking very quickly. Imagine each blink you make is the shutter of the camera. This should help you to identify at which approximate point you wish to take the next photo.
2. A Craft
If you have an artistic flair, a homemade object can be very useful. The use of clay and pipe cleaners can be especially effective, as they can give flexible movement.
For a more advanced setup, armatures are used to give a more natural movement to characters. See YouTuber Michael Park's fantastic video on how to create your first armature for a very low fee.
Popular examples of content using this device include Aardman’s Wallace and Gromit movies from the UK, Wes Anderson’s Isle of Dogs, and—of course—Tim Burton’s A Nightmare Before Christmas.
3. A Person
Using a person as the subject of stop-motion animation isn’t regular, yet it can give surprisingly strange and effective results.
This could be a friend or family member, or even yourself (provided that can take photos remotely).
Reminder: you need lots of patience to make an animation, so be sure to use a subject that can stand still and make small movements without compromising their position).
For more ideas, we have an article on the types of stop-motion animation you can do at home.
Now that you have an object, let’s get shooting.
A Camera (Something to Take Photos With)

The reason stop-motion works the way it does, giving that wonderfully disjointed movement, is that a video compromises a long series of photographs that are compiled and played back at the speed of a movie.
Typically, an animation is played back in at least 12 frames per second. This means for every second of a video, 12 individual pictures are needed. Many video editing applications can help with compiling this themselves.
A device that can take and store photos is all that is required to get started. This could be your smartphone or tablet, or even your beloved DSLR.
Editing stop-motion videos is a fun experience, though it can be a little stressful if the footage isn’t as well-produced as possible.
Before we get into the editing, there are a few pointers to bear in mind for allowing your photos to be as easy to work with as possible.
1. Stability
As we’re taking a series of still images, camera judder and wobbly object motion stick out like a sore thumb.
In order to eradicate this, it is best to stabilize your device in the most effective way possible. This doesn’t have to be a fancy tripod or image stabilizer.
See Dean Tucker's YouTube video below on how to stabilize your camera without the use of expensive equipment.
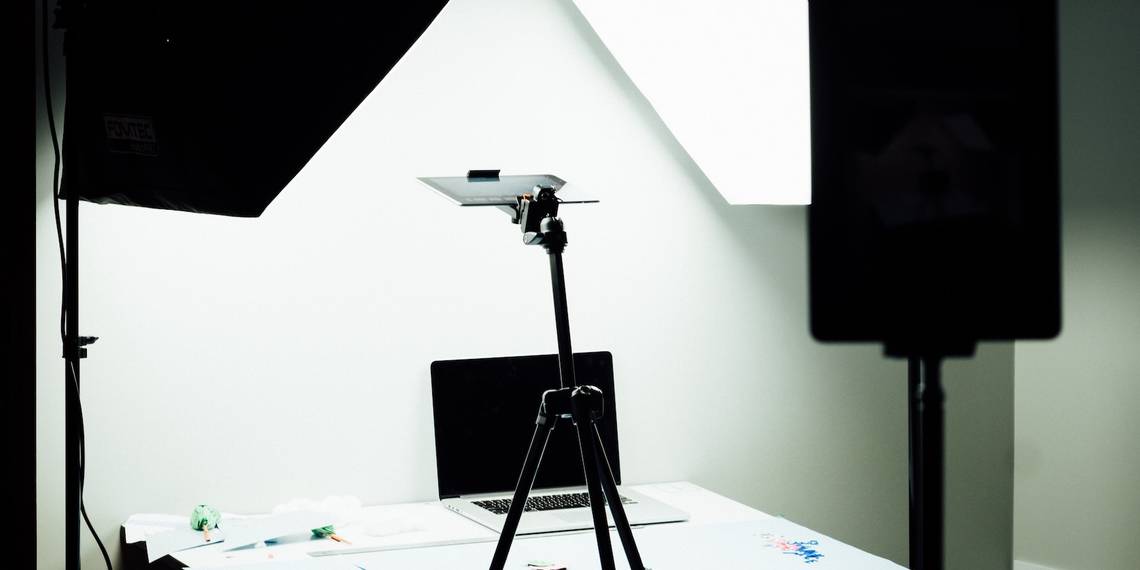
2. Lighting

Having an even level of lighting is just as important for stop-motion as it is with live-action, as shadows can be very hard to remove during the editing process.
It is best to light the object from as many angles as required and use even lighting over the background. For this, you may need 2-3 lights. Whilst you are practicing, the lights don’t need to be studio quality; using a desk lamp would suffice for now.
See our article for some ideas on the best lighting equipment for vlogging. The lights mentioned would be suitable for stop-motion animation.
The YouTube channel The Slanted Lens has a fantastic series of videos around lighting objects for photography and video, as seen below.
For a beginner, lighting and stability should be enough to focus on for your first videos. It’s worth trying to keep the duration to around 15-30 seconds (approximately 180-360 photos).
This will reduce the stress of editing and allow you to focus on the stop-motion craft itself. When you have taken enough photos, it’s time to move on to editing.
An Editing System (Something to Give Movement to Your Photos)
If this is your first time with video-making, there are some dedicated apps that are available for both iOS and Android that can help make this process very easy for you.
Some, including Stop Motion Studio, allow you to take photos through the app itself, saving you from having to upload and sort the files independently. Stop Motion Studio is available to download from the App Store and Google Play.
For those wishing to try editing on more advanced software, it is possible to use some popular non-linear editing platforms, such as Adobe Premiere Pro or DaVinci Resolve, to compile the stop-motion video. If you're not familiar with these systems, check out our article on a comparison between them, deciding which is the ultimate video editor of the two.
There are some fantastic tutorials on YouTube, including the one below on editing a stop-motion animation in Premiere Pro by Phil Ebiner.
The main benefit of using a dedicated editing platform is that you can have full control over the use of; music and sound effects, transitions, cuts, and visual effects.
As the standard settings for these platforms tend to be ready-made for regular video editing, it’s best to make some tweaks in order to accommodate your photos.
The key settings to watch out for are; aspect ratio (should be 1920x1080 for HD video or 3840x2160 for 4K, both at a 16:9 ratio), clip duration (this can be set as a fraction of a second or number of frames per second), and overall time base (23.98 frames per second usually works well for stop-motion).
Story Is Key
Whilst it is tempting to rush out and buy expensive cameras, tripods and stabilizers, and model-making equipment, this isn’t necessary yet.
The first element to focus on is the story. Using the basic setup outlined above, it’s time to get practicing creating engrossing characters and compact narratives.
Whether you are making a plush toy wave at a friend, a Lego minifigure couple going out on a date, or a clay alien crash landing on Earth, there are many ways of captivating your audience’s attention with minimal equipment.